Mamma Agata’s Lemon Chicken (Pollo al limone)

Image

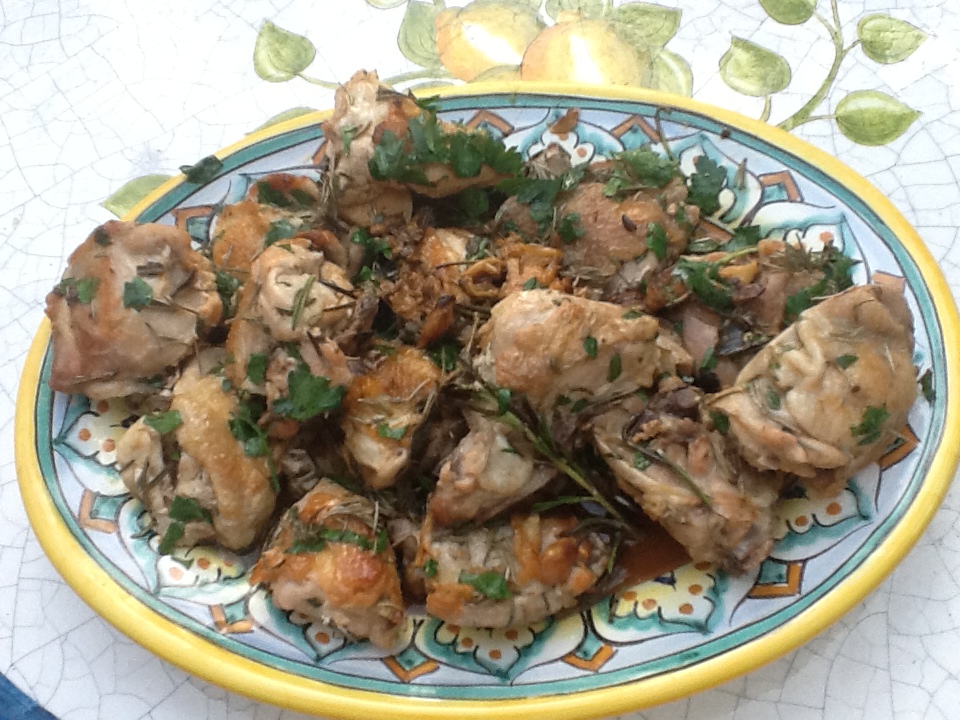
I’m going to treat you again to another wonderful recipe that I made in cooking class with Mamma Agata in Ravello, Italy.  This dish is so flavorful and aromatic that it is a delight to the senses.  Your kitchen will smell like rosemary, sage, garlic and lemons, all mingled together in a manner that keeps the chicken moist.  The amazing thing about this recipe is that you use absolutely no oil.  I couldn’t believe it, but it is indeed true.  The skin on the chicken renders all the fat you need.  You will need to use a non-stick skillet, however.

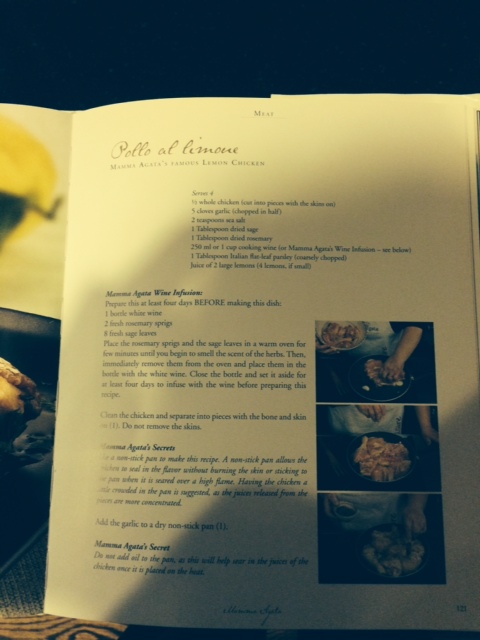
This recipe calls for  white wine infused with herbs.  Mamma Agata infuses the white wine with baked herbs for 4 days before she makes this recipe, but I did not.  I added the wine and some fresh herbs at the end, and it came almost as good as hers.  I just can’t bring myself to take a good bottle of wine ( always cook with wine that you would drink), and put herbs in it.  Perhaps you want to give it a try.  I’ll include this in the recipe and you can decide for yourself.

This recipe did teach me the importance of a good quality sea salt.  It really makes a difference.  Mamma “A” says to always use sea salt.  I actually bought her own brand of sea salt (of course I did) and the taste was just divine.  So now I’m a believer in using the best sea salt (or any type of salt for that matter) that you can find.

RECIPE:  serves 4 

1/2 to 1 whole chicken, cut into pieces with skin on.

5 cloves garlic,cut in half.

2 tsp. sea salt

1 TBSP dried sage ( I used a bit more).

1 TBSP dried rosemary (I used a bit more).

1 cup wine, or Mamma Agata’s wine infusion (see below)

1 TBSP Italian parsley , coarsely chopped

Juice of 2 large lemons ( or 4 if they’re small)

2 sprigs fresh rosemary

8 leaves fresh sage

Wine Infusion:  to be prepared at least 4 days in advance

1 bottle of white wine

2 sprigs fresh rosemary

8 leaves fresh sage

Place the sage and rosemary leaves in a warm oven for a few minutes until you begin to smell the scent of the herbs.  Then immediately remove them from the oven and place them in the bottle of wine.  Close the bottle and set it aside for at least 4 days.

1.  Wash and dry the chicken well, leaving the skin on.

2.  Add the garlic to a non-stick fry pan or skillet.

3.  Heat the garlic over a high flame until the garlic becomes very hot, but not burned.  Use a wooden spoon to turn the garlic to release its natural oils without burning it.

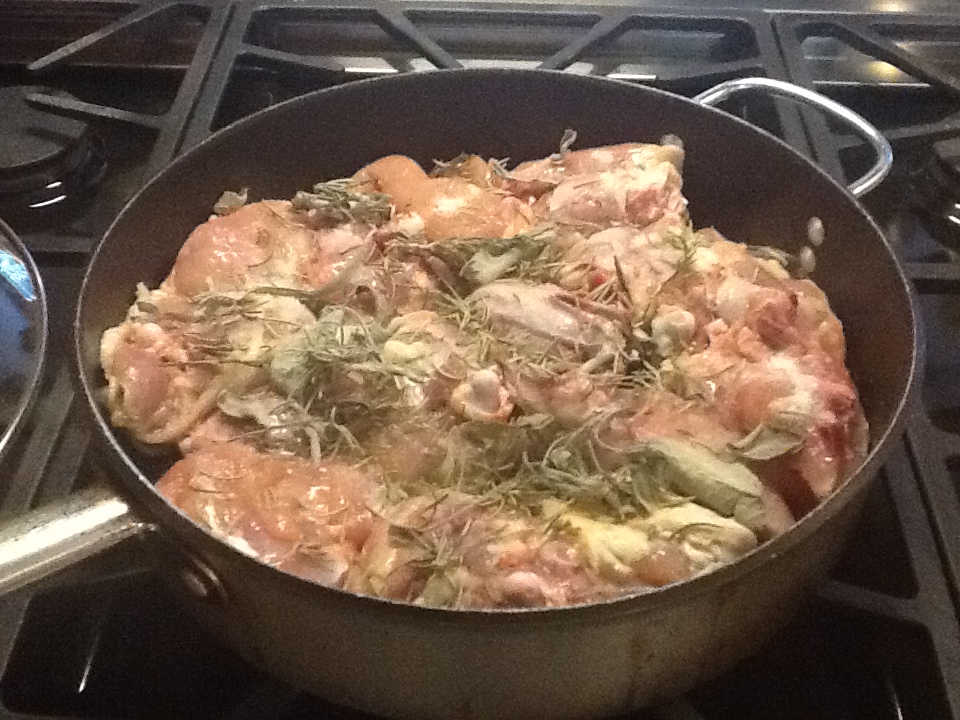
4.  Add the chicken to the pan, one piece at a time, skins down.  You should hear the chicken sizzle. Add half of the sea salt, rosemary and sage to the top of the chicken.  (Mamma Agata was much more generous with the dried herbs.  I saw her throw in a handful or more, but lets stick to the recipe).

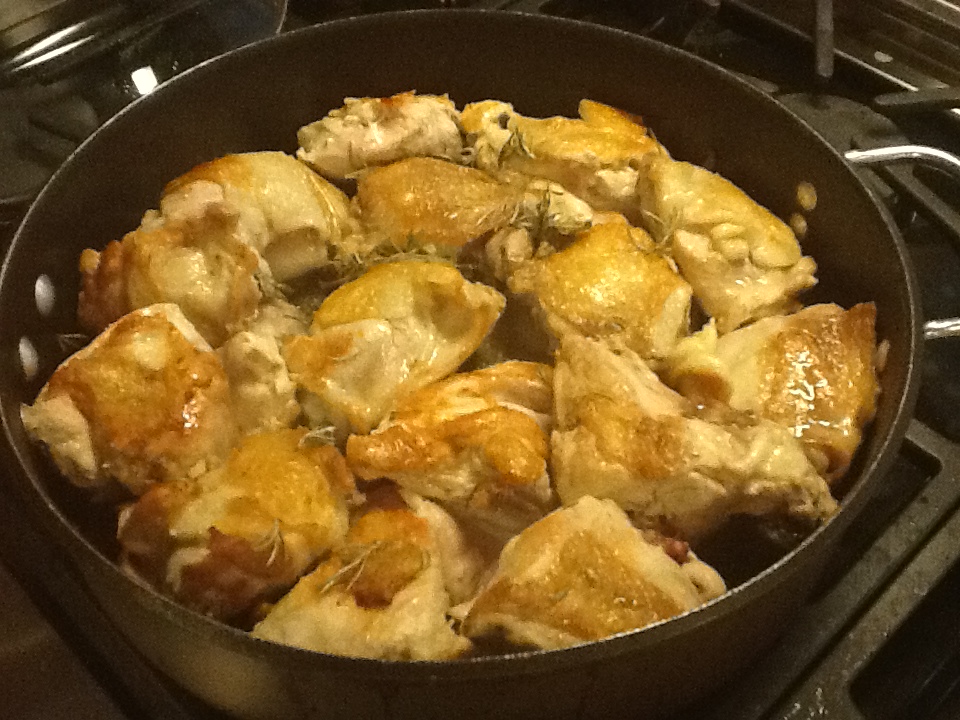
5.  Once the skin of the chicken has caramelized (i.e. golden brown), turn the chicken over.

6.  Add the remaining salt, sage and rosemary.  Cook until this side is caramelized.

7.  After both sides are caramelized, lower the flame, cover the pan and cook over low heat for about twenty minutes.  Do NOT uncover the lid while it is cooking or else it will break the moisture barrier and become dry.

8.  After twenty minutes, the natural juices  should have reduced.  Now uncover the chicken and add the wine (infusion or not) to the pan.  If not using the infusion, add you fresh herbs at this point.  Continue cooking over low heat until the wine reduces.

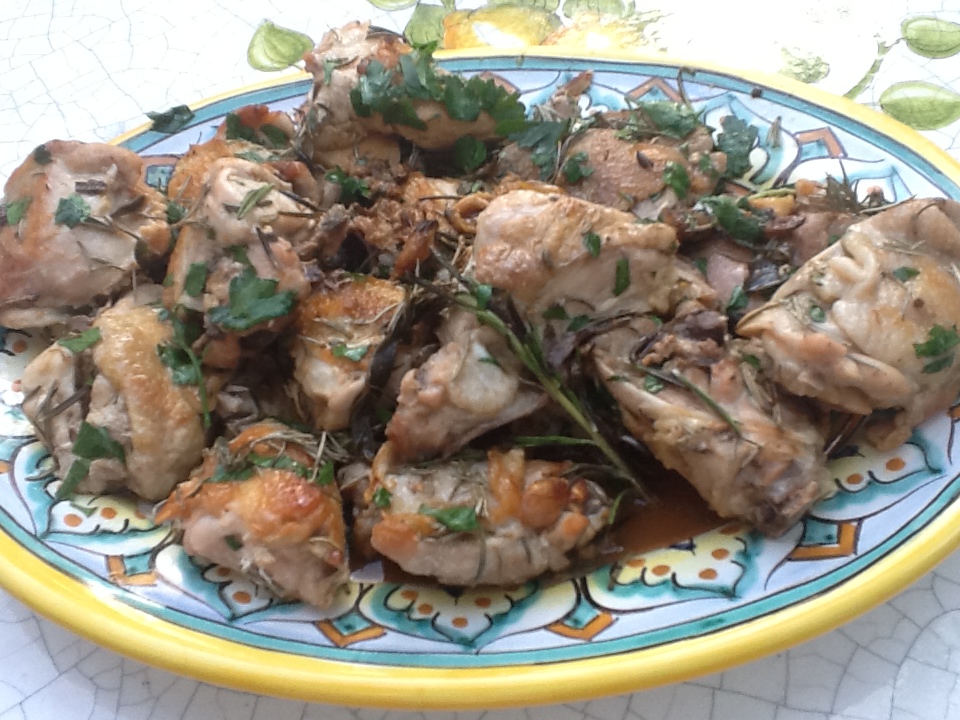
9.  Just before serving, add the chopped parsley and fresh lemon juice.

NOTE*  You can cook this ahead of time, up to the point of adding the wine and then step #9.


ImageImageImageImageImageImage

mammas chciken recipe

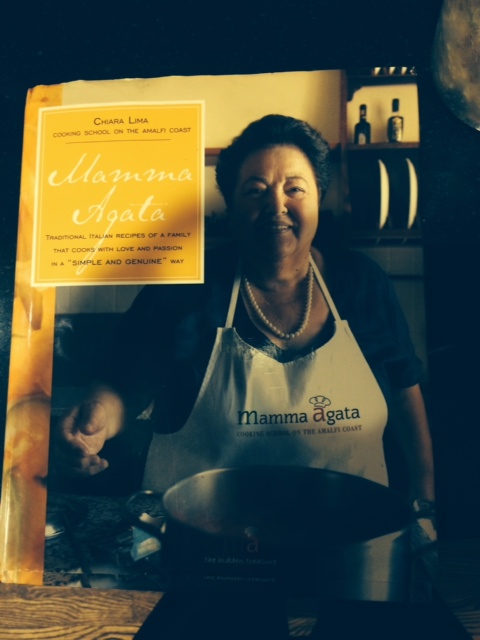
mamma agata book

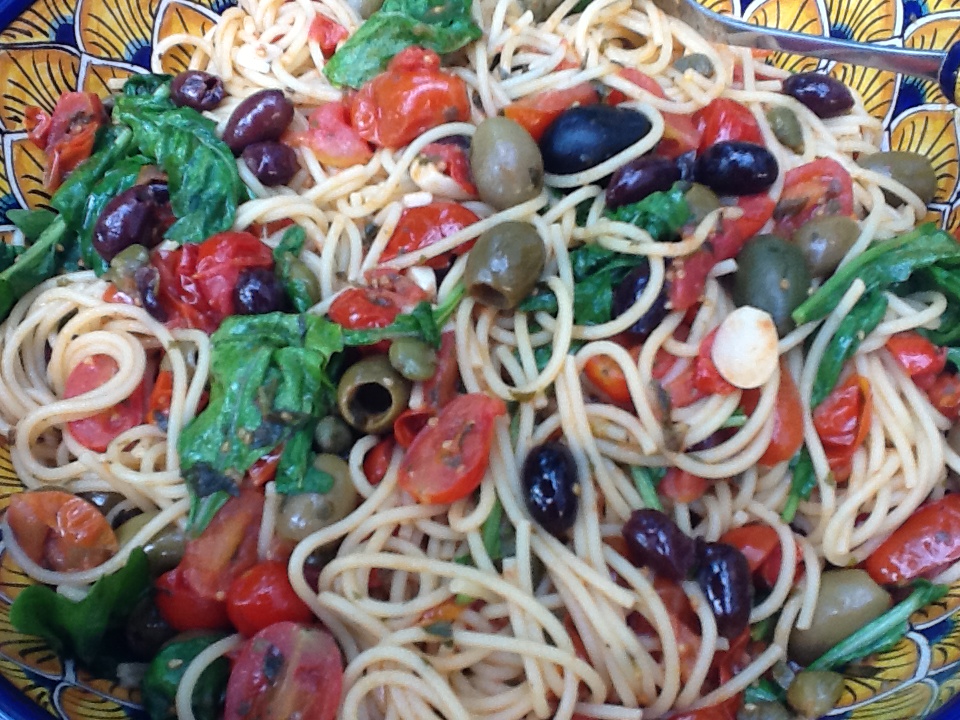
Mamma Agata’s Spaghetti del Contadino

Image

Have you wondered where I’ve been these past few weeks?  Well, I’ve been in “bella Italia” for three weeks, collecting lots and lots of recipes for you.  Italy is a treat for all your senses.  Visually, you are spellbound by it’s beauty.  The air is perfumed with the sweet smell of flowers, sea and mountains.  And the food delights your taste buds with each delicious bite.  I can close my eyes and still see, smell and taste all that Italy has to offer.  It is my hope to share as much of this with you as possible.

One of our stops on this journey was the Amalfi Coast.  This is my favorite spot in Italy, and I feel blessed to have visited this magical area many times.  The warmth of the people, the breathtaking views everywhere you turn and the fresh food, picked right from the earth or out of the sea, makes for an almost surreal experience.  I would like to share as many recipes as possible from this area with you over the next few weeks.

I spent a day with my sister and niece at the cooking school of Mamma Agata in Ravello.  She’s a legend on the Amalfi Coast for true traditional cuisine of this region.  She’s been cooking in restaurants for celebrities and dignitaries since she was 13.  Now, at 72 years old, she has a highly rated cookbook and a very famous cooking school in her home, high in the hills of Ravello.  Her daughter, Chiara and son-in-law, Gennaro, have joined her in this endeavor, and have created a wonderful experience that will remain a beautiful memory for me for years to come.

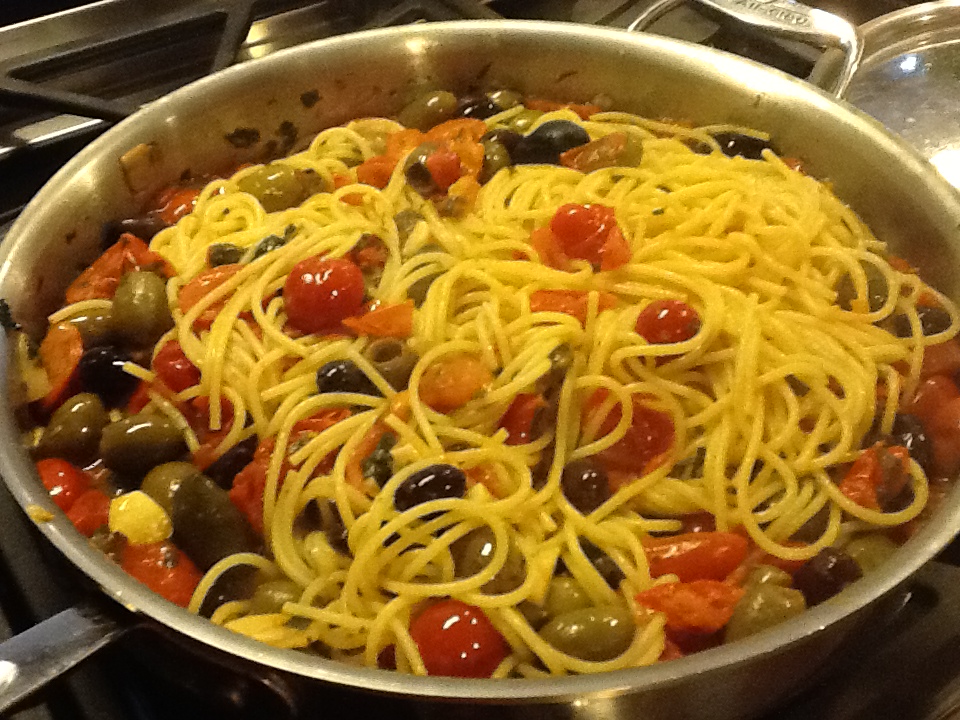
The first recipe that I would like to share with you is her “spaghetti del contadino.” Mamma Agata made this for Jackie Kennedy when she was in Ravello.  It is made with all the freshest ingredients, and of course, as Mamma, Chiara and Gennaro say, “cook with love.”  So “love” is a very important ingredient.  Their love of cooking (and sharing) is evident from the moment you walk into this magnificent home overlooking the sea.  You’ll  find this all over Italy.  Food is love.

I hope you enjoy these recipes from Mamma Agata.  I highly recommend her cookbook as well.  My sister gave it to me a few years ago, and it is one of my favorites amongst my vast collection.  As you will see, her recipes are simple and she shares lots of her secrets.  You can also visit her website, http://www.mammaagata.com.  However, if you ever get to the Amalfi Coast, don’t miss the chance to meet and cook with this lovely lady and her family.  It’s a thrill of a lifetime.

NOTE:  I’ve included a few pictures of Mamma Agata’s views from her terrace and kitchen.  Who wouldn’t “love” to cook with those surroundings!!!

RECIPE:  Serves 4

1 pound of spaghetti

1 1/4 lbs of ripe cherry tomatoes

1 TBSP fresh parsley, finely chopped

6 TBSP extra virgin olive oil

4 cloves garlic, finely sliced

1 tsp dried oregano

2 dozen green olives (with or without pits…I definitely like no pits)

2 dozen black olives ( with or without pits)

1 TBSP Capers (packed in salt, if available, and rinsed)

1 cup fresh arugula


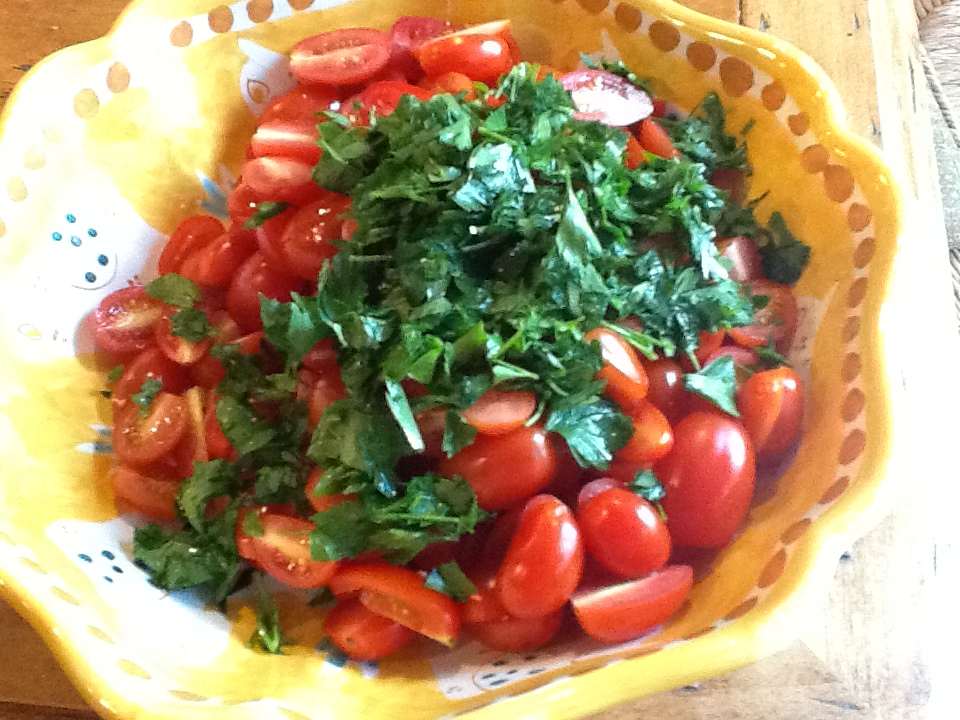
1.  Cut the cherry tomatoes in half (if large, cut into quarters) and place them in a bowl with the chopped parsley.  ( Mamma A says this enhances the flavor of the tomatoes.  Who knew?)

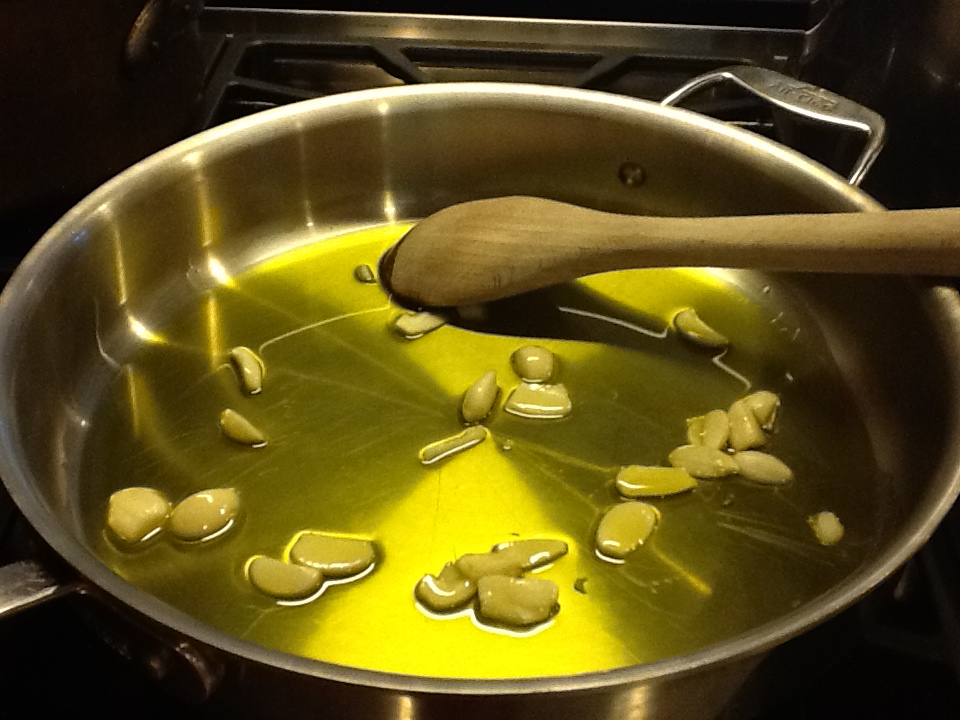
2.  Thinly slice the garlic and add it to the room temperature extra virgin olive oil.

3.  Slowly heat the garlic and oil over a very low temperature so that the flavor of the garlic will infuse the oil as it is cooking.

4. When the oil and garlic are warm and have been gently cooked, add the halved cherry tomatoes, parsley, oregano, green and black olives, and rinsed capers to the pan.

5.  Cook until tomatoes have cooked down, and all the flavors have melded.  (She doesn’t  give us cooking time, but I cooked it for about 10 minutes.)  Keep checking and stirring.

6.  Boil the spaghetti until it is al dente.  Drain it, and put it in the pan with the sauce.  Cook, while turning, for and additional 2 minutes. ( this is why it must be taken out of the water al dente)

7.  Add the arugula leaves to the pasta and sauce just prior to serving so that it does not lose its flavor in the cooking process.

8.  Serve hot, with a drizzle of olive oil to further enhance the flavors in the dish.  NOTE:  In Italy, they do not use grated Italian cheese on fish sauces or sauces made with fresh tomatoes.  This was new to us, but I came to understand and enjoy it without cheese.

9.  Don’t forget the “love!”

ImageImageImageImageImageImageImageImageImageImageImageImageImageImageImage


Ribollita Soup

Image


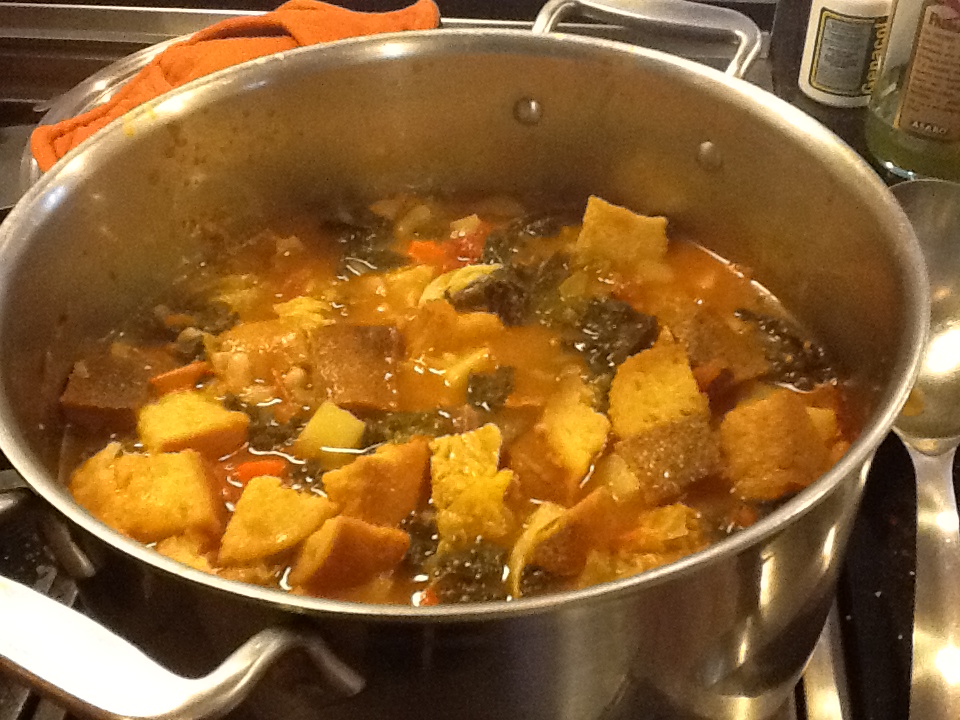
Before summer arrives, and the temperatures start to soar, I just had to share one last soup recipe.  I do enjoy  chilled soups like gazpacho or chilled pea soup, but they’re not something I usually make.  Perhaps I should start, because I love soup!  So before summer sets in, I try to enjoy a bowl or two of piping hot soup.  Ribolita being one of my favorites.
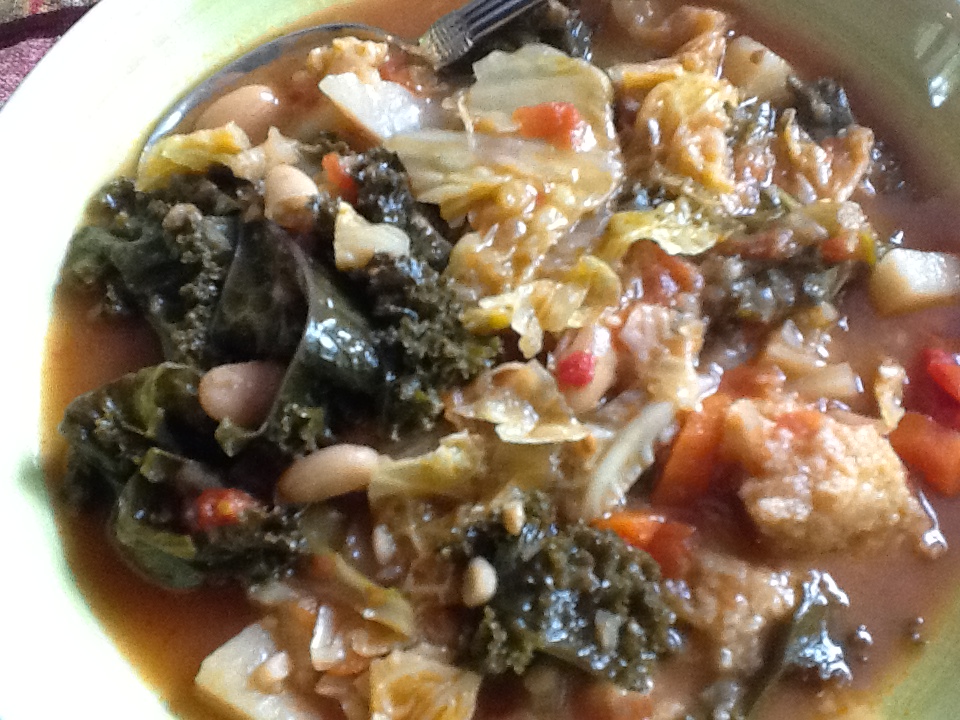
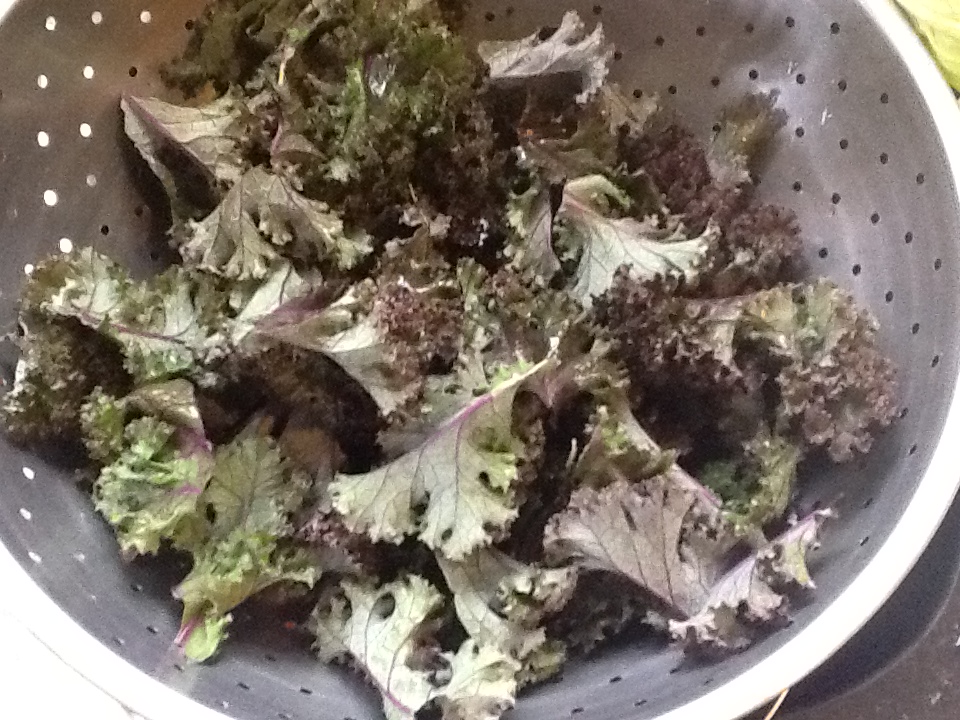
This is not a family recipe, nor is it a recipe from a friend.  This is a combination of about 6 or 7 recipes that I have tried over the years.  As in all Italian “peasant” recipes (this one is from Tuscany), you can really use whatever is on hand.  I love to use dark or red kale, but honestly, any kale will do just fine.  If I can’t find savoy cabbage, I just use regular cabbage.  If I have a leek on hand, I’ll throw it in, but it’s not essential.  Red onion, sweet onion…it doesn’t matter.  I will say that what I think does matter is the quality of olive oil, tomatoes and broth.  So use your favorites.  Please don’t tell anyone, but in this recipe I use canned cannellini beans.  Why not???

I hope you get an opportunity to make this before you start grilling every night.  But if not, please remember it once the autumn air chills our evenings once again.


RECIPE:  about 6  (maybe 8) servings

2 15 ounce cans of cannellini beans

1/4 cup good olive oil

1 large yellow onion (red onion is yummy also)

1 leek, white part chopped

3 carrots, chopped

1 large bulb of fennel, chopped (can also use celery …3 stalks)

4 cloves of garlic, minced

1 tsp. freshly ground pepper

1/4 tsp crushed red pepper flakes

Kosher salt

1 28 ounce can of Italian plum tomatoes, squished

1 large head of savoy cabbage, shredded

1 large bunch of dark kale ( or any kale), coarsely  chopped

2 russet potatoes, peeled and diced in 1/2 inch pieces

6 cups of broth, either vegetable or chicken

4 cups of stale Italian bread, cut into chunks

1/2 cups freshly grated Parmesan cheese, for serving


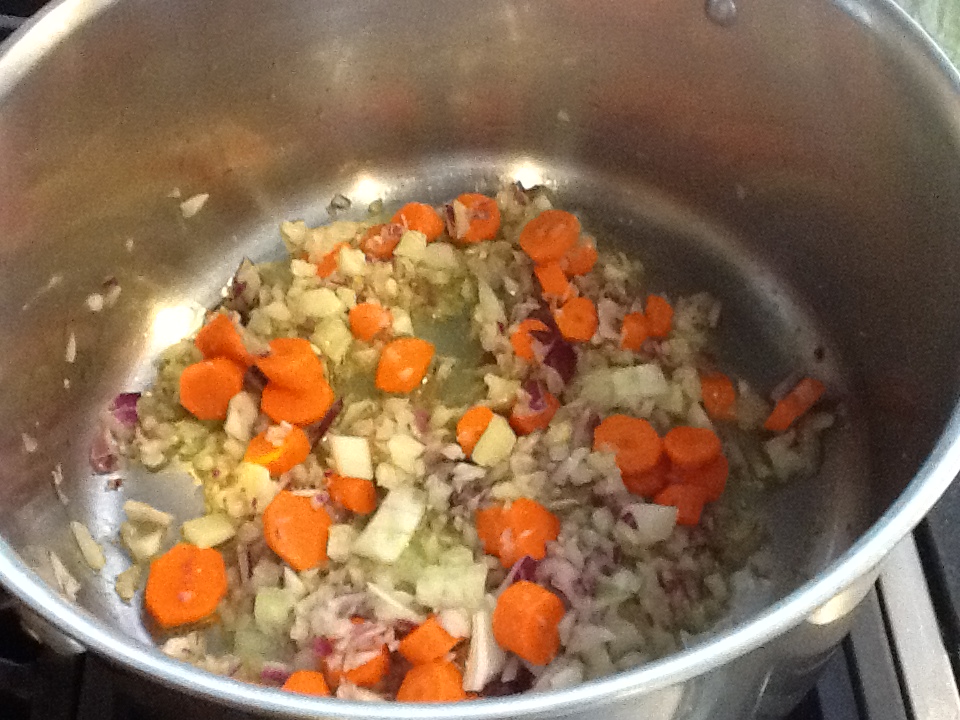
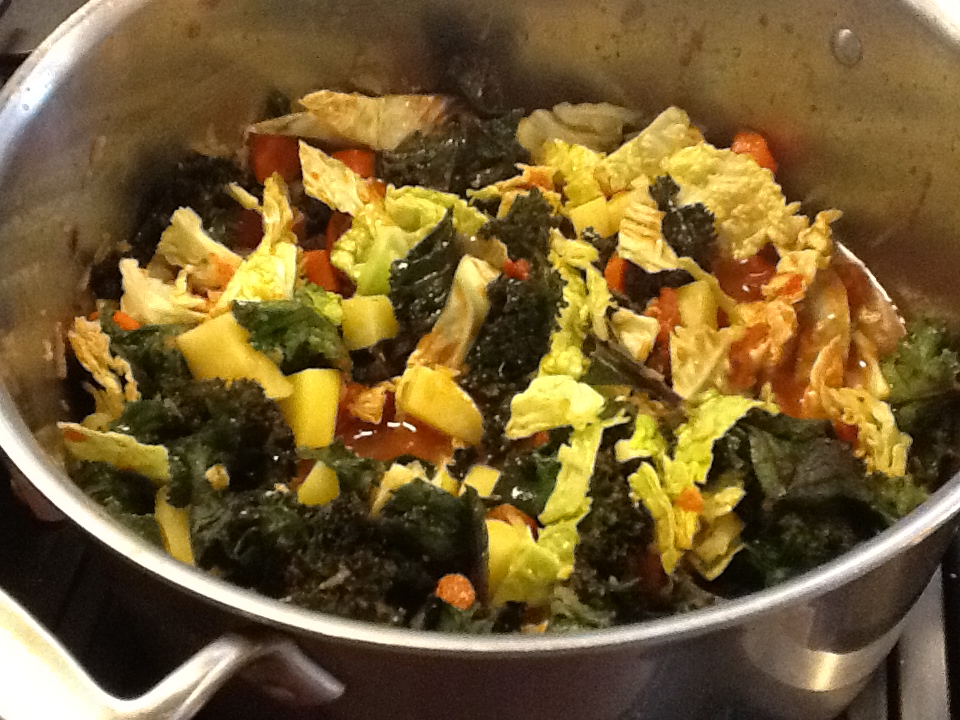
1.  Heat the oil in a large stockpot.  Add the onions, carrots, fennel and leeks and sauté for 5 to 7 minutes.  Then add the garlic, salt, pepper and red pepper flakes and sauté another 5 minutes.  Add the squished tomatoes and all their juice, the cabbage, kale and potatoes.  Cook, stirring occasionally for another 10 minutes.

2.  Add the broth and beans, and simmer over low heat for 40 minutes.

3. Add the bread and simmer for another 10 minutes.  Taste for seasoning.

4.  Serve hot in large bowls, sprinkled with Parmesan cheese and perhaps a drizzle of olive oil.


ImageImageImageImageImageImageImageImageImageImageImageImageImageImage


Grilled Branzino

Image

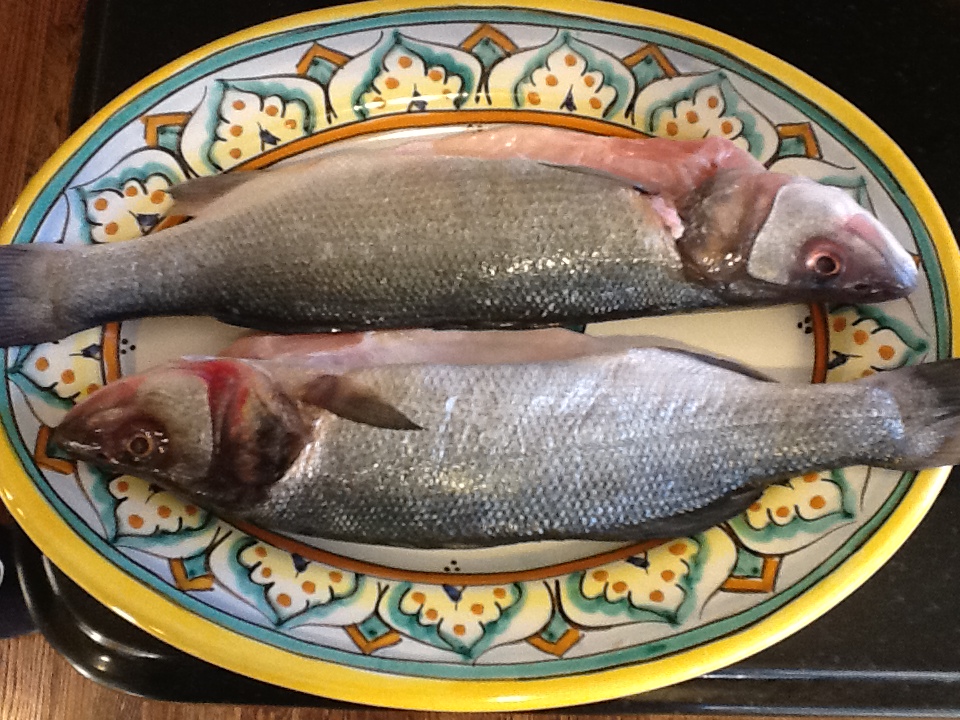
The snow had barely disappeared after this past brutal winter in the Northeast, and I desperately need to grill something…..anything. We usually manage to shovel a path to our grill on our deck periodically throughout the long winter months.  But not this year!  It had been months since I’d  tasted those wonderful, earthy flavors that you can only achieve on an outdoor grill.  So at the first glimpse of spring, I knew I had to choose what would be my first grilled meal.  Sure, hotdogs and hamburgers would have been a good, easy choice, but I felt this called for a celebration and wanted something a bit more festive and perhaps involved.  I wanted to spend some time preparing the food for my first grilling of the season.  I decided on grilled, whole branzino. This is a mediterranean fish, that I first became acquainted with in Italy many years ago. It soon became very popular in high-end Italian restaurants, as well as Greek restaurants.  They all prepare it to perfection, but there is something wonderful about the flavor when you cook this fish on the grill.

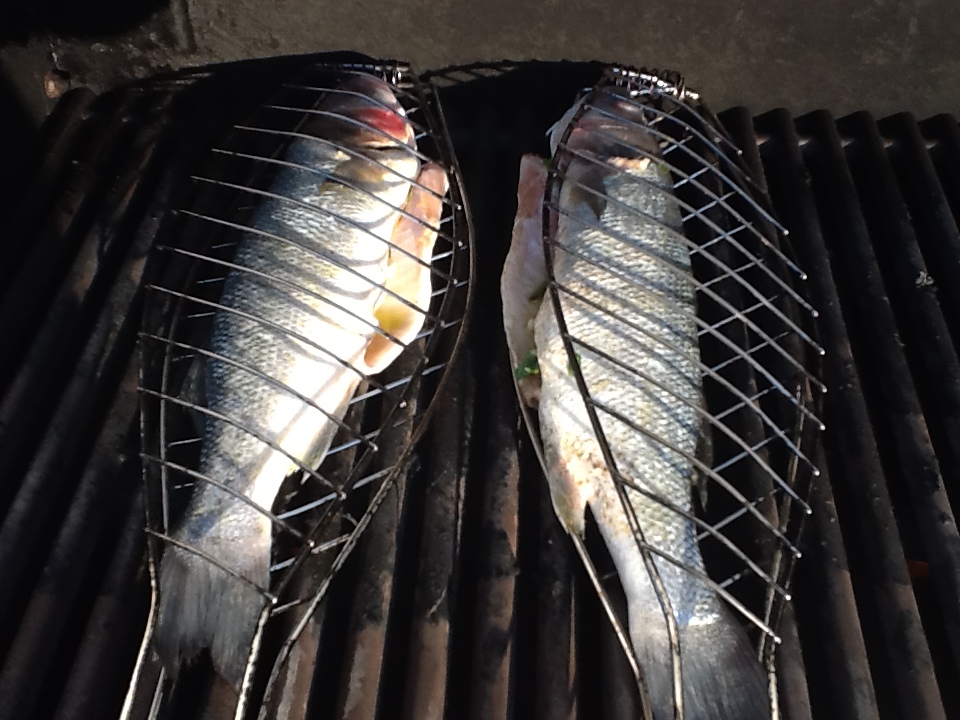
The first time we attempted this, it was a bit daunting.  We had no recipe, but knew how we like our branzino prepared.  First we went out and bought the wire grilling baskets for the fish.  I believe they still sell these contraptions, but I’ve also seen some newer equipment for just this purpose.  However, you want to make sure you can turn the fish to get that grilled, crispy flavor on both sides.  Once you have the right equipment, the rest is very easy.  Did I mention that you have to handle the fish, while they seem to stare directly back at you?  Okay, so this part is not for me.  As a matter of fact, the only part that is for me is the buying and the eating of the fish.  I pass the entire rest of the process on to my husband.  Oh sure, I help chop the parsley and garlic…or slice the lemons, but I’m a baby about actually handling the fish.

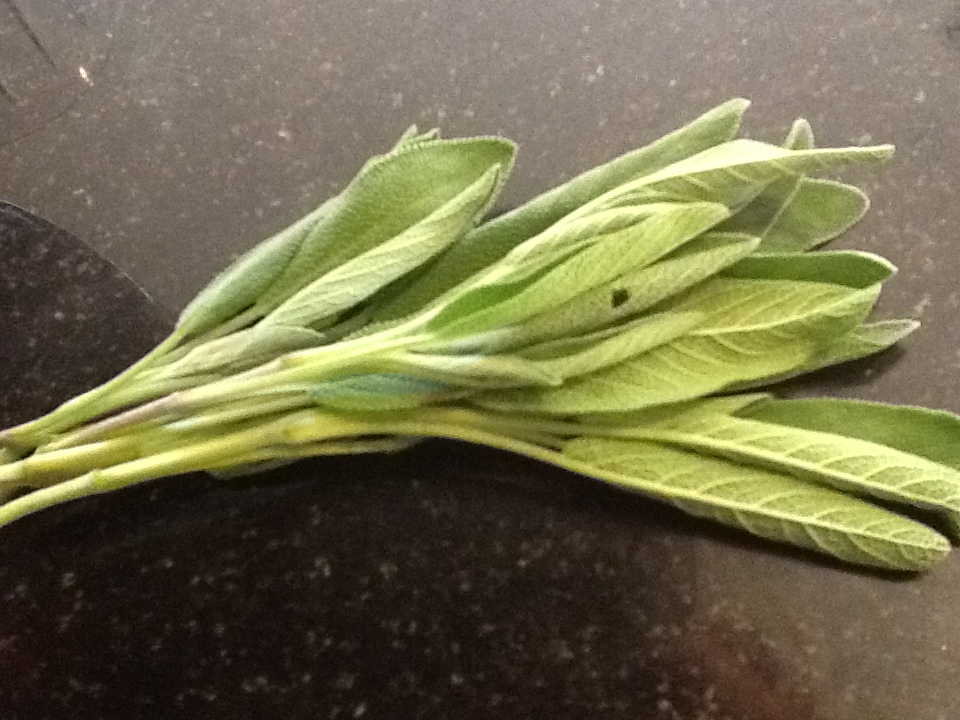
There are a lot of variables with this recipe, and I always like to share these.  First of all, you can really stuff the fish with any herb of your choice.  We used sage and parsley here, but rosemary, thyme, oregano or tarragon are also wonderful. Fresh herbs are always better.   Use what you like.  The amount of garlic is also up to you, but do use at least one clove for flavor.  You can add a little vinegar and/or mustard to the oil to make it more of a vinaigrette.  I strongly urge you to always serve it with lemon wedges (you can also throw some lemon slices in the cavity).  It’s the wonderful, citrus flavor of the lemons that reminds us of the Mediterranean.  It is perfection!


RECIPE: serves 2 to 4

2 whole branzino, approximately 1 1/2 pounds, scaled, cleaned and fins removed

1 cup olive oil

4 -5  large cloves of garlic chopped

1/2 cup parsley, chopped

2 large sprigs of sage ( or herb of voice)

4 lemons, one thinly sliced, and the other 3 cut into wedges

1 TBSP sea salt

pepper to taste

1.  Prepare grill to medium-hot.

2.  Prepare the sauce by combining the garlic, parsley, olive oil,  1/2 TBSP. of salt and pepper.  Mix well.

3.  Season each fish cavity with salt and pepper.  Place the lemon slices, sage and some of the sauce inside the cavity.  Season the outside with the remaining salt and pepper. Drizzle a bit of the sauce (just the oil) on the outside of the fish.  Place each fish in it’s separate basket and close the latch.

4.  Place the fish baskets on the grill.  Cook, turning once, until the skin is crispy and the fish is cooked through, 4 to 6 minutes per side.

5.  Unlatch the baskets, and transfer the fish to a platter.  This makes a beautiful presentation.

6.  If cooked well, filleting the fish is quite easy.  You cut off the head, tail, and the spine will easily come out, leaving two beautiful, plump filets.  Drizzle the remainder of the sauce on top of the filets, and serve with fresh lemon wedges, making sure to squeeze the fresh lemon juice all over the fish.


ImageImageImageImageImageImageImageImageImage


Nigella’s Lemon Polenta Cake

Image

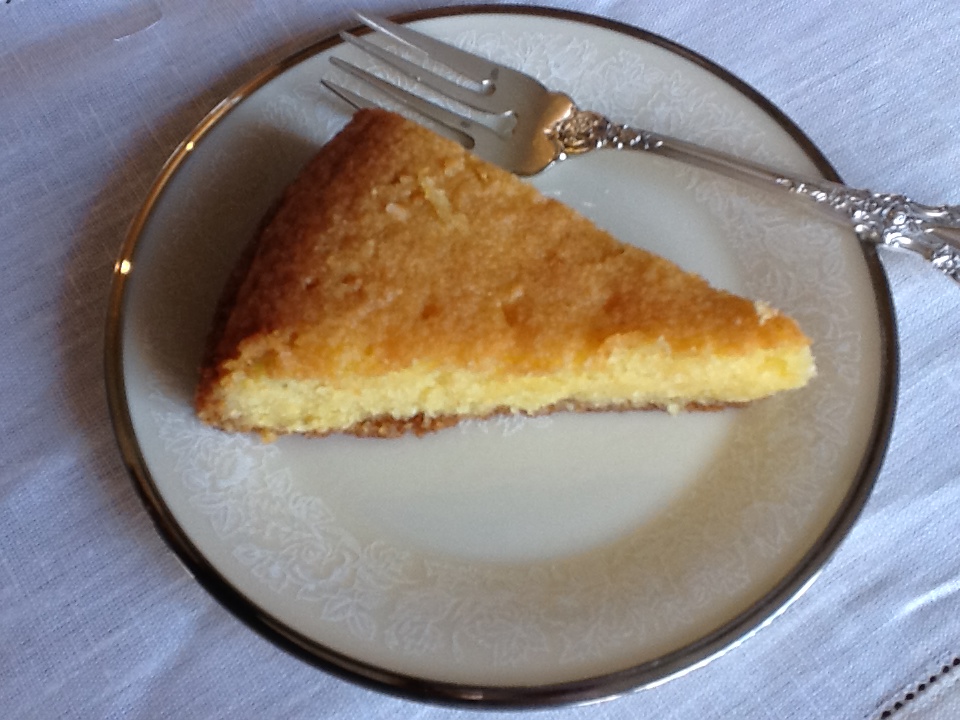
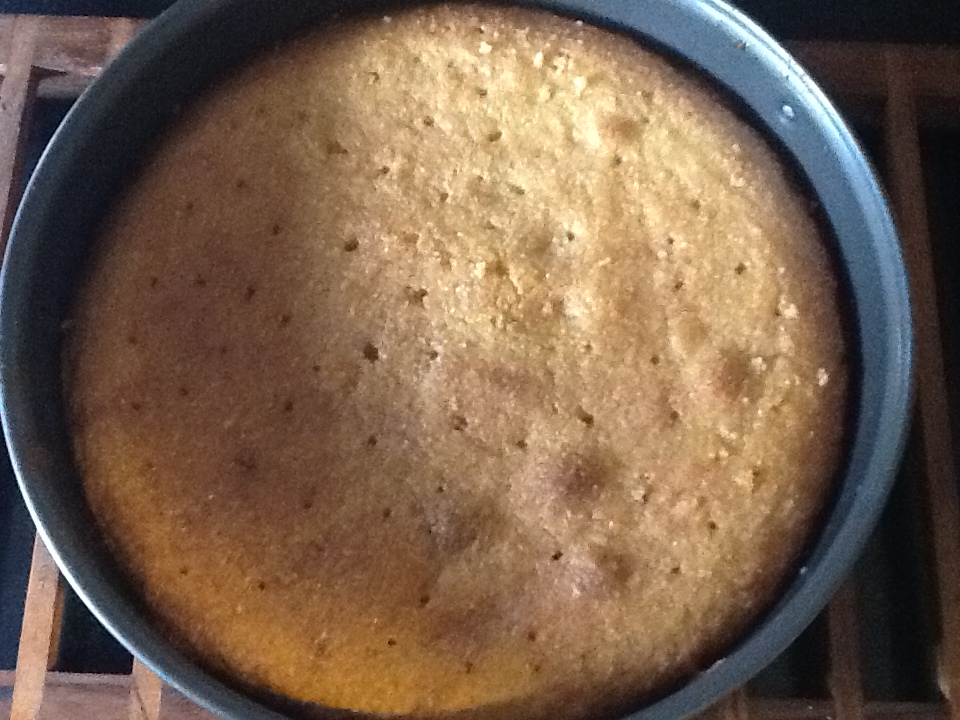
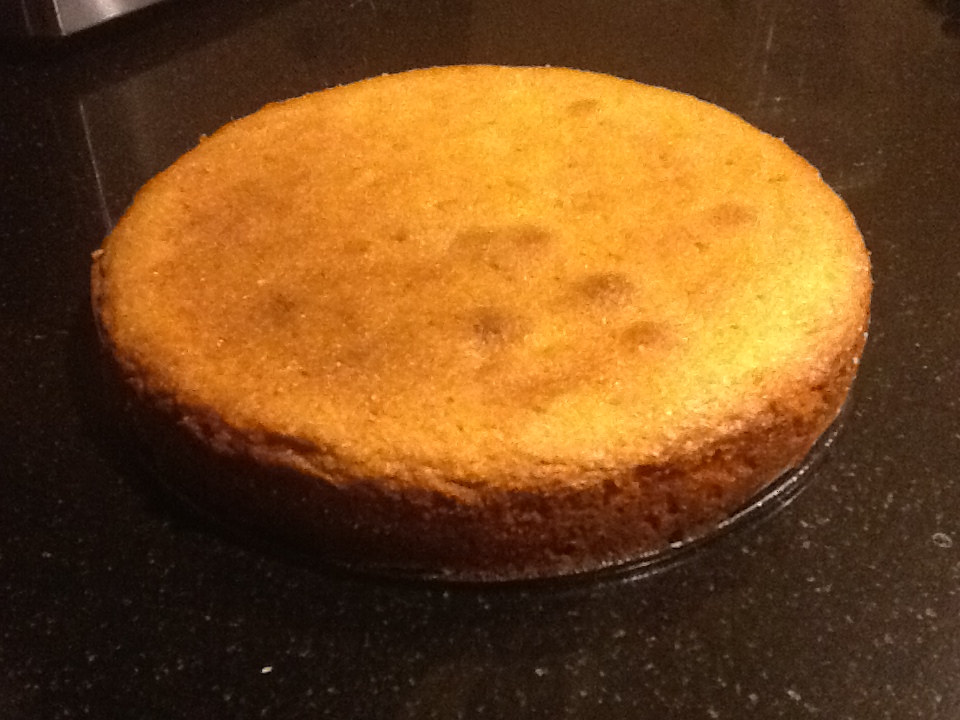
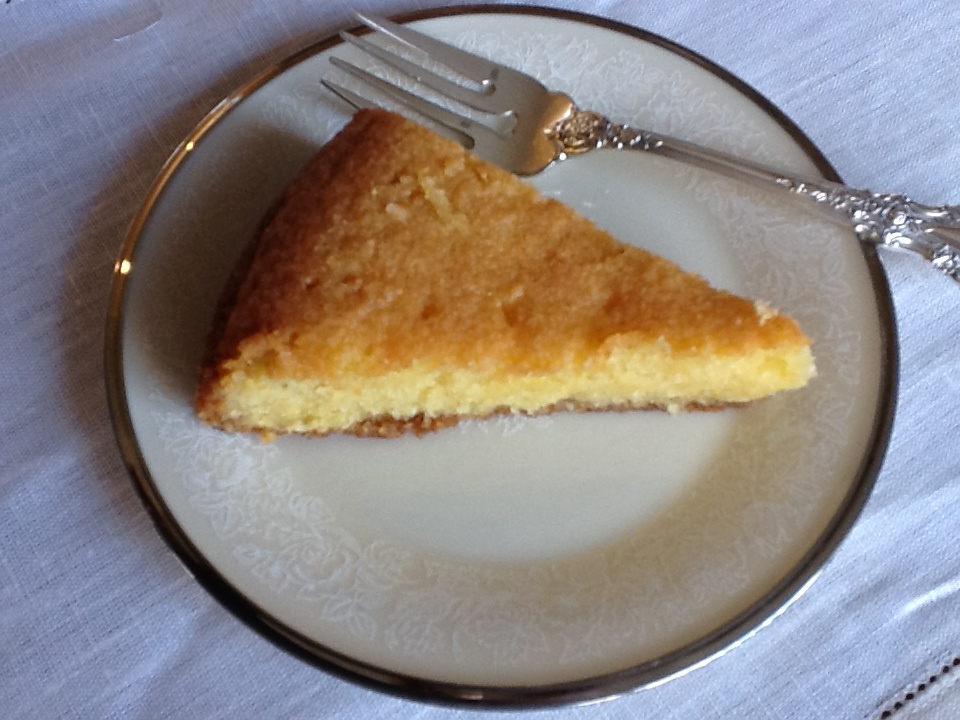
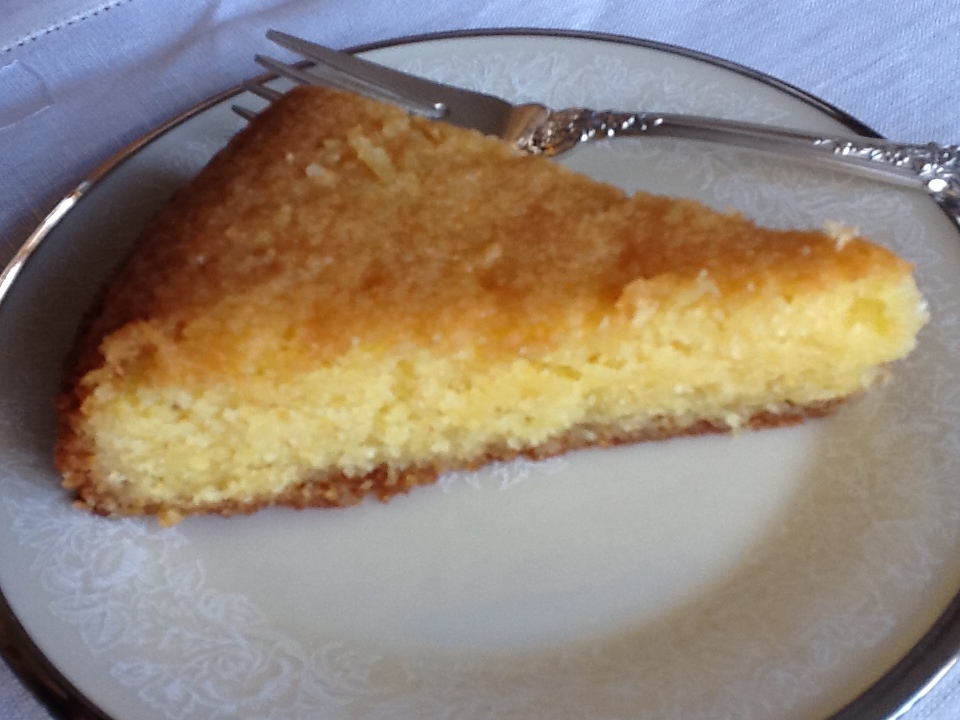
This may be Nigella Lawson’s Lemon Polenta Cake recipe, but the memories that it evokes for me are those of long ago, at Sunday family dinners.  Several months ago my sister made this cake for a family Sunday dinner, and the moment I tasted it, I knew I had eaten this cake before, but I wasn’t quite sure where or when.  The taste haunted me. Each bite brought me closer and closer to realizing the occasion where I might have tasted this nutty, citrusy sweetness.  And then it hit me.  On occasion, my grandmother would bake a cake similar to this, although not exactly the same.  To the best of my recollection, her cake was not as sweet.  I don’t think she added the final touch of the confectioners sugar/lemon syrup.  I wondered if my sister had my grandmother’s recipe, but was greatly surprised when she told me she got it off Nigella Lawson’s website.  I loved this cake then, and I love it now. I especially love the feeling that it arouses in me as I delight in it’s very distinctive taste and texture.  It’s no wonder that it’s unforgettable.

RECIPE:   You will need a 9 inch springform pan.

CAKE:

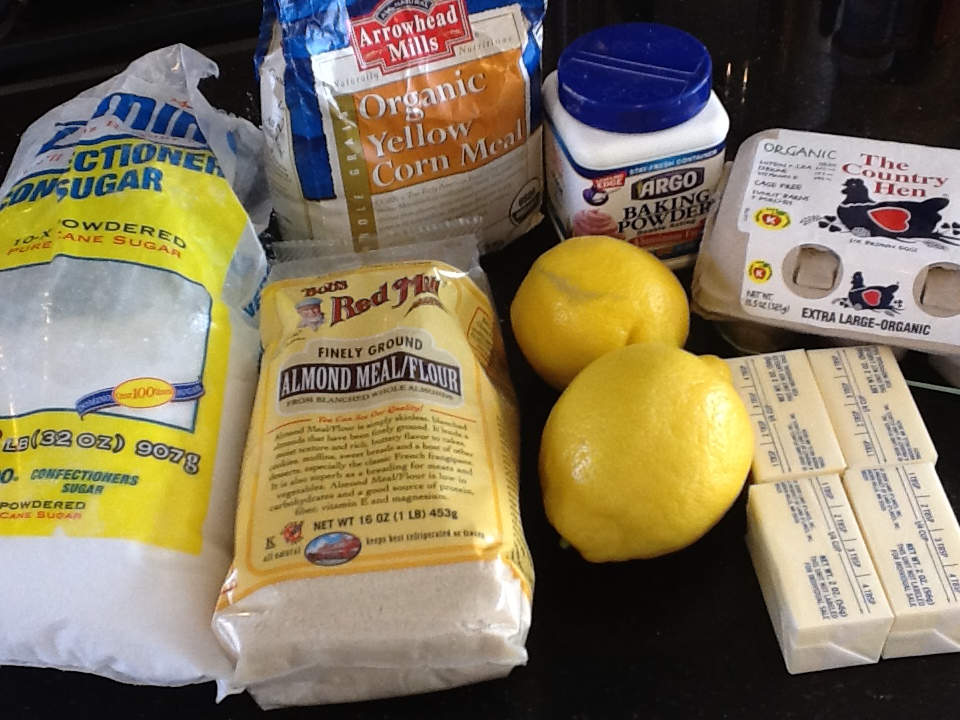
1 3/4 stick  (14 TBSP) soft unsalted butter

1 cup superfine sugar

2 cups almond meal/flour

3/4 cup fine polenta (cornmeal)

1 1/2 tsps. baking powder

3 eggs

Zest of 2 lemons ( save the lemons to juice for the cake)

SYRUP:

Juice of 2 lemons

1 heaping cup of confectioners sugar

1.  Line the base of your pan with parchment paper and grease it’s sides lightly with butter.

2.  Preheat oven to 350 degrees.

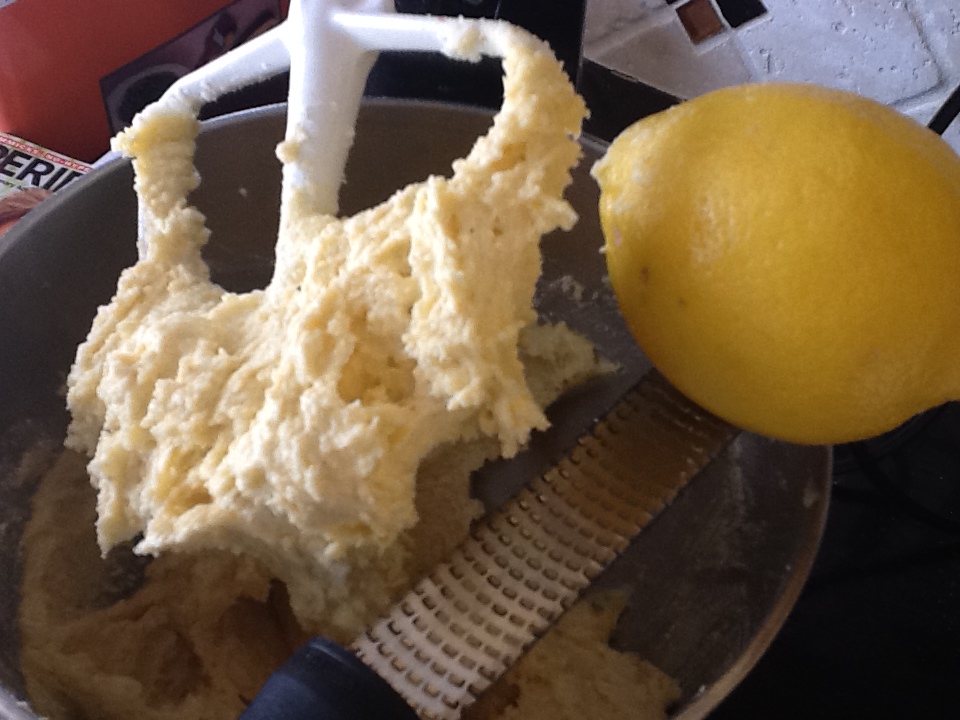
3.  Beat the butter and sugar until whipped.

4.  Mix together the almond meal, polenta and baking powder.

5.  Beat some of the dry mixture into the butter-sugar mixture, followed by 1 egg, then alternate dry ingredients and eggs, beating all the while.

6.  Finally, beat in the lemon zest.

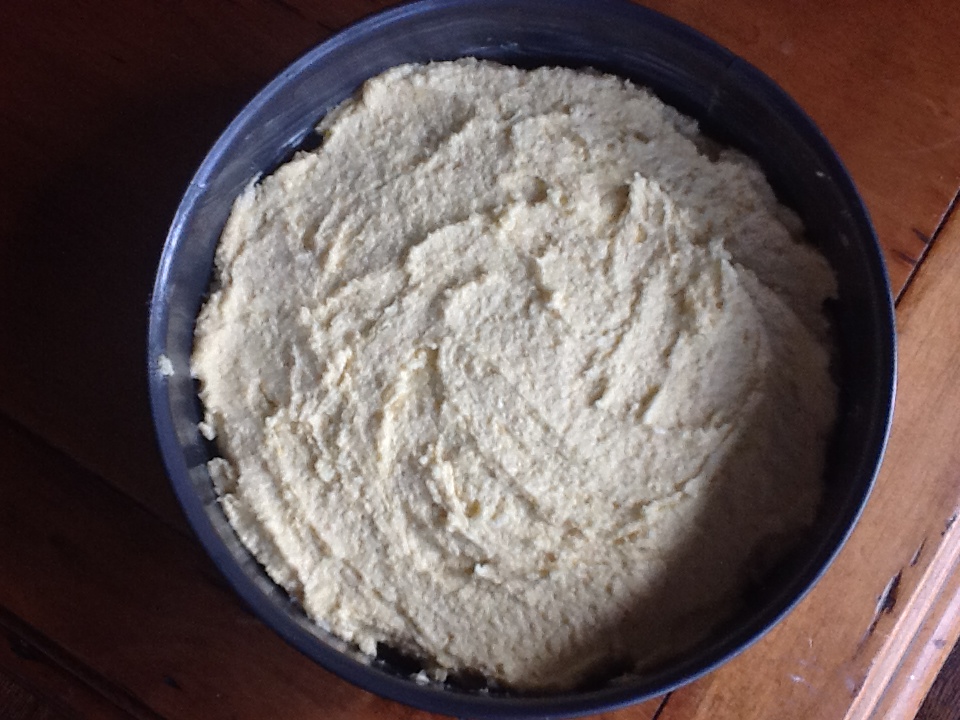
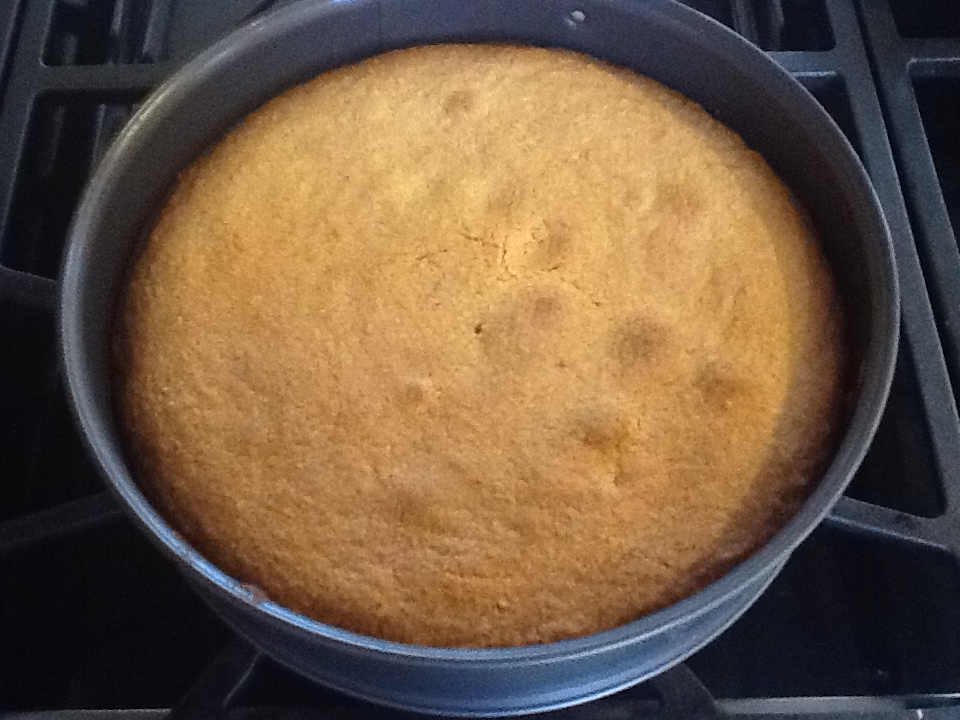
7.  Pour, spoon or scrape the mixture into your prepared pan and bake in the oven for about 40 minutes.  Use a cake taster (toothpick will do) to make sure it is cooked through.  Remove from the oven and cool on wire rack, but leave it in the pan to cool.

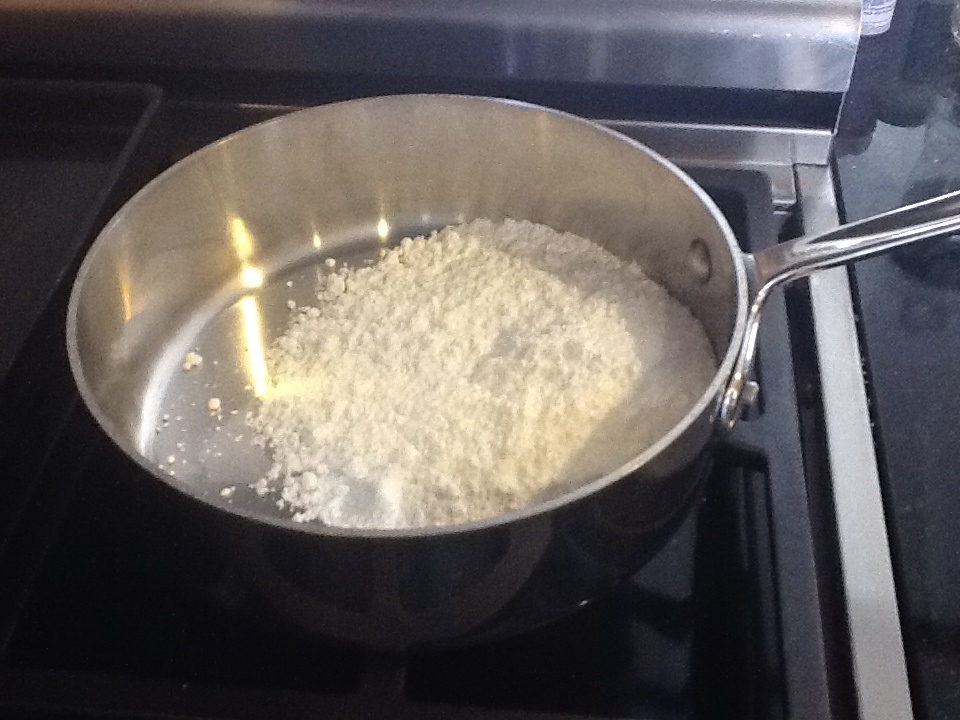
8.  Make the syrup by boiling together the lemon juice and the confectioners sugar in a smallish saucepan.  Once the confectioners sugar has dissolved into the juice, the syrup is done.  Remove from the heat.

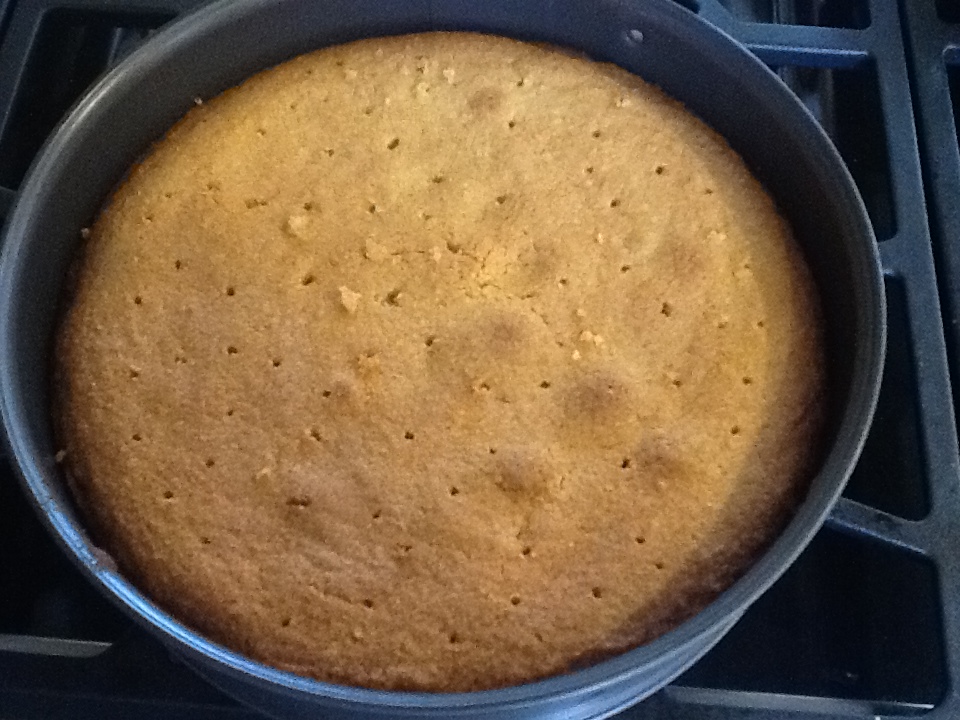
9.  Prick the top of the cake all over with a cake tester (or toothpick) and pour the warm syrup over the cake.  Leave it to cool before taking it out of the pan.
ImageImageImageImageImageImageImageImageImageImageImage

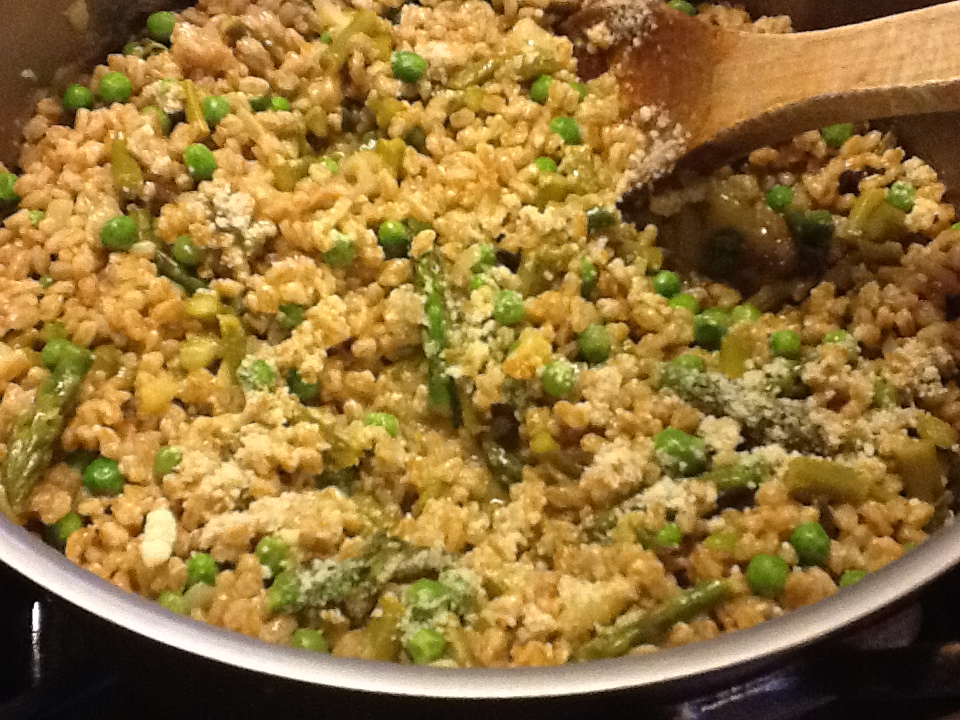
Farrotto with Asparagus and Peas

Image

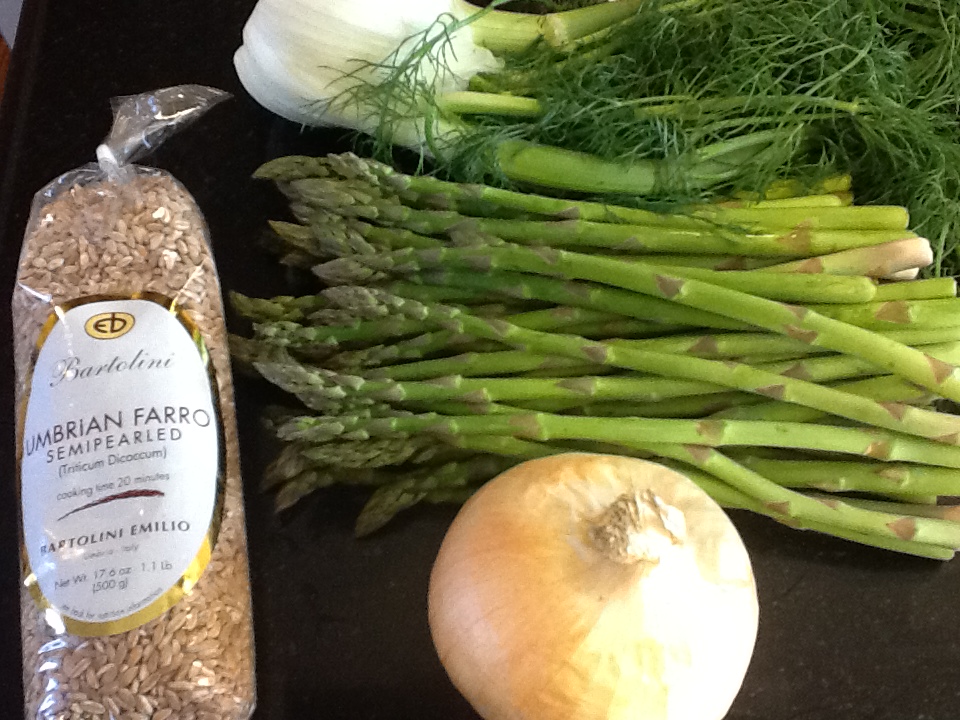
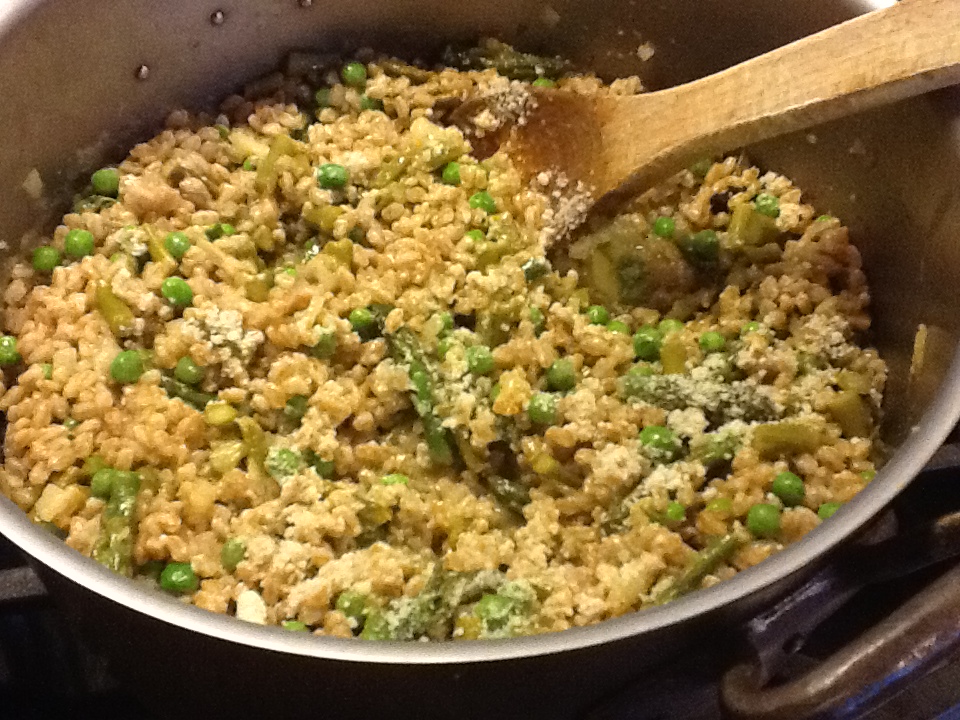
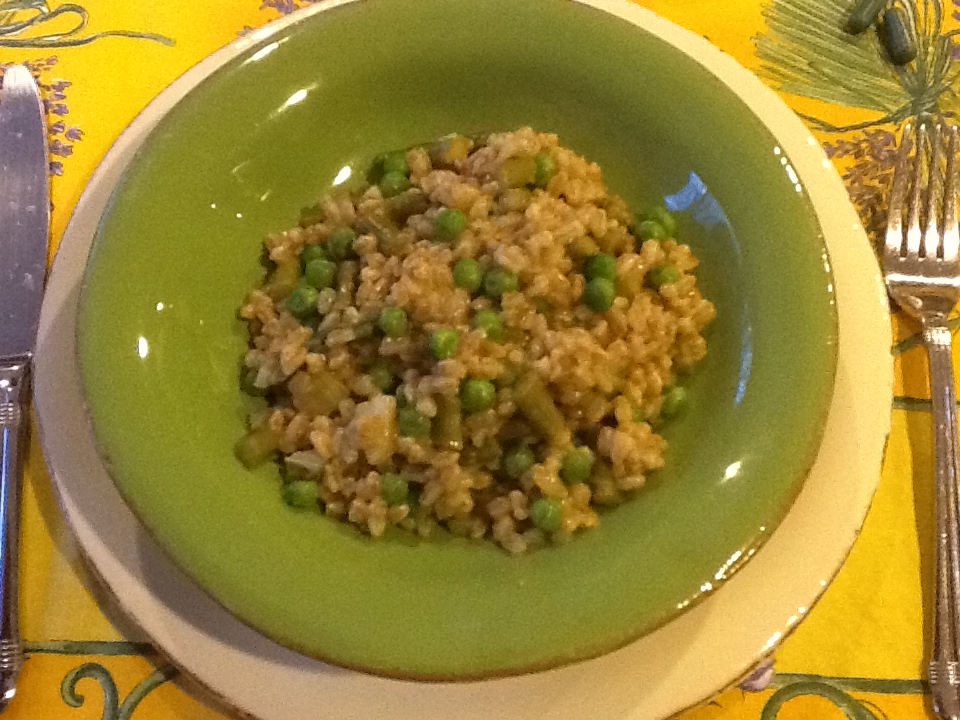
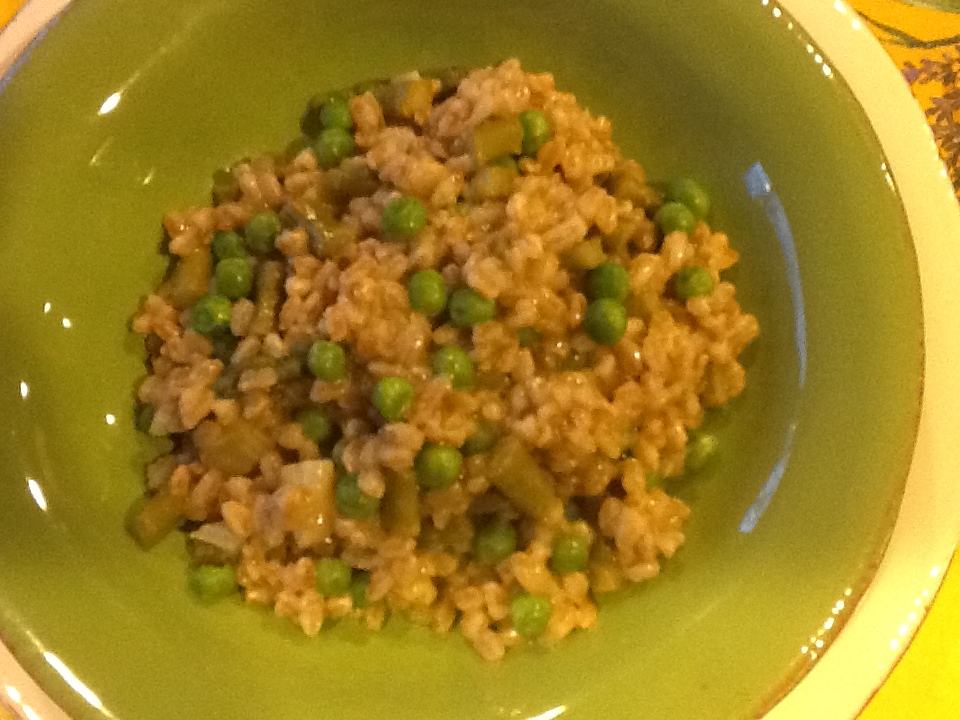
Are you wondering what “farrotto” is?  I’m not sure if this is a correct culinary term, but this is what I call risotto made with farro instead of rice.  I certainly don’t want to take credit for this term, as I’m sure I saw it on a menu somewhere.  I’m just not that clever!  But whatever you want to call this, I’m sure you’ll love it’s crunch, and slightly nutty taste.  It’s much more flavorful than rice, and  much easier to cook than risotto.  You don’t have to stand over the pot, stirring and adding ladles full of broth. It’s also healthier for you than rice as it is a grain, an ancient grain at that.  Italians claim that it’s the original grain from which all others derive.  Of course they do!  When you purchase farro (which is easy to do nowadays), make sure the package says “Triticum dicoccum,” which is farro’s Latin name.  Otherwise it might be a similar grain, such as spelt or barley, and you will find it cooks differently and will be somewhat mushy….not firm to the bite like farro.  They will work, but be careful not to make it mushy.

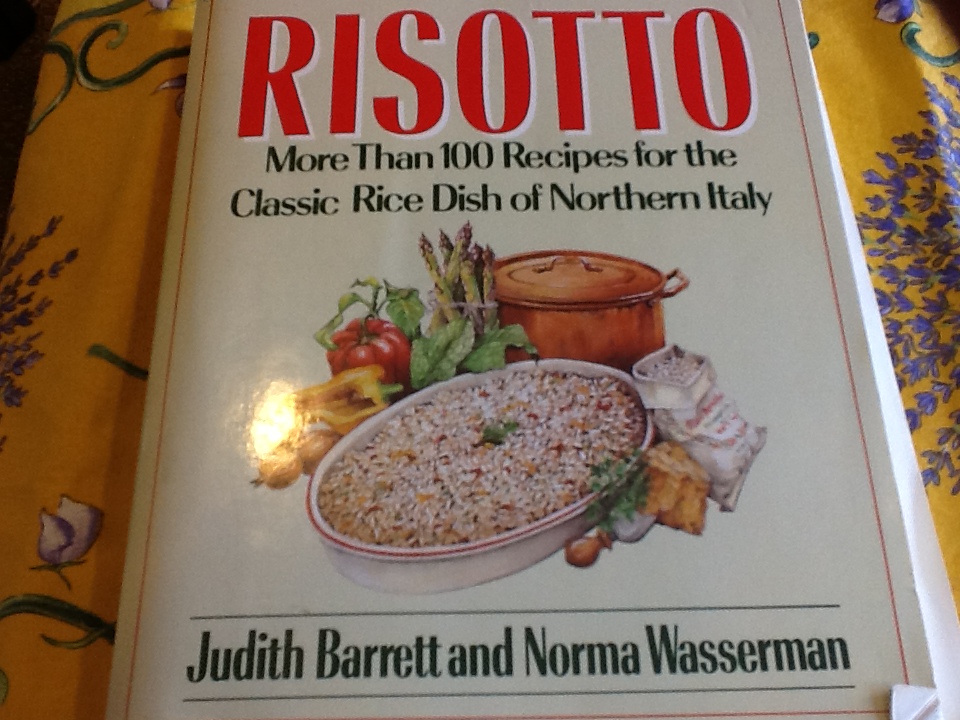
I do still love risotto, made with arborio or carnaroli rice, but I find myself using farro more and more.  I have a favorite risotto cookbook by Judith Barrett and Norma Wasserman.  My sister gave me this cookbook many years (decades) ago, and I would bet I’ve made almost every recipe in it.  One of my favorites is with asparagus, especially in the spring when they’re in season.  I sometimes change it a bit by adding peas and using fennel in the soffritto.  All you have to do is use farro instead of the rice, and wallah, you have farrotto.  I think it’s a nice change.  I hope you do too.  I’d love to know what you think.

RECIPE:  serves 4

BRODO

5 cups vegetable broth, approximately, you might need more

1/2 cup dry white wine

SOFFRITTO  

2 TBSP unsalted butter

1 TBSP olive oil

1/3 cup finely minced onion

1/2 cup chopped fennel (optional, but not really, you’ll love it!)

RISO

1 1/2 cups farro

CONDIMENTI

1 pound  (can be a bit more) fresh asparagus, washed, cut into 1-inch pieces, tough bottom parts discarded and tips reserved separately.

1 cup frozen peas ( or fresh)

1 TBSP unsalted butter

1/3 cup grated Parmesan cheese

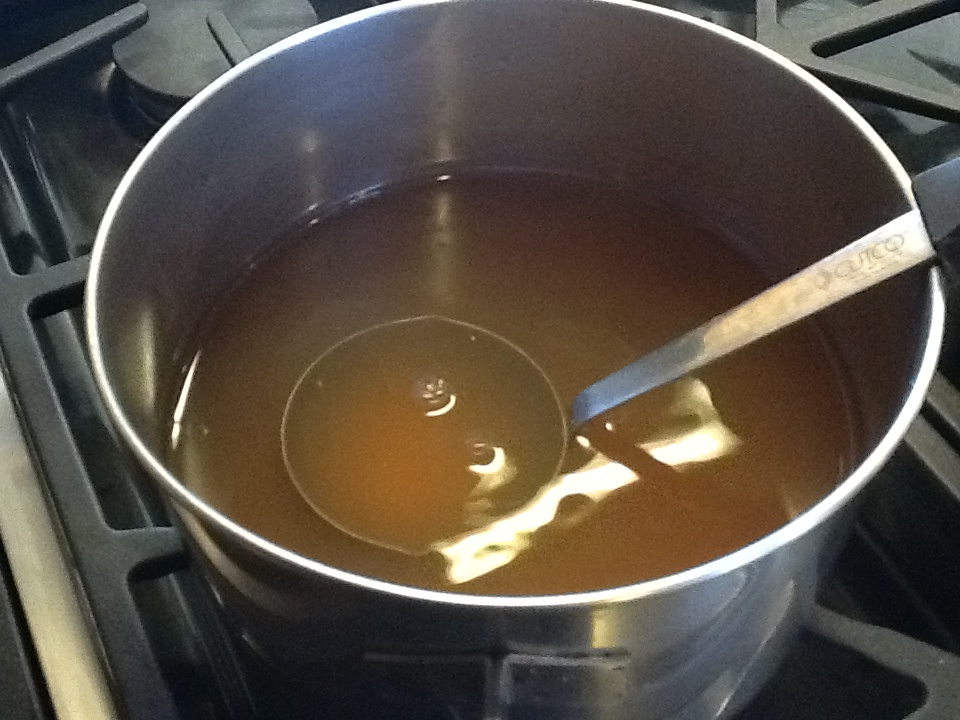
1. BRODO:  Bring the broth to a steady simmer in a saucepan on top of the stove.

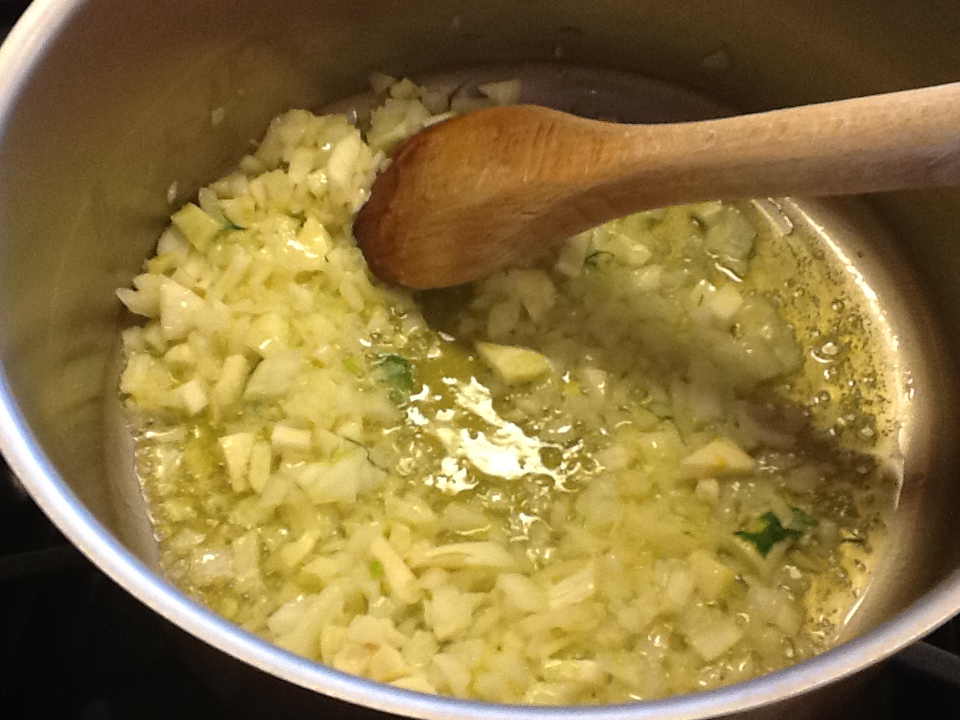
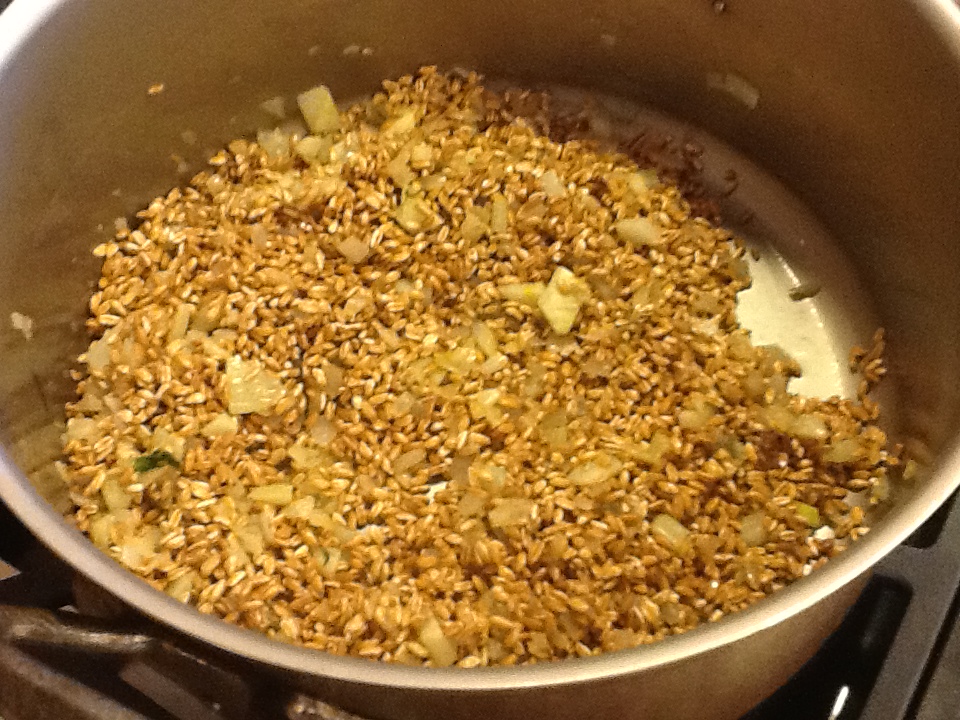
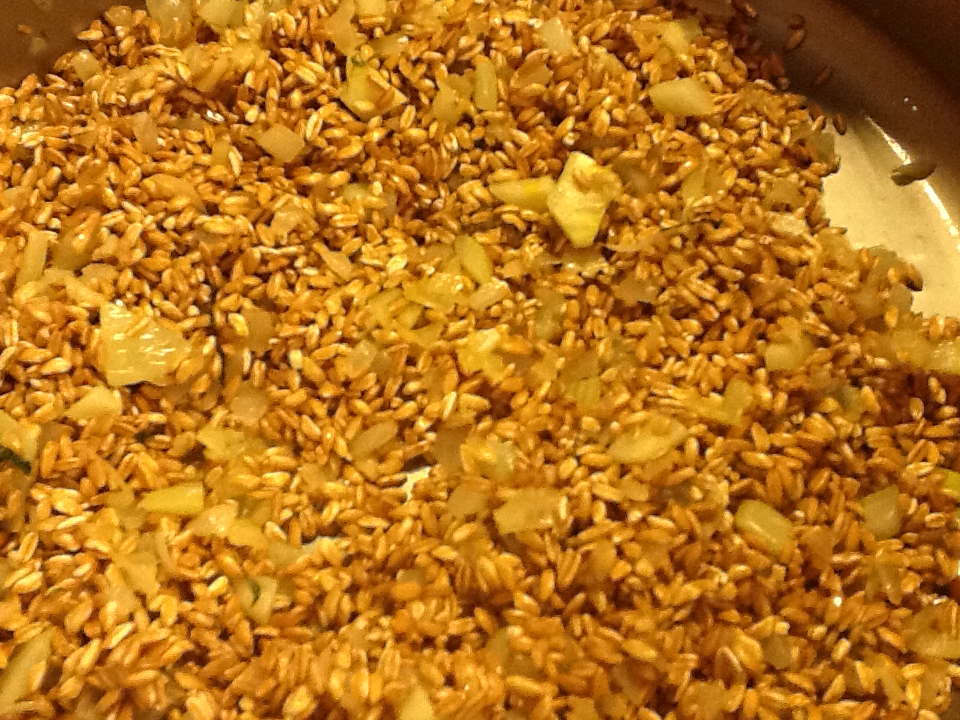
2. SOFFRITTO:  Heat the butter and oil in a heavy 4 quart pot over moderate heat.  Add the onion (and fennel) and sauté for 2 to 3 minutes, until it begins to soften, being careful not to brown it.

3. RISO:  Add the farro to the soffritto; using a wooden spoon; stir for 1 minute, making sure all the grains are well coated.  Add the wine and stir until completely absorbed.

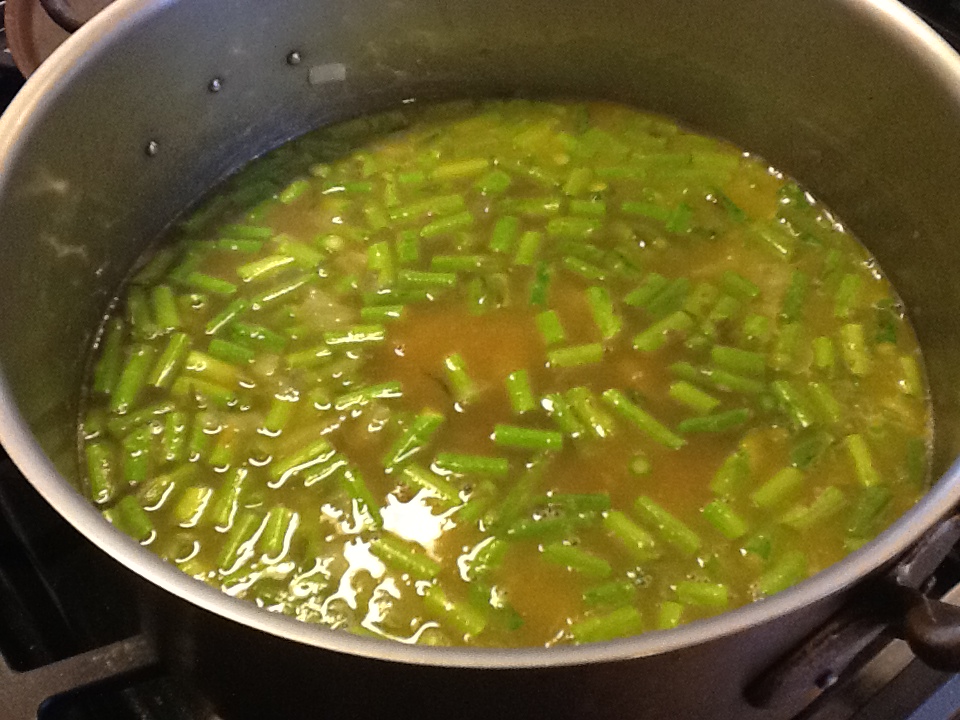
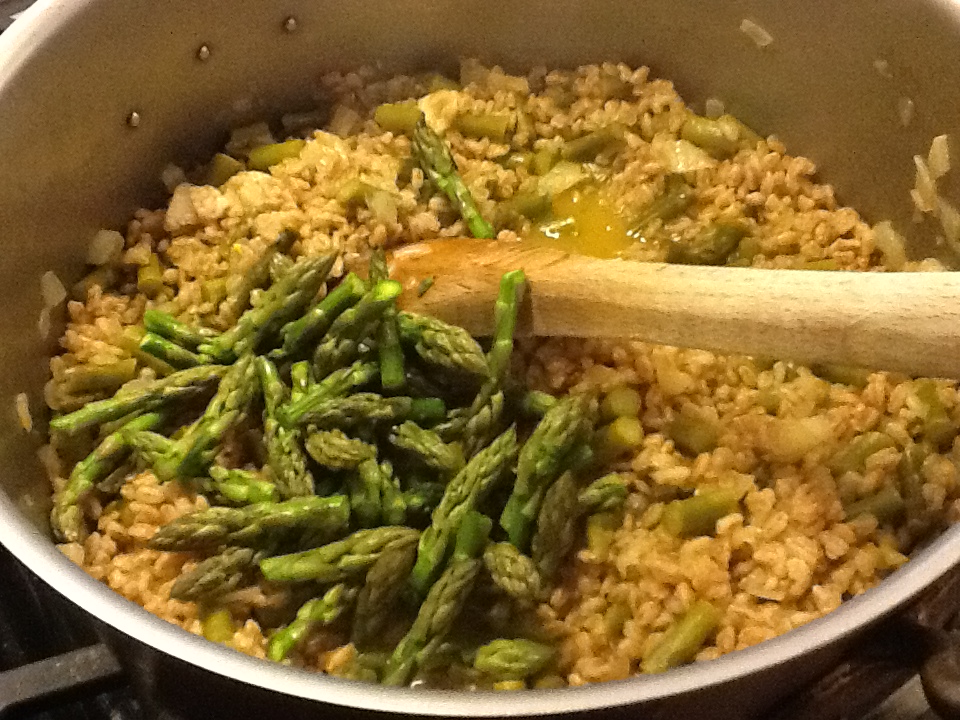
4.  CONDIMENTI:  Add the asparagus ( and peas if using fresh), reserving the asparagus tips, and add two ladles of the simmering broth.  Stir well for several minutes.  Now add the rest of the broth, reserving 1/2 cup for later.  Cover and let it cook until liquid is just about absorbed.  You do have to keep checking, but this should take about 15 minutes.**  Now add the asparagus tips and frozen peas, if using frozen, and the remainder of the broth.  Cover for a few minutes, then stir, uncovered, until liquid is absorbed.  Turn off the heat and add the butter and parmesan.  Stir well.

**NOTE:  You have to be the judge of the cooking time.  By this I mean, that if all the liquid is absorbed, and it is still too crunchy for you, just add more liquid and keep cooking it until desired texture.

ImageImageImageImageImageImageImageImageImageImageImageImageImageImageImage

Pizza Rustica (Rustic Torte)

Image

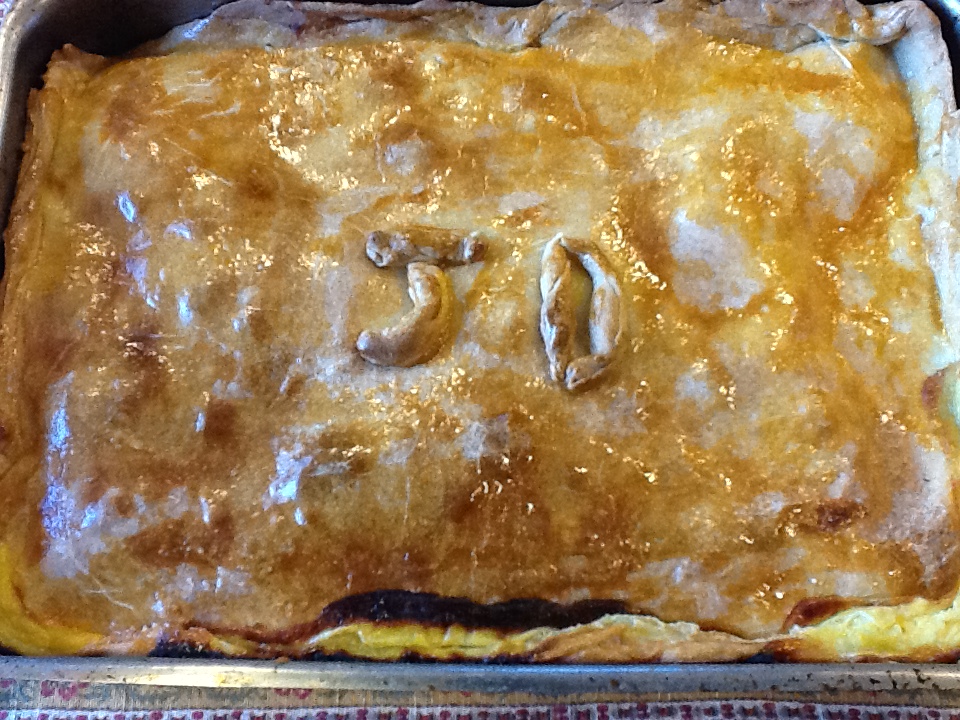
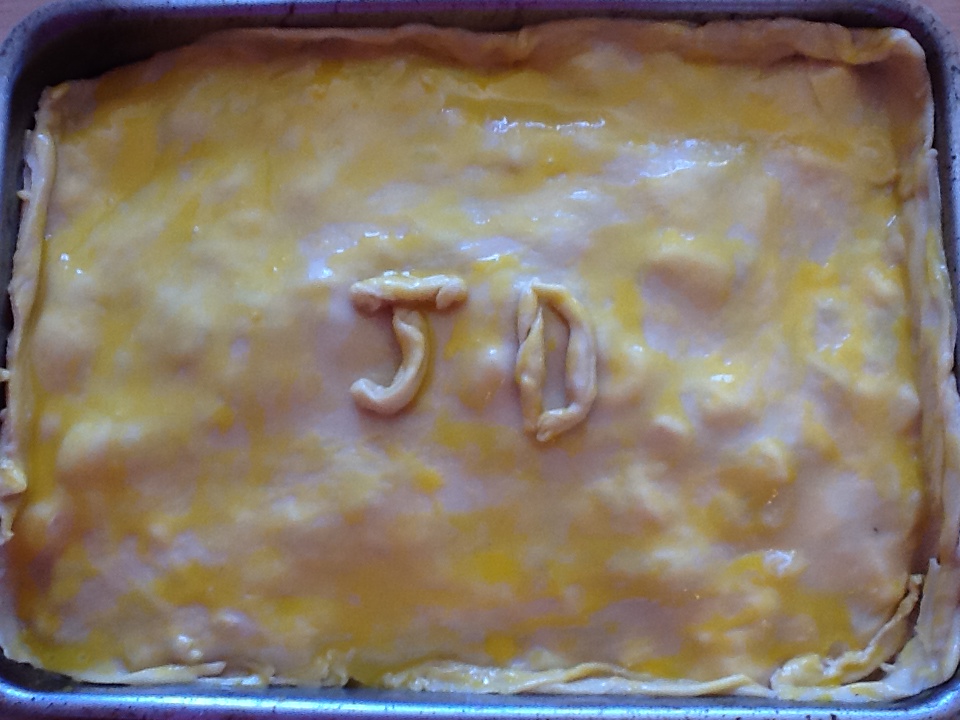
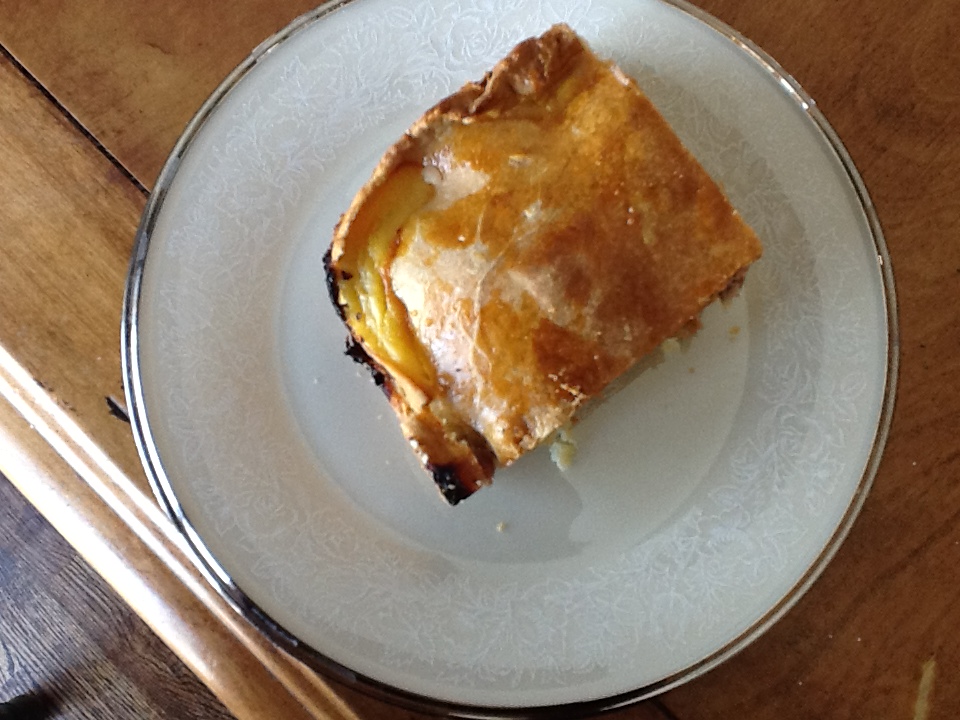
I have to admit that I’ve been obsessed for years over finding the perfect recipe for, what my family calls, “Pizza Rustica.”  This is a very traditional Easter dish for Italian families, but it seems that every family makes it differently, and every family has a different name for it.  Personally, I call it an Italian Quiche Lorraine.  Actually, it’s a quiche on steroids.  The amount of ingredients that go into the filling is amazingly abundant.  It’s very rich, but oh, so delicious!  Over the years, I’ve tried many different recipes and tasted many versions of this torte, and they all were delicious, but I always come back to the way my family ( on my mother’s side) made it for many generations.  While my grandmother on my father’s side was alive, we ate her version (also sensational) every Easter, but after her death, at 103 years old, my mom started making it the way her mother taught her.  Over the years, she must have forgotten how to make it, as I found many recipes in her files with the names of several women in her family on them.  What she did remember, however, were the traditions that went along with this dish. She said that her mother always kept aside a little bit of dough to form my grandfather’s initials on top of the pie.  My mom does the same with my dad’s initials, JD.  She said they always made this on Holy Thursday or Good Friday, but had to wait until after midnight on Good Friday (Holy Saturday) to break the Lenten Fast.  My cousins and I recently visited the house where my mom and her six siblings grew up in Brooklyn.  I can now picture these seven children salivating over this torte, and waiting patiently until Holy Saturday to dig in.  My mom, at 93, still tells this story with a sweet, reminiscent smile, as if it were yesterday,  A psychologist once told me that, “the greatest gift you can give your children is tradition.”  I’m beginning to think she was right.

I hope you enjoy this version of Pizza Rustica… or whatever your family might call it.

RECIPE:

*You’ll need a heavy 9 by 13 baking dish.  This doesn’t have to be exact, just as the ingredients don’t really have to be exact either.  “Rustica” means rustic, obviously, but what it really means is “unsophisticated”…..anything goes.  It will taste delicious no matter what you do!

For the Dough:

4 cups flour

2 eggs and 1 yolk

1/2 cup cold water

1 1/2 baking powder

1 tsp. salt

1/2 cup vegetable oil

For the Filling:

1 1/2 lbs ricotta

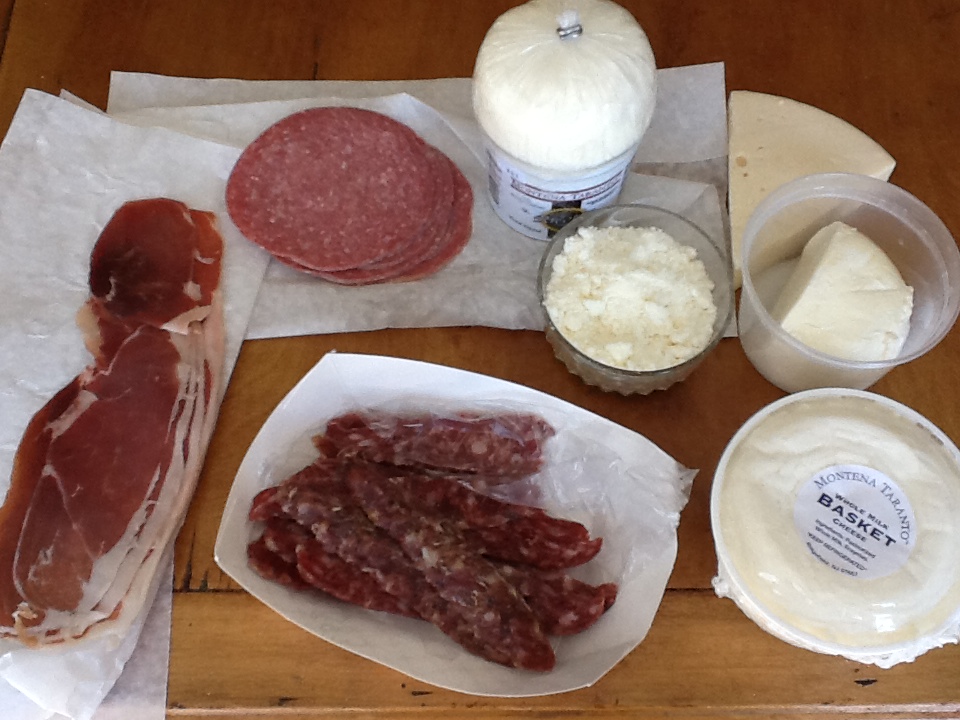
1 lb fresh farmers cheese (in basket)…sometimes called basket cheese, cut in small chunks

1/2 lb. mozzarella cheese, cut in small chunks

1/2 lb provolone, cut in small chunks

1 cup grated Romano cheese

1/2 lb. dry Italian sausage, cut into small pieces

1/4 lb sliced salami, cut into small pieces

1/4 lb. prosciuto, cut into small pieces

8 large eggs, plus 2 yolks for the egg wash at the end

Black pepper to taste

1.  Combine all the ingredients for the dough in either a Cuisinart or Kitchen Aid Mixer, using the dough hook for either.  You can do this by hand by making a well with the dry ingredients and putting the wet ingredients in the well, and slowly incorporating them until you have a moist dough.  If my mom is with me, I do the latter.  If not, it’s the Kitchen Aid for me!

2.  Mix until all ingredients are combined well, and a moist ball of dough forms.  Add a little more water if needed.

3.  Put on a lightly floured pastry board, and form into a ball.  cover with plastic wrap, and let it sit for 20 minutes or so.  Don’t ask me why…I’m just doing what my mother told me!

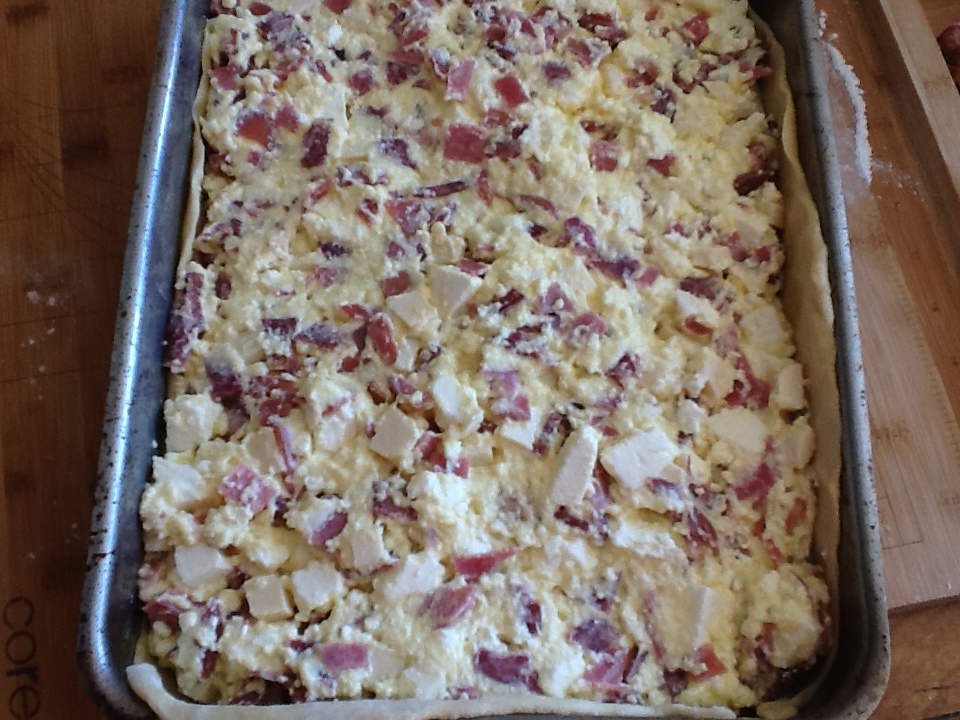
4.  Meanwhile, beat the eggs in a large bowl.  Add all the other ingredients for the filling and mix everything very well.

5.  Cut the dough into 2/3 and 1/3 pieces ( save a little for initials, if you like).  Roll out the larger piece for the bottom of the pan, and up the sides as much as possible.

6.  Pour the filling into the pan.

7.  Roll out the other piece and place on top.  Close off the dough on the sides to seal in the filling.  Add the initials if desired.

8.  Brush the entire top (including sides and initials) with the beaten egg yolks.

9.  Put in preheated 375 degree oven for an hour and a half, but definitely check after 1 hour.  You might want to lower the heat to 350 at this point, or it might even be just about done.  You want it to be a dark golden brown.

10.  Let it come to room temperature before serving, but leftovers are great warmed up.

ImageImageImageImageImageImageImageImageImage

ImageImageImageImageImage

pizza rustica recipes

Spaghetti with Arugula

Image


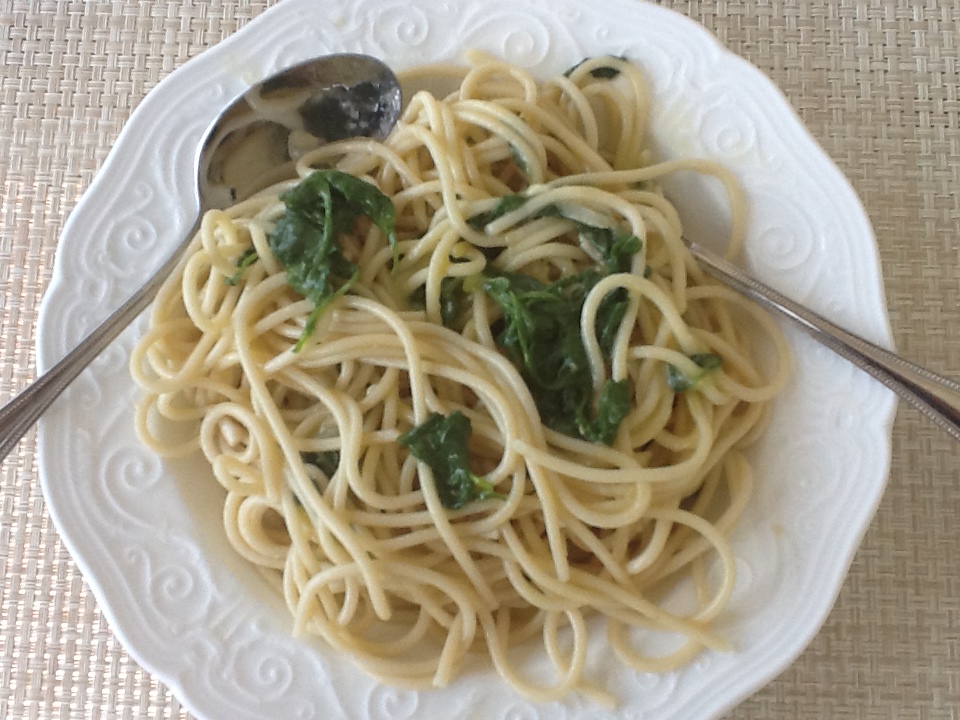
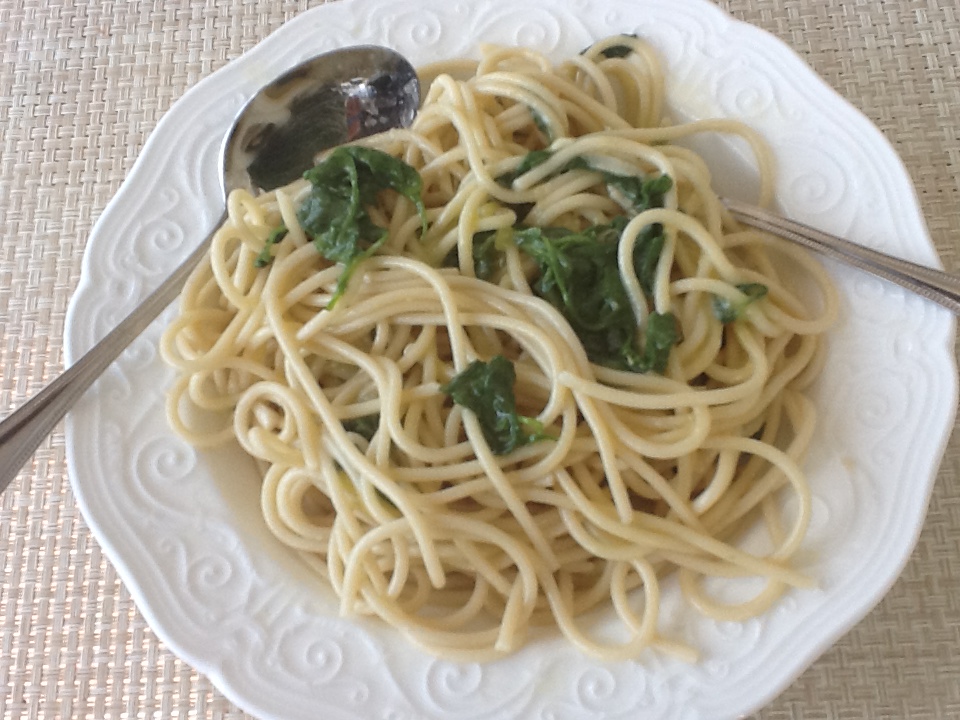
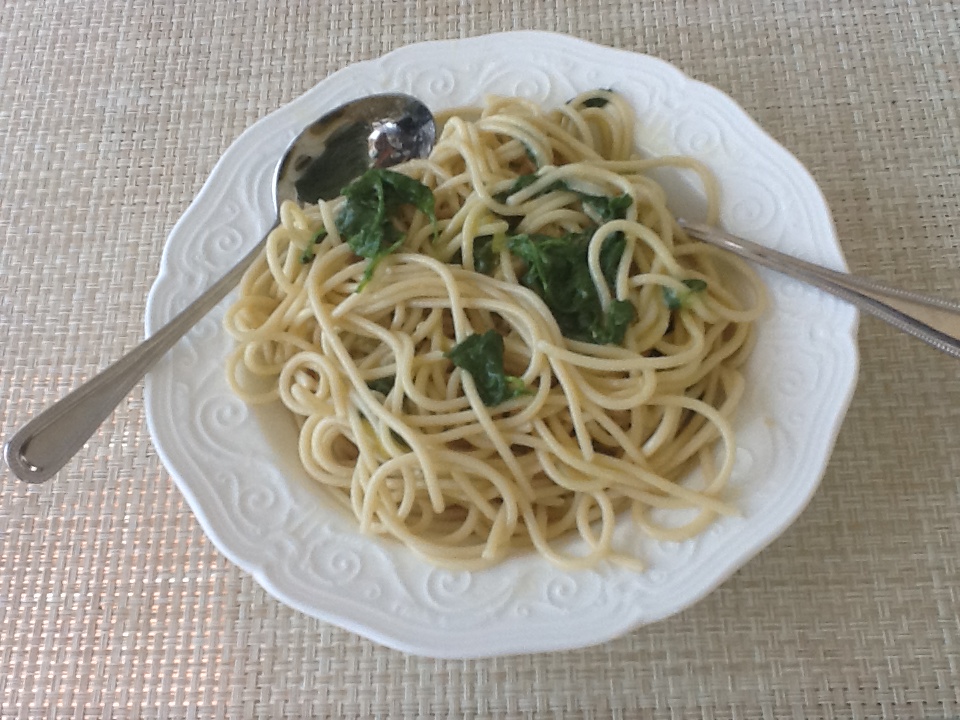
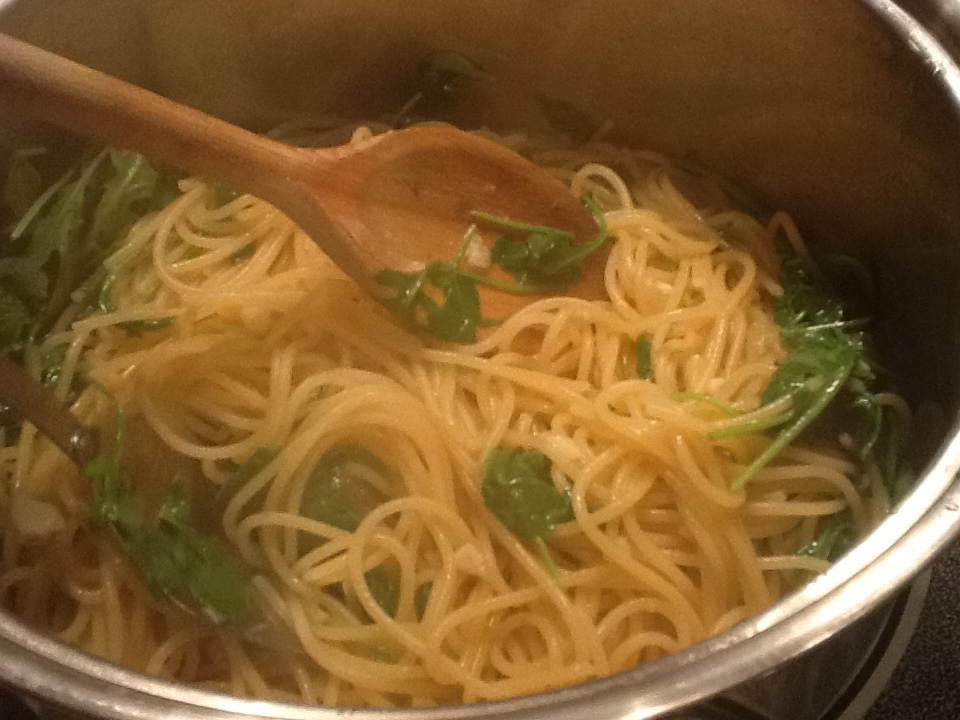
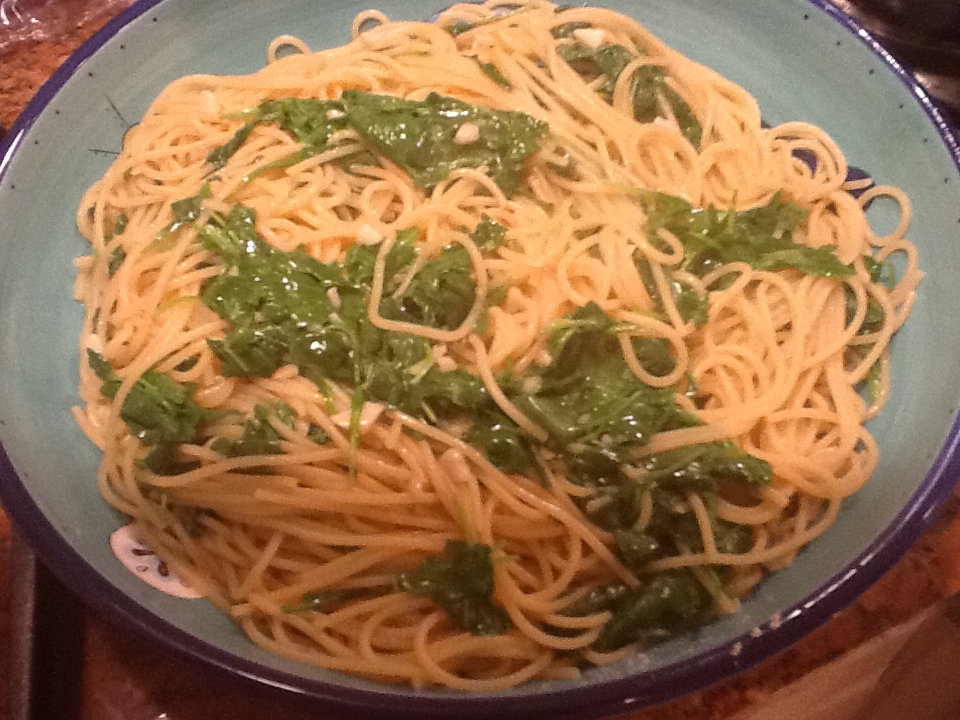
This is a very simple, light dish, but full of flavor.  The peppery taste of arugula, combined with garlic, oil and a little broth, makes each mouthful burst with fresh goodness and intensity.   Who thinks of these combinations?  And how many ways are there to make pasta with vegetables?  In the late 1980s, I met a woman, soon to become a wonderful friend, who had so many recipes for pasta with different vegetables, it was hard to keep up.  “You’ve got to try this…” she would say at least twice a week.  And try I would, and each recipe was better than the next.  She was always on a diet and claimed the recipes were dietetic, but now I know better. They’re dietetic if you eat a small bowl, and really heap on the vegetables.  With this particular recipe, you’ll want to keep eating because it’s so very light and flavorful.  This could be my favorite of her “dietetic pastas with vegetable,” since it really does taste like you’re eating something truly good for you.  I’ve been able to fool myself for all the years.  I hope you’ll be able to do the same.


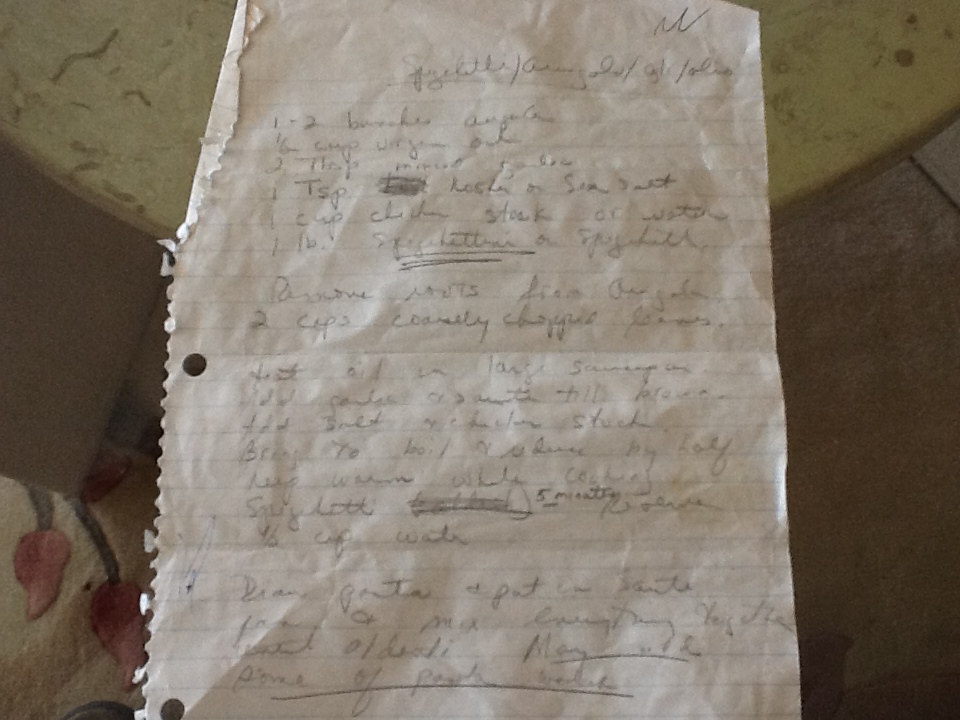
RECIPE:

1 pound spaghetti

1 to 2 bunches of arugula

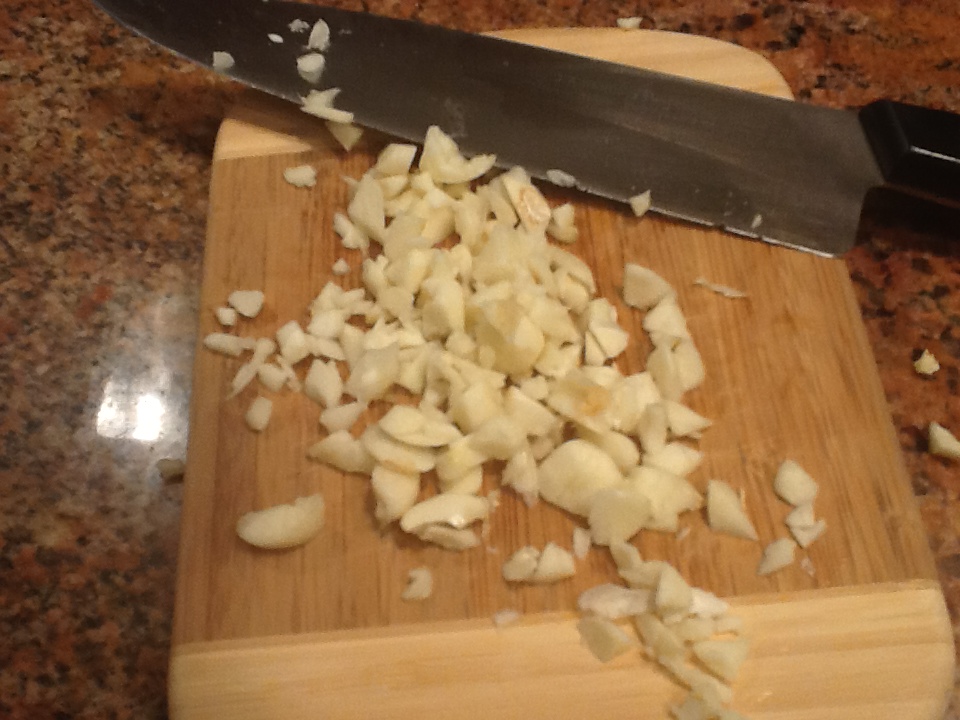
2 TBSP minced garlic

1 tsp. Kosher salt or Sea salt

1 cup chicken (or vegetable) broth

1.  Put up a large pot of water to boil for the pasta.

2.  Discard stems from arugula, and coarsely chop. ( I like large pieces of arugula.)

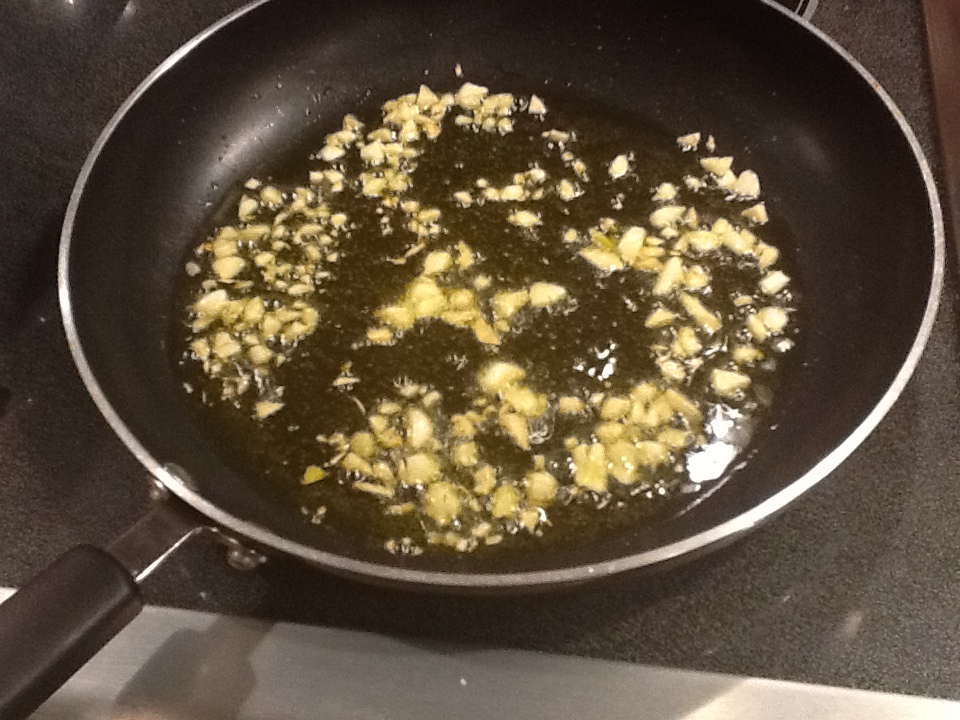
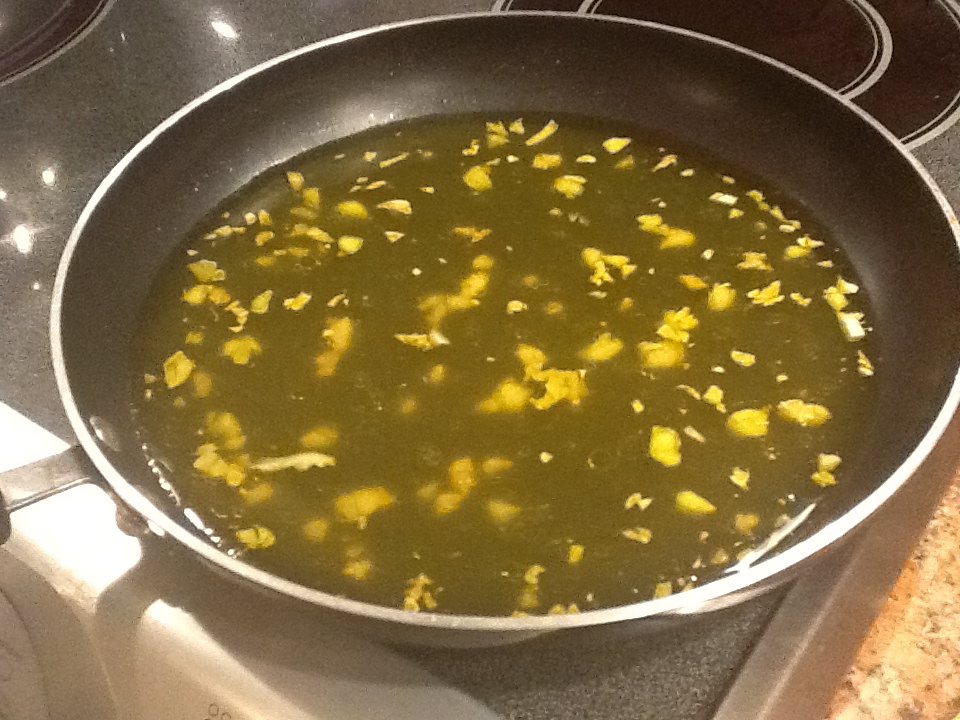
3.  Heat oil in large saucepan or fry pan.  Add garlic and sauté until lightly browned, but be careful not to brown it too much.

4.  Add salt and stock.  Bring to a boil and reduce by half.  Keep warm while cooking the spaghetti, saving 1/2 cup of pasta water.

5.  Drain pasta (al dente, please)  and put in the pan with the other ingredients.  Add the arugula and mix it all together, adding the reserved pasta water if need to moisten.

6.  Serve with grated Parmesan or Pecorino cheeses.


ImageImageImageImageImageImageImageImage


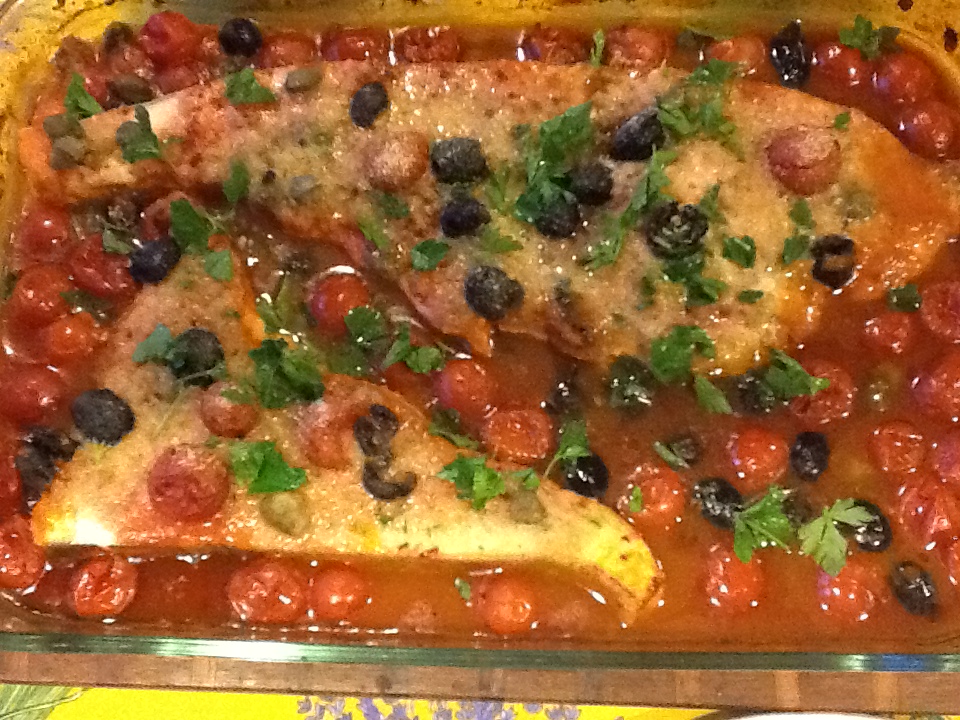
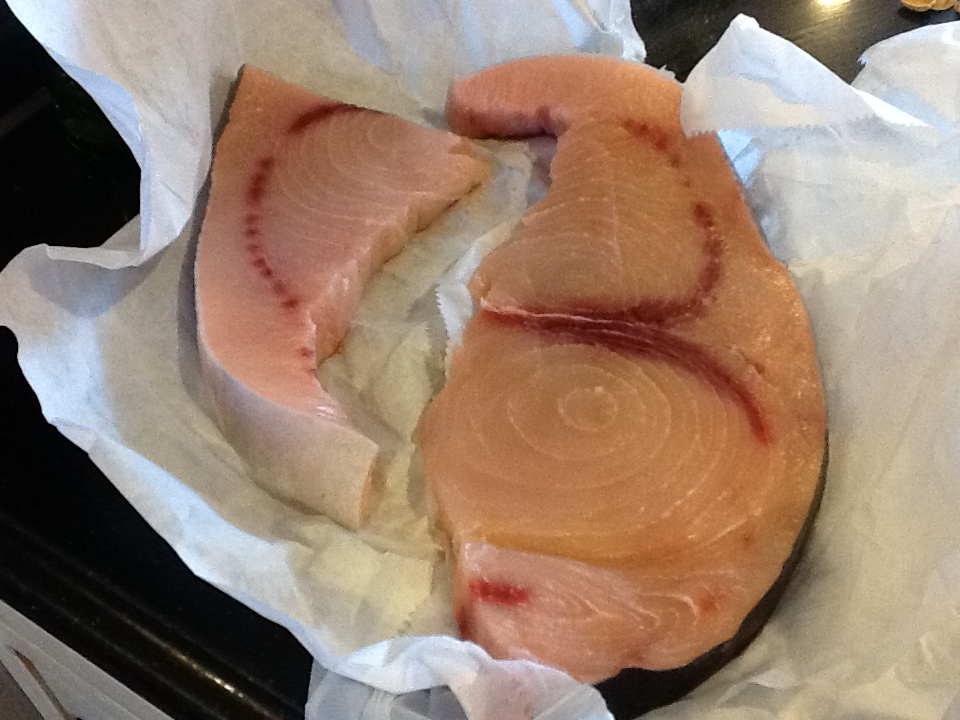
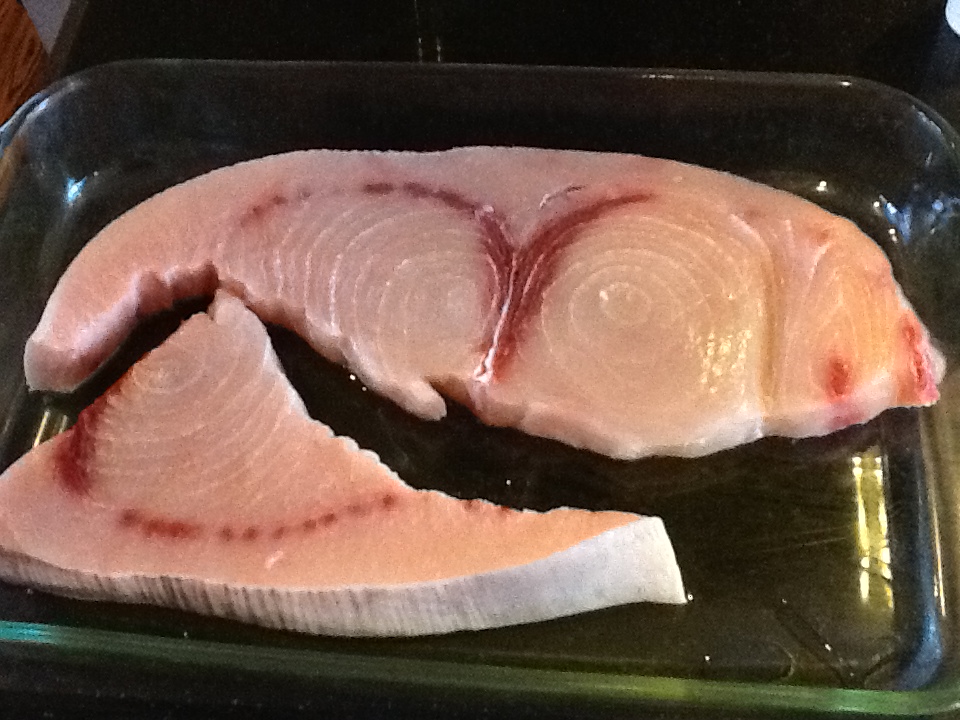
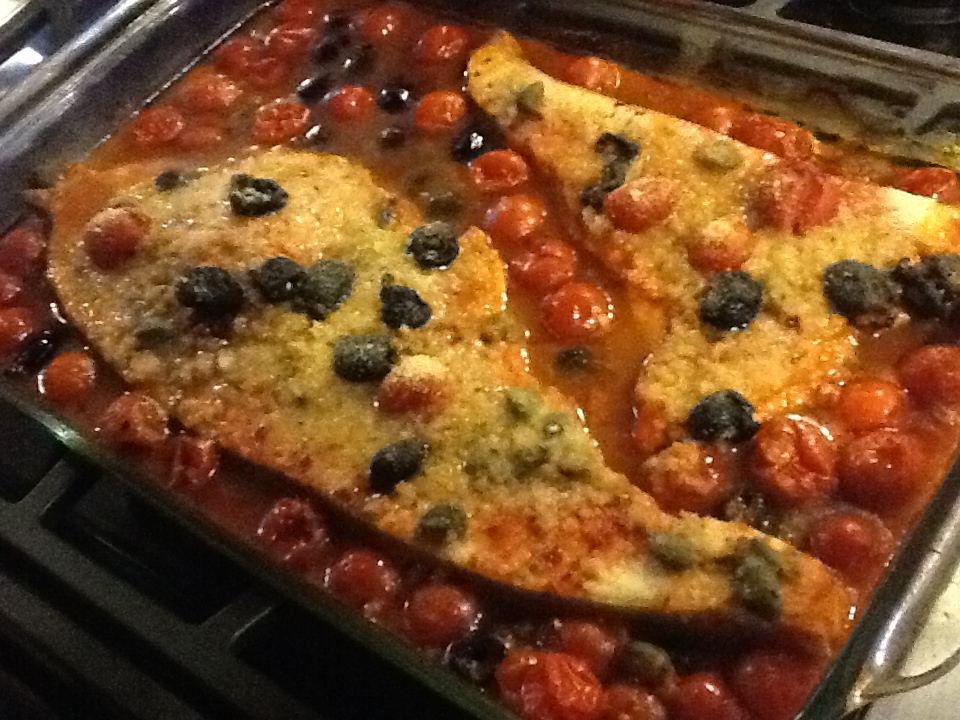
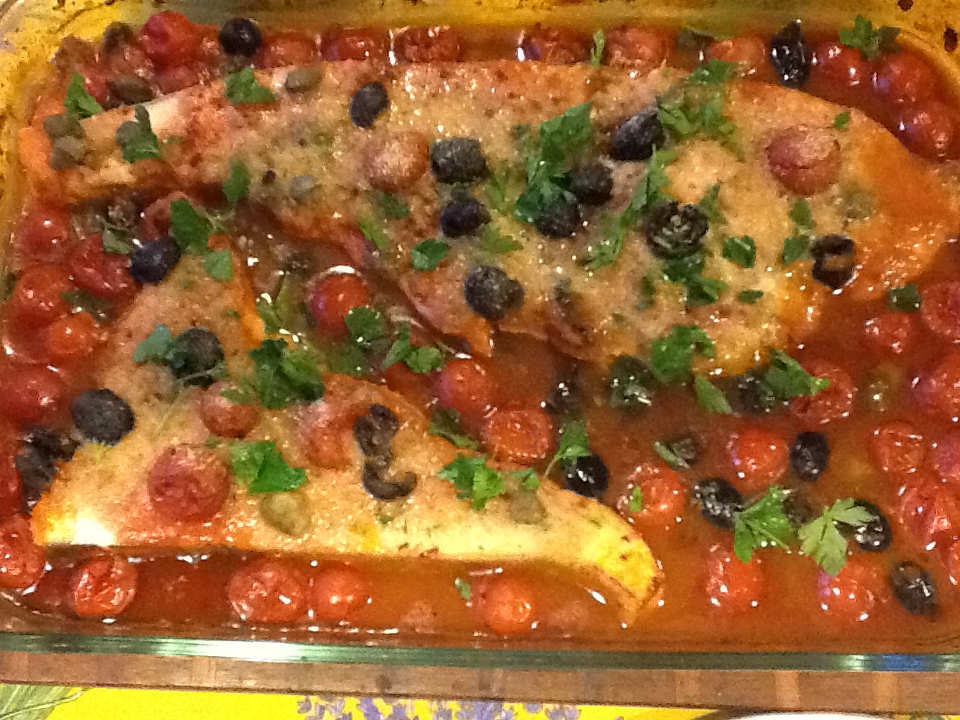
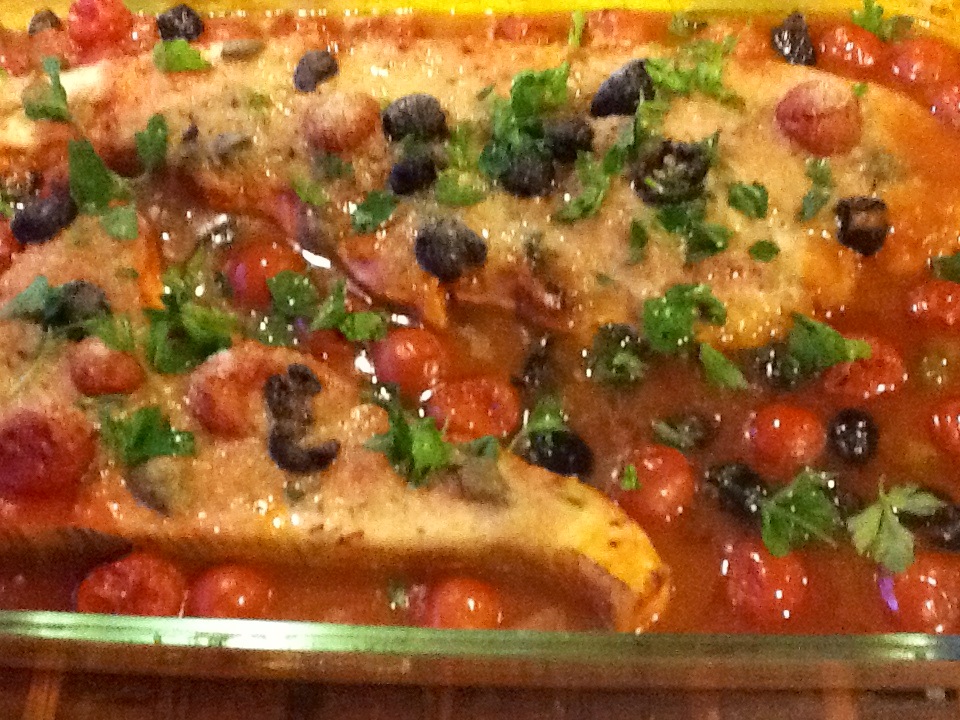
Swordfish Livornese (or is it Sicilian?) Style

Image


Italians not only love eating food, but they love arguing over food as well.  As you can see from several of my other posts, whether we’re  arguing about who makes the dish the correct way, or what region the dish comes, we love to challenge one another.  My motto is, “if it tastes good, who cares.”   I’ve had fish Livornese style in many restaurants, and have made it myself often.  It’s a family favorite.  However, when I went to Sicily, where swordfish is abundant, it was often prepared in this manner, but they didn’t call it Livornese.  As a matter of fact, don’t dare call it that when in Sicily!  I think swordfish may be the treasure of Sicily.  It’s caught daily by the local fishermen, and the taste is divine, even when simply grilled with a little lemon and olive oil.

This sauce, and variations of it, will taste wonderful on almost any fish.  So if swordfish is not your thing, try snapper fillets, fresh cod, halibut….even shrimp or scallops.  You can turn this into a tasty fisherman’s stew by just adding more liquid from the tomatoes, or more wine or some fish broth.  Throw some calamari into that, and you have a heavenly dish.  But back to this particular dish…

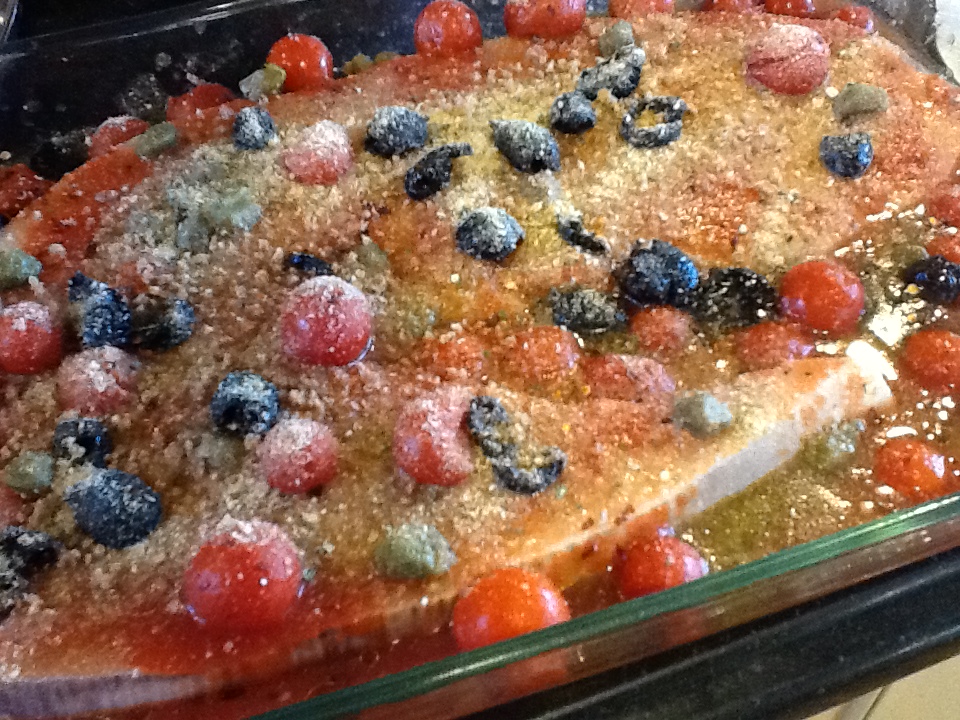
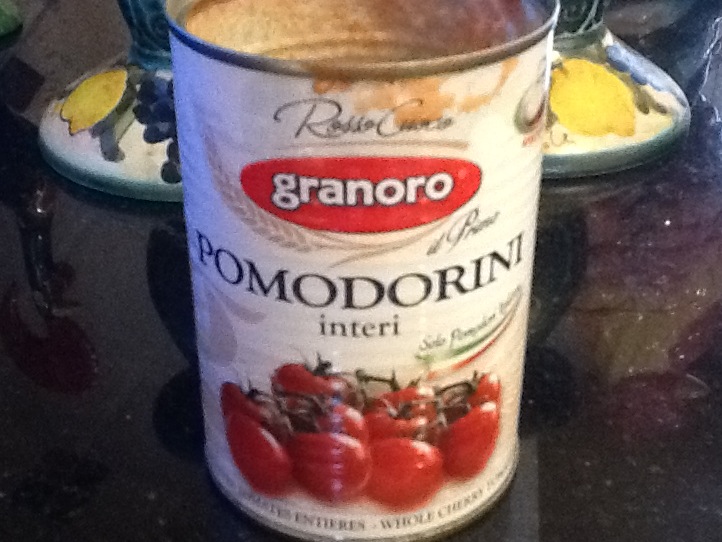
I used Italian canned cherry tomatoes here because I was delighted to find them in the supermarket and several of the little Italian markets I frequent.   I’ve used several brands recently (all from Italy, of course), and have been thrilled with the taste.  Our cherry tomatoes here are delicious, but in Italy, their taste is sublime.  This taste is captured very well in the cans.  Before last week, however, I always used canned Italian Peeled Plum tomatoes, squished in this recipe.  My critics (husband and son) preferred this over the cherry tomatoes, but I’m in disagreement here.  So you can decide for yourself.  The difference really is minimal.  It’s delicious either way.

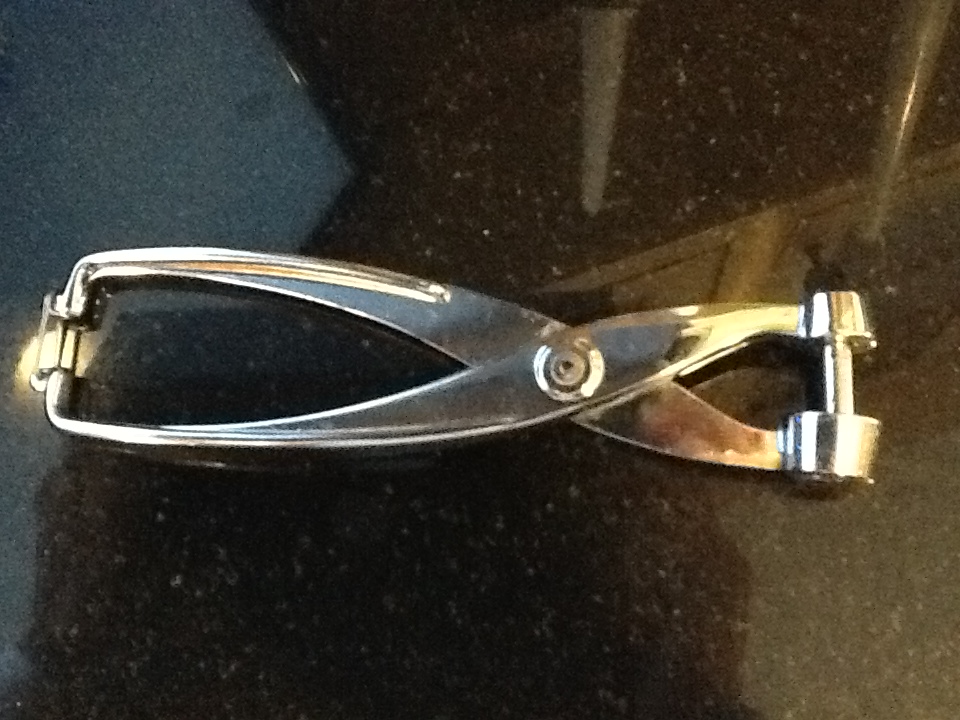
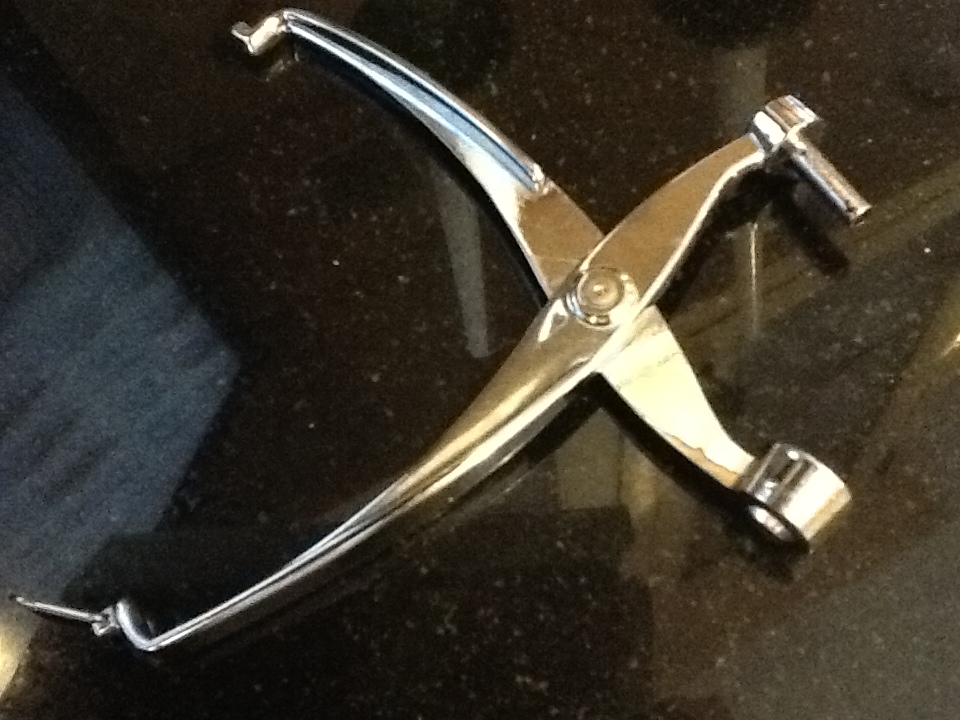
I don’t usually talk about kitchen utensils or tools, but here I must.  If you don’t already own an olive pitter, run right out and get one.  When I think of all the times I’ve omitted olives from a recipe, just because I didn’t have the time or inclination to pit them by hand, I wish I’d know about this invention sooner ( or invented it myself )!  Pitting black olives by hand, can really ruin a French manicure!


RECIPE:

1 to 1 1/2 pounds of swordfish steaks

1 28 ounce can of Italian plum tomatoes, squished or cherry tomatoes (include liquid)

4 TBSP olive oil

2/3 cup of white wine

3 TBSP. vinegar packed capers

1/2 cup pitted Italian cured black olives  (get that pitter…you’ll thank me!)

3 cloves garlic, sliced thick

3 TBSP grated parmesan cheese

1/2 cup Italian seasoned bread crumbs

Freshly ground pepper

1/3 cup chopped fresh parsley

zest of one lemon ( optional)

1.  Coat bottom of baking pan with the olive oil. Pat the swordfish filets dry and put in pan.

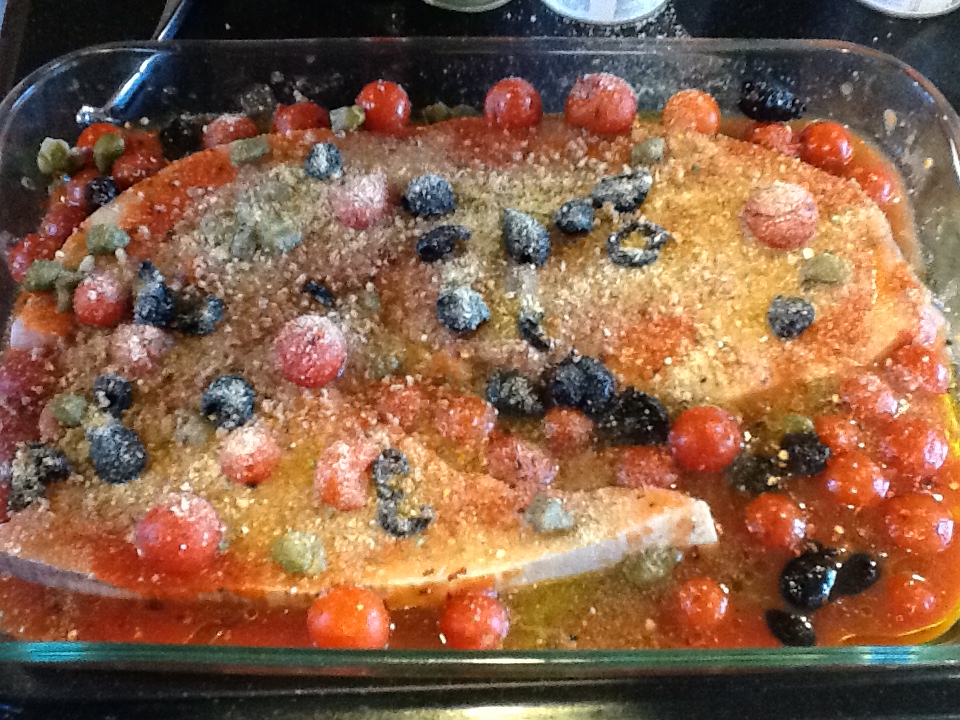
2.  Cover with the tomatoes, wine, capers, olives, garlic.  Ground pepper to taste.

3.  Lightly sprinkle the tops of the filets with the cheese and then the bread crumbs.

4.  Cover with foil.  Put in a preheated 375 degree oven.

5. Cooking time depends on the thickness of your steaks (or other fish filets), but I leave it covered for half the cooking time, then take the foil off and continue to cook until cooked through, but still moist and flaky.  My 1 1/2 inch steaks here took 30 minutes to cook.  I then raise the oven to 450 degrees for 5 minutes, just to make the bread crumbs a bit crusty.

6.  Before serving, sprinkle with parsley and lemon zest, if desired.


ImageImageImageImageImageImageImageImageImageImage


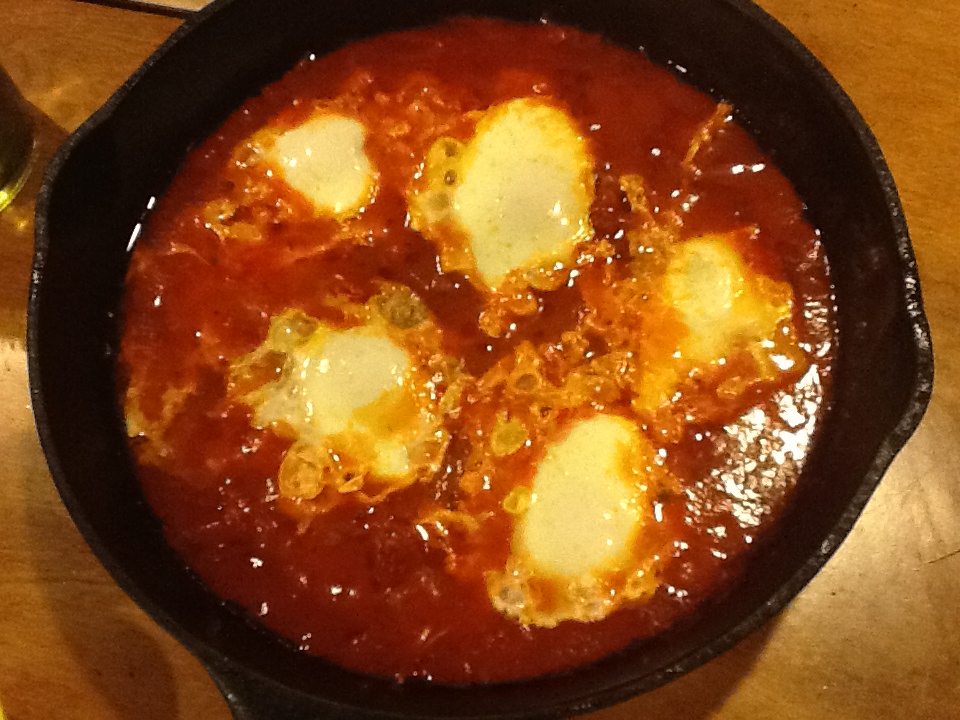
Eggs in Gravy (Eggs In Purgatory)

Image

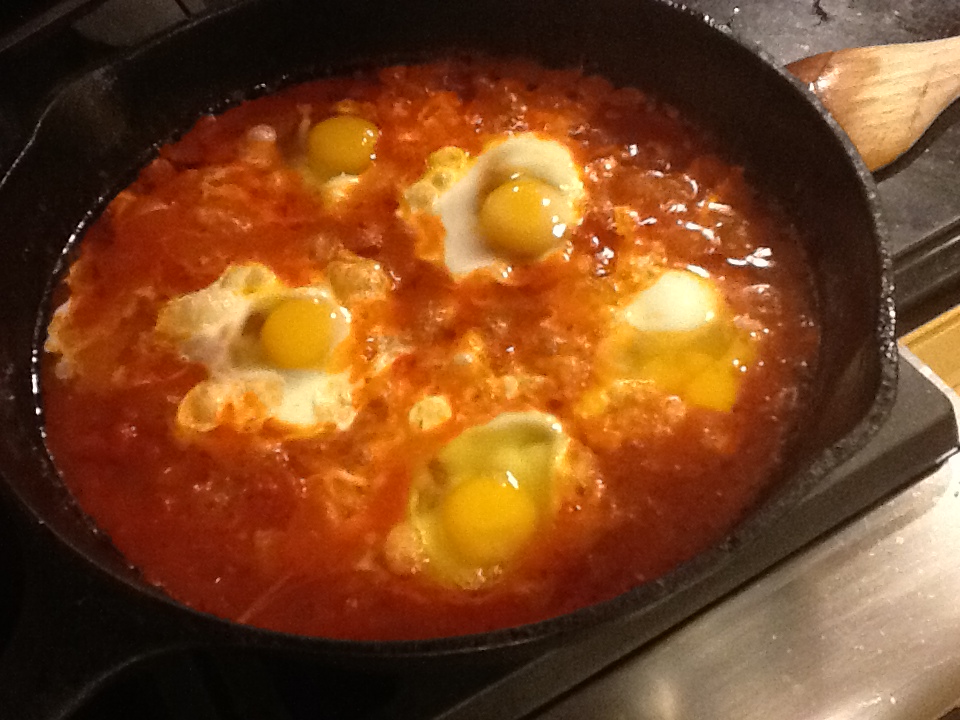
Eggs in Gravy, as we used to call it, was a usual Friday night meatless meal in our family growing up, especially during Lenten season.  I believe it is now commonly referred to as Eggs in Purgatory.  That definitely sounds more religious.  I forget about this dish all year long, but as soon as Lent begins, I can almost smell it in my mind, and can’t wait to make it on a Friday night.  It’s always received with great enthusiasm, and I say I should make this more often, but for some reason I have pegged it as a lenten dish only. I think of it as Italian poached eggs.  Instead of poaching eggs in water, we poach them in tomatoes and olive oil.  Of course we do!

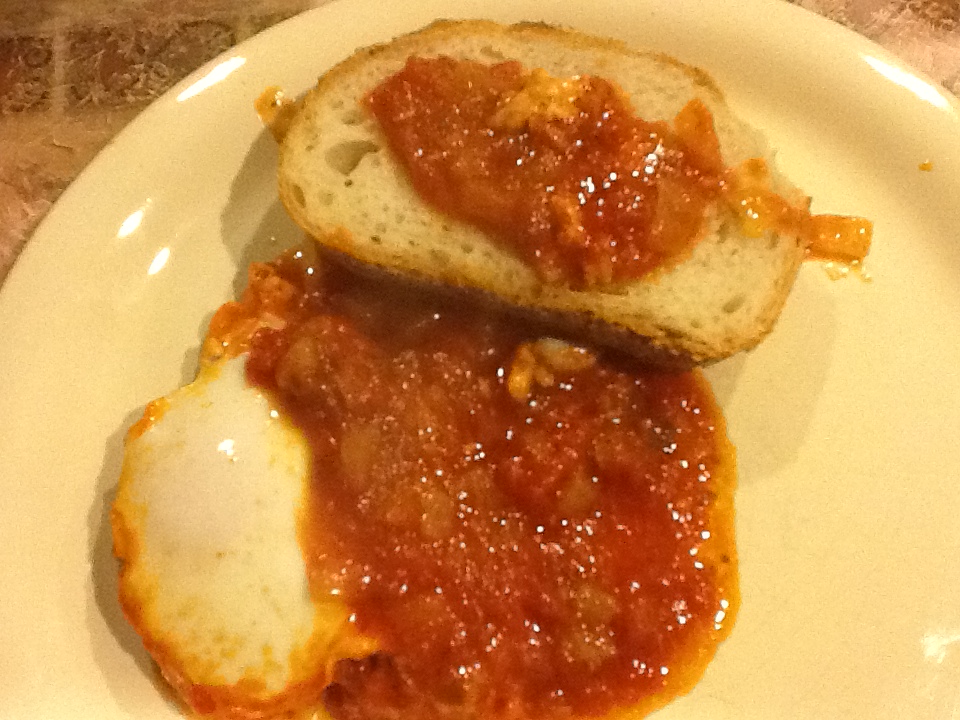
Now the real key to enjoying this meal, is having the best, crusty Italian bread you can find for “scarpetta.”  Literally translated, this means “little shoe.”  I don’t quite get the imagery, but the idea is that you take a hunk of bread (shoe) and let it submerge (into the sauce/ground), and then scoop it up.   Let’s translate it as “dunking” or “dipping with enthusiasm.”   Call it what you will, but you will definitely not want to leave any of this sauce on your plate.  The rich, earthy taste of the egg yolks running into the tomato sauce, will make you want to “fare la scarpetta” until the loaf of bread (and sauce ) are gone. You will barely need to wash the plate afterwards!

RECIPE:

1 medium onion, chopped

4 TBSP olive oil

1 28 ounce can of Italian peeled tomatoes, squished by hand

salt and pepper to taste

6 eggs

crusty Italian bread (essential)

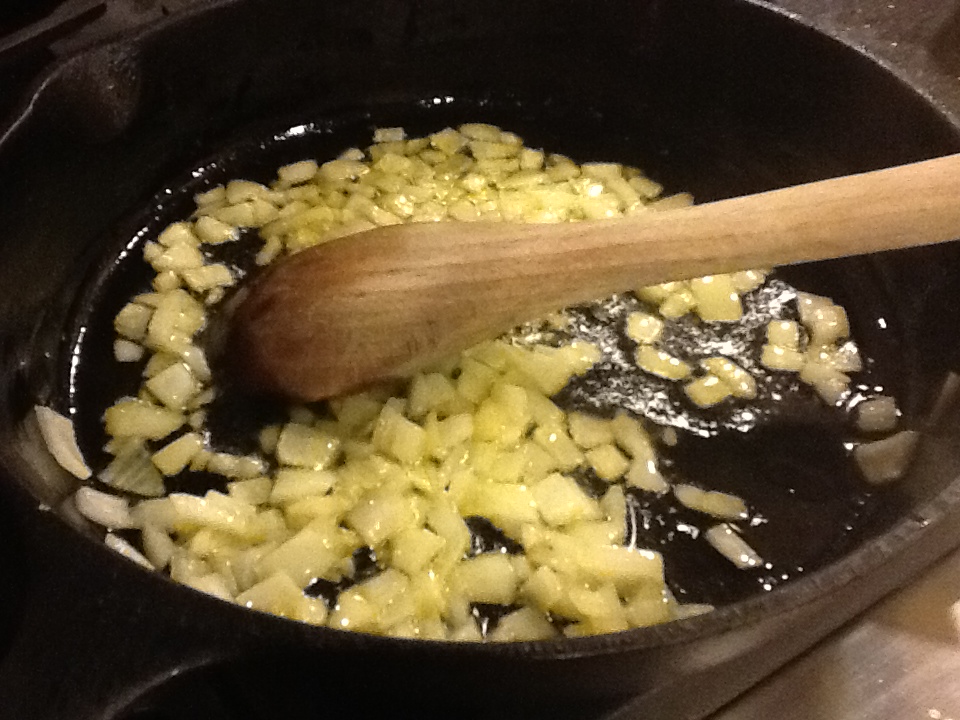
1.  In a heavy fry pan (I use my cast iron skillet, just as my grandmother and mother did), heat oil.  Add onion and sauté for 8 to 10 minutes or so, until soft.

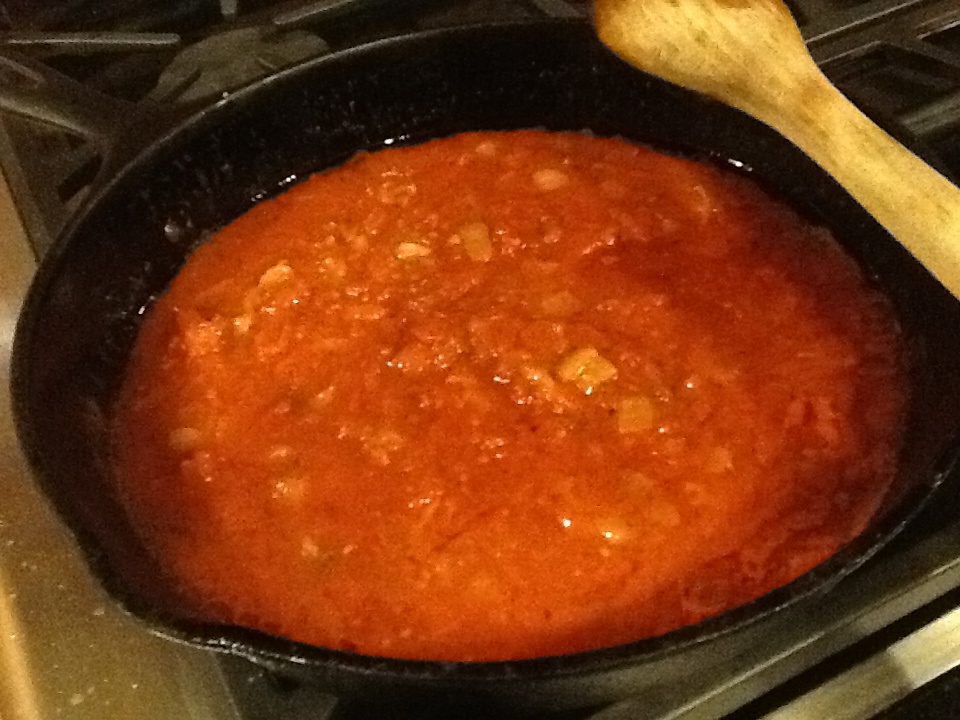
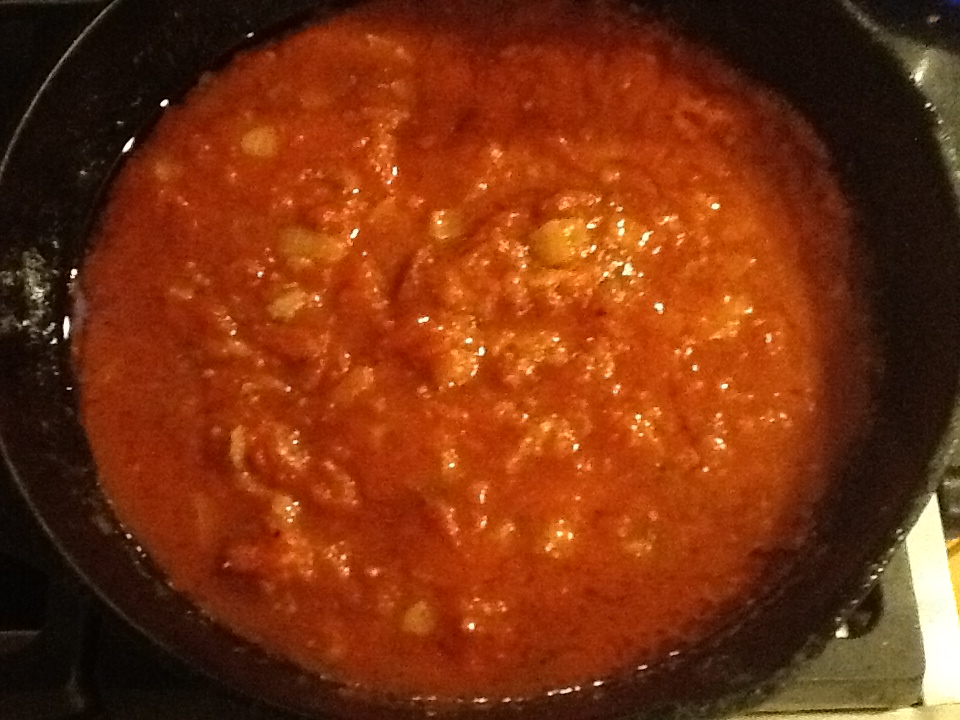
2.  Add squished tomatoes, salt and pepper to taste and stir.  Simmer on low heat for approximately 15 minutes, stirring often.

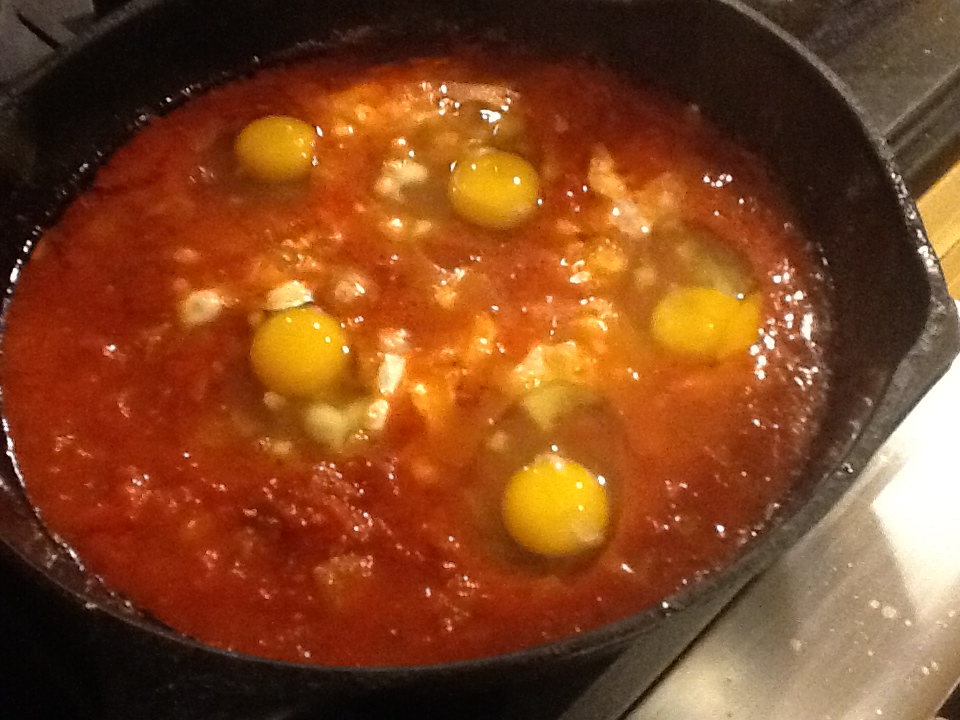
3.  Break eggs gently, and evenly throughout the pan.  Cover and simmer for about 2 to 3 minutes, until whites are firm, but make sure yolks are runny.  That’s key to the flavor.

4.  Serve in a bowl or plate, covered in the gravy, and let the “scarpetta” begin!

ImageImageImageImageImageImageImageImageImageImage