
Subscribe to continue reading
Subscribe to get access to the rest of this post and other subscriber-only content.
Subscribe to get access to the rest of this post and other subscriber-only content.
Subscribe to get access to the rest of this post and other subscriber-only content.
Subscribe to get access to the rest of this post and other subscriber-only content.

I have a secret.
I won’t share this secret with many, as they may think me crazy.
But I will share it with you.
I’ve joined a cookbook book club!
Each semester (season), there is a theme and three new cookbooks, supporting the theme.
Yes, I purchase a new cookbook each month…..and I’m loving every minute of it. I have a cookbook passion….an honest to goodness passion.
Each month we read the cookbook, just like a novel, and discuss the book as we would any work of literature. Then we usually meet the author for a Q & A. The entire month we are supposed to cook from the book, and then we meet to share photos and discuss the actual recipes and value of the cookbook. All this is done over Zoom so participants are from all over the country. Many have been in this group for years. It is hosted by Kitchen Arts and Letters, a bookstore in New York City, devoted entirely to books of food and drink. It is my absolute favorite bookstore.
I am only in my second semester. My first semester was entitled “The Next Generation,” with 3 books by children of immigrants. It was wonderful, and I enjoyed learning about the wonders of 3 different Asian cuisines.
This semester is Italy, with all the delights of making homemade pasta to feeling like you are on the Amalfi Coast.
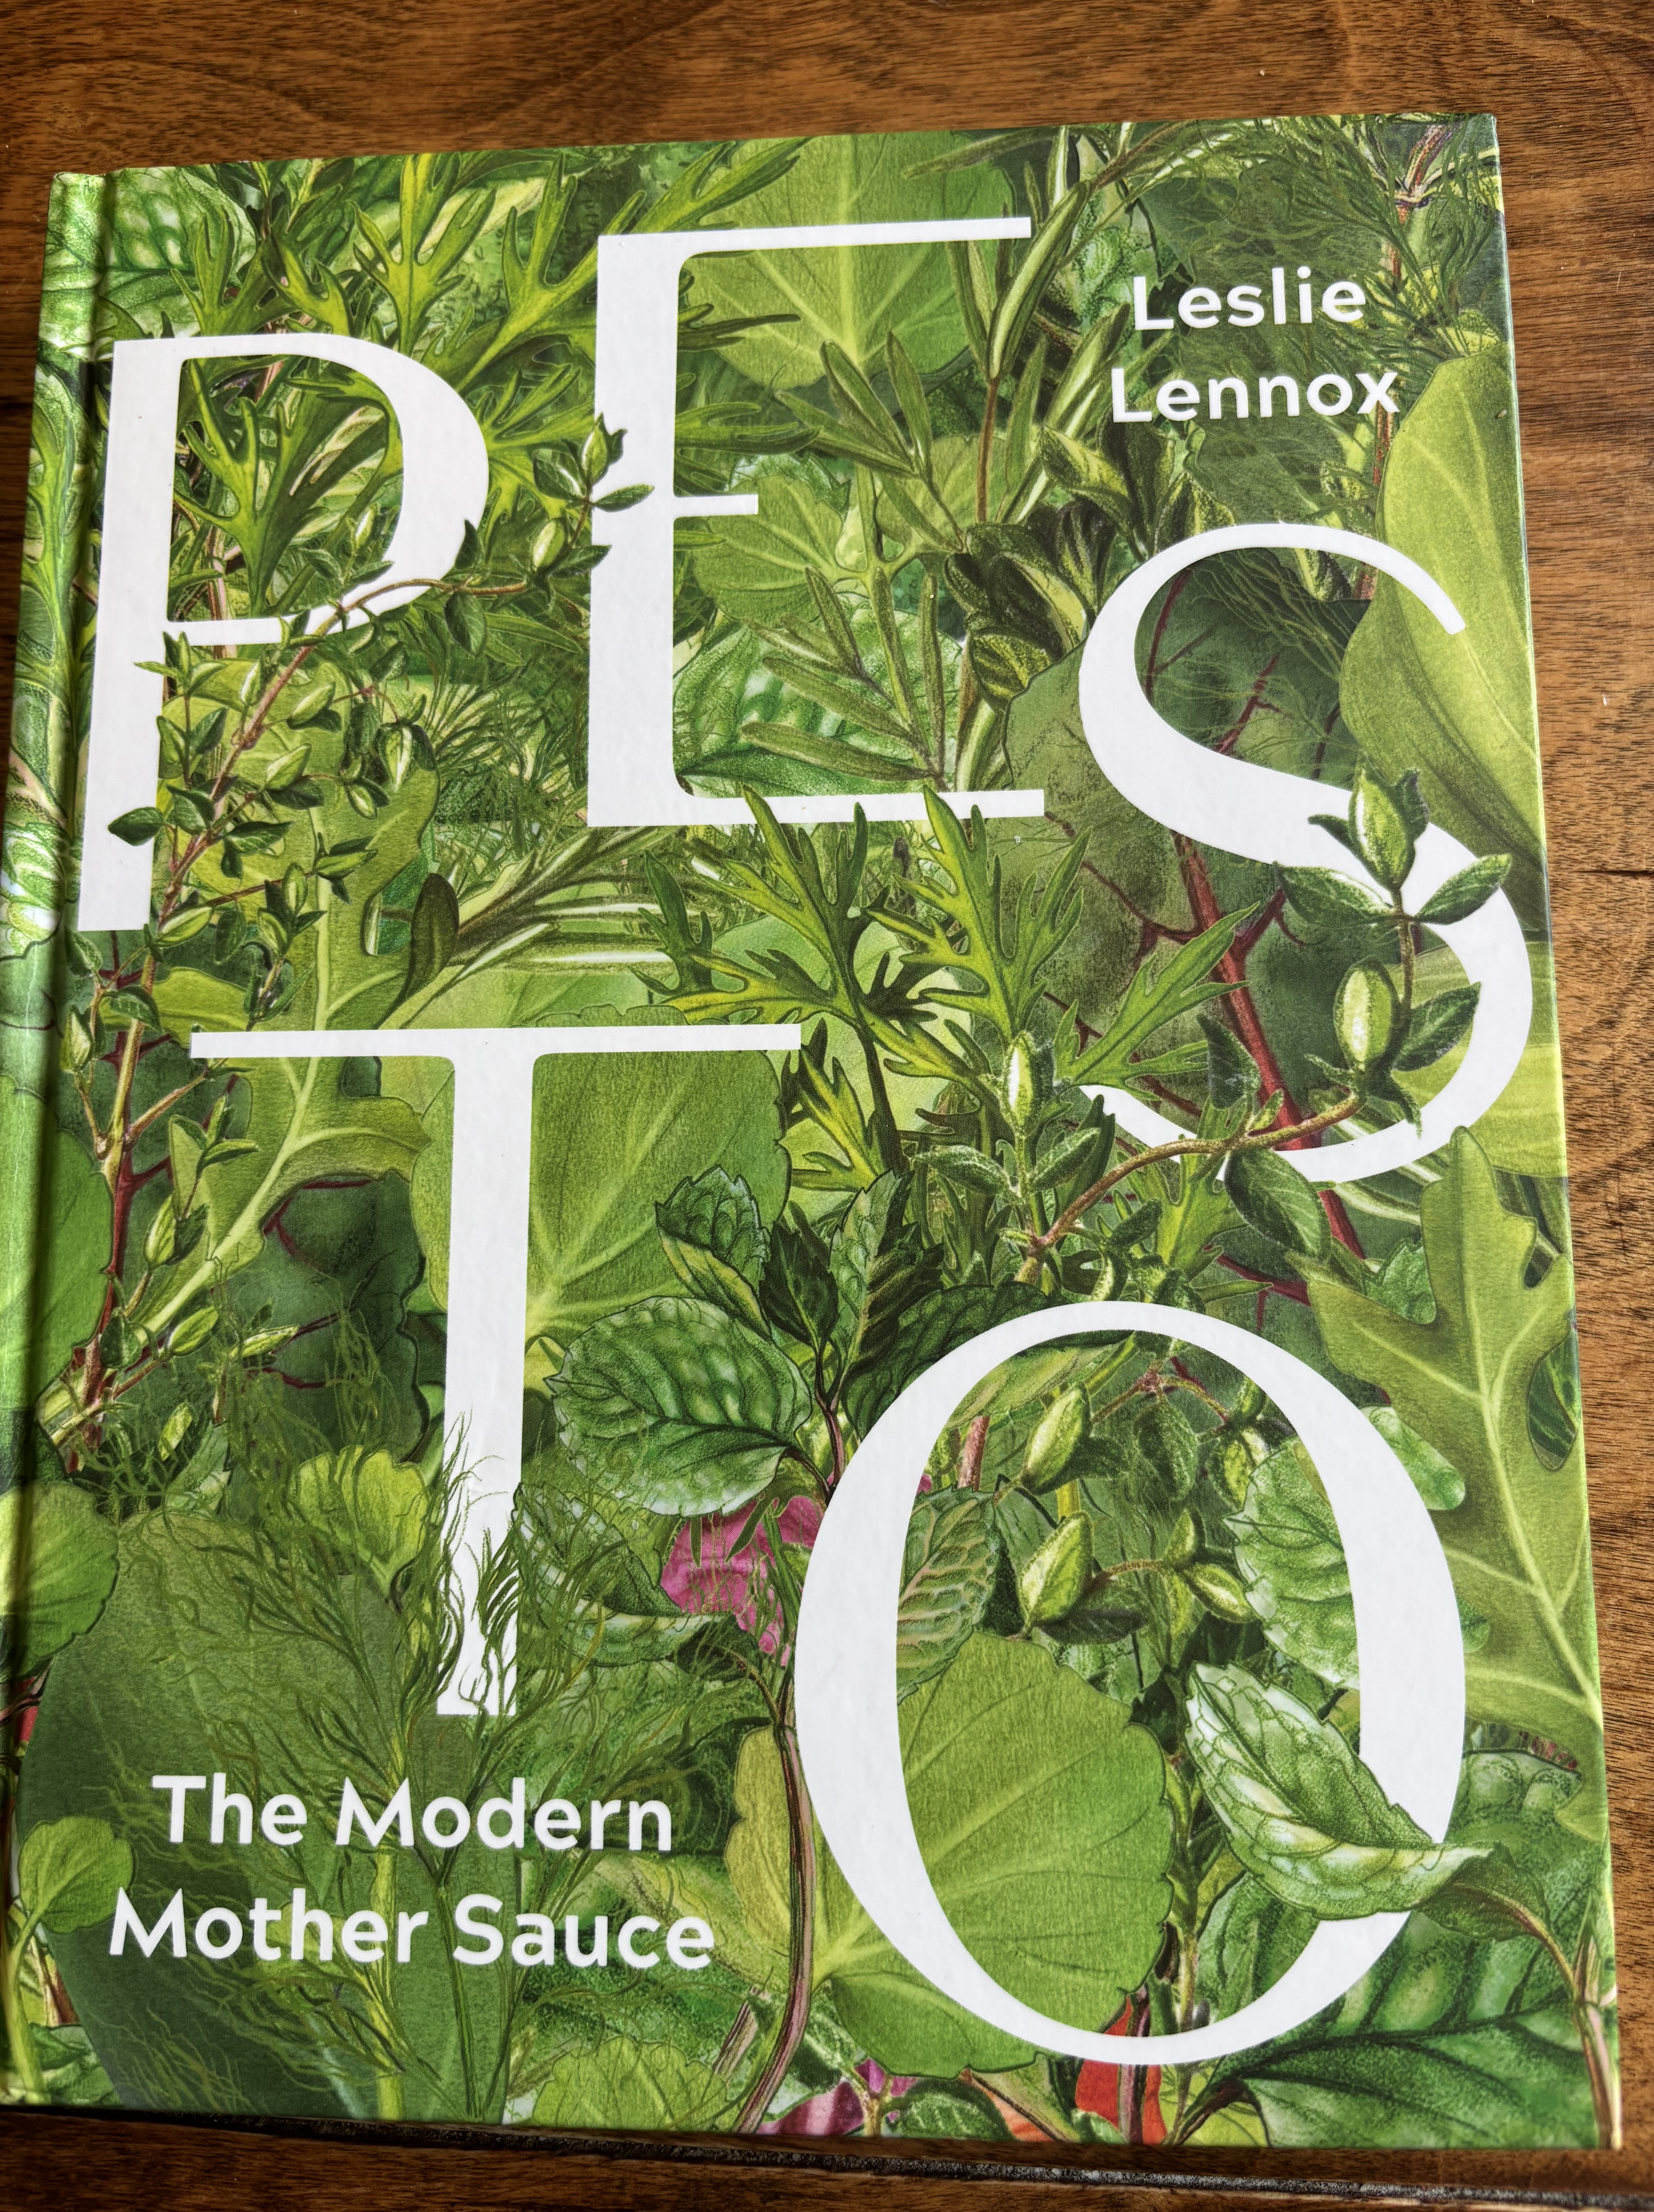
One of the cookbooks is “Pesto…The Modern Mother Sauce,” by Leslie Lennox.
I thought I had made every dish possible with pesto, as it is a favorite of ours, especially at this time of year. This book has given me an infinite amount of ideas that I never would have dreamed of. This pesto loving girl has never been happier!
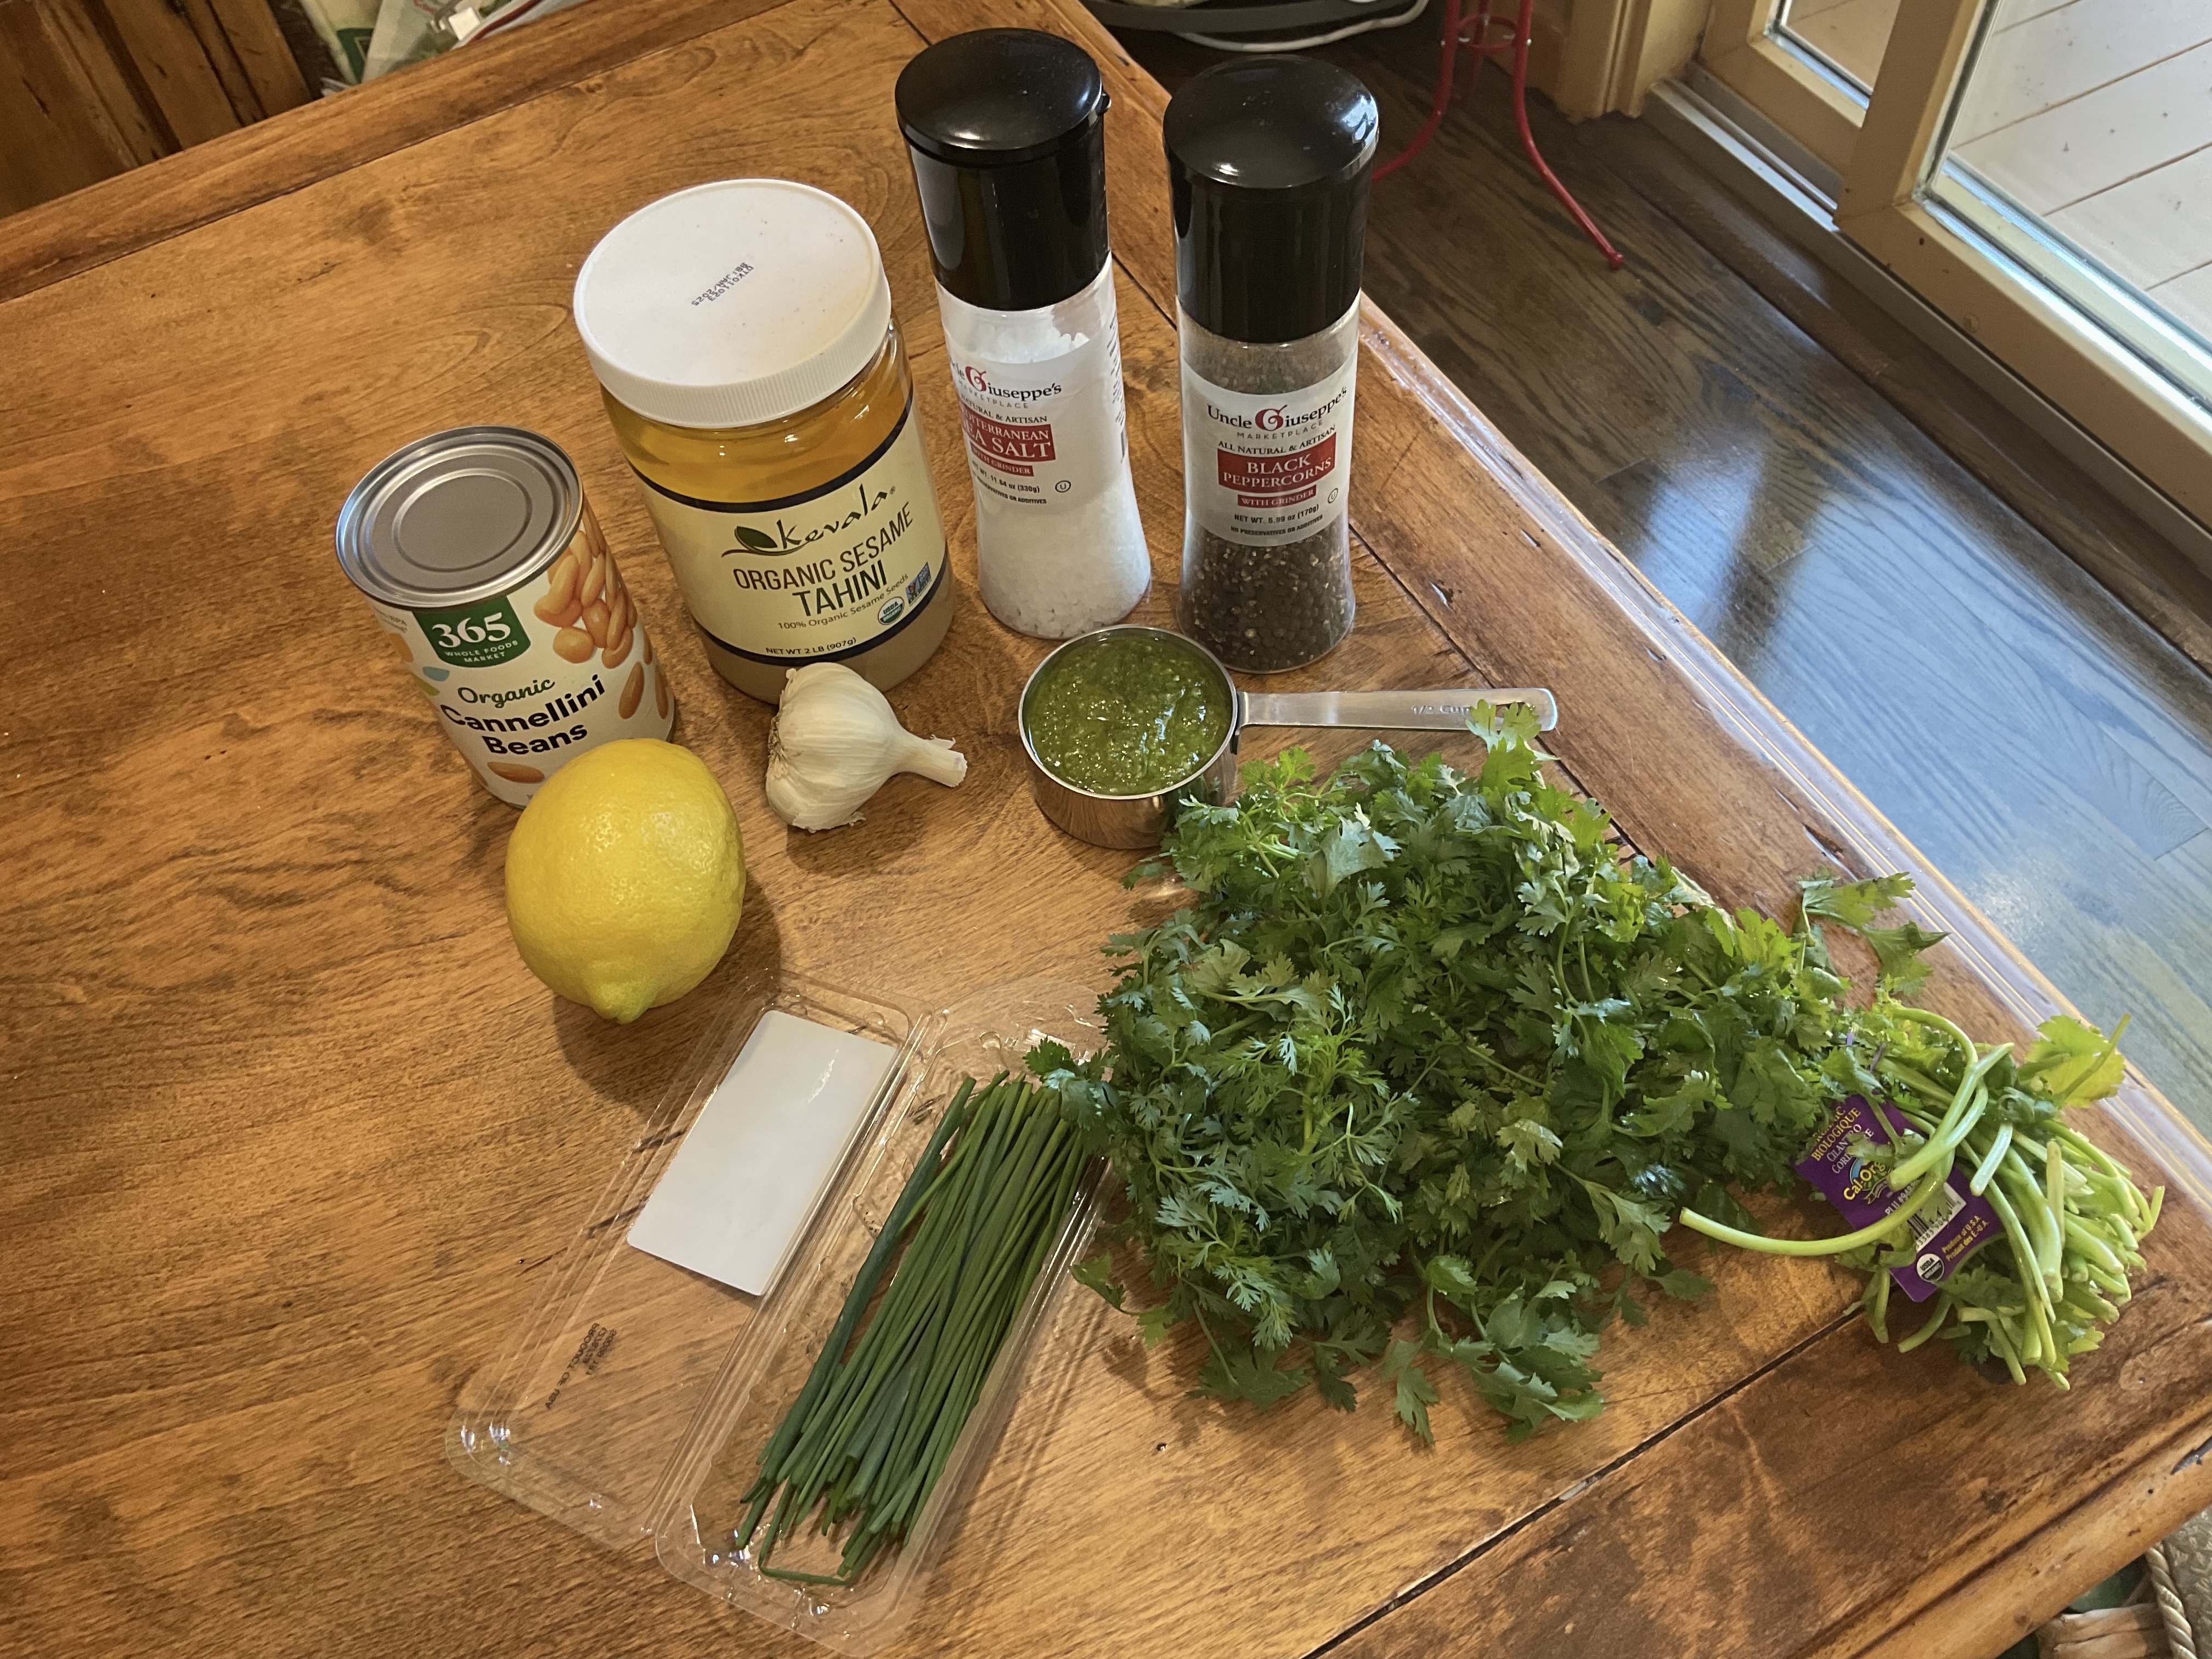
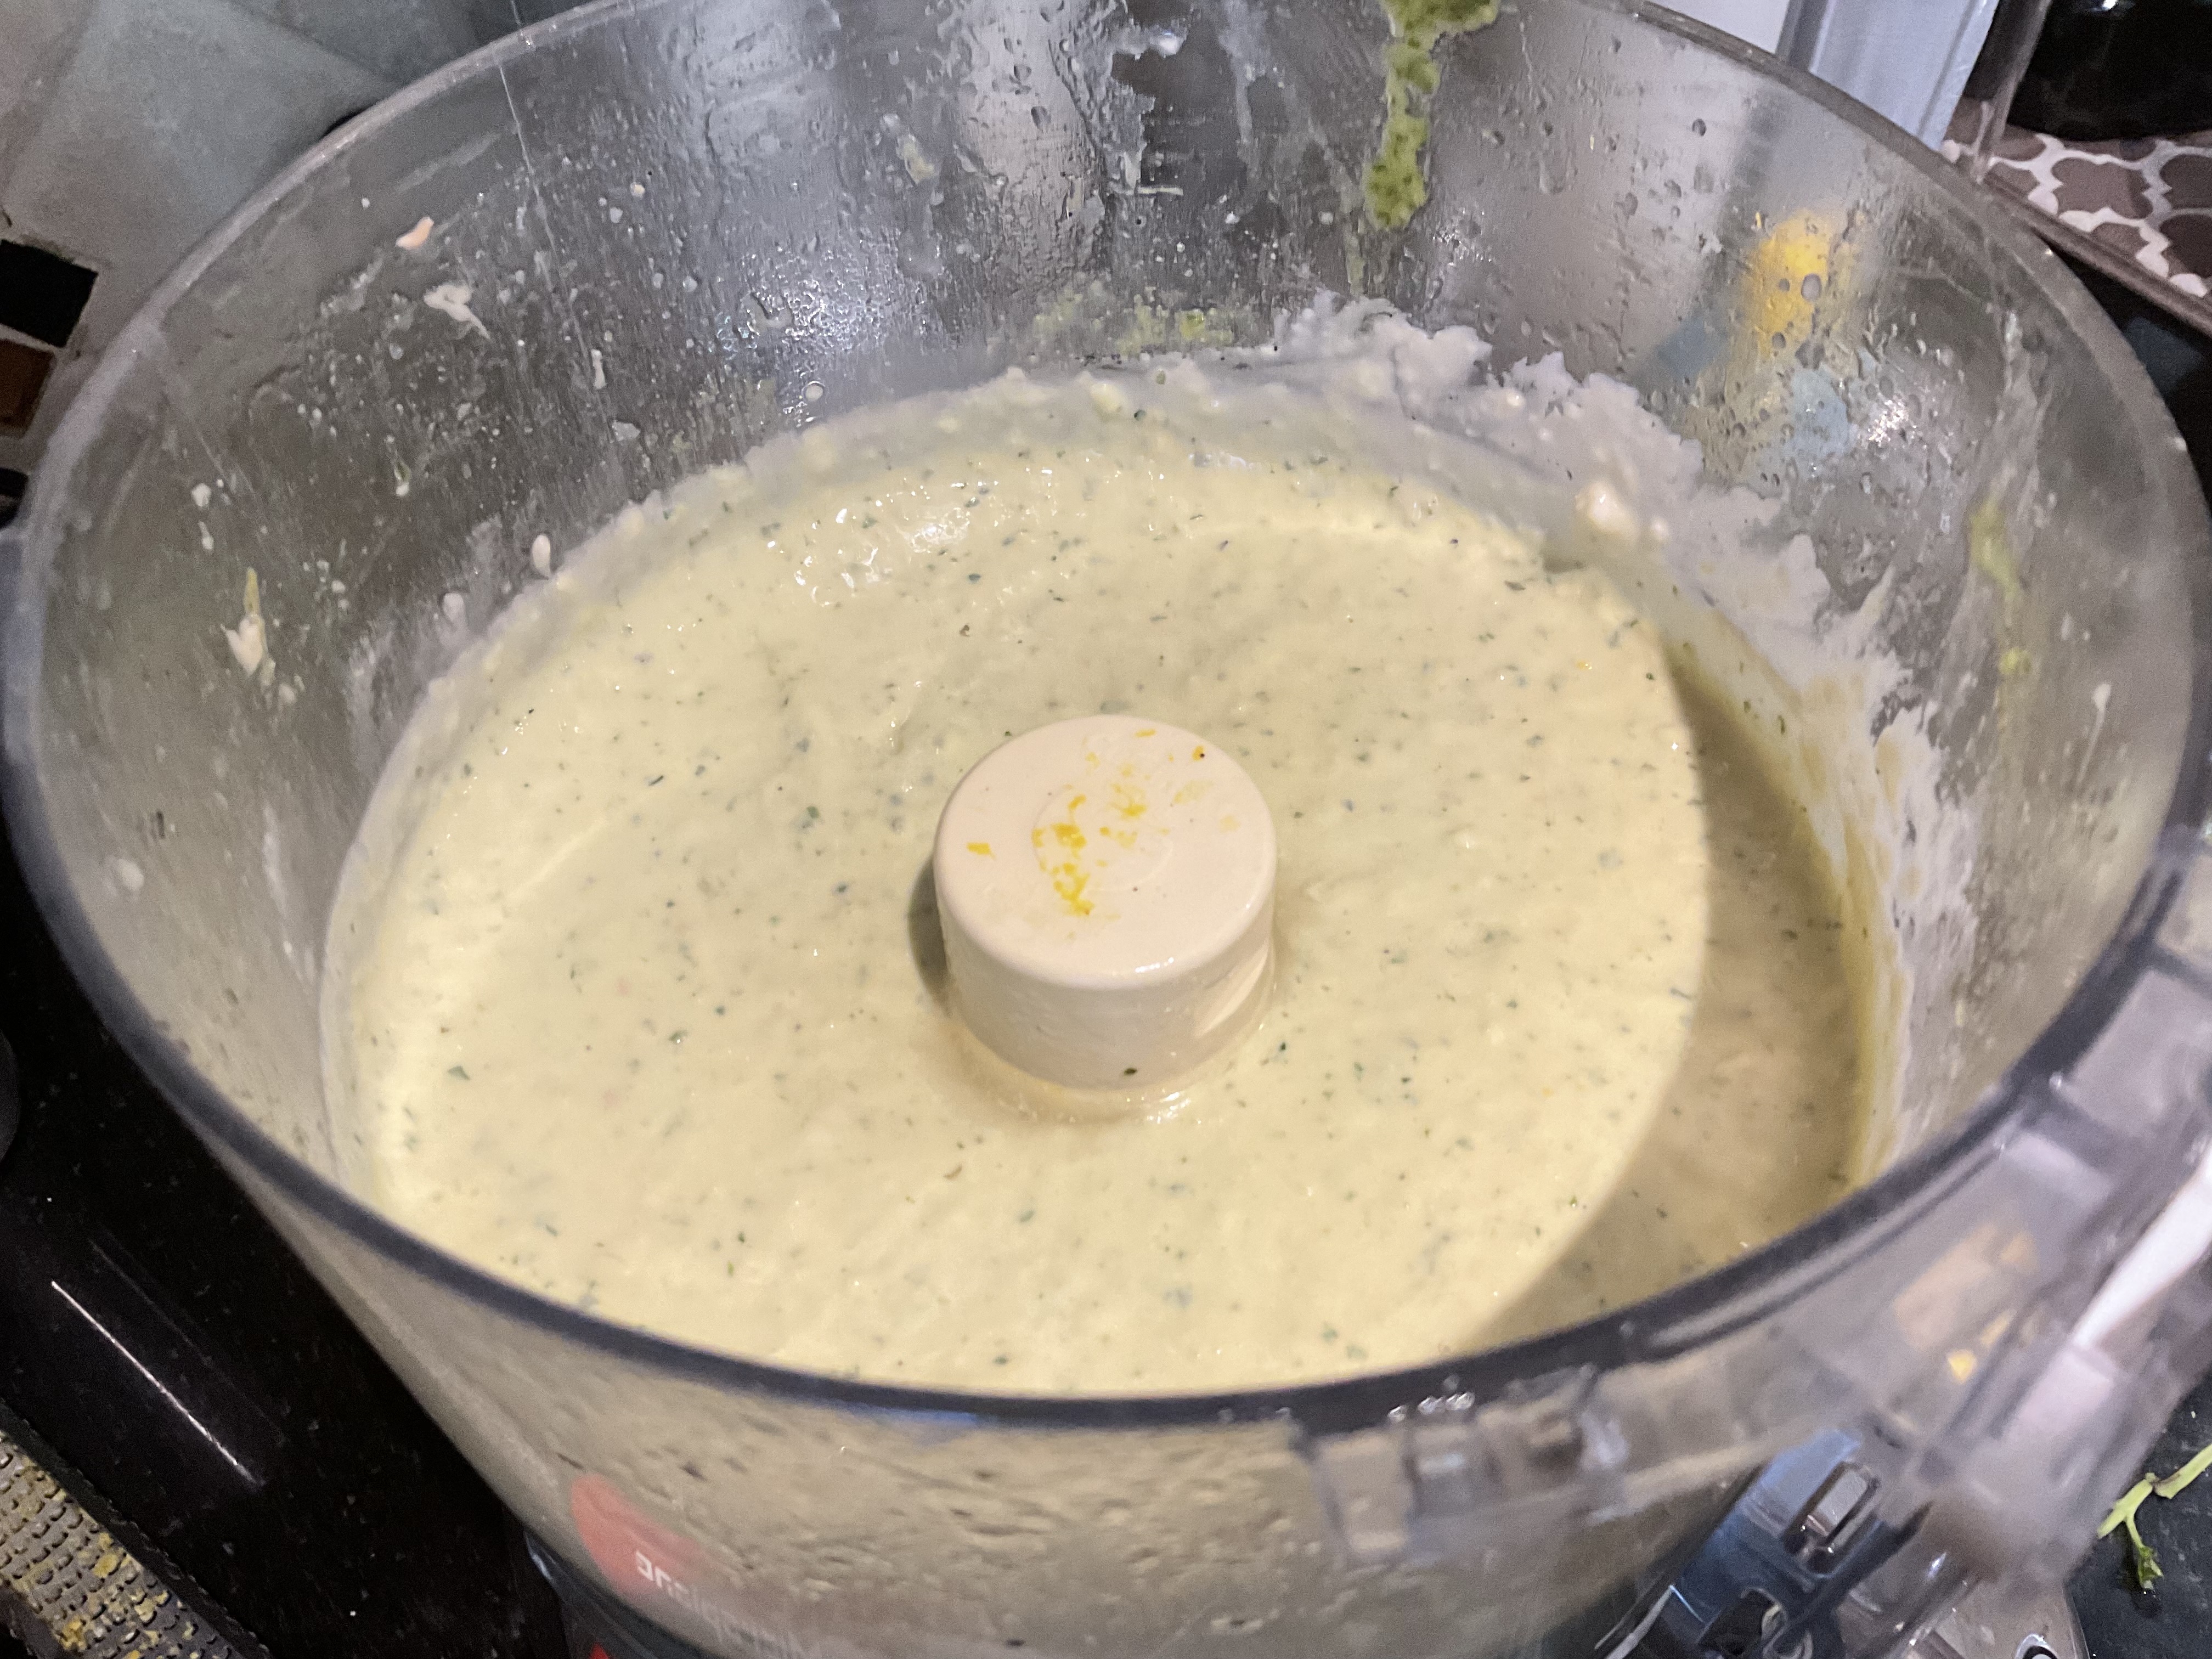
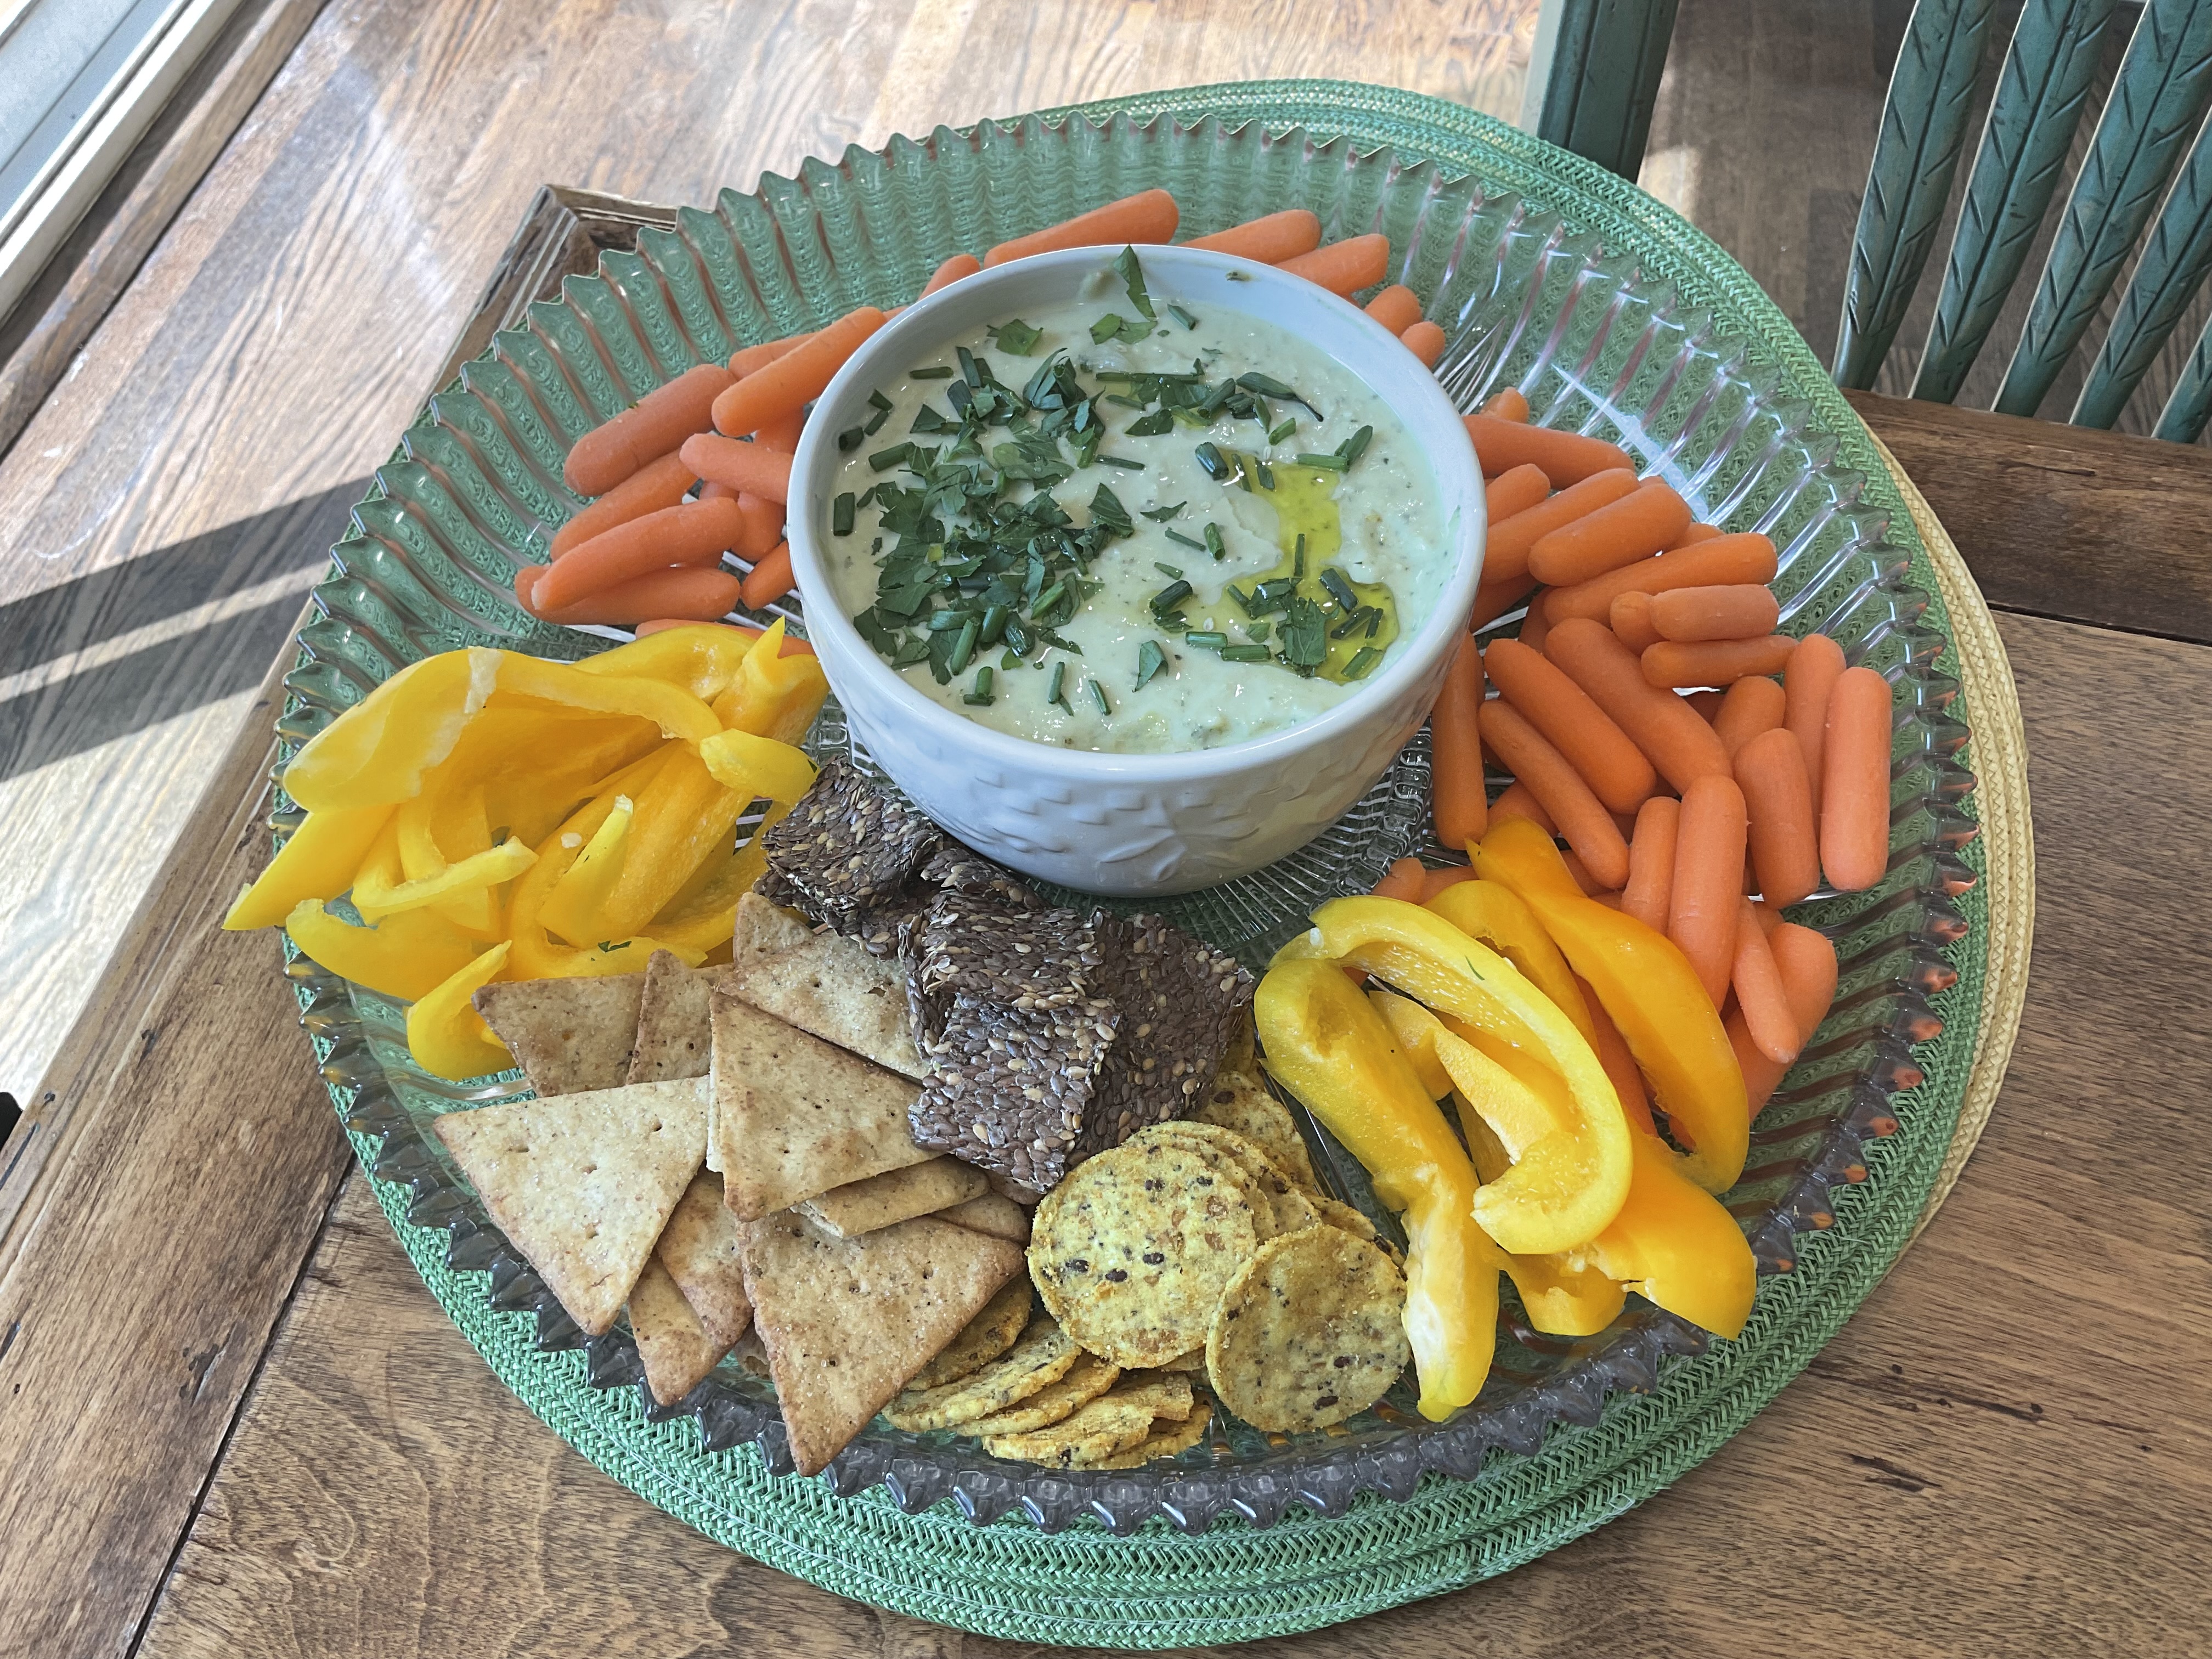
One of my favorite recipes from this book is “Creamy Pesto Hummus with Cut Vegetables.” It is so light and tasty, and took only minutes to make. Now why didn’t I think of this?
Recipe:
1 (15.5 ounce) can of cannellini beans
2 Tablespoons tahini
1 garlic clove
1/4 tsp ( I used more because I love lemon zest) of grated lemon zest plus extra for garnish
2 1/2 Tablespoons lemon juice
1/4 tsp of salt
1/4 tsp. of pepper
1/2 cup olive oil, plus extra for garnish
1/2 cup pesto
Chopped herbs such as chives and/or parsley for garnish
Assorted cut up vegetables (and crackers) for serving


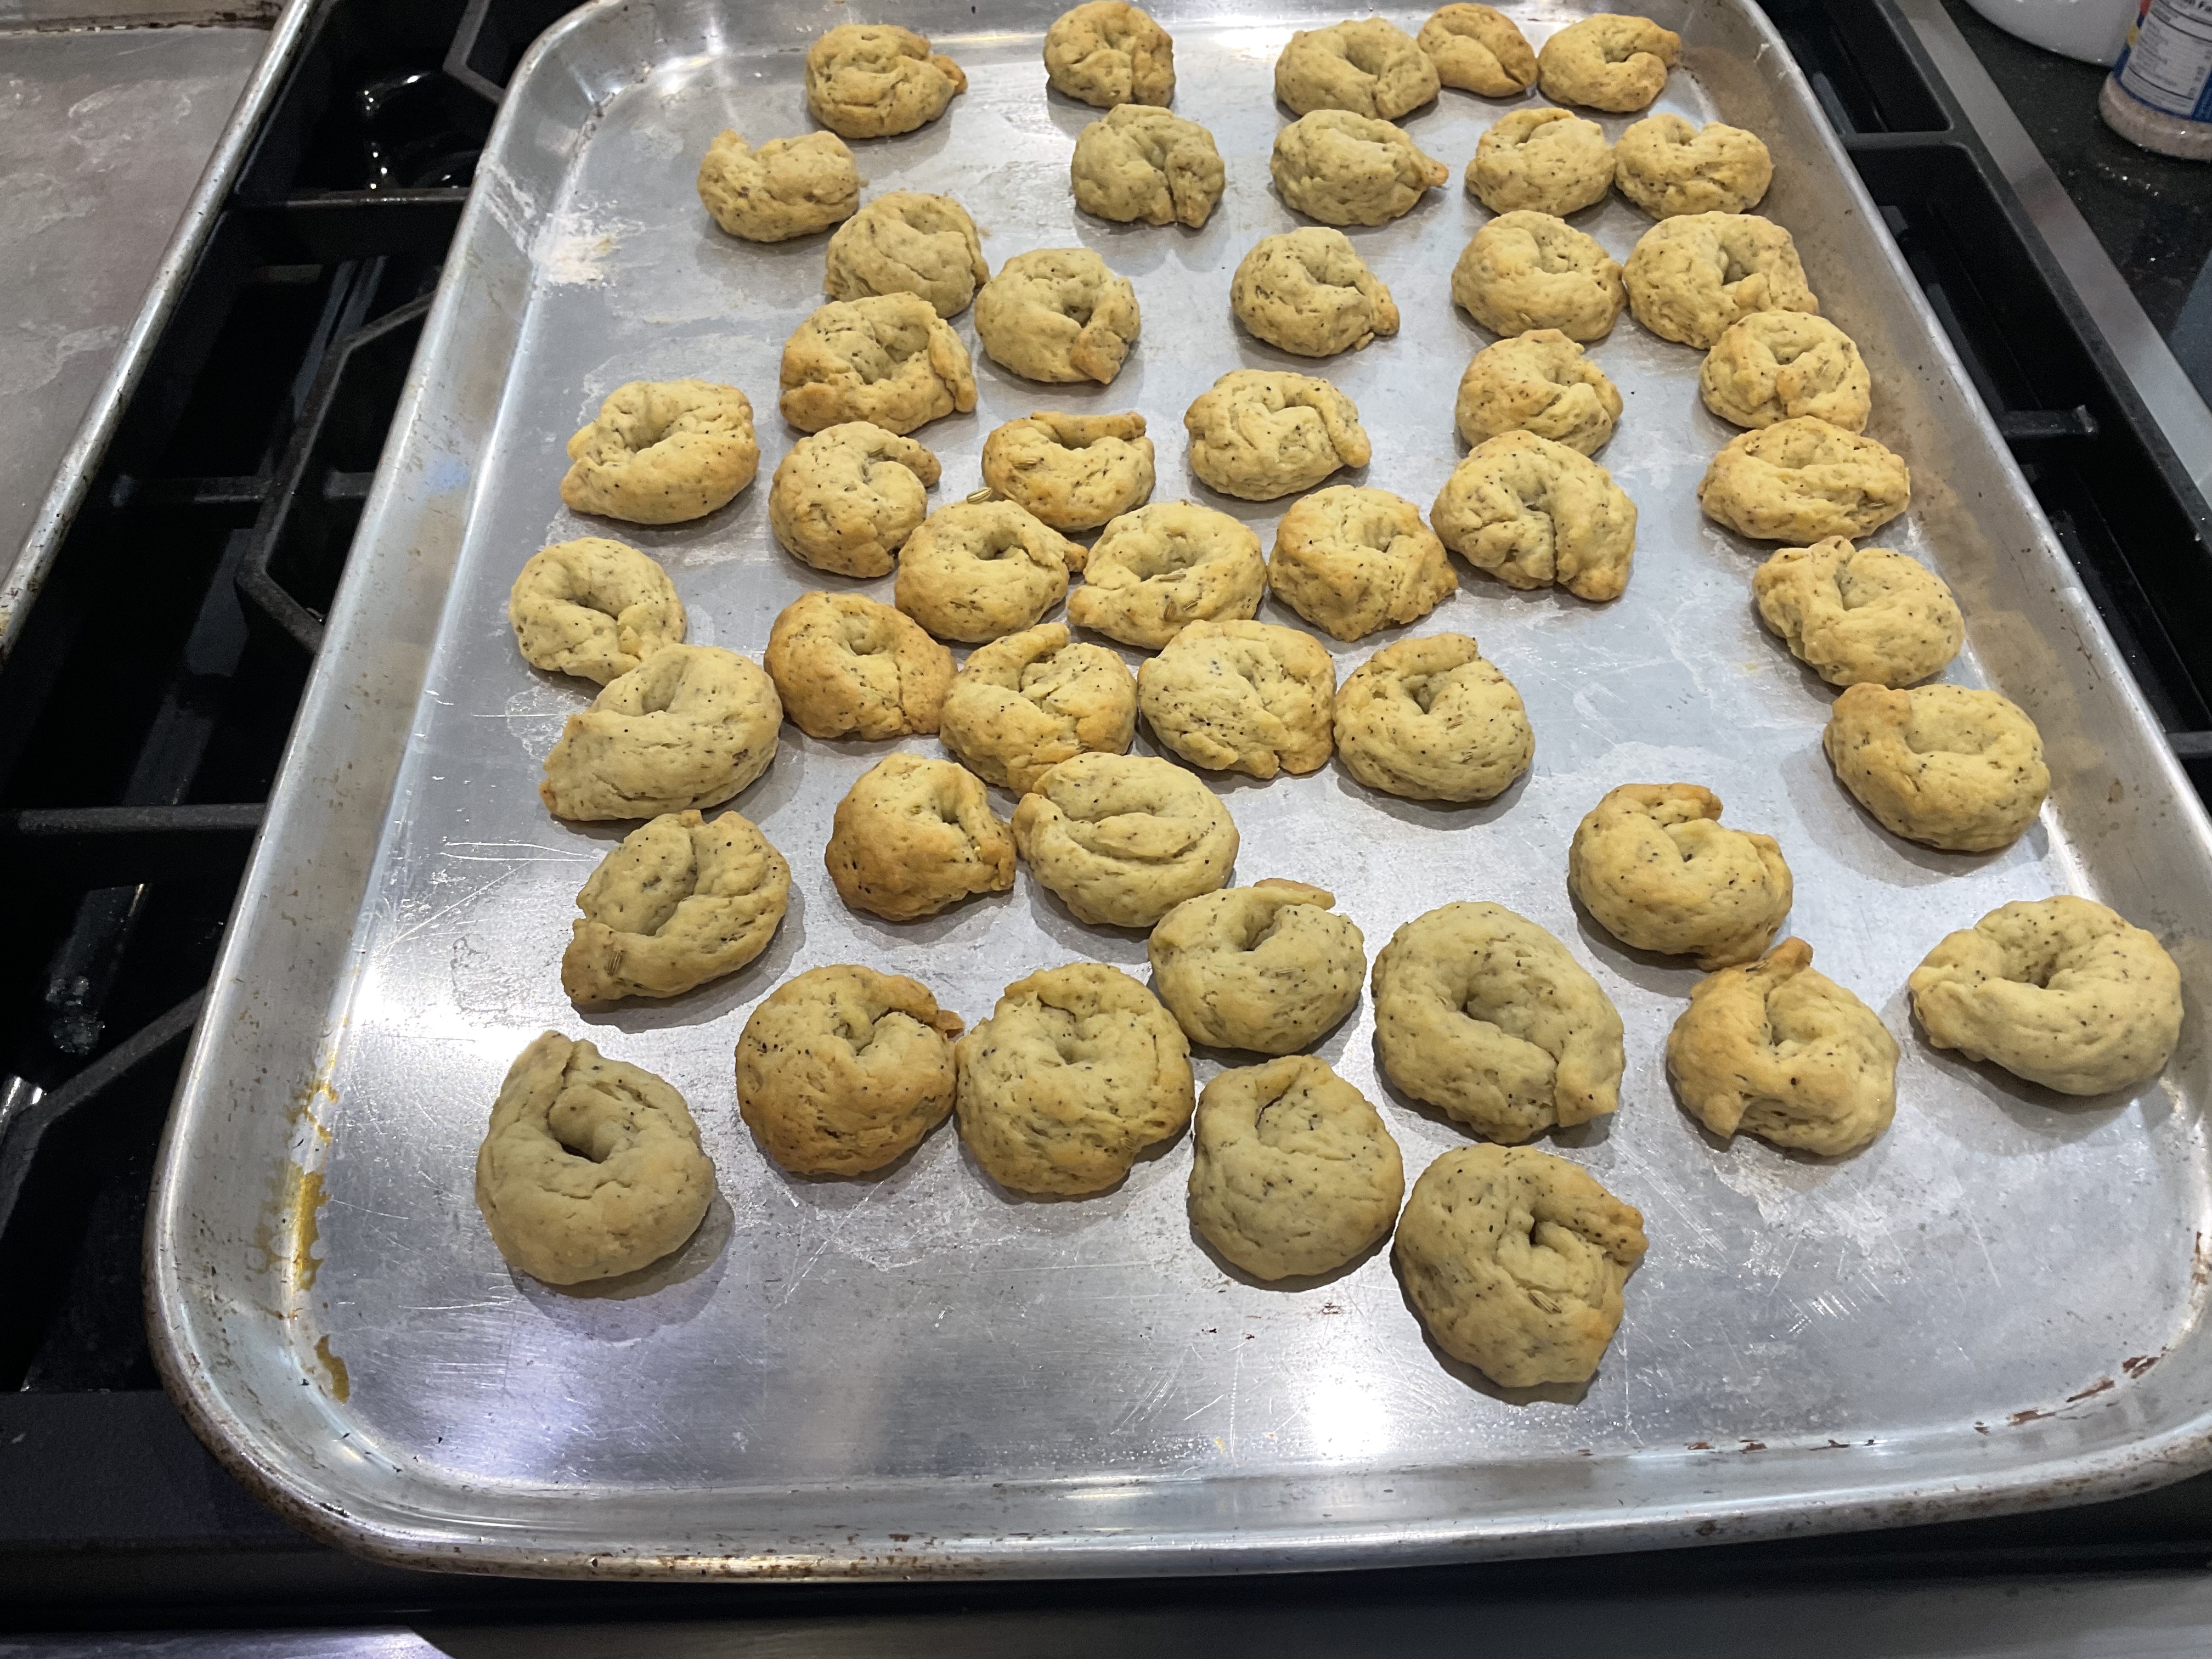
We have a long Fourth of July weekend coming up, and it looks like good barbecue weather here in the Northeast. There will be a lot of grilling and cold salads, and of course chips and dips. At our house there will also be plenty of taralles. They are the perfect snack food. If you aren’t familiar with taralles, it is a crunchy, ring shaped Italian snack food, similar to a breadstick or pretzel…sort of. Traditionally they are flavored with black pepper or fennel seeds. We always have several bags in the pantry, of all different types and sizes. My husband actually starts to get nervous if we don’t have at least two bags in the pantry. I think this is because they were not as readily available years ago. Now you can go into most supermarkets or Italian delis and find a great assortment.
Also, now I can ( and do) make them myself. I can’t get over how easy it is to make them, following this very simple recipe. I have even made them using gluten-free, self-rising flour. I do have to warn you though, that they are rather addicting, and you will find yourself popping one after another into your mouth.
This Fourth of July weekend at our house, you will find a basket of these homemade taralles right next to the chips. Give it a try. “ I bet you can’t eat one.”
Recipe:
Preheat oven to 375 degrees
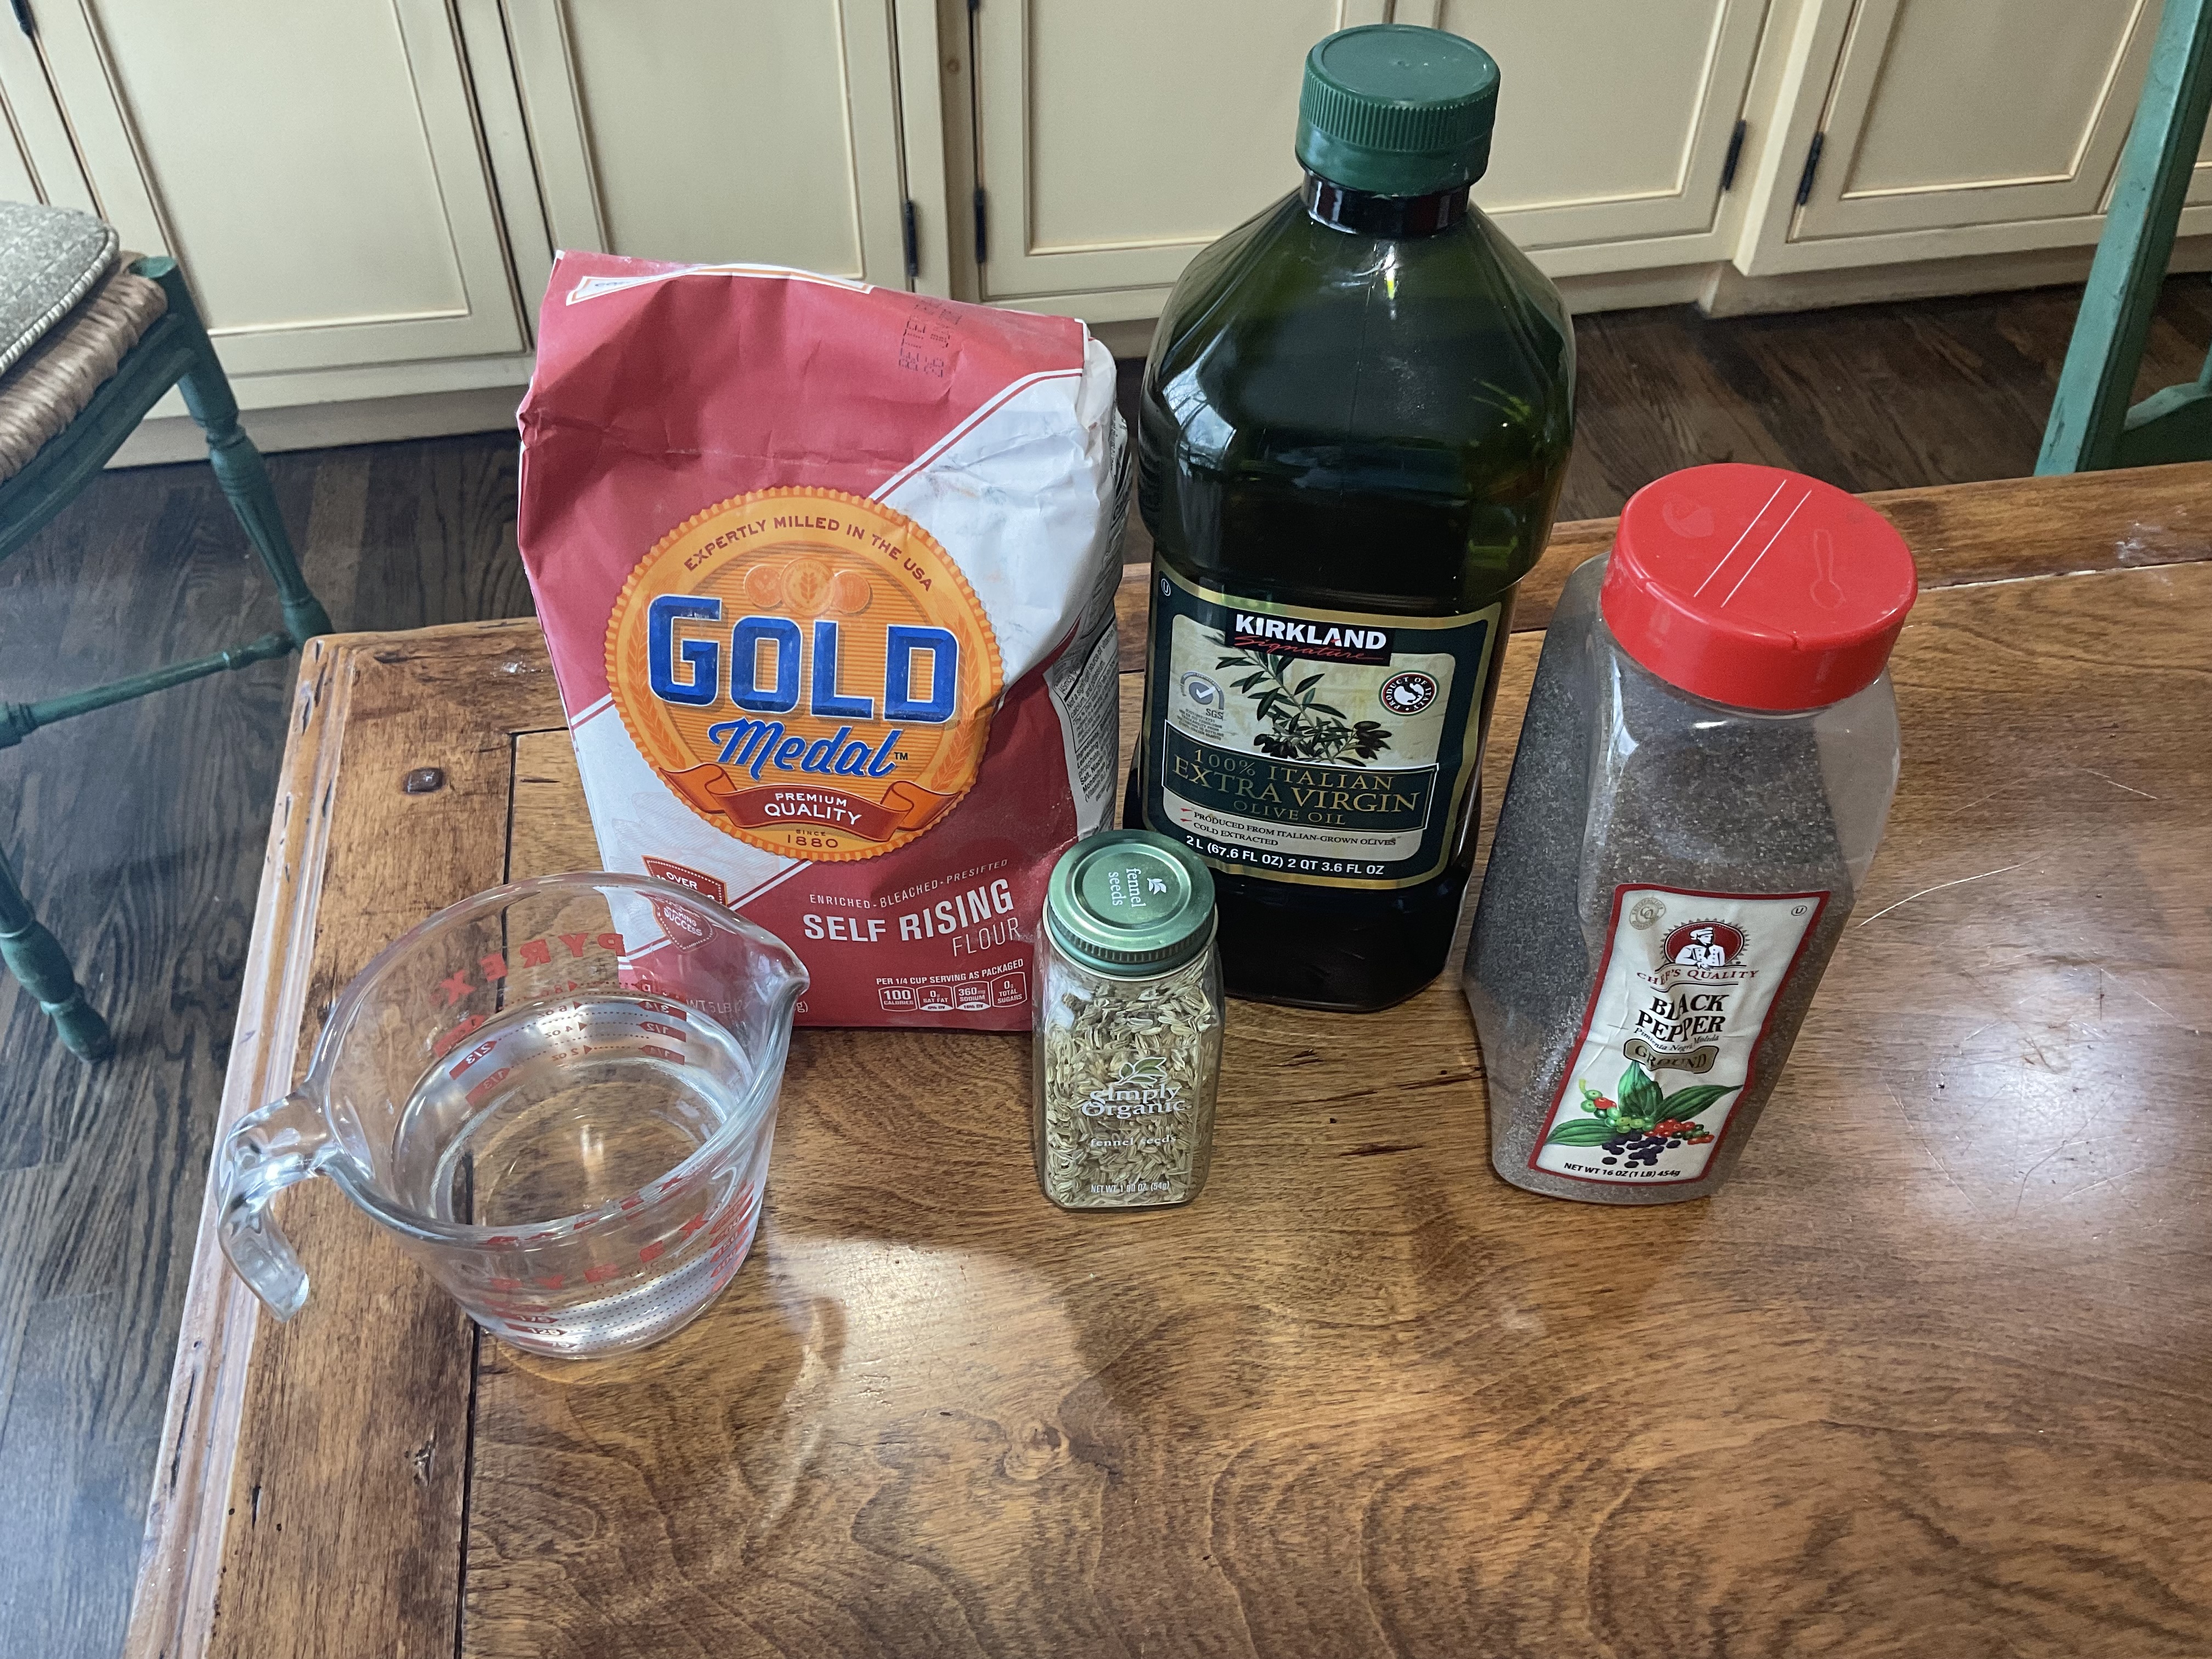
3 Cups Self-Rising Flour
2 Teaspoons Black pepper
2 Teaspoons Fennel Seed
Mix the above in a large bowl
Then Add
3/4 Cup of oil ( any kind…I used olive oil)
1 Cup Warm tap water
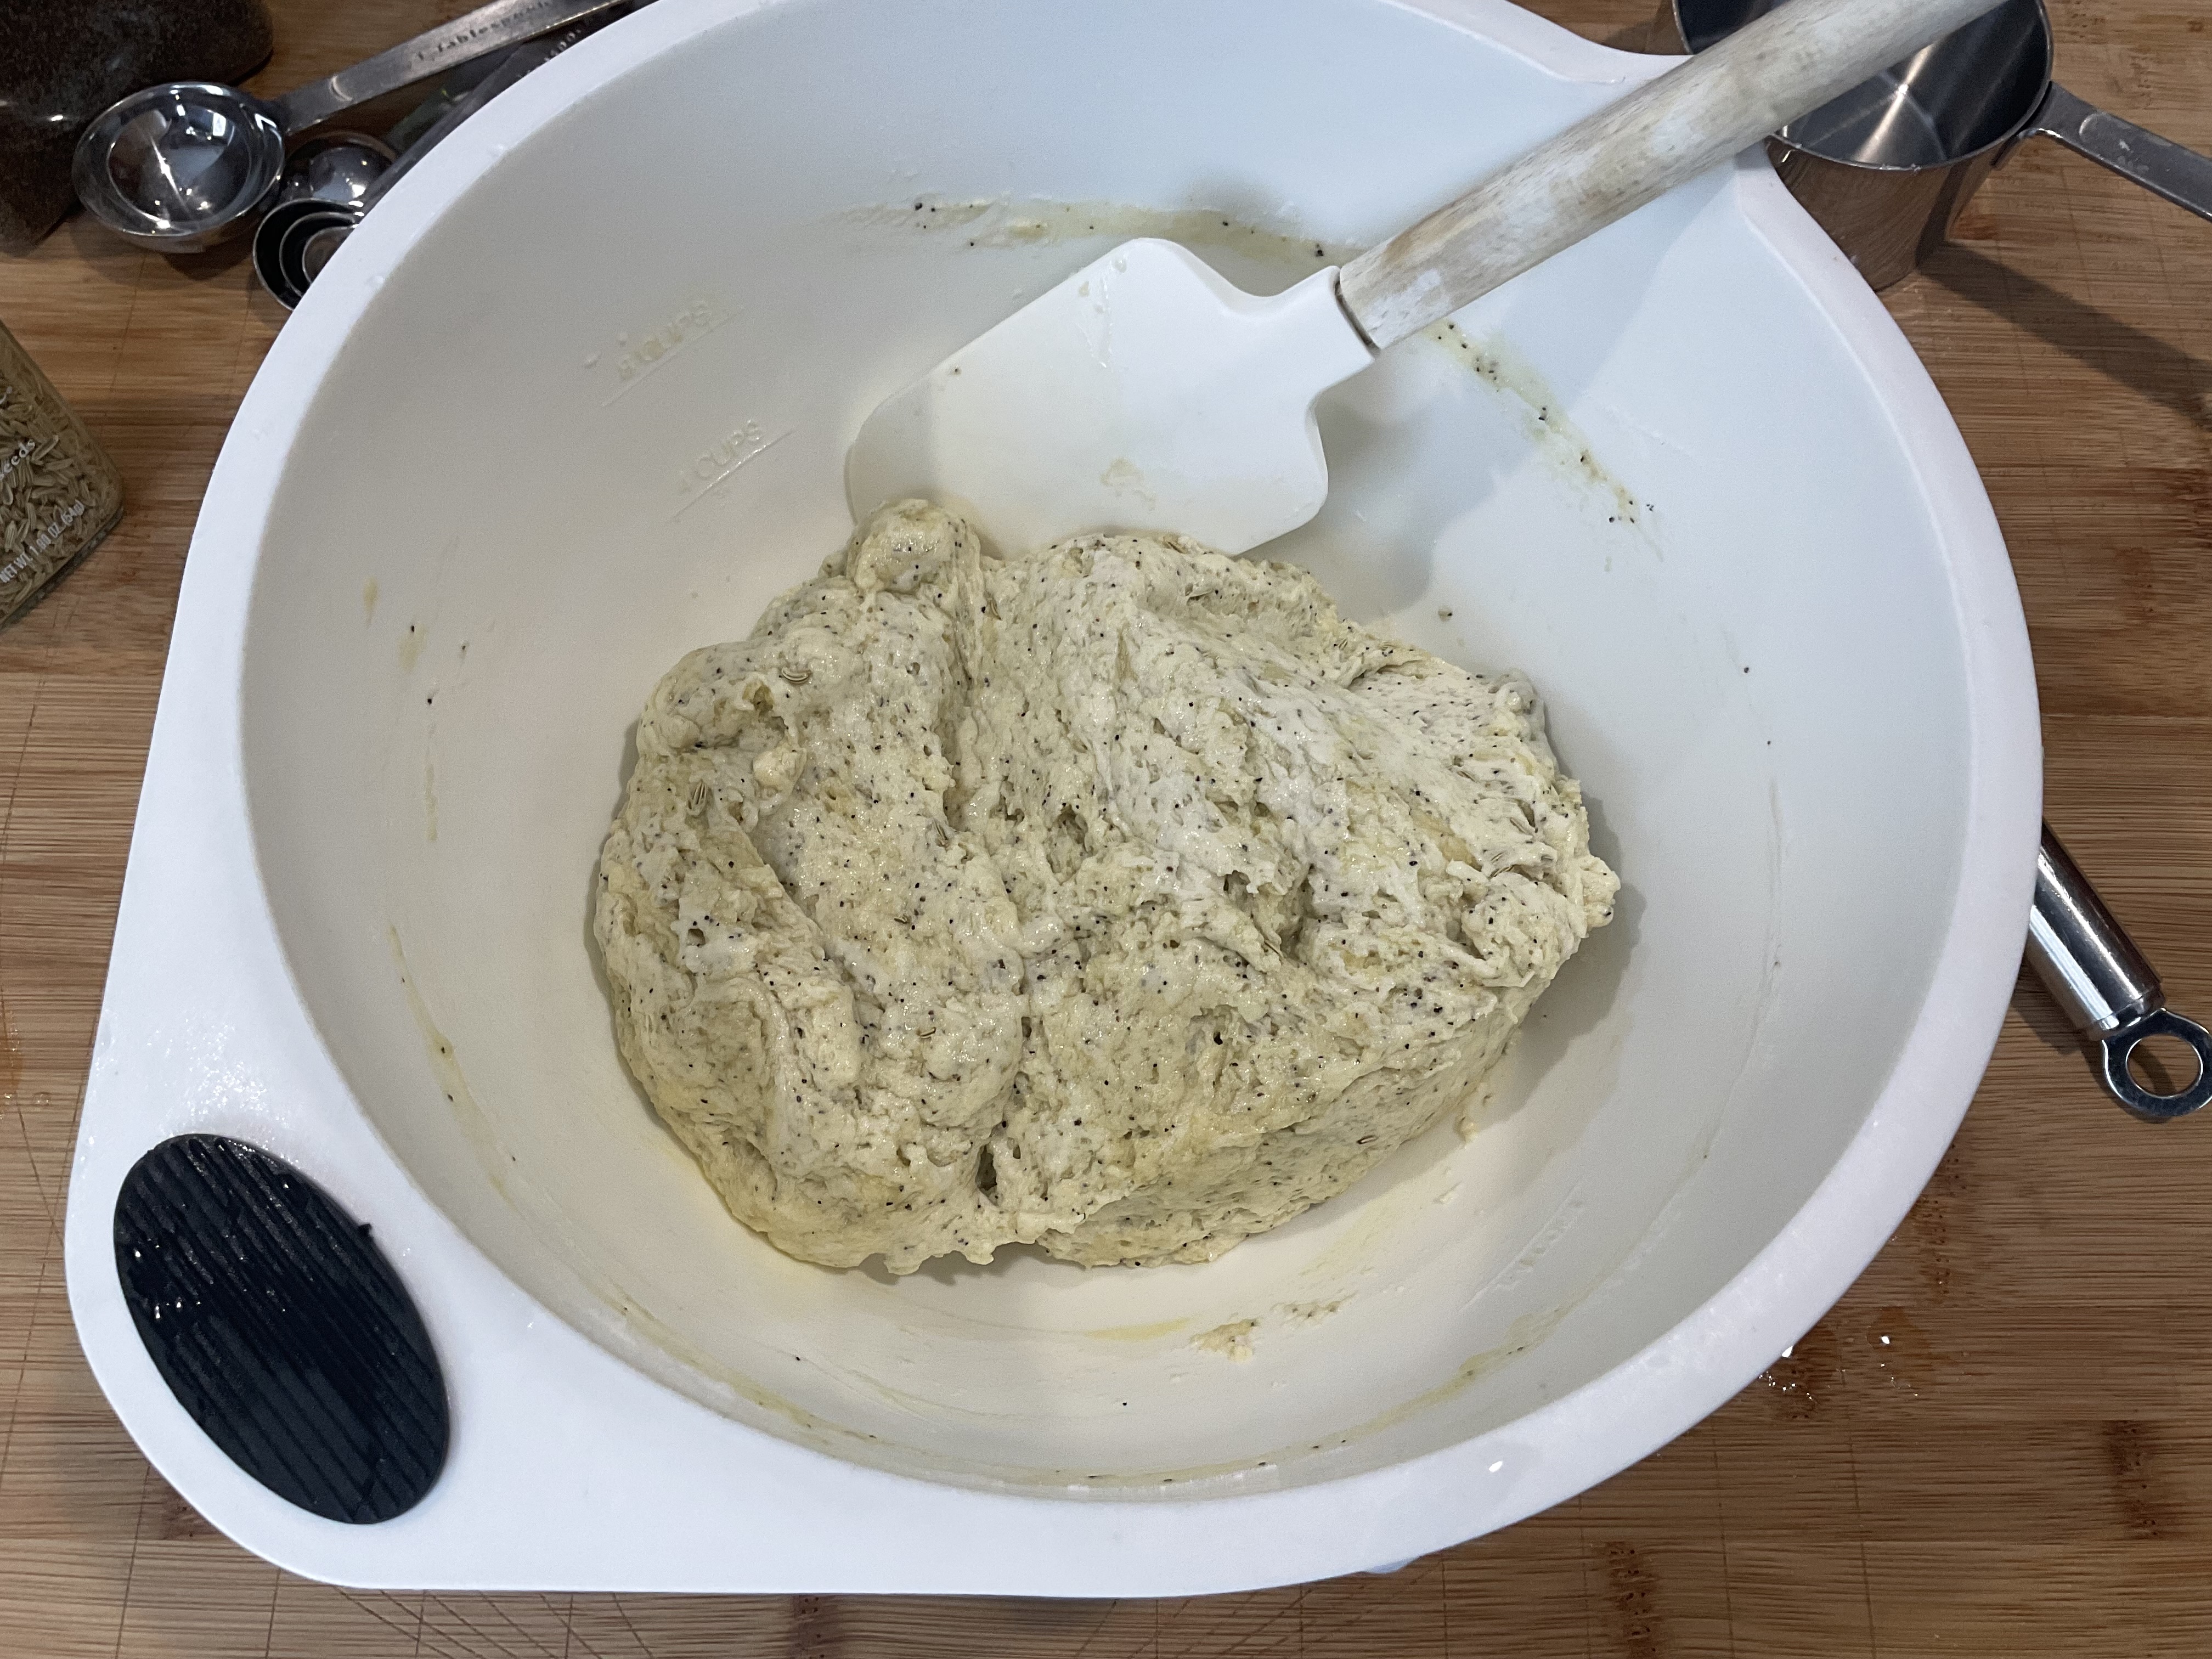
Mix it all together
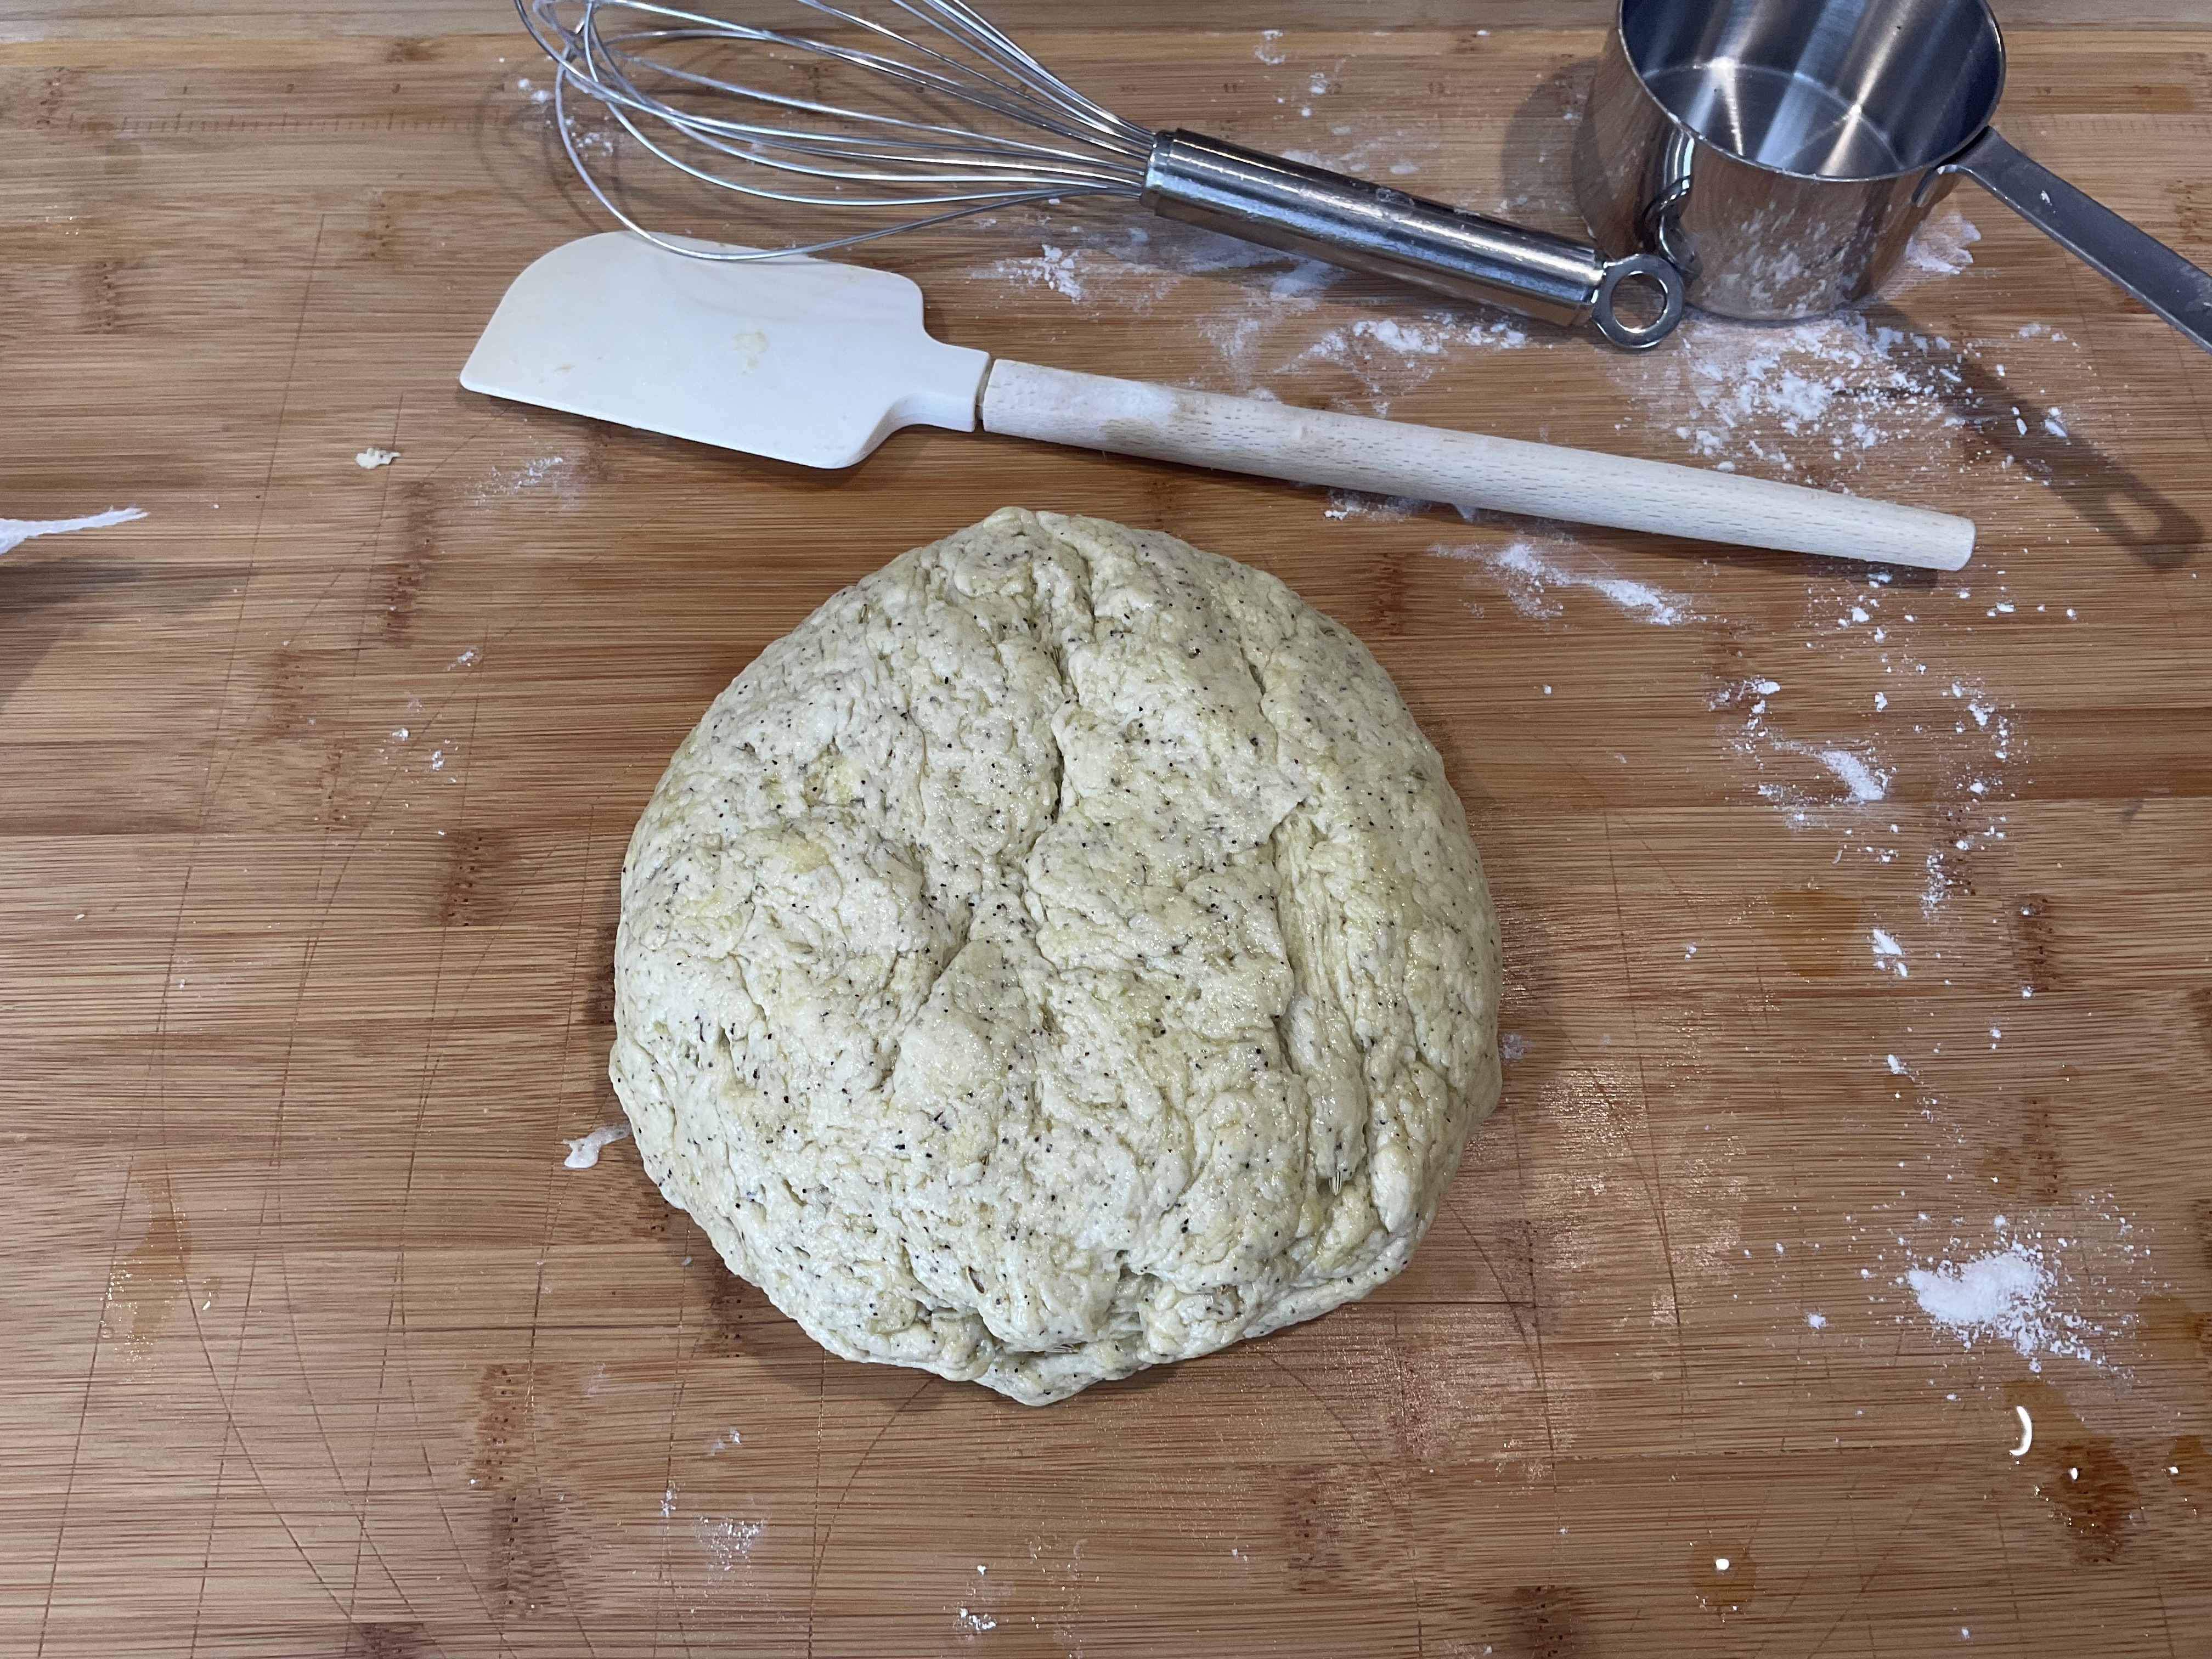
Kneed it for a bit, just until nicely combined.
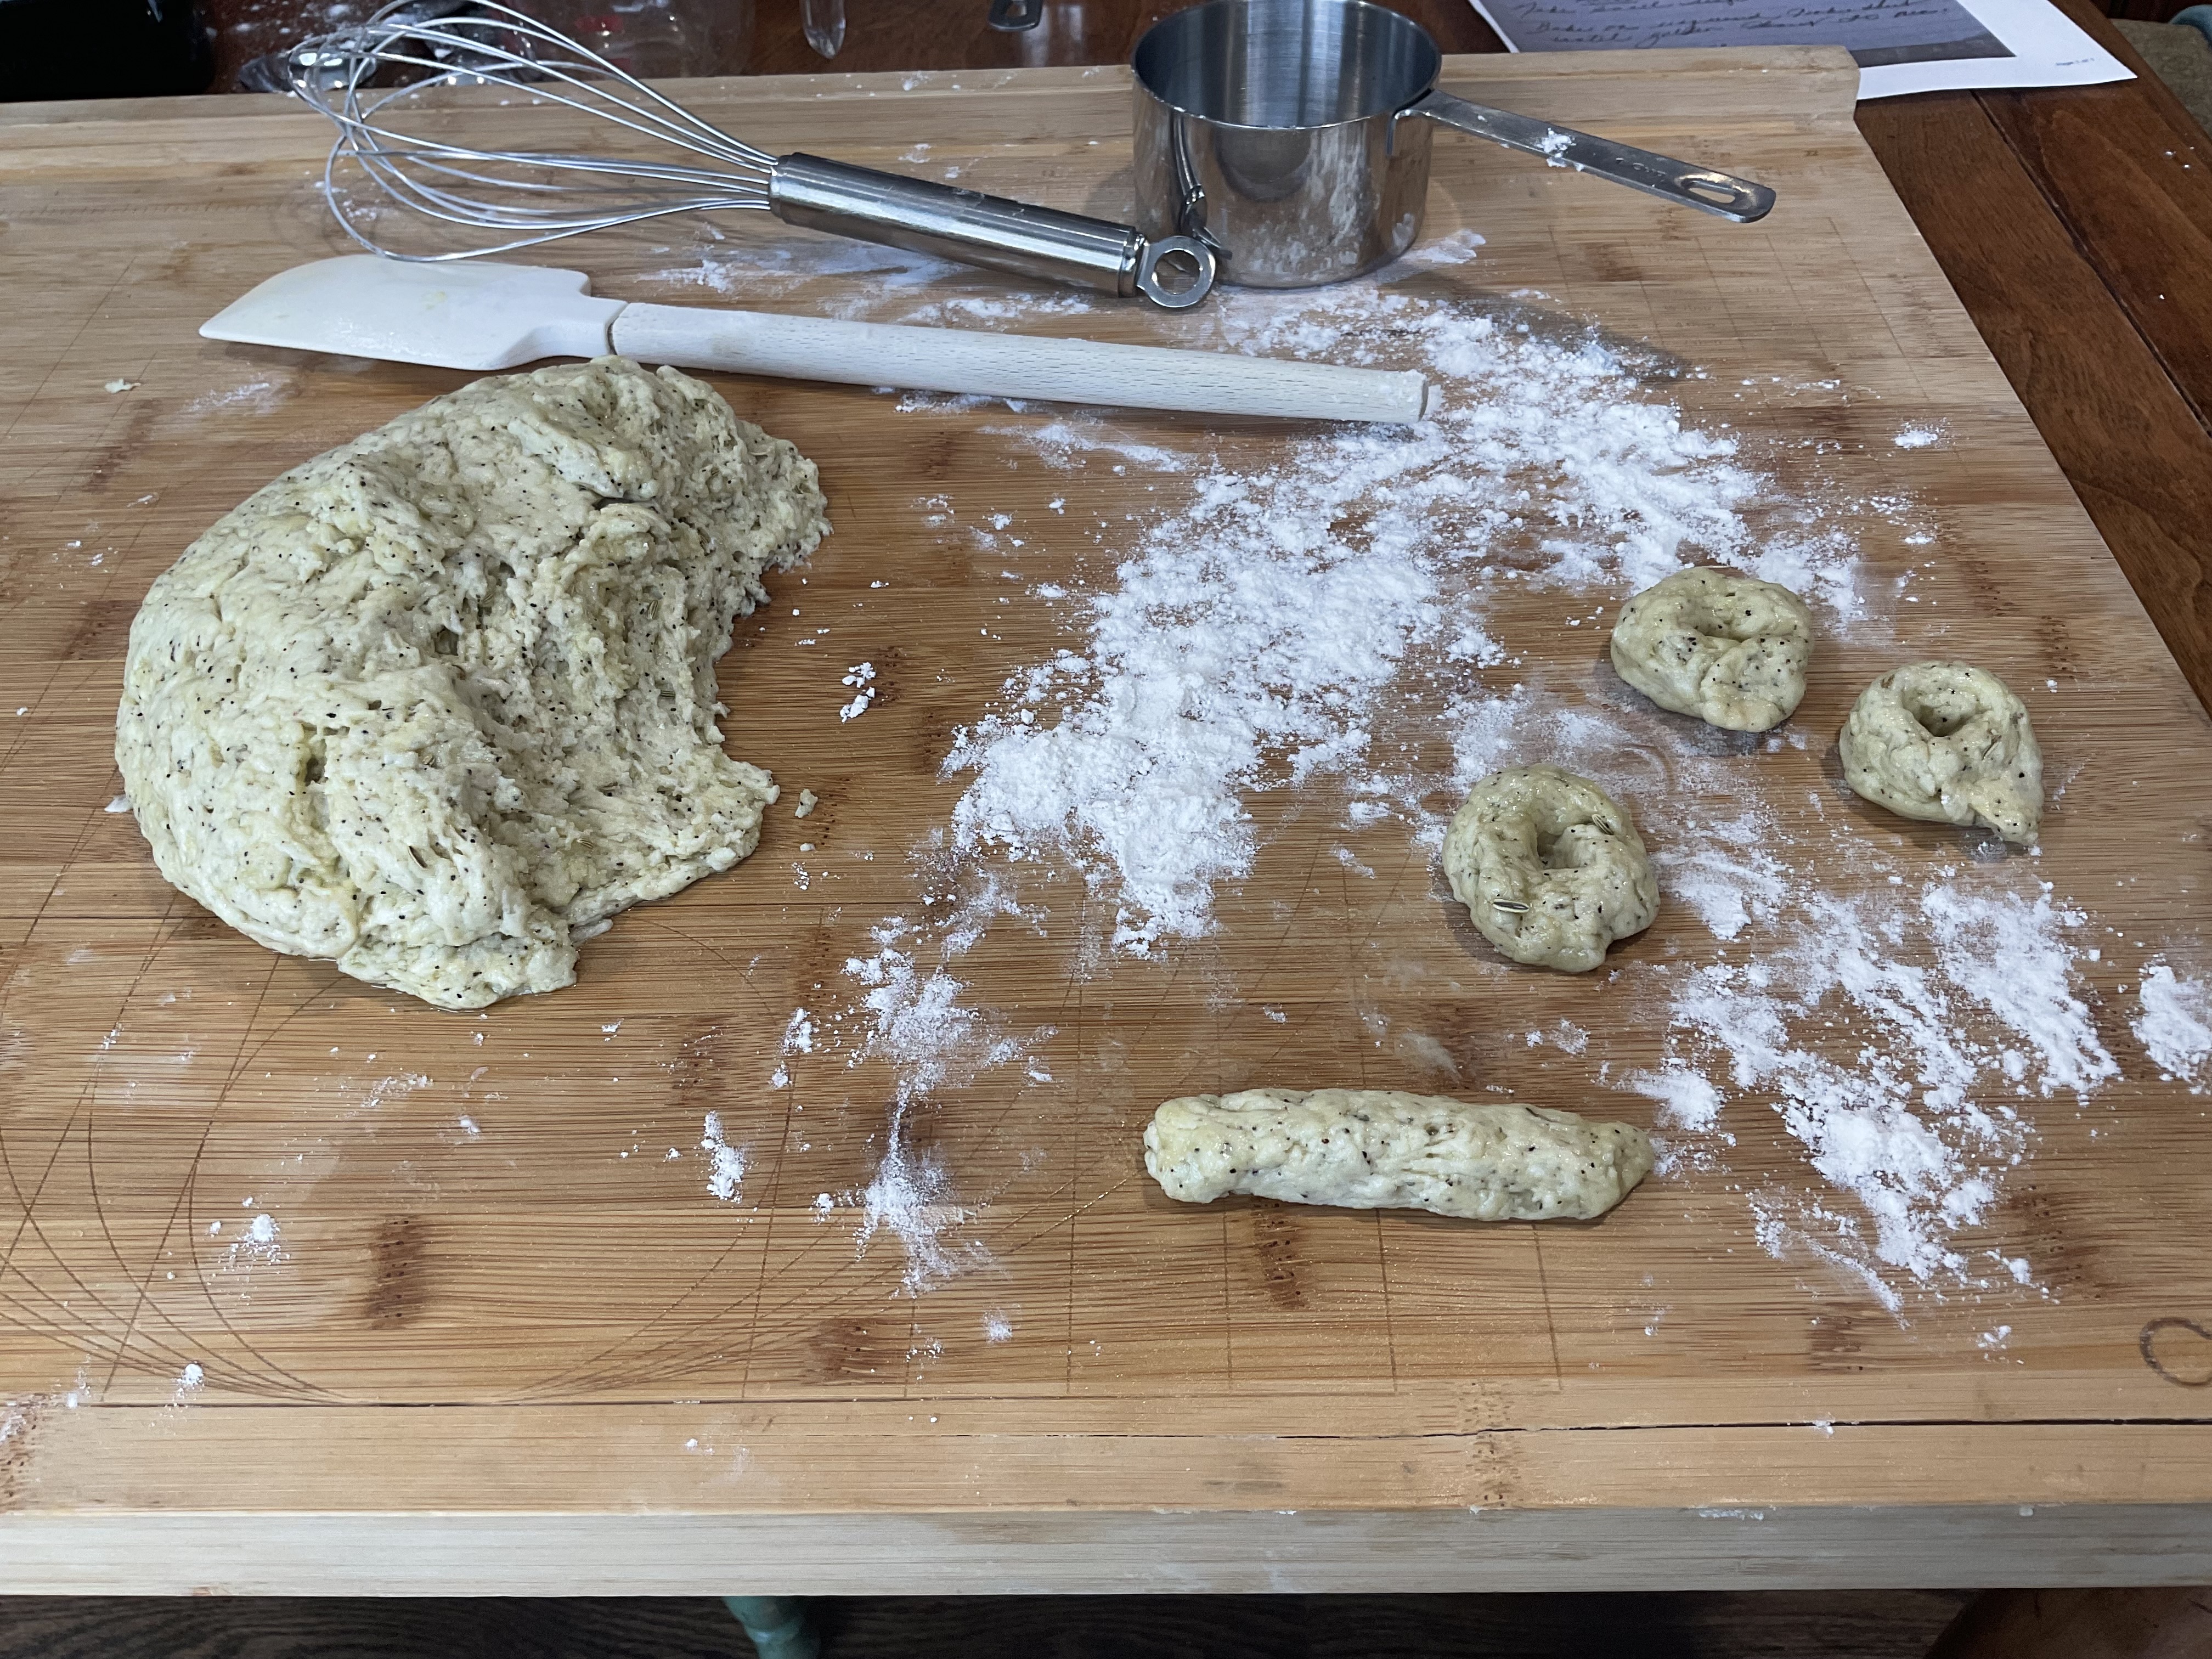
Make small rings
Bake on an uncreased cookie sheer until golden, about 20 minutes.

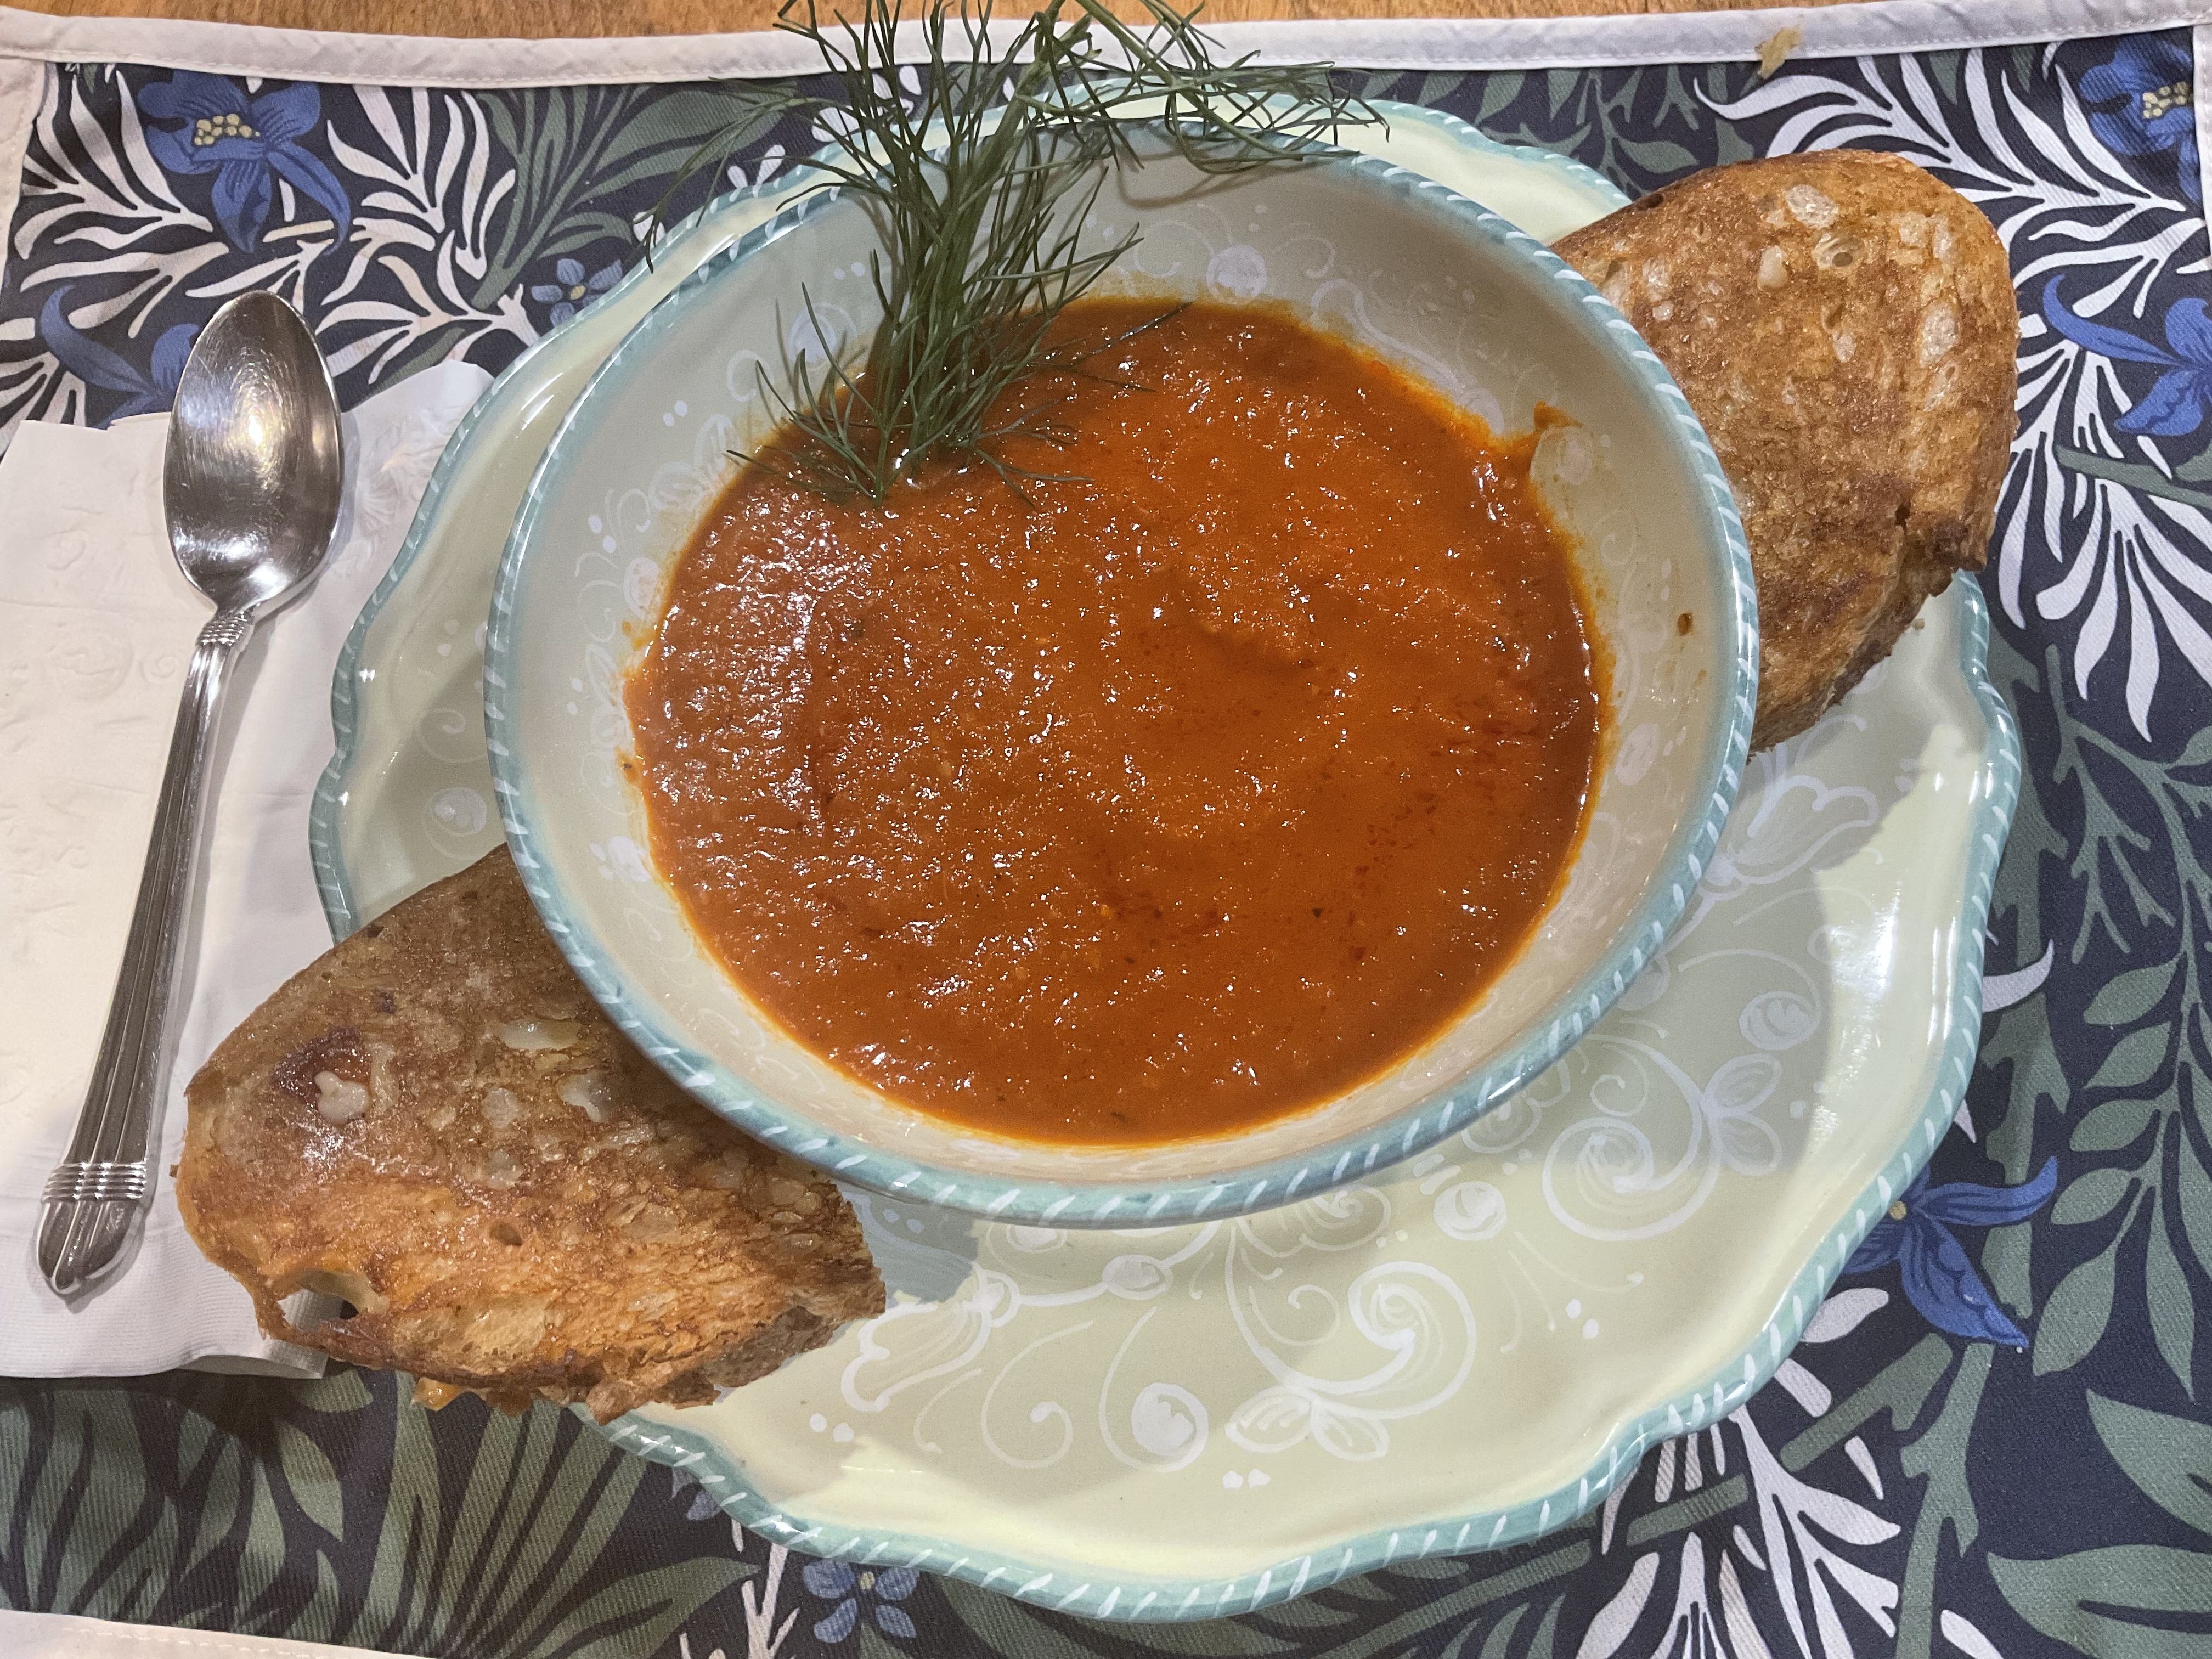
On these cold winter days, who doesn’t have the memory of a piping hot bowl of tomato soup and a grilled cheese sandwich? This was my favorite lunch during the winter months. We walked home from school for lunch when I was in grammar school, and on the cold, blustery days, I loved walking into the house and smelling tomato soup cooking on the stove. Yes, it was Campbell’s, and yes, there was always a grilled cheese sandwich to accompany it. Our cheeks matched the soup.
Over the years I have tried to make homemade tomato soup, and had not been tremendously successful…..until I came upon this recipe on one of my favorite blogs, “The New Vintage Kitchen.” I highly recommend that you check out this blog. It’s lovely and full of wonderful recipes. What drew my attention to the recipe was that she used fresh fennel and fennel seeds. Perhaps this was the ingredient that would make the difference. I just had to try this, and indeed it is one fabulous tomato soup!
I have made this soup several times as it’s been that kind of winter here in New Jersey. If you are experiencing a cold winter anywhere, you will want this in your repertoire. It is indeed soup season, and this one is a must. It makes a large pot of soup and is fabulous left over. I added rice and cannellini beans to it the next day, and that was very enjoyable and hearty.
I hope you enjoy, and it warms you inside and out.
Recipe:
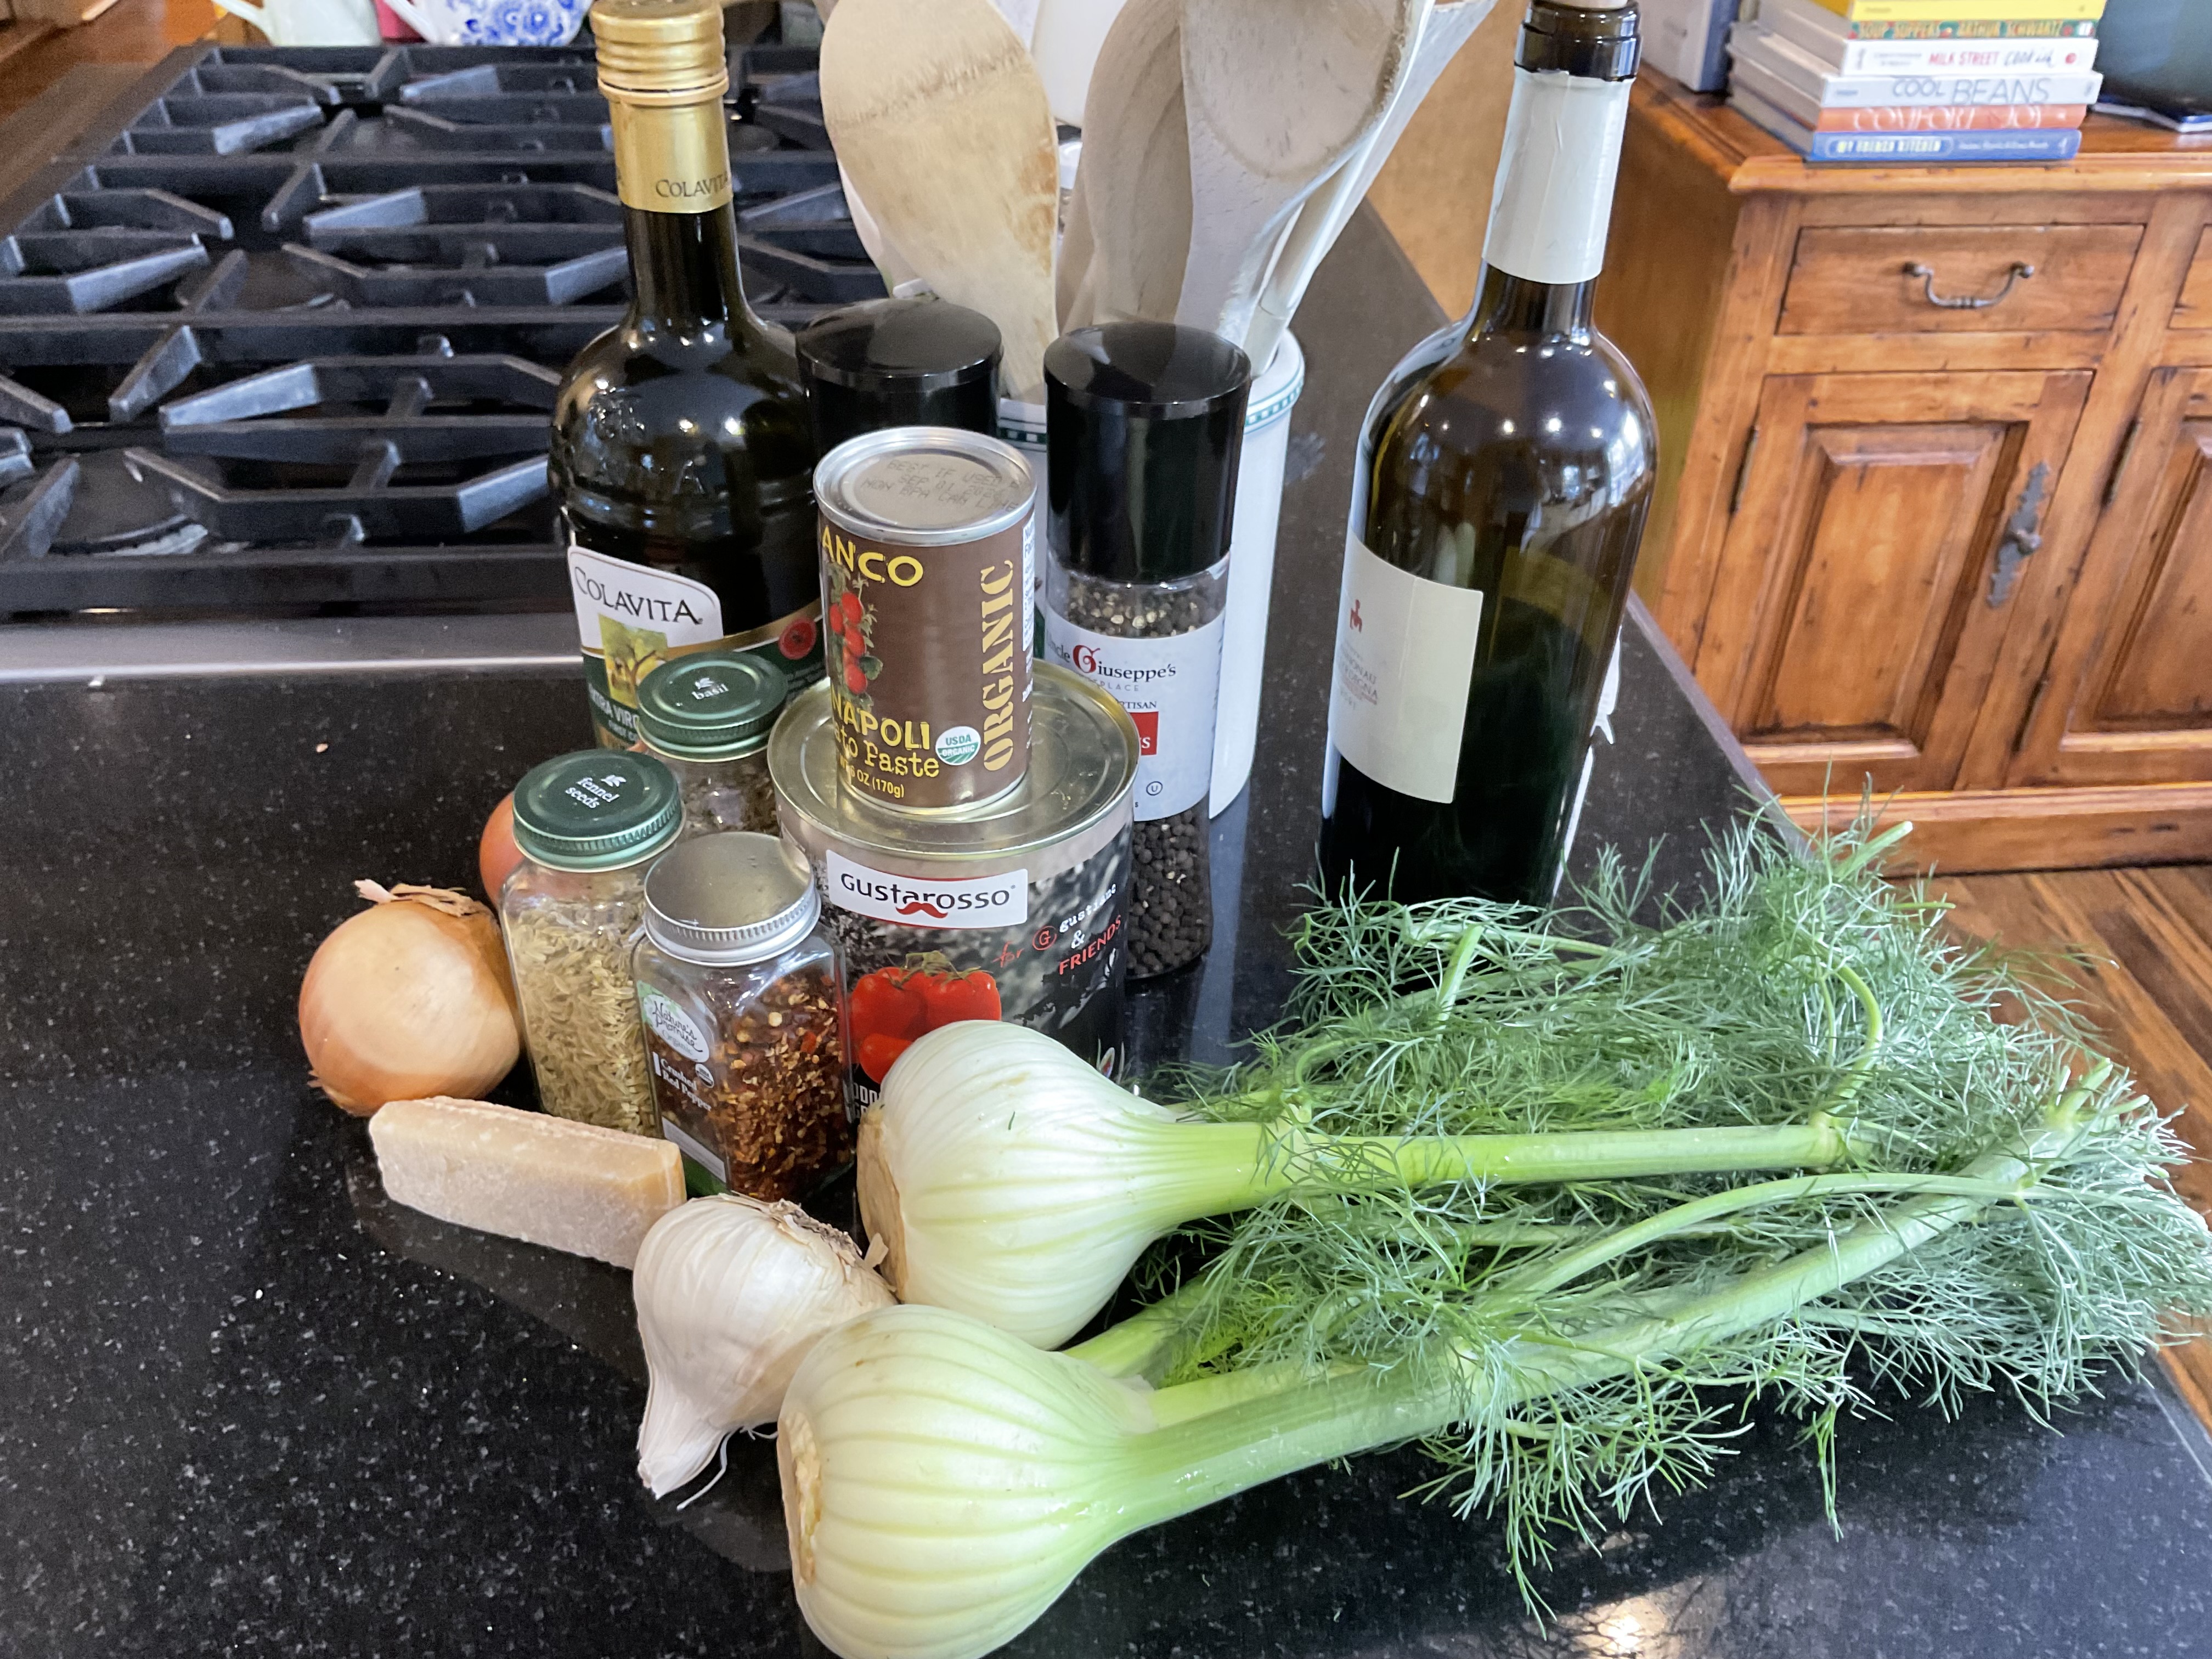
2 Tbsp. extra virgin olive oil
2 cups diced onions
1 large (or two small) fennel bulbs, about 2 cups diced
1 tsp. fennel seeds
4 cloves garlic, minced
1 tsp dried basil
1/2 tsp or more crushed red pepper flakes
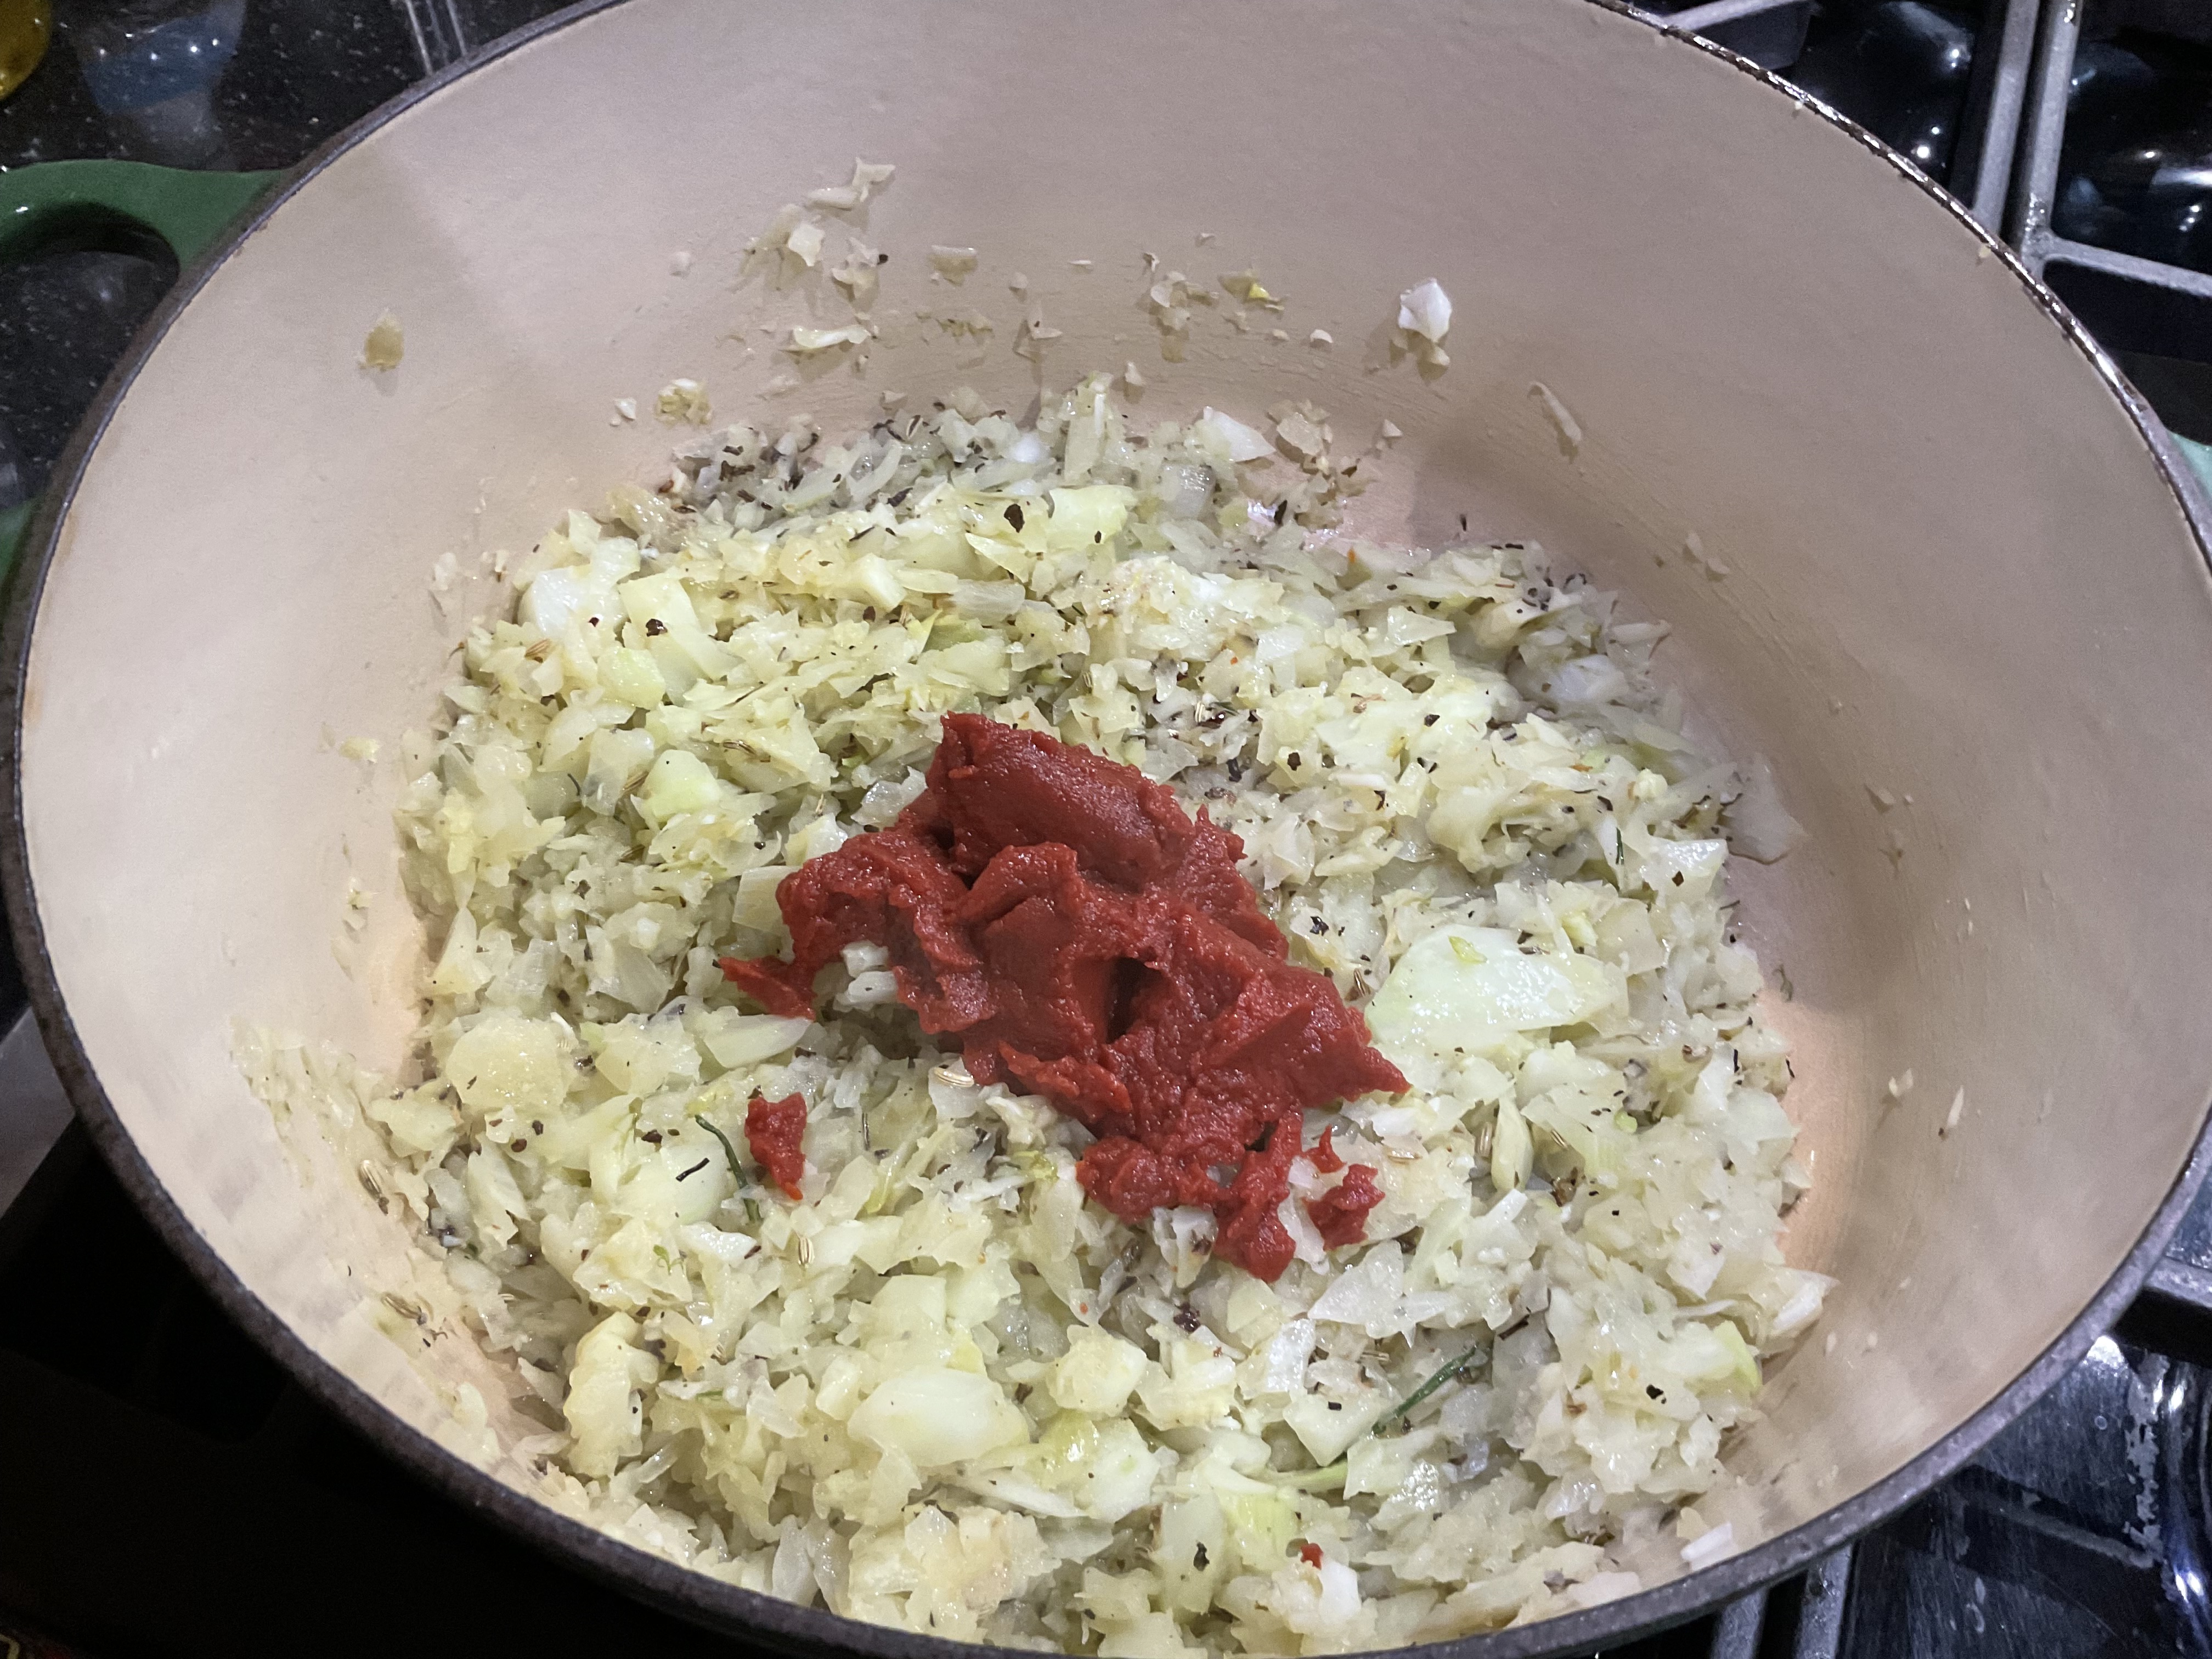
6 ounces tomato paste
28 ounces canned whole peeled Italian tomatoes
24 ounces strained crushed tomatoes or tomato juice (I used Mutti passata)
6 cups water
Parmesan rind if you have it
splash or red wine , if you have it or 2 TBSP wine vinegar (you know me, I used a big splash of wine)
Fresh basil for garnish, if you have ( I didn’t)
** I think the gist of this recipe is that after following the basic recipe, you can adjust a few things to make it as you remember, or just how you’d like it to taste. There’s always room to make new memories.


We are just about a month into our new year’s resolutions, and I for one, am happy that I didn’t make any. Just listening to all the deprivation and fitness goals was enough for me to say, “the heck with it.” It seems to me that we are always wanting to change ourselves once a new year is upon us. Change certainly can be good, but lately I find myself looking backwards to a simpler time or at least that’s how I remember it.
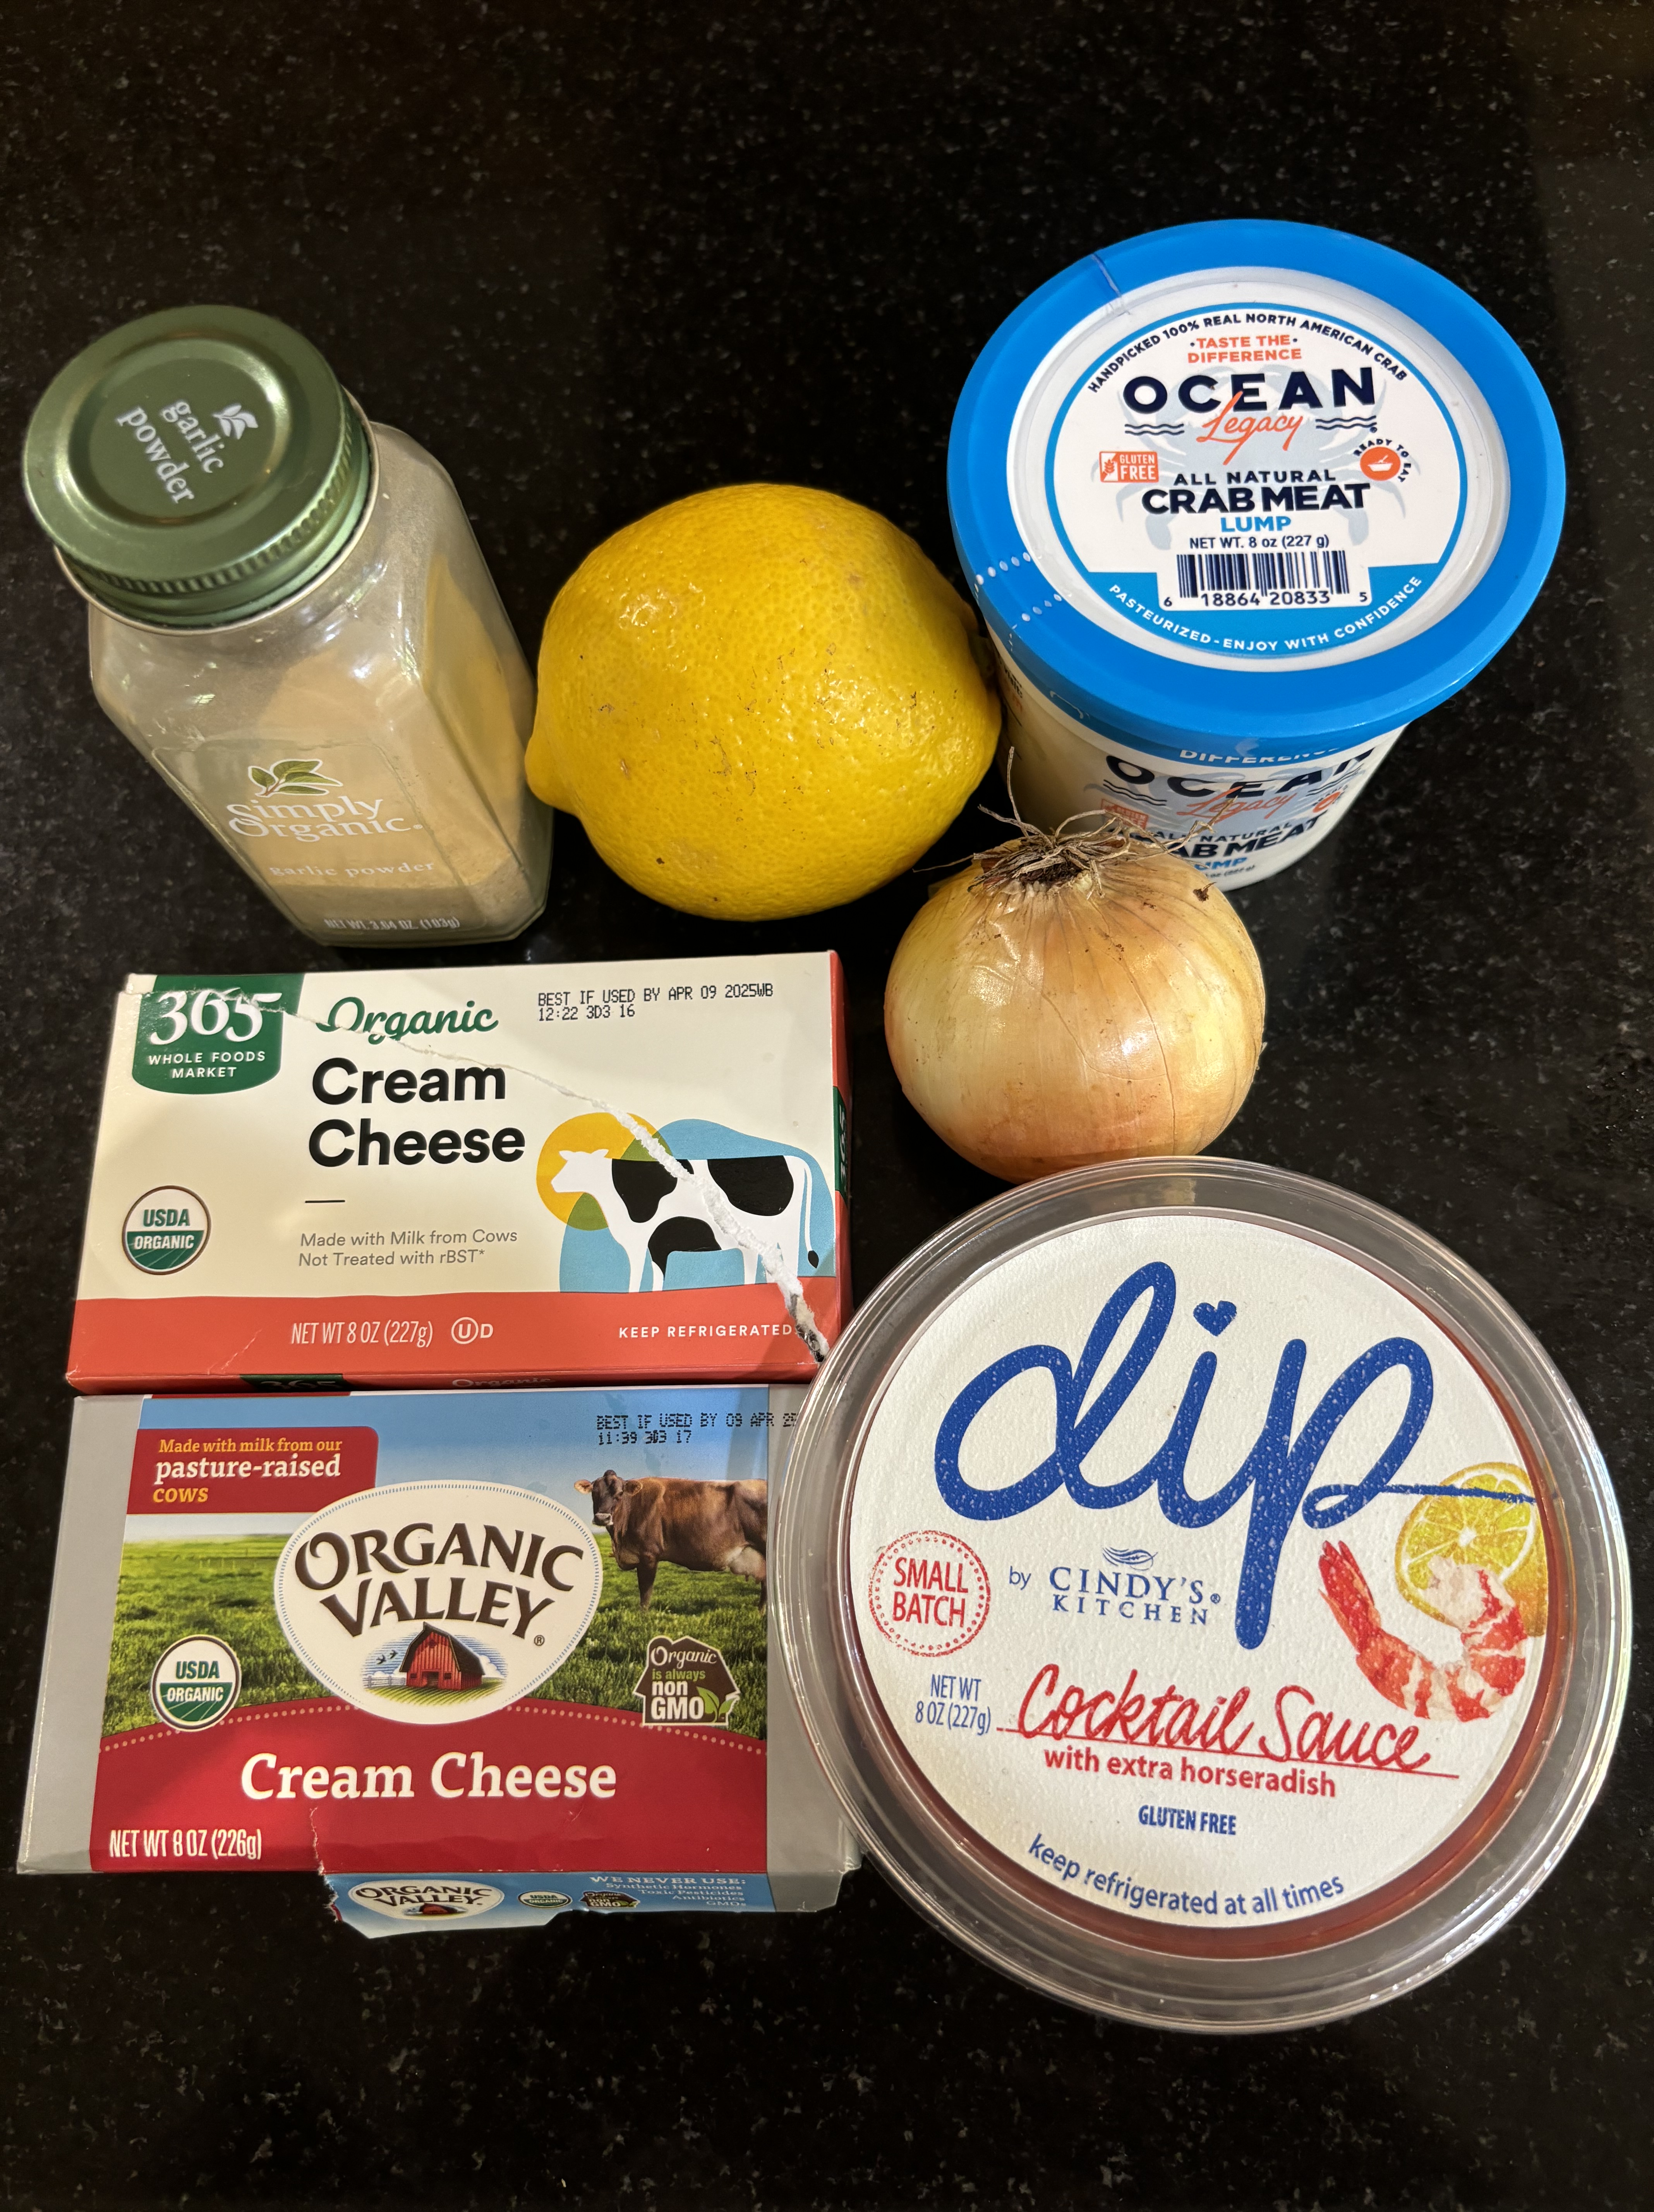
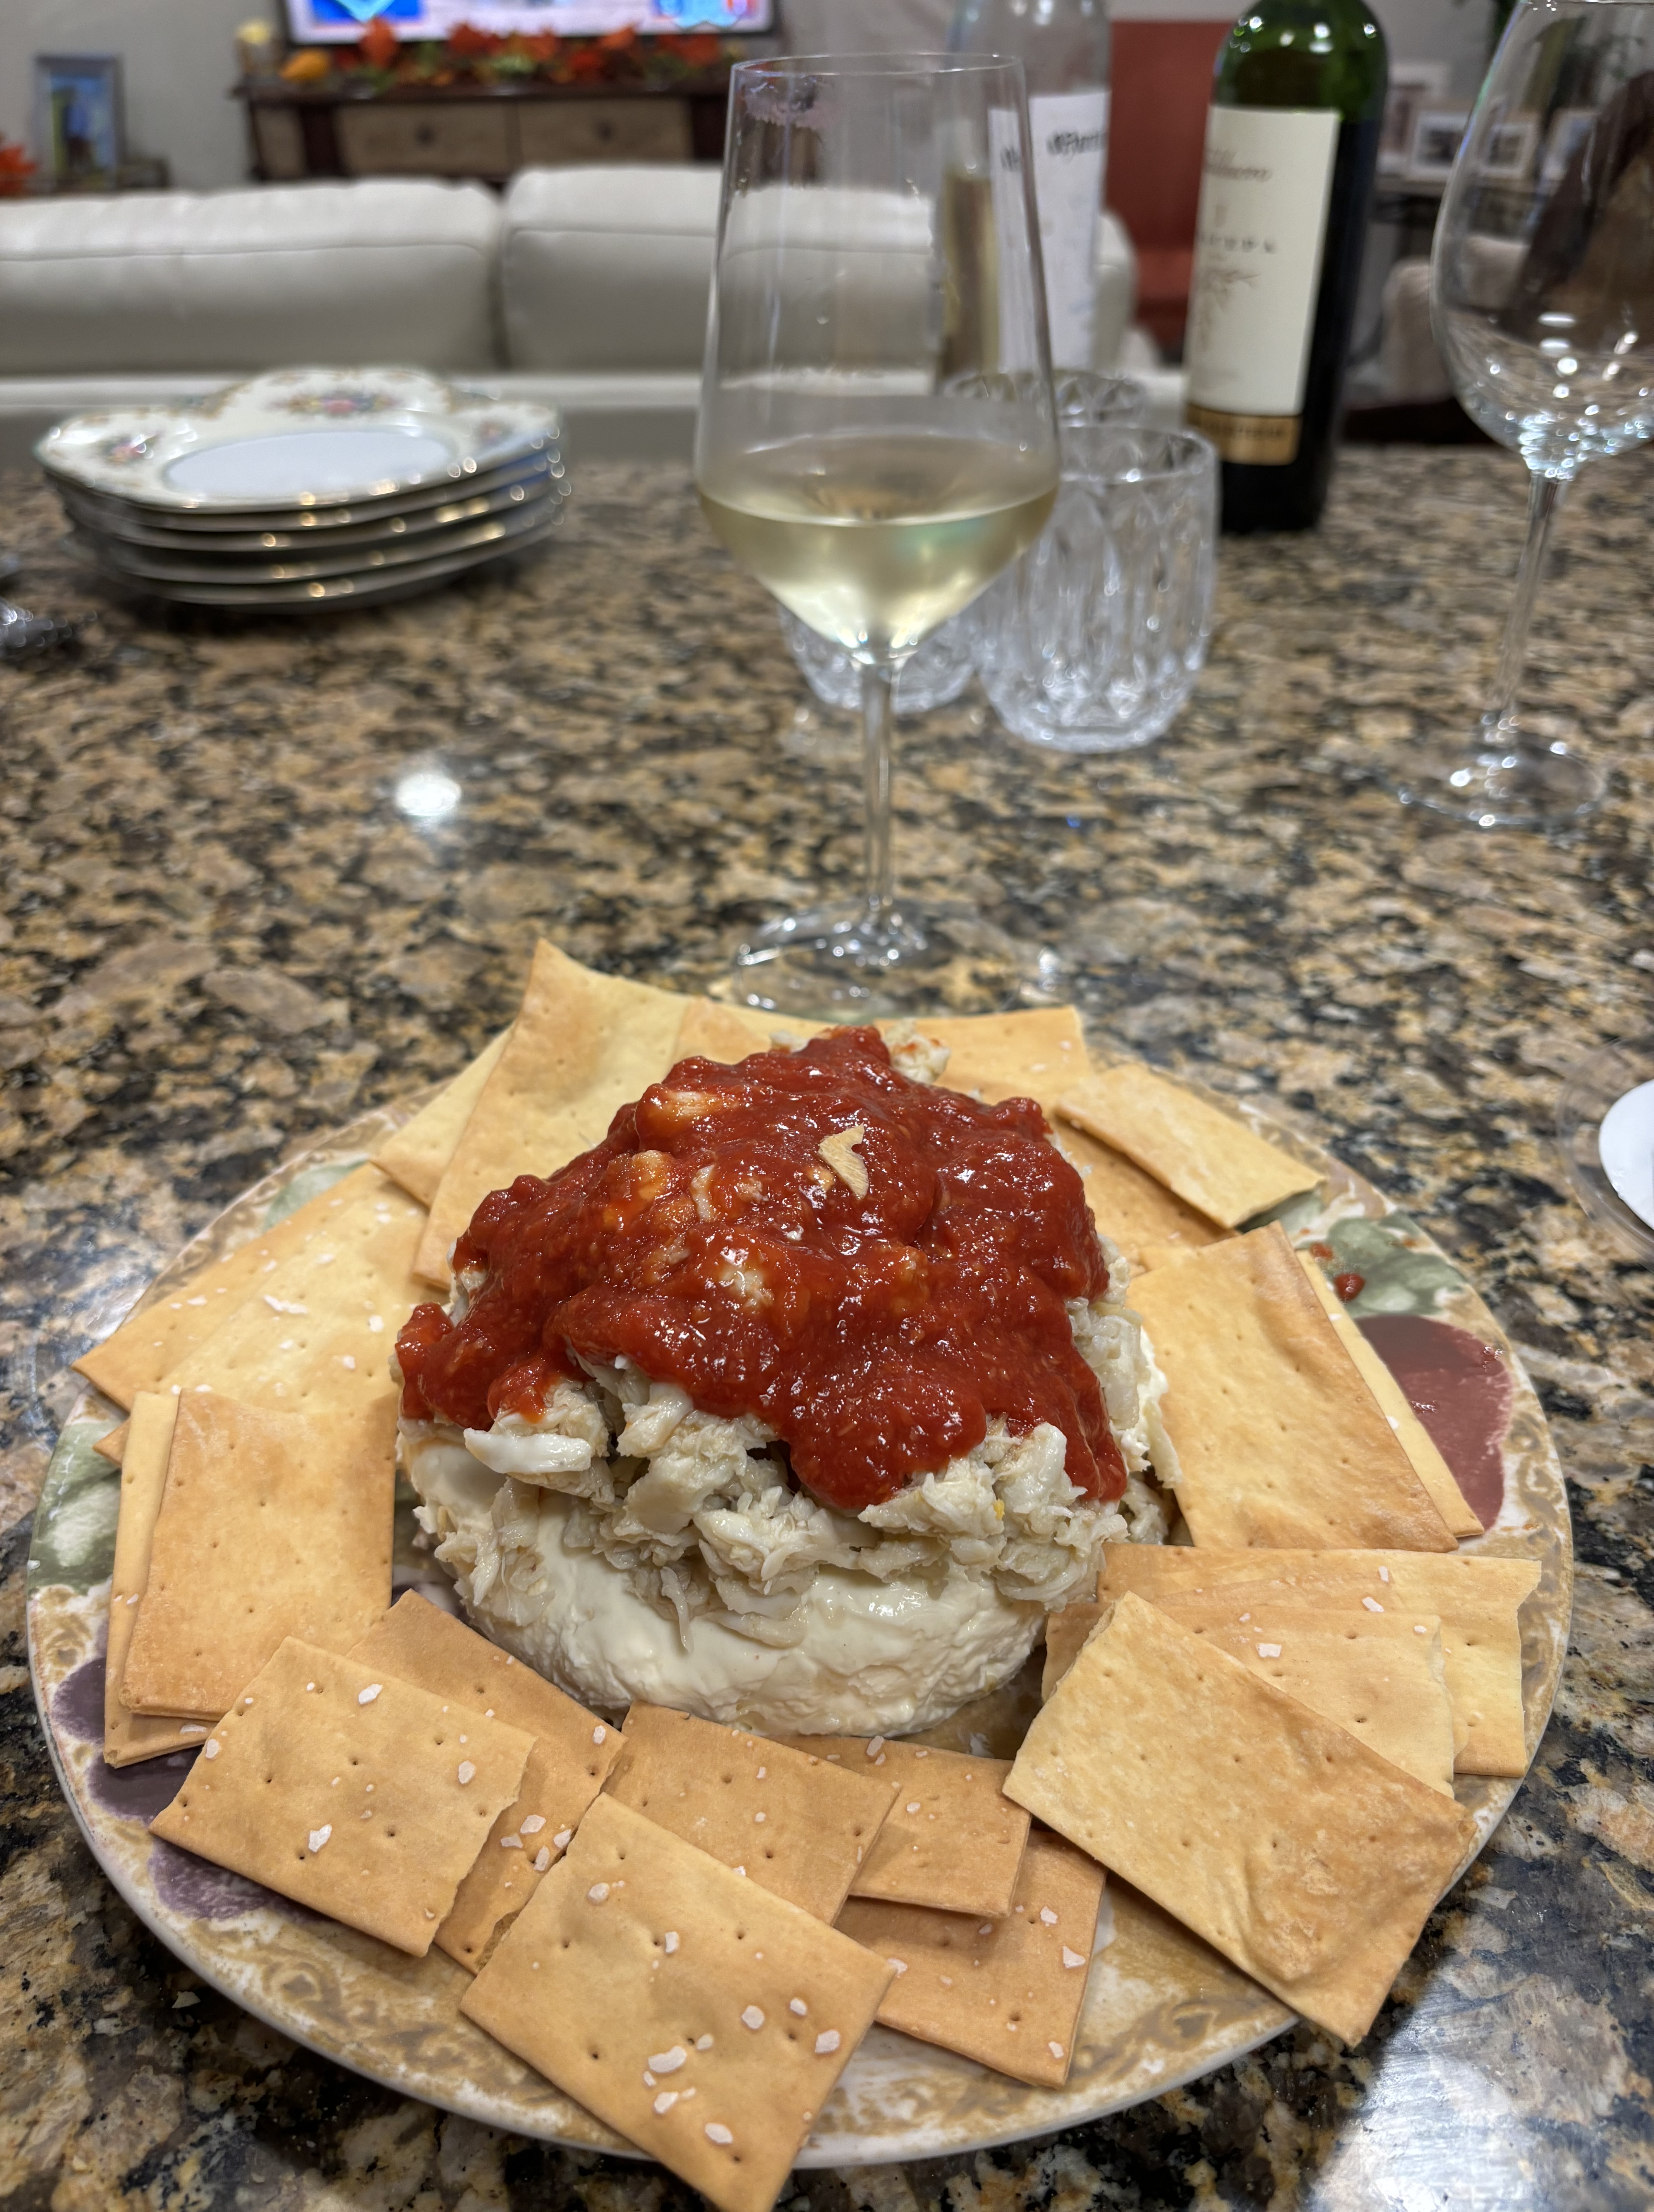
I find this to be true with cooking as well. I want to keep it simple most of the time, and I love looking back in my recipe files for such recipes. When I came upon the recipe I’m going to share today, I was overcome with warm memories. I can see a young version of myself, enjoying Diane’s crab appetizer in the warmth of her kitchen, with a blonde toddler racing around us in a toy firetruck. With a pen and index card in hand ( it sounds archaic doesn’t it?), I wrote down her recipe almost 40 years ago. It has stood the test of time. It’s delicious and simple to make. I wouldn’t change a thing.
Recipe:
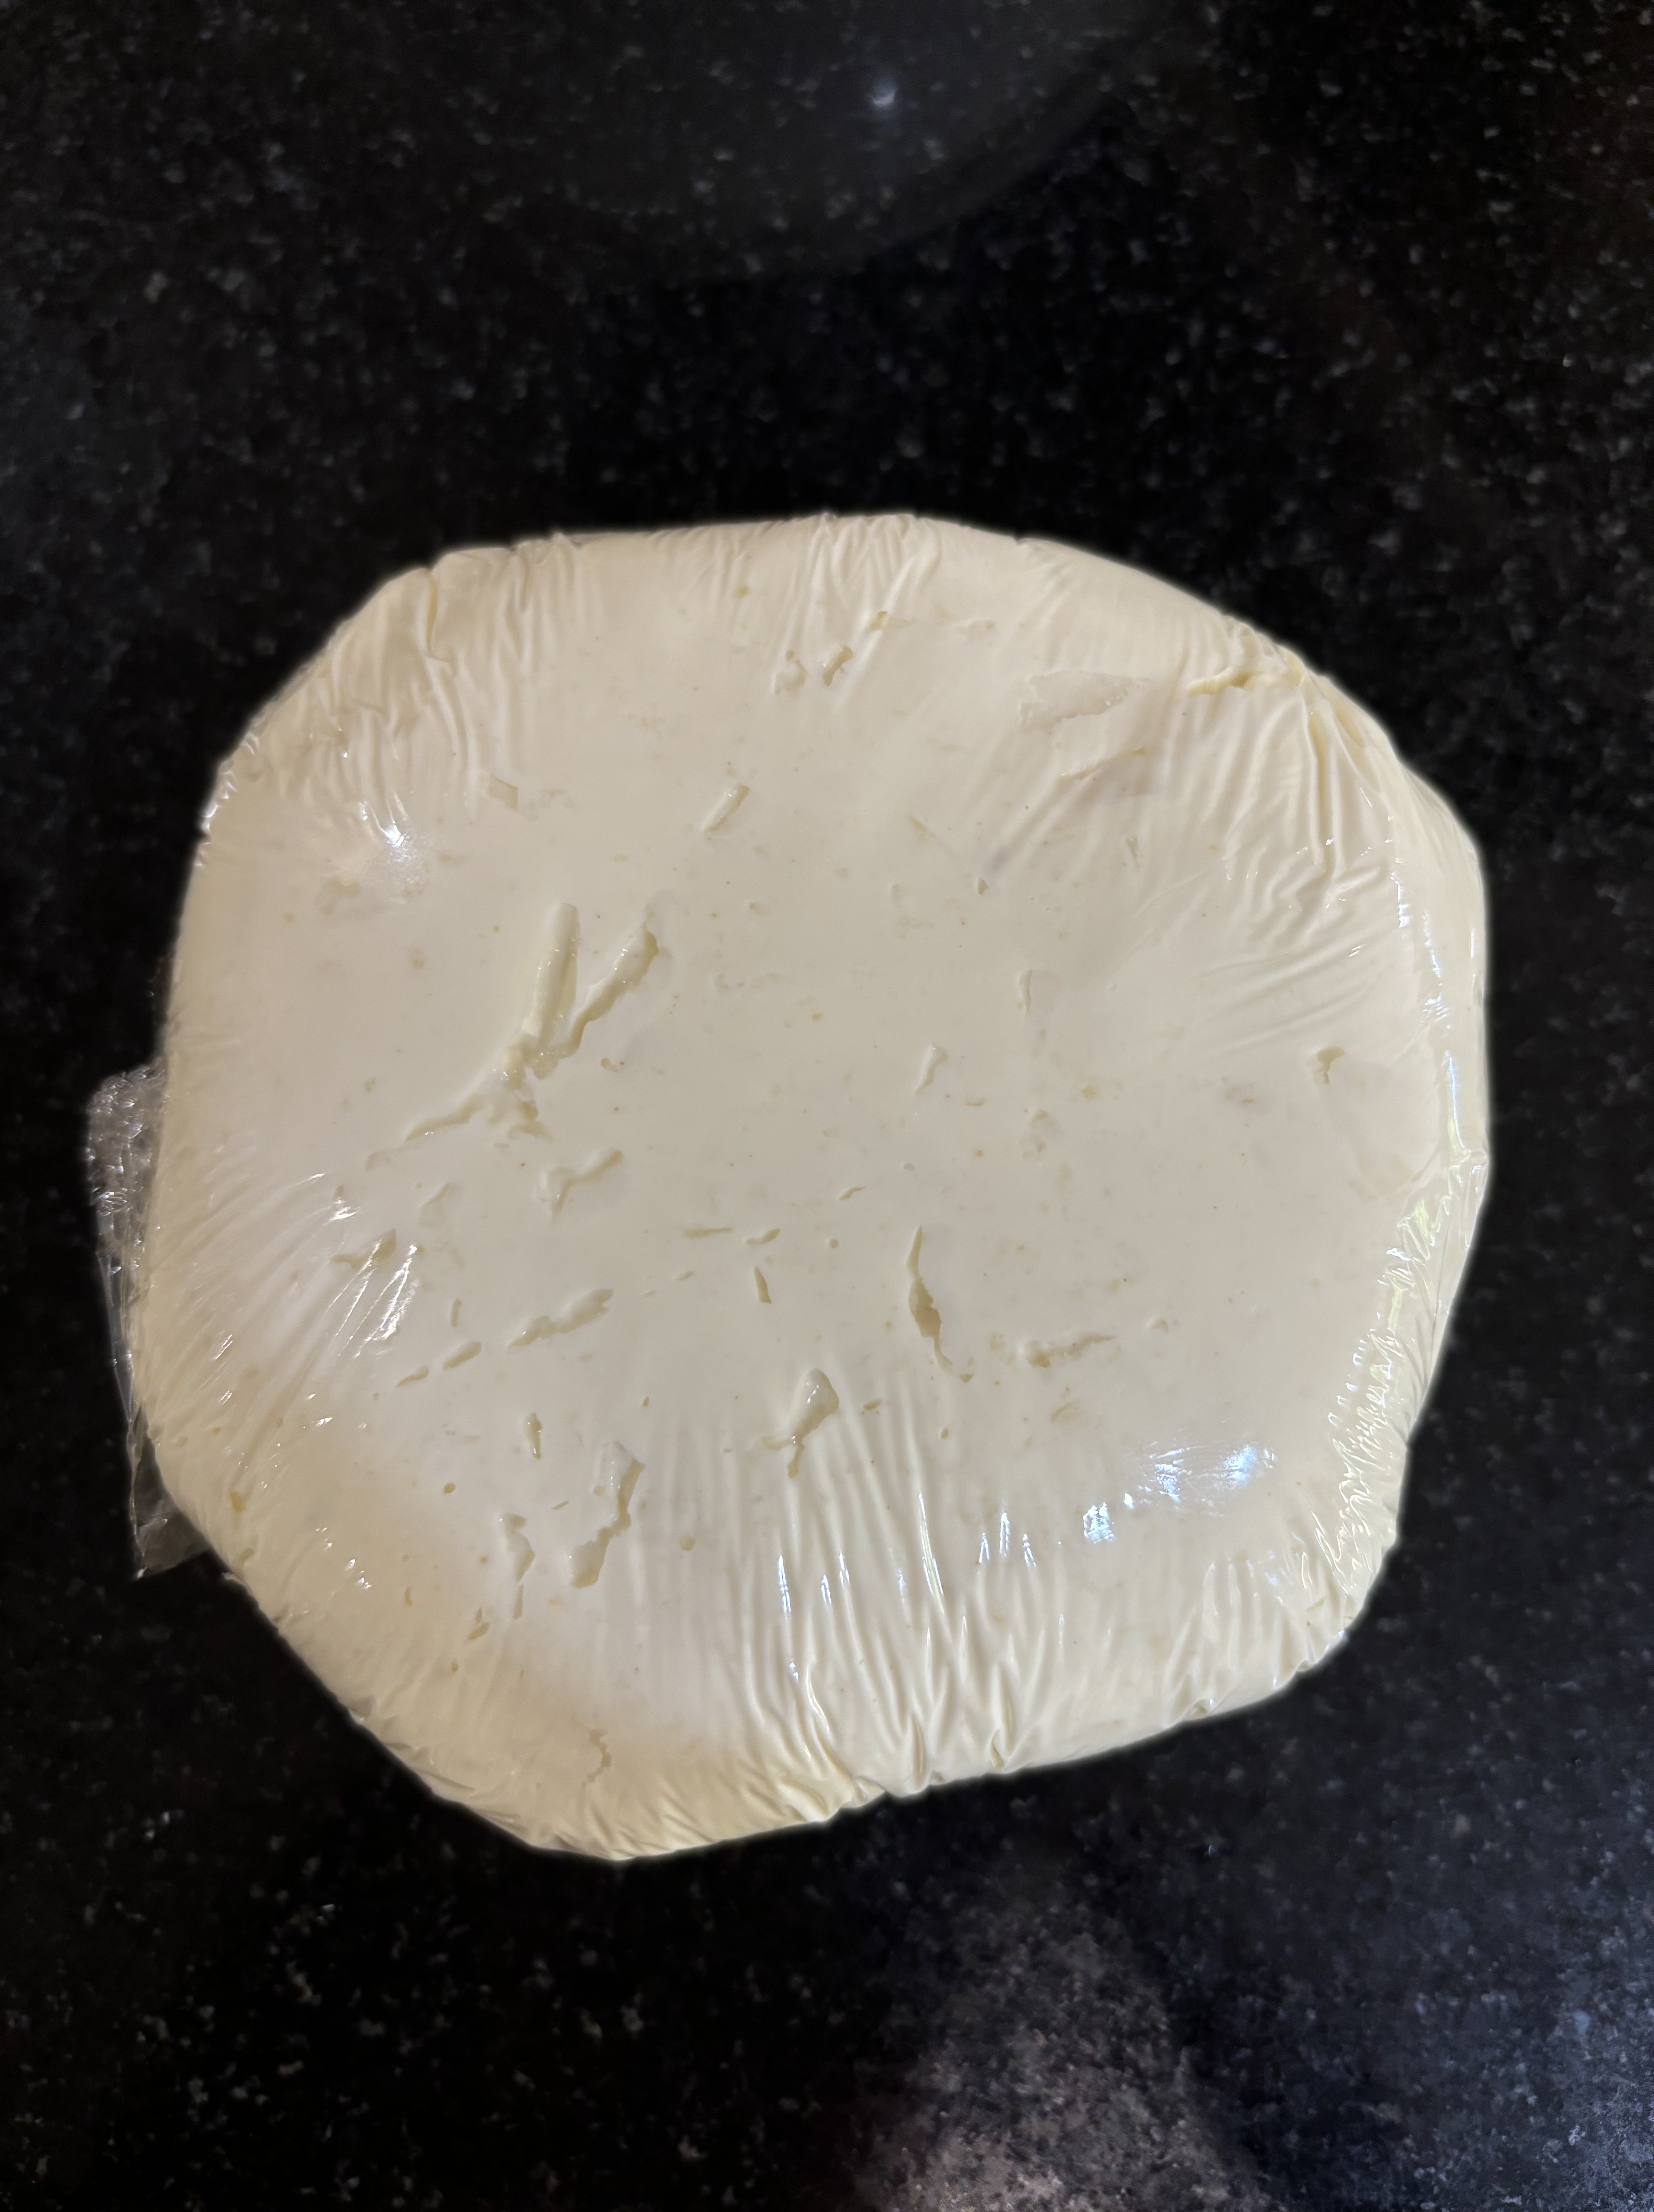
2 8 ounce packages of cream cheese
1 can (8 ounces) white lump crabmeat
1/3 cup finely minced onion.
garlic powder to taste ( I used 1/4 tsp)
Lemon juice to taste, but at least 1 tablespoon
jar of cocktail sauce
crackers for serving

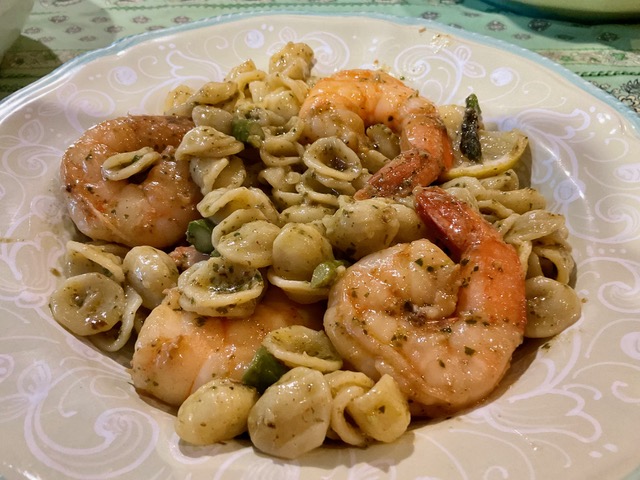
It’s rare for me to make up a recipe as I go along, but I was feeling very secure ….in a culinary way and decided to go for it. I was looking at a handful of beautiful ingredients and decided I couldn’t go wrong putting them all together somehow. I had fresh shrimp, beautiful asparagus from an organic farm, homemade pesto sauce ( made with my own home grown basil), glorious lemons, grass fed butter, my favorite olive oil, and of course, garlic, salt and pepper. Did I forget the wine? I love to cook with wine. Sometimes I even put it in the food.
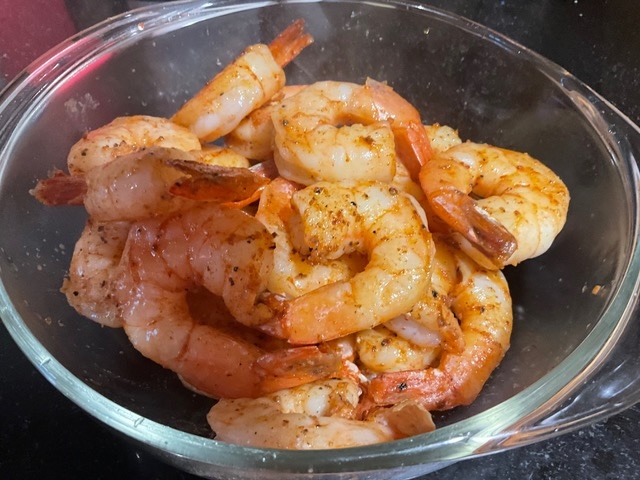
So where to begin? I’m not sure that it really matters how you combine these ingredients, but the way I did worked well. We have two cooks in our kitchen most times, and one cook (husband) always has plenty to say. When he saw I wasn’t using a recipe or didn’t have a cookbook open, he took this to mean all comments were fair game. I will give him credit for some great suggestions, such as seasoning the shrimp with salt, pepper and paprika and letting them sit for a while, while tending to the other ingredients. He also suggested that I cook the shrimp first and then take them out while I cooked the asparagus to give more flavor to the sauce. And if I’m being truthful, he also suggested the order in which the ingredients were added. He wasn’t crazy about the use of butter, but then again, he’s Italian and only uses olive oil. I insisted on the butter, and between us, it’s critical to the dish!
In this particular instance, collaboration ( or should I call it “interference” was a good thing). We both agreed that it was absolutely delicious, and we wouldn’t have done anything differently…….except he still says no butter. Wrong!
I hope you’ll give it a try, and maybe add a few changes of your own.
Buon Appetito!
Recipe: 4 to 6 generous portions
1 Pound pasta ( I used orecchiette, but any pasta shape will do)
1 pound shrimp
6 TBSP of olive oil
1 pound asparagus cut into one inch pieces, and separate stems from tops
4 to 5 garlic cloves, minced
Juice of 3 lemons
1 TBSP lemon zest ( or more)
2 TBSP pesto sauce ( or just basil if you prefer)
3/4 cup of white wine
3 TBSP butter (essential!)
2 tsp salt
1 tsp pepper
2 tsp paprika
red pepper flakes to taste


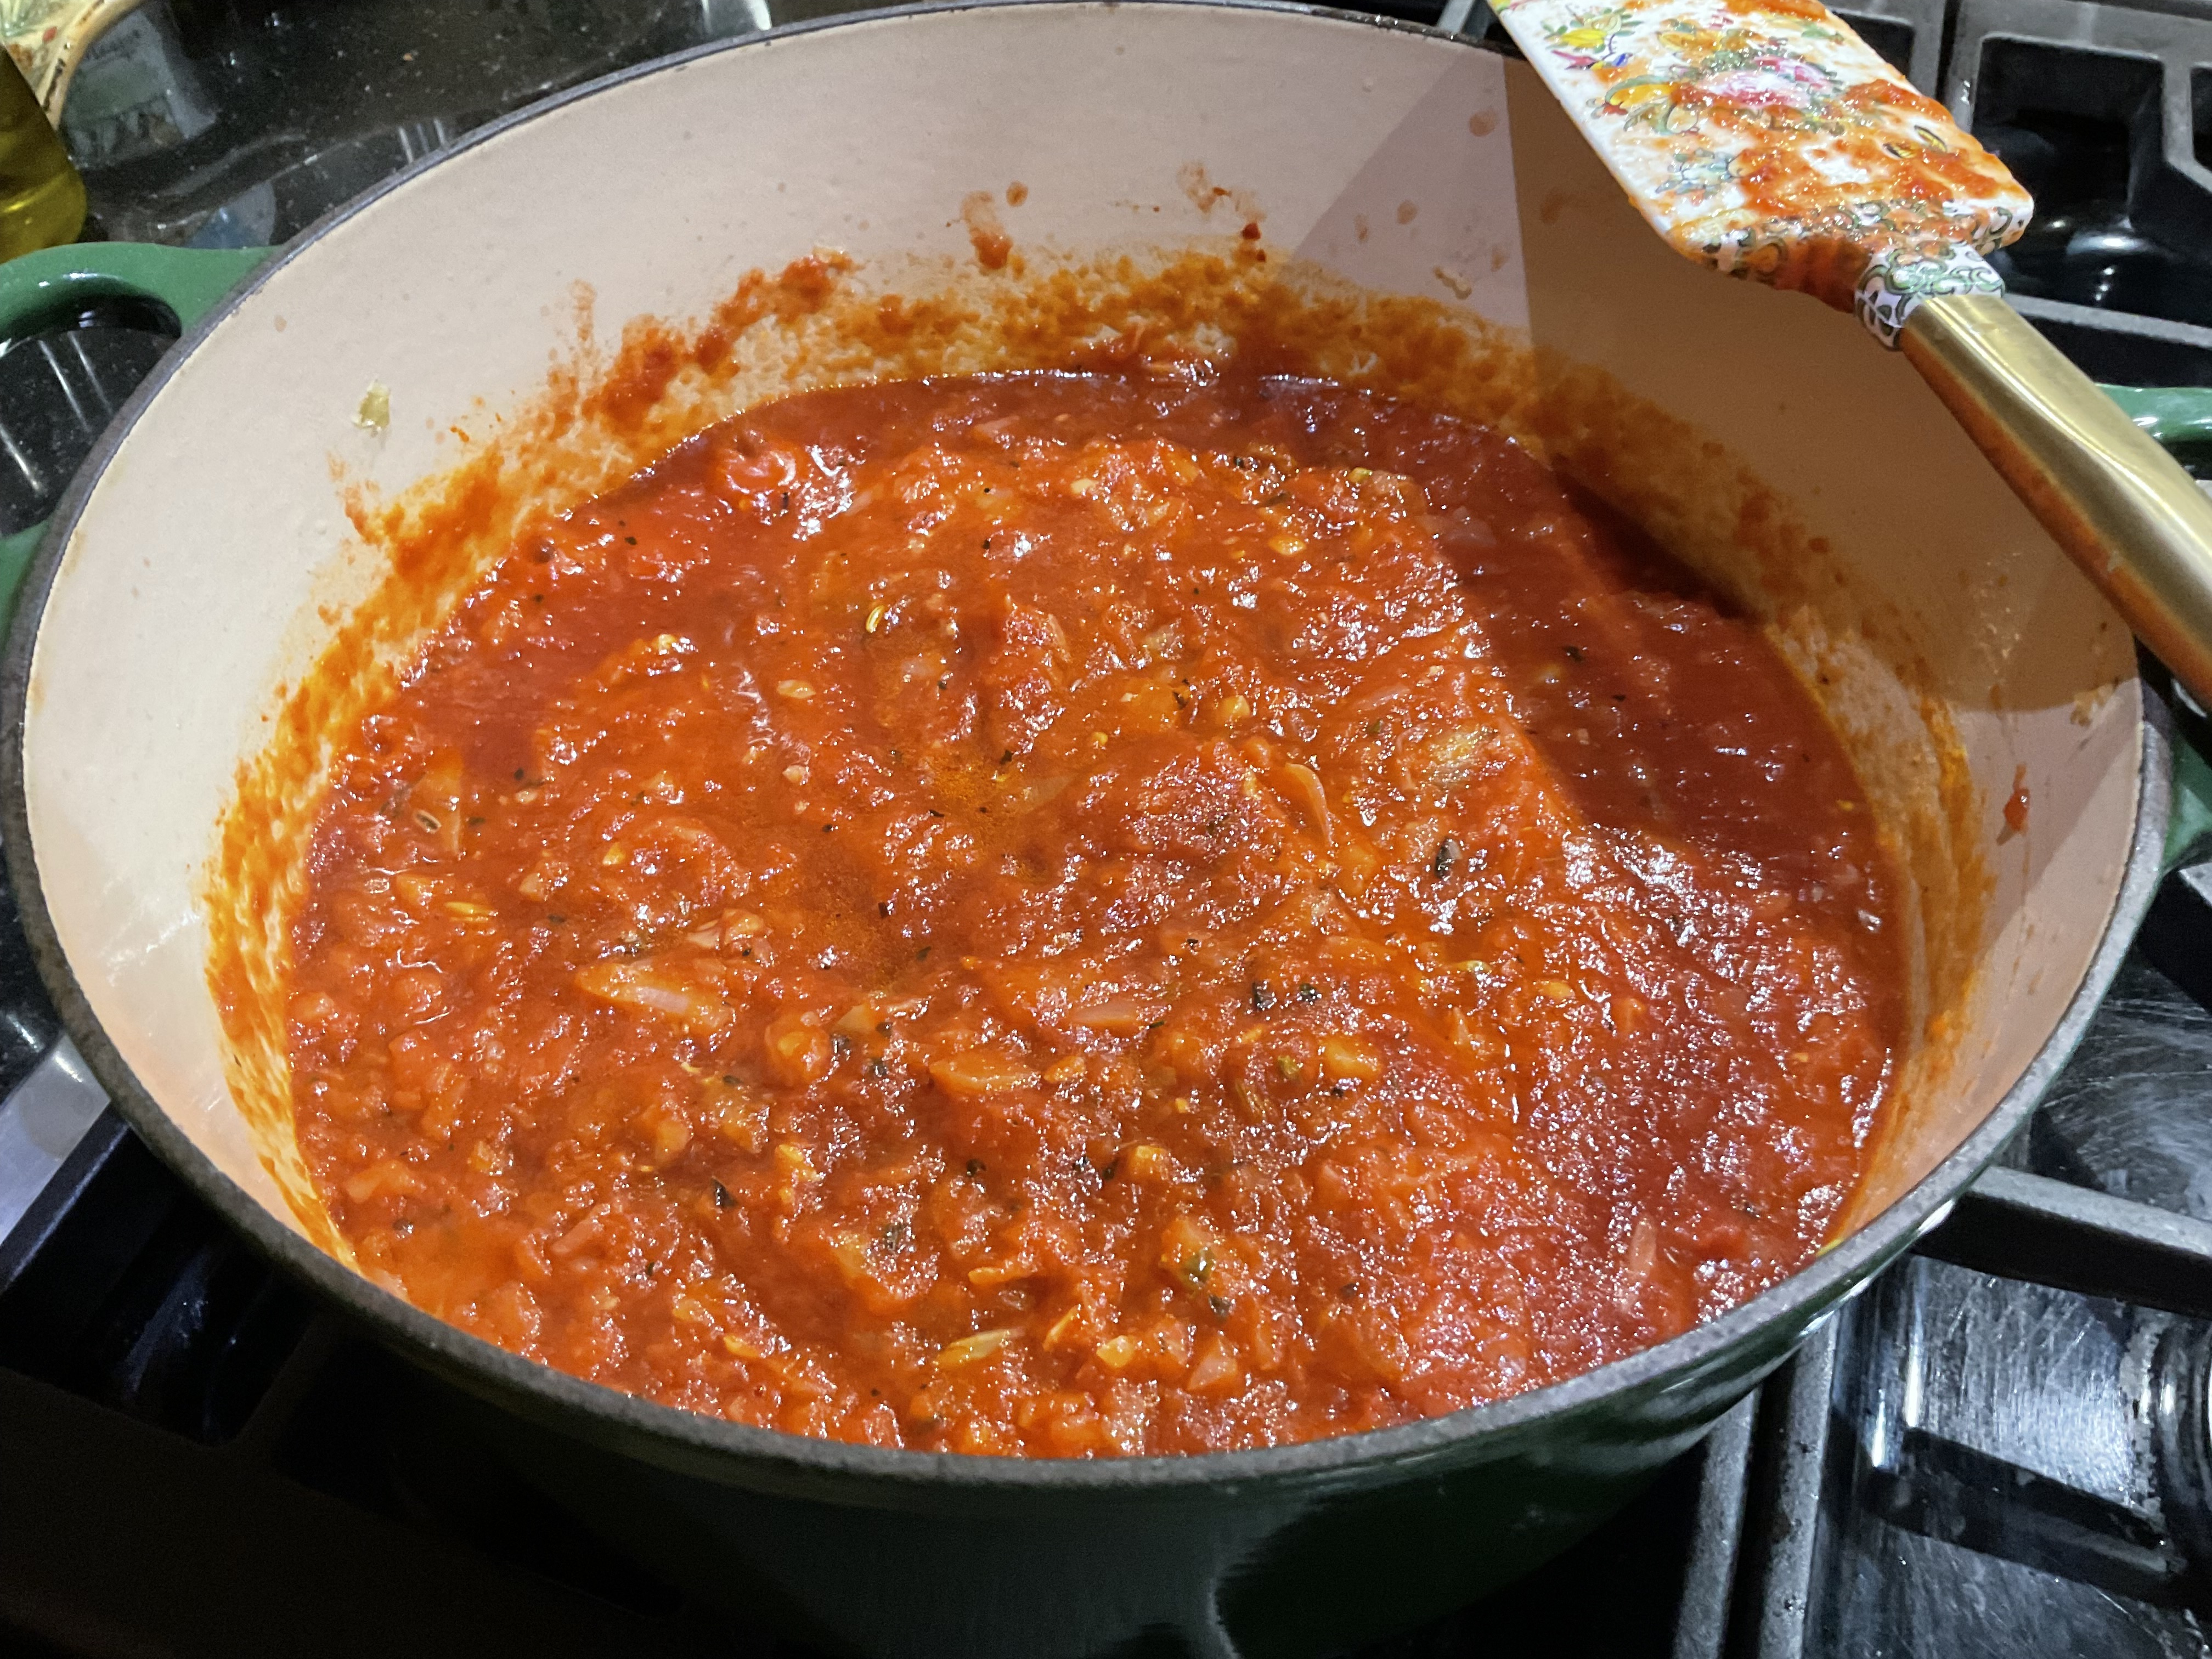
It’s “Jersey tomato time,” and this sauce could not be easier. It only uses 5 ingredients, but will wow you!
Once the end of July hits, we New Jersey cooks buy in bulk the true Jersey tomatoes. I literally eat at least one Jersey tomato a day in some form or another. Plain with just a little salt, and of course a drizzle of olive oil, is all I need.
This simple sauce is extremely versatile. It can be put on pasta, pureed to make an amazing tomato soup, used as a bruschetta alone or with some burrata, or dig in with just a spoon. Whatever you choose to do with this sauce, you won’t be disappointed.
Now I don’t mean to disparage other tomatoes from other states. I know that summer produces fabulous tomatoes all around the county, but for a native Jersey Girl, it doesn’t get any better than these Jersey tomatoes.
I must give credit to one of my favorite celebrity chefs, Lidia Bastianich for this recipe. I was watching her show on PBS while contemplating what to do with all the Jersey tomatoes that my husband brought home from a farm stand. How fortunate for me to see her make this recipe just when I needed inspiration. I hope you’ll try it with your favorite tomatoes in season.
RECIPE: for one pound of pasta or as you like
6 Jersey tomatoes
2 extra large sweet onions
( I like the ratio of 6 to 2, but you can decide)
6 Tablespoons of tomato paste
A healthy drizzle of extra virgin olive oil
_______________________
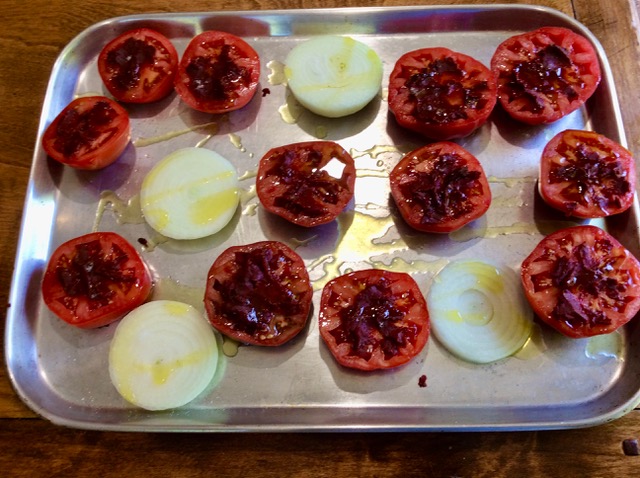
Heat oven to 375 degrees.
Thickly slice the tomato ( at least 1/4 to 1/2 inch )
Thickly slice the onions to be the almost same thickness as the tomato slices, but not quite.
Place on a large cookie sheet.
Sprinkle with salt and pepper.
Spread the tomato paste thickly over each slice of tomato
Give a healthy drizzle of olive oil to everything.
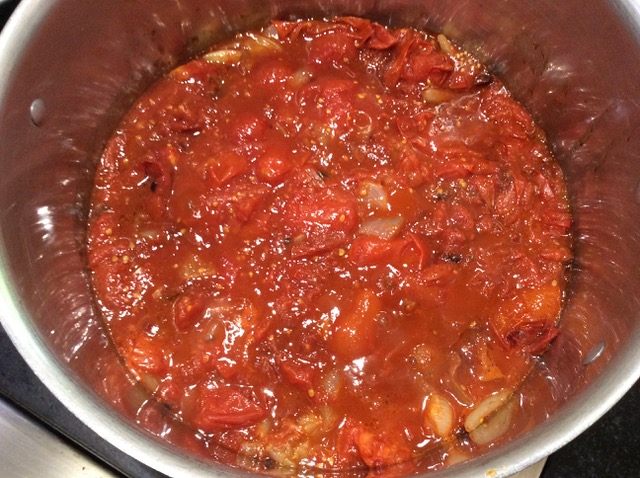
Bake for 30 to 40 minutes or until nice and soft and cooked through…even a little bit caramelized is yummy.
Let them cool a bit and then put in a bowl. Stir to break it all apart……you may need a knife to the onions. I sometimes use an immersion blender if I want a less chunky sauce. Of course, if I’ve decided to make tomato soup, I make it as smooth and creamy as I like.
The possibilities are endless with this sauce. You’ll make it your own the more you make it.
I hope you’ll give it a try with your native summertime tomatoes, but If you’re ever in NewJersey in late July or August, head “down the shore” and go to any farm stand you can find to pick up these pride of New Jersey beauties. And while you’re at it, our corn is crazy good!!!


I have searched high and low to find a certain granola recipe that I made often for my children when they were young, under the guise that it was a nutritious snack for them to munch on. I couldn’t find the recipe, which just about never happens. As you know, I pride myself on keeping recipes, if only for the memory. This particular granola recipe did have fond memories tied to it. It was from a friend with whom I shared many aspects of raising our children. We were constants in each other’s homes, chatting away while the kids played outdoors ( yes, they did that back in the 80s), and talking about food was almost always part of the conversation.
One day, I walked into her kitchen, and the homey, nutty aroma was something I can still recall today. She was baking granola. It was love at first bite, as they say, and from that day forward, I made this granola weekly for my children, as well as for myself to enjoy. I kept it in mason jars on the kitchen counter, and we ate it by the handfuls. I felt so happy that my children were eating something “healthy.”
Well, I have come to learn that I might as well have let them eat Oreo cookies all day long. This recipe was loaded with sugar!! When I finally got my hands on this recipe, from another friend who I had shared it with back in the day, she read me the ingredients, and I was astonished. Wow. No wonder the kids loved this. Basically, it was candy! So I chalked it up to being young, foolish, and eager to be the mom who gave her kids healthy snacks.
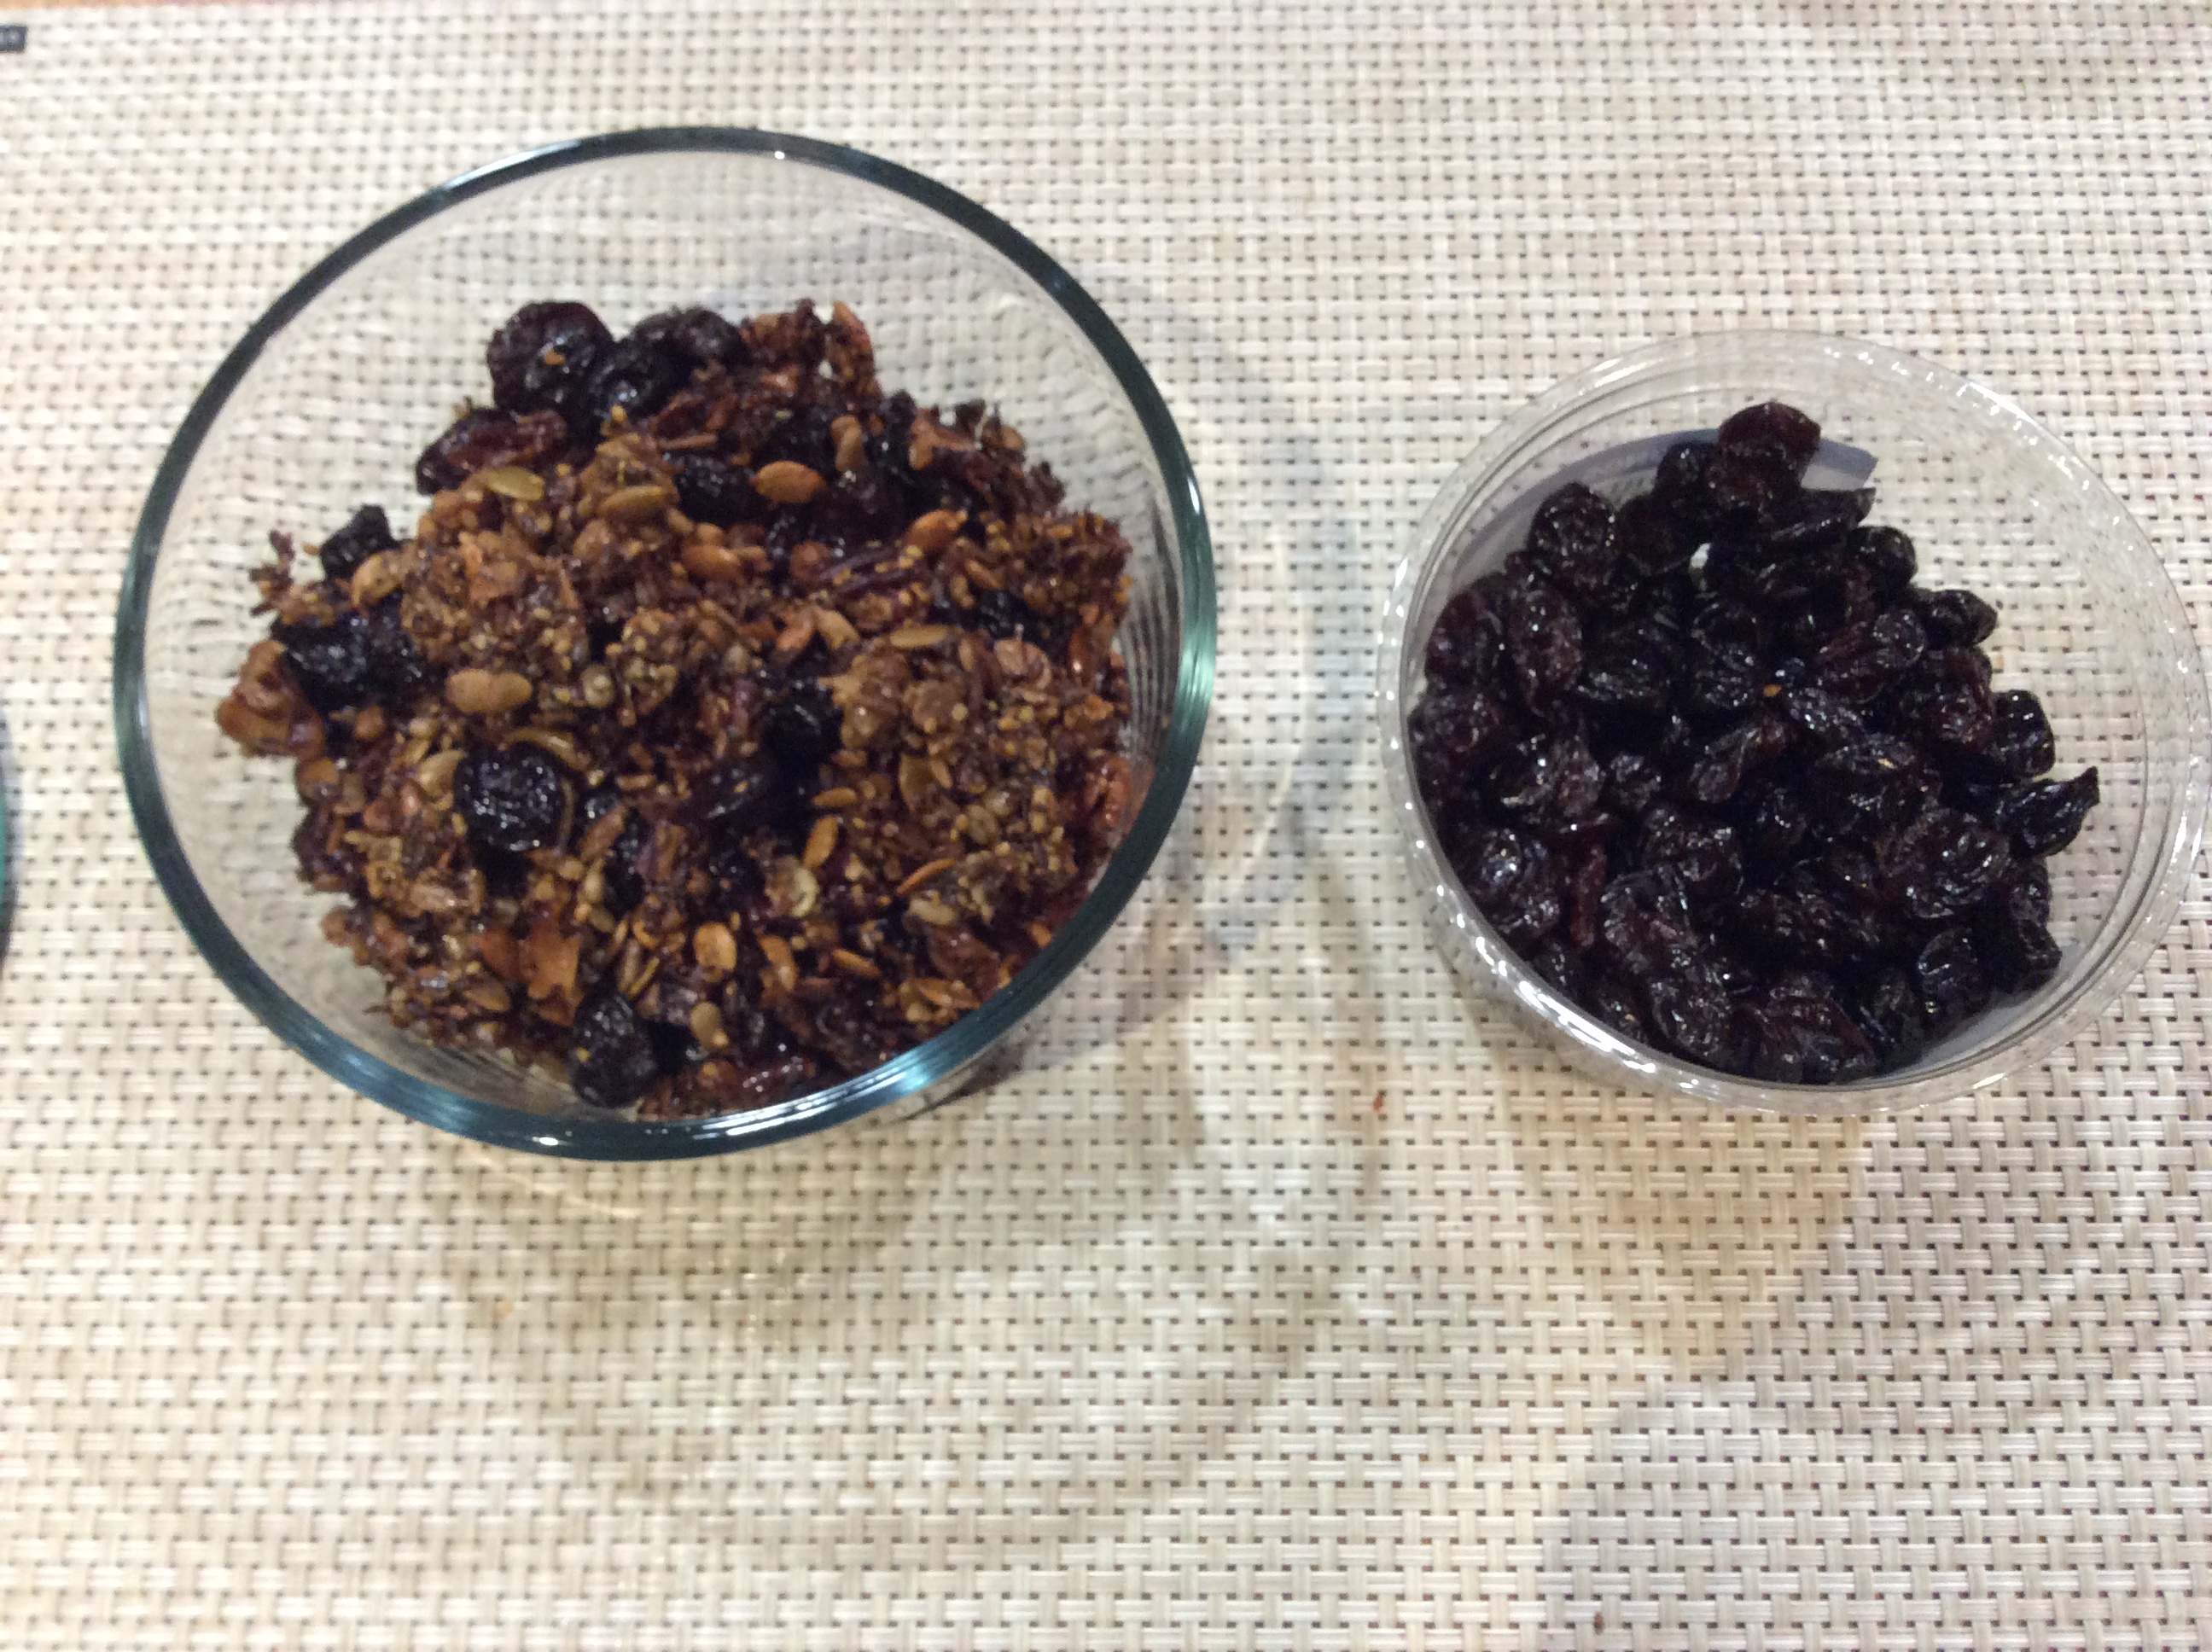
Several decades later, granola is still around and still touted as nutritious, so it wasn’t hard to find another recipe in my files (or online for that matter). The recipe I chose to try was given to me by a friend who studied nutrition. It’s grain free and is indeed very nutritious. Everything about this recipe is so different from the other. I wish I’d had this recipe back when my children were young, but thank goodness I still have the memories.
Recipe:
1 cup walnuts – chopped
1 cup pecans – chopped
1 cup sunflower seeds
1 cup pumpkin seeds
3/4 cup shredded coconut
3/4 cup raisons or other dried fruit like cranberries or dried apples
1/2 cup hemp seed
1/2 cup flax meal
1/4 cup coconut oil
1/4 cup honey or coconut nectar
1 tsp. vanilla
Directions:
Set oven to 350 degrees. In a large bowl, combine nuts, seeds, flax meal and coconut. Place coconut oil jar in a small saucepan of warm water to melt and then combine coconut oil, vanilla and honey in a small bowl and whisk together until combined. Pour this liquid over the rest of the ingredients and mix well. Spread granola onto a large baking sheet and bake for 30 minutes. Let the granola cool, then break into small clusters and add dried fruit.
You can store in an airtight container for up to one week, but trust me, it won’t last that long.


A Vermont innkeeper's recipe box of seasonal vintage dishes, reimagined for today's cooks.
New York Italian
Foodblogger
but mostly cook!
The official blog of Benilde Little
Good Eats and Fun Treats from the Mountains of North Jersey
Every Recipe Has A Story
Cleveland's source for news, weather, Browns, Guardians, and Cavs
A topnotch WordPress.com site
SUPERHERO-FOOD DEVIL-TROUBLESHOOTER-PAPA
Welcome to my authentic Italian home cooking blog
Every Recipe Has A Story
