Happy 2024! It’s hard to believe that the Holidays have come and gone. I’m hoping yours were wonderful. I thoroughly enjoy all the merriment that this season brings. However, the older I get, I seem to spend a good bit of time, reminiscing about all the past holidays, and the people who are no longer with us. Please don’t consider me morbid. It’s such a wonderful feeling to have these memories stacked up in your mind, ready to be pulled to the forefront at any given time. It gives me a cozy feeling to remember so many wonderful times with relatives and friends. I love sharing these memories and talking about those loved ones that we’ve lost, in my effort to never forget them.
Of course, you know me……….the memories always seem to have a link with food.
This is no exception here. I was thinking my parent’s dear family friends recently for no reason, other than I was looking at a picture of my dad on the football team of Columbia University. This campus in New York City is where he met Doris and Phil in the 1940s and they remained wonderful friends until….. We used to visit this family every January, right after New Years. What do I remember most about these fun family reunions? Aside from their daughter’s bedroom, which to me was the bedroom of a princess, I remembered Doris’s delicious, creamy pea soup. It had a savory taste that was new to me. She served it every year, to my delight. You could smell it the moment you walked into the house. That was all I could think of while playing with every doll and toy imaginable in their daughter’s bedroom. I just wanted to go downstairs and have a steaming hot bowl of this amazing soup. I remember enjoying every last spoonful in their majestic dining room.
Over the years I have tried to duplicate this soup so many times ( and always in January), but have never been completely successful. There was always something lacking in either taste or texture, but I couldn’t pinpoint exactly what it was. I believed the ham hocks to be the key ingredient, but wasn’t quite sure. So after much trial and error, and after many bowls of mediocre pea soup, I finally combined several recipes and I believe I’ve got it! If my memory serves me well (and it usually does when food is involved), I’ll be enjoying this soup every January…..and I hope you will as well. I’ll also be enjoying the memory of Doris and Phil and their lovely family.
Recipe: Serves 4 to 6
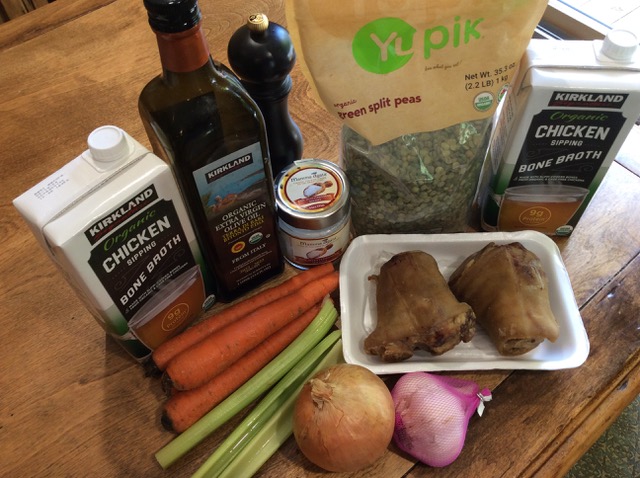
5 Tablespoons olive oil
2 ham hocks
1 large onion, chopped
4 medium carrots, sliced or roughly chopped
5 cloves garlic, minced
3 celery stalks, chopped
8 cups chicken stock or broth
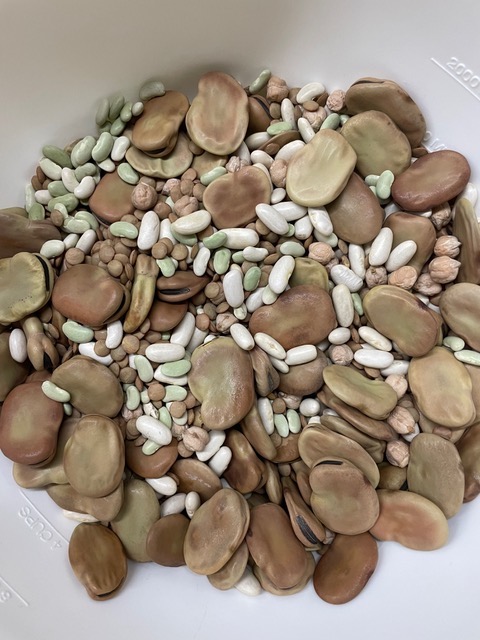
1 pound split peas
Salt and black pepper to taste
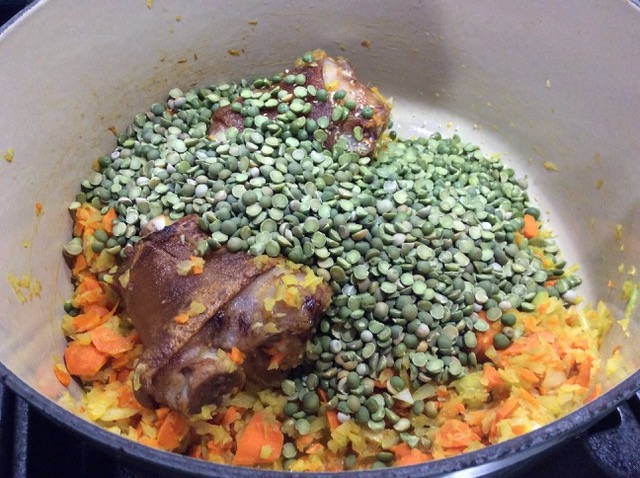
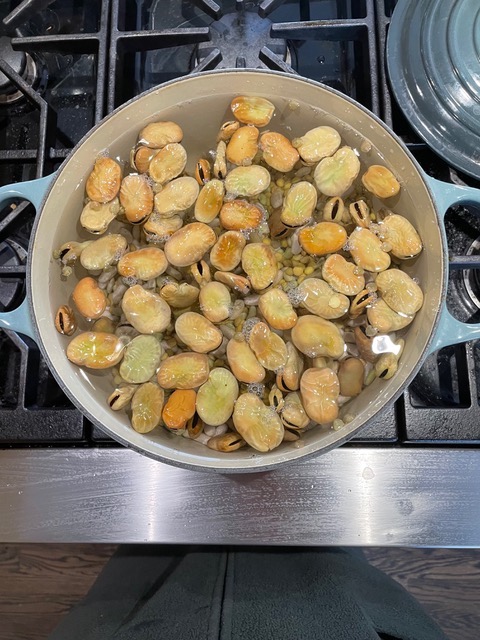
- In a large heavy pot, brown the hammocks in the oil over medium heat, turning occasionally to get each side golden brown….about 10 minutes.
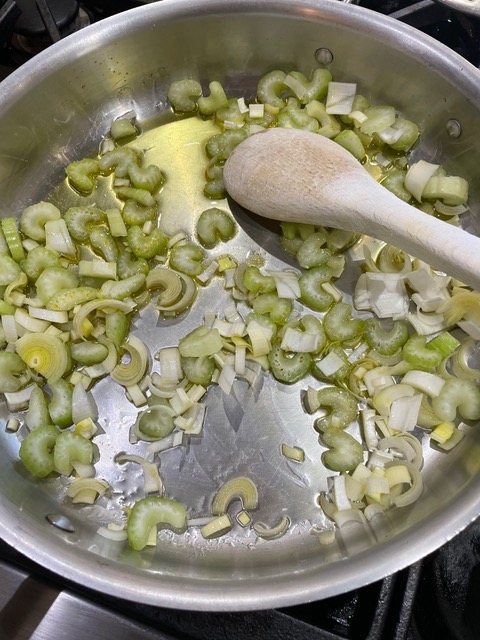
- Stir in the onions, carrots, celery, and cook for about 8 to 10 minutes. Stir occasionally.
- Then add the garlic and stir for 1 minute or so.
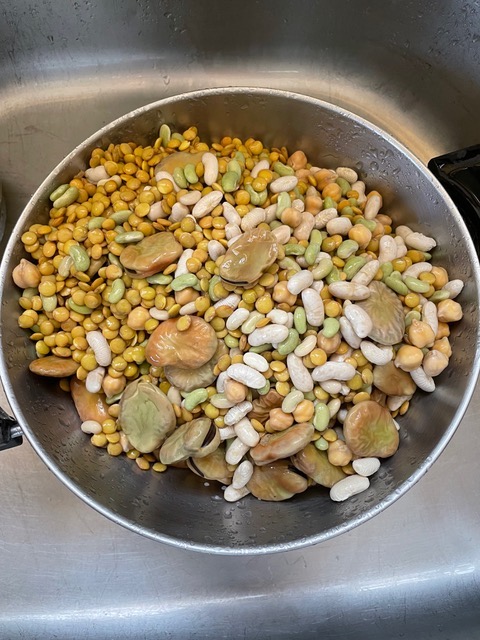
- Stir in the peas and coat with the oil for another minute or so.
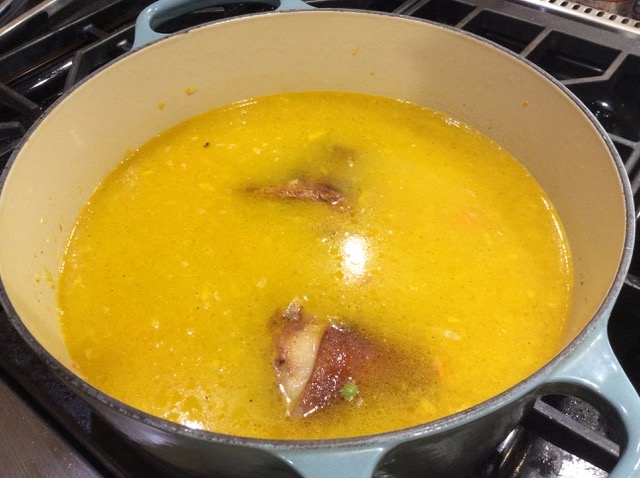
- Add the chicken broth, salt, pepper and bring to a boil.
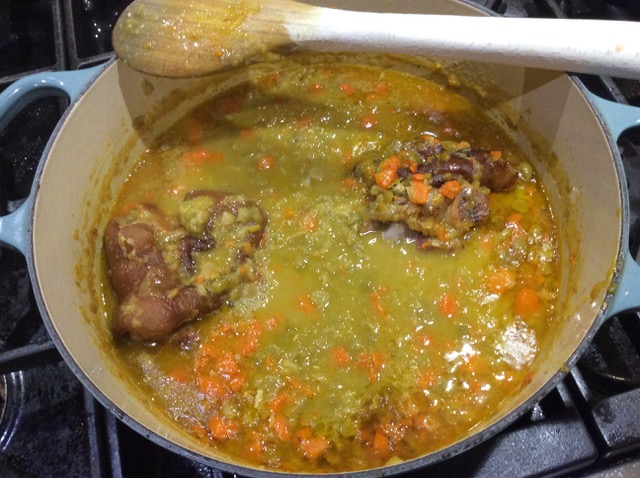
- Lower heat to a simmer and partially cover. Cook for about an hour and a quarter, stirring occasionally, until the peas are very tender and falling apart. Make sure you scrape the bottom and sides of the pot when stirring. This is where you’ll get some creaminess.
- If it’s not creamy enough, take some soup from the pot and puree in blender (being very careful if the soup is hot). Then return to pot, stir and season.
- Remove ham hocks and slice the meat off the bone into bite size pieces and return to the soup.
- You are ready to serve. My husband always drizzles a little of our best olive oil on any soup, and it is good on this soup as well. However, Doris didn’t do that.