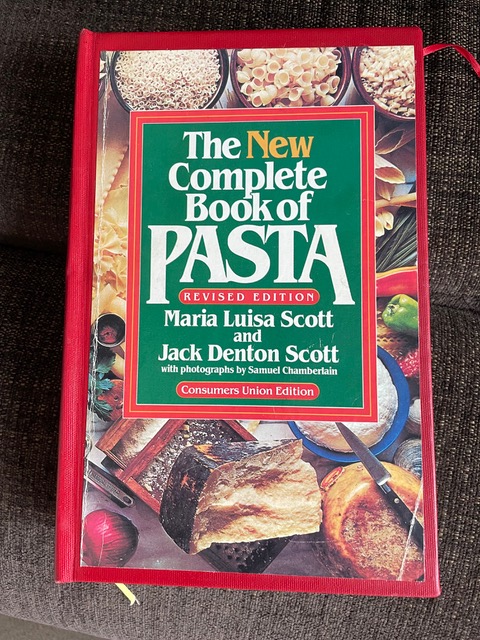
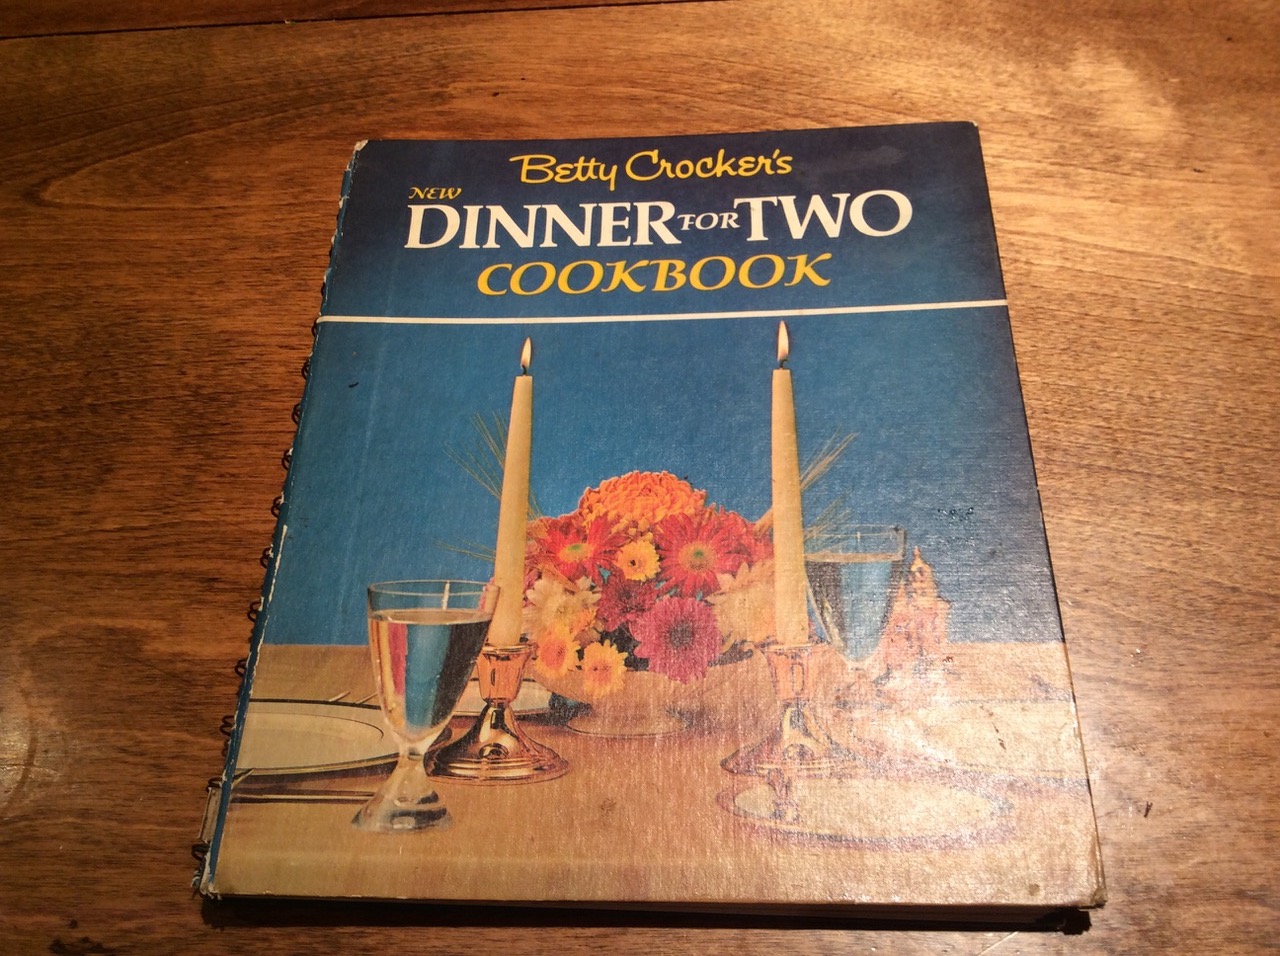
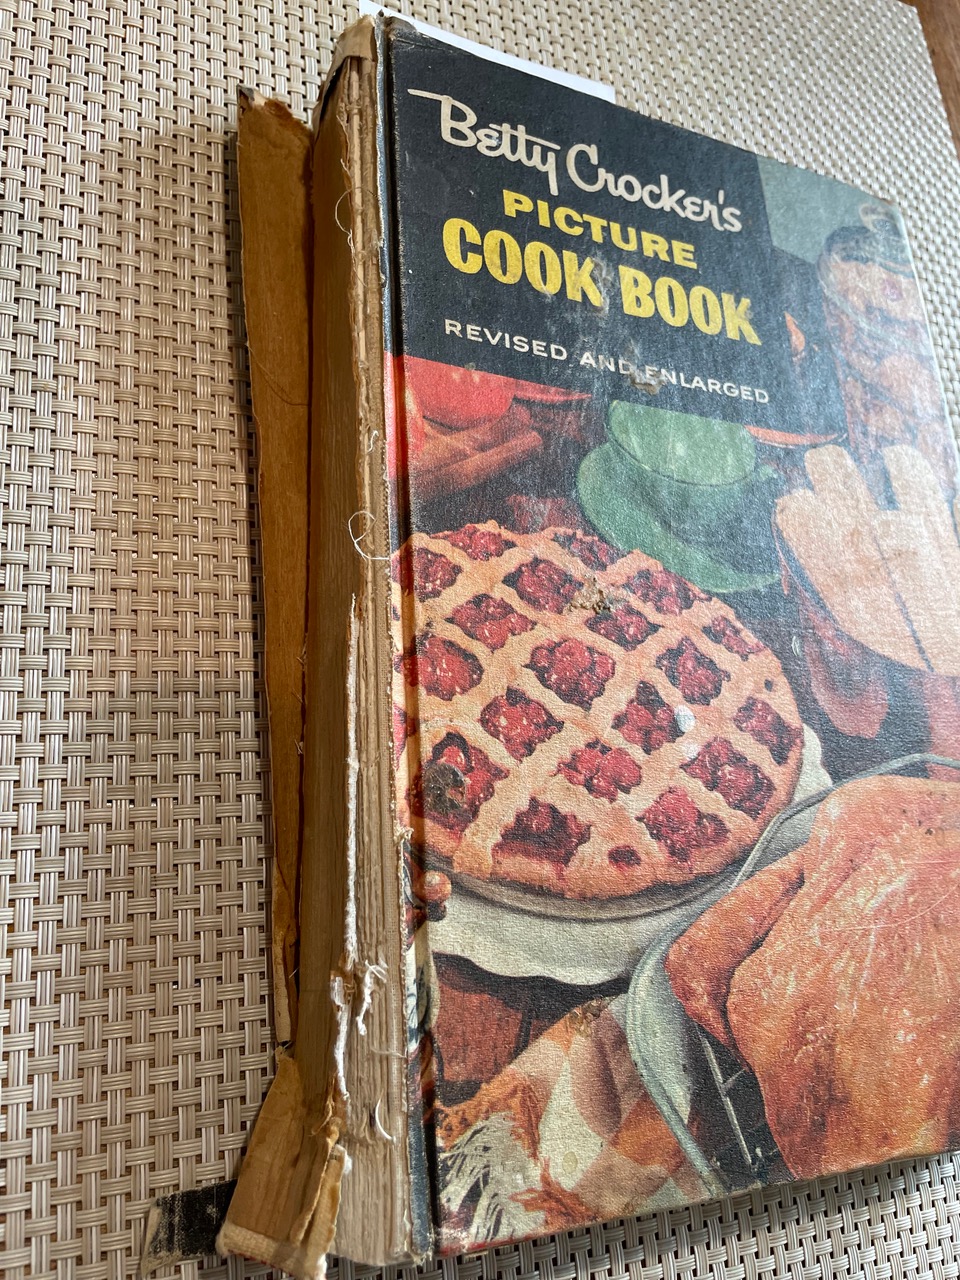
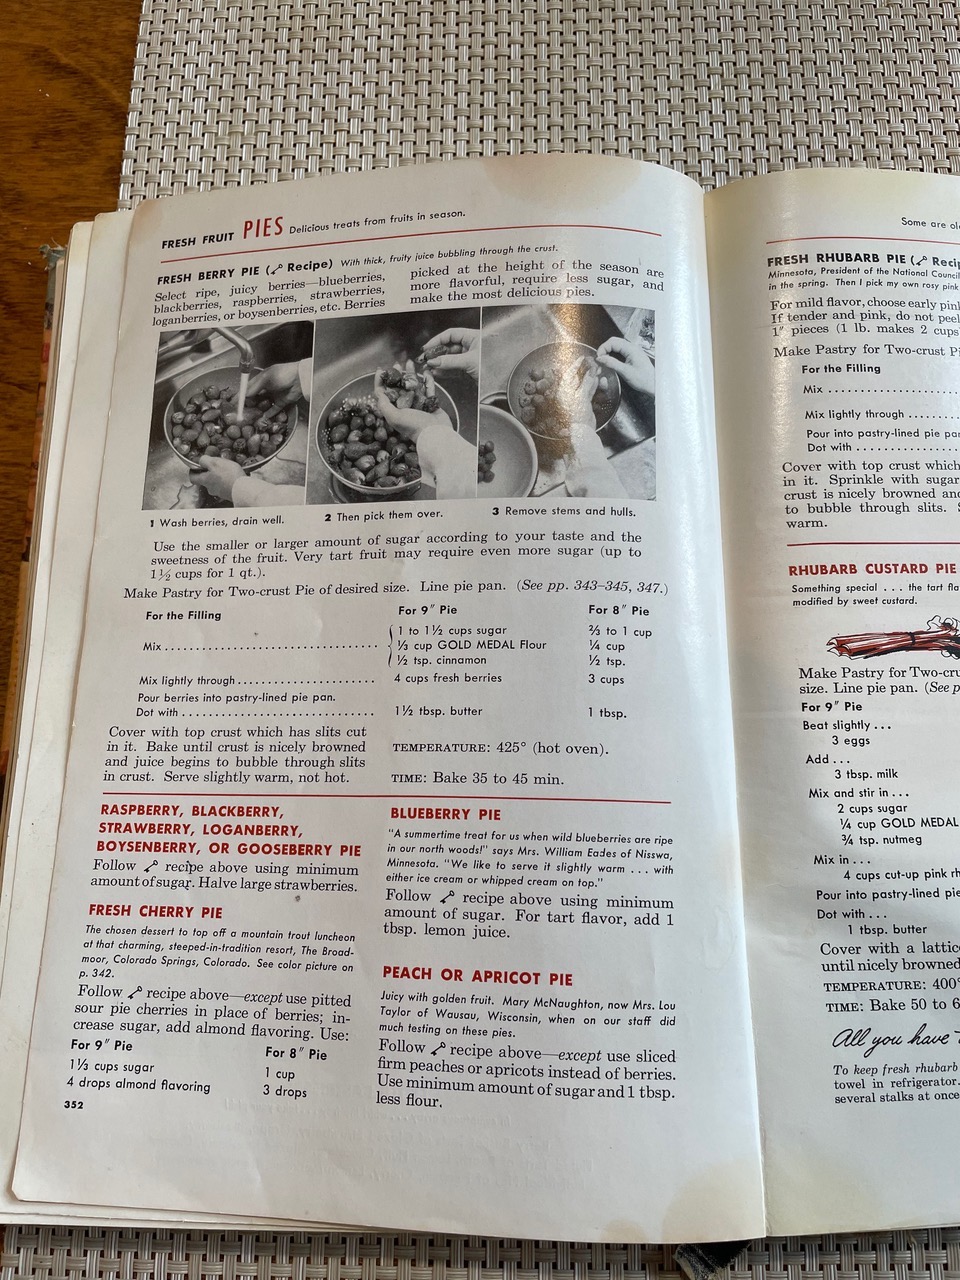
The New Complete Book of Pasta by Maria Luisa Scott & Jack Denton Scott

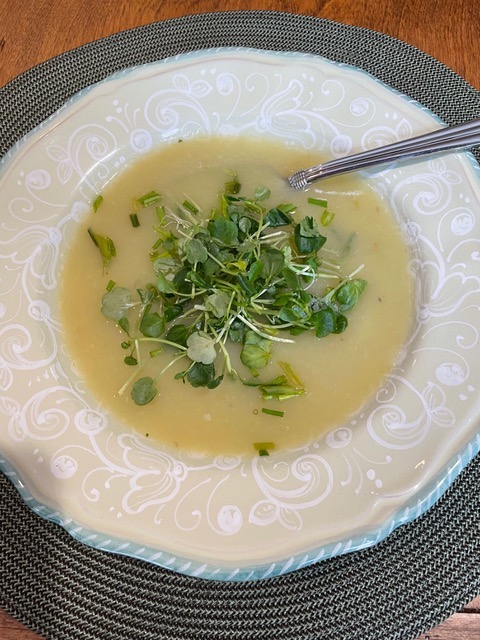
Autumn is soup season. I could eat if for breakfast, lunch and dinner at this time of year. So when a friend told me I had to try this recipe, I was eager to oblige.
However, when she told me the ingredients, and that it came from an Italian cookbook, I was skeptical. Chicken, pureed pumpkin, cream, spinach, pasta……it didn’t sound very Italian to me, nor had I ever heard of an Italian soup like this. But this is my friend who never disappoints when she tells me a recipe is good……not in over 35 years. I asked for the recipe, and a picture of the cookbook that it came from, as I was curious.
I was surprised to see that the recipe is called “Zuppa di Zucca e Pasta Fine Fine alla Modena.” Wow! It certainly seemed authentic. Also, it was from The New Complete Book of Pasta. While I still questioned the “Italian-ness” of this recipe, I remembered this cookbook from her kitchen back in the late 1980s. While our sons would play ball for hours in her backyard, she and I would sit in her kitchen with a cup of tea talking, laughing, and dancing to Phil Collins, Pet Shop Boys, Duran Duran and of course Bruce Springsteen. Conversation usually made its way around to food. What we were making for dinner usually came up before the afternoon ended. Coming from an English background, I was intrigued by her recipes for Shepherd’s Pie, English Trifle, Bubble and Squeek and many more.
She had many cookbooks, but this particular one always caught my attention. I didn’t own many Italian cookbooks at this point in my life. My Italian recipes were mostly handed down from family. I was amazed at the hundreds of ways to make pasta. I remember leafing through this book, my mouth watering. I also had a bit of mistrust. Could my non-Italian friend really know Italian food? Were these recipes authentic? Over the years, this book (and my friend) have proved me dead wrong. Every recipe she ever gave to me from here was a winner, even if it was something unusual to me. She also is one of the best Italian cooks I know. I like to think that it was my influence, but I’m sure this cookbook has something to do with it.
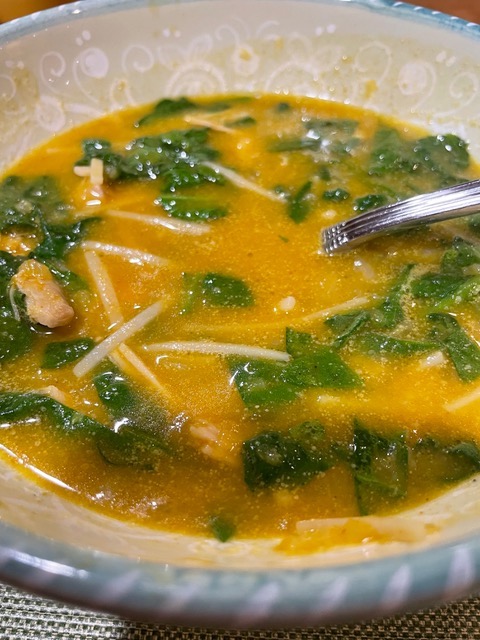
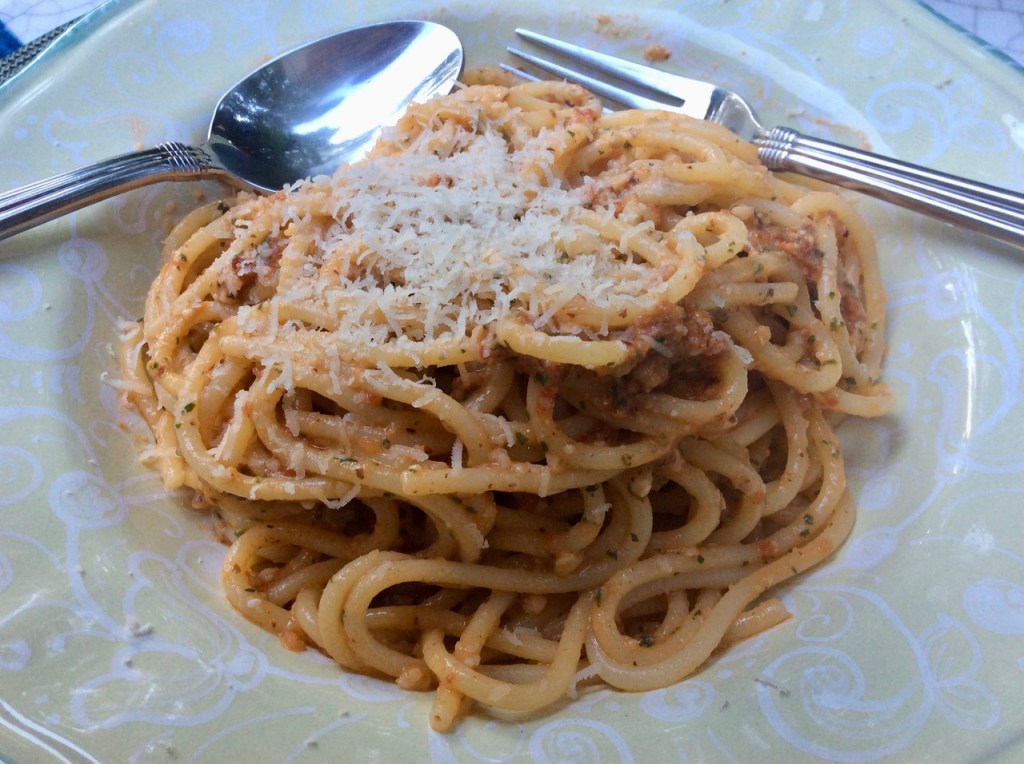
So I took a chance and gave it a try. She’s right again! This recipe is indeed wonderful.
If you have leftover turkey this Thanksgiving, I suggest you use it here instead of the chicken.
Buon Appetito!
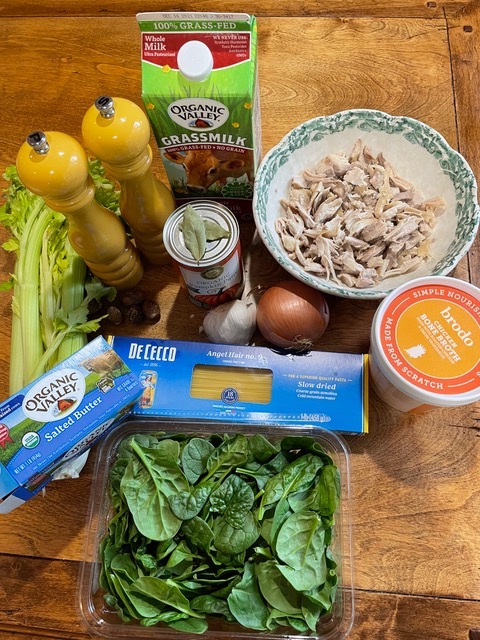
RECIPE: serves 6
5 Tablespoons butter
1 medium-size onion, coarsely chopped
1 garlic clove, chopped ( I used 2 and minced)
1 celery stalk, scraped ( I did not) and coarsely chopped
1/2 tsp salt
1/4 tsp freshly ground pepper
1 bay leaf
4 cups chicken broth
2 cups cubed ( 1/2 inch) fresh pumpkin ( I used canned pureed)
1/2 cup milk and 1/2 cup heavy cream or substitute 1 cup half and half ( I’m sure you can use coconut milk and cream, but will definitely alter the taste…..but not in a bad way)
2 cups cubed chicken (she used rotisserie chicken….I boiled some boneless thighs)
1/2 tsp (or to taste) ground nutmeg…grate your own if possible
1 cup broken-up very fine pasta, such as capellini or Angel hair
1/2 cup finely chopped fresh spinach ( we both doubled this)
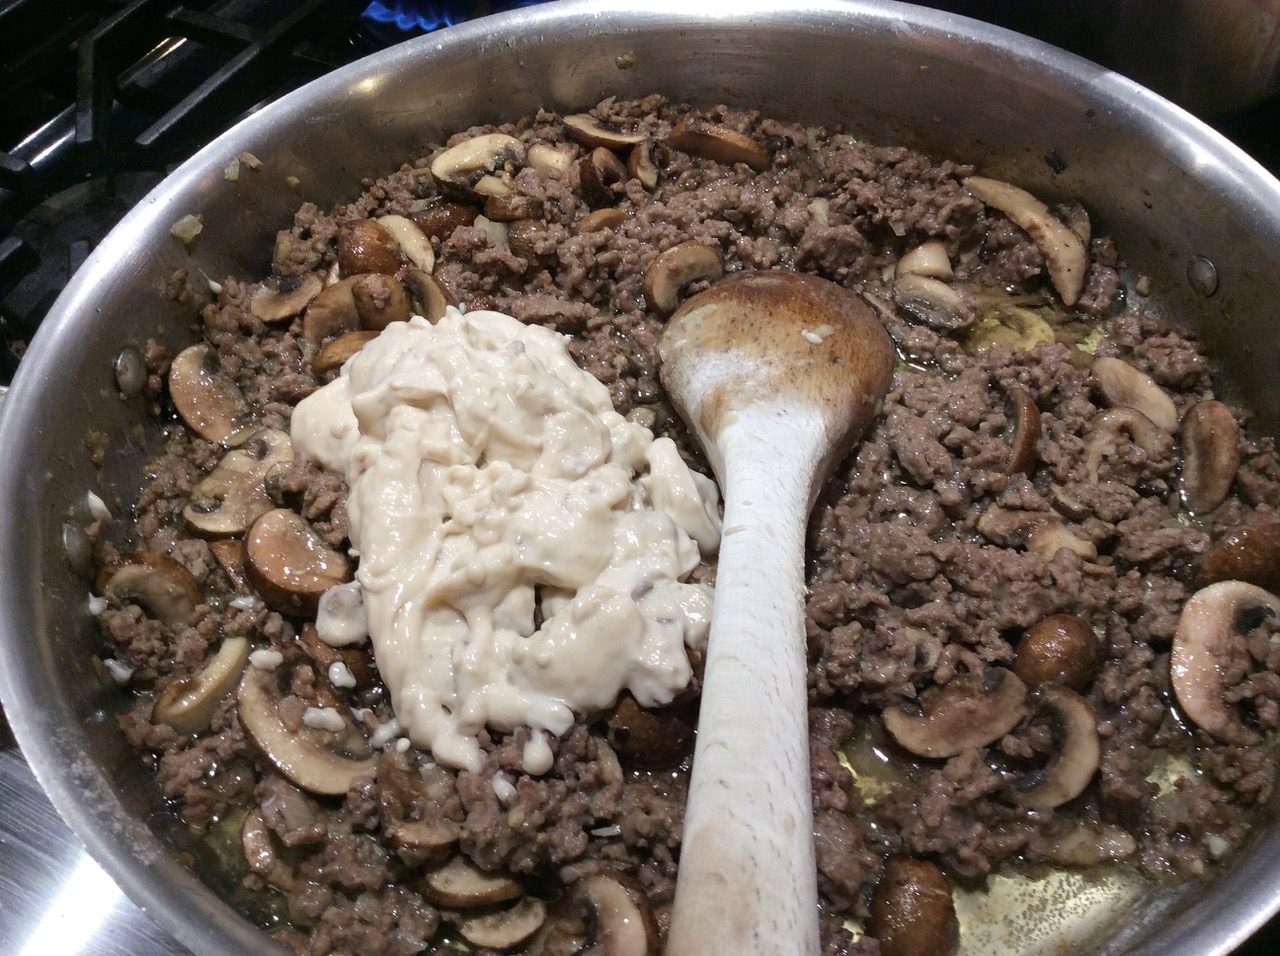
In a large pot, over medium heat, melt 3 tablespoons of butter. Add the onion, garlic and celery and cook 2 minutes. Do not brown. Add the salt, pepper, bay leaf, broth, pumpkin and cook, partially covered, about 25 minutes, or until the pumpkin can be mashed ( if using fresh pumpkin). Discard the bay leaf. Puree the soup with an immersion blender. (If putting this in a regular blender, cool first).
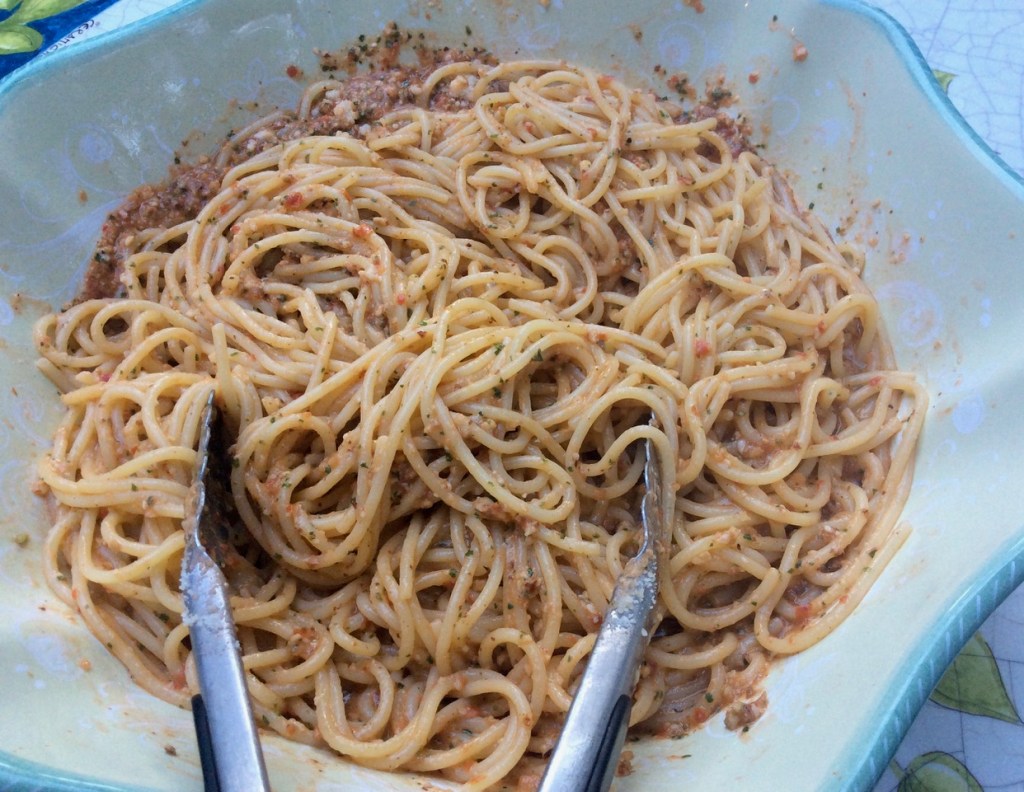
Stir in the milk and cream, chicken and nutmeg. cook for 2 minutes. Add the pasta and cook for 1 minute or until the pasta is just al dente. Taste for seasoning. Stir in the spinach and remaining butter and serve.


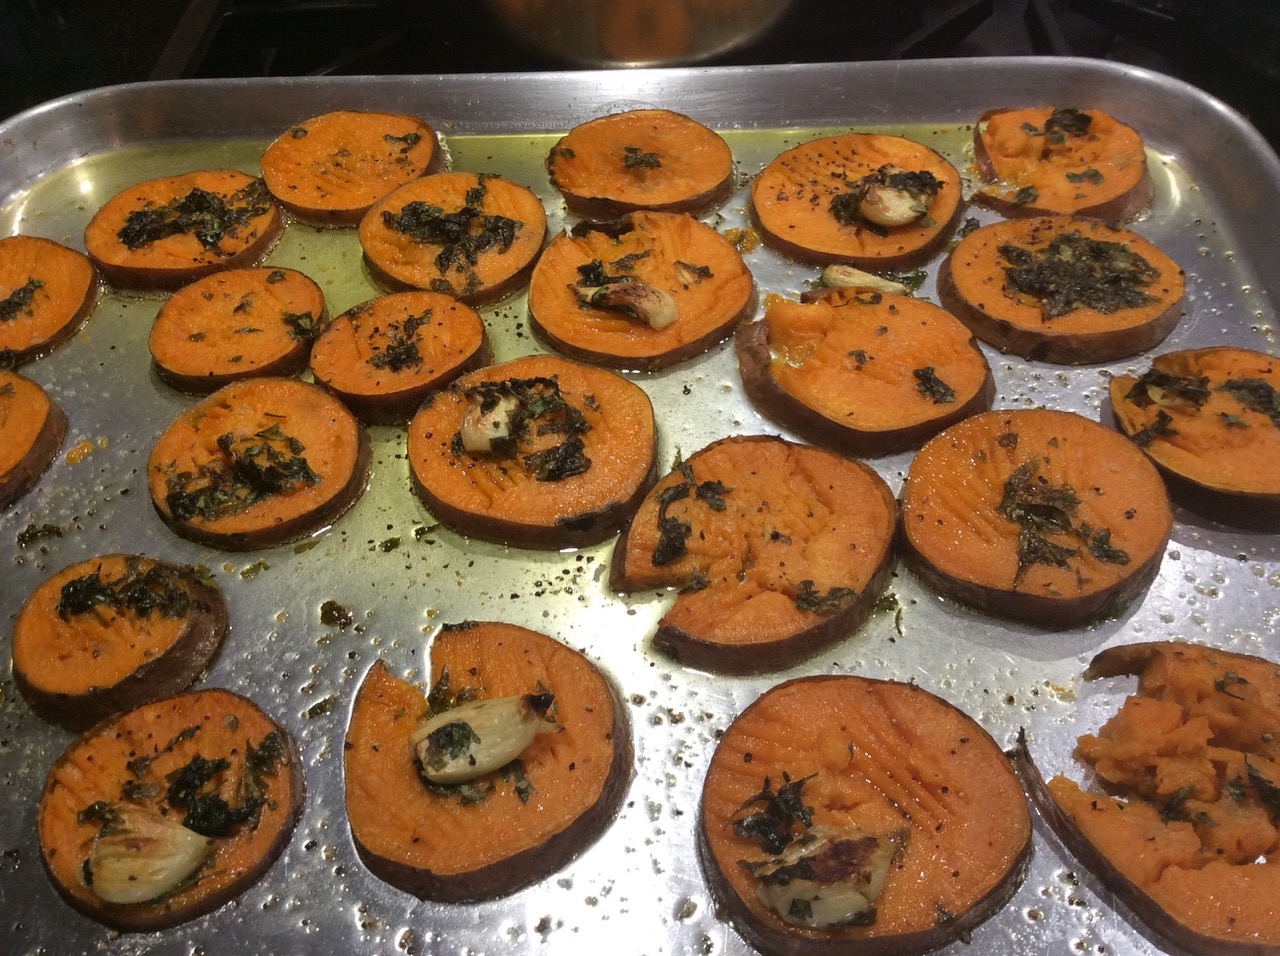
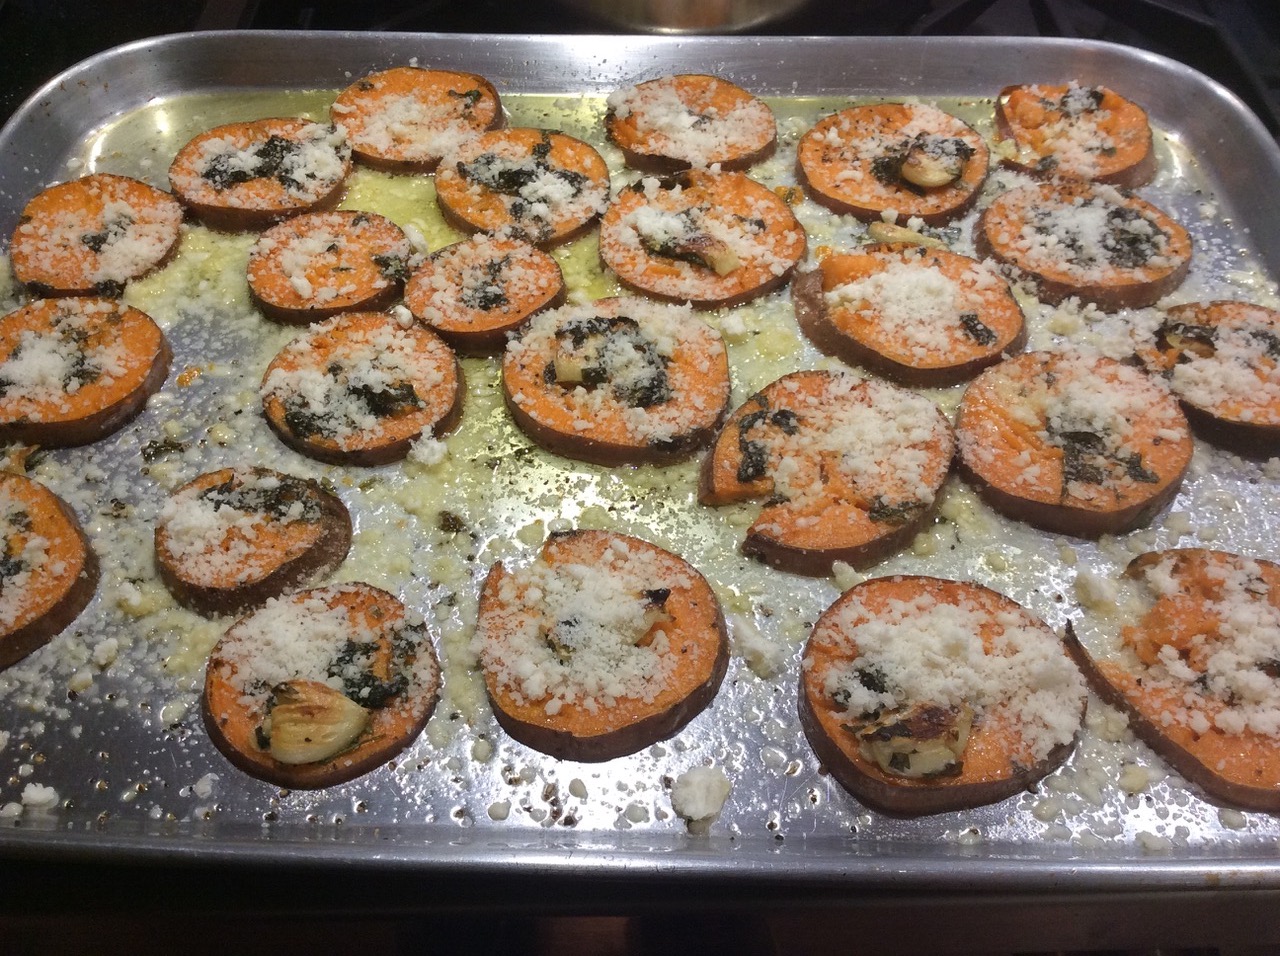
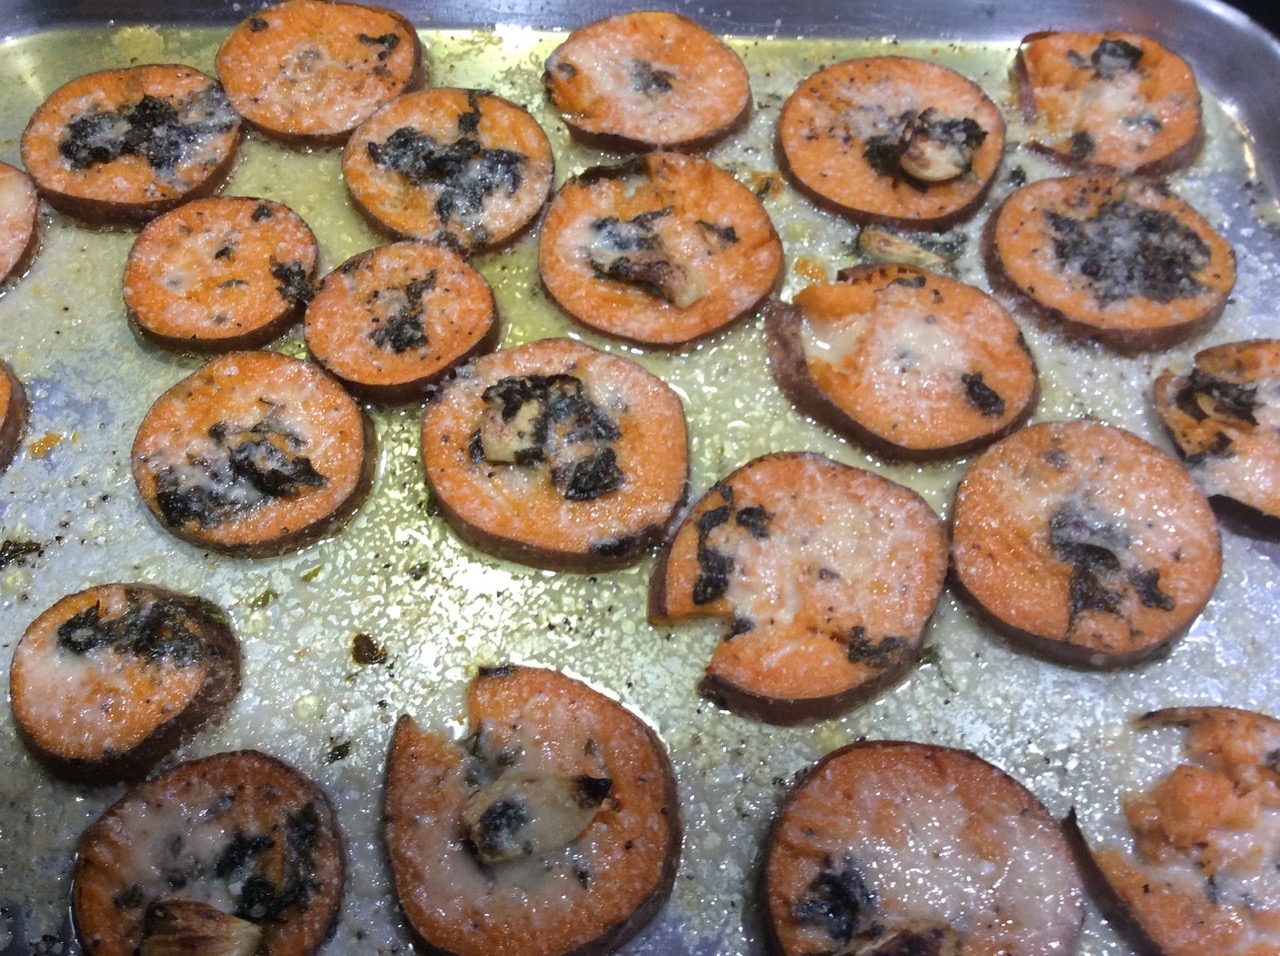
 Judith’s Rosemary Roasted Sweet Potatoes: