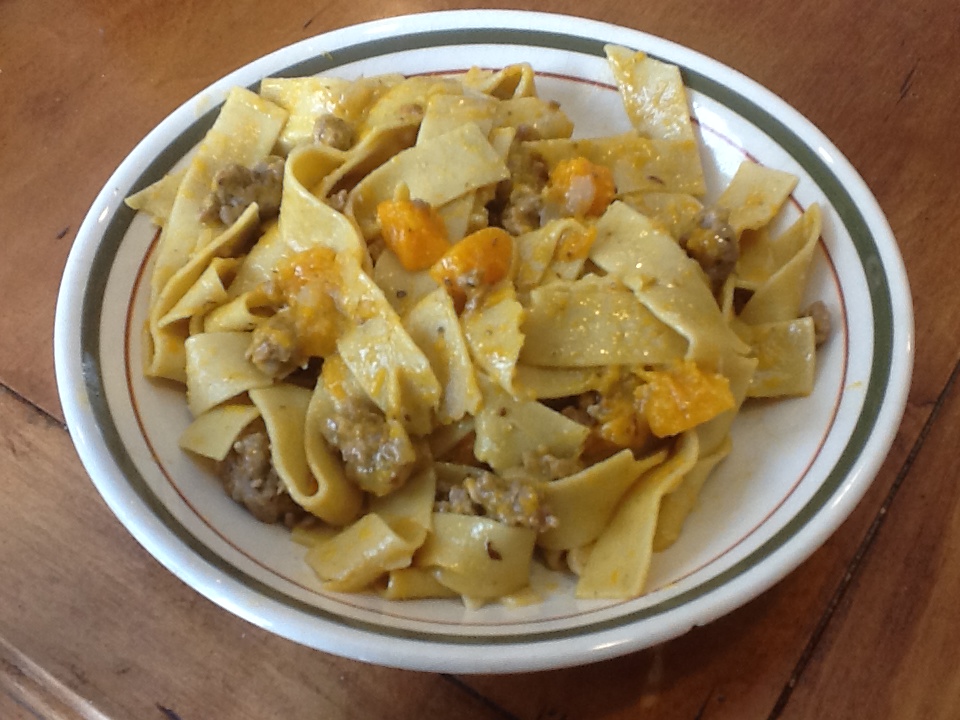
Pasta with Sausage & Butternut Squash

Image

How many recipes can there possibly be for pasta dishes?  It’s got to be in the thousands…tens of thousands.  It never ceases to amaze me.  My sister and I have probably shared hundreds, if not thousands, of pasta recipes over the years, and we continue to do so.  We’ve shared recipes from our family, other families, friends, cookbooks, magazines, the internet, and the past few years we have become somewhat obsessed with cooking shows on TV.  Yes, I’ll admit it…..while on my treadmill or elliptical machine, I’m watching The Barefoot Contessa, Giada, Nigella Lawson and/or others cooking up some scrumptious meals.  If they’re cooking a pasta dish that looks good, I stop everything and write it down.  Now these famous chefs are certainly on our radar, but we have grown to love some lesser renowned chefs whose shows you have to search for on public stations.  The options are endless.  My kitchen shelves and cabinets are overflowing with recipes, and most of these are for pasta.  Pasta is just so versatile.  Just when I think we can’t possibly find another recipe to share, another great ones comes along.

This recipe for pasta with sausage and butternut squash comes from TV cooking personality and chef, Nick Stelinno.  “Who the heck is that?” you might be asking.  Well, he has been cooking on public television for 18 years and has ten published cookbooks.  My sister saw him make this on his show, retrieved the recipe off his website, and then tried it out on our family one Sunday (Yes, a Sunday with no gravy!).  Everyone loved it (I wasn’t there), and so it was passed on to me as a “must try.”  I did indeed  give it a try, even though the ingredients did not seem to go well to me, but if my sister says it’s fantastic, then chances are that I will too. Everyone loved it and it’s now in the “must make again” pile.  So even if you’re not a big fan of sausage, which I am not, the other flavors in this dish meld together so well that you’ll welcome the use of it in this recipe.  

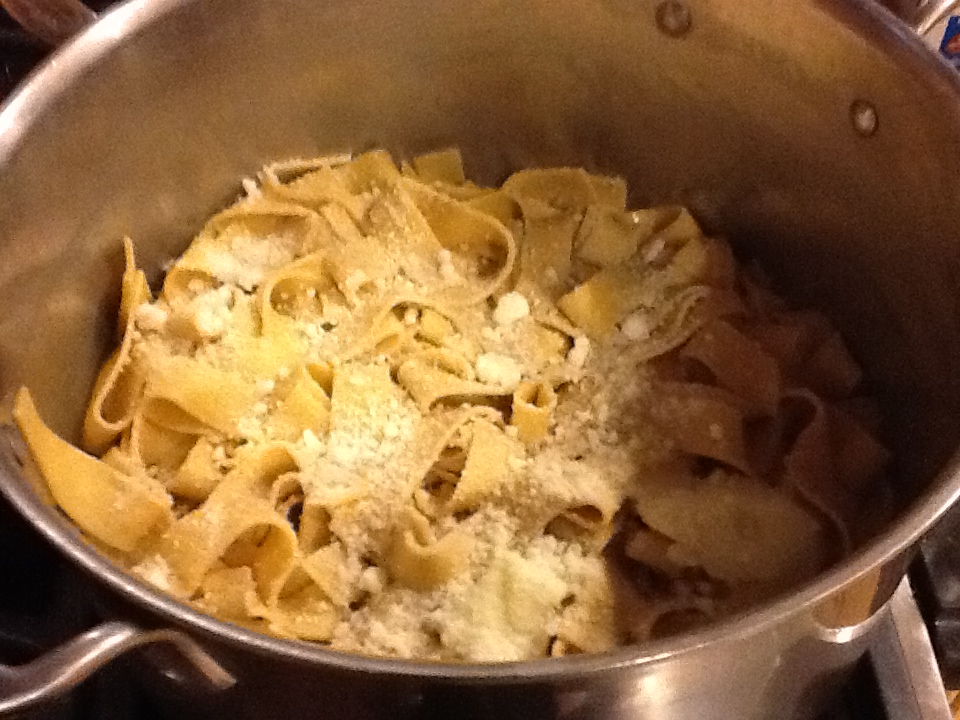
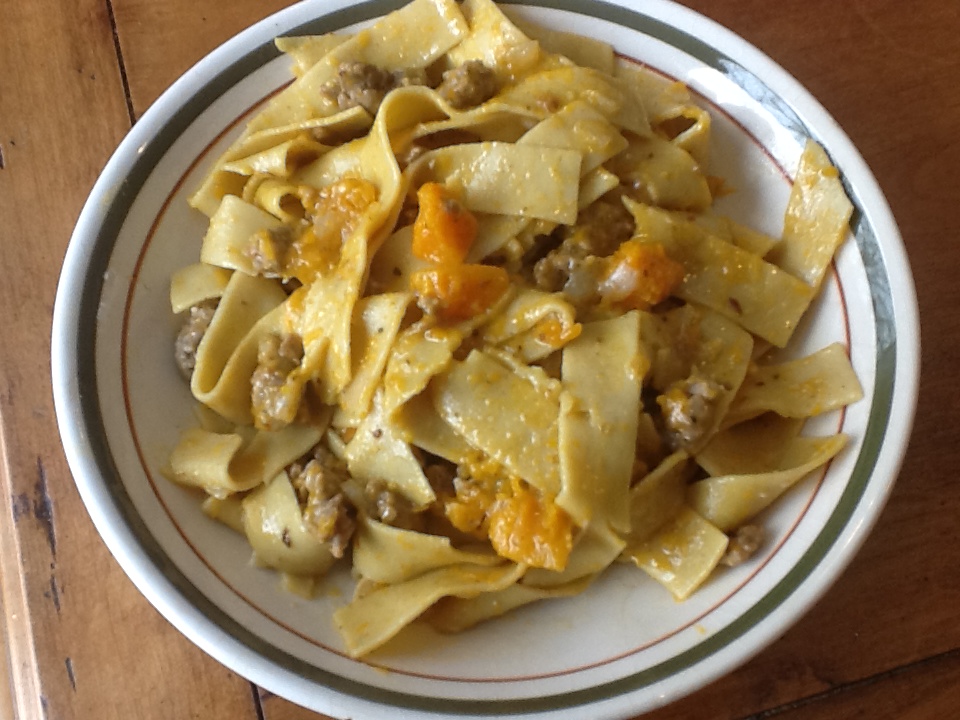
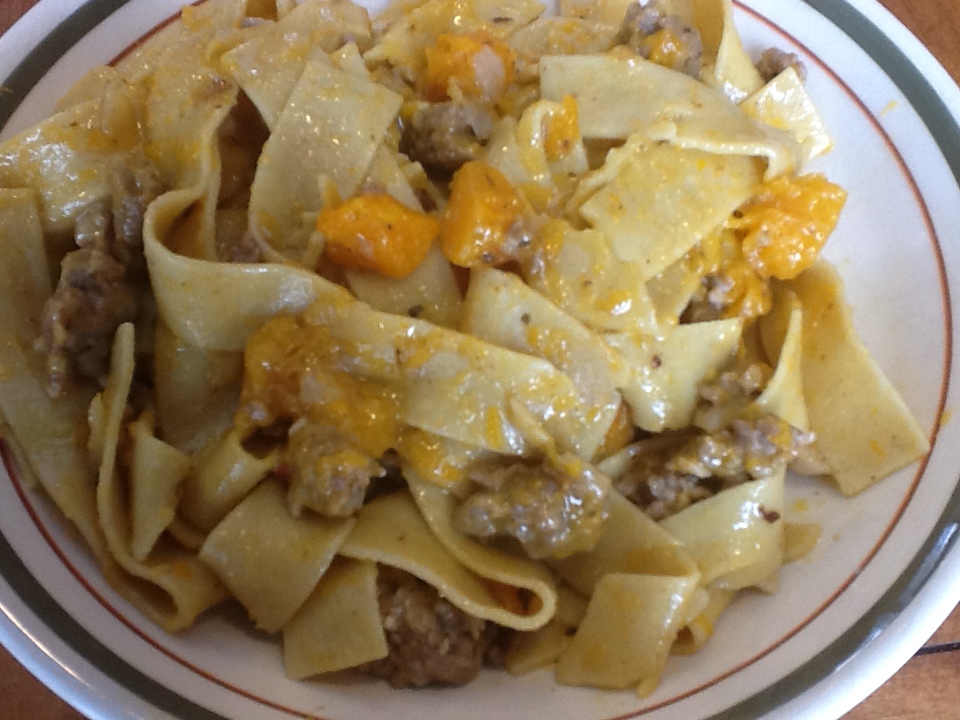
The recipe calls for penne rigate or rigatoni.  As you will see in my pictures, I used something different.  I had a pound of sweet potato pappardelle, which my sister had given me.  We share unique pastas too!!  It was fantastic, but the penne or rigatoni is spectacular as well.  I also did not use hot sausage, as the recipe suggests.  If you like spicy, we all agreed that the combination of hot from the meat and sweet from the squash, would be amazing.  However, it was wonderful with the sweet sausage as well.   Enjoy!

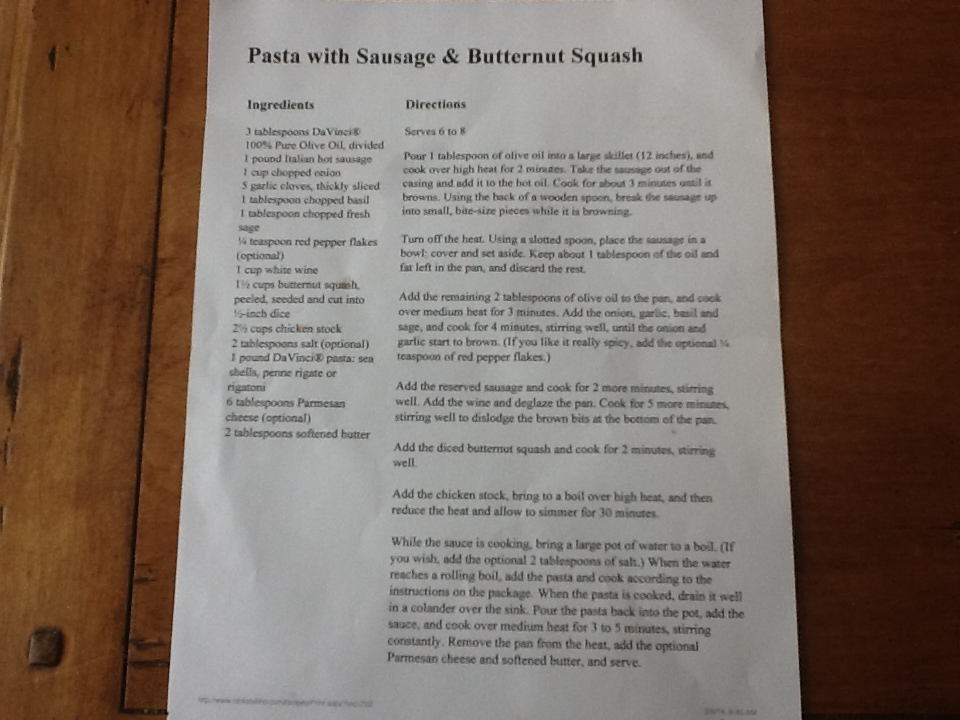
RECIPE:  serves 6 to 8 ( as a first course)

3 TBSP olive oil

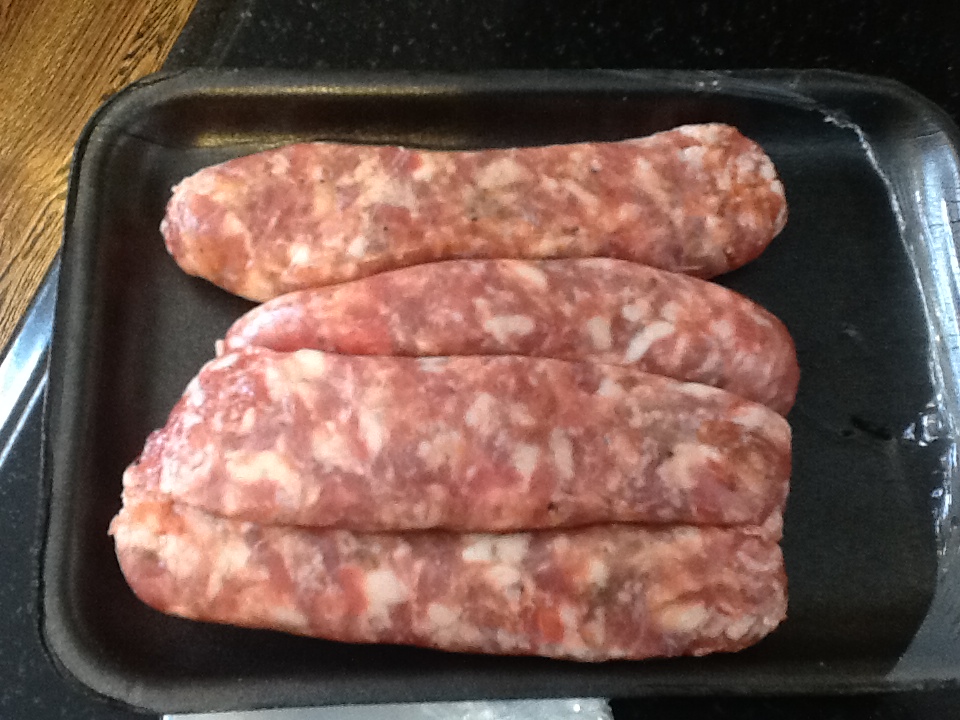
1 pound Italian hot sausage (I used sweet)

1 cup chopped onion

5 cloves garlic, thickly sliced

1 TBSP chopped basil

! TBSP chopped fresh sage

1/4 tsp. red pepper flakes (optional…I did add this to mine)

1 cup white wine

1 1/2 cups butternut squash, peeled, seeded and cut into 1/2 inch pieces ( I cheat and buy it already cut up).

2 1/2 cups chicken stock

2 TBSP salt

1 pound pasta, penne rigate or rigatoni

6 TBSP Parmesan cheese

2 TBSp softened butter

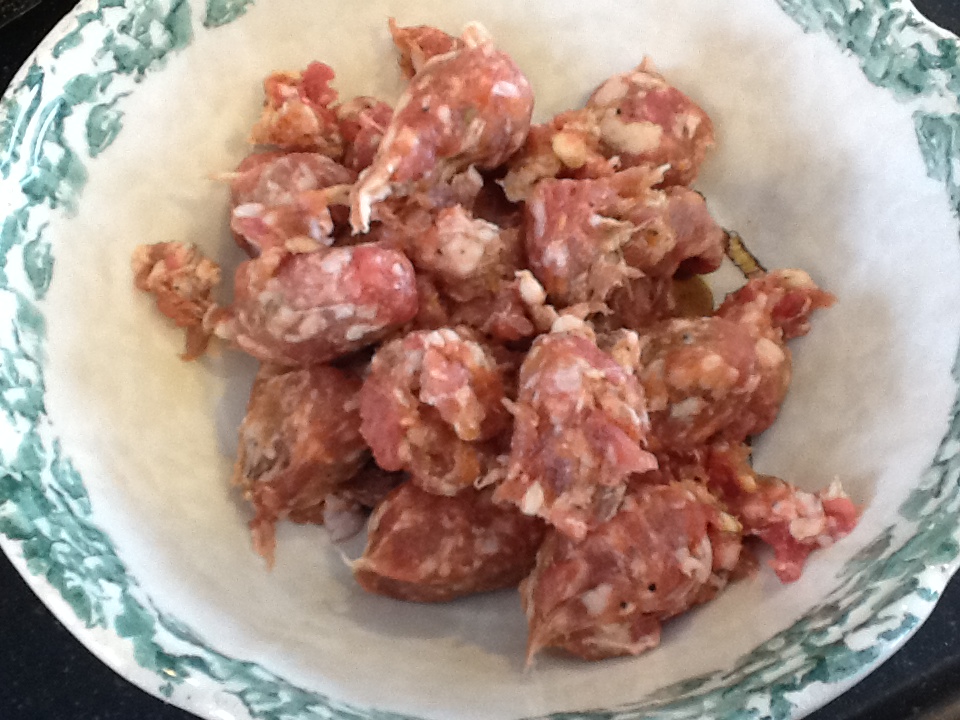
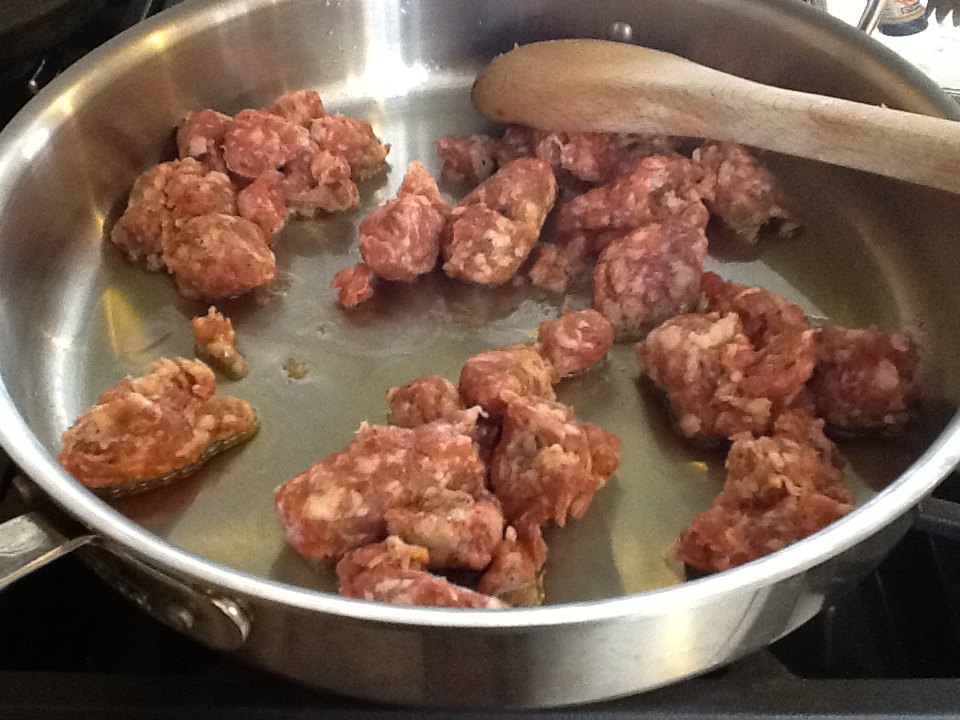
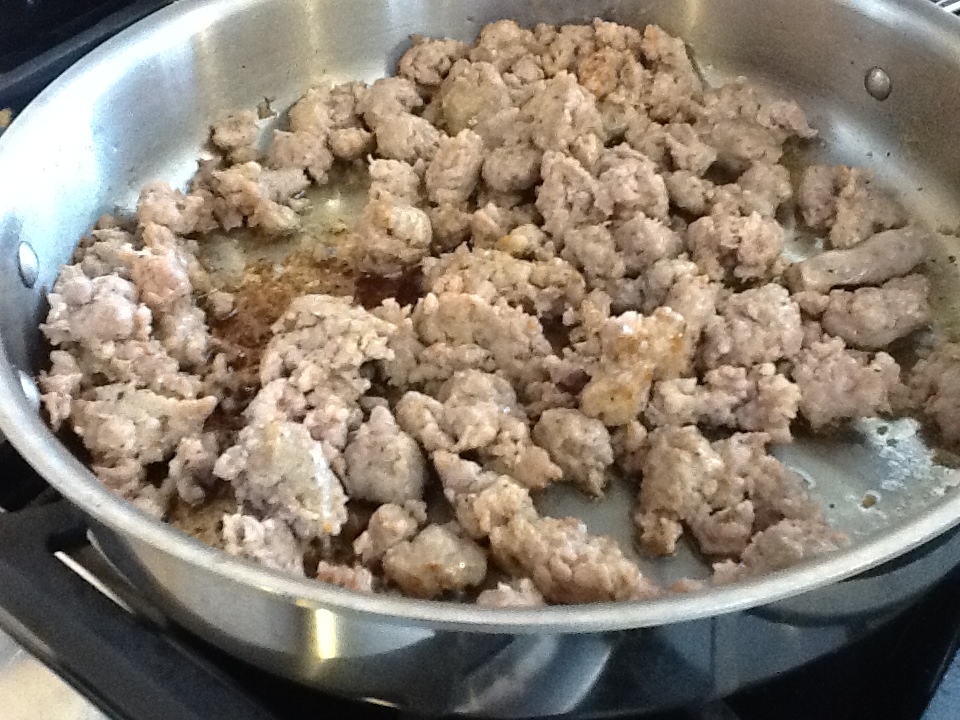
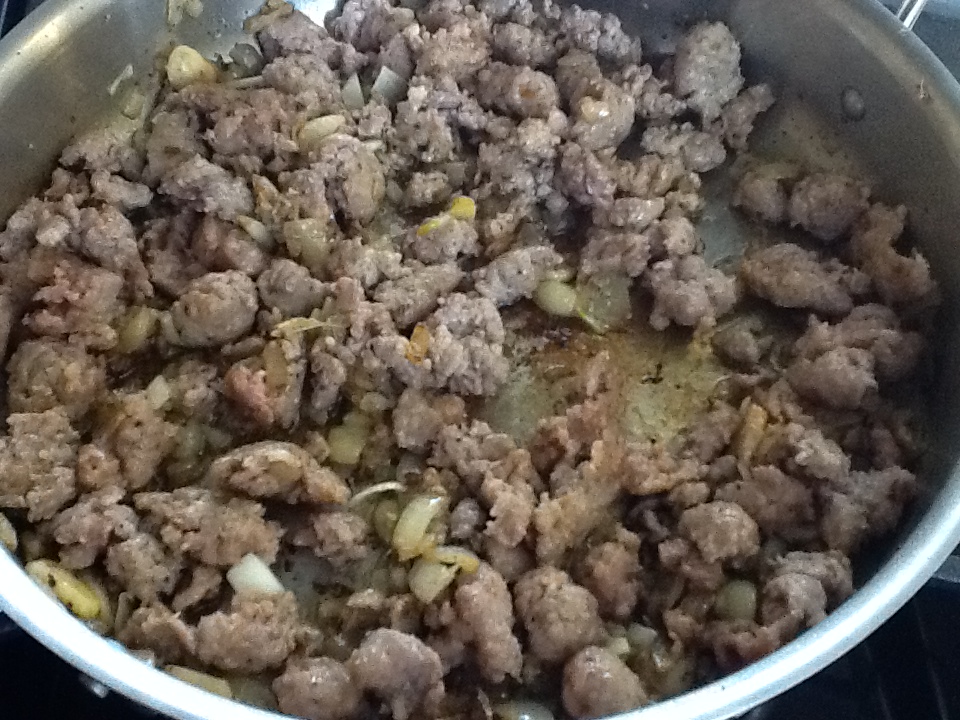
1.  Pour 1 TBSP of olive into a large, heavy skillet (12 inches), and cook over high heat for 2 minutes.  Take the sausage out of the casing and add it to the hot oil.  Cook for about 3 minutes until it browns.  Using the back of a wooden spoon, break the sausage up into small, bite-size pieces while it’s browning.  

2.  Turn off the heat.  Using a slotted spoon, place the sausage in a bowl; cover and set aside.  Keep about 1 TBSP of the oil and fat left in the pan.

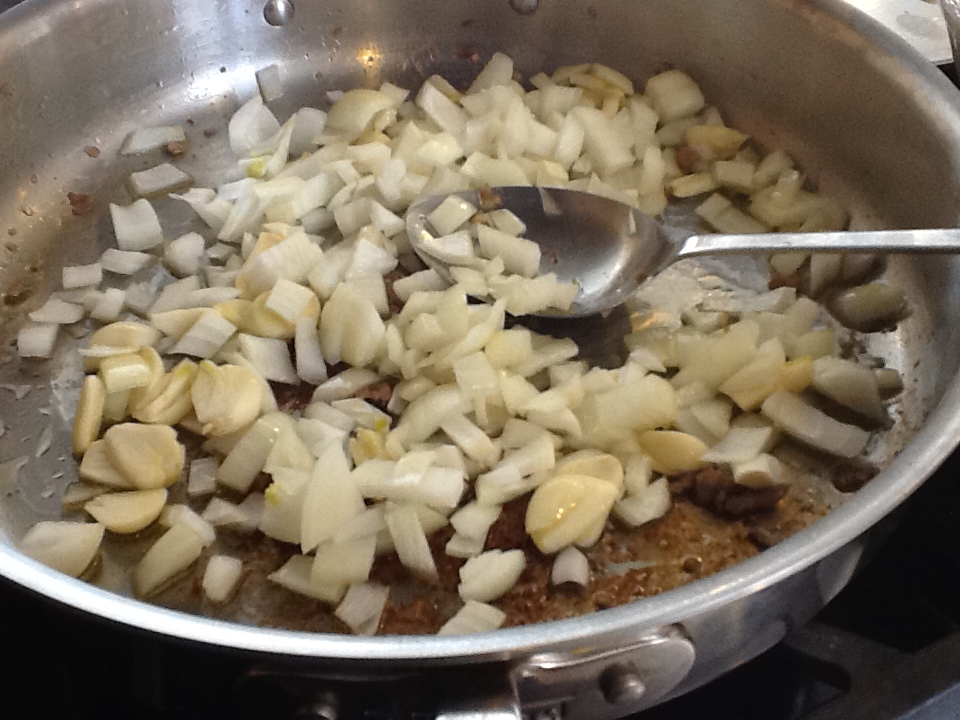
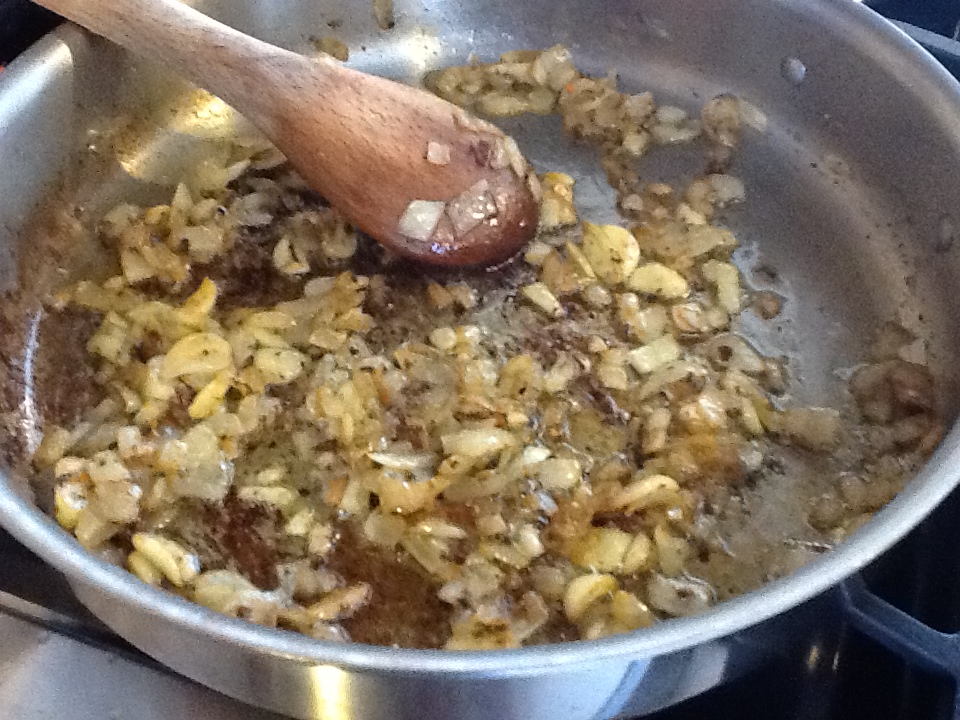
3.  Add the remaining 2 TBSP of olive oil to the pan, and cook over medium heat for 3 minutes.  Add the onion, garlic, basil and sage, and cook for 4 minutes, stirring well, until the onion and garlic start to to brown.  You can add the red pepper flakes here if you like.

4.  Add the reserved sausage and cook for 2 minutes, stirring well.  Add the wine and deglaze the pan.  Cook for 5 more minutes, stirring well to dislodge the brown bits at the bottom of the pan.

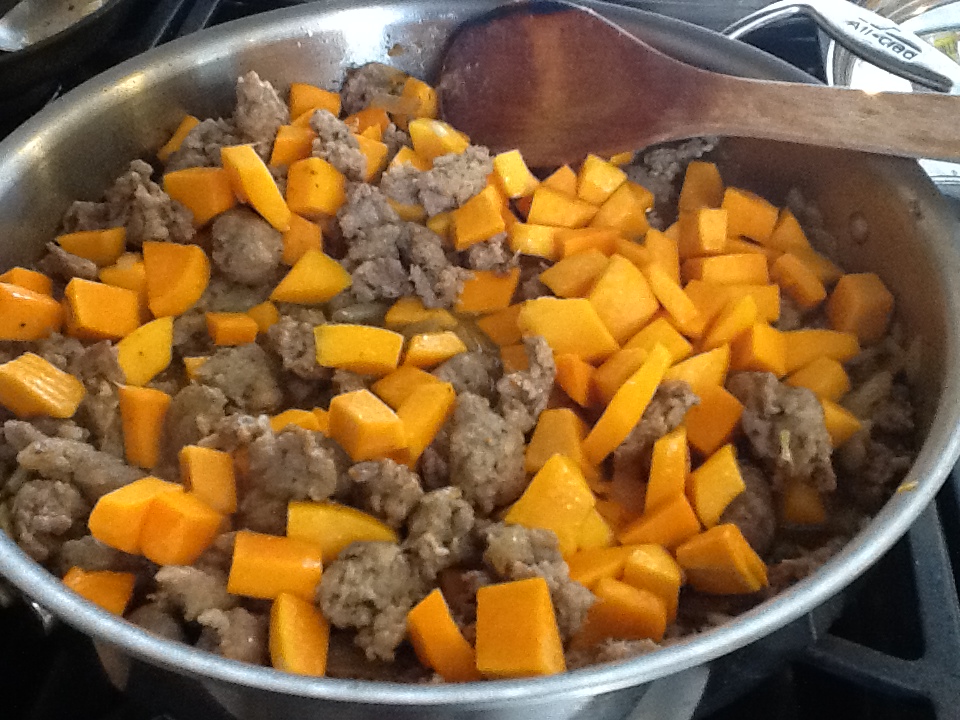
5.  Add the butternut squash and cook for 2 minutes, stirring well.

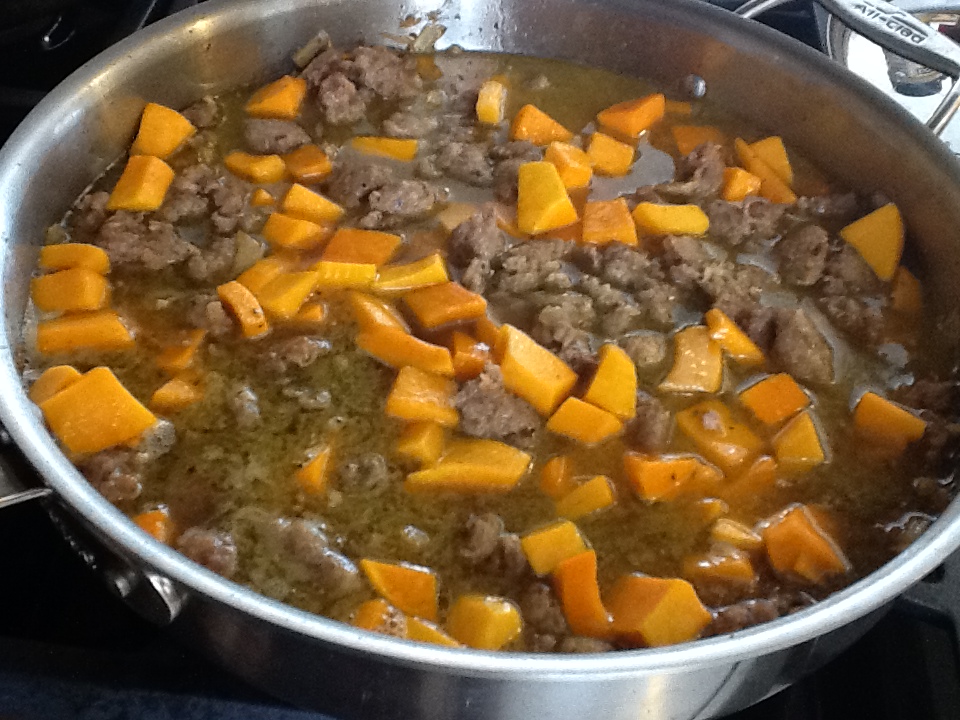
6.  Add the chicken stock, bring to a boil over high heat, and then reduce the heat and allow to simmer for 30 minutes.

7.  While the sauce is cooking, bring a large pot of salted water to a boil.  Add the pasta and cook according to directions.  When the pasta is cooked, drain it well in a colander.  Pour the pasta back into the pot, add the sauce, and cook over medium heat for 3 to 5 minutes, stirring constantly .  Remove the pan from the heat, add the parmesan cheese and butter and serve.
ImageImageImageImageImageImageImageImageImageImageImageImageImage

Zucchini Bread/Muffins

Image

I’m sure you’re all really sick of my stories about staying home and baking breads when my kids were young,….and sharing these recipes amongst girlfriends……blah, blah, blah.  Okay, so I won’t bore you again.  However, I did think it was comical that when I was looking through my files for this recipe for zucchini bread, from long ago, that I found so many of the same recipe, but all from different people.  I guess I didn’t realize at the time that everyone was giving me the same recipe!  I did remember that a friend of a friend used this recipe, but made it into large muffins.  I guess she was the creative one.  What was the fascination with this recipe?  Was it the fact that we were making something sweet, but yet we were using vegetables?   Did we think this made it healthy?  I think back then we did think this.  If there was a veggie involved, we figured it must have been good for us.   Around the same time that zucchini bread was all the rage, carrot cake appeared as well.  We certainly knew how to fool ourselves.

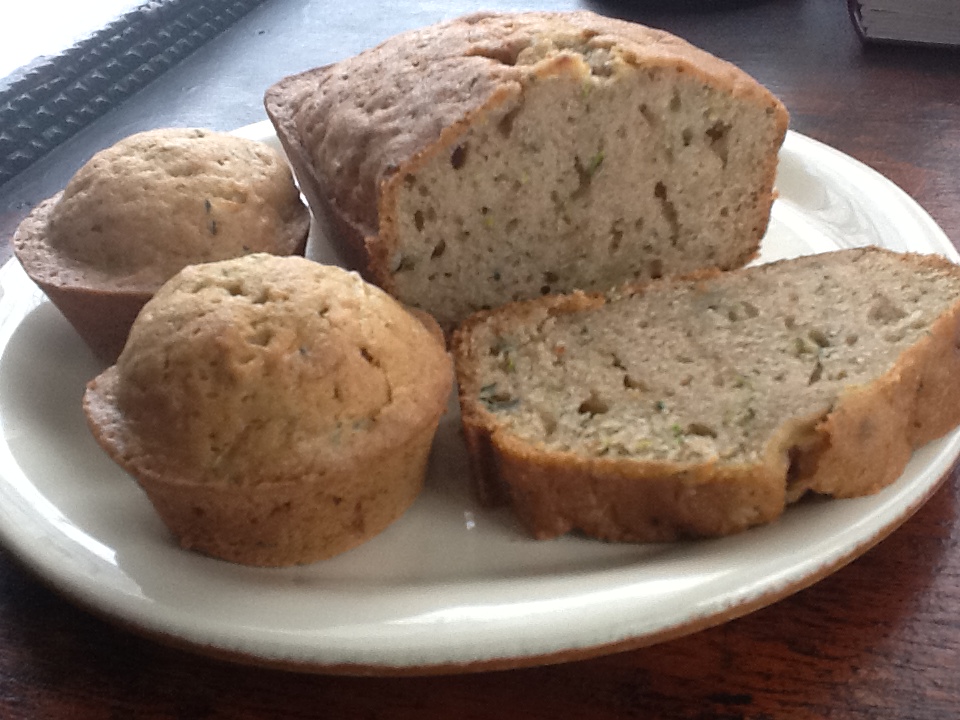
So now that I know that Dr. Oz wouldn’t recommend this as one of his foods for dieting, I can’t get much satisfaction out of the fact that there is zucchini in this bread, except that it tastes delicious.  I especially love this recipe when made into large muffins.  I use the tin that hold 6 large muffins.  I’m sure it would be wonderful as smaller muffins too, but then I’d have to eat two!   Since I can never decide which I prefer…bread or muffins, I make one loaf and the 6 large muffins.  

Thank you, Mom, Mrs. Tozzi, Bev, Judith and Bonnie for sharing these recipes with me.

If you have a different recipe for Zucchini Bread, I would love it if you would share, too.

RECIPE:   makes 2 loaves or 12 large muffins or 1 loaf and 6 large muffins, or any configuration of your choice

3 eggs

1 cup vegetable oil

2 cups sugar

2 cups grated, unpeeled zucchini

3 tsp. vanilla

3 cups flour

1 tsp baking soda

1/2 tsp. baking powder

1 tsp. salt

3 tsp. cinnamon

1 cup chopped nuts, if desired. I prefer not.

1.  Grease pans of choice, and preheat oven to 325 degrees.

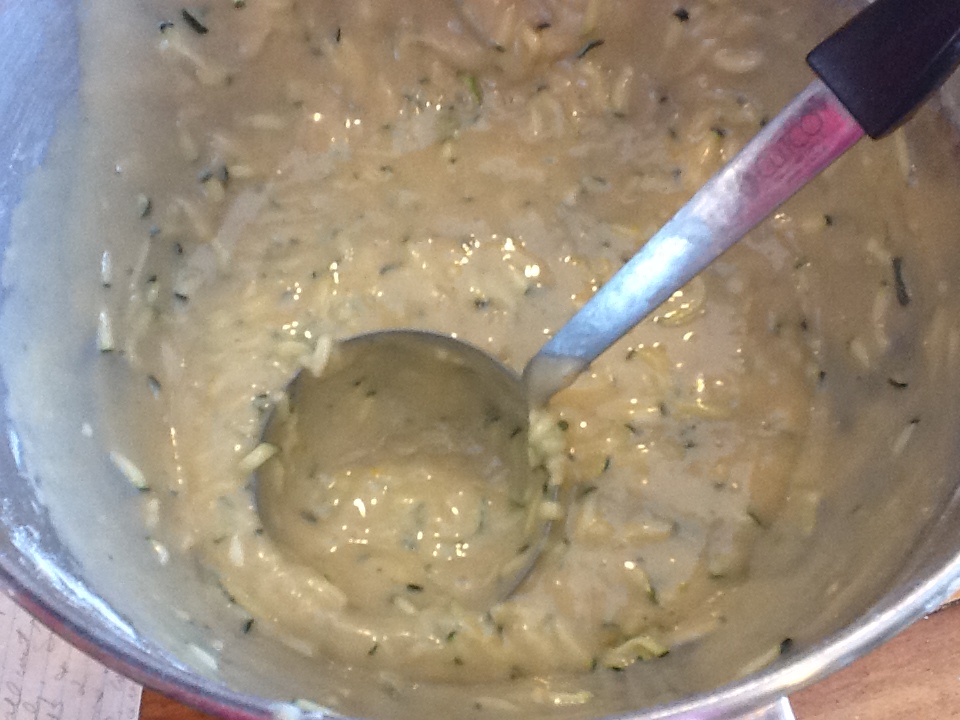
2.  Mix together the eggs, sugar, oil and vanilla.   Add grated zucchini.

3.  Sift all the dry ingredients together and then add.  (I think the sifting really does matter here.  Don’t cheat.)

4.  Combine dry ingredients with the wet, and mix well.

5.  Pour into prepared pans.  Cook approximately 1 hour and 15 minutes. Muffins will take less time. 

ImageImageImageImageImageImageImageImageImageImageImageImage

Pan Roasted Pork Tenderloins with Balsamic-Fennel Confit

Image

This recipe came into my life about 8 years ago in a very strange manner, but sometimes recipes just find you.  It was not passed down from relatives, or given to me by a friend, and I didn’t find it in a cookbook or magazine.  I was minding my own business in a William Sonoma store, looking at an oval copper sauté pan.  It was a beautiful pan, and I found myself unexplainably drawn to it.  I didn’t need it.  I certainly didn’t have room for any more pots or pans, and it was very expensive.  I found myself picking it up, gently stroking the copper sides, and then I would put it down and walk away, convincing myself that I didn’t need it. I did this several times, and then finally just bought the dish towels that I came in for, but went back for one last look.  There was a woman there now, conducting the same sort of ceremony.  She turned to me and said “isn’t this a gorgeous pan?”  “Gorgeous “was the right word.  I agreed with her, and told her that I was trying to convince myself I needed the pan, but really didn’t have any particular use in mind.  That’s when she pulled this recipe for pork tenderloin out of her purse, and shoved it under my nose.  “This is the recipe that their catalog suggests you make in this pan,” she told me.  I glanced at it quickly and that was all I needed now to justify my purchase.  “Thank you, ” I said, “I’m buying the pan!”  She grabbed me by the coat sleeve and whispered, “don’t!”  She then proceeded to tell me that she makes it in a cast iron skillet, and it comes out perfect.  “Why spend $250 on a pan you don’t need?”  She was correct, especially because I had a cast iron skillet and I didn’t have that recipe in my possession anyway.  I suppose I looked a little disappointed as I turned to walk out of the store.  She quickly came after me and handed me the recipe.  “Try it in a cast iron skillet,” she said.  “Your family will love it.”
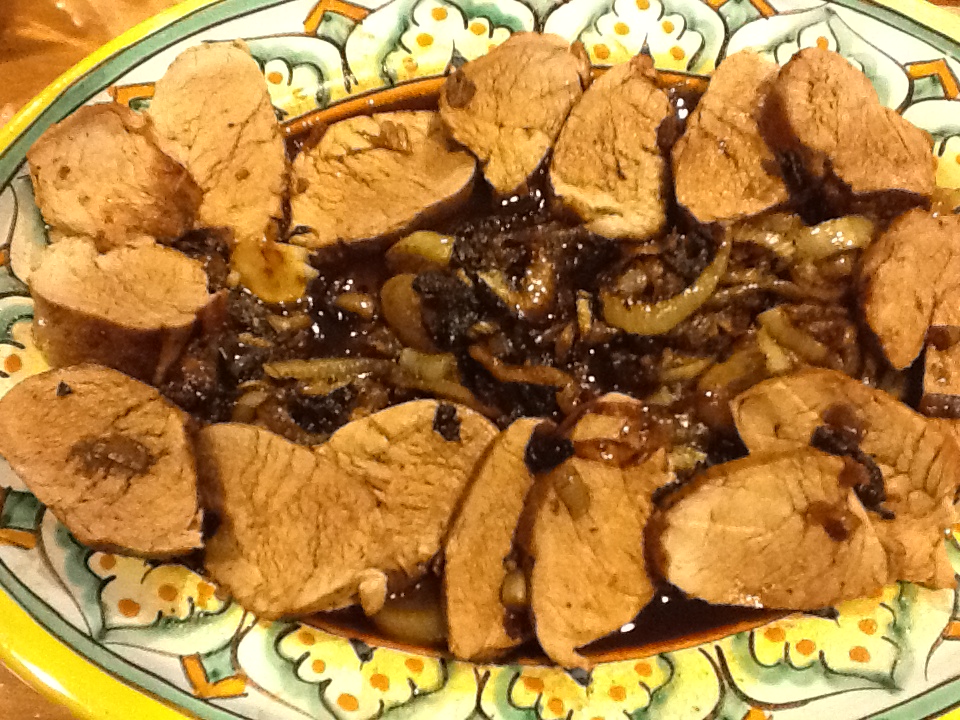
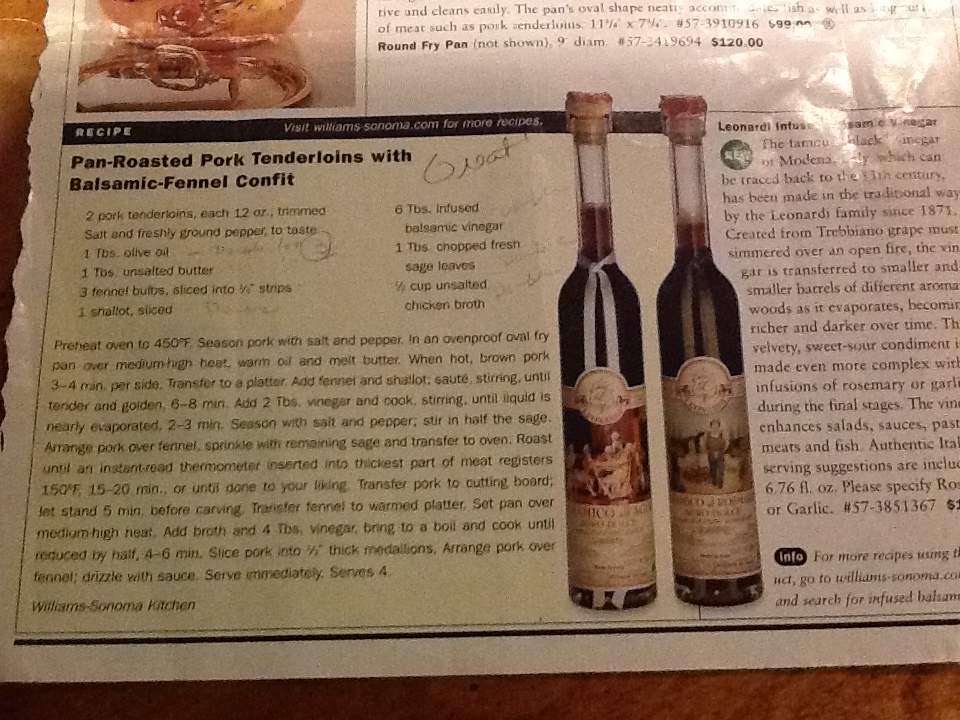
She was right.  I went directly to the food store, bought all the ingredients needed and made this dish for dinner that very night…..in my cast iron skillet.  It was a big hit, and I’ve been making it ever since….in my cast iron skillet.   I still glance longingly at that pan every time I browse through William Sonoma, and still can’t help but wonder if that woman, all those years ago, bought the pan once I had left the store.

RECIPE:   serves 6

2 pork tenderloins, 12 ounces, trimmed

salt and freshly ground pepper to taste

2 TBSP olive oil

2 TBSP unsalted butter

3 fennel bulbs, sliced into 1/4 inch strips

1 shallot sliced

8 TBSP balsamic vinegar

1 TBSP chopped fresh sage leaves (not totally necessary)

3/4 cup unsalted chicken broth

1.  Preheat oven to 450 degrees.

2.  Season pork with salt and pepper

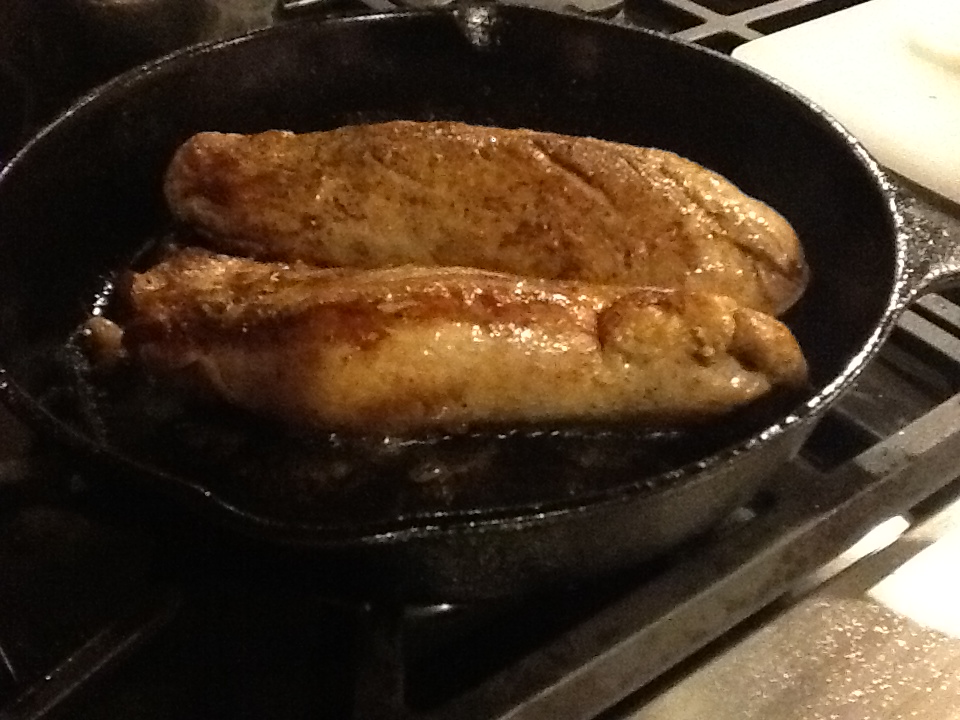
3.  In an ovenproof fry pan, over medium heat, warm oil and melt butter.  When hot, brown pork 3 to 4 minutes per side.  Transfer to a platter.

4.  Add fennel and shallot to pan, and sauté, stirring until tender and golden, 6 to 8 minutes.

5.  Add 3 TBSP vinegar and cook, stirring until liquid is nearly evaporated, 2 to 3 minutes.  Season with salt and pepper.  Stir in half the sage.

6.  Arrange pork over fennel, sprinkle with remaining sage and transfer to oven.  Roast until an instant-read thermometer inserted into the thickest part of meat registers 150 degrees F, about 15 to 20 minutes, or done to your liking.

7.  Transfer pork to cutting board and let sit for 5 minutes before cutting. Transfer fennel to warm platter.

8.  Set pan over medium high heat and add the broth and the rest of the vinegar.  Bring to a boil and cook until reduced by half, 4 to 6 minutes.

9.  Slice pork into 1/2 inch thick medallions.  Arrange pork over fennel; drizzle with sauce.  Serve immediately.

ImageImageImageImageImageImageImageImageImageImage

pork tenderloin recipe

Banana Oat Cookies

Image

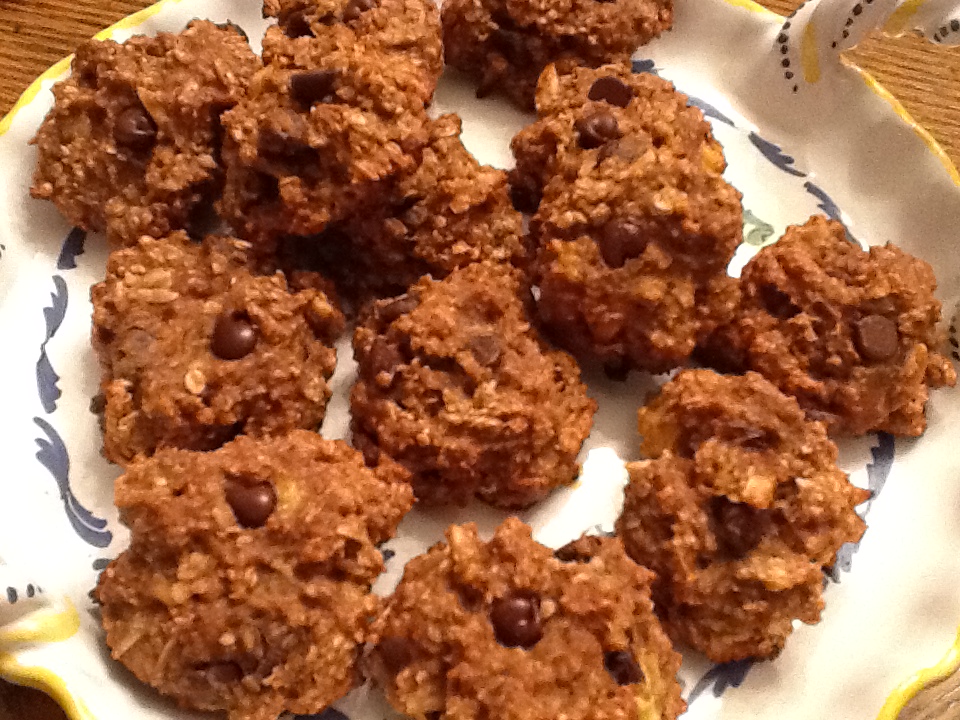
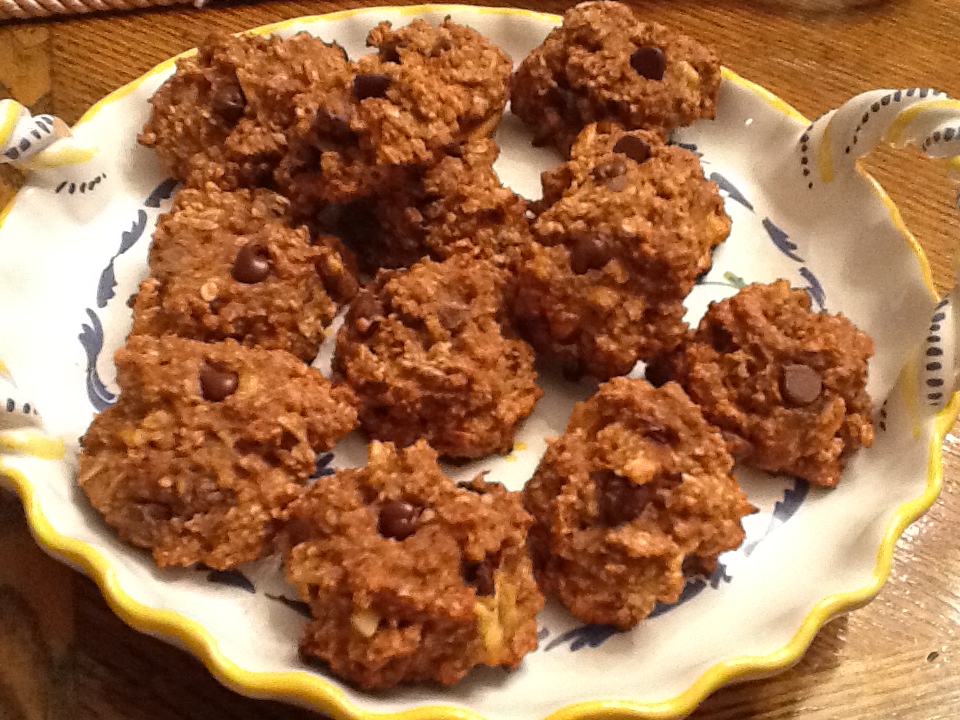
In contrast to my opening statement in my last post (DiGirolamo Cookies), this is absolutely not the “cookie of my childhood.”  As a matter of fact, my grandmother, Little Nonni, might be looking down from heaven and wondering how I could possibly even call this a cookie (biscotto).  “There’s no sugar, flour or eggs so how can it be a cookie?” she’d be muttering in Italian.  Well, Little Nonni, welcome to 2014!  It’s all about health and diet, and yes, even I sometimes look around for a cookie recipe that might save on calories and fat.  As a matter of fact, that’s exactly how I came upon this recipe.  I combined several “healthy” cookie and snack bar recipes, and came up with this.  The first time I made it, I was a bit leery of how it would turn out, but surprisingly, it was quite delicious.

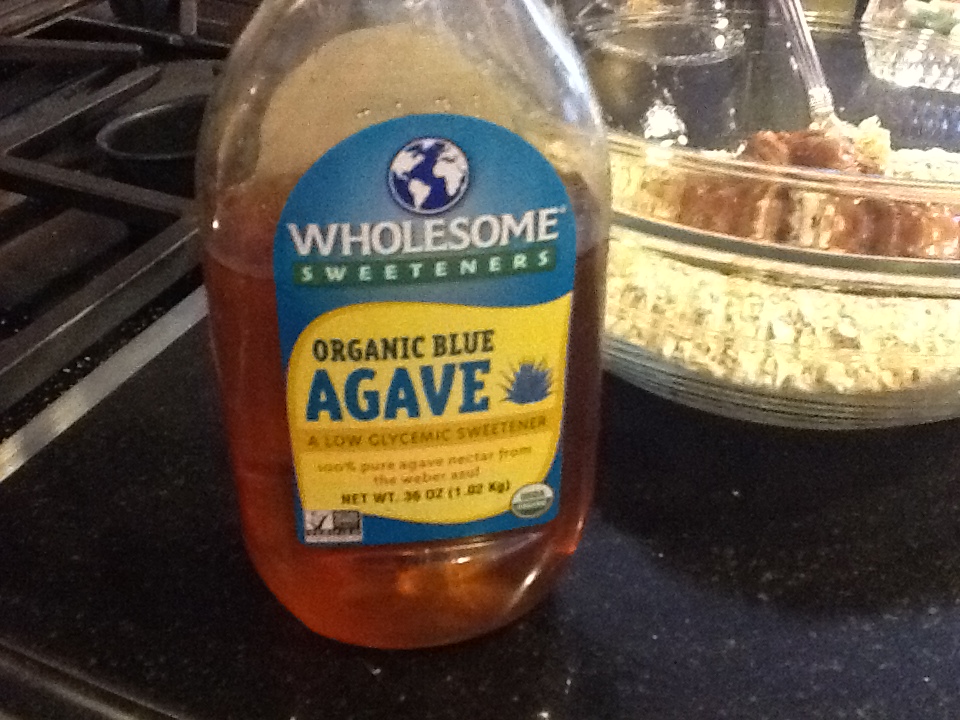
What makes this cookie so good for you and low on calories?  Well, for starters, I use oats instead of flour, making them whole grain and gluten-free. Then I use agave, which has a low glycemic index,  instead of honey or sugar.  Mashed bananas moisten it without using butter, oil or eggs so they are Vegan.   But the real key to keeping the calorie count and fat level low and the protein high, is my secret weapon, PB2.  Let me share this “find” with you.  PB2 is powdered peanut butter that is 85% less fat calories than traditional peanut butter.  The only ingredients are roasted peanuts, sugar and salt.  2 TBSP are only 45 calories as opposed to 190 in regular peanut butter.  There’s even one with chocolate, and still only 45 calories.  I’m in love with this stuff!  It’s easy to mix…..just 2 parts powder to 1 part water.  Even if you use regular peanut butter or almond butter in this recipe, this cookie is still good for you and full of protein, but you will add calories and some fat.

Enjoy these as a great mid-day snack, or even as breakfast with some yogurt.  They fill you up, while keeping your energy level high. There’s no sugar crash.  However, they’re not my grandmother’s biscotti!  But then again, they don’t pretend to be.

ImageImageImageImageImageImageImageImageImageImageImage

RECIPE:  makes 12-13 large cookies

2 large ripe bananas, mashed (about 1 cup)

2 1/2 cups quick oats

1 1/2 tsp ground cinnamon

3/4 tsp salt

1/4 cup Agave

1/3 cup dark or semi-sweet chocolate chips

1/3 cup slivered almonds (optional)

1 cup PB2 ( I sometimes use 1/2 cup PB2 regular and 1/2 cup PB2 chocolate ) or any prepared peanut butter or almond butter

1.  Preheat oven to 325 degrees

2.  If using PB2 mix 1 cup of powder with 1/2 cup of water.  Stir well, until it looks just like regular peanut butter.  Add a bit more water if need to get the correct consistency.

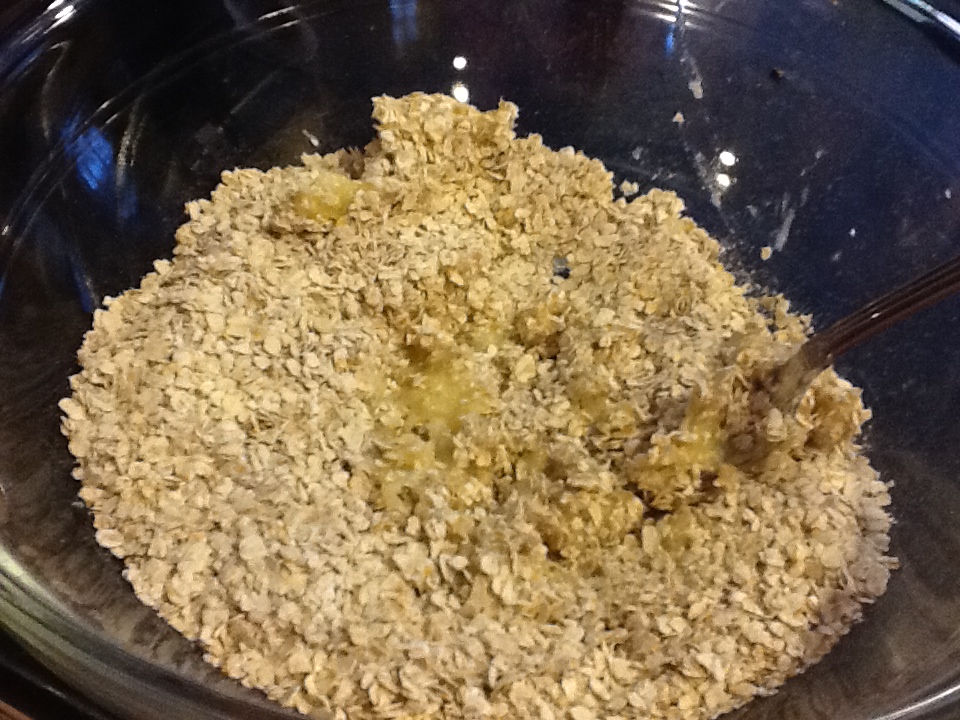
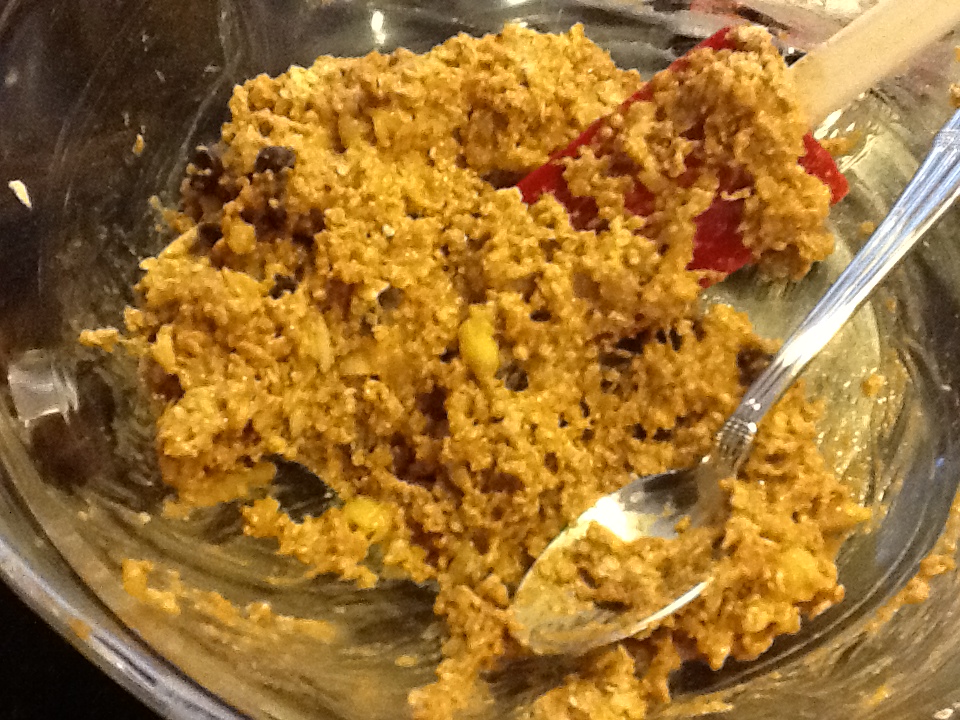
3.  Combine all ingredients in a large bowl and mix well.  The dough will be quite thick.

4.  Each cookie will be about 3 Tablespoons of dough.  Place them on prepared cookie sheets, and flattened to desired thickness.  They will not spread in the oven.

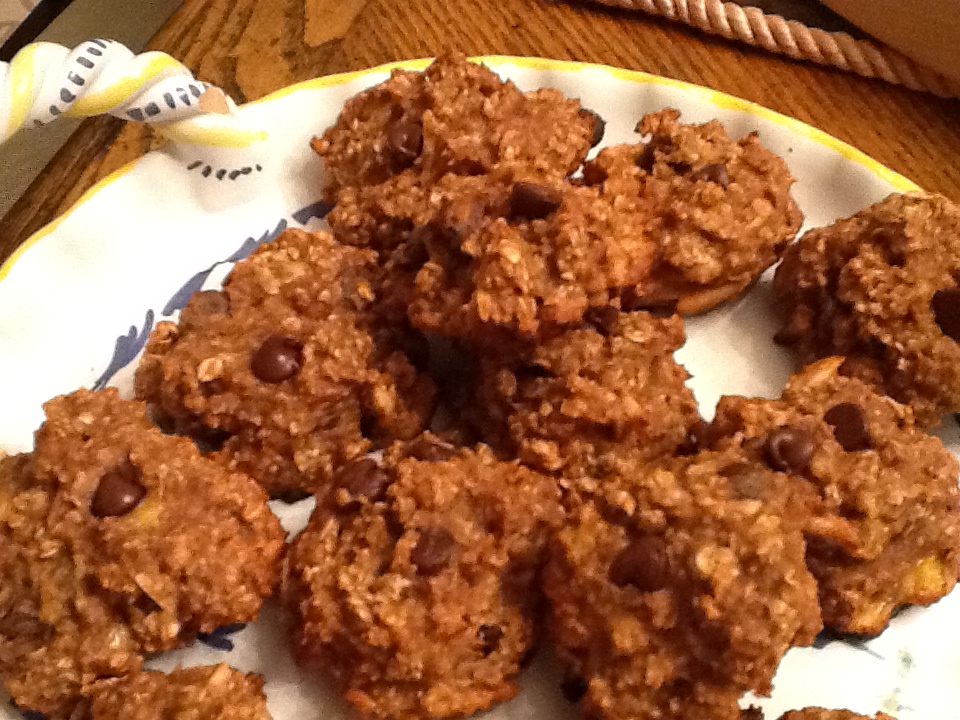
5. Bake for 15 minutes, but checking after 10.  It is difficult to tell when these cookies are done, as they are dark, so they don’t brown, but edges will get slightly browned, and that is when they are done.

DiGirolamo Cookies

Image

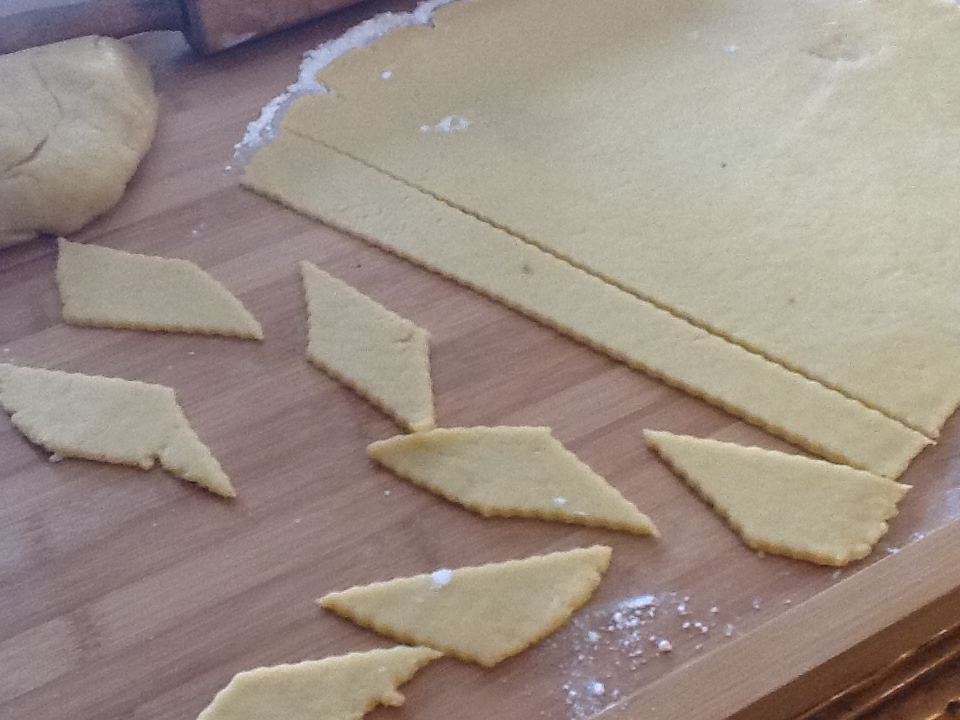
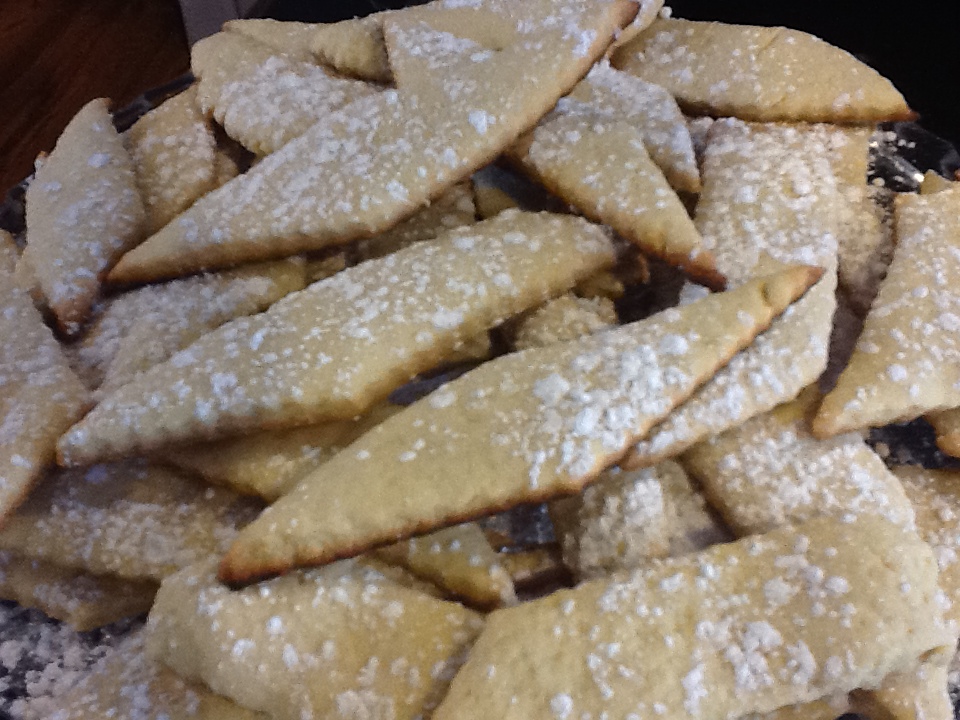
This is the cookie of my childhood.  In no time at all, my grandmother (Little Nonni) or my mother would mix up the dough (by hand, of course), roll it out to desired thickness, and we’d all chip in to cut them into very irregular shapes.  As a child,  it was a lot of fun to join in and help, and then of course, enjoy the cookies once they came out of the oven (they’re great warm).  My mom made these many times for my children, as did I.  It’s a great way to occupy kids on a snowy day, and the ingredients are something you always have on hand.  But somehow, the tradition stopped there.  When I came upon this recipe the other day, I felt bad that I had never made these for any of my grandchildren.  Well, I will now!  I’m waiting for the next visit to start in with this tradition all over again.  In the meantime, when there were no children around the other day, I decided to make these cookies for a Superbowl party we were attending last weekend.  I just had to smell them baking in the oven.  The aroma is divine.    Okay, it’s does seem like an odd thing to bring to a Superbowl party (what about nachos?!), but heck, there were a lot of Italians at the party, and we all love a good “biscotti” at the end of meal.  As a matter of fact, several of the guests left with a baggie full of these cookies!  I can’t really explain why they’re so good as the ingredients are so basic.  It doesn’t get simpler than this.

Just one warning….they’re addicting.  It’s very hard to eat just one.  If you make these cookies, and you can eat just one, I’d love to hear from you.  You either made a mistake in the recipe, or you’re just an amazing person with way too much willpower.

RECIPE:  makes about 4 dozen, depending on the size and thickness of cookie

3 cups flour

1/2 cup sugar

3 tsp. baking powder

pinch of salt

2 eggs

1/4 lb melted butter

1 tsp. vanilla

1/4 cup milk

1. Mix all ingredients together.  My grandmother and mother used their hands, making a well with the dry ingredient in the manner one might make pasta by hand.  I use my Cuisinart, with the dough hook attachment,  By hand, kneed for 5 minutes; with the dough hook, 3  minutes of mixing is fine.

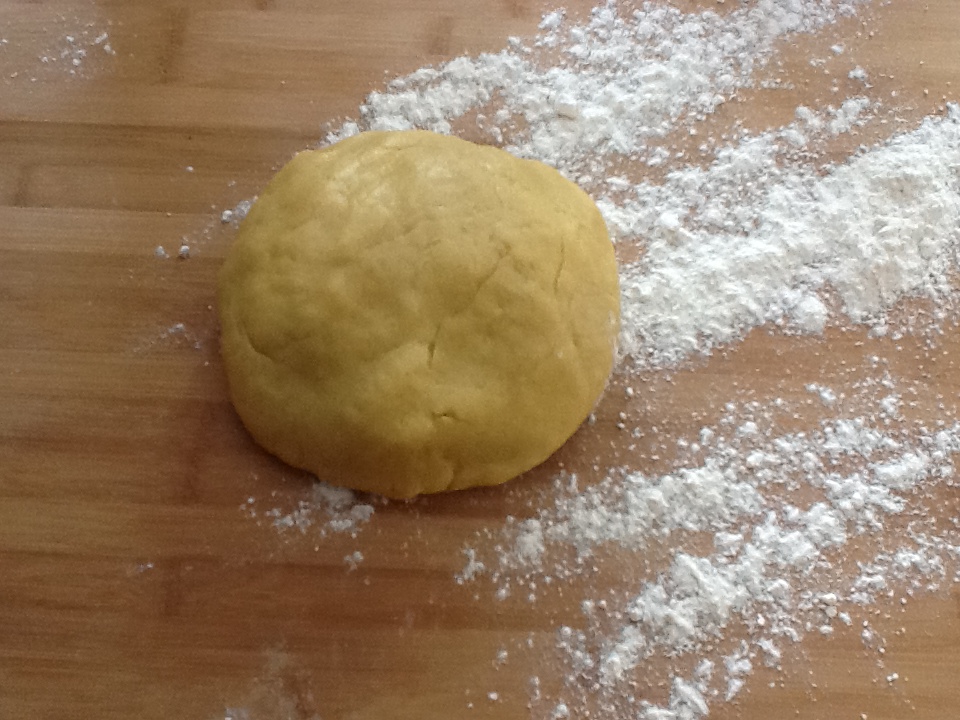
2.  Form dough into round ball.  Cut in half.

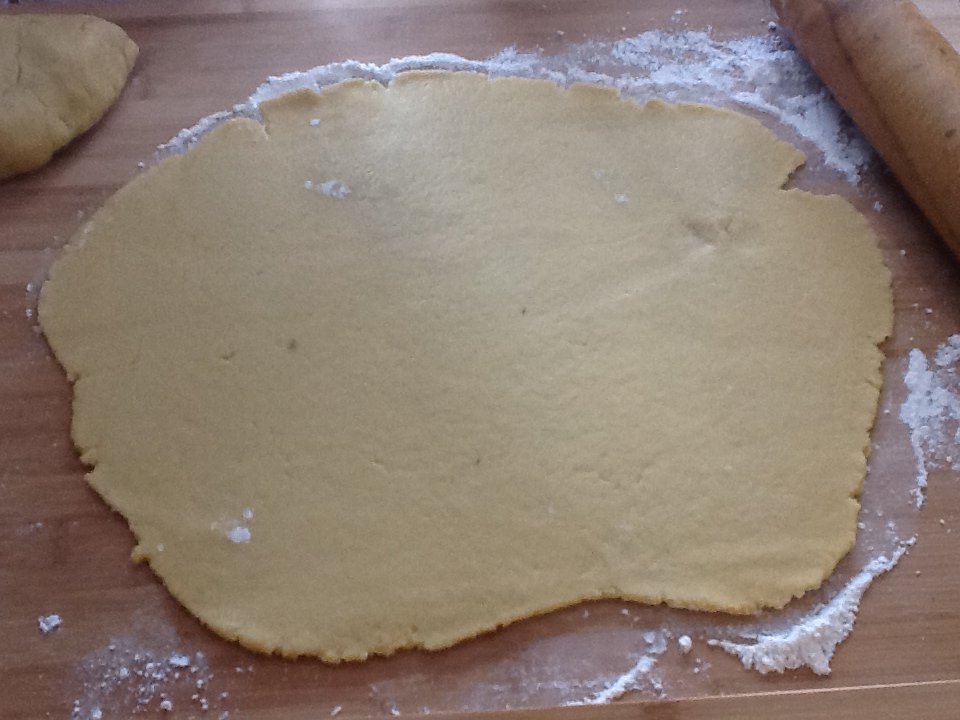
3.  Roll out the dough to desired thickness.  I like it about  1/4 inch thick or so.

4.  Using a pastry cutter, cut into strips.  Then cut crosswise into the desired size.  You can use cookie cuter as well.

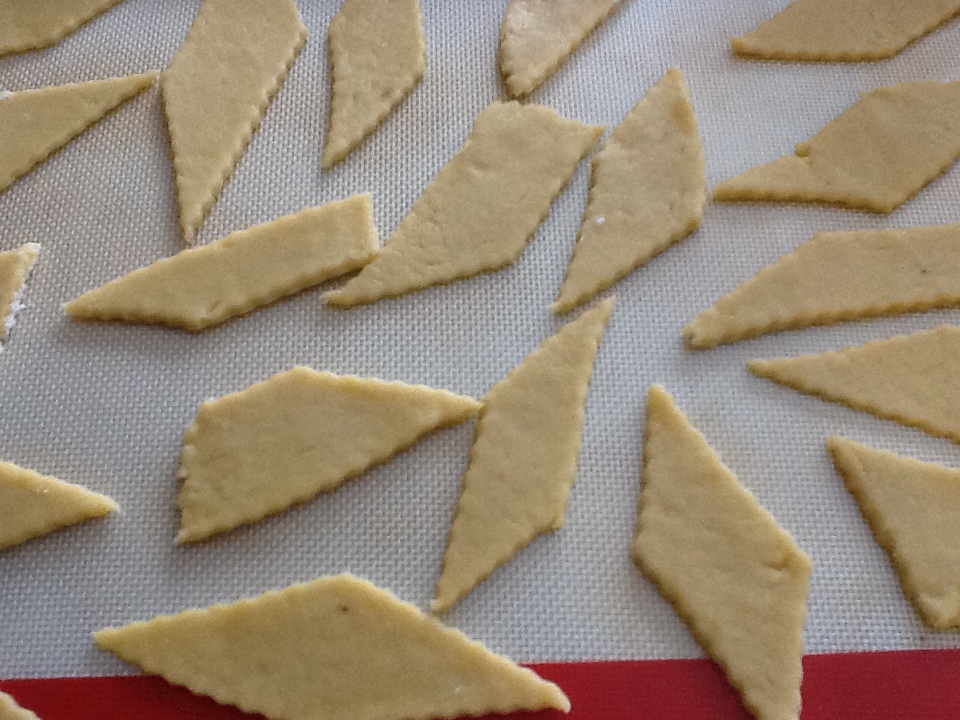
5.  Bake in a preheated 375 degree oven for 10 to 15 minutes, until very lightly browned.  Be careful not to burn the bottoms.

6.  When cooled, sprinkle with confectioners sugar, but make sure to eat one or two still warm.

Image

ImageImage

ImageImage

Image

ImageImageImageImageImageImageImageImageImage

Image

Filet Sole with Snow Peas

Image

I serve fish at least once a week.  I grew up eating fish ( specifically filet of sole or flounder) for dinner on Fridays in accordance to the Catholic Church.  But even after Pope Paul VI loosened the fasting rules in 1966, my mom just couldn’t break the habit.  We still had fish (or other meatless meals) on Fridays, and I believe this is a habit she still prefers to follow.  I’m certainly not here to talk about religion, but I just want to mention that this “fish on Fridays” ritual was to symbolize penance.  It was to be some sort of sacrifice.   And sacrifice it was, because my mom made filet of sole or filet of flounder every Friday in exactly the same way……week after week!  Don’t get me wrong, it was good ( in a baking dish, drizzled with oil…..coated in Italian-style breadcrumbs…..dot with butter…cover and bake for 25 minutes).    But every Friday?  We were ecstatic when the fishmonger didn’t come, and we had eggs in purgatory (eggs in gravy) or pizza instead.  ( I will share those recipes in weeks to come).

So, yes, I began my cooking life serving filet of sole or flounder in the manner of my mother.  We didn’t have it every Friday night, but if  I made fish, this was it.  Eventually a recipe for shrimp scampi from my mom’s friend Anne was in the repertoire, but it wasn’t until 1986 that I truly knew just how delicious these fish filets could be.  This elegant dish of filet of sole with snow peas was served at a dinner party at the home of our dear friends.  I was impressed that my friend, with 2 small children, was able to make such a scrumptious and elegant meal…..and who knew filet of sole could be so delicious!  A few days later, I was sitting in her kitchen while our children played, and I asked for the recipe. She handed me one of her “recipe index cards” (we all had these cards then, and recipes were neatly filed in our “recipe boxes”).    I couldn’t believe how easy it looked, and in fact, it is a very easy dish to make.

Since then, I have learned of many different ways to make filet of sole or flounder, but this is truly my favorite.  It’s easy enough for any day of the week, yet fussy enough for a dinner party.  Just one confession ……..every so often, I place my sole or flounder in a oiled pan and coat it in breadcrumbs, dot with butter and bake.  Ahh, memories!

RECIPE:  serves 4

4   6 ounce sole or flounder filets

white pepper to taste

salt to taste

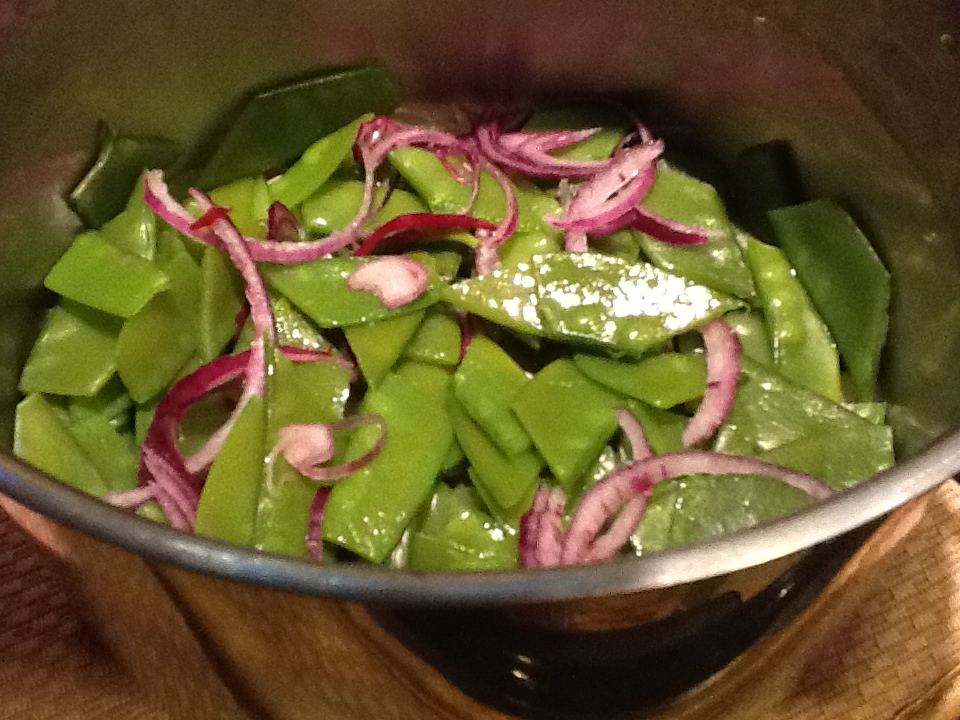
1/4 to 1/2 pound snow peas, trimmed and cut diagonally into 1 inch pieces, plus 6 whole snow peas for garnish

1/2 small red onion, sliced thin

For Vinaigrette:

4 TBSP fresh lemon juice

2 tsp freshly grated lemon rind  (I like a little more than this)

2 tsp. Dijon mustard

1/2 cup olive oil

1.  Combine all ingredients for the vinaigrette, using a whisk.

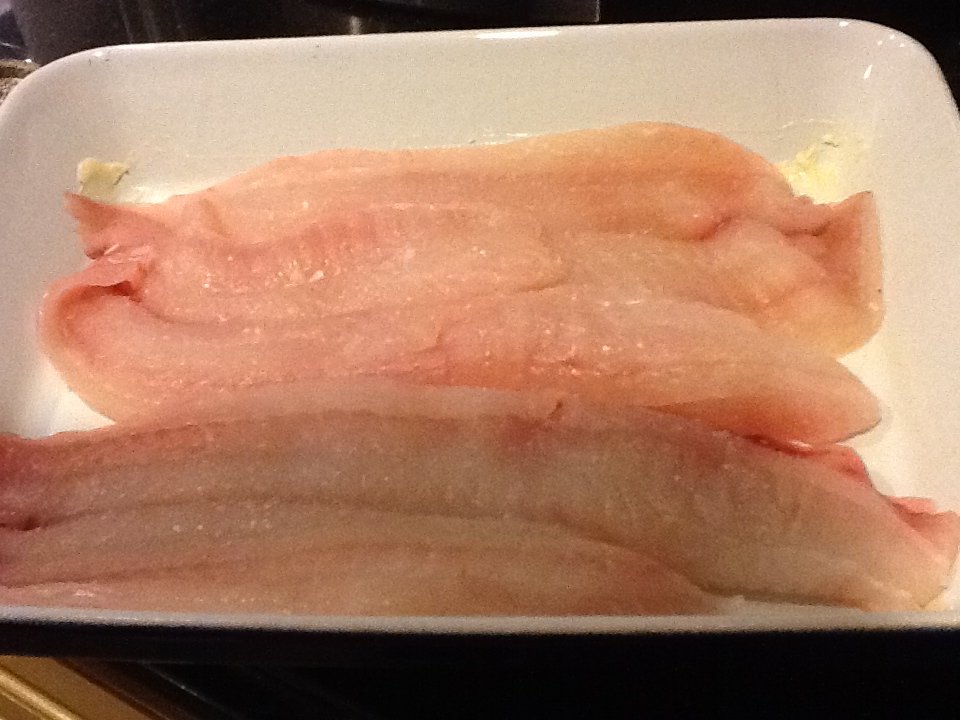
2.  Butter a 9 x 13 baking dish.

3.  Season the filets with salt and pepper and arrange in the pan.

4.  Cover and bake at 400 degrees for 7-9 minutes.

5.  While baking, blanch the snow peas, drain and run under cold water to stop the cooking.

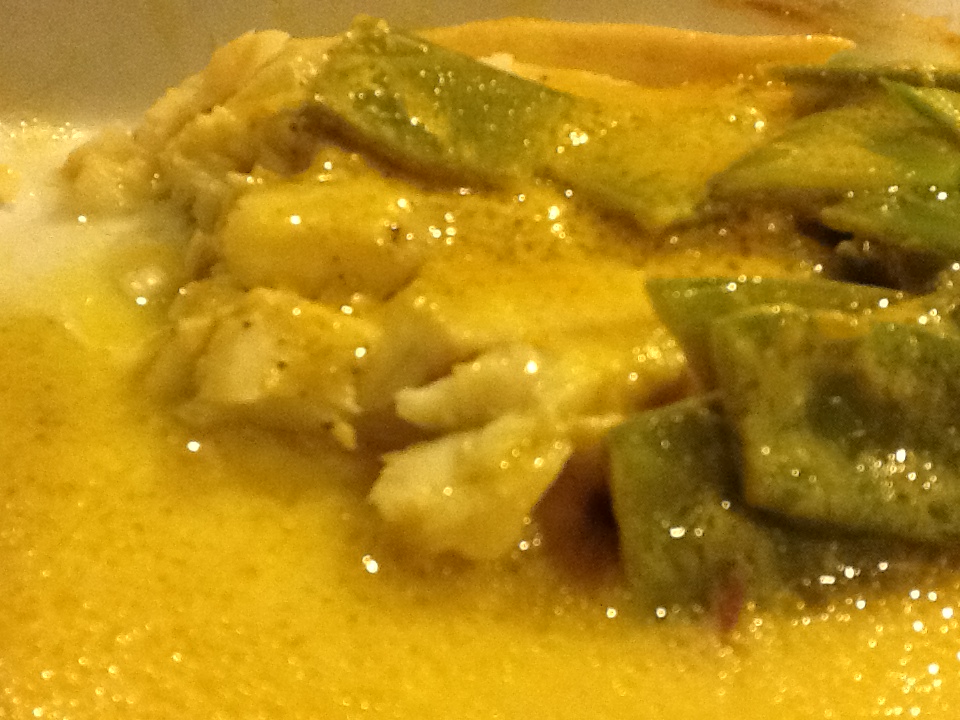
6.  Once the filets are cooked, top with the snow peas, red onion and vinaigrette.  Serve as your prefer, in a platter or in the baking dish.

ImageImage

Image

Image

Image

Image

Image

Image

Baked Rice and Mozzarella Pie

Image

As mentioned in my last post, this Baked Rice and Mozzarella Pie recipe was the side dish that always accompanied chicken or veal parmigiana (see last week’s post) in my family growing up.  It might seem like too much cheese or too much sauce to you for one meal, but believe me, it works.  That being said, this is a wonderful side dish to just about anything.  Once you put this on a plate next to something plainly grilled or baked, you have a spectacular (and yes, now more fattening) meal.  It’s also a great way to use up a little left over tomato sauce and mozzarella cheese.  Now that I think of it, this was probably my grandmother’s version of risotto.  There was no arborio rice in the United States years ago, nor did you find risotto on a menu.  It’s another one of those Italian peasant dishes that has found its way into being an expensive, elaborate culinary creation.  In the Italian villages, where it began, it was just another way to fill up the stomachs of one’s family as cheaply (and always deliciously) as possible.

I still make this the old fashioned way, like my grandmother and mother…….regular rice, leftover marinara sauce, mozzarella, and breadcrumbs (you can make your own, but I keep it simple and use already prepared).  I will give you measurements, but so much is up to you, the cook.  You can alter the amount of sauce and/or mozzarella you want to use.  Let me just say that this is delicious without any tomato sauce.  When there wasn’t any leftover sauce, my mom would do without, and it’s still amazing.  The key here is to cook it well, so that all the mozzarella melts into gooey chunks, and that the outside is crisp and crunchy from the breadcrumbs.  We used to fight over the outside crunchy pieces!

RECIPE:  serves 6 as side dish ( not my family, but it should be plenty)

1 1/2 cups uncooked rice (I always use Uncle Ben’s….and not quick cooking, just regular).

1 cup tomato sauce, plus a little extra for the top

8 ounces mozzarella cheese, cut in 1 inch or so chunks, with 4 slices saved for the top.

1/2 cup grated parmigiana cheese

Italian style breadcrumbs

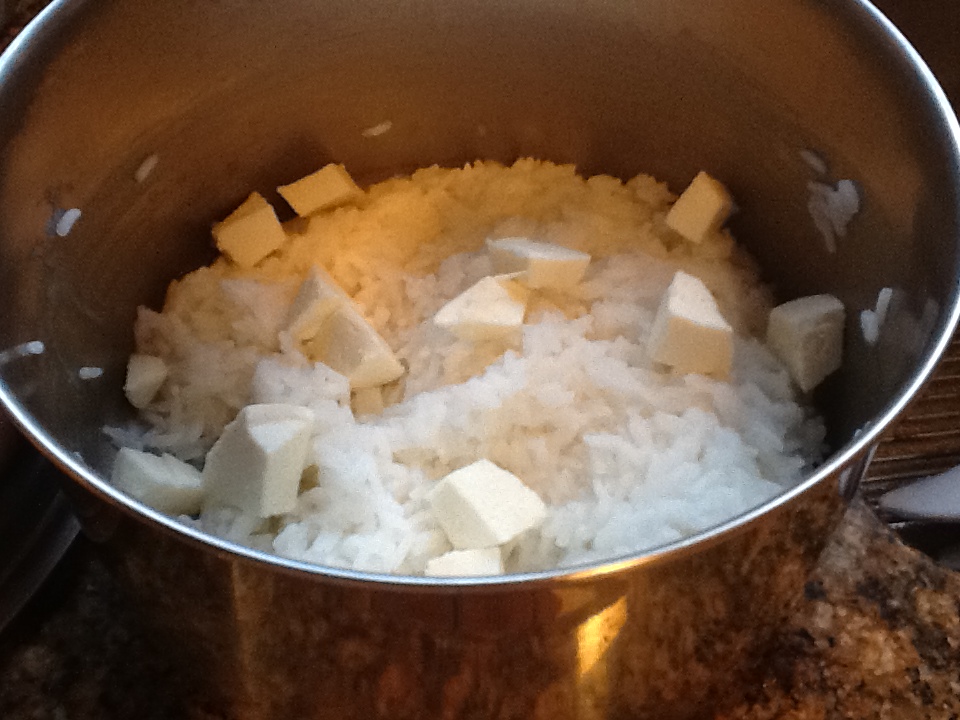
1.  Make rice according to package directions, but you don’t want the rice too mushy so I use a little less water.  Cool a bit.

2.  Preheat oven to 400 degrees.

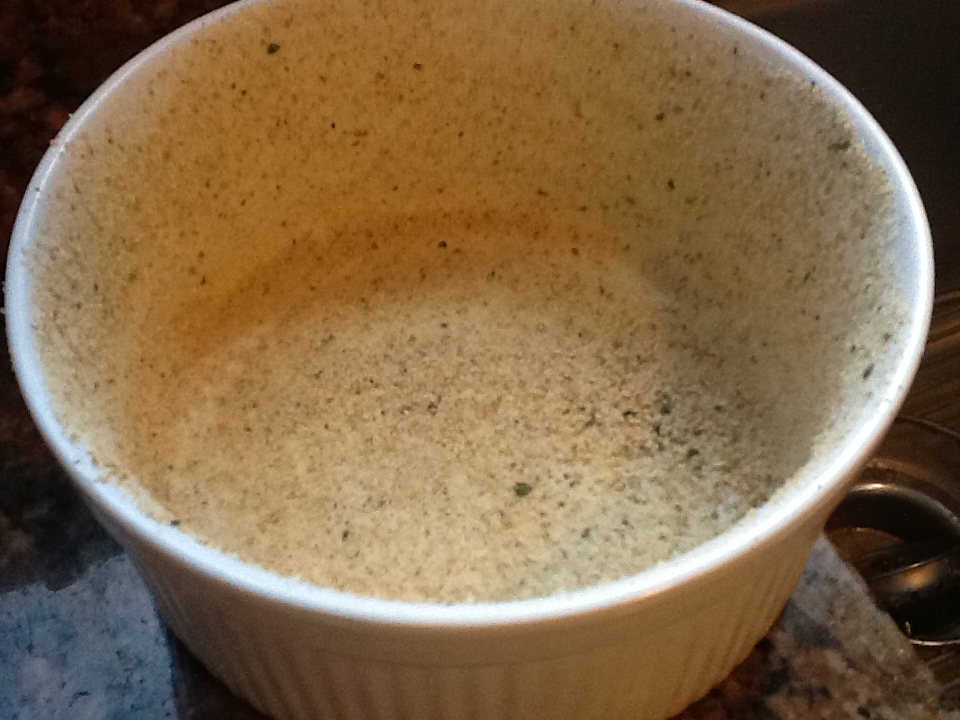
3.  Grease the bottom and sides (very well…this is where you get the crunch from) of  a 2 quart deep casserole dish.  Coat well with breadcrumbs. ( I put a good bit of crumbs in the greased dish and then slide them all around to get every inch of the dish coated.)

4.  In a mixing bowl, combine the rice, sauce, and mozzarella chunks, and 1/4 cup of the grated cheese.  Mix until the mozzarella starts to melt.

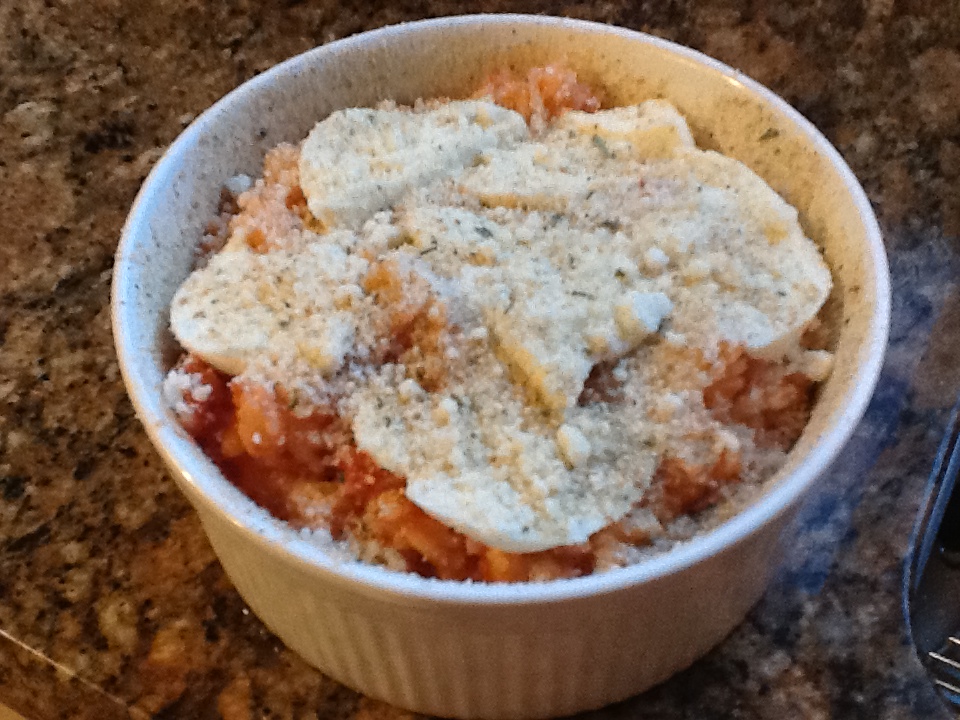
5.  Pour into the prepared casserole dish.  Top with a little more sauce, if desired, and the mozzarella slices and more grated cheese.  I also scattered a little more breadcrumbs on top.

6.  Cover and place in preheated oven for 10 minutes.  Take off the cover and cook for 10 minutes more, making sure the mozzarella on top is golden brown and sides are well done and crunchy.

ImageImageImageImage

ImageImageImageImageImage

Chicken (or Veal) Parmigiana

Image

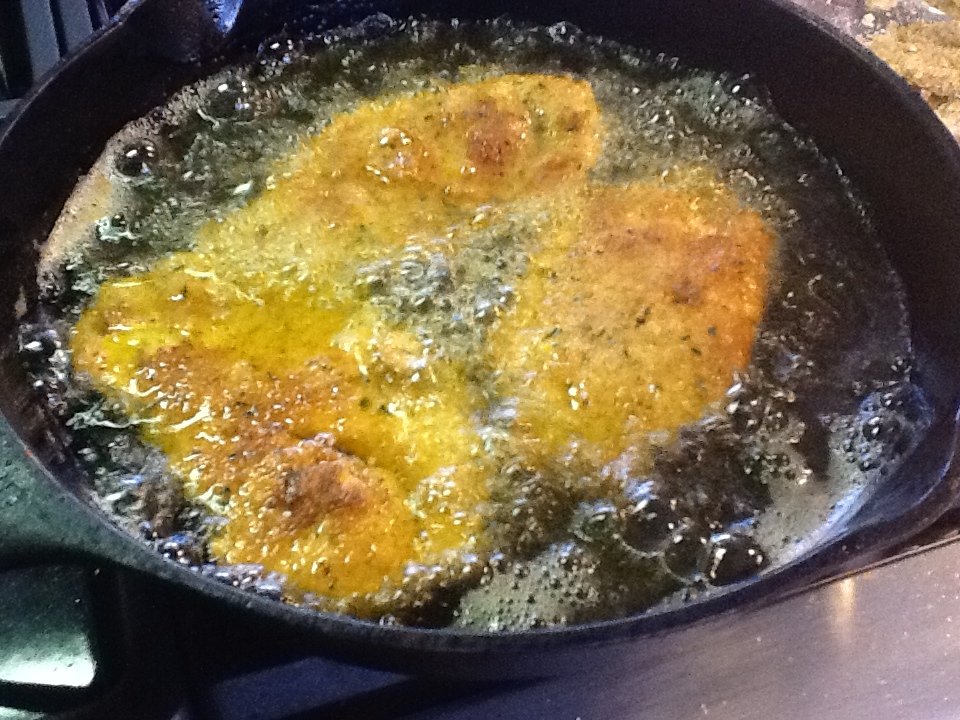
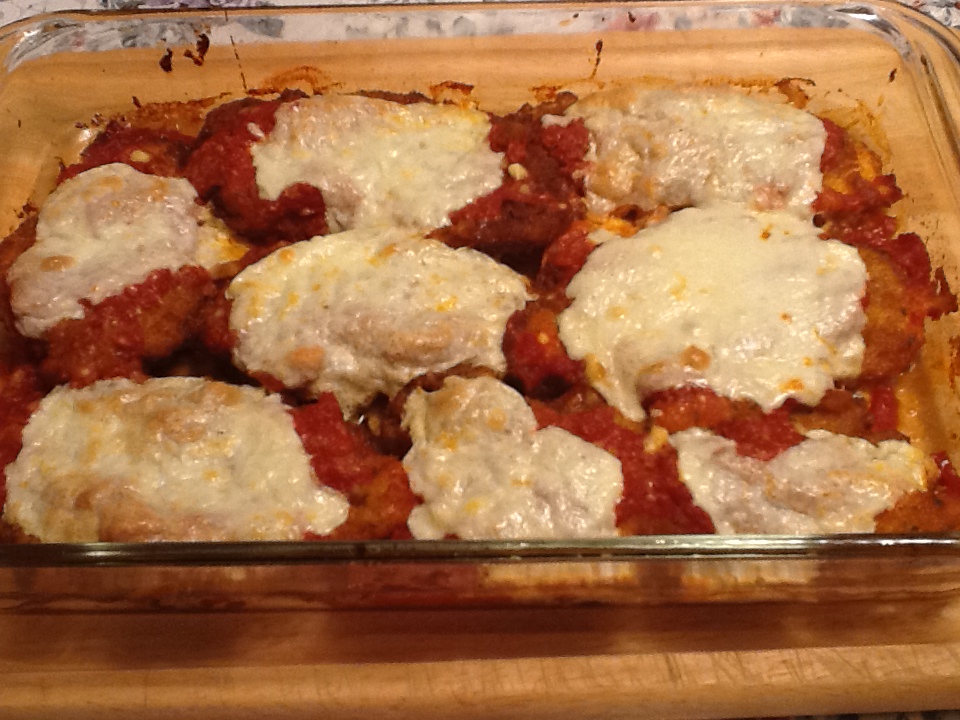
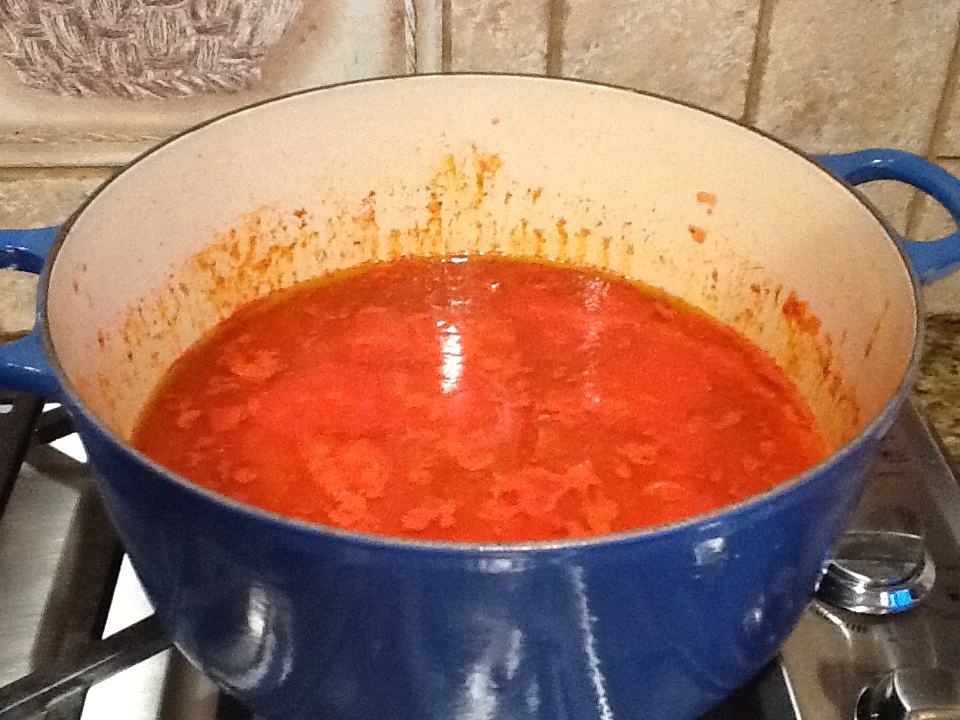
Every time I make chicken or veal parmigiana, I am transplanted back in time to the late 50s and 60s.  Next to pizza and spaghetti and meatballs, this was indeed the most famous Italian dish.  It was Italian home cooking at it’s finest, and I loved it!  However, whenever I ordered this dish at a restaurant, even as a child, I was always disappointed.  Why? The sauce!  The sauce is the absolute key to this dish.  So before I go any further, I will direct you to my recipe for marinara sauce, as I find this best for this dish.  I think that meat sauce would just be too heavy.  And of course, this is how my mother made it, so this is how I make it.  It was always veal when I was growing up.  Veal was so much cheaper then, so a family could afford to make this in large quantities.  But, honestly, chicken is just as good.  However, in my family, this dish was always reserved for a special occasion, such as a birthday.   It wasn’t our typical weekday meal.  But we did have the fried cutlets often.  That is a bit of a recipe bonus here.  These cutlets, once fried, are scrumptious just baked and served with lemon wedges.  Of course, that’s not parmigiana, but it certainly is delicious, and convenient if you don’t already have the sauce made.  We did have veal cutlets served this way on a regular basis, but my brother always put ketchup (pseudo gravy) on it, and we all cringed.

As a new bride in 1973, this was one of my top “impress your dinner guests” recipes, and I am still making it for my loved ones.  Everyone smiles when they learn that this is for dinner.  Italian cuisine has evolved so much over the years that you rarely see this on a menu anymore, or there are so many other sophisticated items to choose from.    I think this makes it even more of a delight when it is served at home.

There was never any written recipe for this.  I knew exactly what to do once the cutlets were fried.  But every time I made it, I had to call my mom for the sequence of the batter.  “Flour, eggs, breadcrumbs,” she’d tell me, “and dip one cutlet at a time.”  I finally committed this to memory a few years ago!  I’m going to write it down for you, and now I’ll have it as well.  I hope you enjoy!!

RECIPE:

8 chicken or veal cutlets

2 cups flour

2 cups Italian style breadcrumbs

6 eggs, beaten

olive oil for frying

8 ounces mozzarella

parmigiana grated cheese (just enough to sprinkle on top)

marinara sauce

salt and pepper to taste

1.  Gently beat cutlets with meat mallet to tenderize.

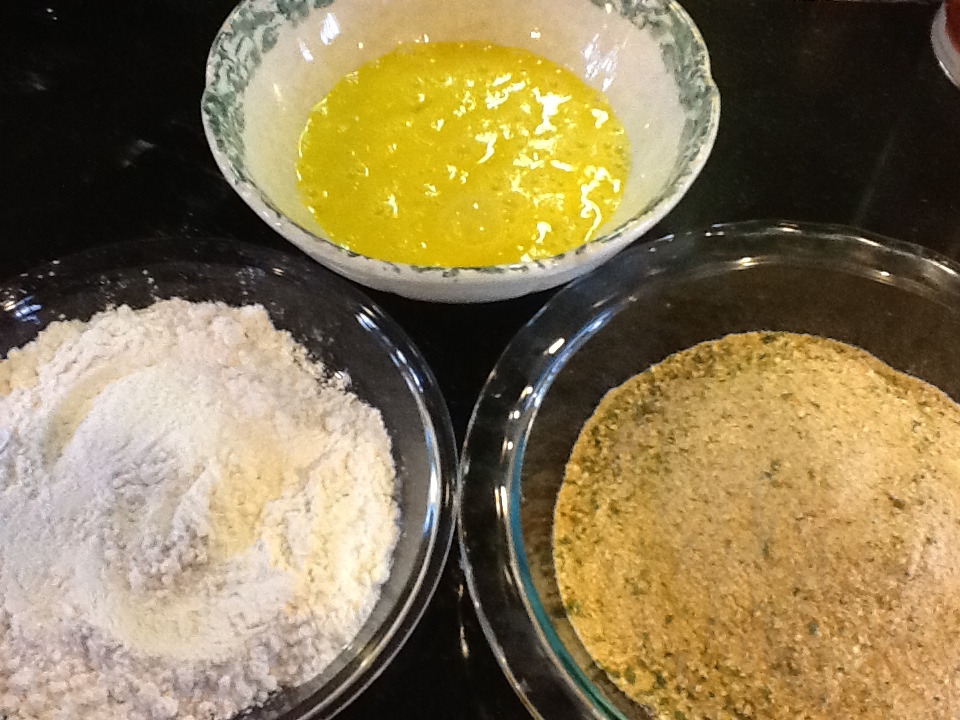
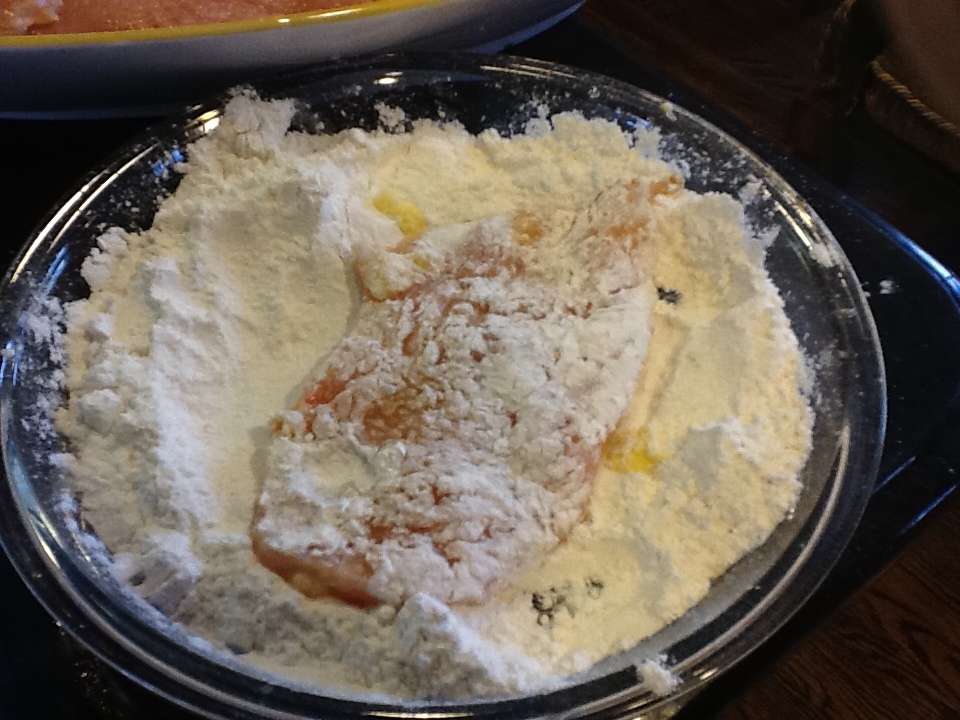
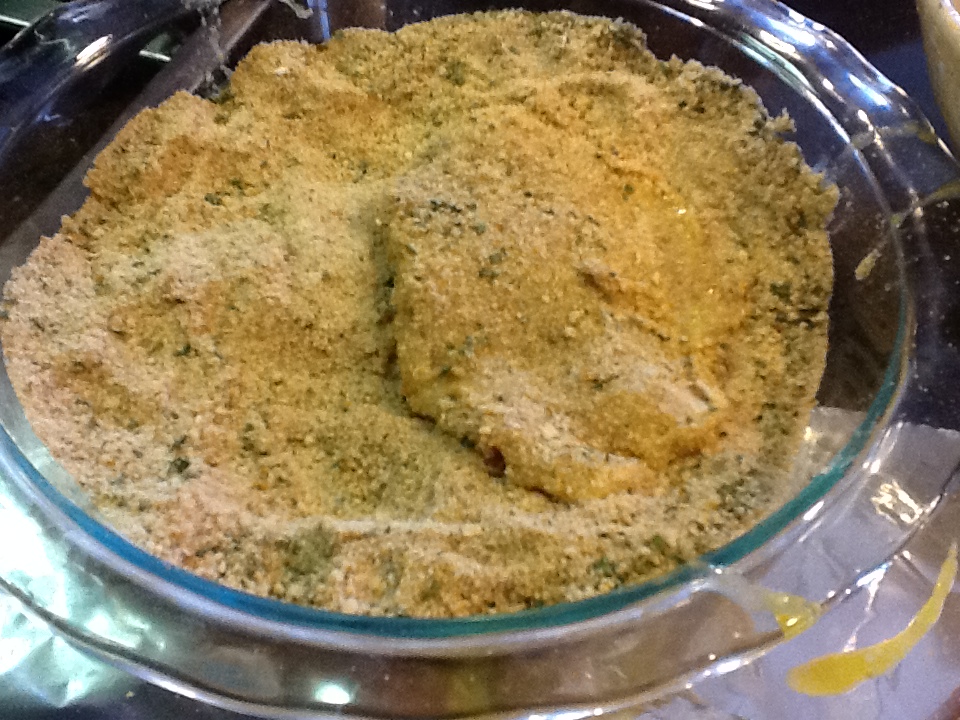
2.  Put flour, eggs and breadcrumbs in 3 separate bowls.  I like to use pie plates for the flour and breadcrumbs.

3.  Heat oil in large, heavy fry pan.

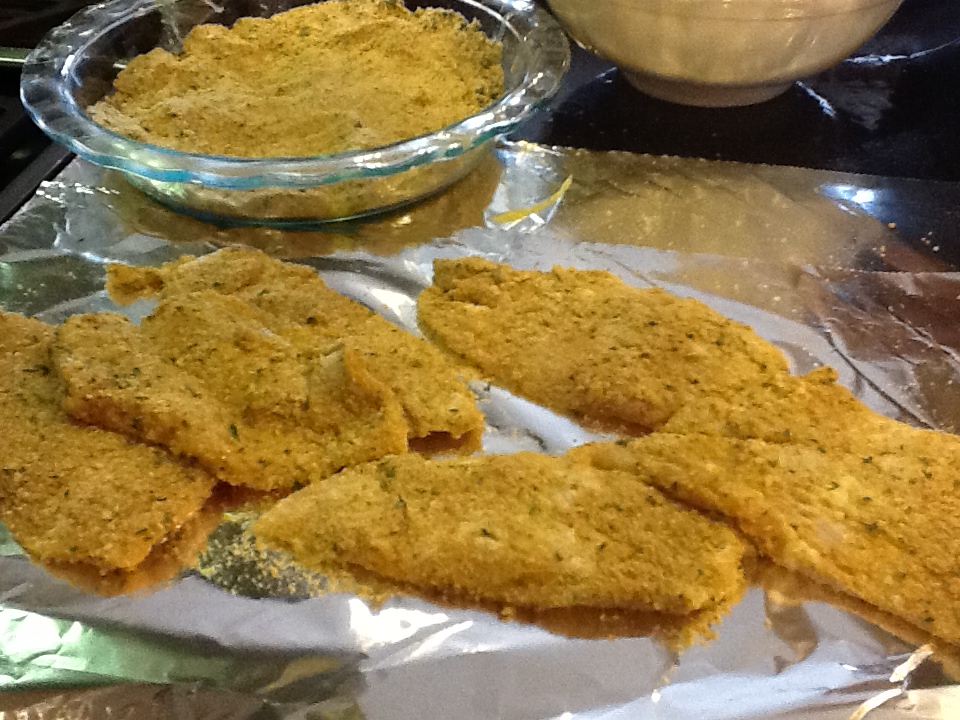
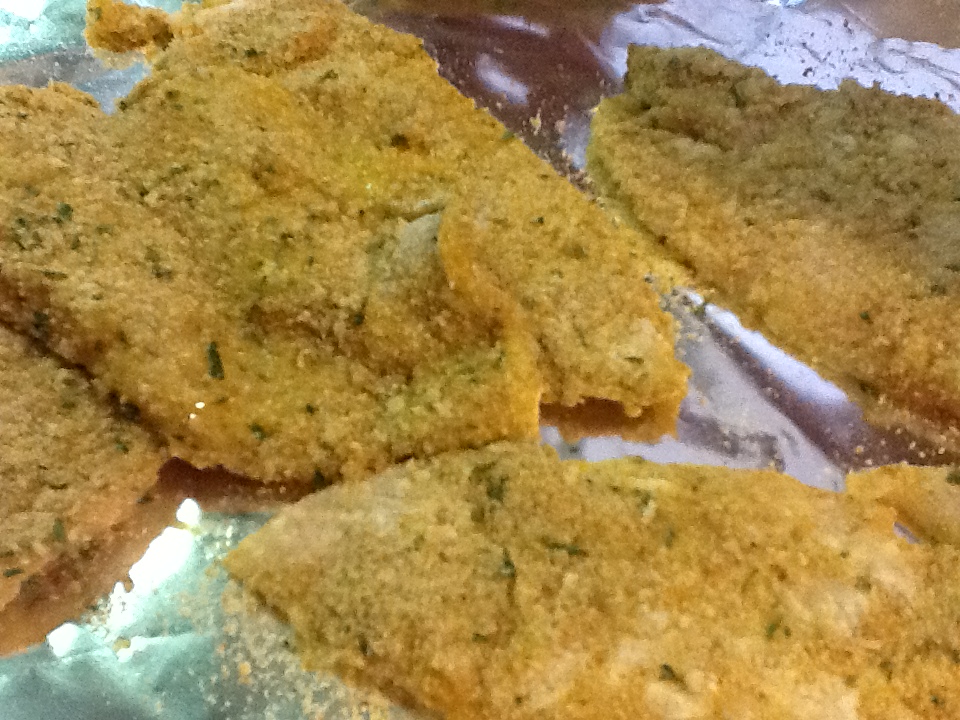
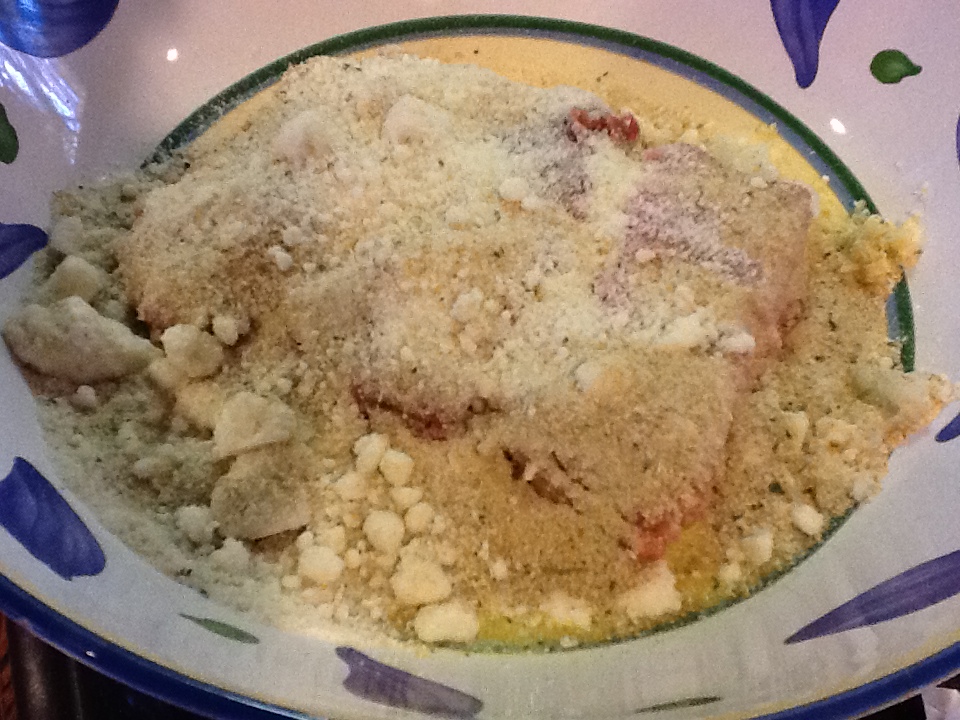
4.  Dip each cutlet (one at a time, and in this order!) in the flour, then egg, then breadcrumbs.  Make sure to coat each cutlet on both sides , especially with the breadcrumbs.

5.  Place cutlet in the hot oil and brown well on both sides.  You can put more than one cutlet in the oil at a time, but don’t let them touch.

6.  Once browned on both sides, remove from oil and let drain on paper towels.

7.  Lightly oil a pyrex pan or baking dish, and place cutlets in pan.  Put marinara sauce on top, and a little bit around the sides of the pan. Lightly salt and pepper, if desired.  Top with mozzarella slices and some parmigiana cheese.

8.  Cover with aluminum foil, and place in a preheated 375 degree oven for 15 minutes.  Remove foil and bake for another 10 minutes or until cheese has melted and is lightly browned.

*We always serve this with baked rice, oozing in melted mozzarella and a delectable breadcrumb crunch!   I will be posting that recipe in a few days.  Stay tuned!

** If you want to just have delicious breaded cutlets,  do not top with the sauce and cheeses, and just bake in the same manner.  Serve with lemon wedges (not ketchup!), and/or on top of a mixed salad.

ImageImageImageImageImageImageImageImageImageImageImageImageImageImageImage

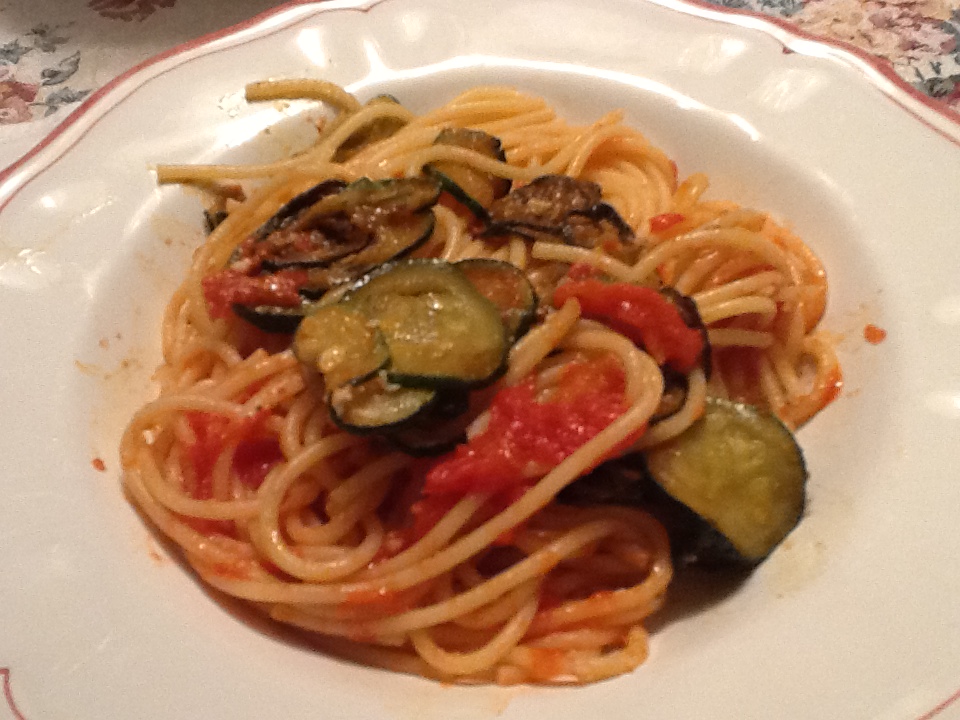
Spaghetti with Zucchini and Tomatoes

Image

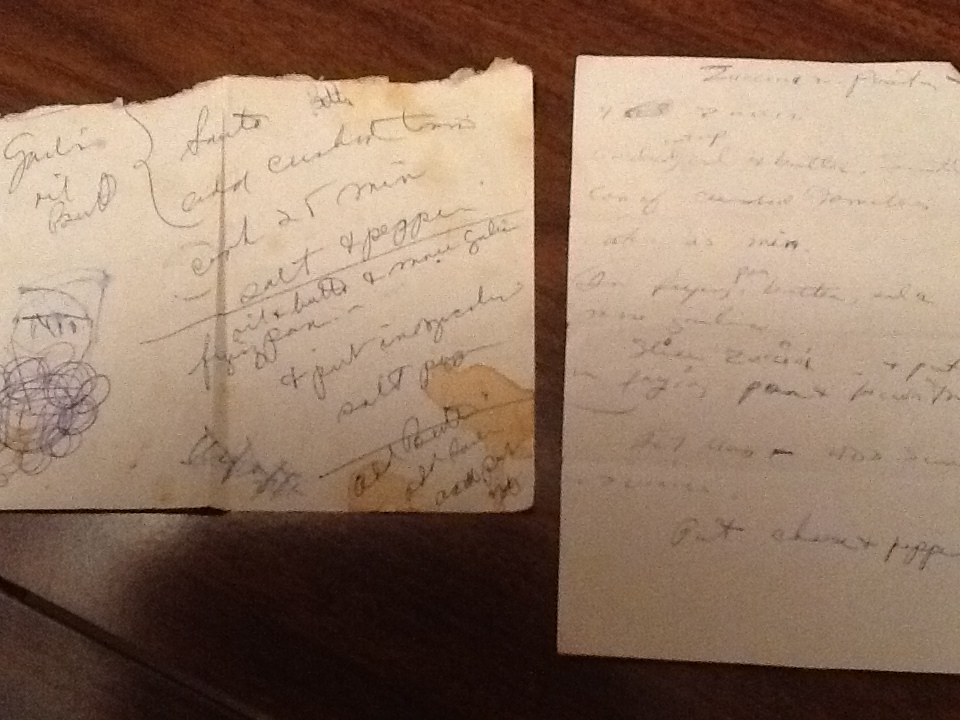
Obtaining recipes from chefs in restaurants was very common in my family.  Before 1980, there weren’t many Italian cookbooks.  We relied on our family recipes and those of our friends.  However, if we went to dinner at a restaurant, and particularly loved a dish, we would ask to speak with the chef, and one of us would pull out a pen and paper and start writing.  Seems a little brazen, but I recall most chefs were flattered.  Today, you can go to dinner in just about any Italian restaurant and then find the recipes you loved in a cookbook, magazine or on a website.  In my kitchen alone, I have counted close to 50 Italian cookbooks, over a decade worth of La Cucina magazine, and I am forever going on the websites of famous Italian chefs or the cooking or food network websites.   Yes, this does seem a little obsessive, especially since most times I go to my folders of collected, old recipes when looking for something to make.

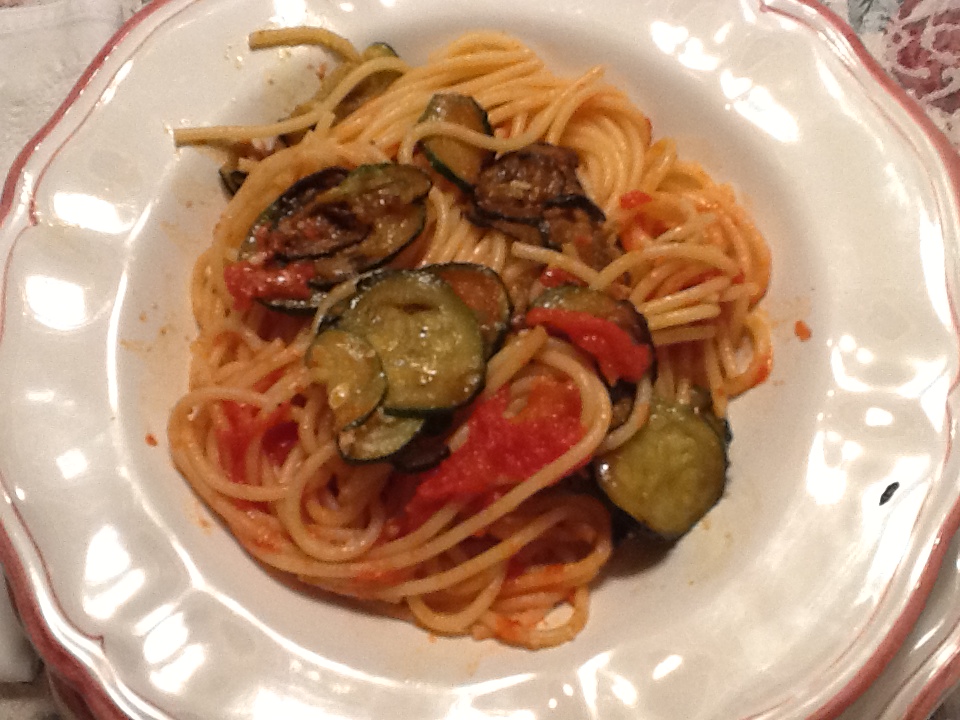
This recipe for Spaghetti with zucchini came from a restaurant called Ruggiero in Little Italy, New York City that was frequented by most of our family in the 1970s and 80s.  My mom and her brother are responsible for obtaining this recipe, which was a family favorite, from their chef.  Believe it or not, this dish was very fancy for its day.   Ruggiero ( and most of Little Italy for that matter) no longer exists, but this recipe lives on within my family.  Each time we make it, we recall all the delicious food and fun times we had sitting in this cozy restaurant on Grand Street in New York’s Little Italy.

RECIPE:

1 lb. spaghetti

4 medium zucchini, thinly sliced

1 28 ounce can crushed Italian tomatoes (I use Italian whole peeled tomatoes and squish in my hands)

4 cloves garlic, sliced

1/4 cup olive oil plus oil for sautéing zucchini

2 TBSP butter for sauce; 2 TBSP for sautéing the zucchini;  2 TBSP for tossing with the pasta   **SEE NOTE BELOW

salt and pepper to taste

Freshly grated Italian pecorino or parmigiano cheese

**NOTE  the chef was really into butter.  You can omit it from one or more of the steps if you like.

1.  Sauté 2 of the sliced garlic cloves in the oil and melted butter in a pot to make your sauce.  Do not brown.

2.  Add the crushed tomatoes (or squished), and simmer for 25 minutes over a medium low heat. Season with salt and pepper.

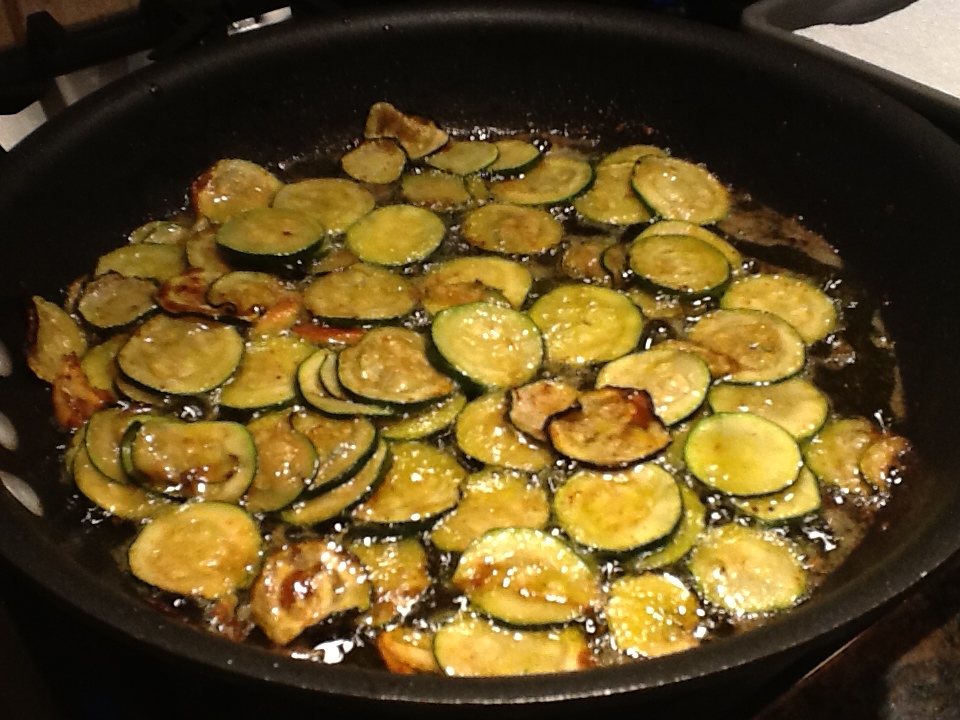
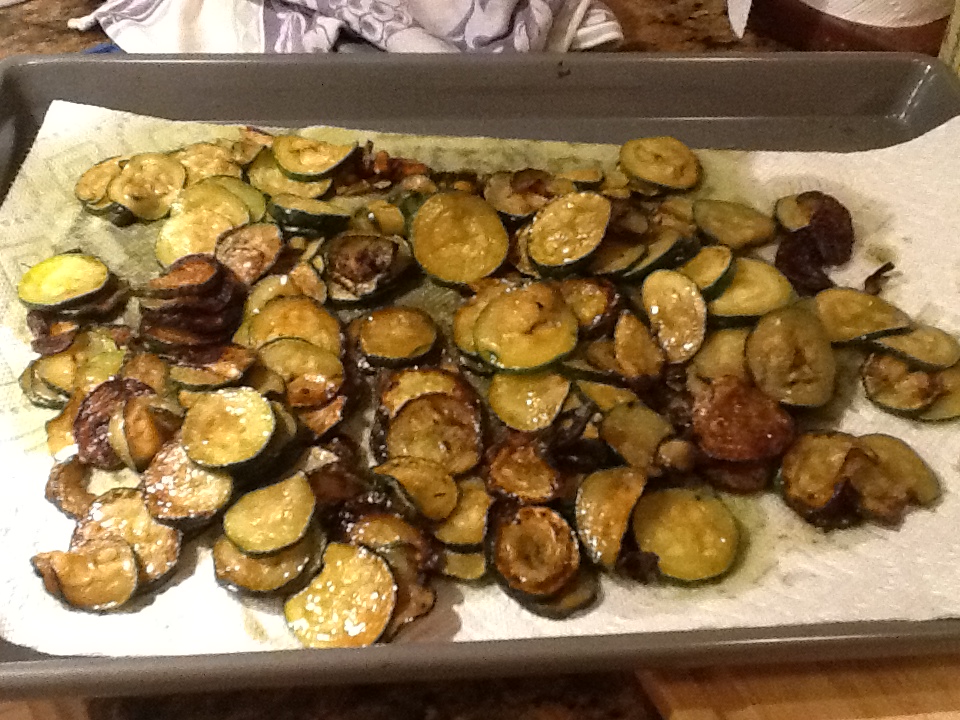
3.  Meanwhile, in a fry pan, melt the butter in the oil and sauté the rest of the garlic for a minute or two.  Add the sliced zucchini.  Sprinkle with salt and pepper.  Cook zucchini until browned on both sides.  Using a slotted spoon, remove cooked zucchini and let it drain on a paper towel.

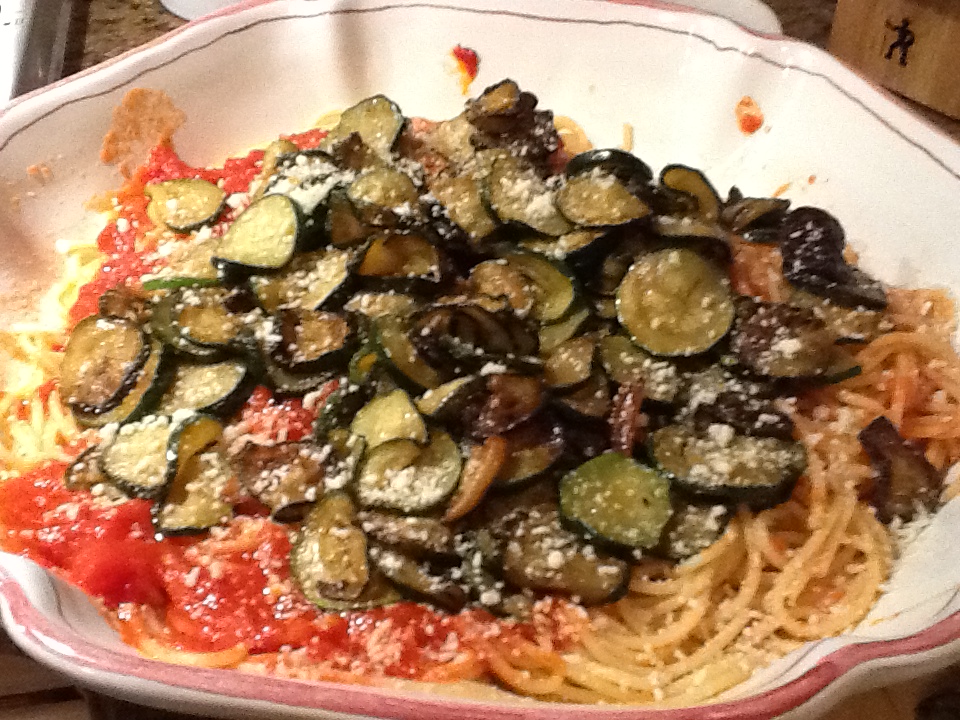
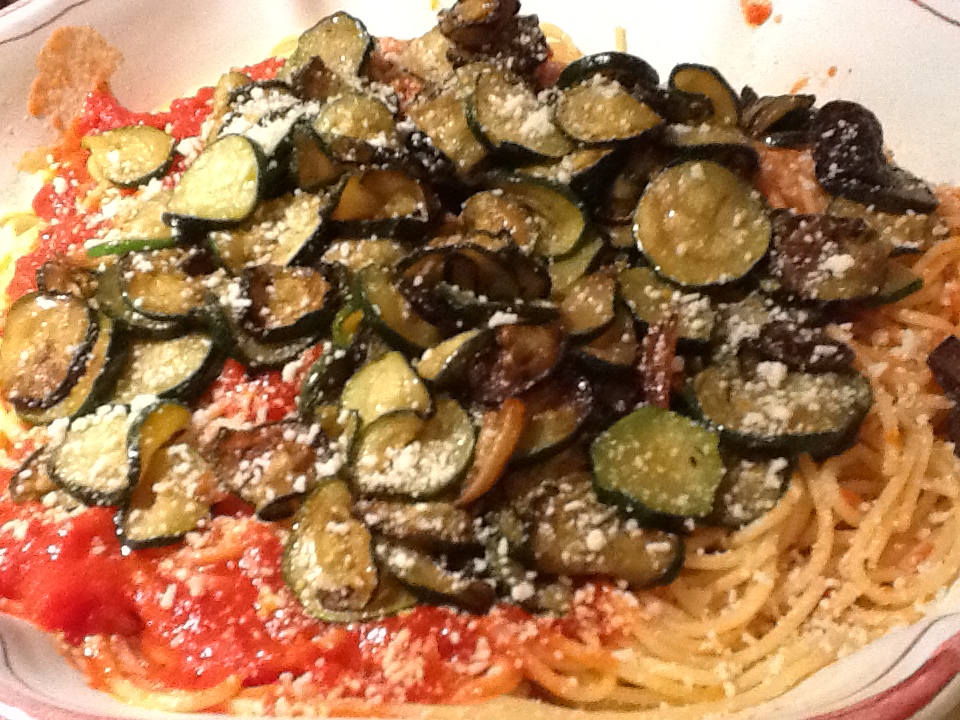
4.  Once the spaghetti is cooked al dente, drain and put in a serving bowl  and mix with the butter.  Add the sauce and zucchini, and top with the grated cheese and fresh pepper.

ImageImageImageImageImageImageImageImageImageImageImageImageImage

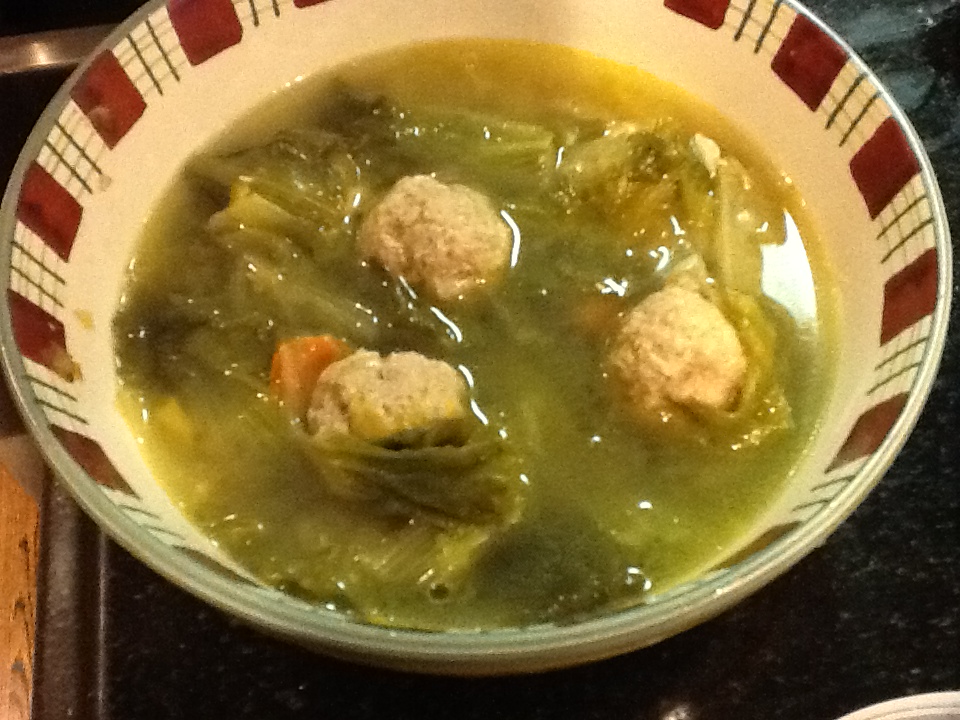
Escarole and Little Meatball Soup

Image

Happy New Year to all!  I hope you all had wonderful holidays.  While I hate to see the Holiday season come to a close, I must admit that I am always ready for some detox and renewal when January 1st comes around.    Nothing says this better than soup.  I made lentil soup (recipe can be found on blog) January 1st (Italian good luck);  Minestra e fagioli soup (also found on blog) last night;  and tonight I am going to make this Italian escarole and tiny meatball soup, which I made recently, and frankly, forgot how much I love this soup.  To be honest, I have never made this soup, and my recollections of it come out of a Progresso Soup can.   How embarrassing!

Recently my son asked me about this soup.  He had bought it at the soup bar at Whole Foods and loved it, and wondered why I don’t make this regularly.  Not to be outdone by Whole Foods (especially when it comes to my son’s culinary desires), I decided to hunt for a recipe.  Before I could even do so, a bowl of this delicious soup appeared before me at a dinner party at my sister-in-law’s house one evening.  What a coincidence!  I asked her for the recipe and being the terrific cook that she is, I was able to outdo Whole Foods!  Why this unexplained competition with Whole Foods?  I’m not sure, but  I believe it’s the containers of frozen soup in the freezer that keep my grown children stopping by.  It’s a small price to pay for a visit.    I just wish they’d return the containers!!

Happy renewal and a wonderful 2014!!

RECIPE: about 6 to 8 servings

6 quarts homemade chicken broth ( of course it can be store bought)

2 medium heads of escarole ( heads of escarole really vary in size, so it should weigh about 2 lbs)

3 carrots, chopped

Meatballs:

1 1/2  pound ground veal or beef (definitely love the veal meatballs for this soup)

2 large eggs, beaten

1/2 cup finely minced onion

1 clove garlic, minced

1 cup breadcrumbs

1 cup grated pecorino Romano cheese

1 tsp salt

pepper to taste

1.  Prepare the broth, if making home-made.

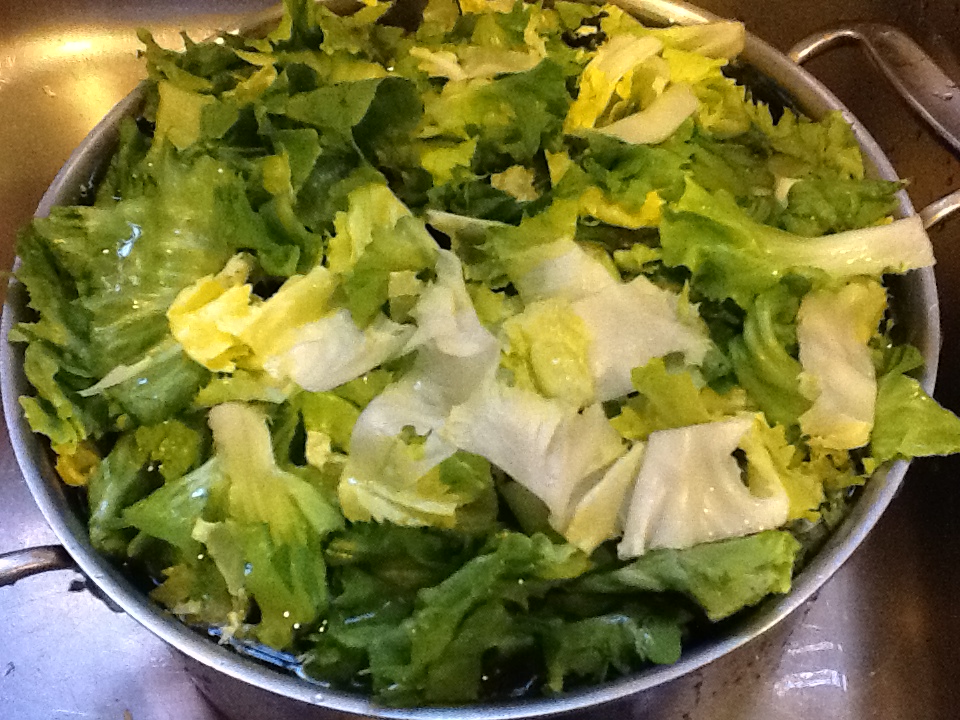
2.  Wash the escarole well and rip into large bite-size pieces.

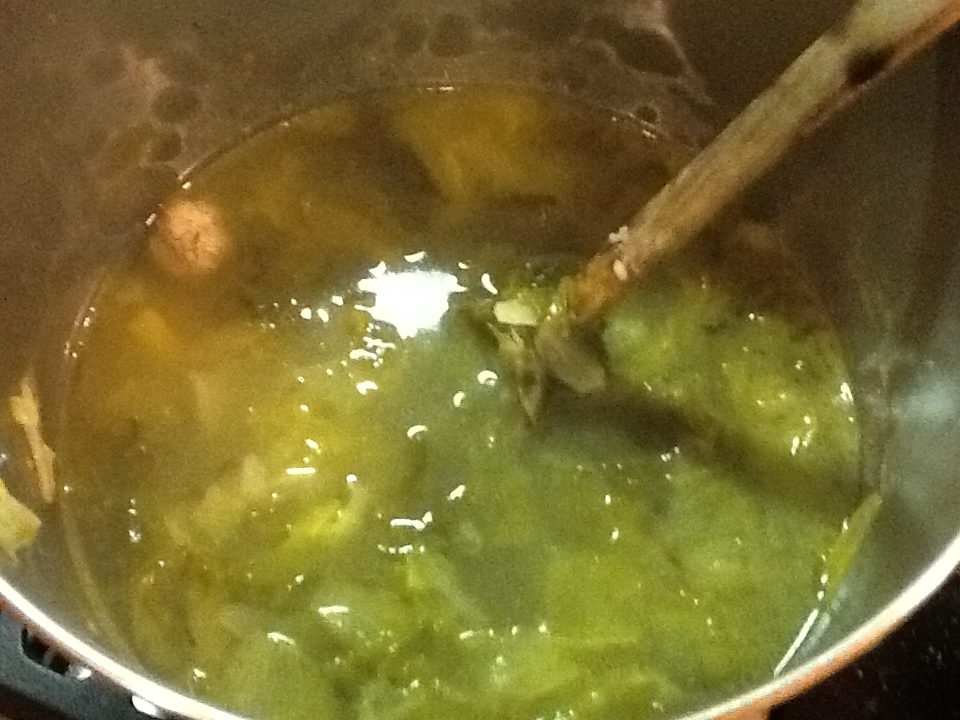
3.  In a large pot, combine the broth, carrots and the escarole.  Bring to a simmer and cook for 15 to 20 minutes.

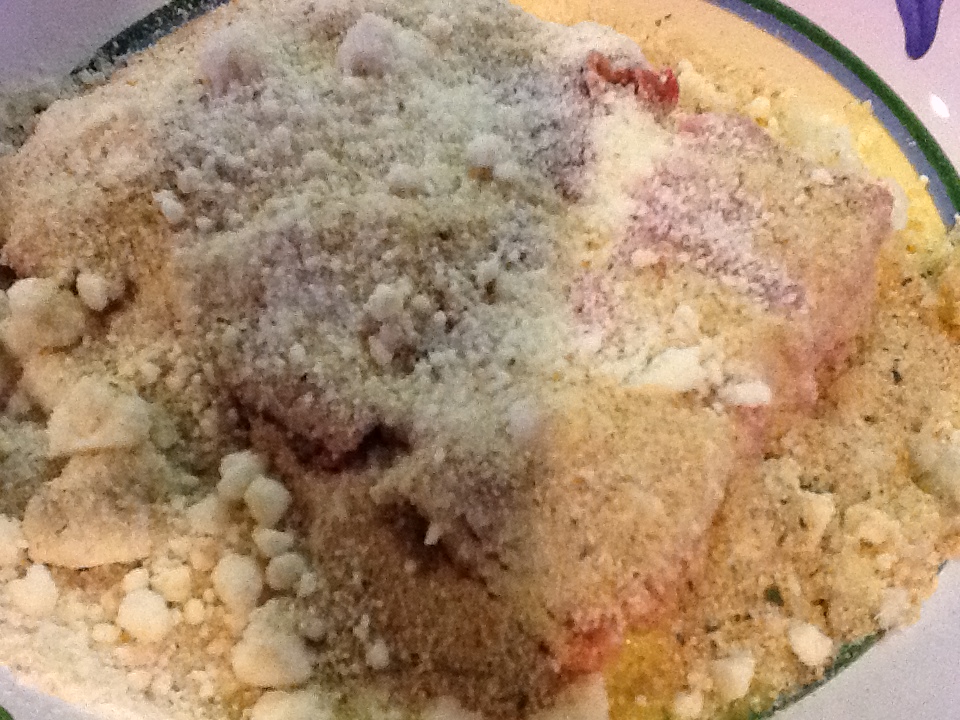
4.  Meanwhile, prepare the meatballs, by mixing all the ingredients in a large bowl.  Shape into tiny, bite size meatballs, and place on a platter.

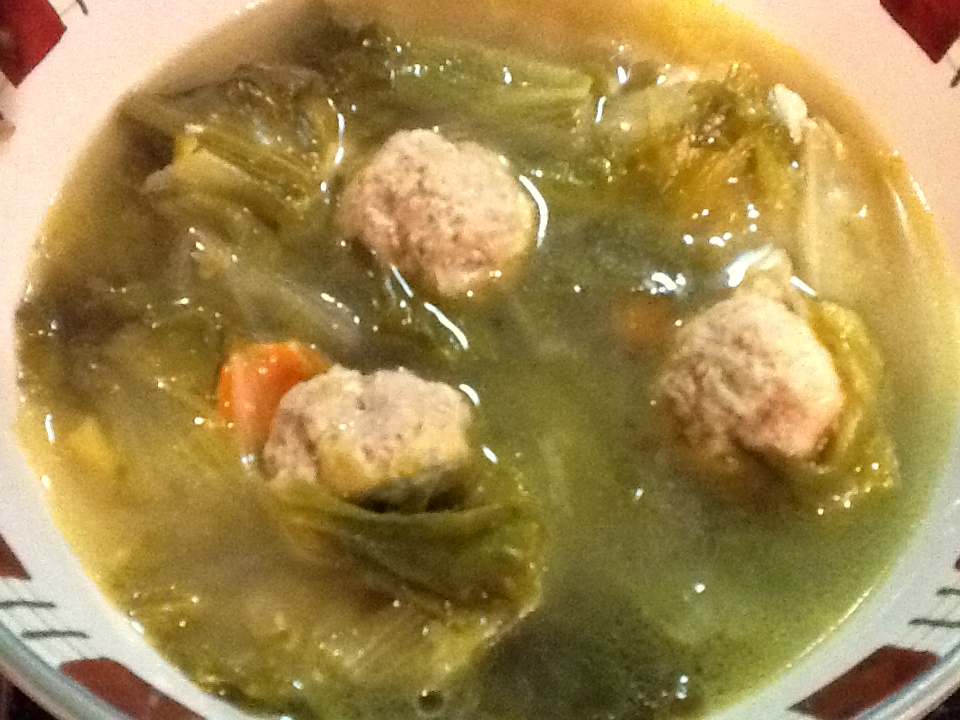
5.  When the escarole is tender (about 15 to 20 minutes), gently add the meatballs one at a time into the soup.

6.  Cook over low heat, covered for about 20 minutes, until meatballs are cooked through.  Taste for seasonings.

7.  Serve hot with the grated cheese.

Image

ImageImageImageImageImageImageImage