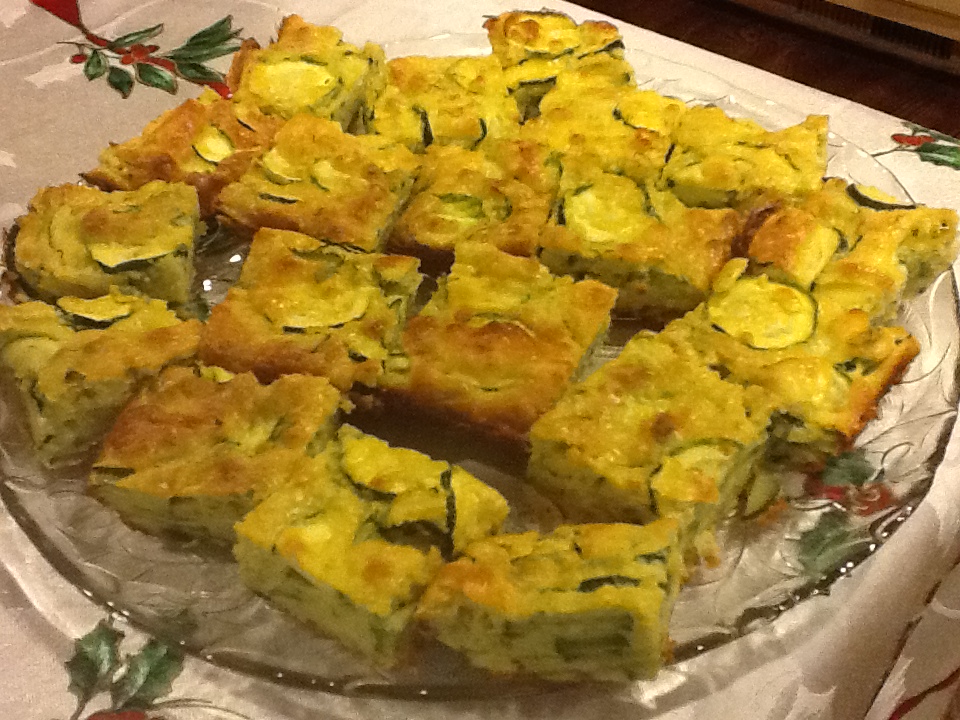
Zucchini Appetizer (“From the Kitchen of Sandy”)

Image

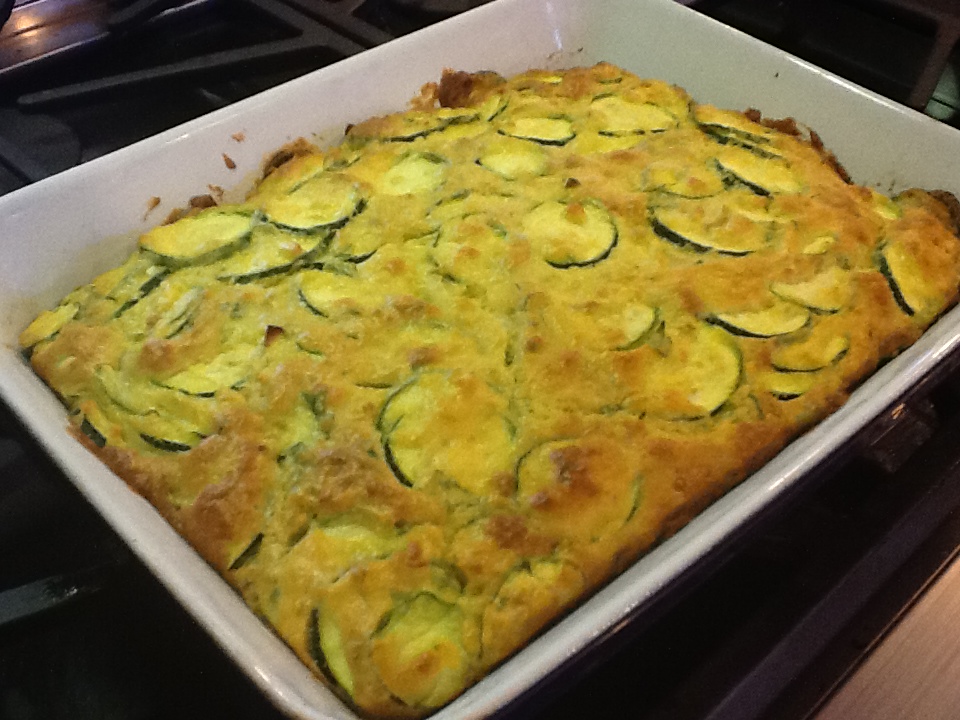
This is a timeless recipe.  It has been in my family for nearly 50 years.  In the beginning, this dish was always present at our family bridal and baby showers ( actually, we only started having baby showers recently as Italians  didn’t believe in them, and probably still don’t , but we changed with the new generations).  Then all the new brides and mothers-to-be would request a copy of the recipe,  and it soon became an hors d’oeuvres favorite at dinner parties.  This recipe continues to be distributed any time it is served, and has expanded its reach to hundreds of friends and family.  I just served it the other night, and I couldn’t believe that everyone wanted the recipe, especially once they knew how easy it is to make.

My first memory of this scrumptious dish was at my own bridal shower in 1973.  My cousin Sandy made it, and she was kind enough to give me the recipe on that very date. I still have the original recipe card she gave me on that day, as you will see.   As a bride-to-be (and later as a new bride),  Sandy was my “Martha Stewart.”  She was my role model in so many ways, but especially in the kitchen and entertaining.  I was in awe of her when she was a new bride, 9 years before I married.  All her recipes seemed so chic and modern to me.  I loved to watch her prepare her home for dinner parties as she always made it look so elegant.  While I  loved everything my mom cooked, Sandy’s cooking was new and exciting.  The recipes that she and her girlfriends shared, were fancy hors d’oeurvres and some of the best (and sophisticated) desserts I have ever eaten.  Not that there is anything wrong with the old traditional Italian recipes, but when I first started out in my own kitchen, I wanted to be a “modern wife,” with culinary sophistication. I’m not sure if I achieved this, but I really tried, and Sandy was my inspiration.

My recipe collection is full of recipes “from the kitchen of Sandy, ”  and I have made them all many times over the years.  However, this “Zucchini Appetizer” is everyone’s all time favorite.  I hadn’t made it in a very long time, as this has become a signature dish for my daughter, Beth.  She has taken over as the master of this recipe and makes it often.   As a young girl she always requested that I make it for any gathering at all.  Once she had a kitchen of her own, you were sure to see this appetizer at all her parties, and even at brunch (she stepped outside the box there, but what a great idea).  You can see what I mean by “timeless,” can’t you?   I expect to see this recipe circulating for many decades to come.  

RECIPE:   makes 2 dozen nice size squares, but you can make them much smaller and will double the recipe, but they will be more like “bites.” 

3 cups thinly sliced unpeeled zucchini (can grate instead of slicing, but I prefer it sliced.)

1 Cup Bisquick

1/2 cup finely chopped onion

2 cloves of garlic, minced

1/2 cup of grated parmesan cheese

2 TBSP snipped parsley

1/2 tsp salt

1/2 tsp. dried oregano ( I use a pinch more)

dash of pepper

1/2 cup vegetable oil

4 eggs, slightly beaten

1.  Heat oven to 350 degrees.  Grease a 13 x 9 x 2 inch pan.

2.  Mix all ingredients by hand in large bowl.  Spread in pan.

3.  Bake until golden brown, approximately 25 minutes.

4.  Cut into squares when cool.

Image

ImageImageImageImageImageImageImageImageImageImageImageImage


zucchini appetizer recipe

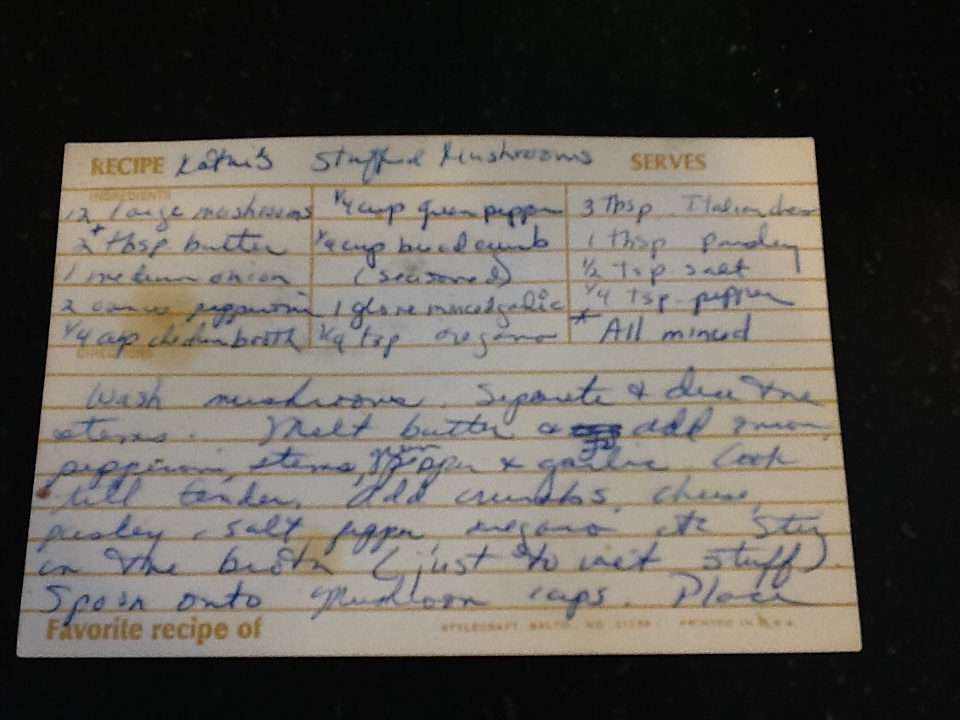
Kathi’s Stuffed Mushrooms

Image

Looking for something quick and delicious for your Holiday entertaining?  I think this recipe for stuffed mushrooms might be just what you’re looking for.  In no time at all, you’ll have a fancy hor d’oeuvres to serve your guests.  This recipe has been in my recipe folder for 35 plus years.  I’ve tried many stuffed mushroom recipes over the years, but this is the one I always come back to.  Could it be the mushrooms, or is it the memories that I associate with this dish that make me love it so?

My cousin Kathi (hence the name “Kathi’s  Stuffed Mushrooms”) was like another sibling in our family.  She was always at our house from when she was a young child through our teenage years.  Over the years we shared toys, clothes, stories about boyfriends, and eventually, recipes.  You never think, when you’re young and  telling secrets about how much you like some boy, that one day you’ll find yourself wanting to share how to make stuffed mushrooms!  We went from stuffing boyfriends into closets, when our parents came home unexpectedly, to stuffing mushrooms!!  How we get from there to here, I’m not quite sure, but it happens to the best of us.  I must admit that as I stuff each mushroom, I recall the games we used to play as kids, and the boyfriends who we talked about for hours as teenagers.  These mushrooms, as well as the memories, are just delicious!


RECIPE:  makes 12 to 14 stuffed mushrooms

12 to 14 large mushrooms

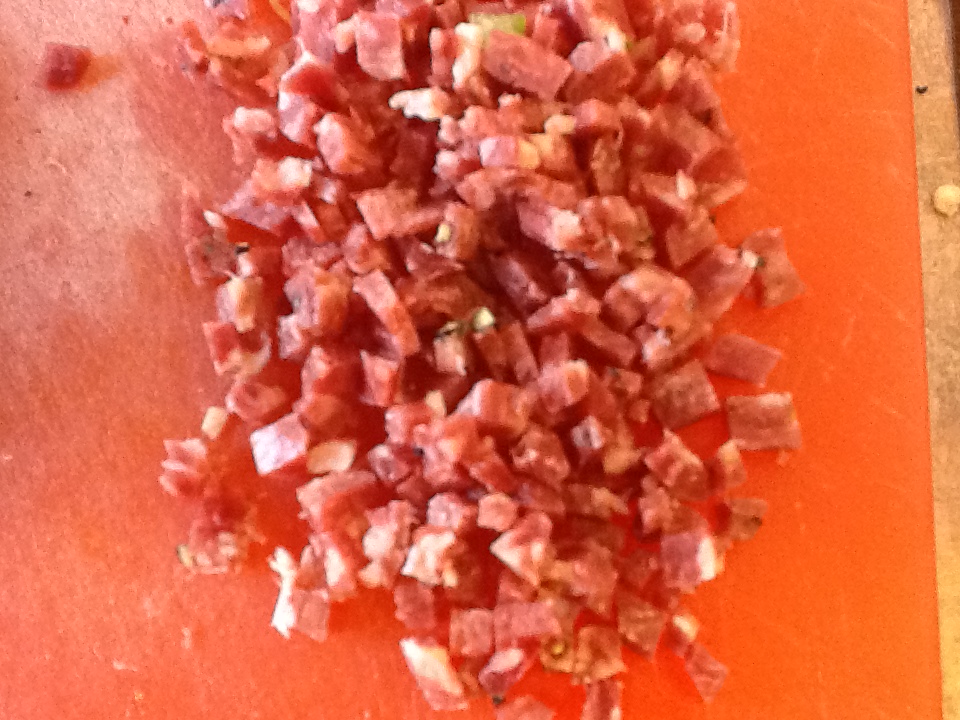
2 TBSP butter2 ounces pepperoni or sopressata

1 medium onion, minced

1/4 cup chicken broth

1/4 cup green pepper, minced

1 clove garlic, minced

1/2 tsp. oregano

1/4 cup seasoned Italian bread curmbs

4 TBSP Italian Romano cheese

1 TBSP parsley, minced

1/2 tsp. salt

1/4 tsp. black pepper

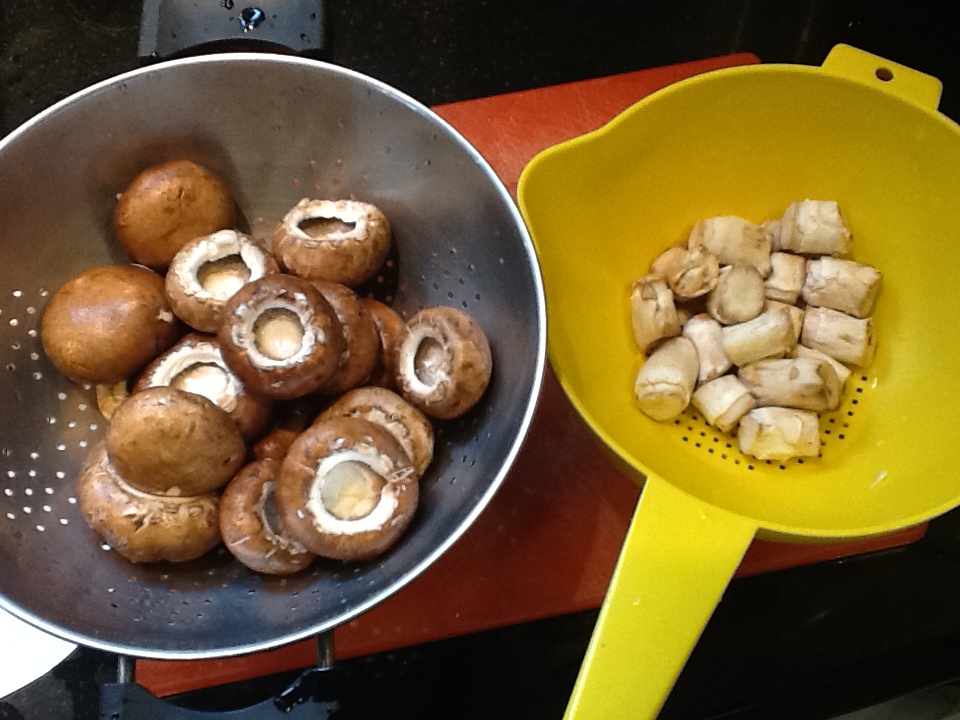
1.  Wash mushrooms.  Separate the stems from the caps.

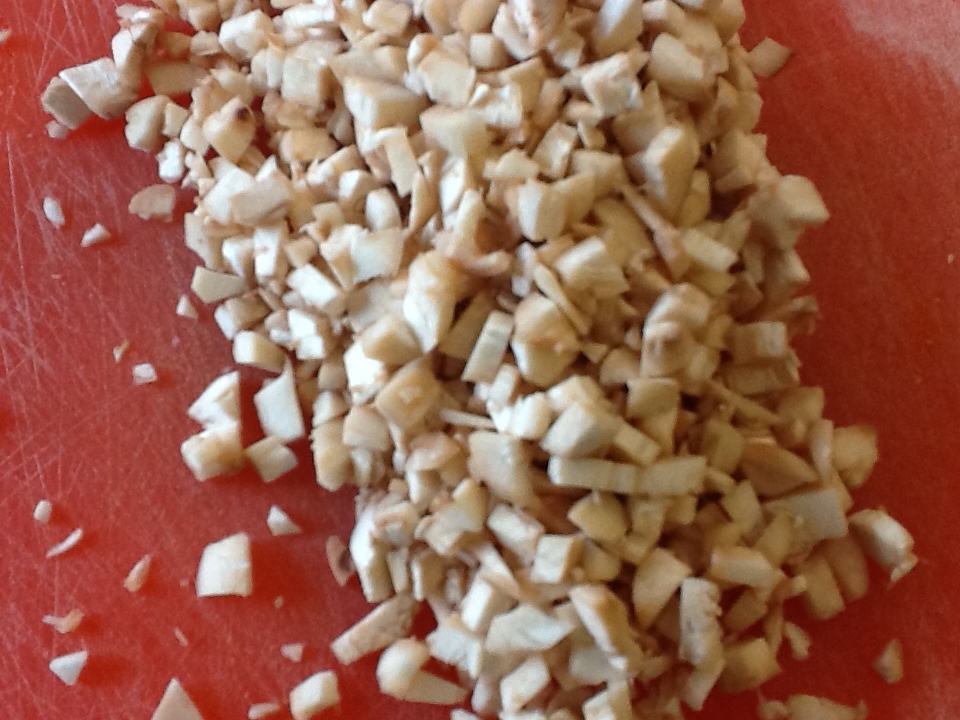
2.  Dice the stems.

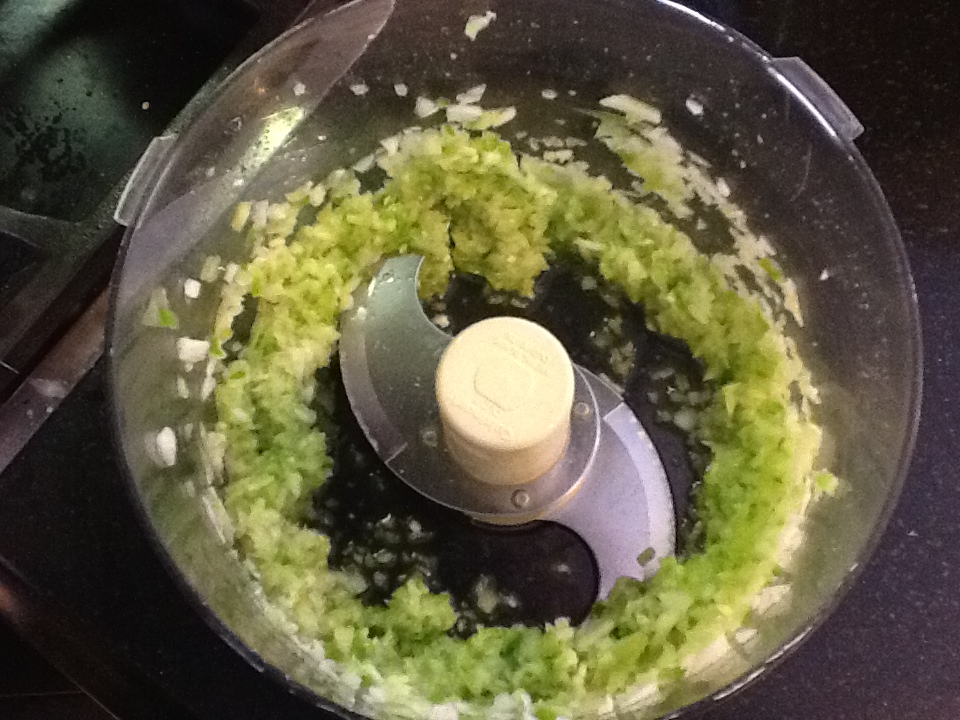
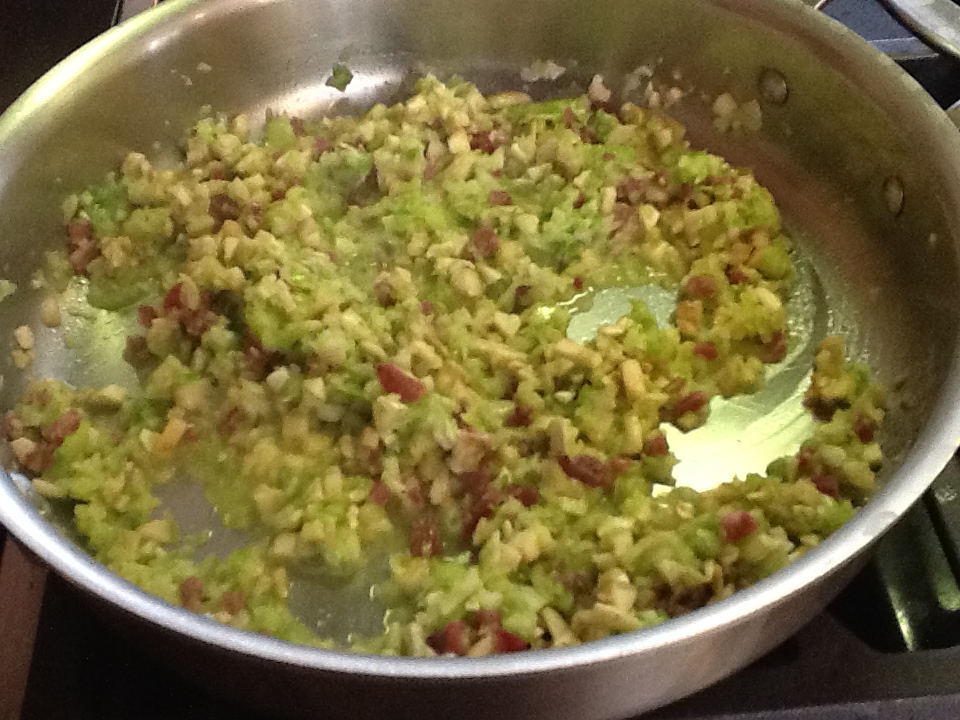
3.  Melt the butter in a large fry pan or skillet.  Add onion, pepper, stems, garlic and pepperoni. Cook about 10 minutes, until tender.

4.  Add bread crumbs, cheese, parsley, oregano, salt and pepper.  Stir in the broth, just to wet the mixture.

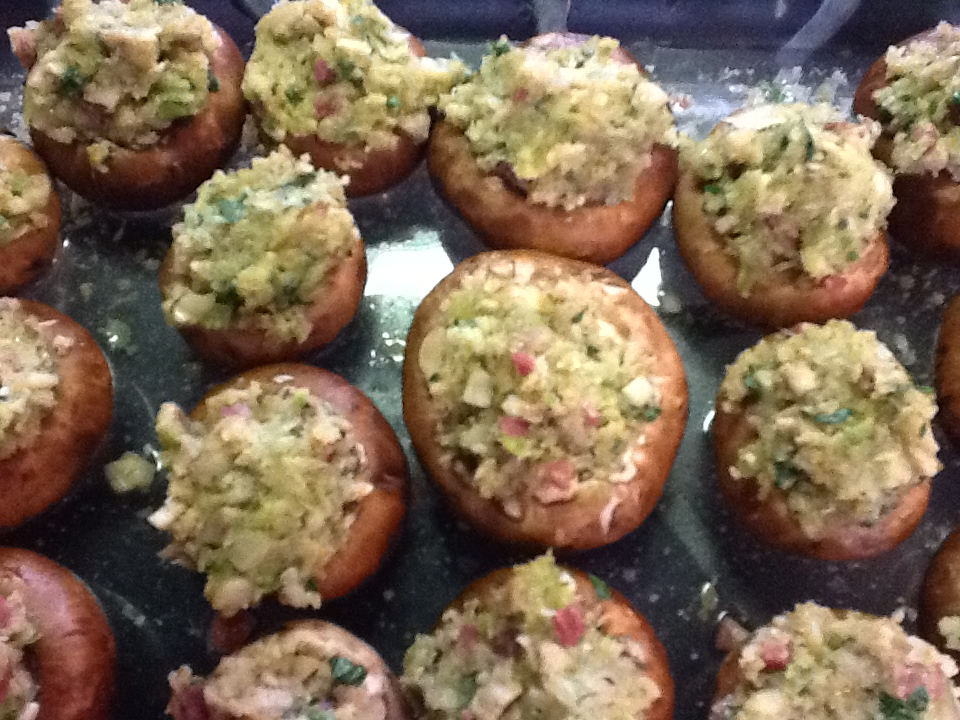
5.  Spoon into mushroom caps. and place caps in a shallow pan.  Put a little water in the pan.

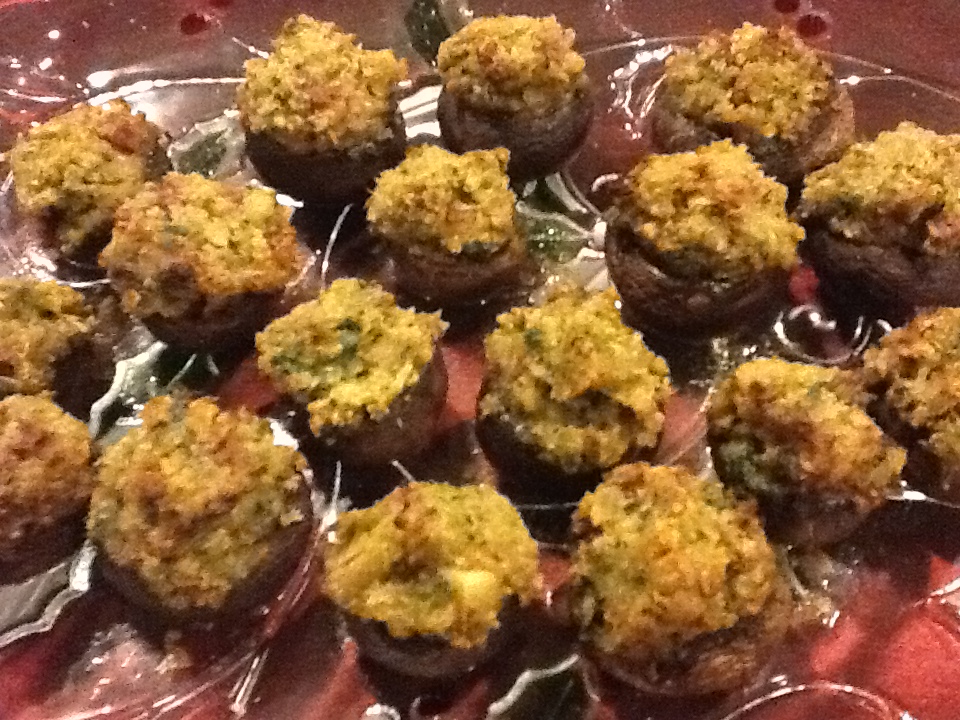
6.  Bake, uncovered, in a a 325 degree oven for 1/2 hour.

kath's stuffed mushrooms mushrooms

Kathi's stuffed mushrooms cuisinartkathi's stuffed mushrooms choppedkathi's stuffed mushrooms capskathi's stuffed mushrooms soppressatakathi's stuffed mushrooms sautekathi's stuffed mushrooms stuffingkathi's stuffed mushrooms stuffed kathi's stuffed mushrooms stuffed2kathi's stuffed mushrooms cookedkathi's stuffed mushrooms plated**kathi's stuffed mushrooms plated kathi's stuffed mushrooms recipe

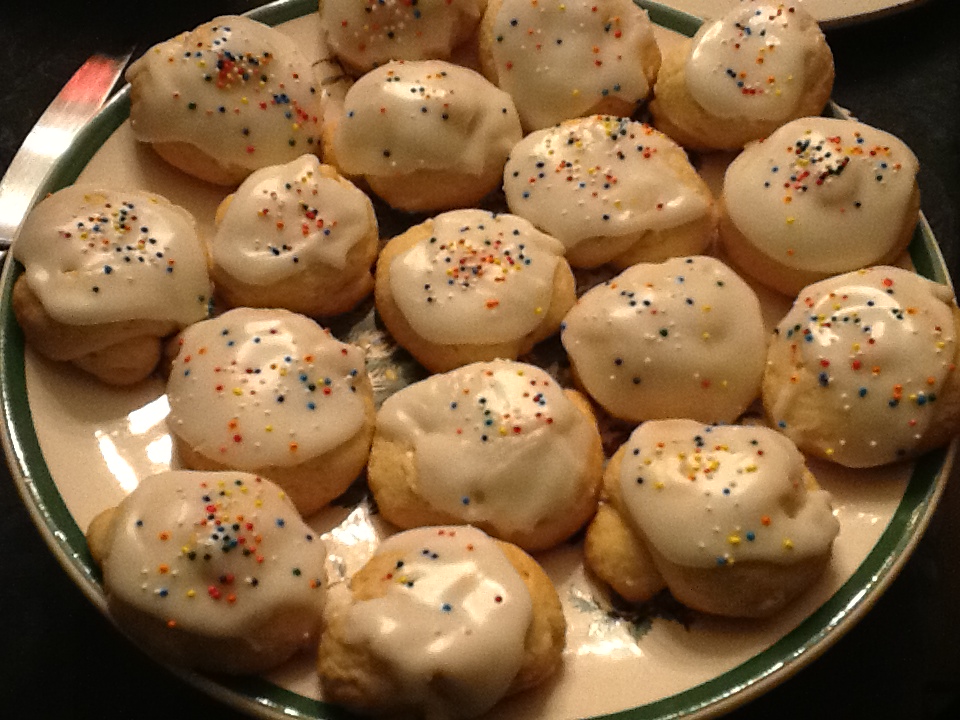
Betty’s Knots

Image

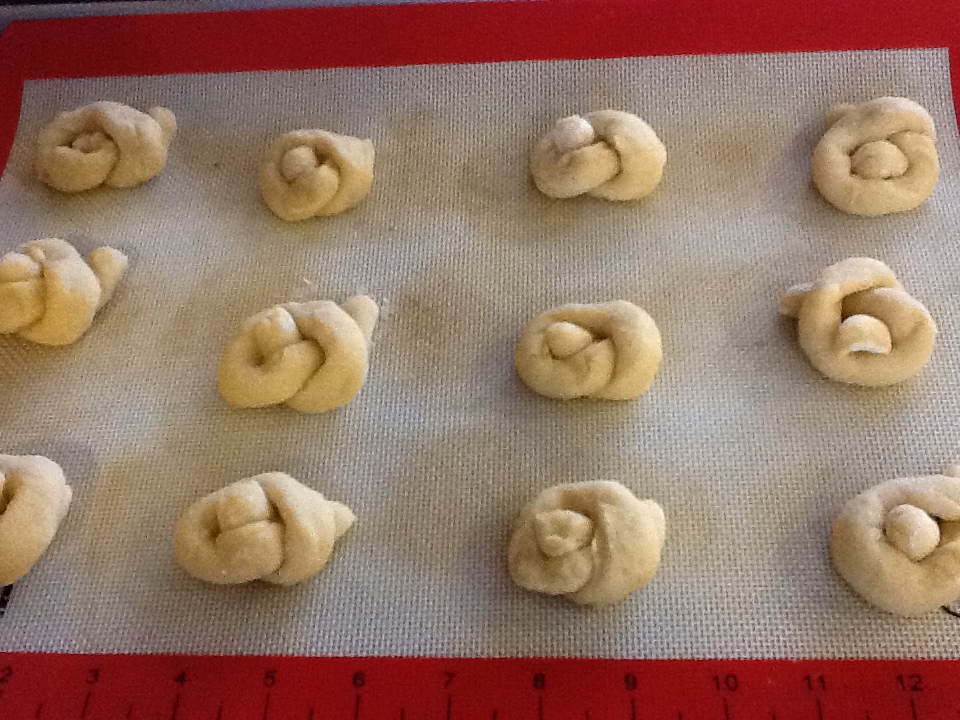
I finally figured out why my mom has so many different recipes for basically the same holiday cookie.  Her generation of women made the traditional Italian cookies from the region in Italy where they came from originally.   Each region has a slightly different version of many of the Christmas (and other holiday) sweets.  So my mom and her friends shared these variations, and when I look through her recipe folder, I find 3 or 4 recipes for the same thing, just with a tweak here and there.  It’s been confusing the heck out of me, but I now realize what was going on.   I sift through the bits of worn papers with ingredients, etc until  find the recipe that I remember best.  Hence, “Betty’s Knots.”  I know my mom tried several other recipes, but this is the recipe that she made year after year.  Betty is her sister-in-law (my aunt), and she is a great baker.  She’s a good cook as well, but it’s her baked goods that have made it into our recipe files.

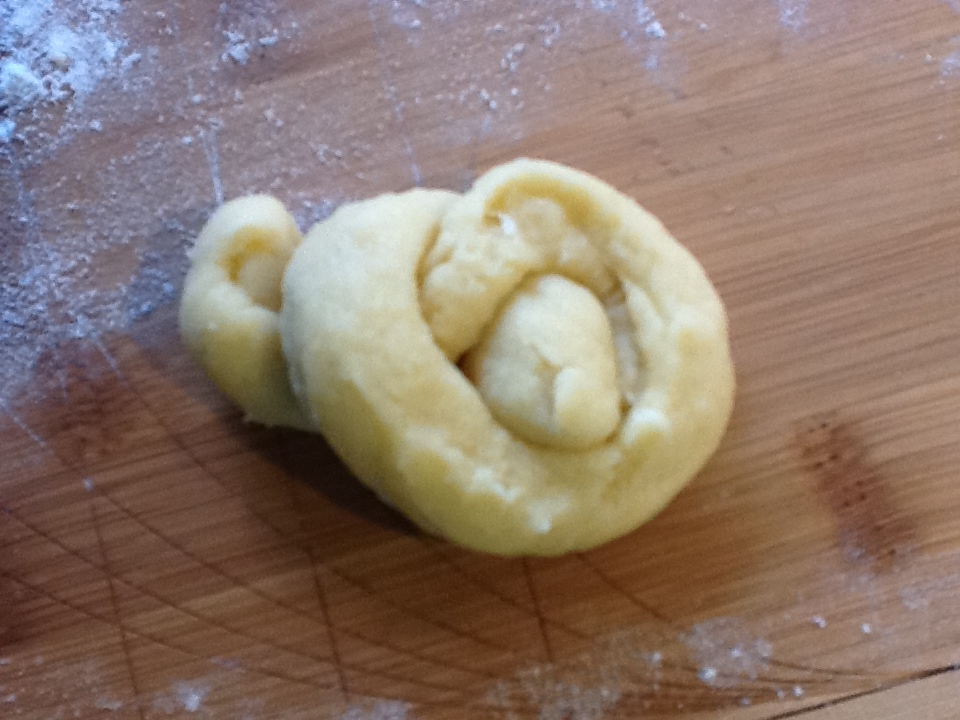
I used to love to make these knots as a child.  It was fun to roll them out and then knot them into that funny shape.  I also loved to ice them with that sugary glaze.  A little icing for the cookie……and then a little icing for me!  It’s funny how I can still see in my mind, my sister and I rolling out the dough into cigar-like shapes, and then tying the knots.  It still is a great way to engage children in the cookie making process, without too much mess.

I hadn’t made these cookies in many years, as my sister-in-law became the official “knot maker” in the family.  These were my brothers favorite cookie, so she started to make them every year.  I used this opportunity to branch out a little and stray from tradition.  I tried gingerbread cookies and many other recipes that I found in Holiday cookbooks.  But when I returned to these cookies this year, I was filled with warm memories.  I suppose this is why we hang on to traditions.  Is it the taste we love or is it the memories?

RECIPE:  makes approximately 3 dozen

6 eggs

1/2 pound butter, at room temperature

1 1/2 cups sugar

2 tsp. vanilla

2 tsp. anise extract (or Sambuca liquor)

5 tsp. baking powder

5 cups flour

Icing

juice of one small lemon

juice of one small orange ( I use 1 1/2 tsp orange extract)

one box of confectioners sugar, sifted

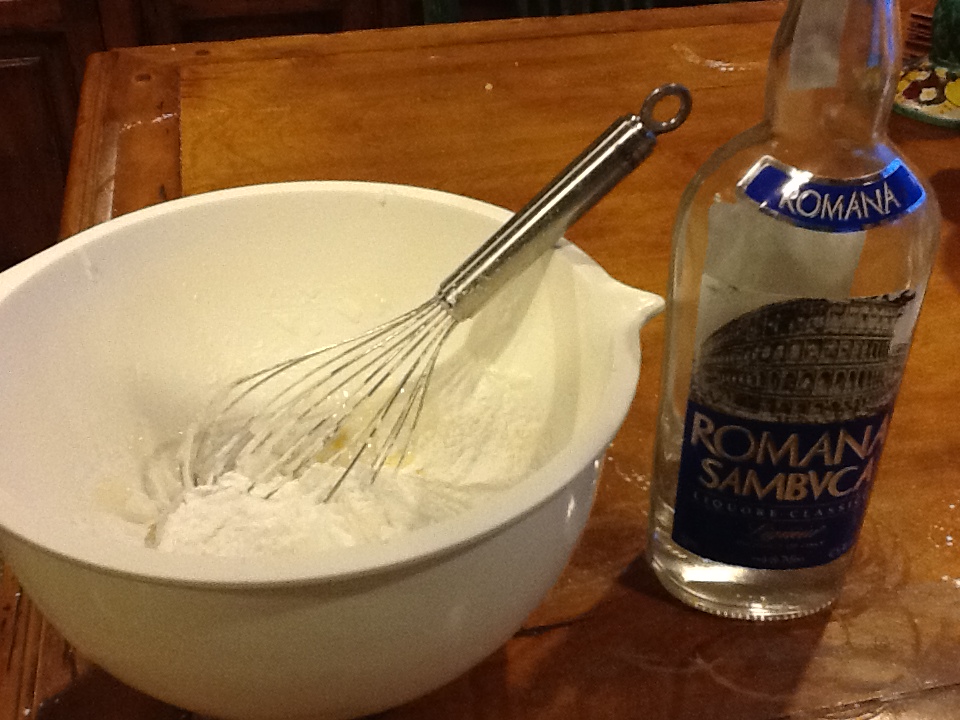
2 tsp. anisette liquor, such as Sambuca

colored sprinkles

1.  Cream together the eggs, butter and sugar.  Add in the vanilla and anise extract or liquor.

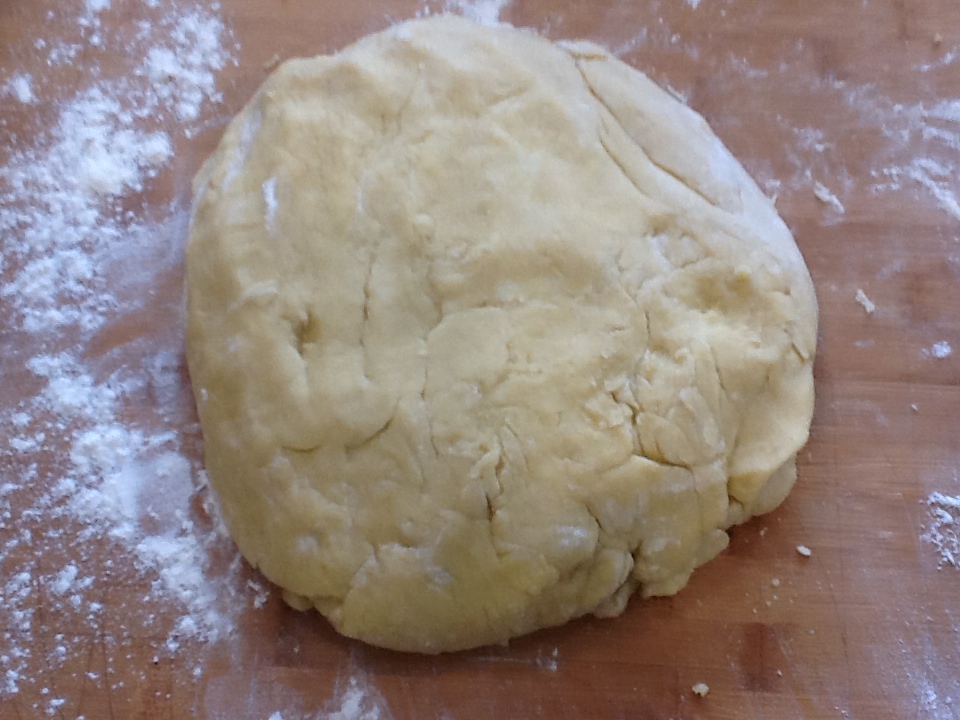
2. Combine the flour and baking soda, and add it to the egg mixture a little at a time.  (I stop using the electric mixer after 4 cups, and work in the last cup of flour by hand).  Knead and form into a large ball.  Cover and let stand for one hour.

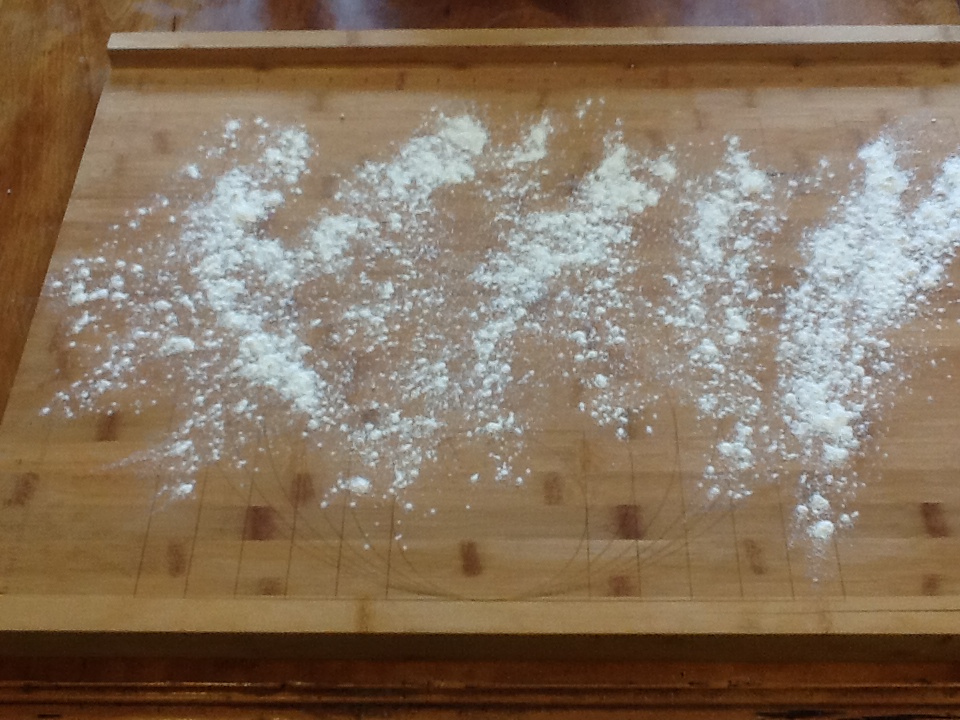
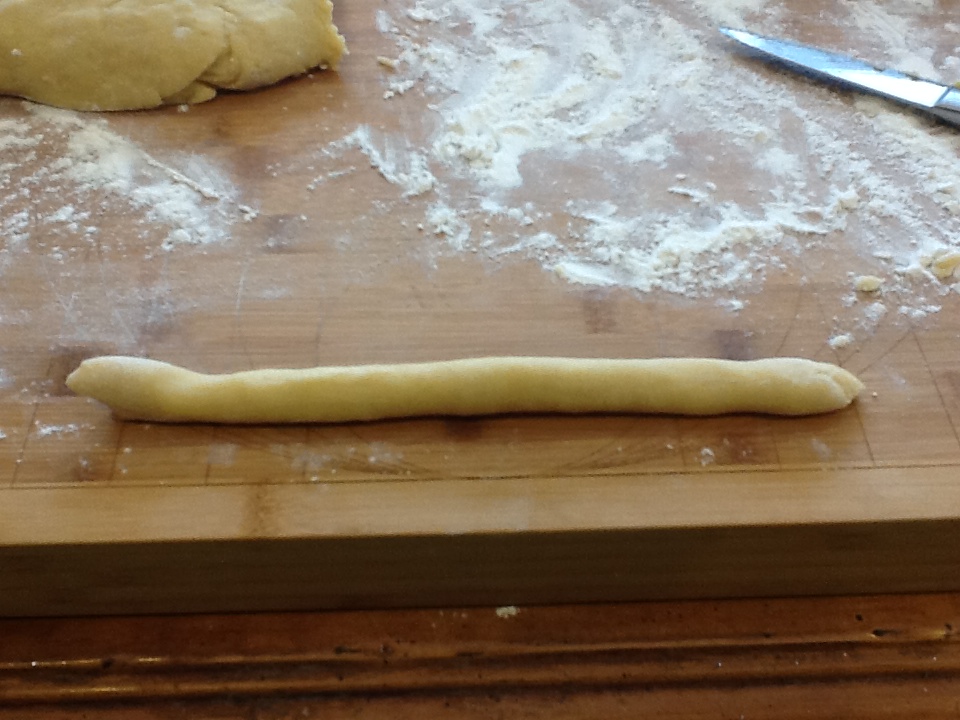
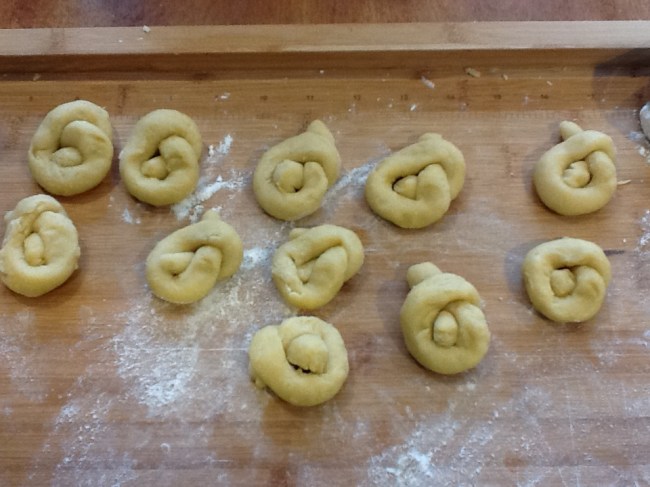
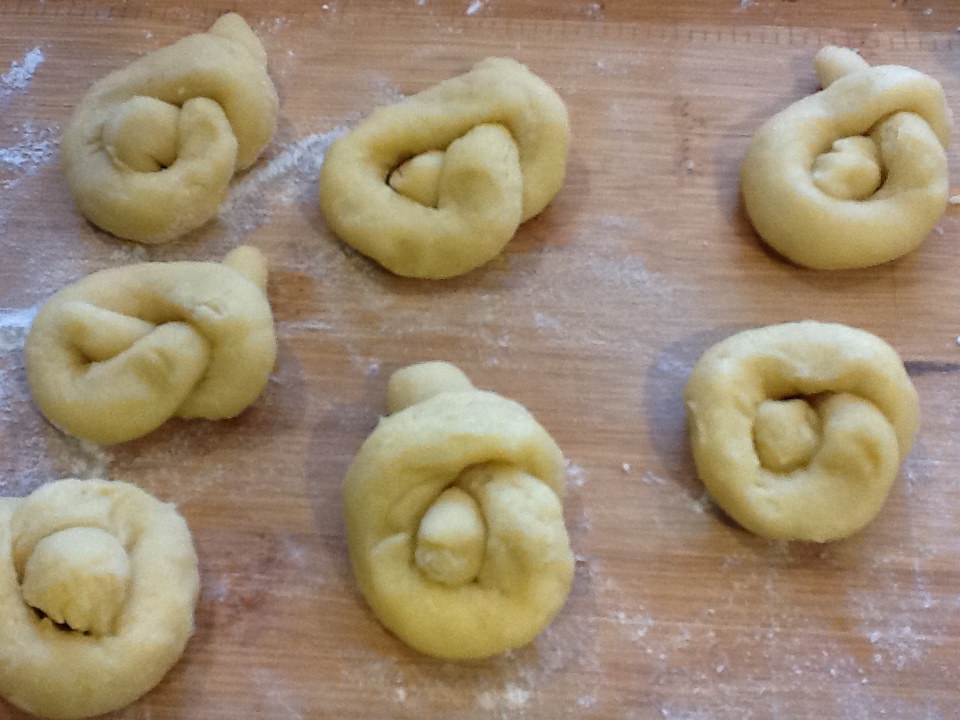
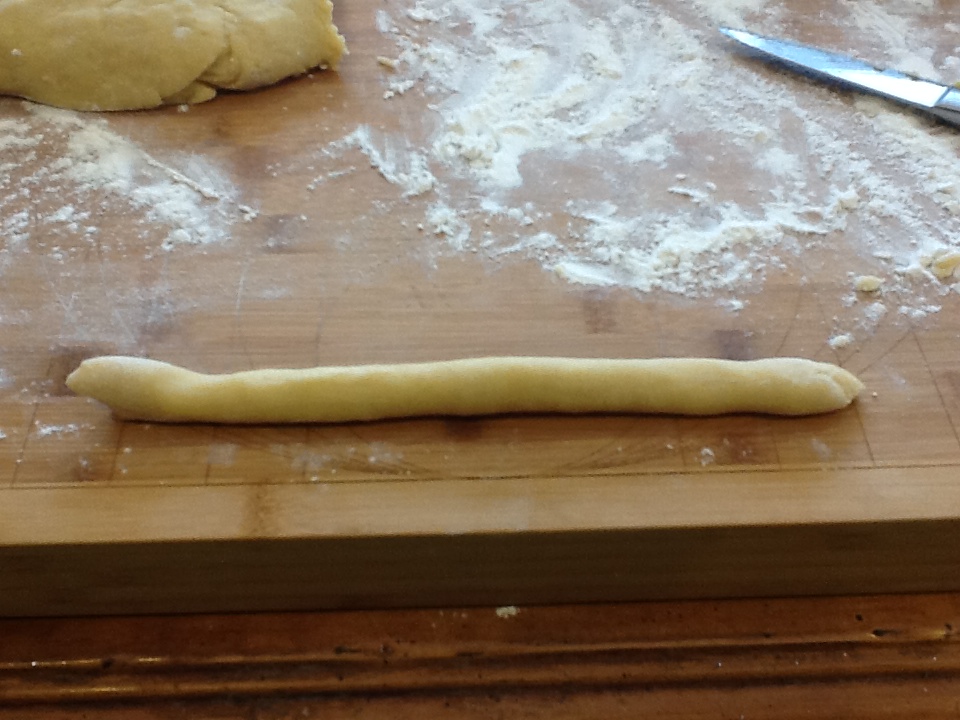
3.  Flour a pastry board so the dough won’t stick when you roll it out.  Cut off pieces of dough and roll out to about a six inch cigar shape or piece of rope.  Twist into a knot, and place on a cookie.

4.  Bake in a 325 degree oven for 10 to 15 minutes, until light brown.

5.  Meanwhile,  make the icing, by combining all the ingredients and mixing well with a whisk.  It should be rather thick so that you can spread it on the cookie with a knife.

6.  Cool the cookies completely before icing and adding the sprinkles.

7.   Let them sit on a tray until the icing is completely dry before storing them away.

Image

ImageImageImageImage

ImageImageImageImageImageImageImageImageImageImage

oatmeal pancakes recipe

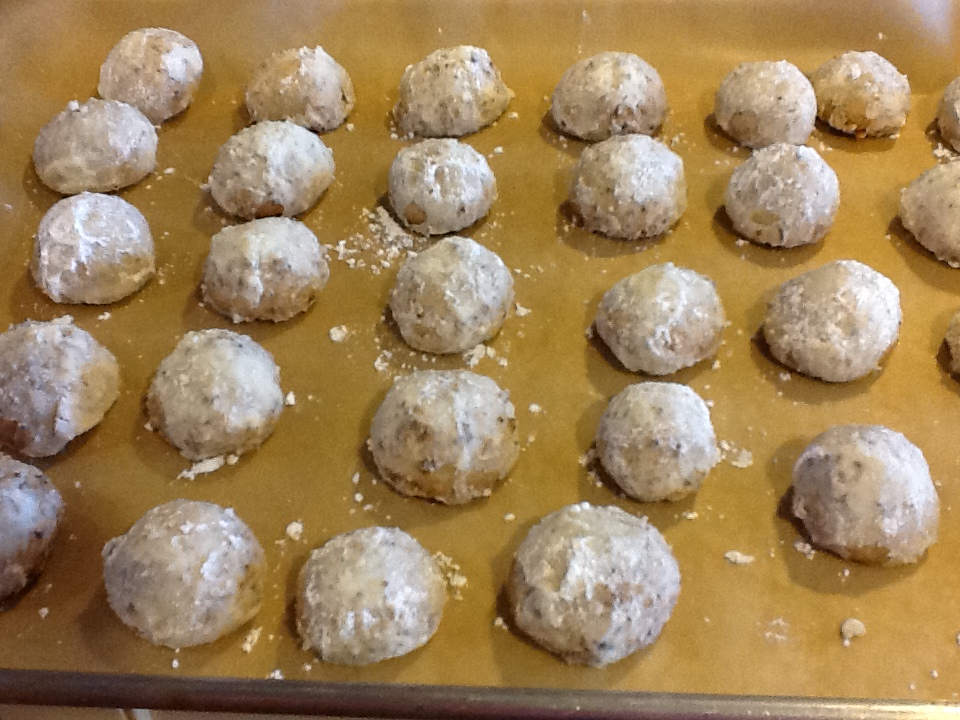
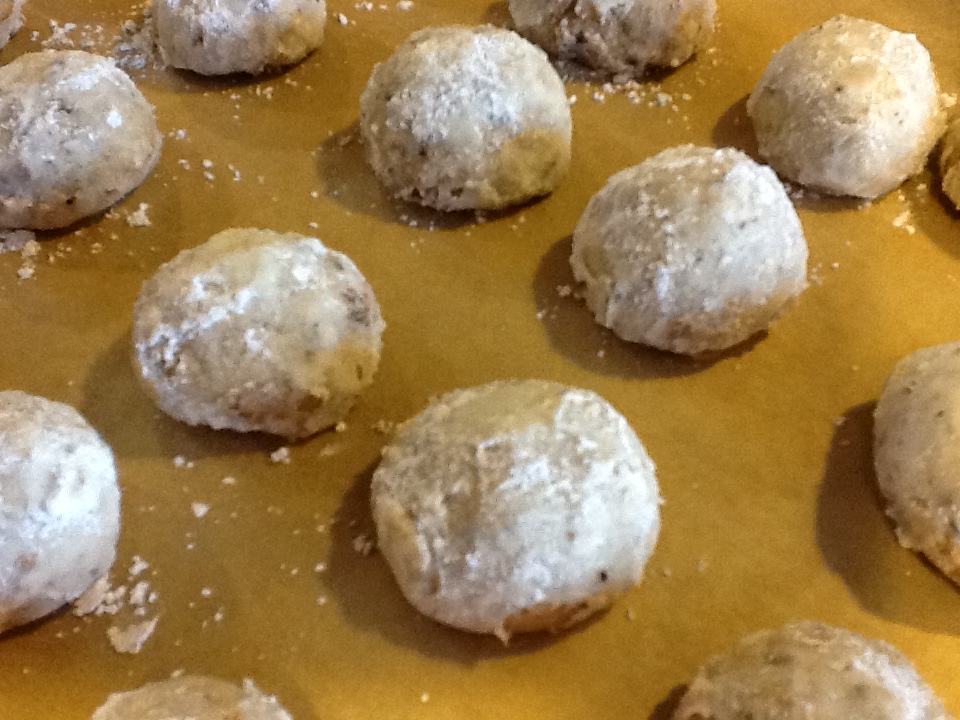
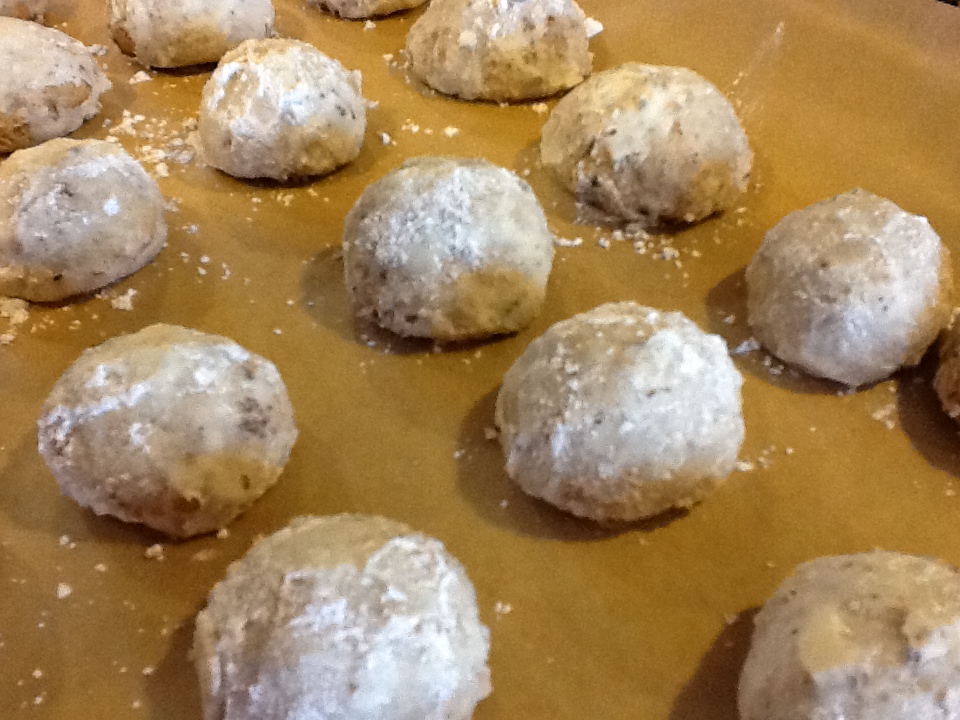
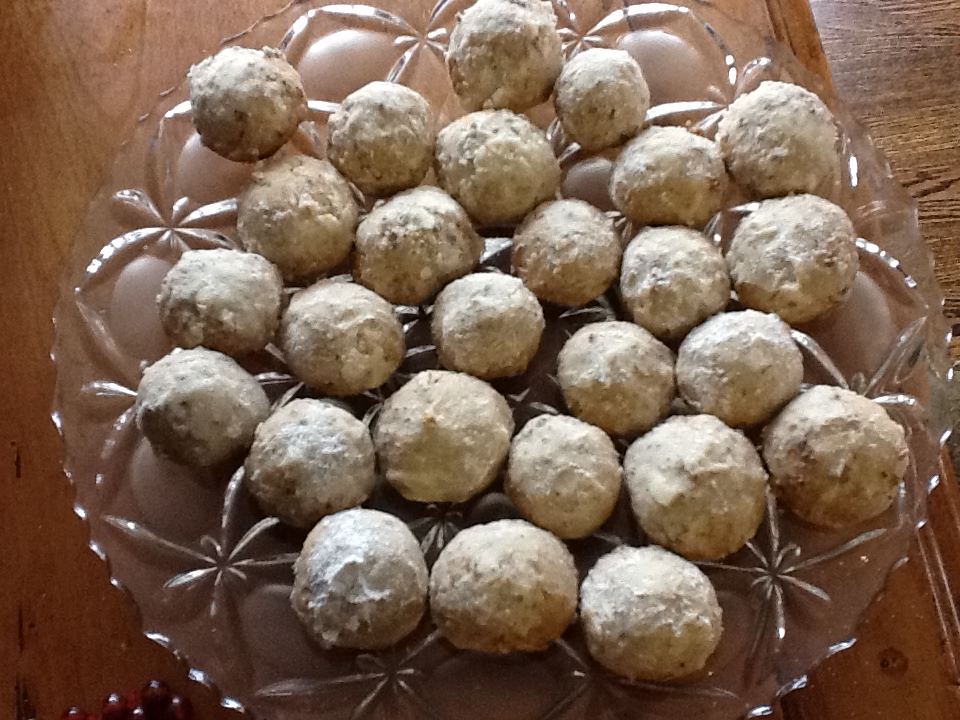
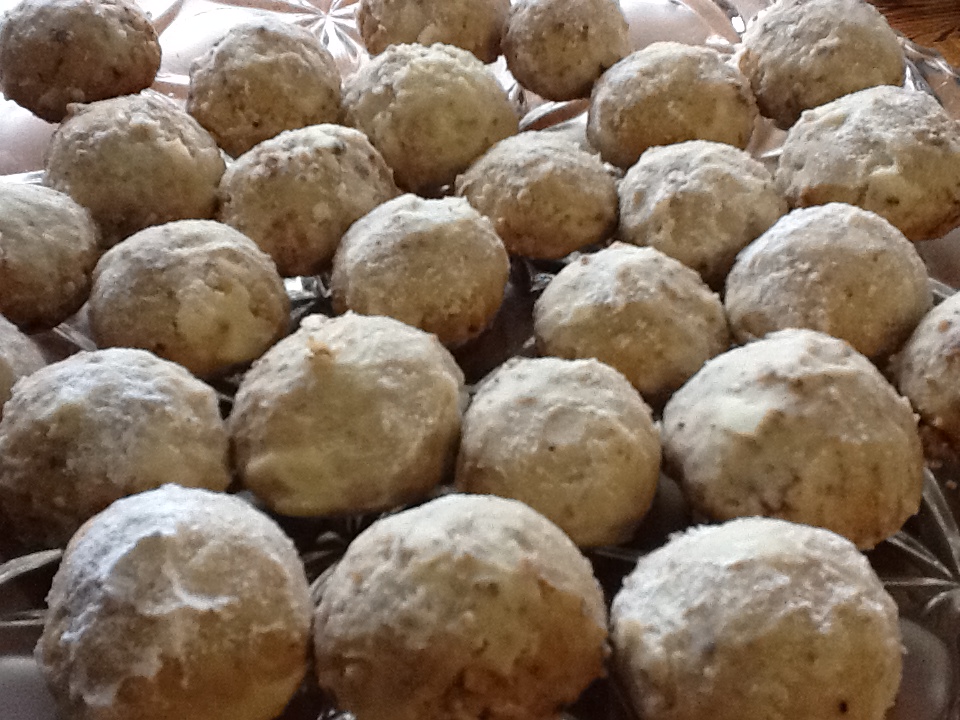
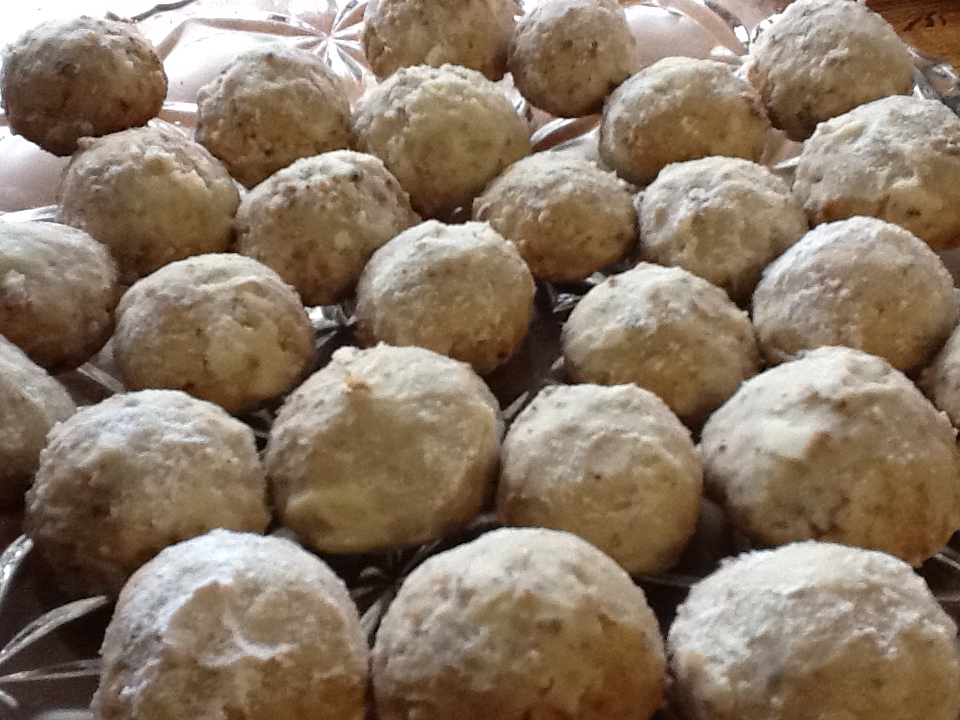
Pecan Butter Balls

Image

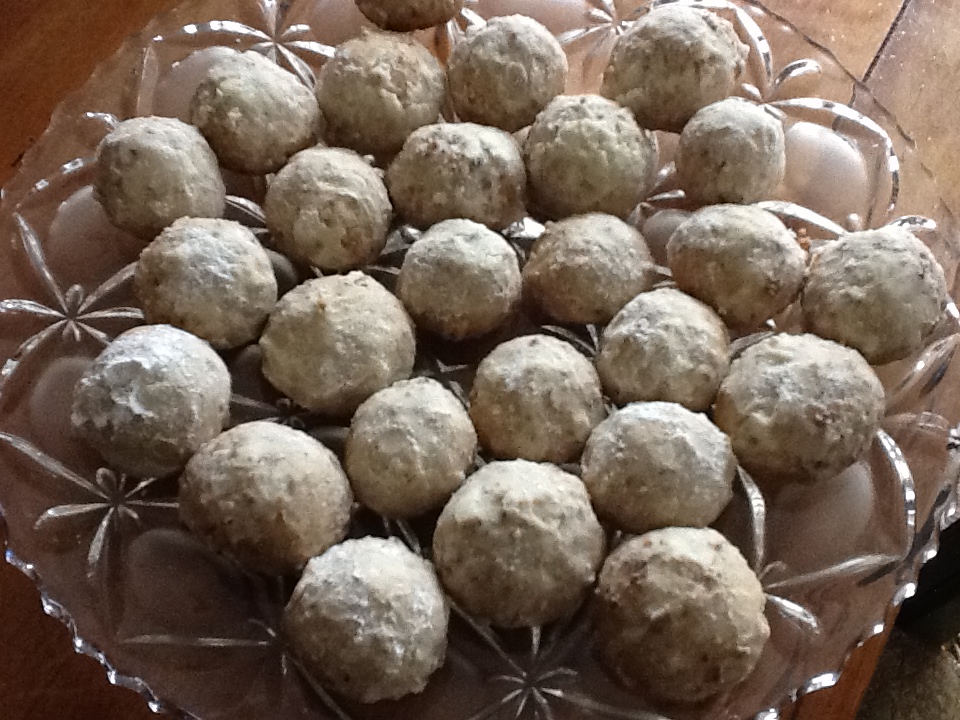
I can remember where I was the first time I bit into one of these buttery, delectable cookies.  I was 9 years old, and I was sitting at the kitchen table of my soon to be best friend.  It was an afternoon in December, after school, and her mom sat us down with a plate of her newly basked assortment of Christmas cookies.  Most of the cookies on the plate looked like what my mom usually made, but I had never seen these little, round sugar coated cookies before.  One delicious bite led to another, and I think I impressed them with how many of these cookies I could consume in one sitting.  So naturally, they gave me a few to take home to share with my family.  I thought about eating them all on the car ride home, but my conscience stopped me.  I should share these balls from heaven.  I really should.  And I did, and my family loved them.  My mom asked for the recipe, and so the tradition of the pecan butter ball cookies began.  I still make them every year, and the aroma of them baking in the oven, still reminds me of that winter day in December when I was 9.  My love for pecan butter balls began on that day, as well as a wonderful, lifelong friendship.

Just one warning, however…..these cookies are the perfect size for popping into your mouth, which makes them an easy target.  I keep them in a tin with a tight lid, so there is some level of difficulty to get to them.  Honestly, if you keep them on a plate, they will disappear in no time.

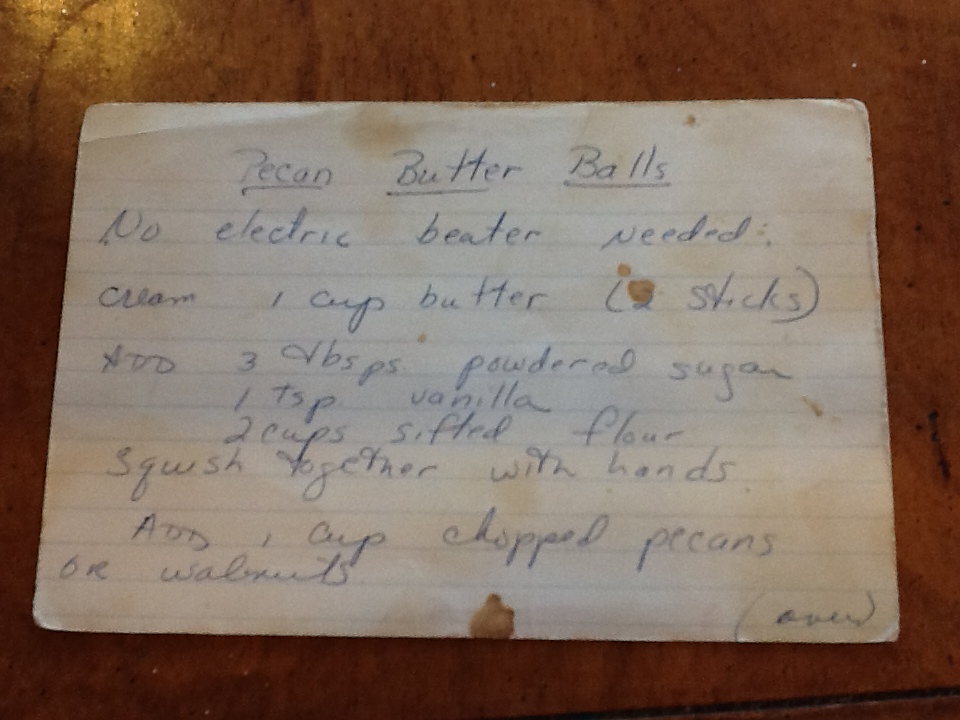
RECIPE:  makes 2 dozen

1 cup butter

1 tsp. vanilla

2 cups sifted flour

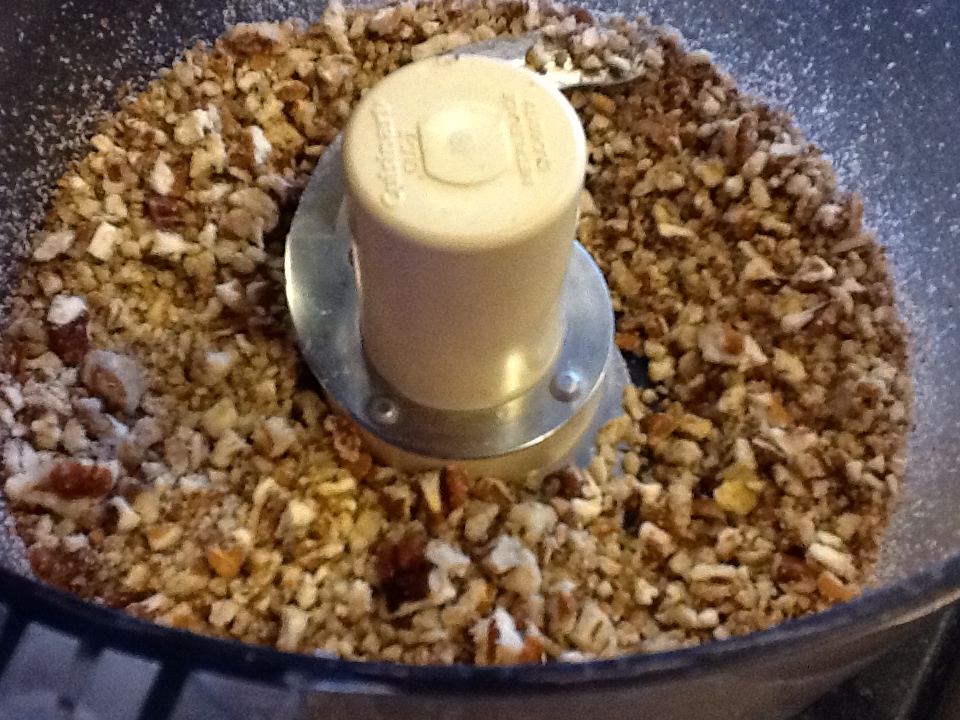
1 cup chopped pecans ( I use a food processor so I have finely chopped pecans as well as some larger pieces)

3 TBSP Confectioners sugar, plus extra to roll the cookies in once they are baked

1.  Cream the butter.

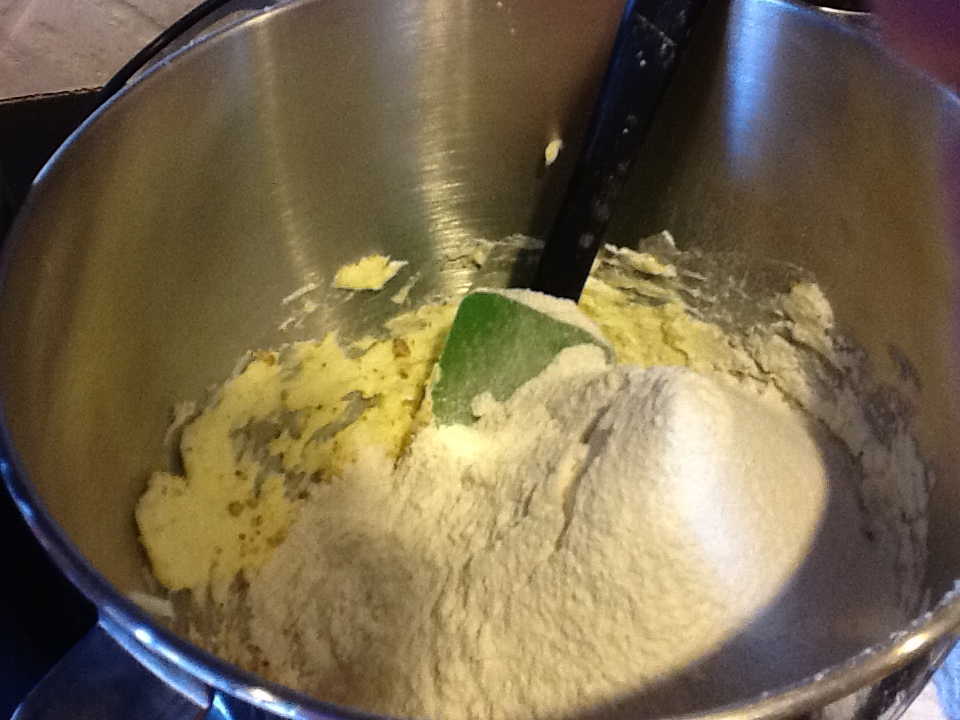
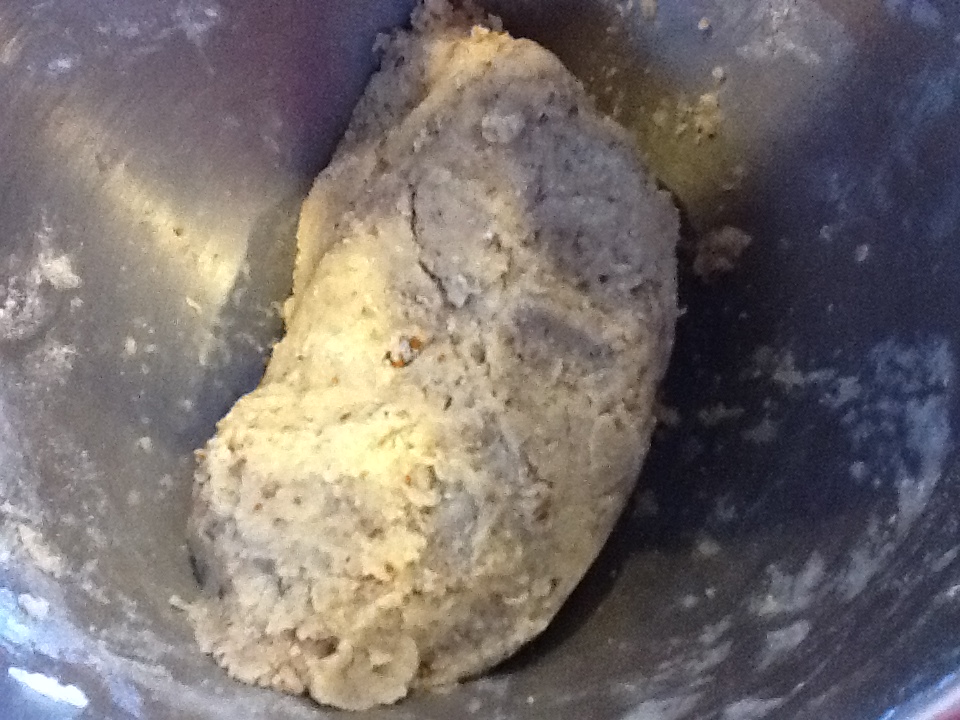
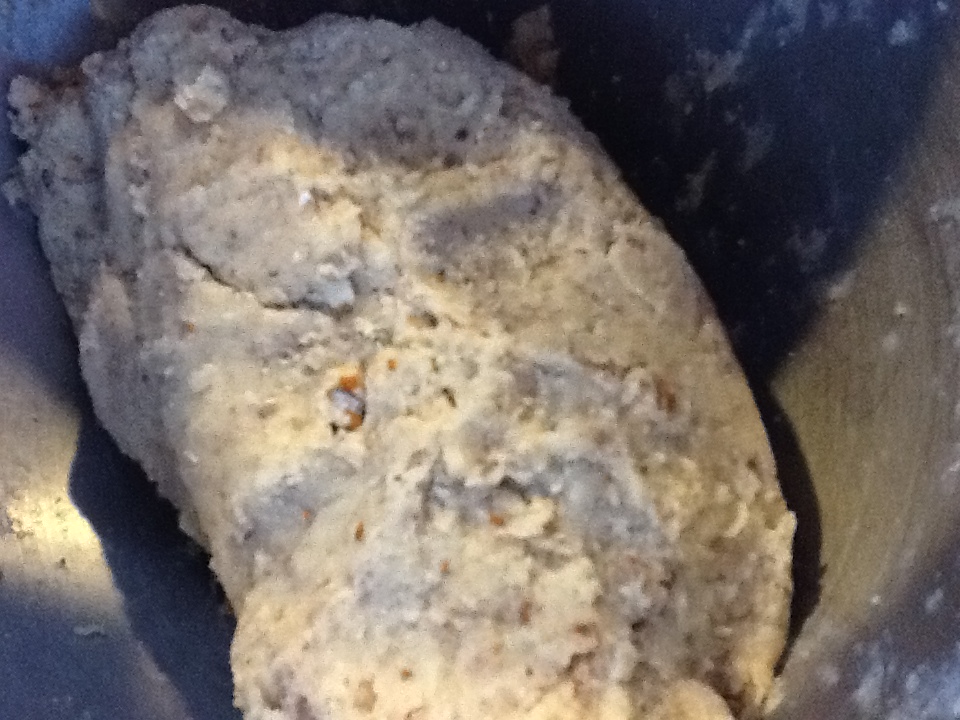
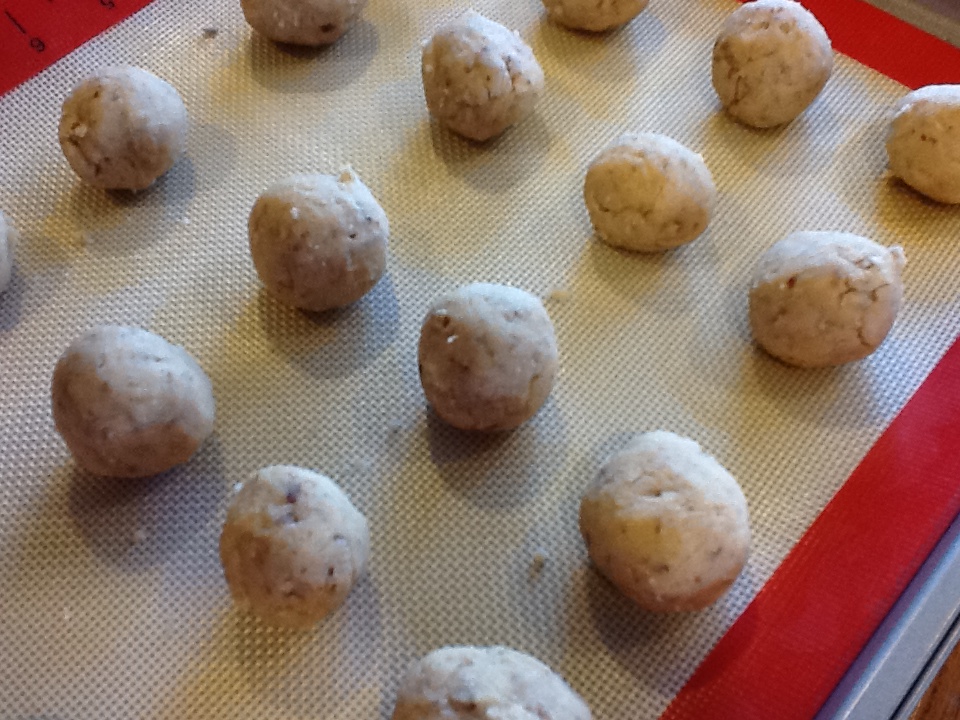
2.  Mix in the vanilla, flour, pecans and confectioners sugar.  Mix well with hands to form a moist dough.

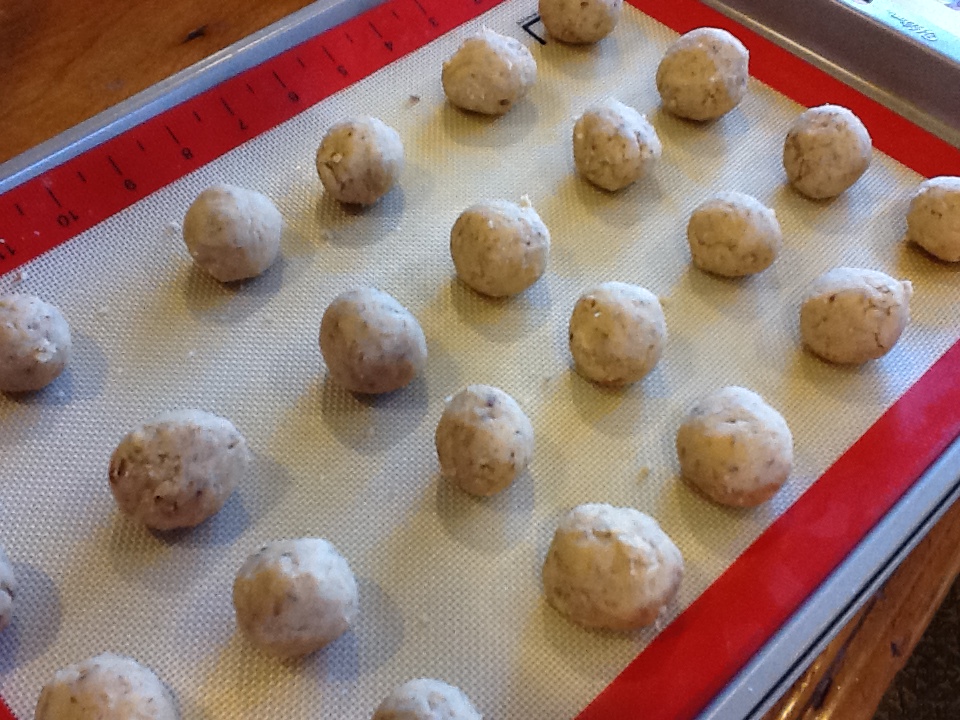
3.  Roll into tiny balls and place on cookie sheet.

4.  Bake in a 350 degree oven for 20 minutes.

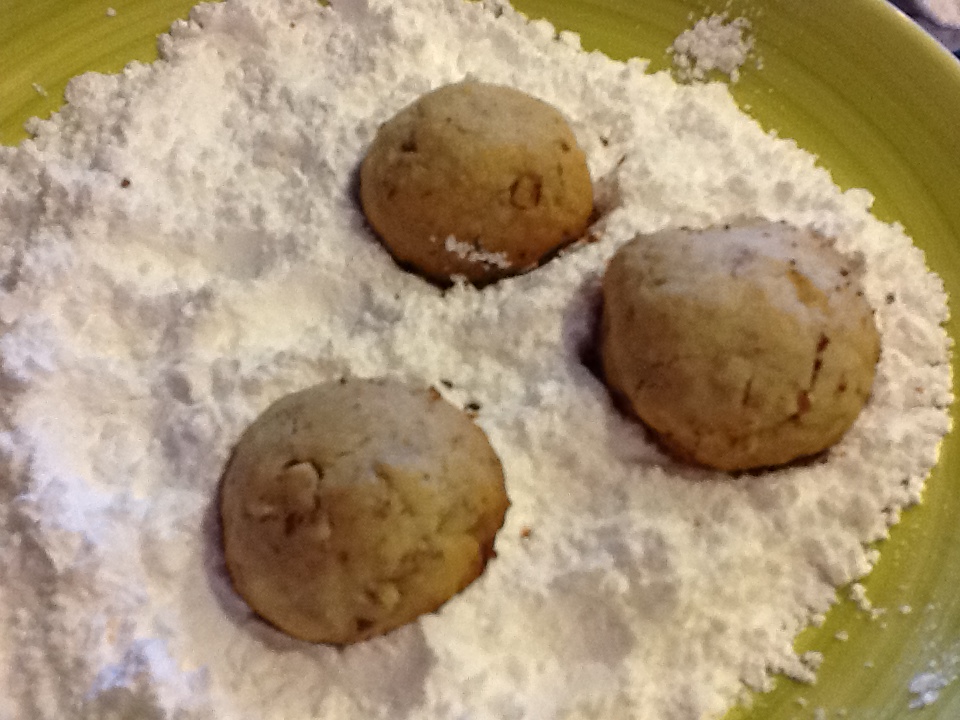
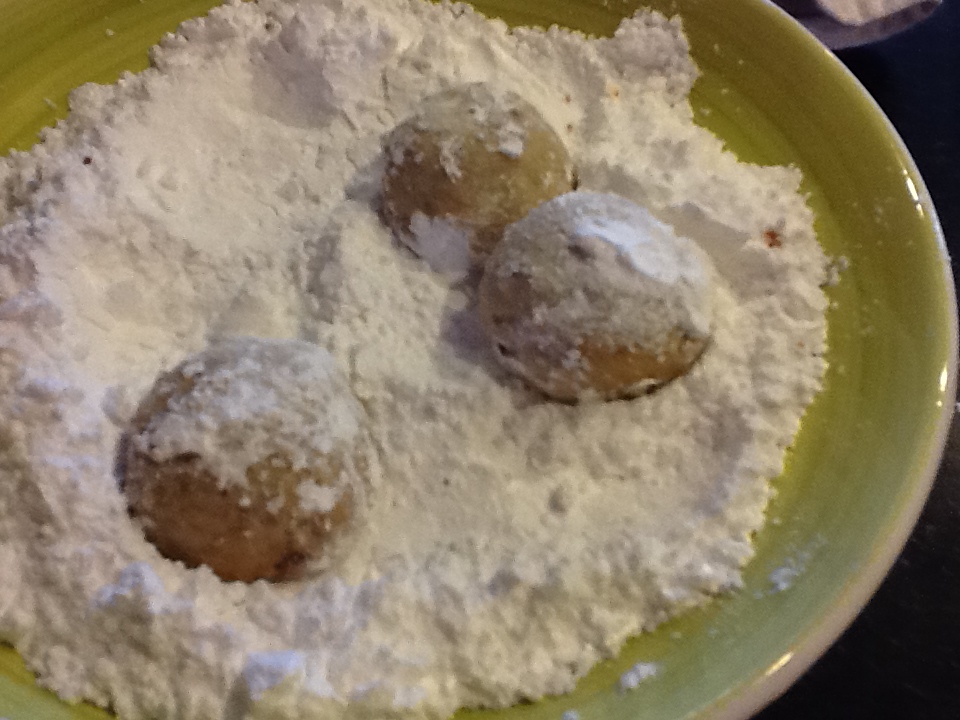
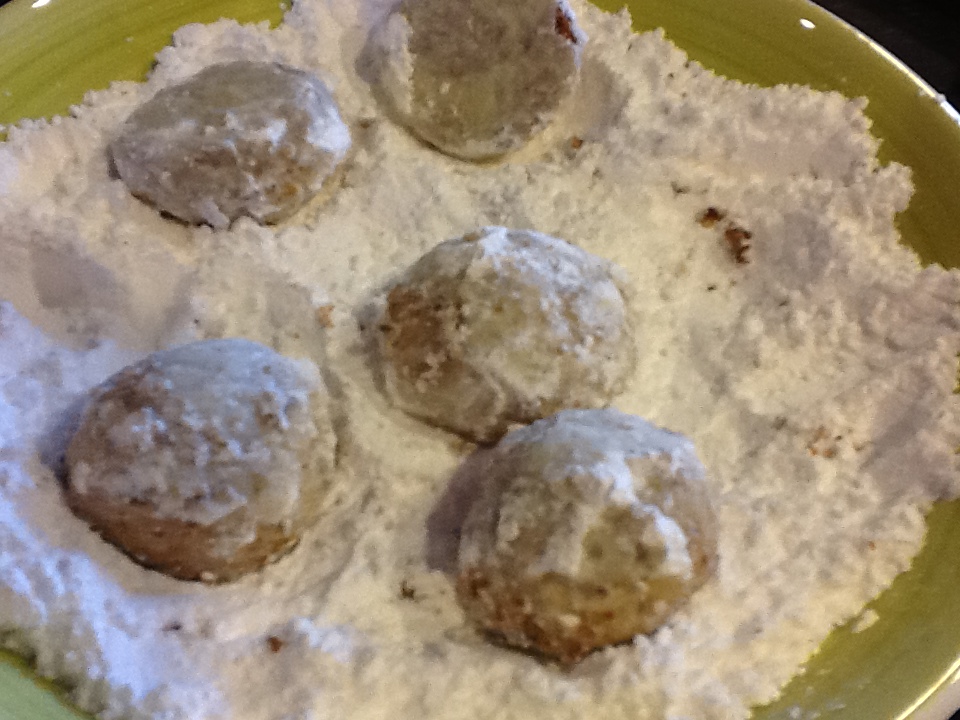
5.  Fill a plate with confectioners sugar.  Roll the warm (barely cooled at all)  cookies in the sugar, coating them on all sides.  Then place on parchment paper to cool.
ImageImageImageImageImageImageImageImageImageImageImageImageImageImageImageImage

Image

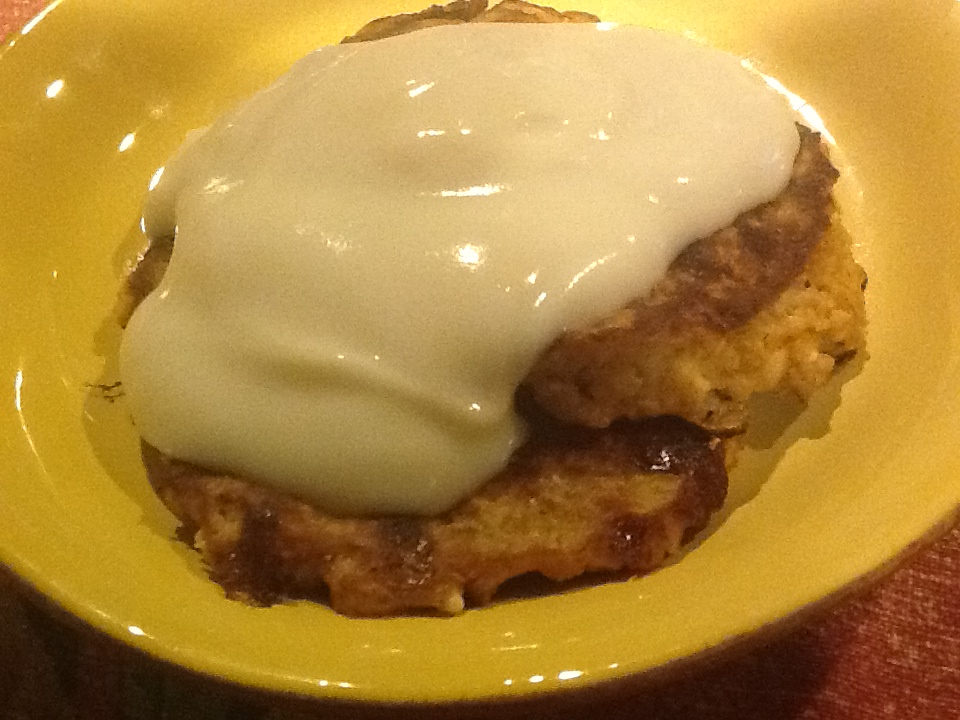
Oatmeal Protein Pancakes

Image

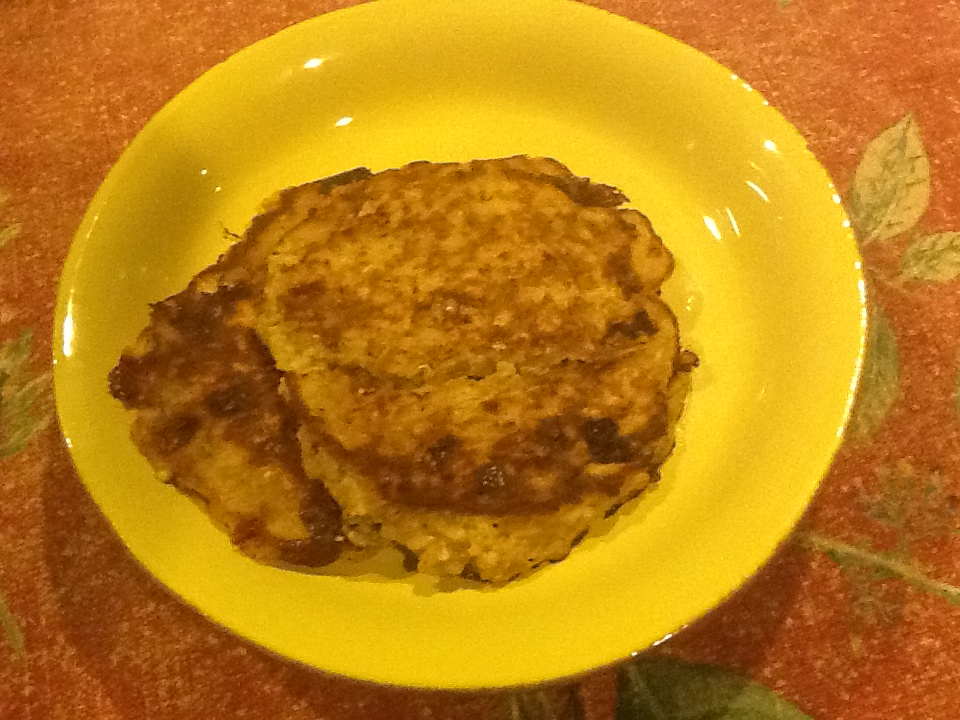
Before I start inundating you with fattening recipes for traditional Christmas treats, I feel compelled to give you one of my favorite “healthy” recipes.  Before I start all my holiday baking and cooking, I try to stock my kitchen with the ingredients for some healthy alternatives.  I find that if it’s easy for me to reach for something tasty but  healthy, I am less inclined to reach for the cookies I just finished baking.  I know I’m going to consume lots of sugar this next month, so I feel that every little bit helps.  This recipe makes me feel like I’m eating pancakes, but I’m not.  Don’t get me wrong, you won’t  be able to fool yourself into thinking that you are indulging in fluffy, pancakes, oozing in rich, maple syrup.  If only!!  But I think you’ll be able to enjoy this as a substitute with much less sugar and carbs, but packed with protein.  And you won’t get sick of starting your day with these oatmeal pancakes, as there are many healthy variations you can make.

I was given this recipe many years ago for just this reason.  It was Christmas time, and I believe I was heading into a sugar comma, when a friend told me to give this recipe a try.  She had a personal trainer at the time who told her to start her day with these pancakes, and he swore it would keep you full of energy, and you would crave less sugar throughout the day. I can’t say that I found that to be true, but I will say that I do love these, and they satisfy my sweet tooth In the mornings (somewhat).  Being Italian, both she and I, we of course had to make additions to his recipe. We spent weeks calling each other and boasting about how great these are with yogurt on top…. or yogurt and berries…..or granola…..or with blueberries or bananas in the batter…..or canned pumpkin and pumpkin pie spices in the batter.  So the point being, you can make so many healthful additions to this basic recipe, that you shouldn’t get bored with them for the duration of this very difficult, sugary, fattening month of December.

RECIPE:  makes 2 pancakes

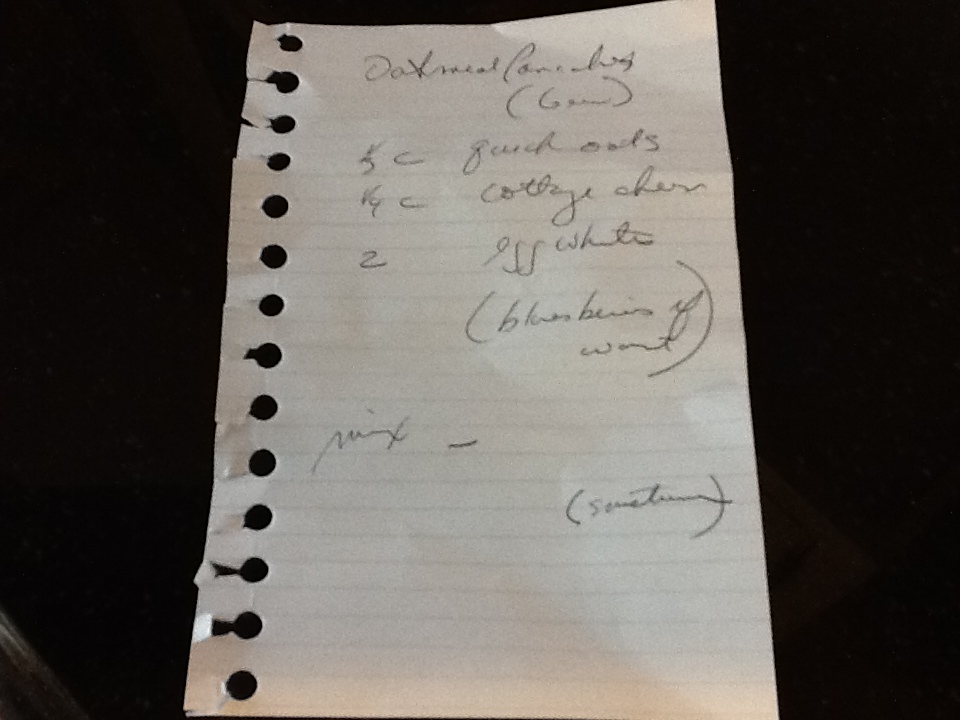
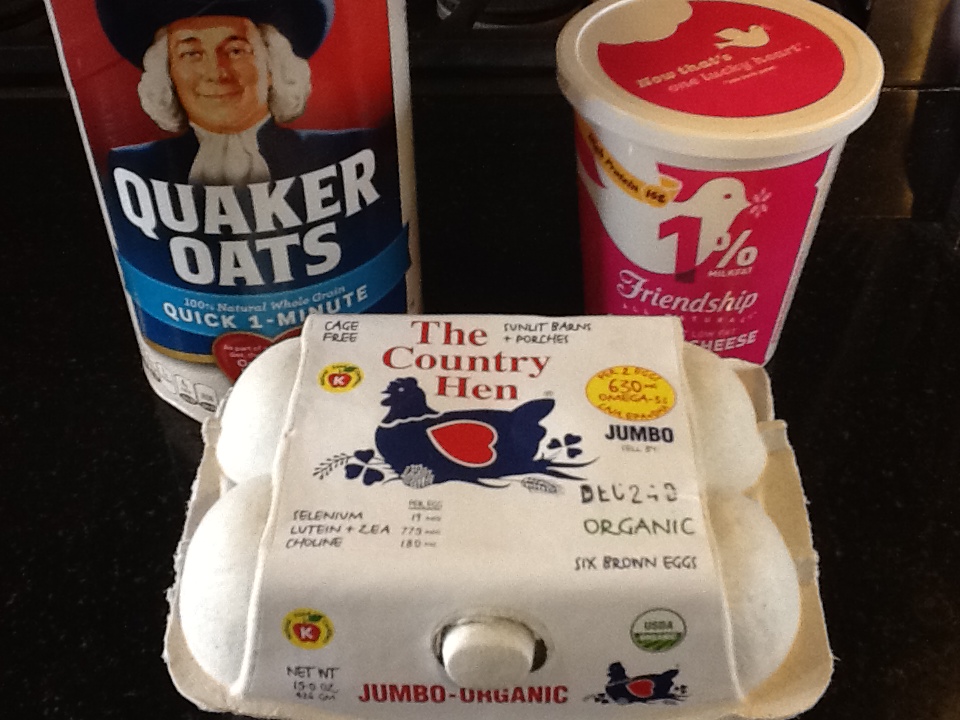
1/3 cup quick oats

1/4 cup cottage cheese

2 egg whites

1 packet of Truvia ( Stevia), as sweetener if desired

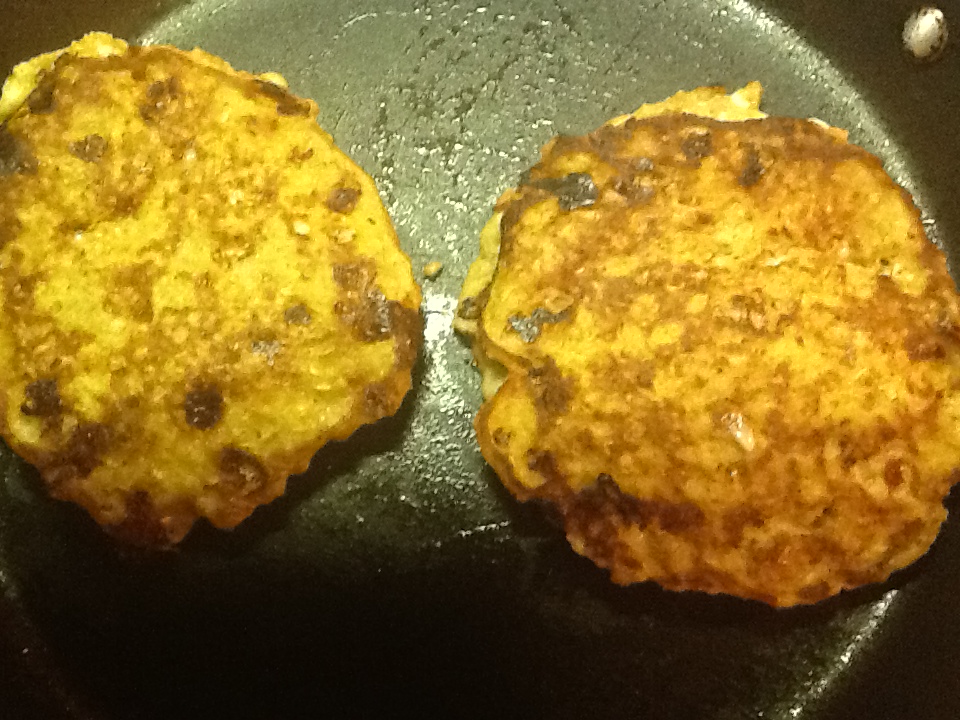
Mix all ingredients together in small bowl.  The batter will be thick, so form it into the shape of 2 pancakes in a hot skillet.  Cook over medium heat for a few minutes, until they start to firm and get browned underneath.  Turn them and cook for several more minutes until desired doneness is achieved.
**  I love to top these with vanilla yogurt…..some fruit……some granola, etc.  I also sometimes add blueberries or sliced bananas to the batter, or 1/4 cup canned pumpkin and some pumpkin spices.  And sometimes I cheat, and use some pure maple syrup.  You won’t need as much as you do on regular pancakes, so that makes me feel good, but I’m sure that personal trainer would hate the idea!

Image

Image

Image

Image

ImageImage

Image

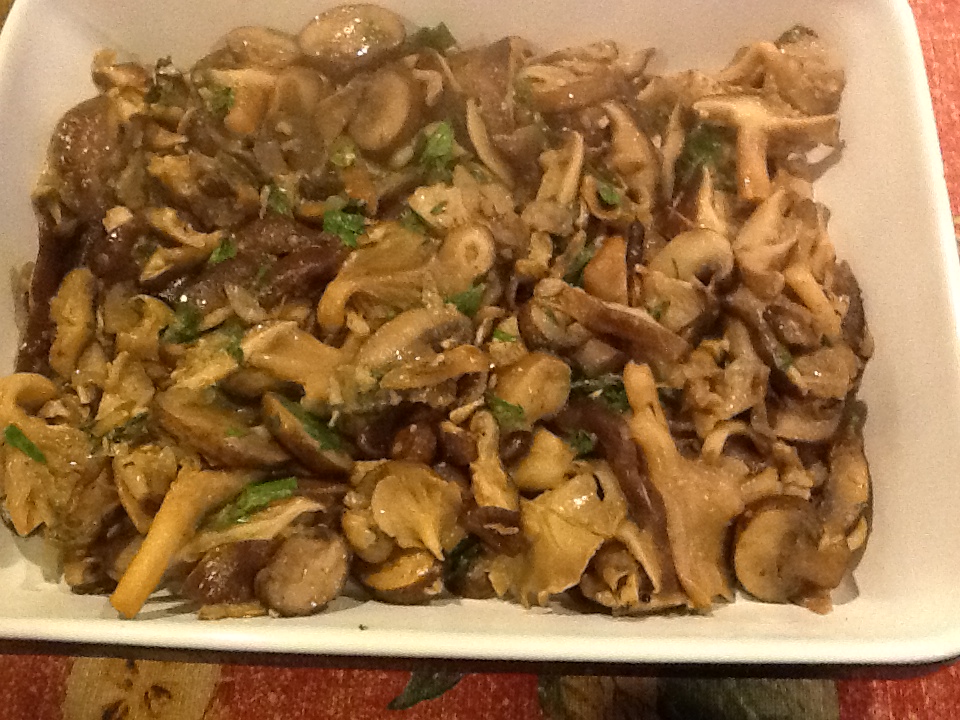
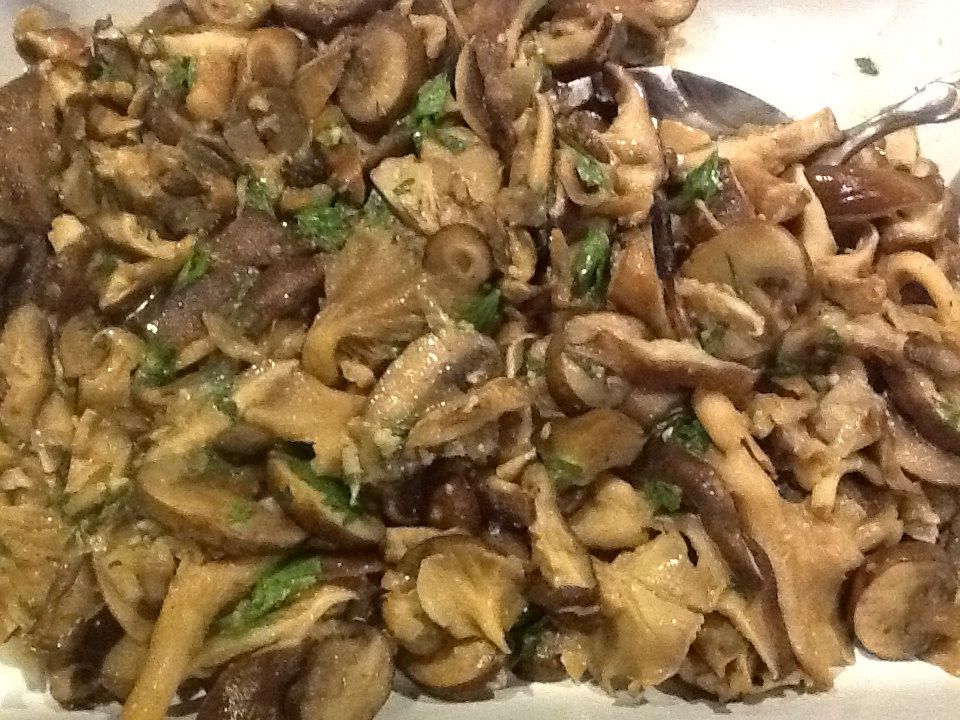
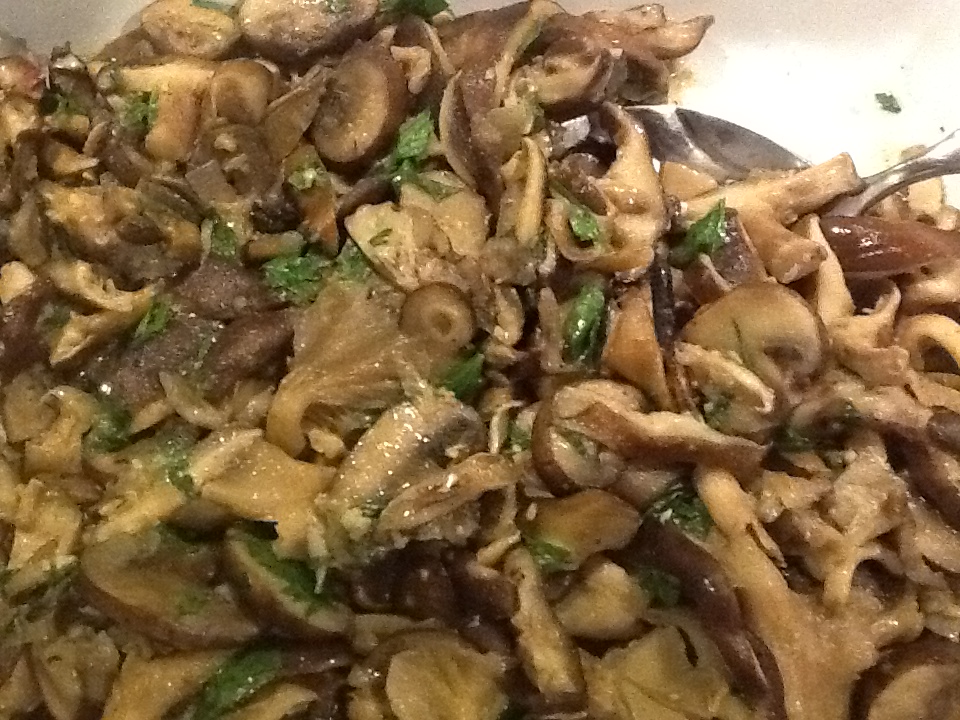
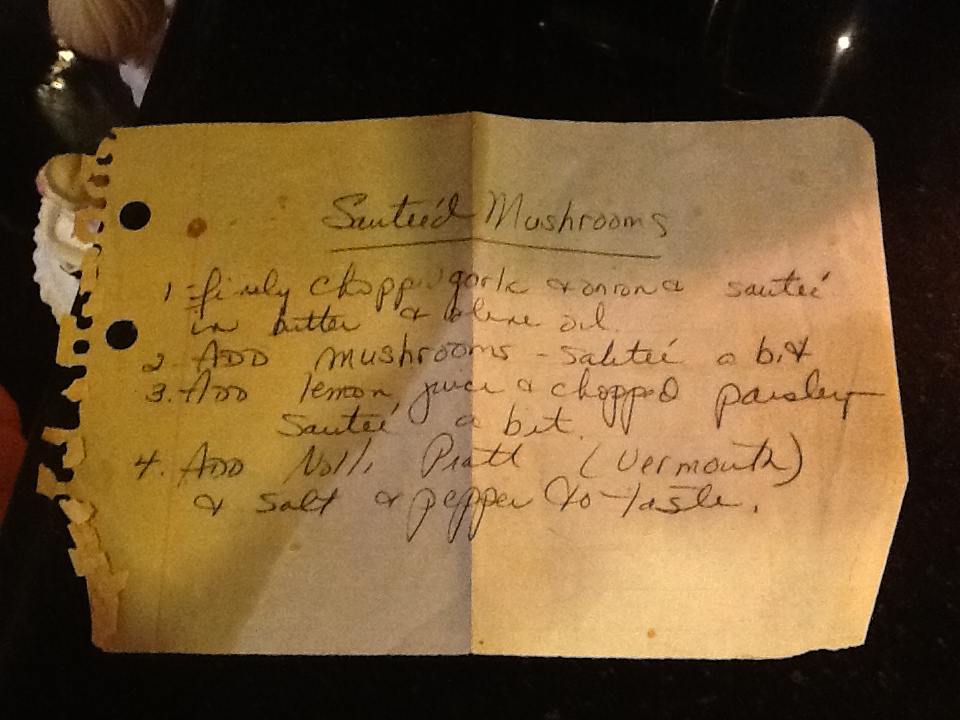
Sauteed Mushrooms

Image

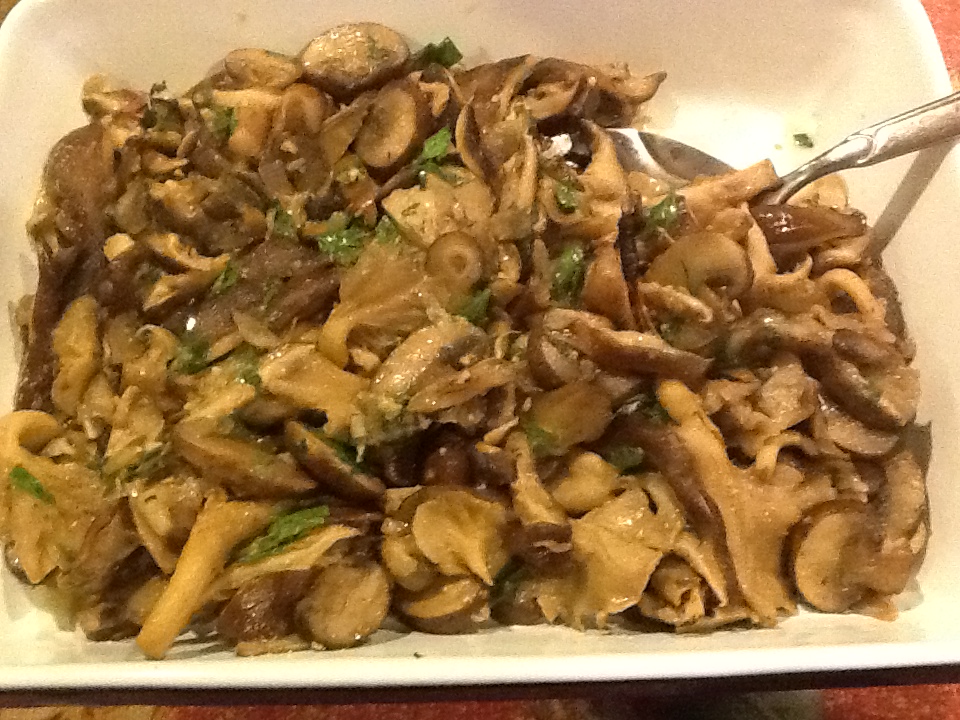
Somewhere in the early 1960s, this dish of sautéed mushrooms made it’s way into our Holiday menu.  I remember watching my Aunt Mary, in her Bronx kitchen, stirring a huge frypan of this weird looking vegetable and wondering if I would like it.  It was Christmas Day, and we already had too much food.  Why add something new…….and this of all things?!  It was a hit, and now this became a staple for most of our Holiday meals, and even Sunday dinners.  It certainly was a welcomed addition to our oftentimes overcooked Sunday roasts (sorry, mom).   I was always happy to smell this cooking on the stove.

As a young bride, this was an easy way to impress my guests.  At the time (1970s), this was a rather sophisticated side dish for the average American cook, and really made your meal look elegant.  The only mushrooms available then were white mushrooms, but now I love mixing it up with shitake, baby bell, oyster, portobello, etc.  There are so many types to choose from today.

This dish is still making it to our family table most holiday dinners.  We haven’t replaced it with anything fancier.  It’s funny how we cling to foods that remind us of us the past.  We can’t let go.  Something as simple as sautéd mushrooms can remind us of the wonderful holidays past, as we cling to the memories of  those who are not with us now.  Food can be magical.
RECIPE:  4 to 6 servings

2 to 2 1/2  pounds assorted mushrooms, cleaned and roughly sliced.
1 small onion, finely chopped OR 4 large shallots, finely chopped ( I prefer the shallots now)

3 garlic cloves, finely chopped

2 TBSP butter

3 TBSP olive oil

The juice of one large lemon

1/2 cup dry vermouth

1 cup chopped, fresh flat leaf parsley

2 tsp kosher salt

pepper to taste

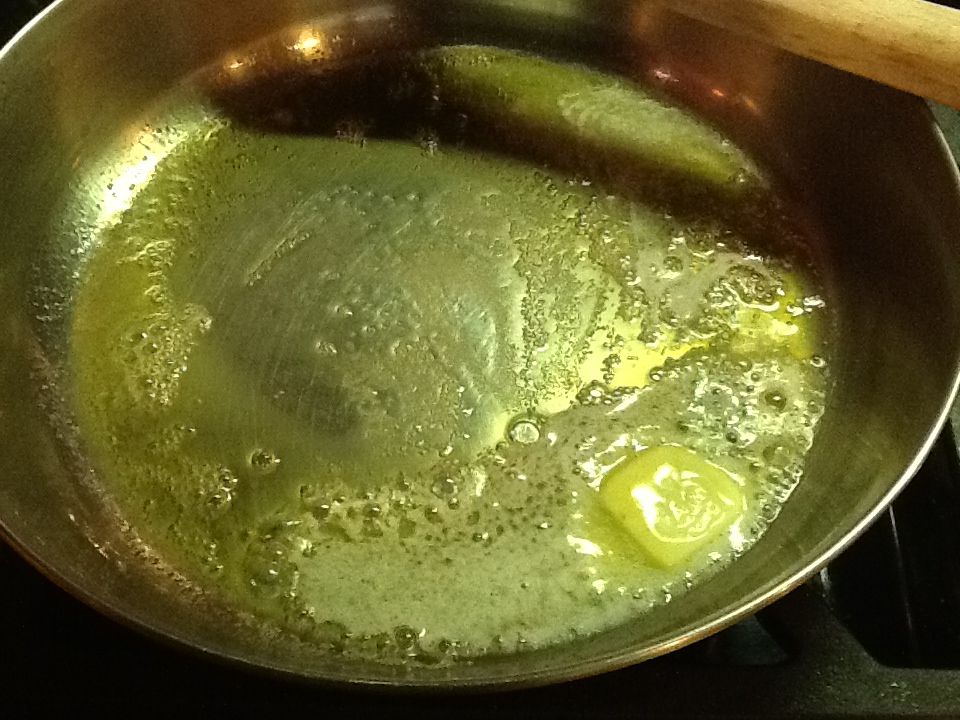
1.  Melt the butter in the olive oil over medium heat in a Dutch oven or large skillet  As soon as butter is melted, add the garlic and shallots, and cook over low heat for 5 minutes, stirring constantly.  Do not brown the garlic.

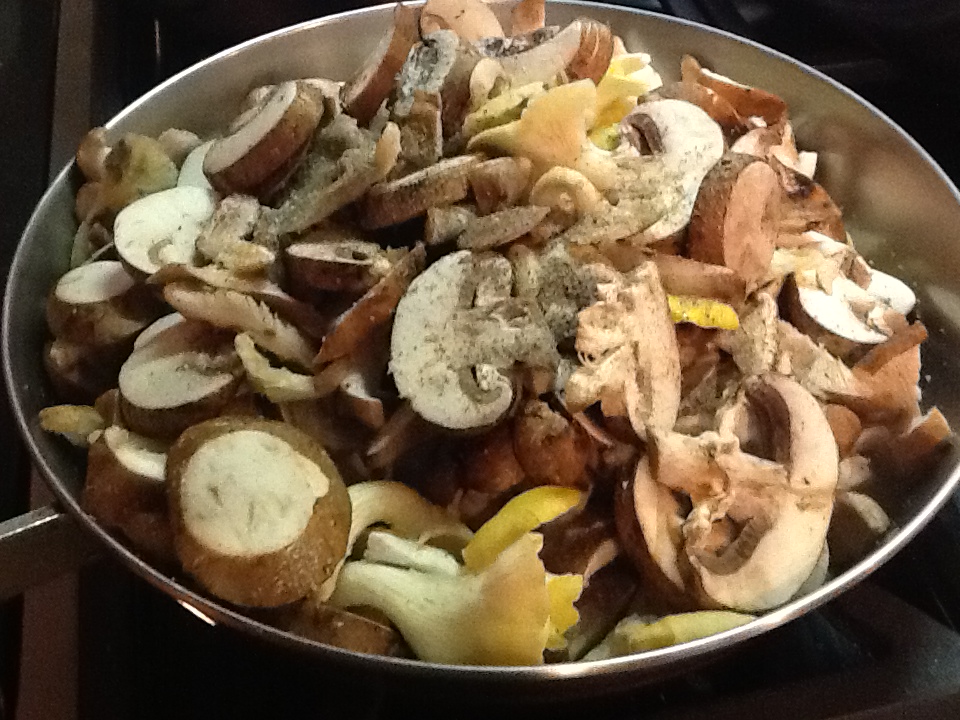
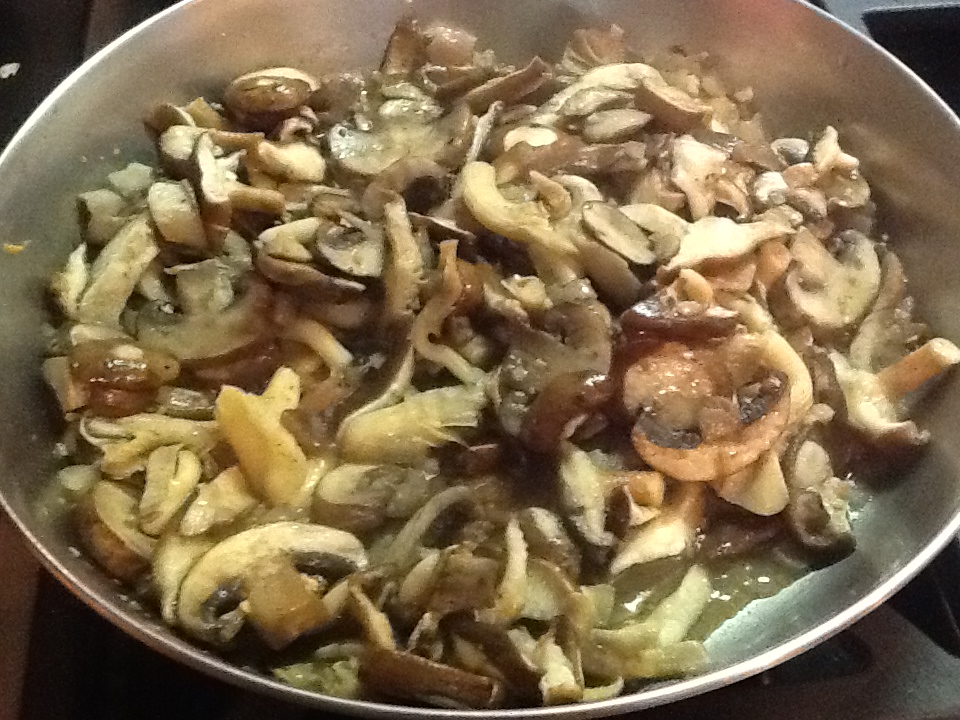
2.  Add the mushrooms, salt and pepper.  Cook for a few minutes, stirring to coat the mushrooms.  Cover  and cook on low heat for 5 minutes.  Peek often and give a stir.  They should be cooking down and releasing their juices.

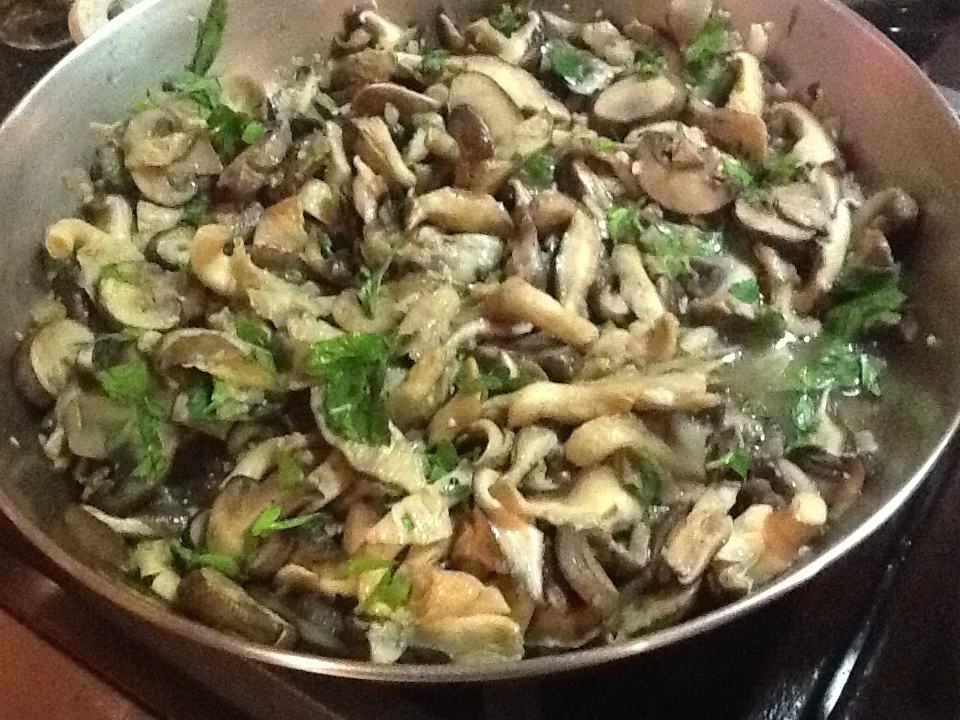
3.  Once they seem tender, add the lemon juice and parsley.  Stir well and cook for another 5 minutes.

4.  Add the dry vermouth, salt and pepper to taste, if necessary.  Let the vermouth evaporate for a few minutes, stirring.

5.  Ready to serve.

**NOTE:  Cooking time is very dependent on the type of mushrooms you use.  Some types take longer, and others turn to mush rather quickly.  So you really need to keep an eye on the whole process, especially the first time you make this.  It’s also wonderful to have various tastes and textures by mixing the types of mushrooms you use.  Some will be softer than others, and this adds a depth to the flavor of the whole dish.

ImageImageImageImageImageImageImageImageImageImage

Nancy’s Pumpkin Bread

Image

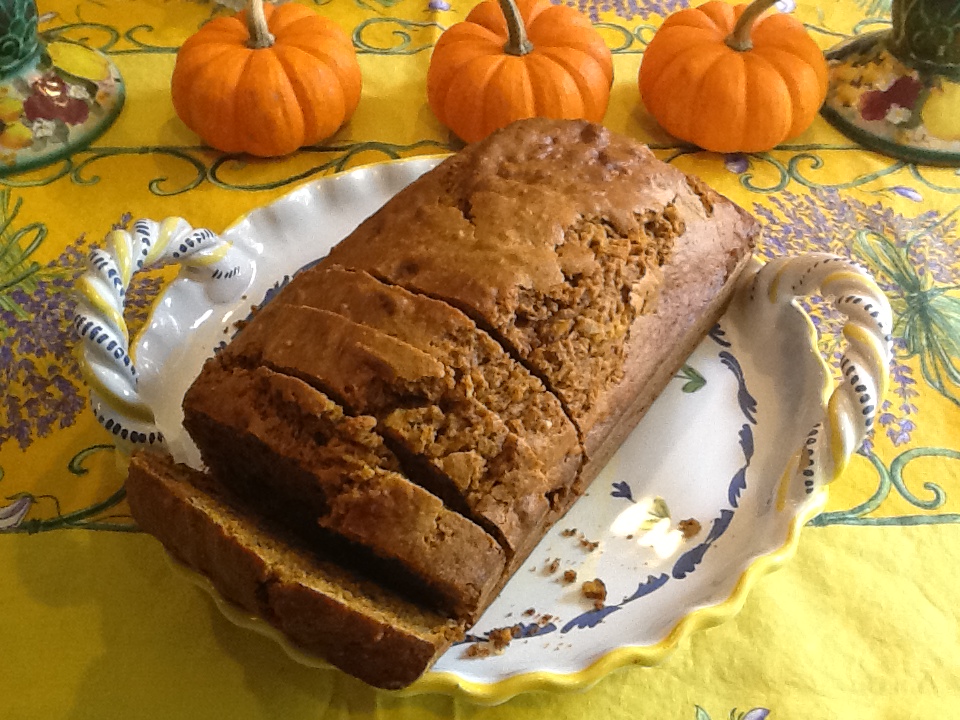
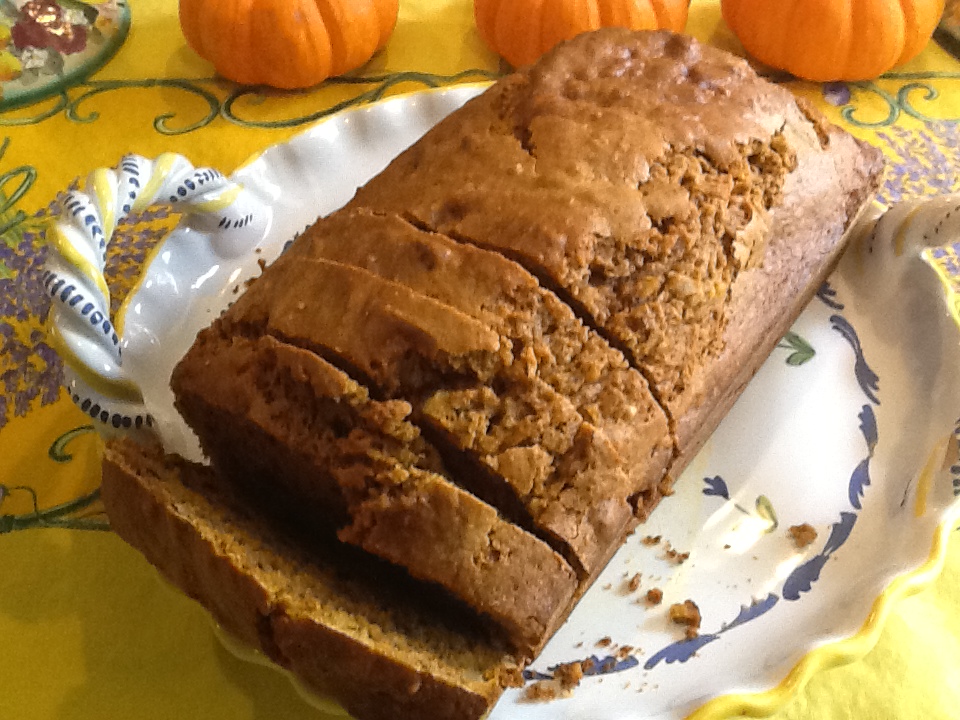
I look back fondly on the years that I spent at home raising my children and cultivating friendships with other women who were in the same position as I was.  There were endless playdates with happy children and their moms.  Great friendships were formed, not only among the children, but among the new moms who were looking for an adult connection of some sort.  Raising children can sometimes be lonely, but once you have established a bond with another mother, life becomes so much easier.  I had such a bond with several women, and yes indeed,  it made my life so much better.  One of the things I remember most about these times, was the constant circulation of recipes.  “Try this, you’ll love it,”  was what we said as we shared our favorite recipes.  I seem to remember that breads and muffins were the recipes that continually circulated amongst us.  I think we felt that we were making healthier treats for our children rather than baking cookies.    Whatever the reason, I was then, and still am now, a lover of breads and muffins.  I have to believe that I have at least 20 plus recipes for all sorts of breads and muffins from my friend Nancy.  She was forever trying a new bran muffin recipe or something just as yummy, and I loved giving each new recipe a try.  This recipe for pumpkin bread is my favorite of hers (but there are some great bran muffin/bread recipes that I promise to share soon).  It is wonderful as a breakfast bread, and is also wonderful served alongside an autumn soup.  With cream cheese or plain, this bread is just delicious.  It is a great accompaniment to Thanksgiving dinner.

I always get a cozy feeling when I make this bread.   The aroma takes me back.   I remember children laughing and playing, and I remember how wonderful it was to have the time to sit back and enjoy friendships with other women raising children.  Those were happy times.  I remember it well.

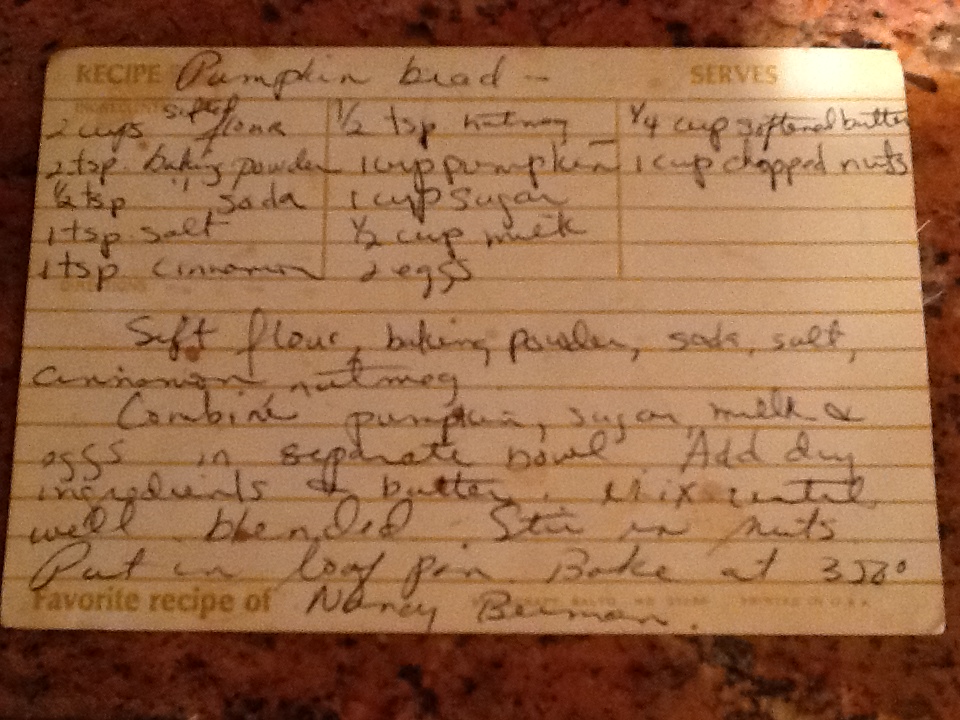
RECIPE:

2 cups sifted flour

2 tsp. baking powder

1/2 tsp baking soda

1 tsp salt

1 tsp cinnamon

1/2 tsp nutmeg, I love to use freshly grated

1 cup canned pumpkin

1 cup sugar

1/2 cup milk

2 eggs

1/4 cup softened butter

1 cup chopped nuts

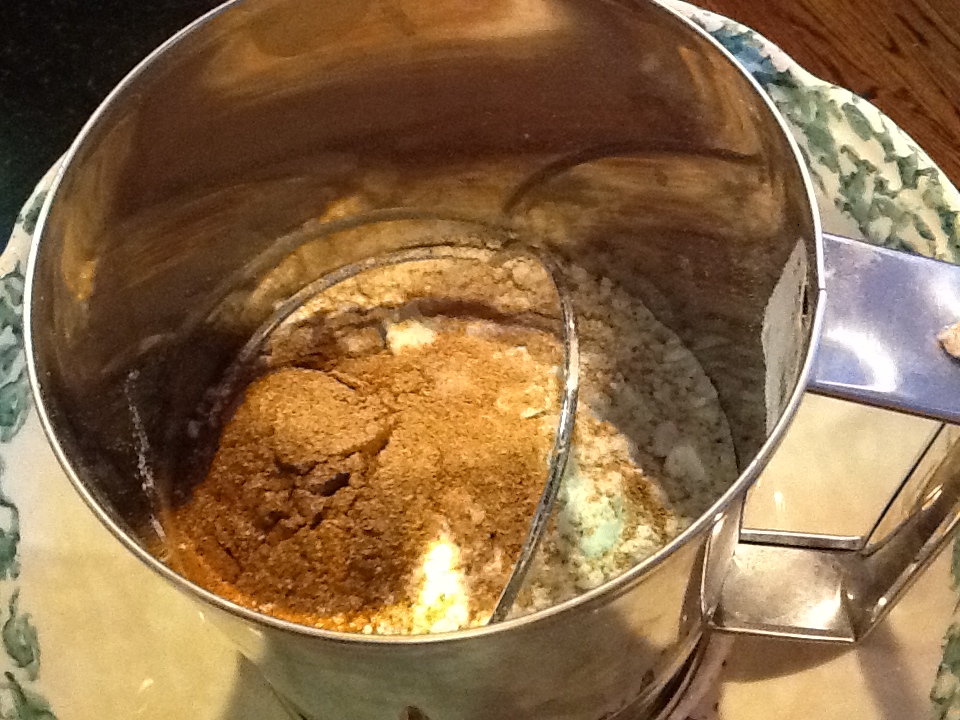
1.  Sift flour, baking powder, baking soda, salt, cinnamon and nutmeg.

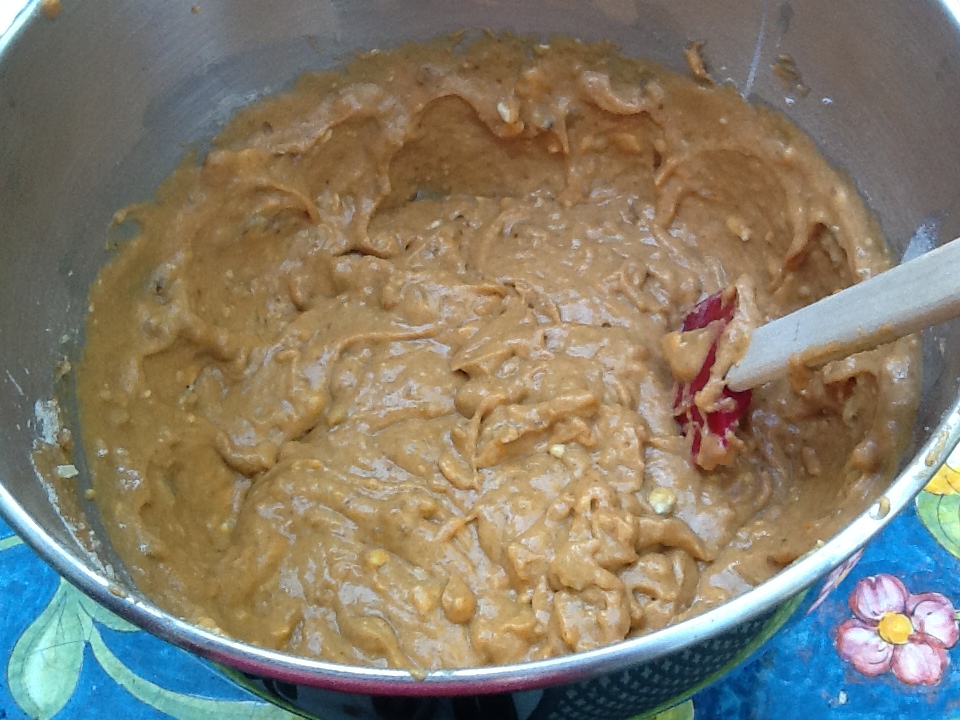
2.  Combine pumpkin, sugar, milk and eggs in separate bowl.  Mix well.

3.  Add dry ingredients and butter. Mix until well blended.  Stir in nuts.

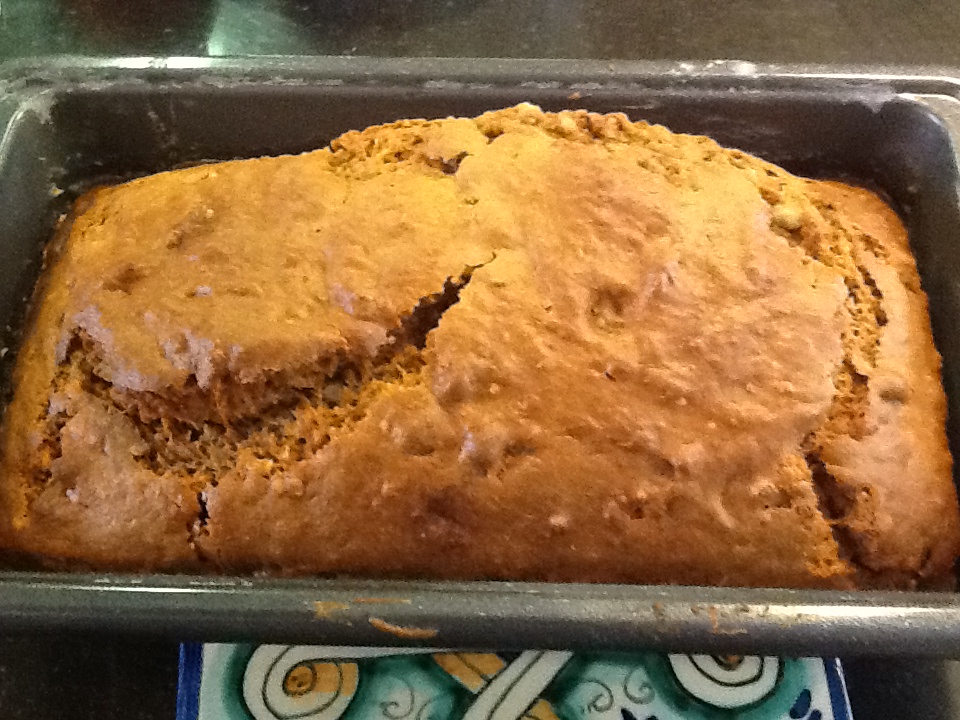
4.  Put in a greased and floured loaf pan.  Bake at 350 degrees for 45 to 50 minutes.  Test with a toothpick to make sure it is cooked through.

Image

Image

Image

Image

Image

Image

Image

Image

Image

Image

Image

Image

Image

ImageImage

Pumpkin Tortelloni with Autumn Vegetables

Image

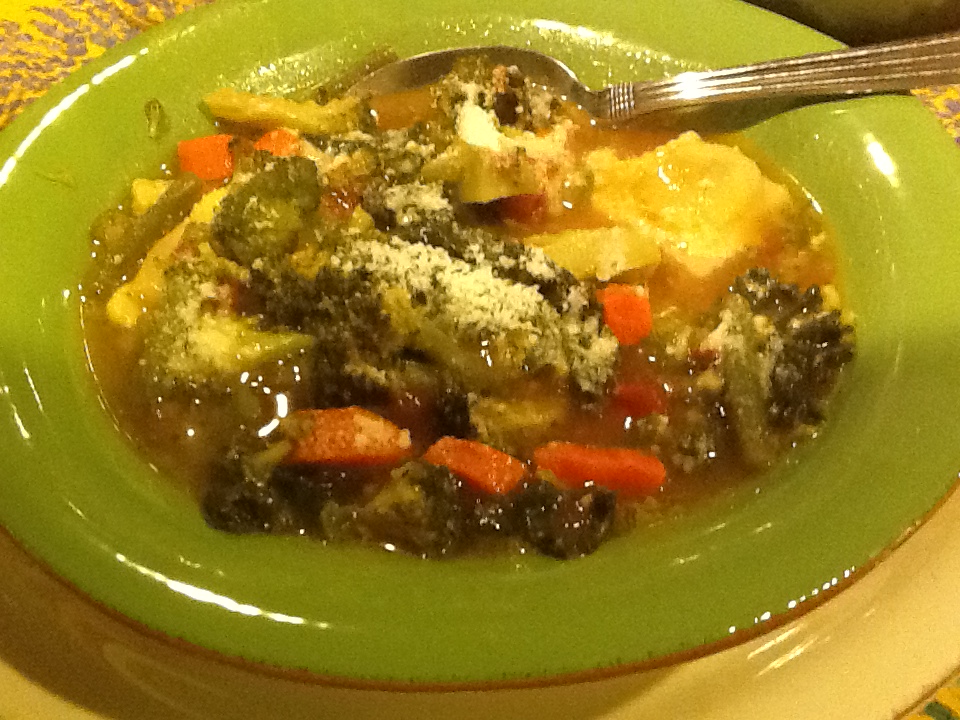
I’m not sure if I should categorize this dish as a soup or as a pasta, but either way, it’s a winner.  This dish saved our family Thanksgiving many years ago.  For the first 25 or so years of my life, we began our Thanksgiving feast as all traditional, old fashioned Italian families do, with Lasagna or “Little Nonni’s Baked Spaghetti (recipe can be found on the blog).  It was always a gastronomic challenge to eat a turkey dinner with all the trimmings after that, but we did.  Once my grandparents were no longer able to join us on Thanksgiving, my mother lightened up the first course considerably. It still had to be pasta, but at least it was less filling.  She would make a delicious chicken broth and then add tortellini to it for a delicious tortellini en brodo, and this became our new family tradition.   I hate to say this, but this got real boring, real fast….at least for me.  Every once in a while, my sister would bring pumpkin tortellini from New York City  (not easy to find anywhere else many years ago), and I was thankful (no pun intended) for the change.  But then one Thanksgiving, a welcomed change occurred.  My sister made this delicious soup of vegetables and pumpkin tortelloni that just screamed “Thanksgiving first course!”   My prayers were answered.  I was ecstatic.  No more tortellini en brodo!.  This could be our new Thanksgiving first course!!  And it was for a few wonderful years, but somehow, we reverted back to tortellini en brodo.  While everyone looks forward to it, I still am bored with it.  But I look on the bright side……I just eat a small bowl, and then there is plenty of room for the big meal.

Whether you try this as  a first course on Thanksgiving or any other day, or you serve it as a meal, which I do often, I think you will enjoy it.  As you will see from the recipe, it doesn’t call for much broth.  I think it was intended to be more of a pasta dish.  I add a lot more broth and make it more of a soup. Give it a try both ways and decide for yourself which way you prefer.  Also try various pumpkin filled pastas.  I love them all…tortelloni, torteliini and tiny ravioli stuffed with a delicious pumpkin filling.  There is a lot of room for personalization with this recipe.  It’s fun to play around with it and make it to your own taste.  Have some fun with it, and enjoy!

*Special Notes.

1.  This recipe says it serves 10, which would be true if you are serving it as a first course and don’t want any leftovers, which, believe me,  you do.

2.  It’s hard to say how many pounds of pasta is needed, as it depends on the the shape and size of the pumpkin-filled pasta you choose.  If you are using tortelloni, you’ll want to have 4 or 5 per person.  With tortellini, you’ll want more since they are smaller. And the ravioli depends on the size.

RECIPE:

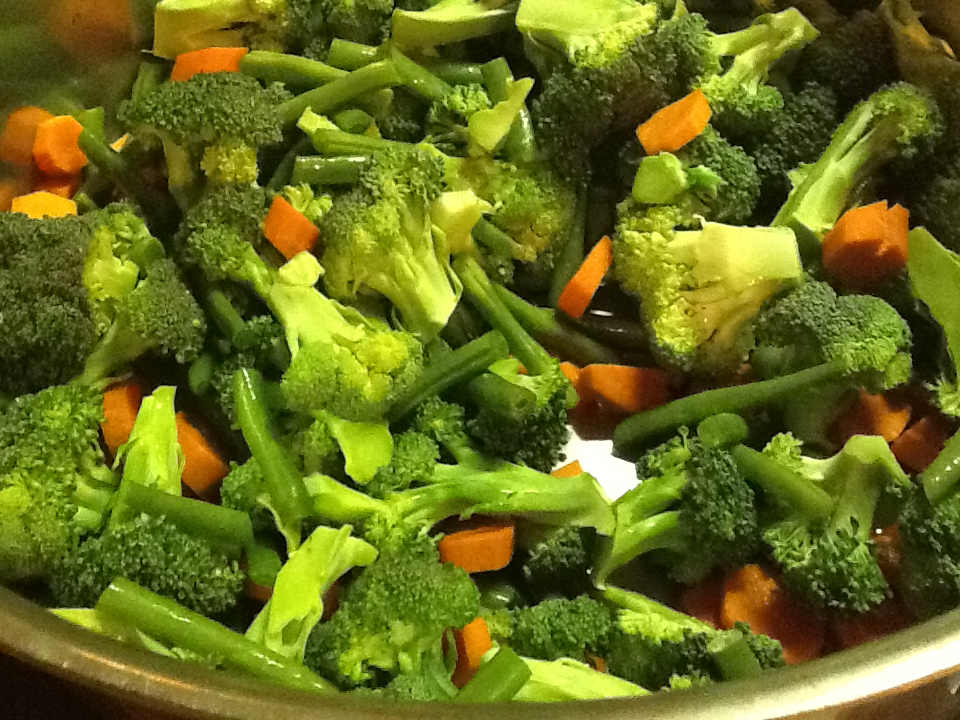
4 carrots, cut crosswise into 1/4 inch slices

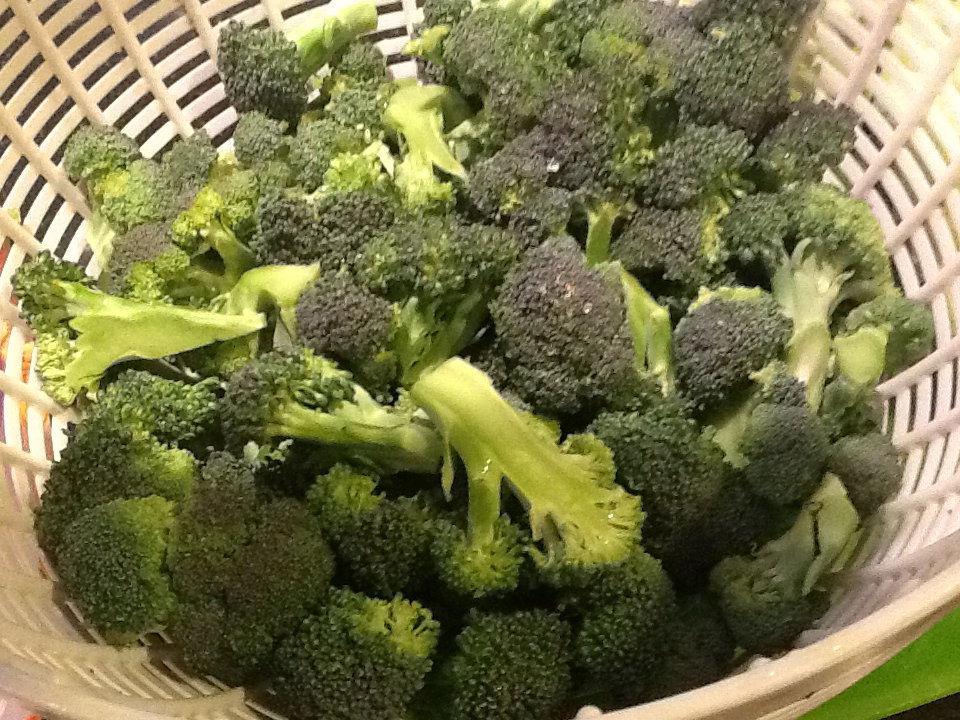
1 pound brocoli, the stems removed and the flowerets cut into 1/2/ inch pieces, about 4 cups.

3 TBSP unsalted butter

2/3 cup olive oil

3 cups chicken broth, but add more for a soupier dish.

1/2 pound green beans, trimmed and cut diagonally into 1/2 inch pieces

1/2 pound (about 6) plum tomatoes, halved and seeded and cut into 1/2 inch lengths.  I prefer Italian canned tomatoes (6), cut or squished.

1/2 cup solid packed canned pumpkin

approximately 1/3 cup freshly grated parmesan cheese

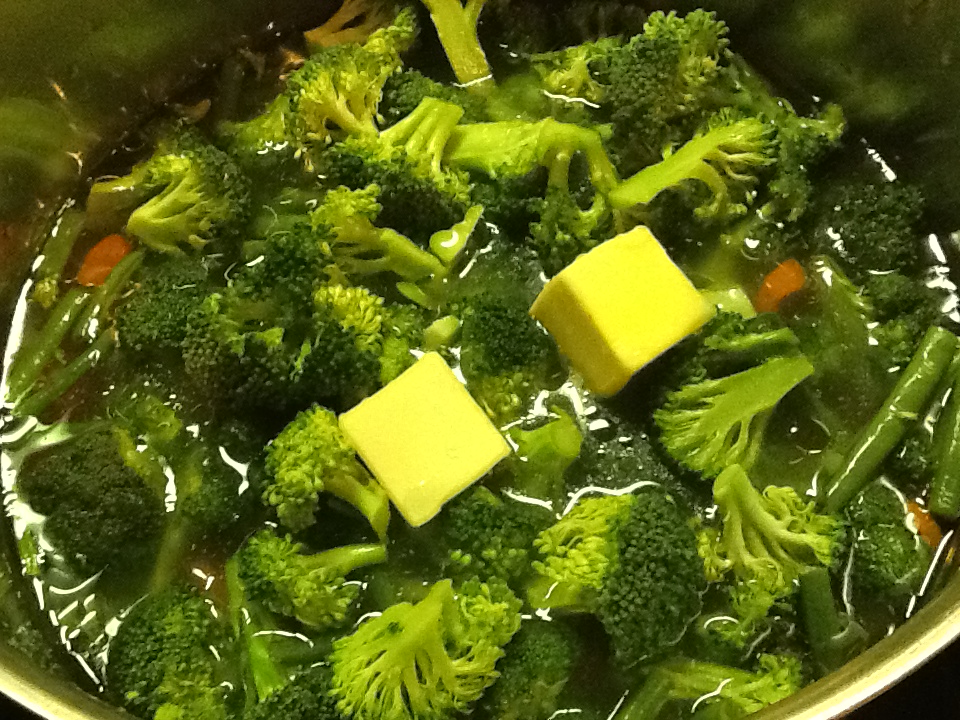
1.  In a large pot combine the carrots, broccoli, green beans, butter, olive oil and broth.  Bring it to a boil and simmer the mixture, covered for 3 minutes until the vegetables are barely tender.

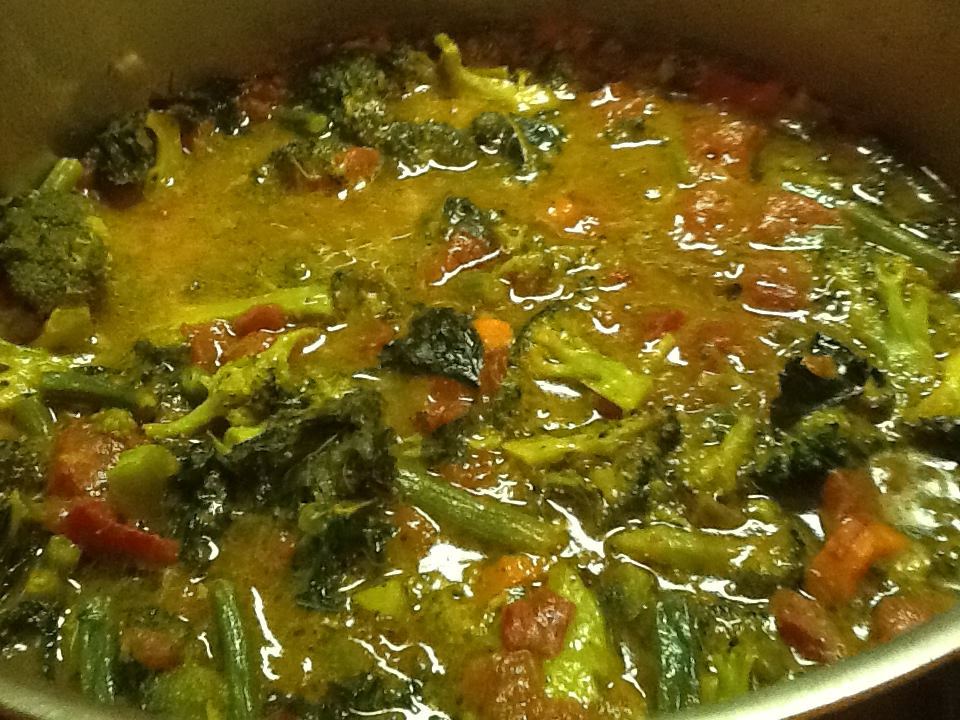
2.  Stir in the tomatoes, pumpkin, salt and pepper to taste.  Return to a simmer, and cook for 7 minutes, or until the vegetables are tender.

3.  While the vegetables are cooking, in a large pot of salted water, cook the tortellini (or pasta of choice) until al dente, and then remove from the heat.

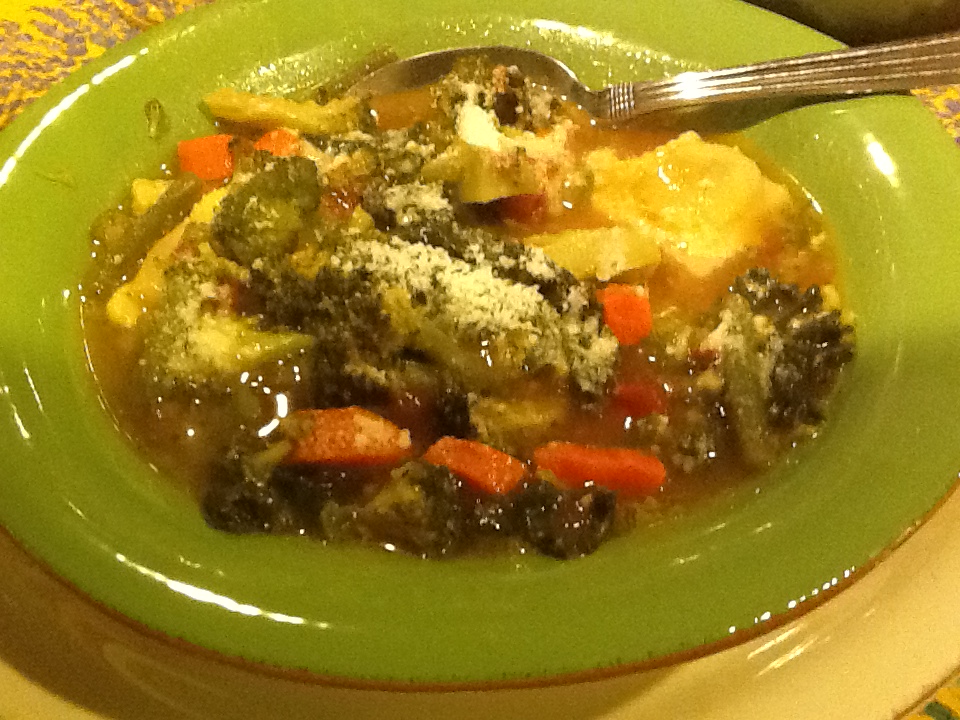
4.  Using a slotted spoon, transfer 4 or 5 tortelloni into each dish, and then spoon the vegetables and broth over them.  Sprinkle each serving with some of the parmesan cheese.

ImageImageImageImageImageImageImageImageImageImageImageImageImage

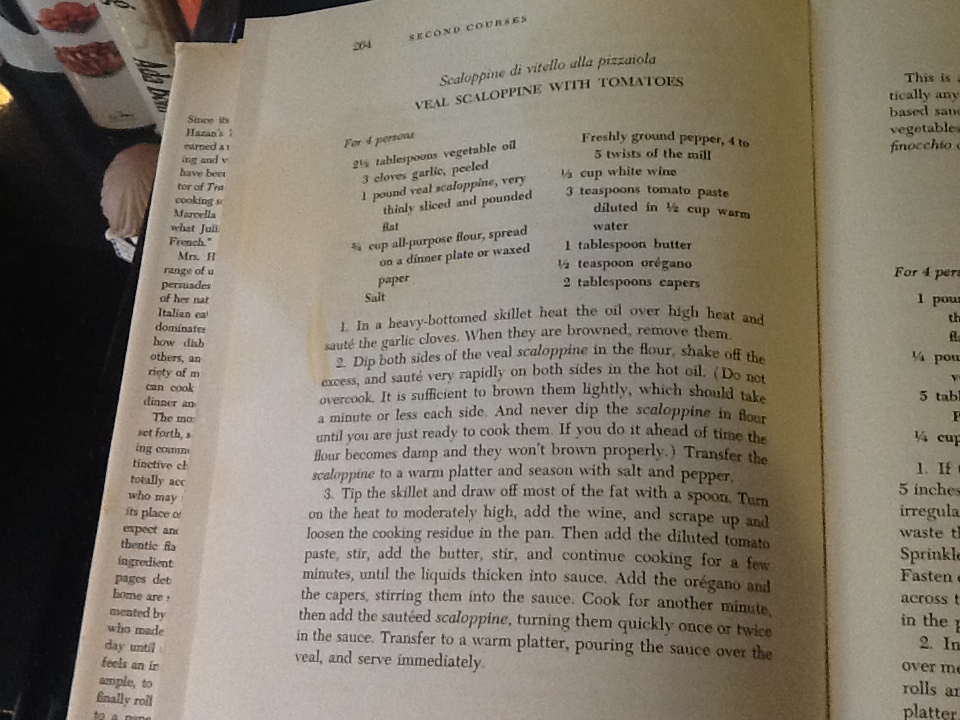
Marcella Hazan’s Veal Scaloppine with Tomatoes

Image

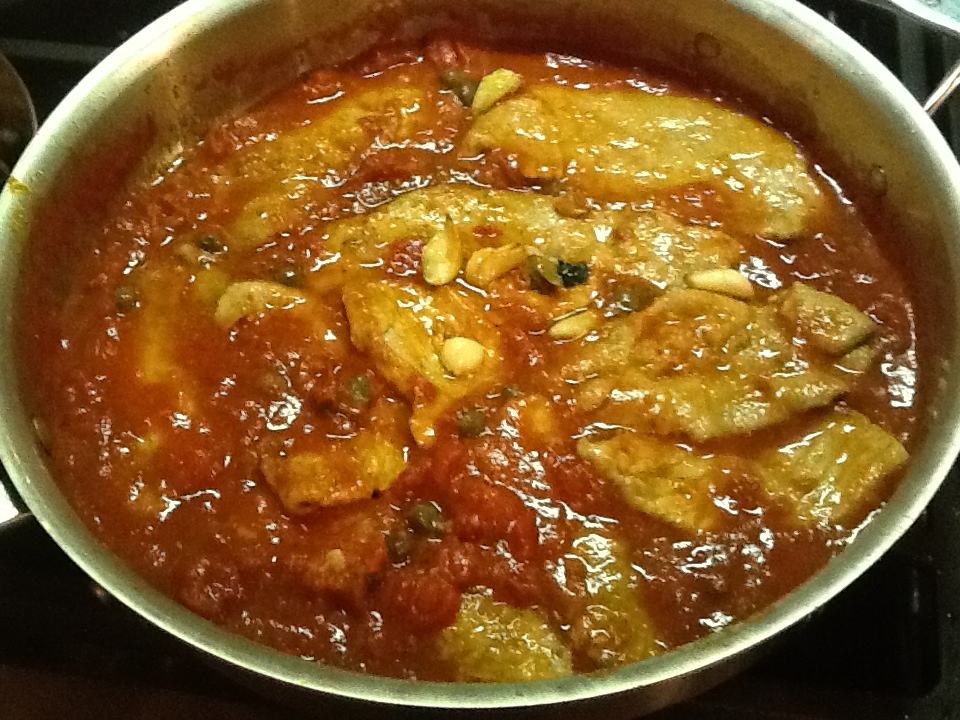
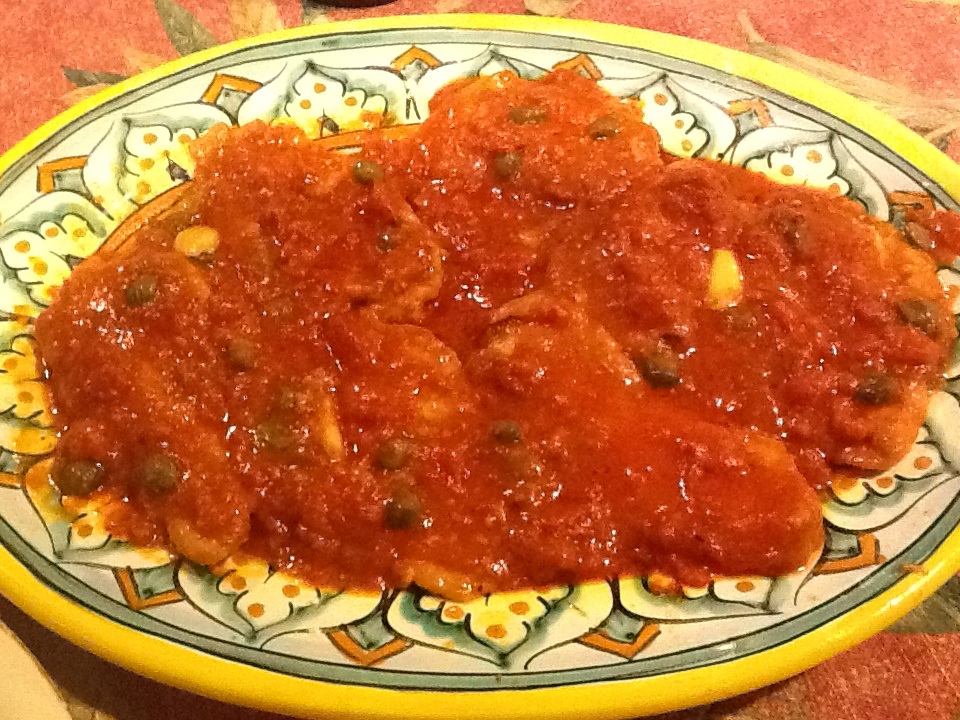
Ever since Marcella Hazan died in late September, I’ve been wanting to post my favorite recipe of her’s, but it wasn’t easy to pick.  My sister gave me her first cookbook, “The Classic Italian Cookbook” in 1980, and I think I spent the next 5 years making almost every recipe in it.  Her recipes are easy,  and they are authentic Italian cooking.  Her cookbooks are credited with introducing the world to the techniques of Italian cooking.  She was a pioneer in this field.  So many of her recipes were dishes that my mother and grandmothers made, but had never written down.  It was so nice to now have exact measurements and instructions for simple dishes like “breaded veal cutlets, Milan style,”  or ‘veal Marsala.”  So how was I going to pick a recipe to share with you?  Well, I went through the book carefully, which in and of itself brought back so many memories, and decided to pick the recipe that was the most stained, therefore, the most used.  The winner was “Veal Scaloppine with Tomatoes.”  My mom made veal in so many different ways, many of which are in this cookbook.  Veal was not as expensive as it is now, so it was a dinner regular in our house.  My mom’s veal parmesan was always a favorite of mine (I will be posting that recipe in the near future), but I find this recipe to be a lighter version of that since there is no frying or cheese.  The tomatoes and capers give the veal a wonderful flavor.

I’ve changed the recipe a bit over the years, and so did she.  She made some alterations to her original recipe in her 1992 cookbook, “Essentials of Classic Italian Cooking.”  The change is ever so slight, and that’s what I’ll be sharing here with you.  These two cookbooks are great additions to any collection.  I’m so happy I have them.  My only regret is that I never attended one of her cooking classes or demonstrations over the years and had them signed.  She did so much for Italian cuisine, and Italian home cooking.

For a real treat, read her memoir, “Armacord.”  You will be amazed at her story of how her life’s circumstances brought her from a childhood in a small town in Emiglia Romagna, Italy,  to becoming the world’s “godmother” of Italian cooking.

RECIPE:  4 servings

1 pound veal scaloppine, very thinly sliced and pounded flat

2 1/2  TBSP. olive oil

3 cloves garlic, peeled and smashed or halved

3/4 cup flour, spread on a dinner plate or waxed paper

salt

freshly ground black pepper

1/3 cup dry white wine

2/3 cup canned imported Italian peeled, plum tomatoes, chopped with their juice

1 TBSP butter

1 tsp. dried oregano

2 TBSP capers, rinsed well

1.  Put the oil and garlic in a skillet, turn on the heat to medium, and cook the garlic until it becomes a light nut brown.  Remove it from the pan and discard it.

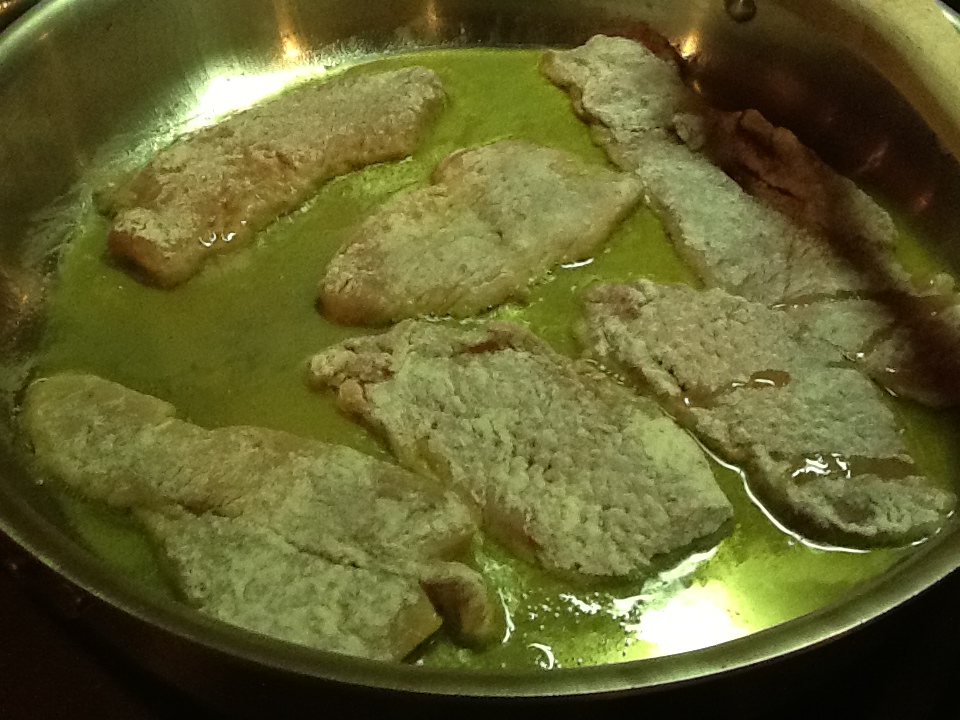
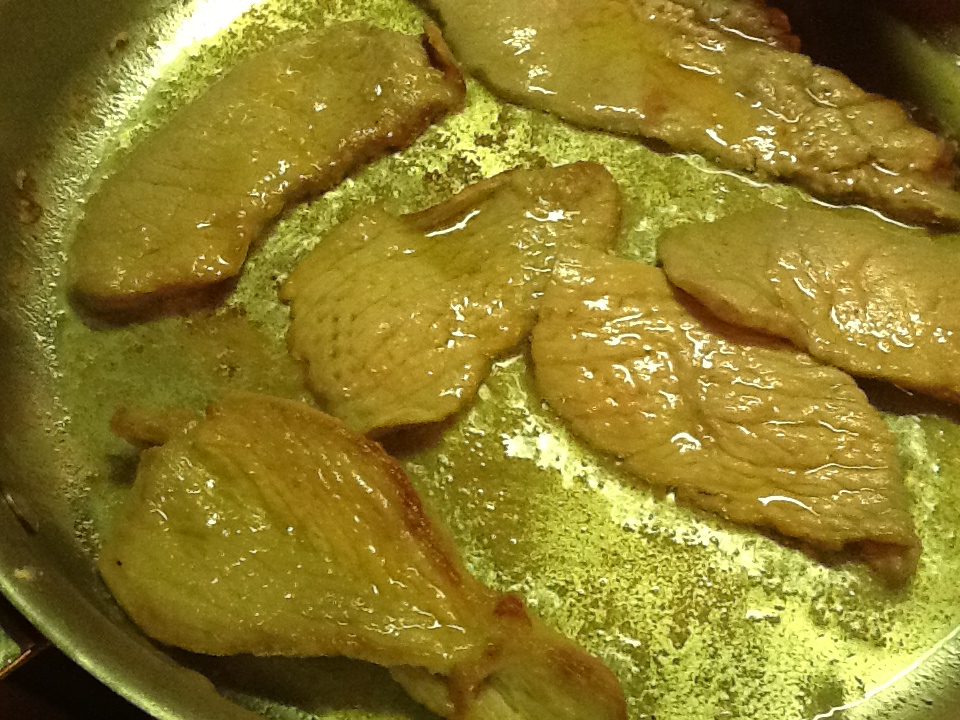
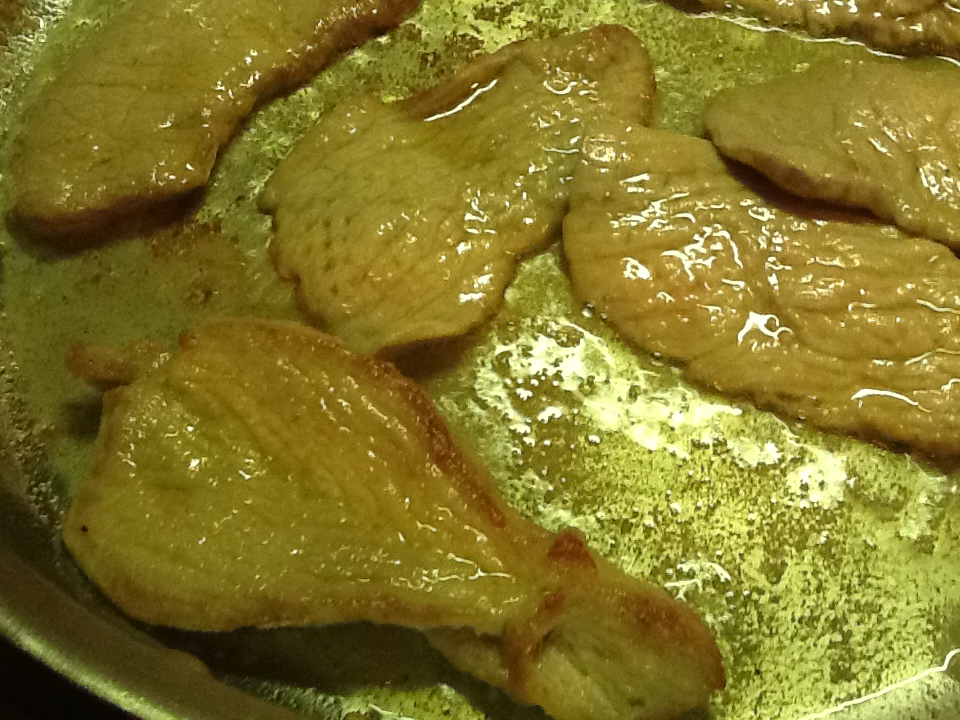
2.  Turn up the heat to medium high.  Dredge the scaloppine in flour, by dipping both sides in the flour and shaking off the excess.  Saute the veal very rapidly on both sides in the hot oil.  Do not overcook.  It is sufficient to brown them lightly, which should take a minute or so on each side.  Never dip the scaloppine in the flour until you are ready to cook them or it will not brown properly.  (Marcella’s cookbooks taught me this……and it is absolutely correct!).

3.  Transfer the scaloppine to a warm platter and season with salt and pepper.

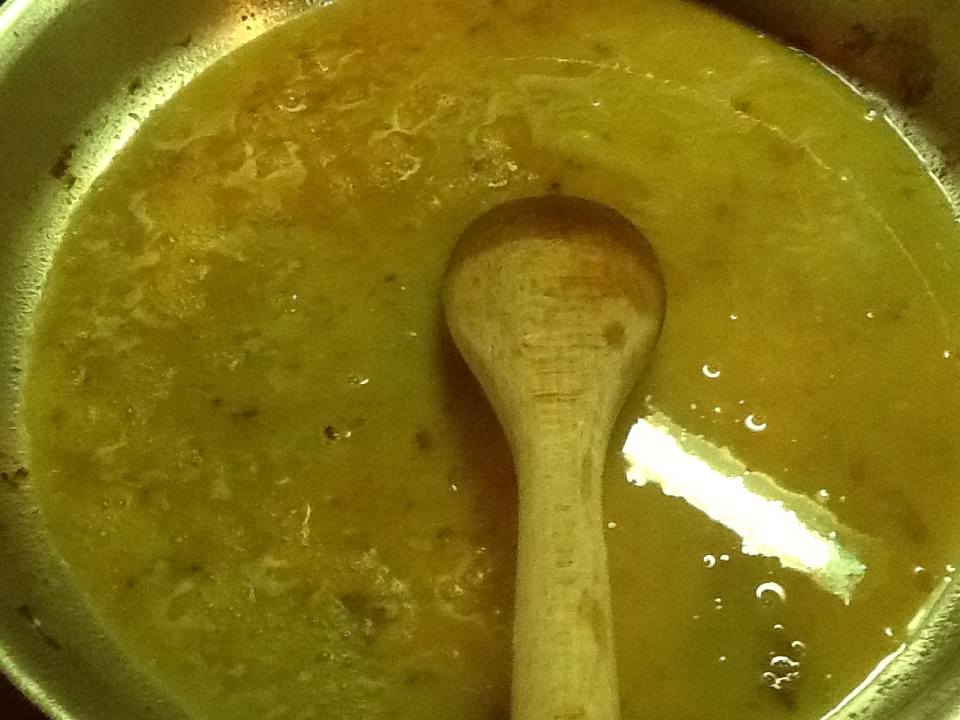
4.  Over medium-high heat, add the wine, and while the wine simmers, use a wooden spoon to loosen all cooking residues on the bottom and sides of the pan.  Add the chopped tomatoes with their juice, stirring to coat well.  Then add the butter and any juices that the scaloppine may have shed on the platter.  Stir and adjust heat to cook at a steady, but gentle simmer.

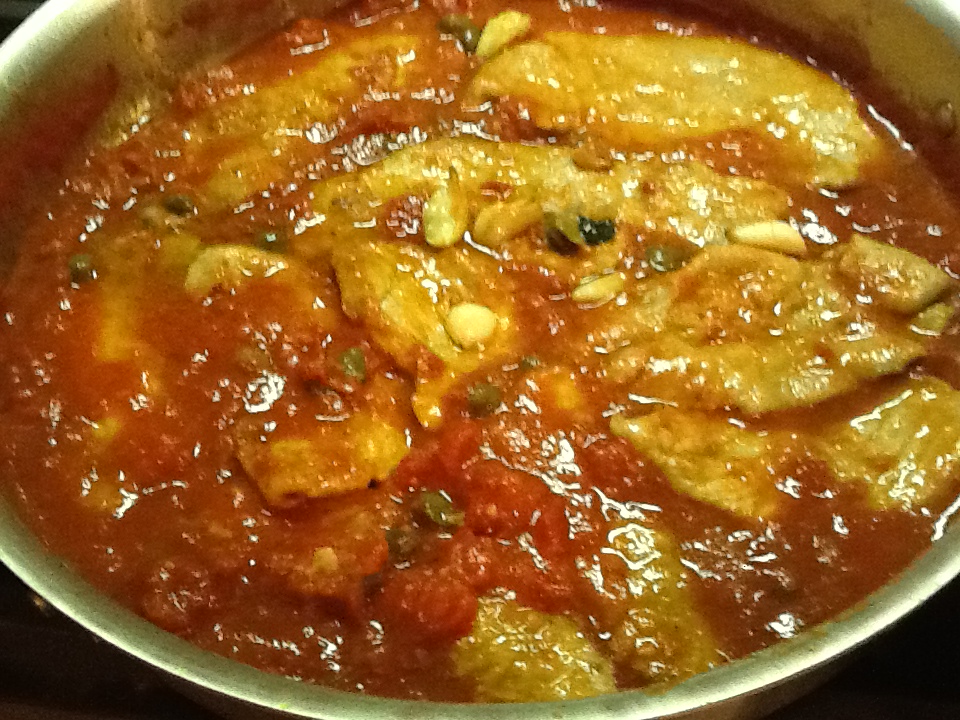
5.  In 15 or 20 minutes, when the fat floats free of the tomatoes, add the oregano and capers and stir thoroughly.  Return the scaloppine to the pan and turn them once or twice in the tomato sauce for about a minute until they are warm again.

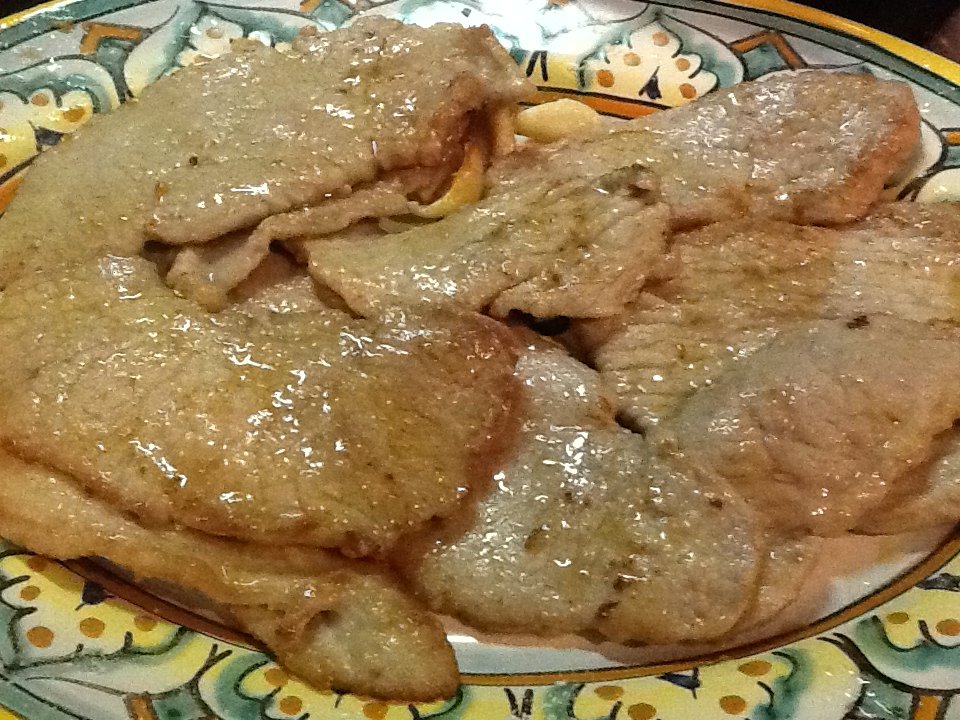
6. Turn out the entire contents of the pan onto a warm platter and serve at once.

** Marcella recommends that you serve this with a sautéed green vegetable…….and I always do!

Image

Image

Image

Image

Image

Image

Image

Image

ImageImage

ImageImage

Image

Image

Pavlova (Meringue and Fruit)

Image

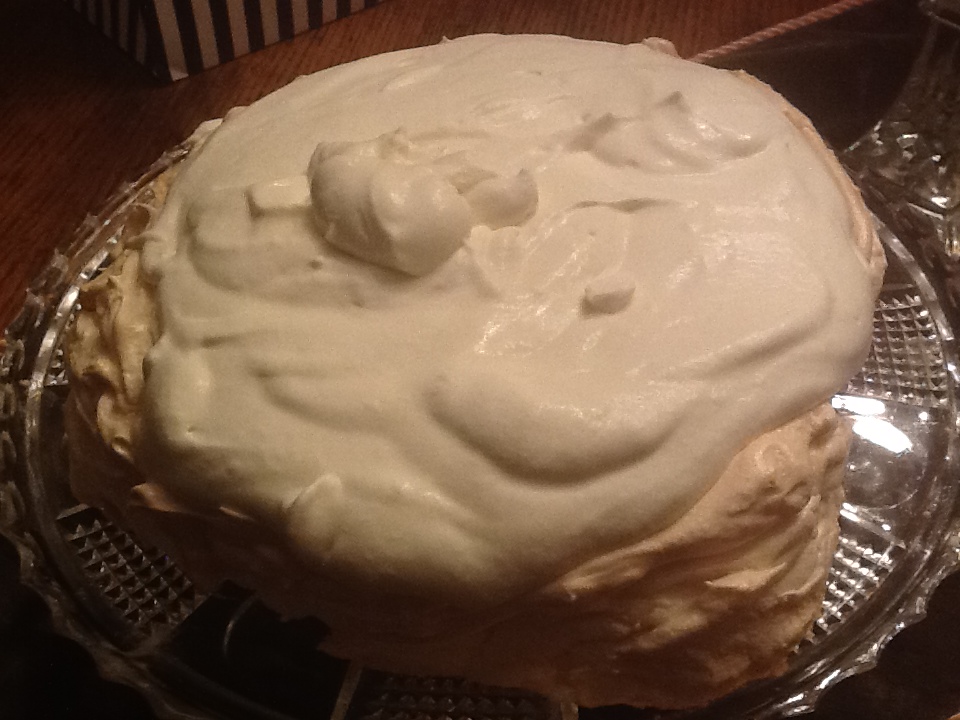
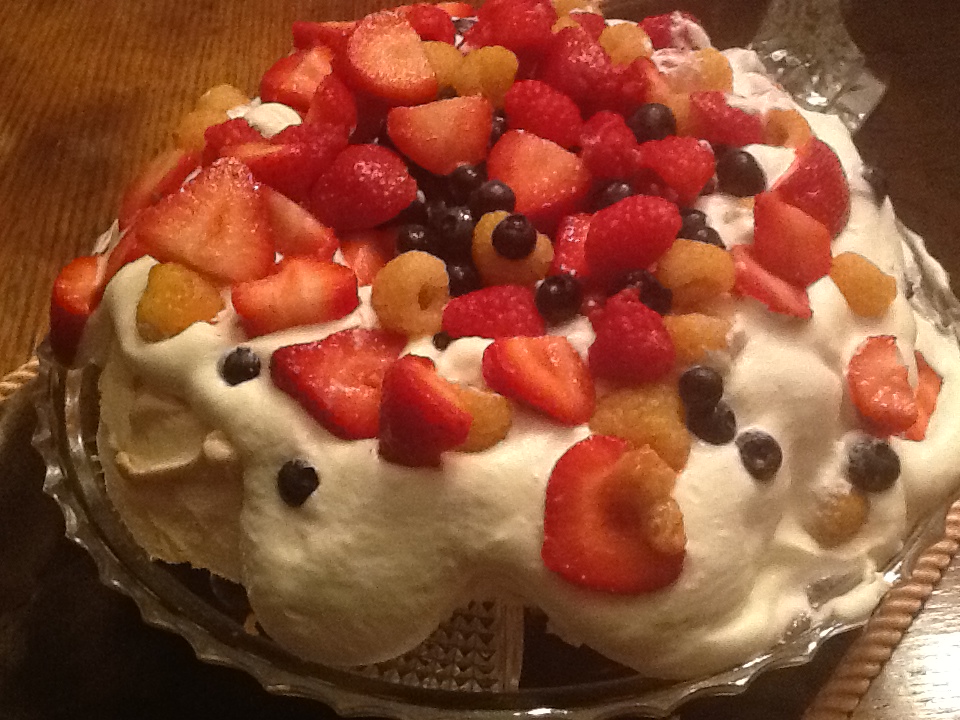
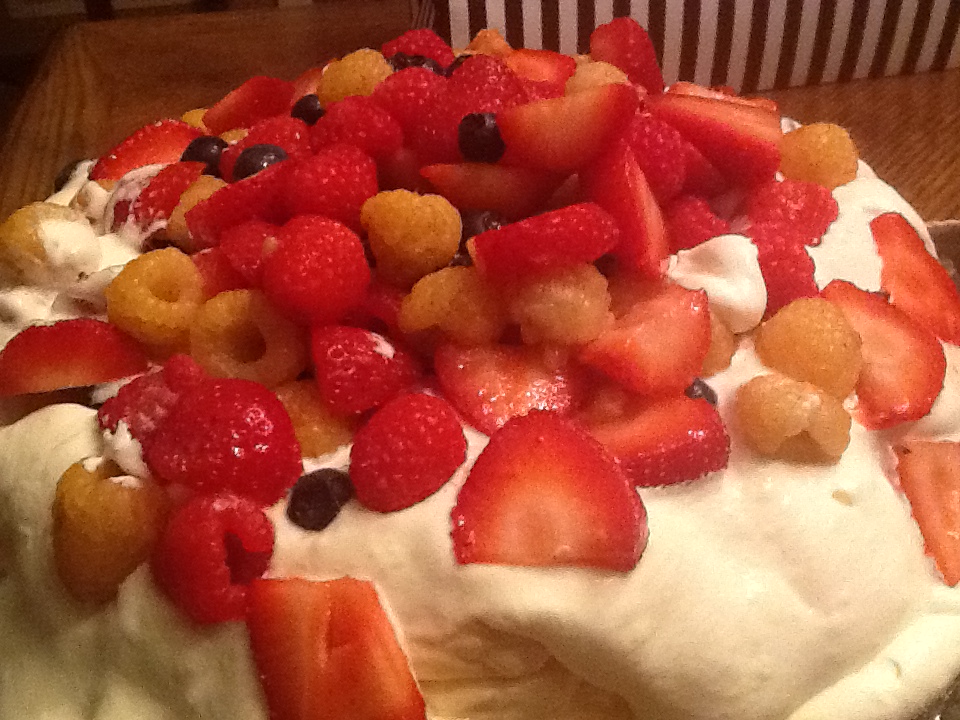
I generally make Pavlova in the summer when I can use local, fresh fruit, but I tend to feel the need for this “slice of summer” all year round.  Just when you think you can’t eat another piece of apple pie or apple crisp (do check out my recipe for this), pavlova saves the day.  It is light , sweet, and bursting with fruit flavors of your choice.   I’ve made it using almost every fruit imaginable, but I seem to always come back to using berries.  You can also add some cocoa and turn this into a chocolate meringue.  Raspberries and cream on top of the chocolate meringue is just heavenly.  I love the versatility of this dessert, especially since I have been making it for 25 plus years.

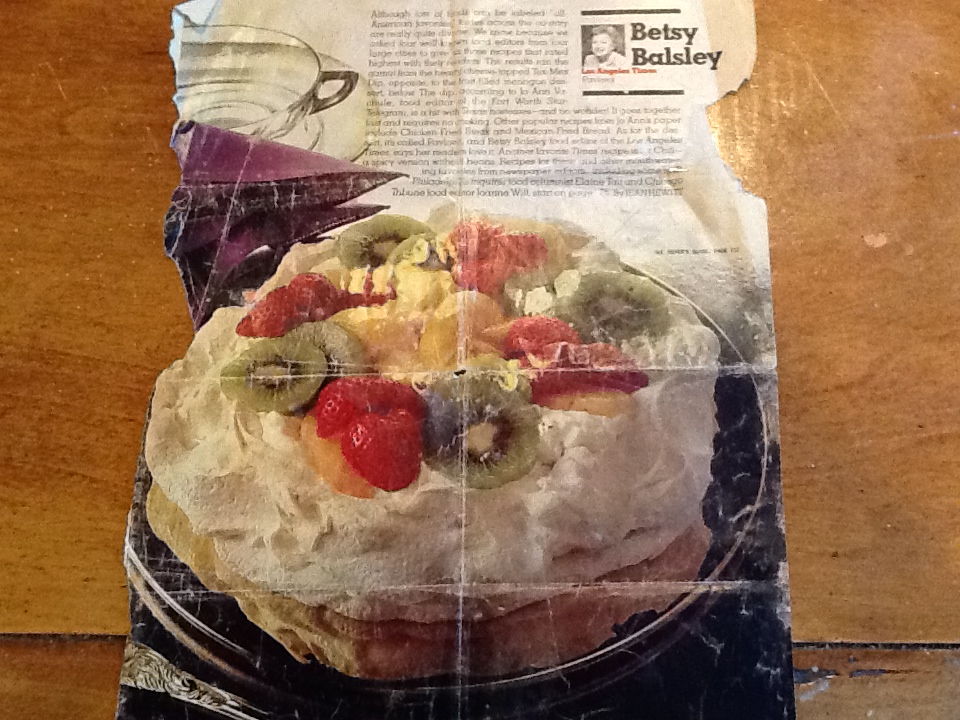
25 years ago, my baking capabilities consisted of cookies, breads and muffins.  I always kept it simple.   Attempting to make a dessert I had never even heard of,  was a bit challenging.  In February of 1981, I saw this picture and recipe for pavlova in “Family Circle Magazine” ( did I really read that magazine?!), and I tore it out in hopes that I would get up the courage to give it a try.  The opportunity presented itself a few months later when we were having some friends over for dinner. As I have mentioned before, the early 80s was a time for “at home” entertaining as we, and our circle of friends, all had children and were “house poor.”  Going out to dinner was expensive, especially when you added in the cost of the baby-sitter.   Entertaining was a bit more formal then.  It was a thrill to take out the “good china, crystal and silverware that you had received as wedding gifts.  We did entertain casually as well, but this pavlova required some fanfare.  So out came the fancy stuff in the hope that I could pull off this elegant dessert.  Now I tend to serve it at our summertime barbecues.  Times change.

Over the years, I lost the original recipe for this, and only have the picture from “Family Circle Magazine.”  I used to duplicate this picture exactly until I got up the nerve, many years later, to try different fruits.  Oh yes, you could say I didn’t have a lot of baking confidence back then.   I found another recipe for the meringue and then just started to use my imagination and try other fruits.  I will give you the basic recipe for pavlova, and then I will give you some of my fruit suggestions.  I encourage you to use the fruit you love best ( but definitely not apples or pears or anything that crunchy).   Serve it on a fancy cake plate or plop it on a paper plate.  Either way, it can’t miss.

RECIPE:

7 large egg whites, at room temperature ( a tip my mother taught me)

1/8 tsp. salt

1 1/4 cups granulated sugar

1 TBSP cornstarch

1 1/4 TBSP distilled white vinegar

(** add 1/2 cup cocoa, sifted for chocolate meringue)

1 1/2 cups heavy cream

1 tsp vanilla

2 TBSP fresh lime juice*

3 TBSP granulated sugar*

Fruit of choice:

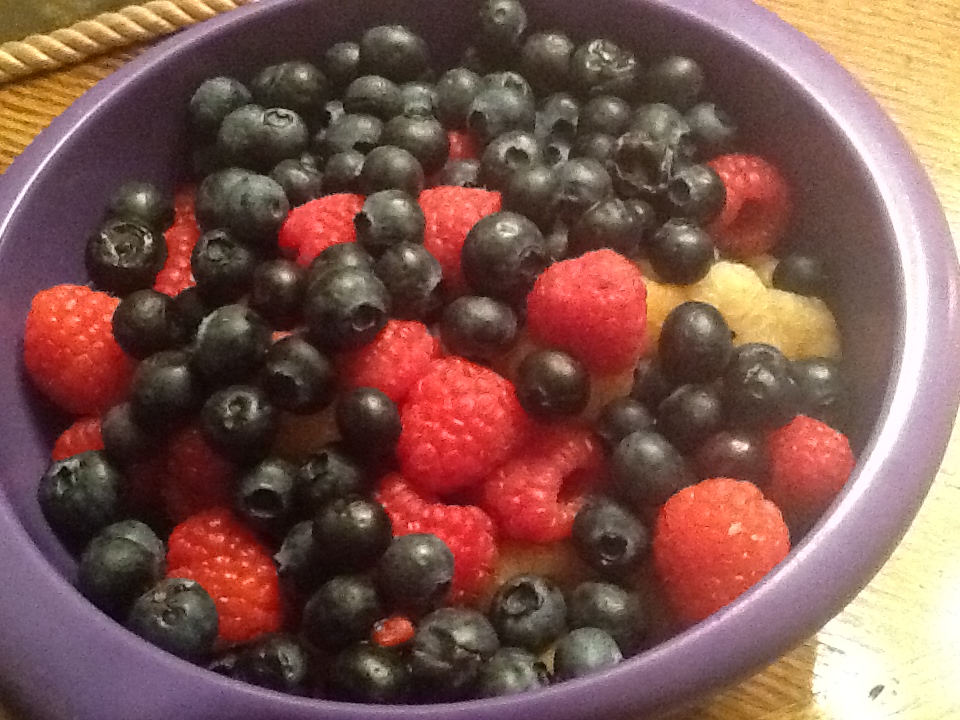
1.  Mixture of berries… raspberries (red and yellow), blueberries, blackberries and sliced strawberries.

2.  Sliced kiwi, sliced strawberries, canned mandarin oranges, sliced banana.

3.  If using a chocolate meringue, I use only red raspberries  and then shave dark chocolate on top.

To make meringue:

1.  Preheat oven to 350 degrees.  Line a large baking sheet with parchment paper.

2.  Beat the egg whites in a metal bowl with salt in a standing electric mixture until they hold soft peaks.  Beat in the granulated sugar and continue beating until mixture holds stiff, glossy peaks. Beat in the cornstarch and then the vinegar.

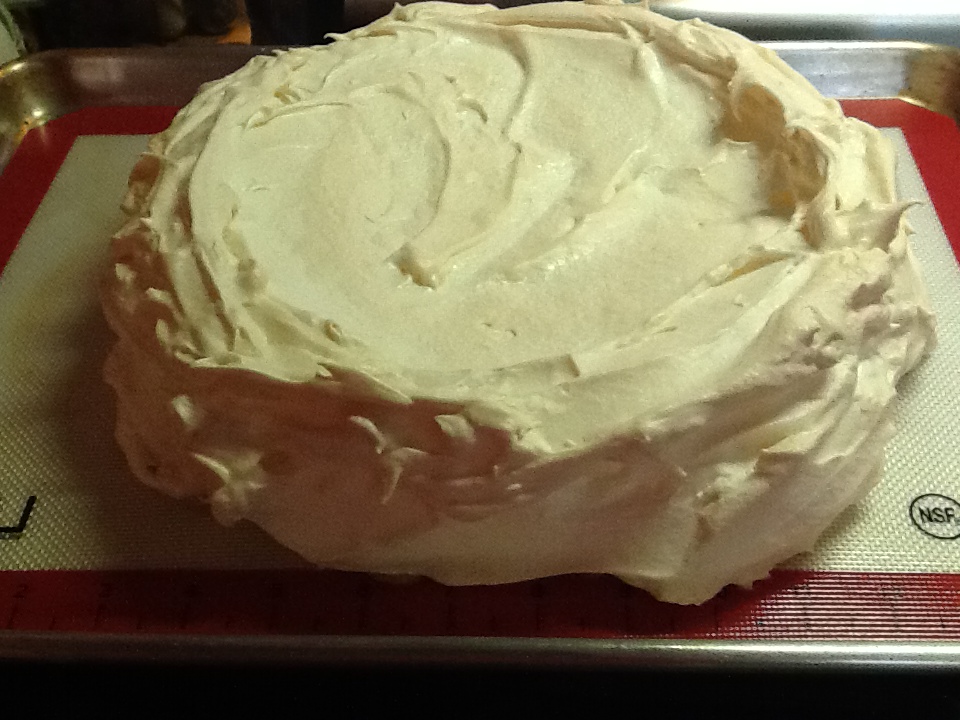
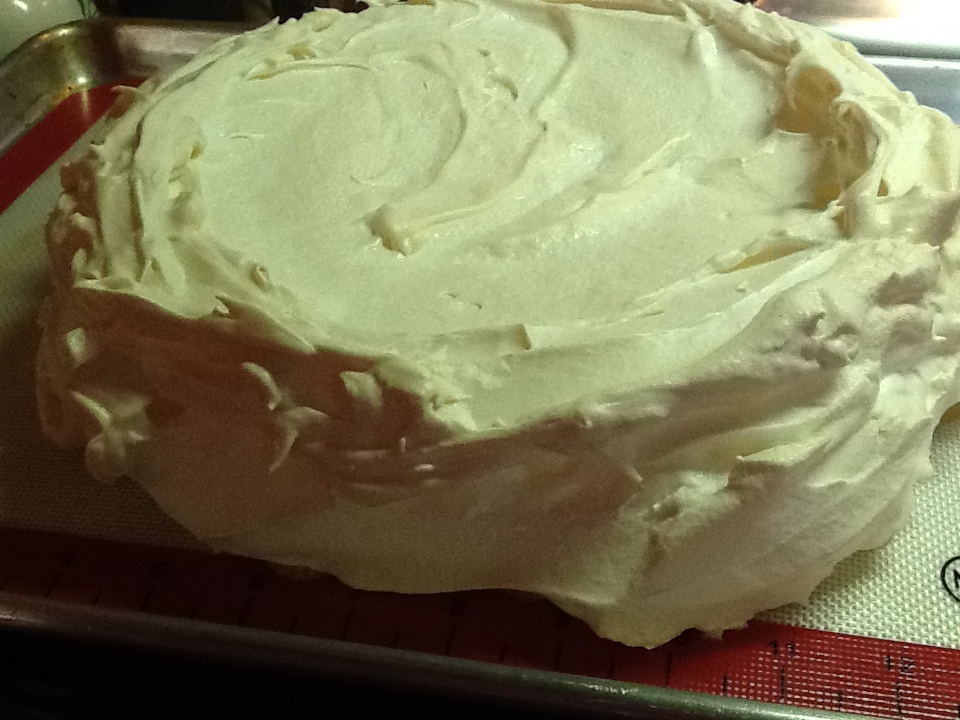
3.  Spoon the egg whites onto the parchment paper in a circle measuring approximately 9 inches round.  Use the back of a spoon to smooth the top and the sides.  I like to make the sides a little higher so you can fill up the middle with the whip cream.

4.  Bake in the center of the oven for 10 minutes, then reduce the heat to 300 degrees. Bake until the meringue has puffed up and cracked on the top and is lightly browned browned, about 45 minutes more.  Turn off the oven, prop the oven door open and let the Pavlova cool in the oven for least 30 minutes more.  Then transfer to plate to cool completely.  *  Don’t cool completely on the parchment paper, or it may stick.

Assembling the Pavlova:

1.  If using berries only, toss with the lime juice and sugar and let sit for 10 minutes.  This is optional.

2.  Beat cream with vanilla and 1 TBSP granulated sugar until nicely whipped.

3.  Mound the whipped cream all over the top of the meringue.  Top with the berries, or fruit selection of your choice.

4.  To serve, slice into wedges, using a serrate knife.

ImageImage

Image

Image

Image

Image

Image