Pumpkin Oatmeal Cookies

Image

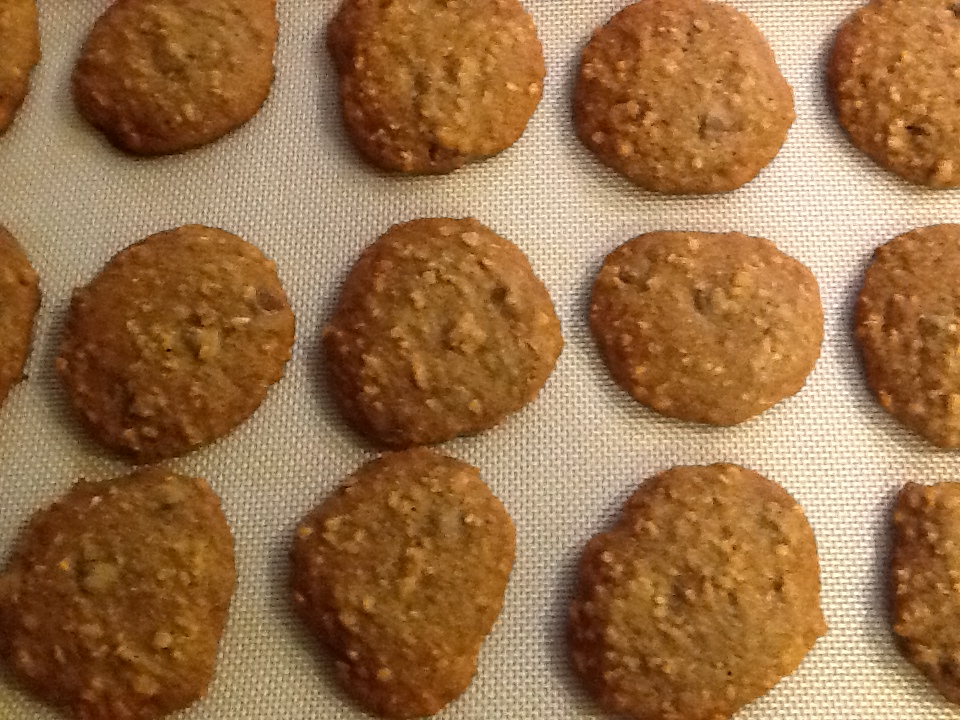
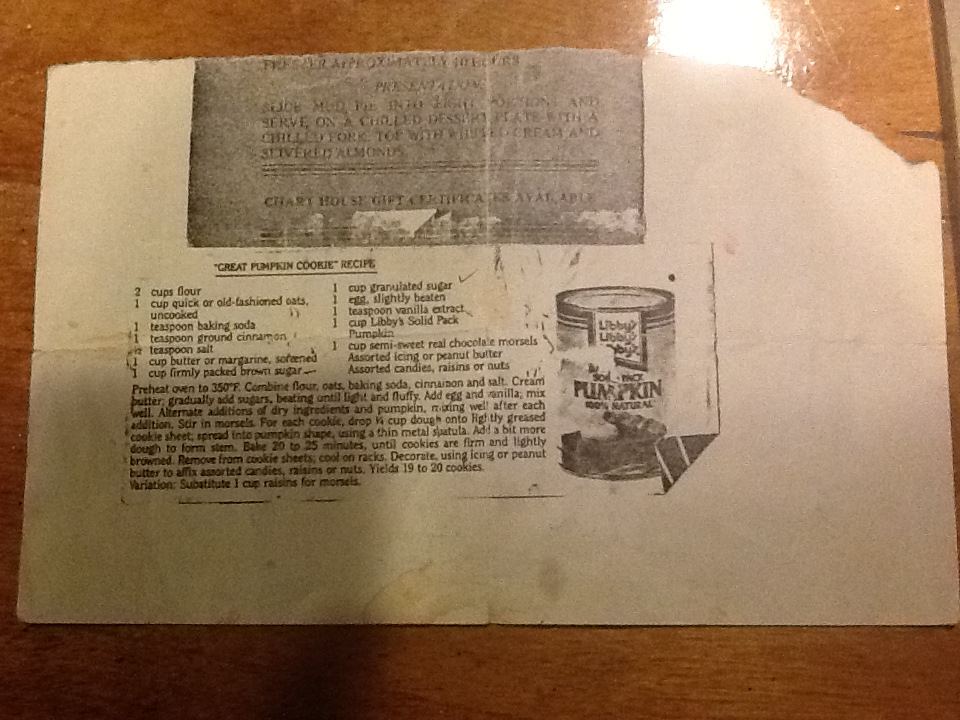
When October arrives, and Halloween is everywhere, I start to dream about these pumpkin cookies and look for any excuse to make them.  I’ve been making them at this time of year for 25 plus years.  And I only make them at this time of year because I cannot control myself.  They are just that delicious!  In 1986, I was teaching nursery school, and I was always looking for something easy to bake with the children, so they could participate in the process in some manner.  I had a wonderful teachers’ aide at the time, and she brought in this recipe that she had found in a magazine advertising Libby’s canned pumpkin.  The fact that two of the ingredients were pumpkin and oats made it seem somewhat healthy.  The kids loved the cookies, and we sent everyone home with some to share with their family.   Every mom asked for the recipe.  I came home and made them for my children and they have been a big hit in our family ever since.  My grown children look for these cookies every fall.  I just have to oblige!

You can make this recipe as simple as you want, or you can shape them into pumpkins and decorate them with candy and icing.  Over the years, as my children got older,  I got lazier and lazier, and just plopped the batter on a cookie sheet.  But now that there are grandchildren,  I’ve gotten a little fancier.  I usually make half the batter as plain cookies, and then simply decorate the pumpkin shaped cookies with chocolate chips to form a face like a jack-o-lantern.  I’m sure you can come up with many ways to decorate these cookies and make them into a great Halloween treat.  But honestly, they don’t need a thing to be absolutely scrumptious!

RECIPE:  makes about 20 cookies

2 cups flour

1 cup quick or old fashioned oats, uncooked.  I’ve always used quick oats

1 tsp baking soda

1 tsp ground cinnamon

1/2 tsp salt

1 cup butter, softened

1 cup firmly packed brown sugar

1 cup granulated sugar

1 egg, slightly beaten

1 tsp vanilla extract

1 cup Libby’s solid packed pumpkin

1 cup semi-sweet real chocolate morsels

For decorating:  more chocolate chips, icing, candy, raisons, peanut butter, etc.

1. Preheat over to 350 degrees

2. Combine flour, oats, baking soda, cinnamon and salt in a bowl.

3.  Cream butter.  Gradually add sugars, beating until light and fluffy.

4.  Add egg and vanilla and mix well.

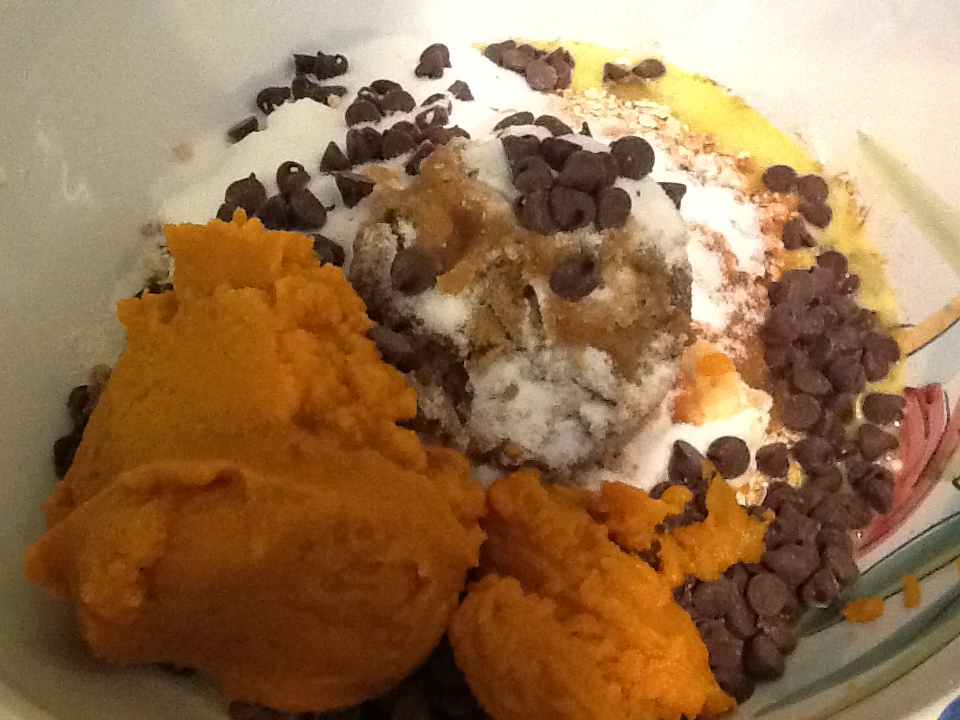
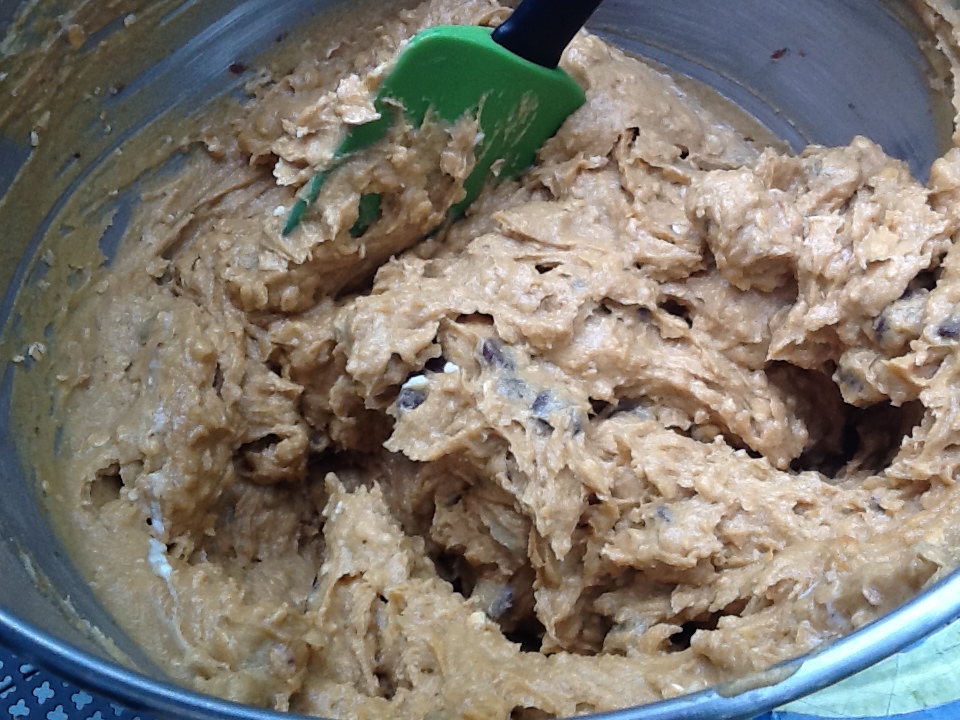
5.  Alternate additions of dry ingredients and pumpkin, mixing well after each addition.

6.  Stir in chocolate morsels.

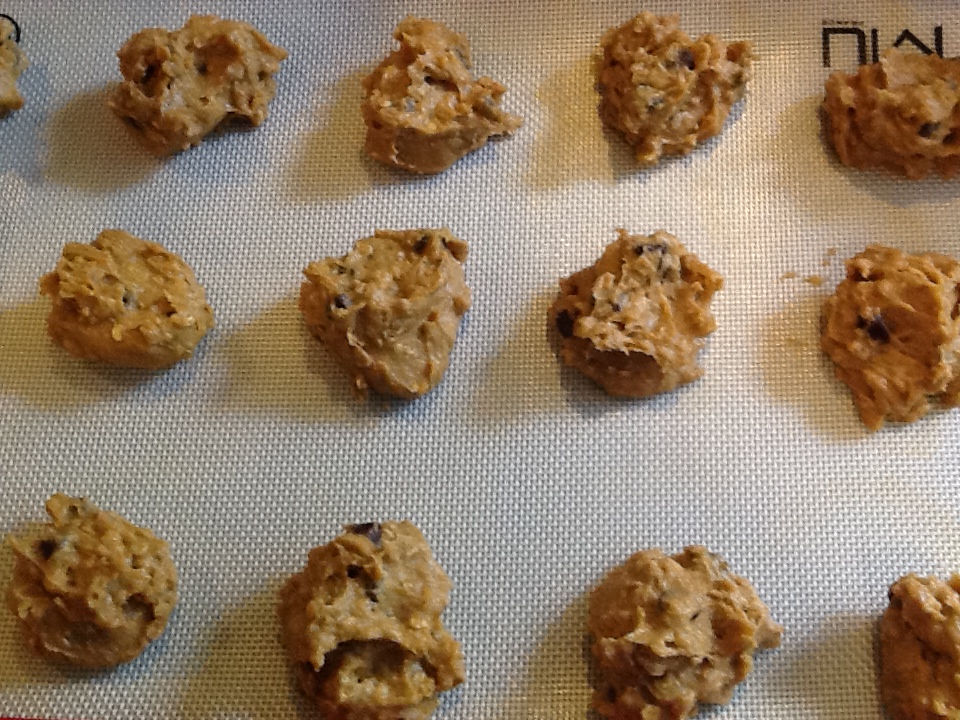
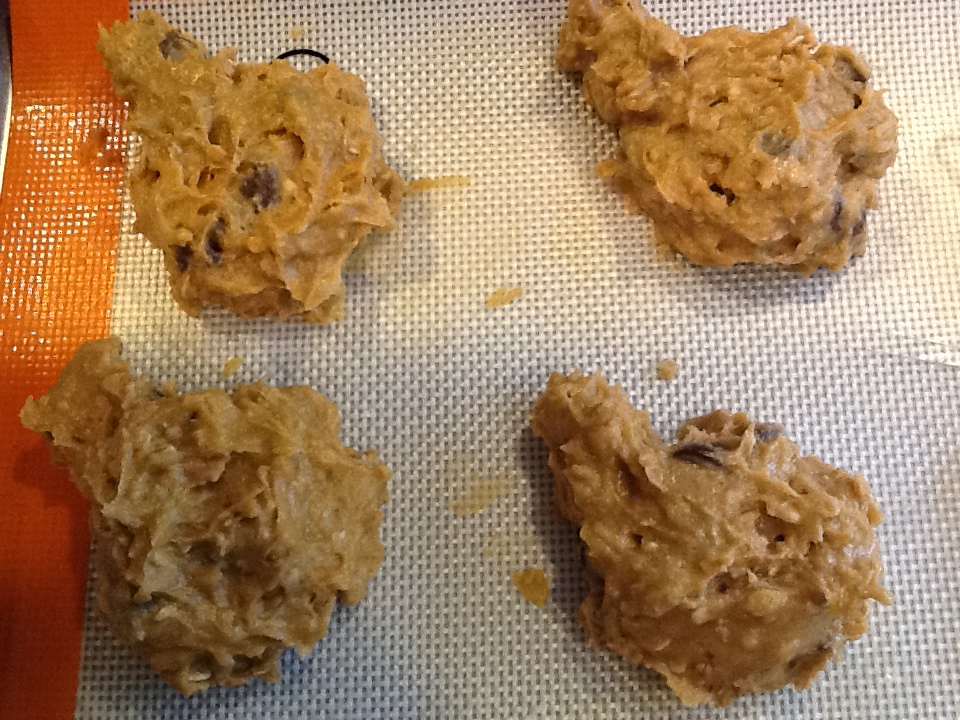
7. For each cookie, drip approximately 1/4 cup cookie dough onto a lightly greased cookie sheet.  I use a heaping tablespoonful, but you can make these whatever size you like.  Spread into a pumpkin shape using a small metal spatula or back or a spoon.  Add a bit more dough to form a stem.

8.  Bake for 20 to 25 minutes, until cookies are firm and lightly browned.

9.  Remove from cookie sheets and cool on racks.

10.  Once cool, decorate using candies, icing or what ever you like.

Image

Image

Image

Image

Image

Image

Image

Image

Image

Image

Image

Image

Image

Image

Image

Image

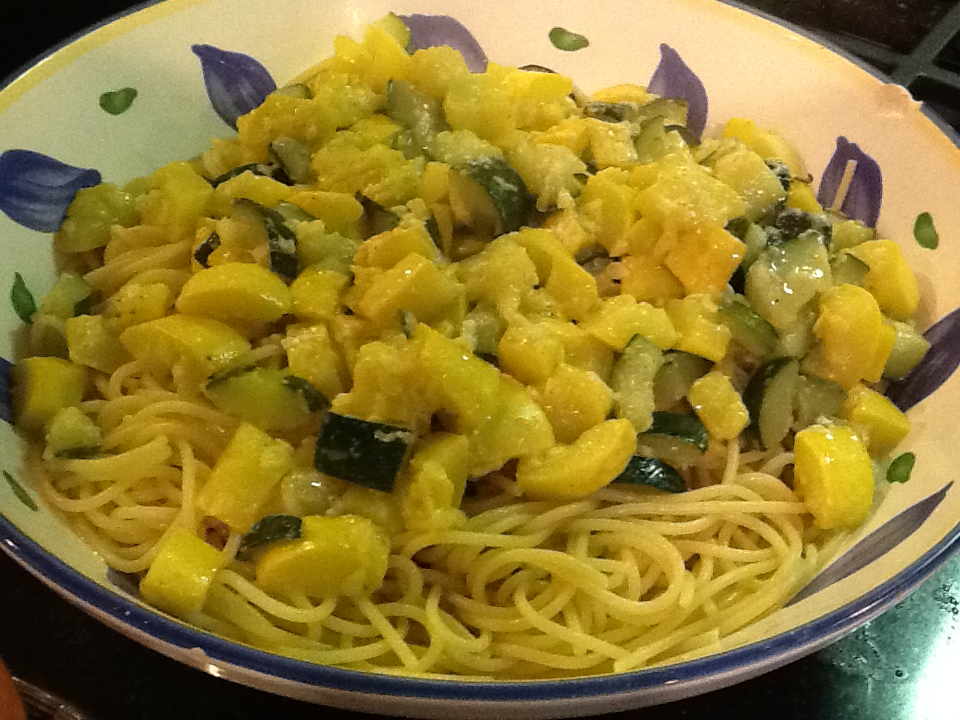
Spaghetti with Zucchini

Image

I’m not sure if this was true of all Italian families, but when I was young, my mother had a routine for what she made for dinner each night of the week.  As a mater of fact, this was true of all my relatives as well.  For instance, if I ate at a cousin’s house on a Tuesday night, I knew it would be pasta with vegetables of some sort.  Sunday was red sauce and meat (I know you already know this about me); Monday was soup (not usually in my house, however) or greens of some type with beans; Tuesday was pasta with a vegetable; Wednesday was meat or chicken; Thursday was pasta again; Friday was fish or if we were lucky, homemade pizza; and Saturday was a real treat of pizza from a pizzeria or White Castle hamburgers because my parents always went out to dinner on Saturday nights.  As I got older, and our family became a bit more “Americanized,” this changed a bit, but it never deviated radically.  It was never boring in my house.  My mother’s repertoire was quite vast.  I’m sure you all know that there are thousands of ways to prepare pasta, and my mother loved to try new recipes for chicken and meat all the time.  But there was something reassuring in knowing what you might expect for dinner each night.  We all had our favorites, and we all didn’t like some things, but what was on the table was what you ate for dinner.  An exemption or two was made for my brother now and then ( you do know that Italian mothers spoil their sons, right??) ) as he was the pickiest eater in the family.

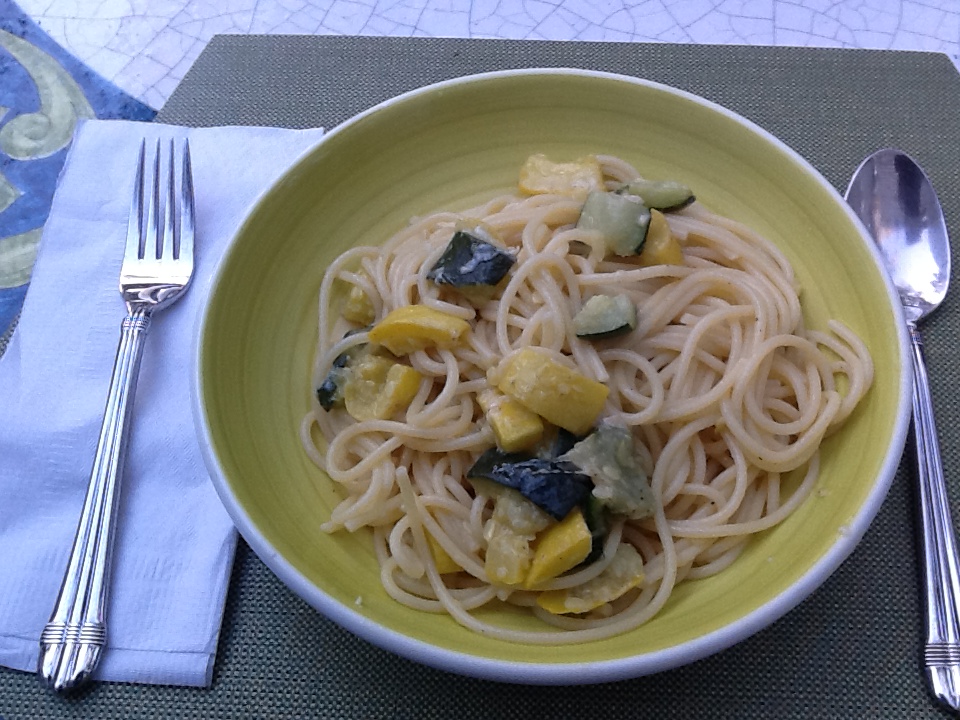
This dish of spaghetti with zucchini was definitely one of my favorites.  It showed up often in my mother’s selection of “during the week” pasta recipes, so I was happy.  If it didn’t, I knew I could invite myself to my Aunt Rose’s house on a Tuesday or Thursday, and sure enough she would probably be serving this.  In the very economically lean years of my first marriage, I made this at least once a week.  I think that I perhaps I over-did it,  and so I put this recipe to rest for many years. But once I brought it out of the archives again, I have been making it a lot.  It couldn’t be easier, and it is so light and delicious.  I hope you’ll give it a try, and it doesn’t have to be on a Tuesday or Thursday.  It’s delicious any day of the week!

And as an added bonus, the zucchini alone is delicious as a side dish, alongside any meat or fish.  AND I always take out a little bit to put in my scrambled eggs the next morning.  Yummy!!

RECIPE:

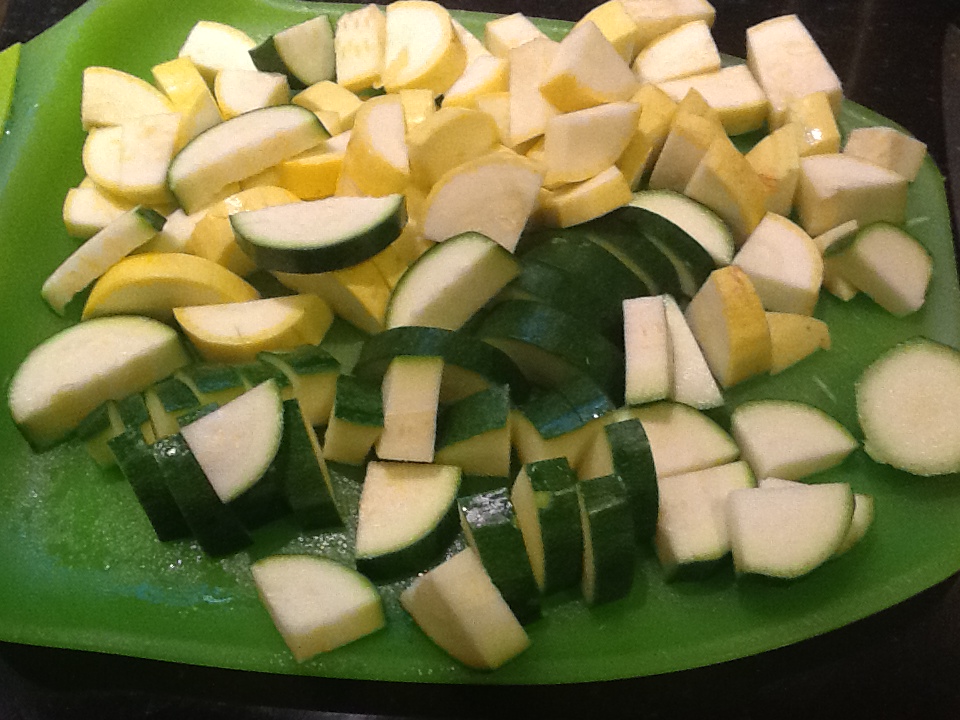
4-6 medium sized zucchini (I like to mix the yellow and green squash, but all green works well also).  About 2 lbs.

2 TBSP butter

1/4 cup olive oil

1/2 cup grated Italian cheese, either Parmigiano or Pecorino.

1 1/2  tsp. salt

1 pound of spaghetti

Lots of  freshly ground pepper to taste

1.  Wash and cut the zucchini into roughly half inch pieces.  I generally cut the zucchini in quarters lengthwise and then slice.

2. Put the butter and olive oil in a large pot or dutch oven, and heat so the butter melts.  Add the zucchini, and salt and cover.

3.  Cook on a low heat for approximately 15 minutes or until tender, stirring occasionally to make sure there is enough liquid in the pot.

4.  Add half the grated cheese and cover again and cook on low for 3 to 5 minutes.

5.  When done, turn off the heat and add the rest of the cheese.  Add lots of freshly ground pepper.  Give a good stir.

6.  Meanwhile, cook the spaghetti in a large pot of salted water.  Drain.

7.  Put the spaghetti in a large bowl.  *Sometimes I toss the pasta with a little olive oil first.  Top with the zucchini and mix well.  Add a little more cheese and serve.  If you are a cheese lover like I am, you may want a little more grated cheese.

zucchini pasta zucchini

zucchini pasta chopped zucchini

zucchini pasta cooking2zucchini pasta in dish zucchini pasta in dish 2 zucchini pasta in bowl with cheesezucchini pasta with cheese close upzucchini pasta plated with cheese zucchini pasta plated close up

The Legend of Savoy Cabbage

Image

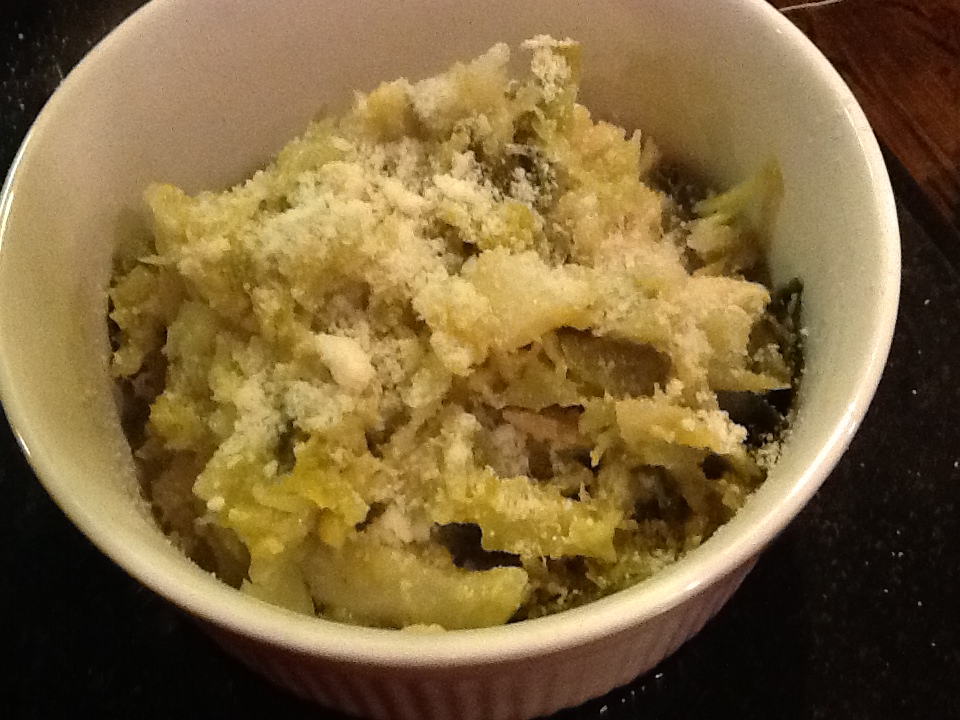
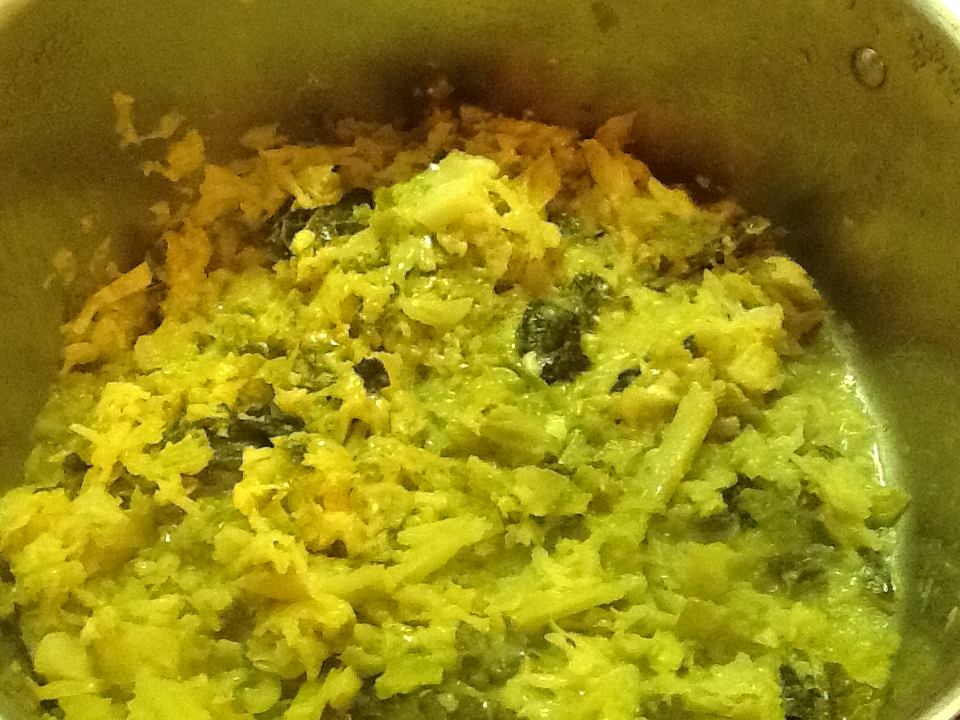
Well, it really isn’t a legend, but it is a cute family story.  When my mom was pregnant with me, she craved savoy cabbage, cooked in garlic and oil and grated parmesan cheese (only an Italian pregnant woman could crave such a thing, but none the less it was so).  Her mom would cook pots of it for her so she could indulge her in this craving.  As a young child, I loved savoy cabbage cooked in this manner.   It’s really not a vegetable that most children would like, but to me it was as good as ice cream!  Then when I was pregnant with my daughter, I craved this and ate it by the bowlfuls.  My mom would make me pots of it during these nine months, and I eventually learned to how make it myself.  As a young child, my daughter loved savoy cabbage, and guess what she craved when she was pregnant?   Yes, I brought pots of this to her since I knew the desperate need to consume this when pregnant!  Coincidence?  Perhaps.   But I do love stories like this.  Anyway, we think the cycle is broken.  My daughter had a son and he doesn’t like any vegetable, let alone savoy cabbage.  But he’s only 7 years old and may still develop a taste for it.  I’m hoping.

So pregnant or not, I think you will enjoy this delicious and easy way to prepare savoy cabbage.  There is a sweetness to savoy cabbage that regular cabbage does not have.  Even though I eat it by the bowlfuls, I recommend that you try it as a side dish first.

RECIPE:

1 large head of savoy cabbage

3 cloves garlic, sliced thickly

1/4 cup olive oil

2 teaspoons of salt (may need more)

2 cups boiling water

1/2 cup grated parmesan cheese (plus extra for serving)

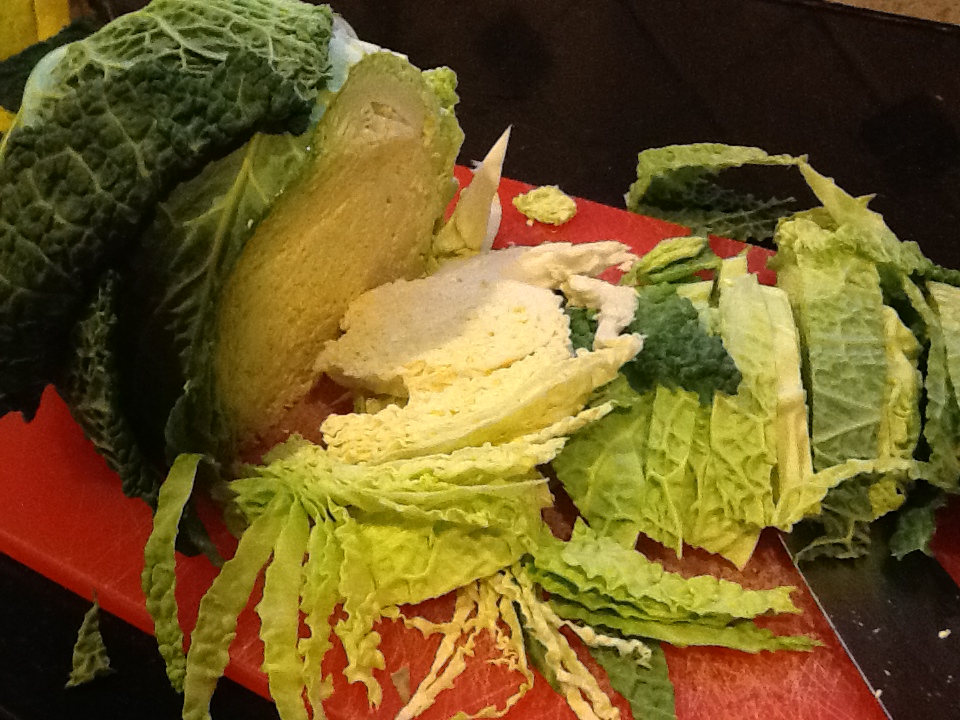
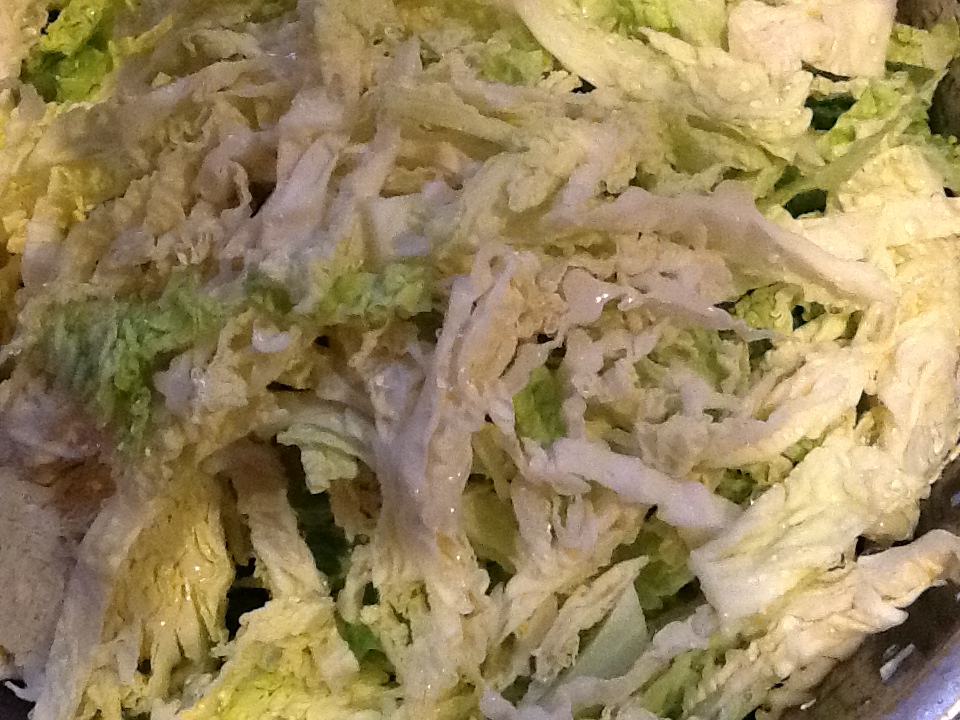
1.  Shred the savoy cabbage roughly into thin strips.  Wash.

2.  Heat the oil in a large pot or Dutch oven.  Saute the garlic in the oil until very lightly browned, being careful not to burn.

3.  Turn off the heat and let the oil cool for a minute before adding the washed cabbage and the boiling water.

4.  Stir in the salt.  Cover and bring to a boil.

5.  Lower the heat a bit to a rapid simmer and cook for approximately 45 minutes, stirring occasionally.   You want the water to slowly evaporate, but not fully.  You want the cabbage to remain moist.  Add more boiling water if necessary.

6.  When tender (about 45 minutes, but make sure it is tender), add 1/4 cup of grated cheese.  Stir and cover again for 5 minutes.  Add another 1/4 cup cheese and cover for another 5 minutes.  Uncover and cook for another minute or two.  Taste for seasonings.

7.  Sprinkle a little more cheese onto the cabbage before serving.

Image

Image

Image

Image

Image

Image

Image

Image

Image

Image

Image

Eggplant Meatballs (Meatless)

Image

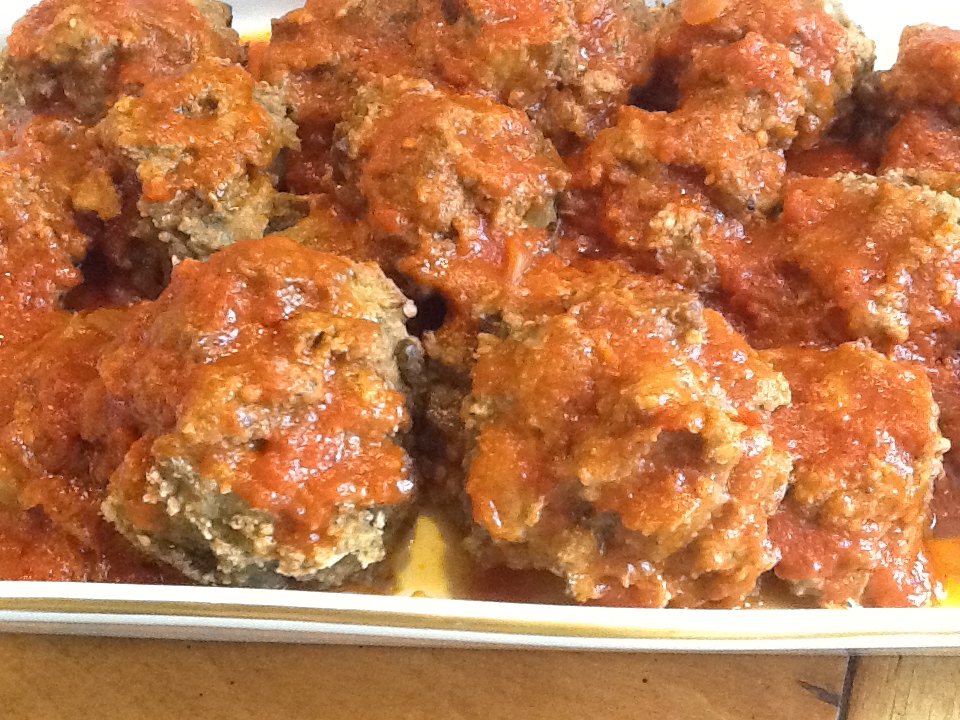
This past Sunday was the first day of Autumn, and I know what my family was thinking.  “Enough with the cherry tomatoes.  When are we going to have real gravy and meatballs again on Sundays ??”  Is summer really over?  Is it really time to start thinking about meals indoors?   As much as I hate to see summer end (and believe me, I do), I do get a “cozy” feeling when I think about cooking the hearty meals of autumn and winter.  So this past Sunday, the first day of Autumn, I decided to jump right in and make a Sunday sauce ( ragu or gravy to some of us) with meatballs and lots of gravy meat.

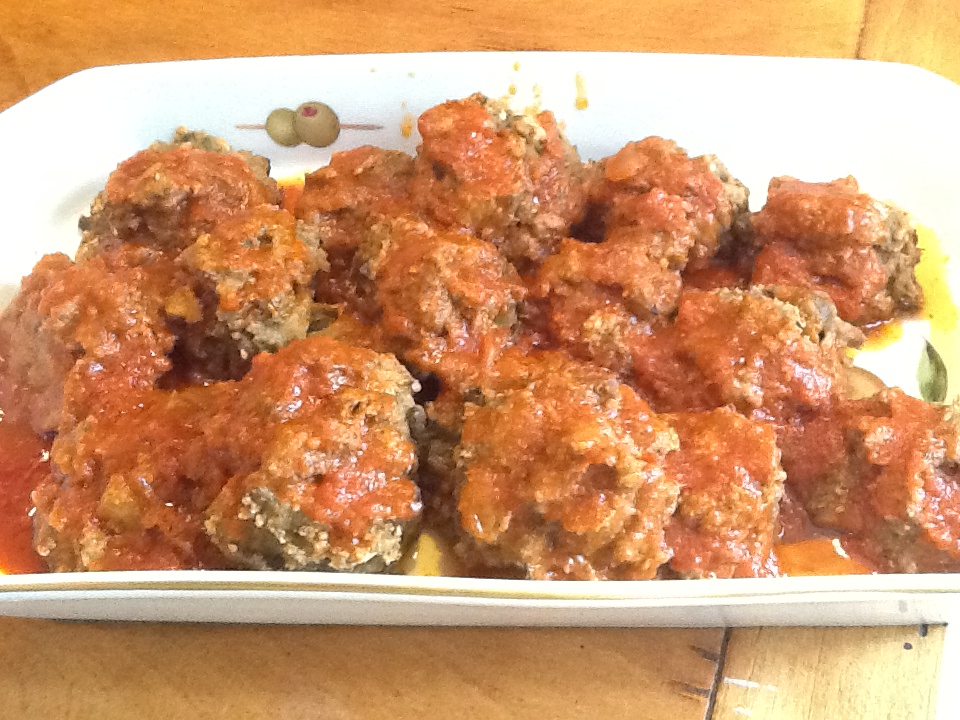
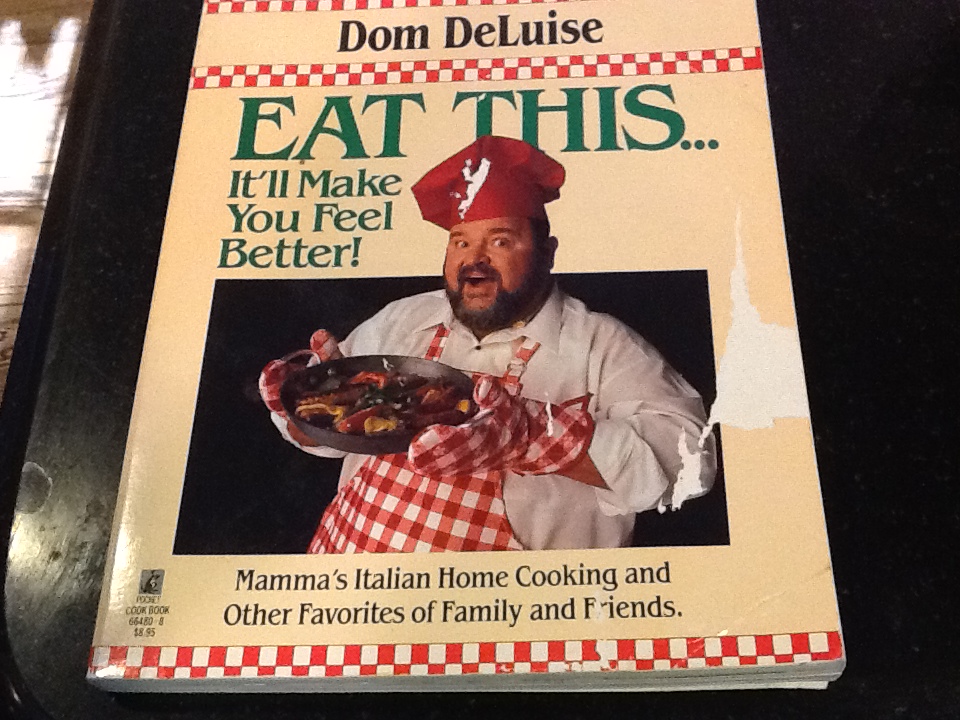
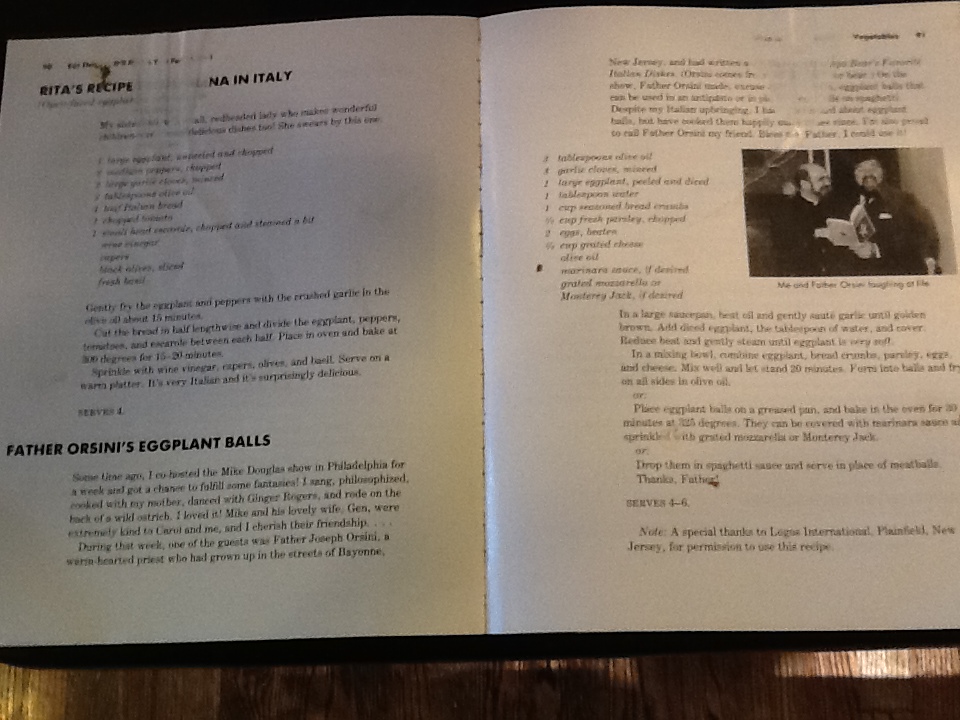
You already have my recipe for the sauce and meatballs, taken from my grandmother and mother.  You’ll find that recipe under the pasta category, entitled “Little Nonni’s Baked Spaghetti.”  But today I want to share with you a recipe for “eggplant meatballs.”   This recipe comes from a cookbook entitled “Eat This, It’ll Make You Feel Better,” by Dom DeLuise of all people.  My sister gave me this cookbook in 1988 since Dom DeLuise was a favorite comedian in our family, and the title was so funny and true to life, if you’re Italian.  Food always makes us feel better.  Just as she suspected, the book was hilarious to read, and the recipes were very good.  Most recipes are authentic to Italian home cooking.  One day, I spotted the recipe for “Father Orsini’s Eggplant Balls.”  While this wasn’t anything I’d ever heard of before, it definitely got my attention.   Sunday dinner was becoming a bit of a problem due to a houseful of young women (daughter and stepdaughters) who were concerned about the heaviness and calorie content of this meal.  We also had a vegetarian among us.  So Father Orsini saved the day.  I made these vegetarian meatballs one Sunday in 1989, and have been making them ever since. Everyone loves them!  Of course, for vegetarians, you’ll want to use marinara sauce.

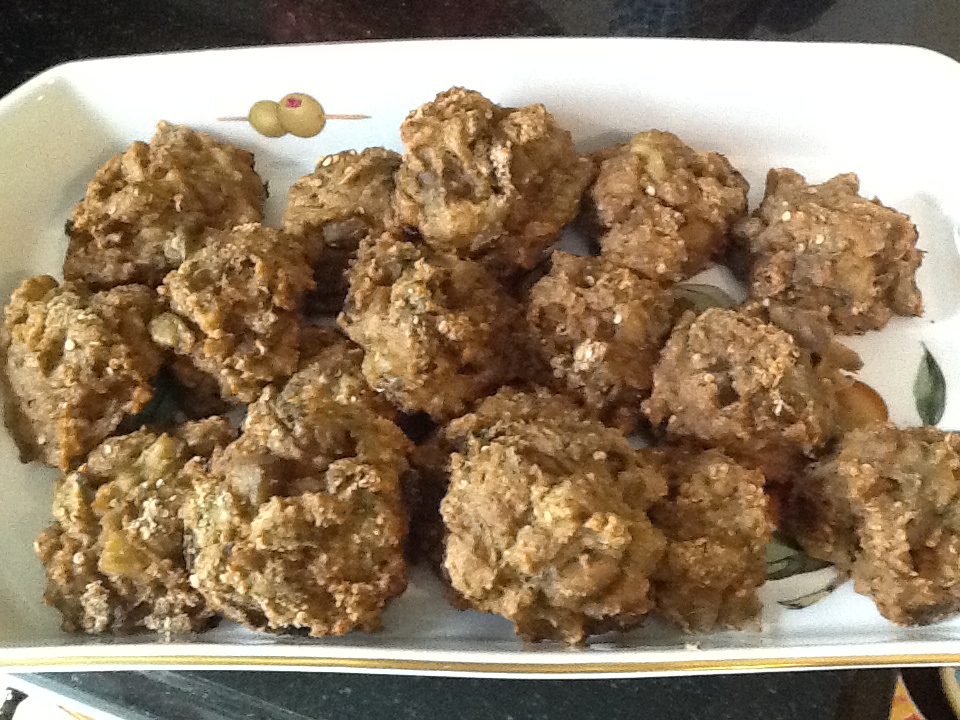
The basic gist of this recipe is that you cook down the eggplant until soft, and then treat it the way you would when making meatballs.  The eggplant replaces the chopped meat.  I never fry these however, as they will break apart, so I always bake them.  Less calories and fat, too!  Did I really say that?  I hope my grandmothers in heaven didn’t hear me.

RECIPE:

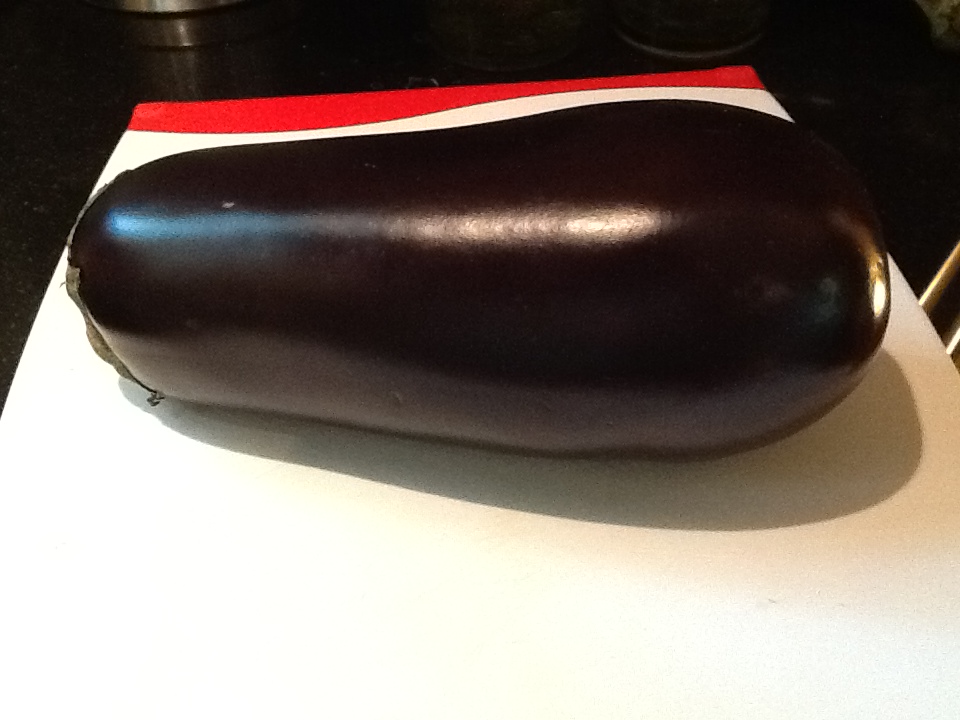
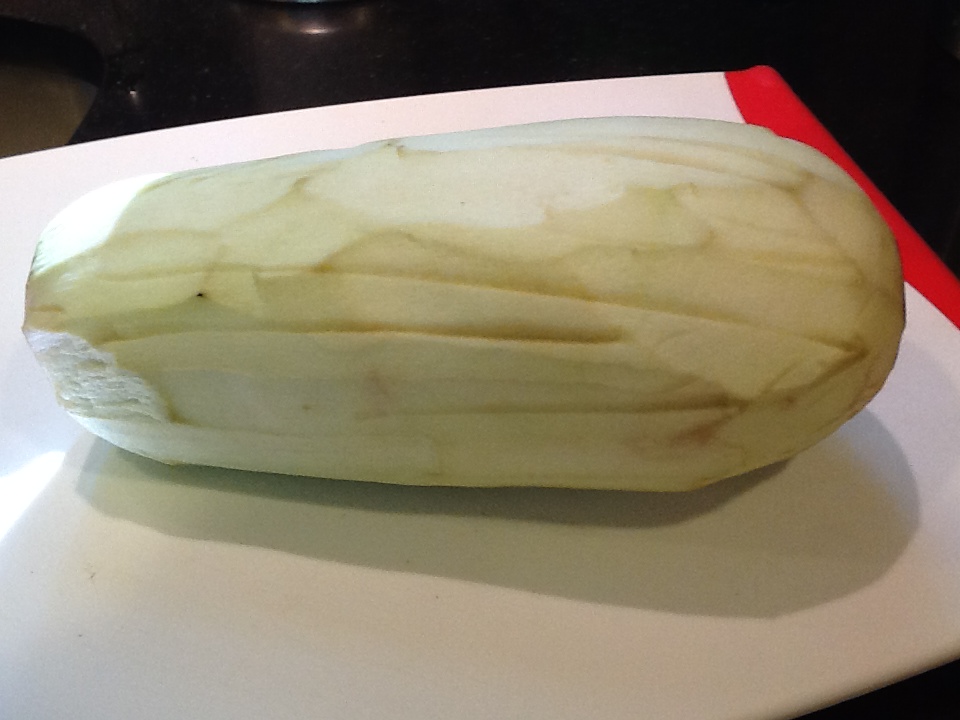
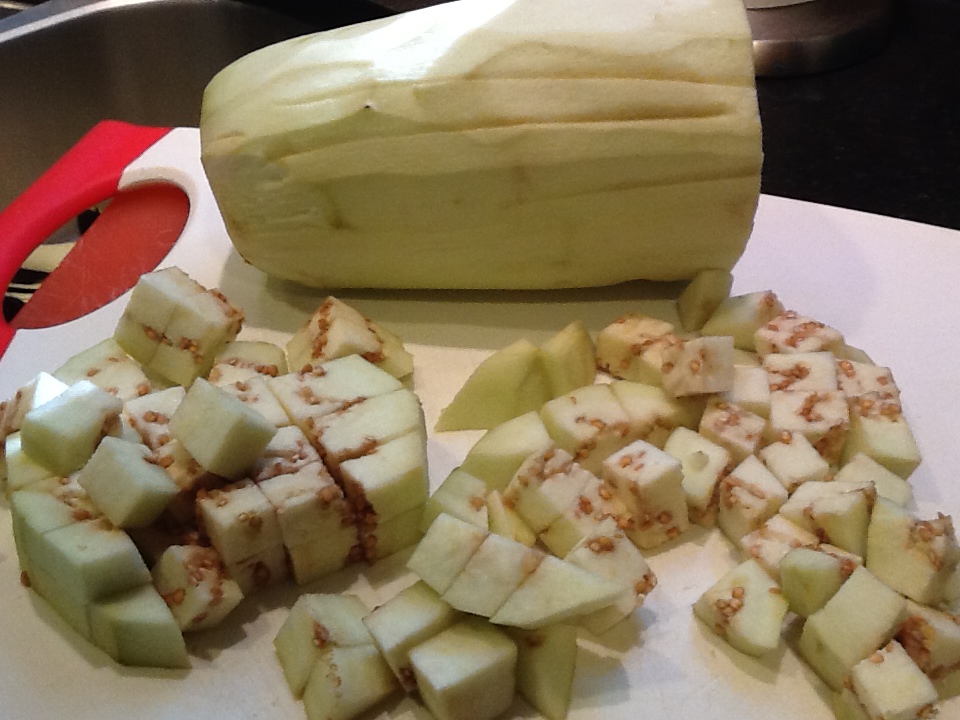
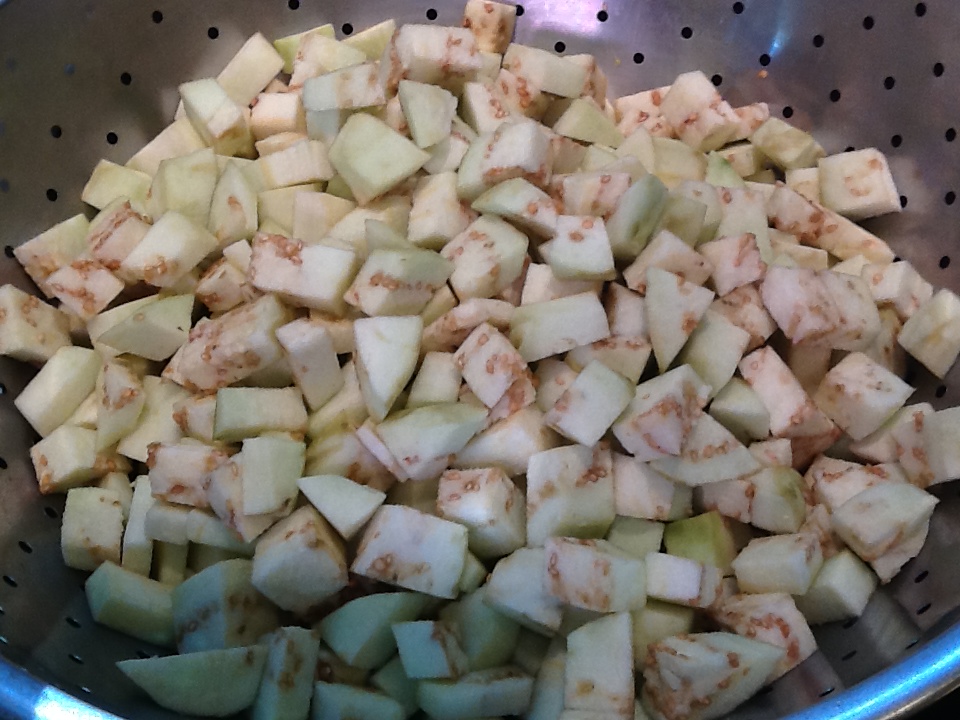
1 large eggplant, peeled and diced

3 TBSP olive oil

3 garlic cloves, minced

1 TBSP water (you made need a little more)

1 cup Italian seasoned bread crumbs (you may need a little more)

1/2 cup fresh parsley

2 eggs, beaten

1/2 cups grated cheese

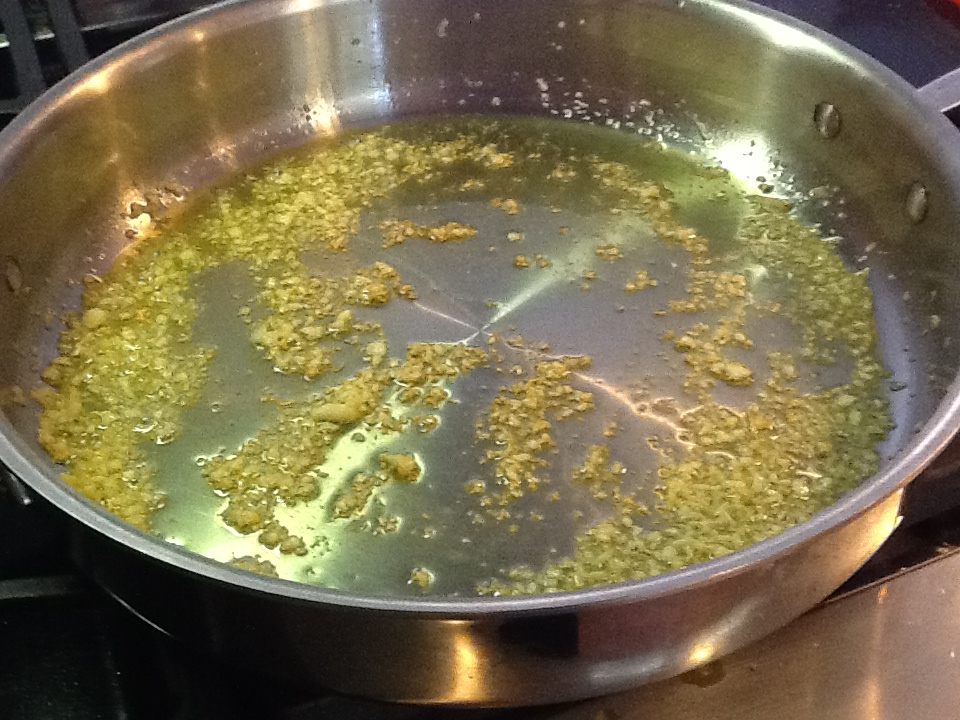
1.  In a large saucepan or frypan, heat oil and gently sauté garlic until golden brown.

2.  Add diced eggplant, the TBSP of water and cover.  Reduce heat and gently steam until eggplant if very soft.

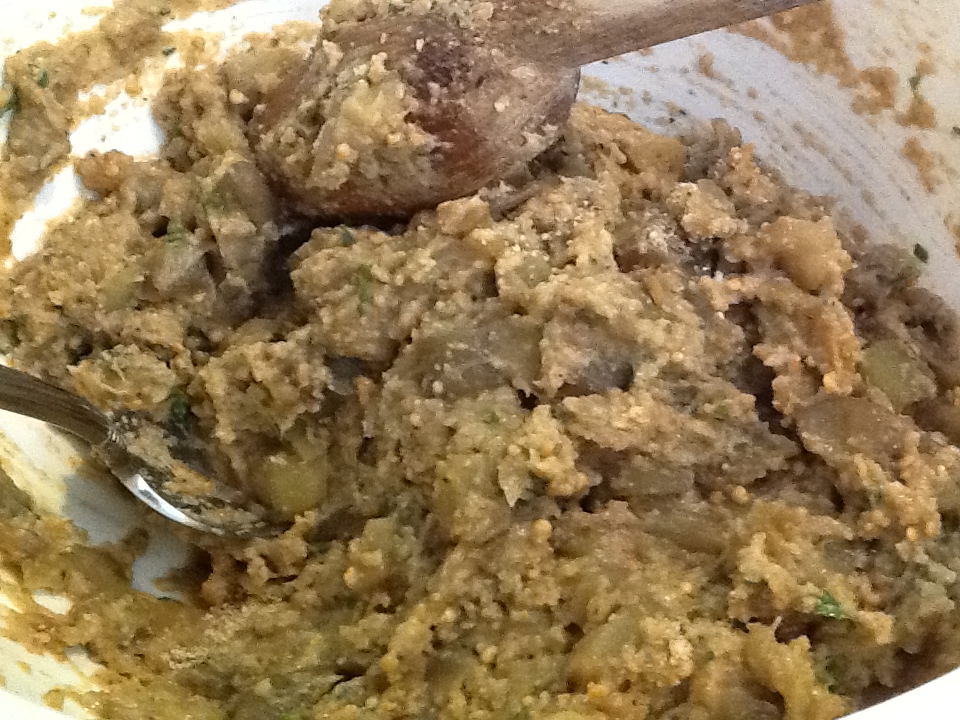
3.  in mixing bowl, combine eggplant, bread crumbs, parsley, eggs and cheese.  Mix well and let stand for 20 minutes.

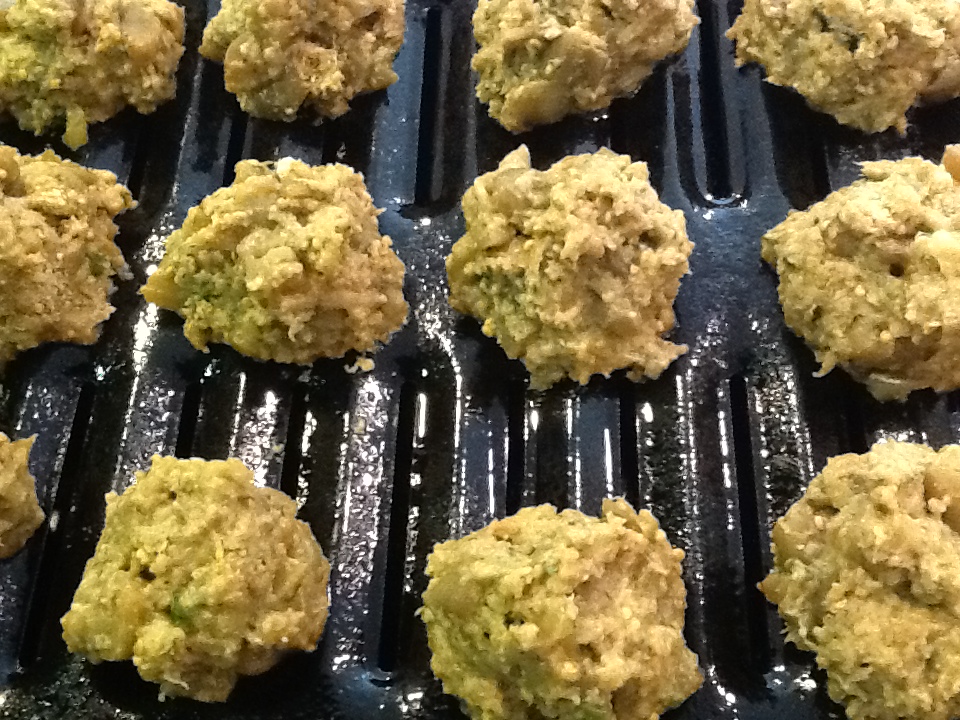
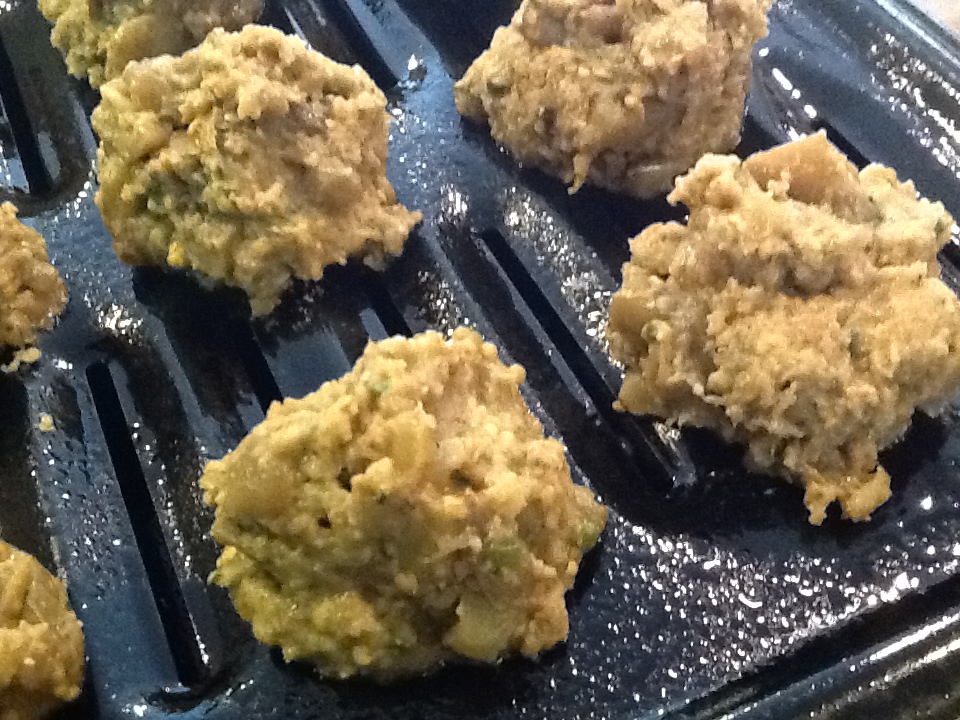
4.  Form into balls (if they will not hold shape, you need to add more bread crumbs) and place on a greased baking pan.  I like to use my broiler pan.

5.  Bake in a 325 degree oven for 30 minutes.

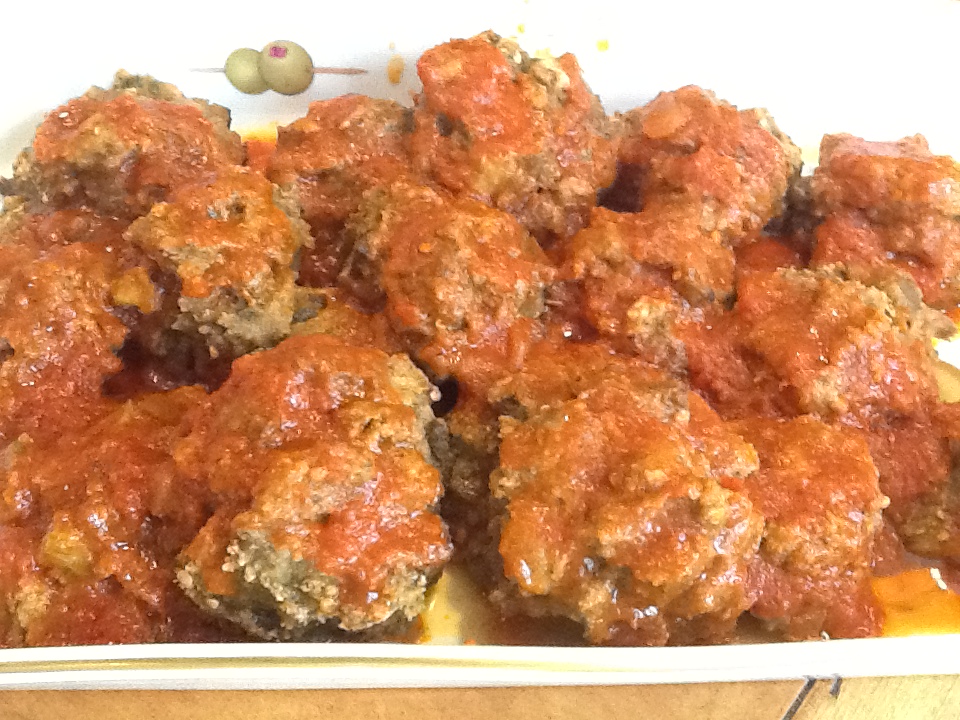
6.  Serve covered in your sauce of choice.

Image

Image

Image

Image

ImageImage

Image

Image

Image

Image

ImageImage

Image

Uncle Dick’s Penne alla Vodka

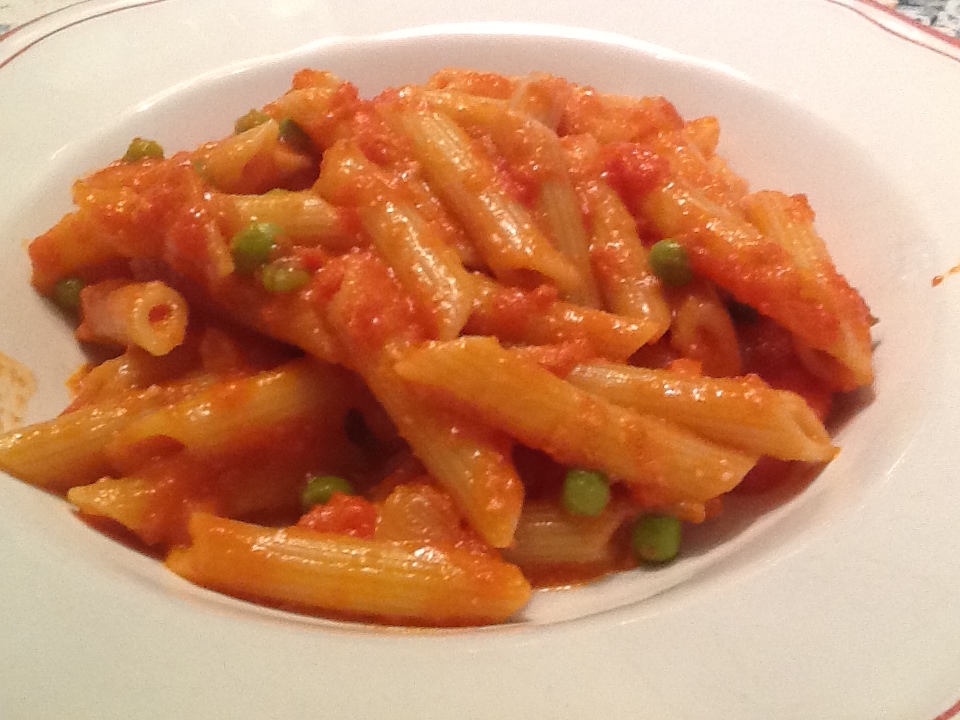
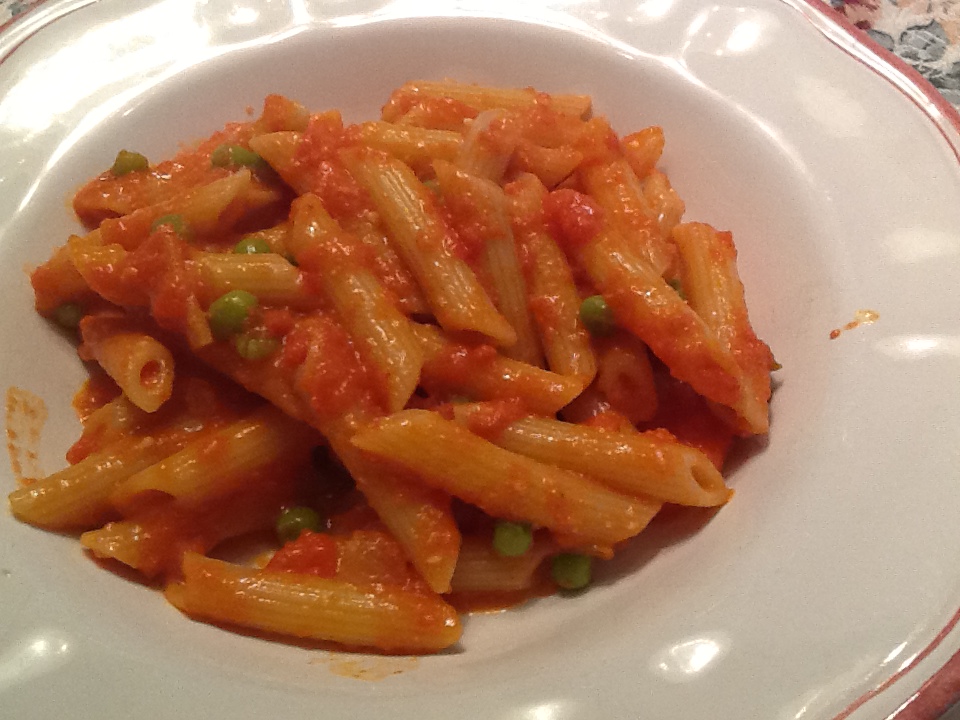
ImageVodka sauce is not anything you’ll ever see me order in a restaurant or take on a buffet line (why is it always there??).  It can be too heavy, too creamy, too garlicky, or just plain too boring at times.  You really don’t know what you’re going to get.  So why am I sharing my uncle’s recipe for this sauce?  Well, because it is absolutely delicious.

It used to be a rare thing to see an Italian man in the kitchen way back when.  Women didn’t want them there, disrupting the one spot in the house where they had control.  But this was my youngest uncle and his wife,  and they seemed somewhat modern to me at the time.  Every once in a while, he got a kitchen pass from his wife, and he did have a few master recipes.  He was the mastermind behind my carbonara recipe (check it out if you haven’t ), and his vodka sauce recipe is the only vodka sauce I will eat. He loved to eat in the best of restaurants, and due to his kind and magnanimous personality, was able to get the chefs to give away some of their favorite recipes.  I recall this recipe coming from one of the top Italian restaurants in New York City that he frequented in the 1970s.  This is when vodka sauce “hit the fan,” pardon the expression. But literally, from this point on, vodka sauce was everywhere!

When I look at the two recipes I have, which I got from my mother, who wrote down what he told her, I can see that he changed this recipe several times, maybe according to different restaurants.  However, the version I’m giving you here, I  watched him make myself.  I don’t know if he made the changes himself, or if they came from another restaurant’s chef, but it is delicious.  He lit the vodka in the pan on fire, used mascarpone cheese instead of heavy cream, and added peas.  I don’t set the vodka on fire, but my heart warms with memories of him every time I make this sauce.

If you’re not a big fan of vodka sauce, this just may change your mind.  I hope so.  And by the way, this sauce can definitely pass for a “Sunday red sauce!”

RECIPE:

1 pound penne rigate

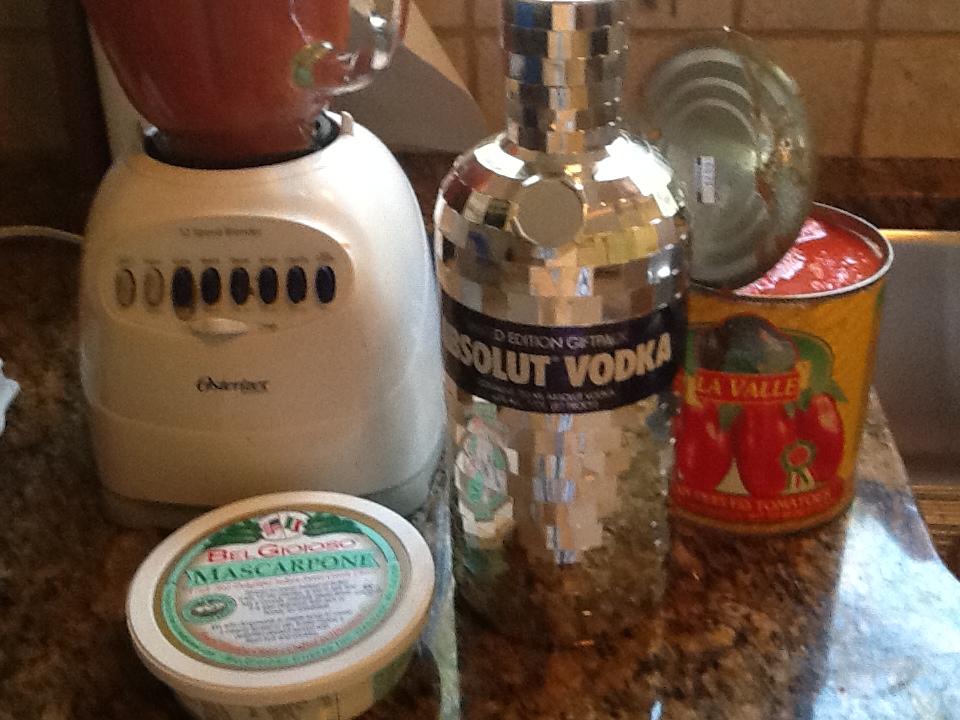
1  36 ounce can Italian plum tomatoes

1 medium

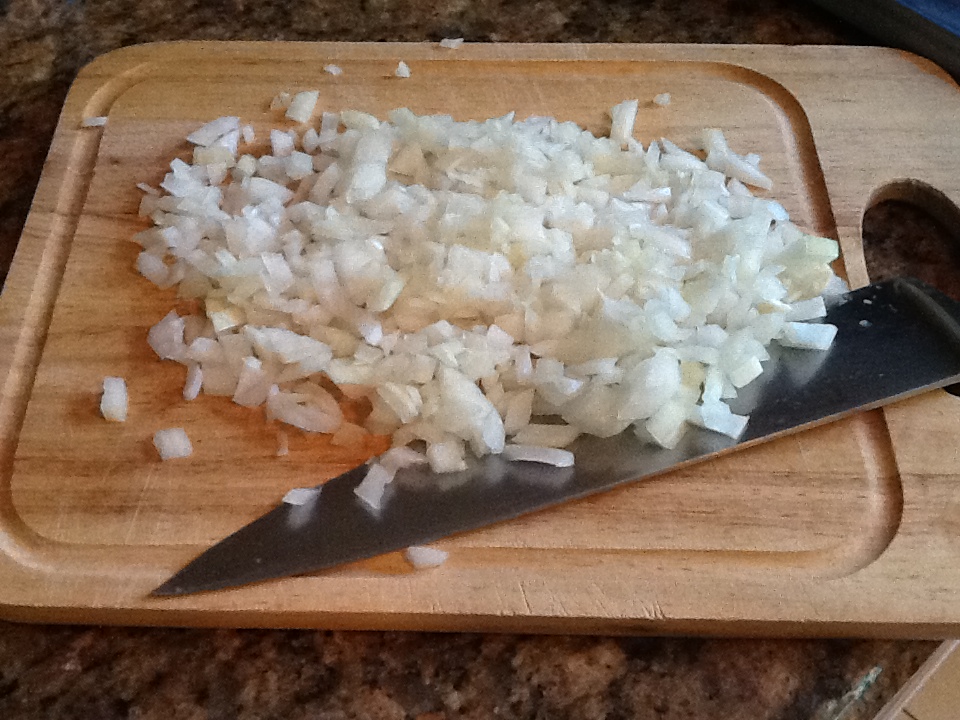
1 onion chopped

4 ounces mascarpone cheese

2 TBSP butter

2 TBSP olive oil

1 cup frozen peas

1/4 cup vodka

salt and pepper to taste

freshly grated Pecorino Romano cheese

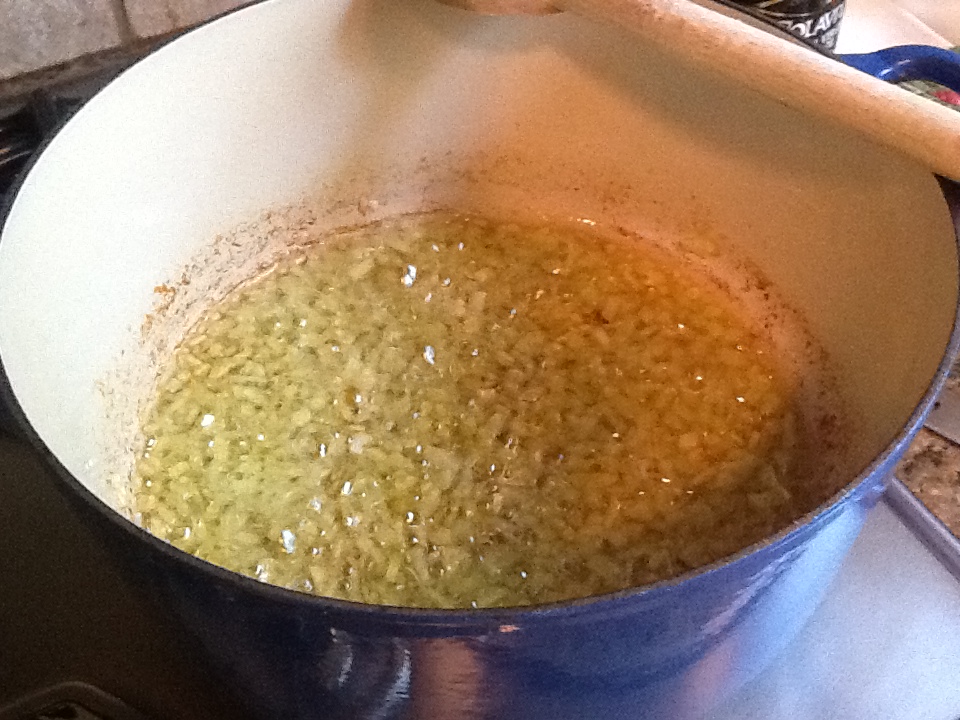
1.  Heat the olive oil and melt the the butter in a large sauce pan.

2.  Saute the onions in the oil and butter and  cook until just starting to brown a bit.

3.  Puree tomatoes in a blender by pulsing a few times.

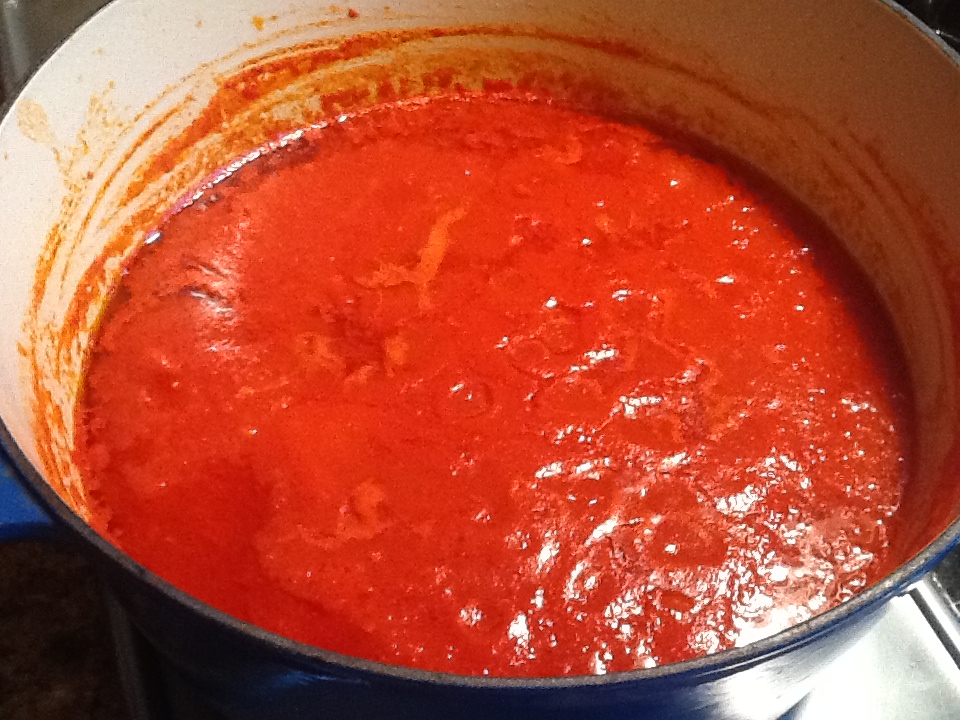
4.  Add tomatoes to the pan with the onions,  and add some salt and pepper to taste.

5.  Cook over low heat for 30 minutes, stirring occasionally.

6.  Meanwhile, bring a large pot of salted water to boil.

7.  In a small fry pan, heat the vodka and melt the mascarpone cheese in the vodka.

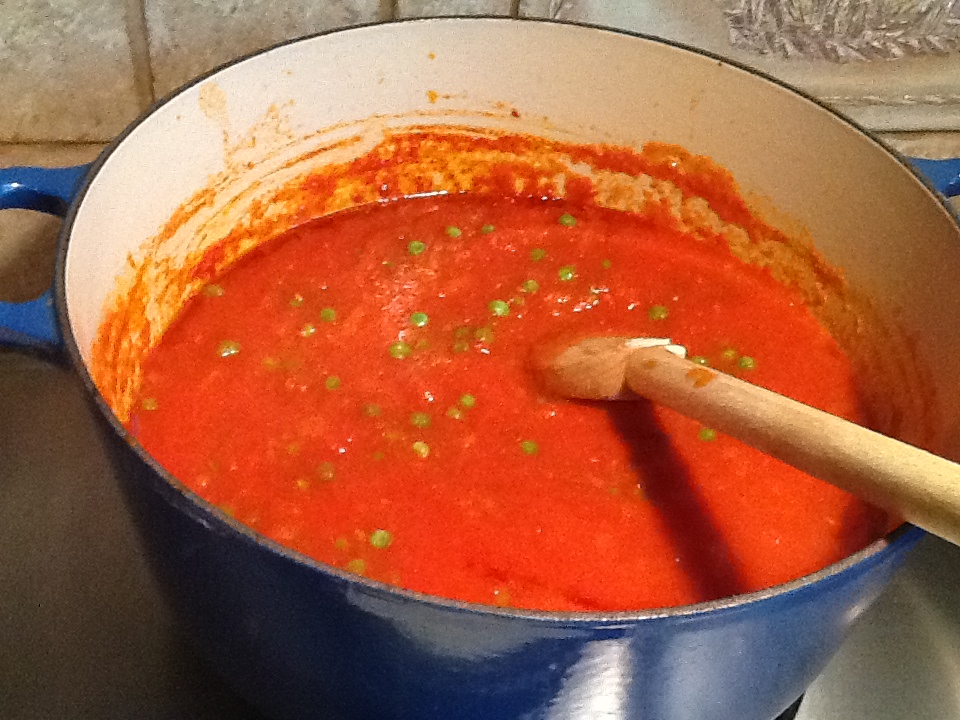
8.  When the sauce is just about done, and pasta is cooking in the water, add the peas and heat through.  Then add the vodka and mascarpone and heat through, stirring well.

9.  Drain pasta, put in serving bowl and top with the sauce.  Serve with grated Pecorino cheese.

Image

ImageImageImageImageImageImageImageImageImageImageImageImageImage

Pesto Sauce with Potatoes and String Beans

Image

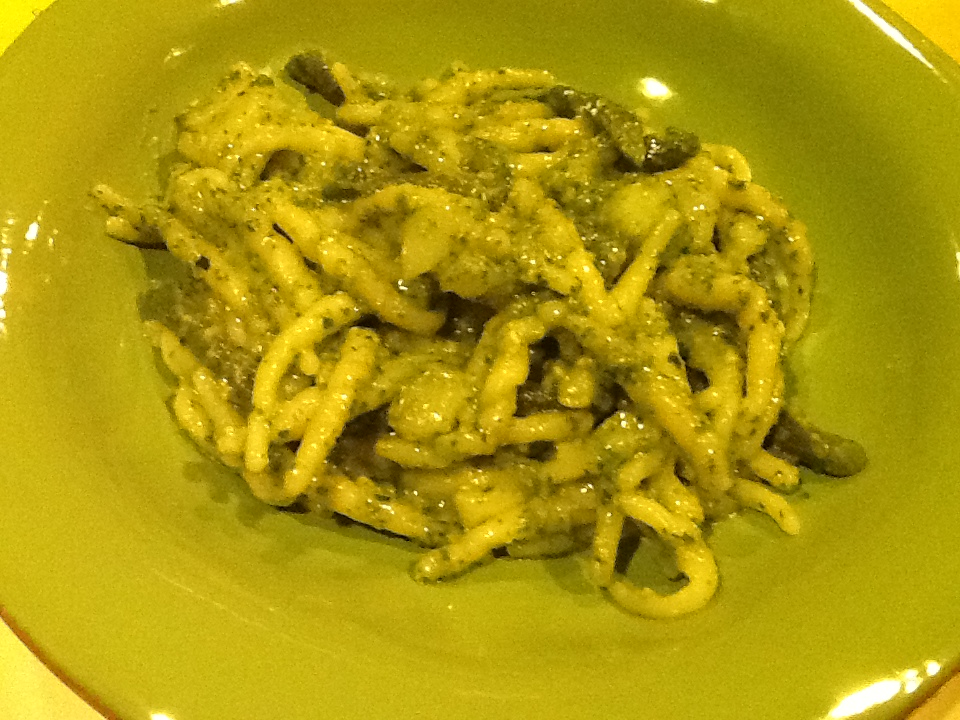
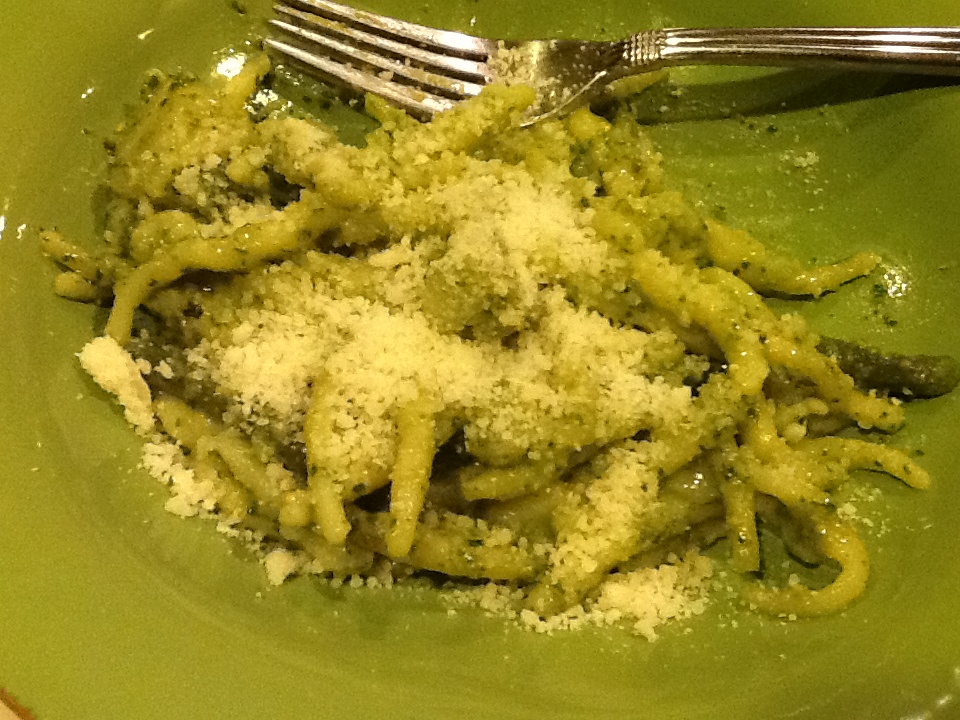
Do we really need another recipe for pesto sauce?  By this time of year, I’ve had it up to here with pesto.  During the summer months, I always have large pots of basil growing on my deck, and I can’t resist whipping up some variation of a pesto sauce in a moment’s notice.  Doesn’t everyone have a recipe for this by now?  It’s been popular for the last three decades!  But every summer, I have at least one dinner guest leave my house with my recipe for pesto sauce.  Honestly, it’s hardly a recipe at all.  I throw some basil, garlic, pine nuts, grated parmesan and pecorino cheeses in a Cuisinart ( food processor) with a slow drizzle of olive oil.  I never pay attention to the amount of each ingredient, and sometimes, out of boredom towards the end of the summer, I may add walnuts or use mint, arugula or parsley in addition to basil.  It always tastes fresh and wonderful.  Another way I change it up a bit, is to add potatoes and string beans, or as it is called “Genoa Style.”  This summer, I seem to be stuck in a Genoa style mode.  I’ve even been lucky enough to find homemade trofie, a delicate pasta shape, which is marvelous with this sauce. However,  tagliarini or trenette are wonderful with this, as is almost any short, delicate pasta, such as a farfalle (bow ties) or penne rigate (penne with ridges).  You need a pasta shape that will hold the sauce.  I wish I could put a halt on this summertime, pesto mania of mine.  I do know that you can buy basil all year long in most supermarkets now, and sometimes (usually by around January I need a fix) I do.  But there is something about walking past a pot of sweet smelling, beautiful green basil that makes me want to pinch off some leaves, inhale the wonderful scent and then run for the kitchen.  I just can’t control myself!

So if you’re in need of a recipe for pesto sauce or have never made it Genoa style, I have measured out everything for you.  I remember, many years ago, measuring each ingredient with great precision, and I am a great believer in following recipes.  But after you have made this 100 times or more,  you too will start just throwing these ingredients into your food processor in reckless abandon, and turning out one wonderful dish of pasta with pesto sauce after another.

I would love to hear if anyone has a tip for growing basil indoors during the winter months.  I have never been successful doing this.  If you do have some advice, please just leave it in the comment box.

RECIPE:

Pesto Sauce:  will make enough for two pounds of pasta, but will keep in refrigerator were several weeks.  Put a thin layer of olive oil on top before storing.

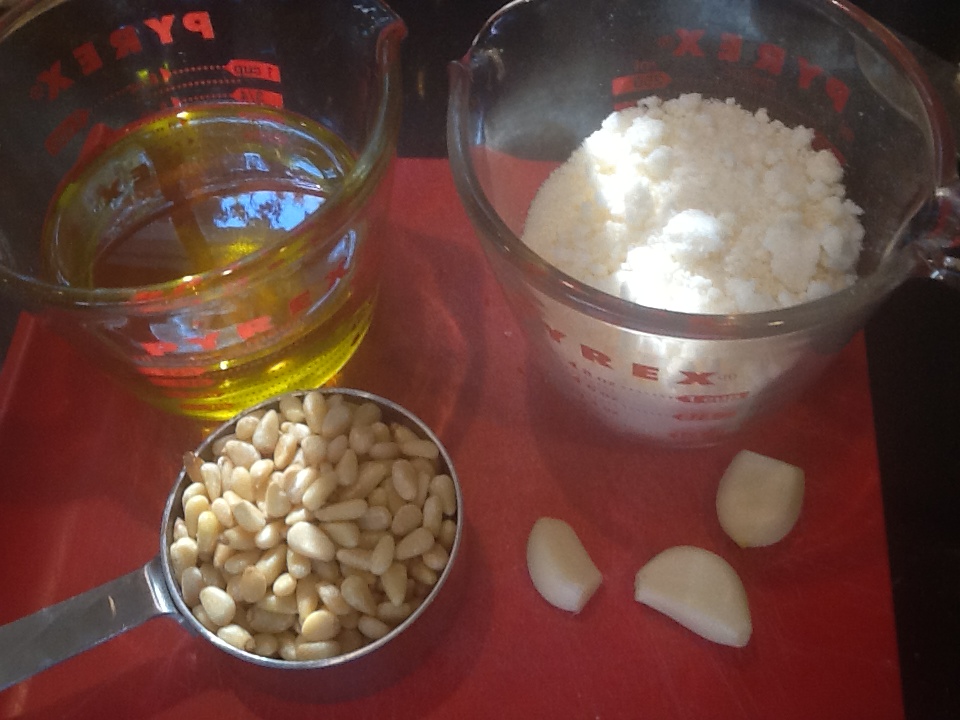
2 cups basil leaves, firmly packed.

1/3 cups pine nuts

1/2 cup Parmigiano-Reggiano cheese, grated

1/2 cup Pecorino Romano cheese, grated

2 large garlic cloves, peeled

3/4 cups olive oil

Genoa Style additions:

1 pound of pasta

3 medium potatoes, peeled and thinly sliced

1 cup thin string beans, tipped and cut into 1 or 2 inch pieces

2 TBSP unsalted butter

1.  Put the basil and garlic into the bowl of a food processor.  Pulse several times, until finely chopped.

2.  Add the pine nuts and cheeses to the processor, and repeat.

3.  Once all the above ingredients are finely chopped, turn on processor and add the olive oil in a slow steady stream.  Blen until nearly smooth, and then transfer to a bowl.

4.  Bring a large pot of salted water to a boil.  Add the pasta, string beans and potatoes.  Cook until pasta is al dente and the string beans and potatoes are tender.

5.  Drain, reserving 1 cup of cooking water.  Add the pasta, pesto and butter to a serving bowl.  Toss very well, making sure to melt the butter.  Add a little of the reserved pasta water if it seems dry.  Serve immediately.

6.  You need not serve this with grated cheese, as there is so much cheese in the sauce, but I always do, as I am a cheese lover.  It is totally up to you.

*** A wonderful variation of this is to use arugula instead of basil, and walnuts instead of pine nuts.

Image

Image

Image

Image

ImageImageImage

Ciambotta (Vegetable Stew)

Image

Don’t know what to do with all the summer vegetables at the market right now?  Are you staring at all the zucchini, peppers, eggplant and tomatoes that you bought at the  farmer’s market and wondering what the heck you are going to do with it all?  Well let me tell you a little bit about “Ciambotta”, sometimes spelled Giambotta, and often pronounced “Jambot,” which is southern Italian dialect. I’ve always called it the “Italian Ratatouille.”  No matter how you spell it or pronounce it, it is a surefire and delicious way to use up any vegetables that are sitting around in need of a recipe.  If you grew up in an Italian household, you absolutely have eaten a version of this dish.  Of course I make it the way my grandmother and mother made it, but I have seen it made countless ways, using different ingredients.  Traditionally, potatoes are used, as this gives it a hearty “stew like” quality.  But in my household growing up, we didn’t know from potatoes.  I’m surprised that my mother didn’t put this on top of pasta, as it would really be delicious that way.  I’m joking a bit here, but it was rare to see potatoes in my mother’s kitchen.  She did sometimes put them into her ciambotta, but never to stretch it into a one dish meal.  This was always a side dish, accompanying a meat, chicken or fish.  I rarely include potatoes myself just because of my personal preference, and also you have to cook it longer since potatoes take much longer to cook than the other vegetables.  I will tell you later how to add potatoes, should you desire.  String beans are another great addition to this.  According to my mother, ciambotta (she calls it jambot) means a “mixed up mess.”  You won’t find that on Rosetta Stone!

RECIPE: Makes 4 to 6 servings, as a generous side dish

1 medium yellow onion

1 medium eggplant

3 medium zucchini, green or yellow

2 yellow peppers

2 tomatoes, any type will do *(see note below

1/4 cup olive oil

salt and freshly ground pepper

2 potatoes, peeled, if using

*NOTE:  You may use fresh Italian plum or any garden vareital tomato.  However, if you don’t have tomatoes in the house, you can use a TBSP of tomato paste, when sautéing the onion and pepper, or a handful of canned Italian peeled tomatoes, chopped.

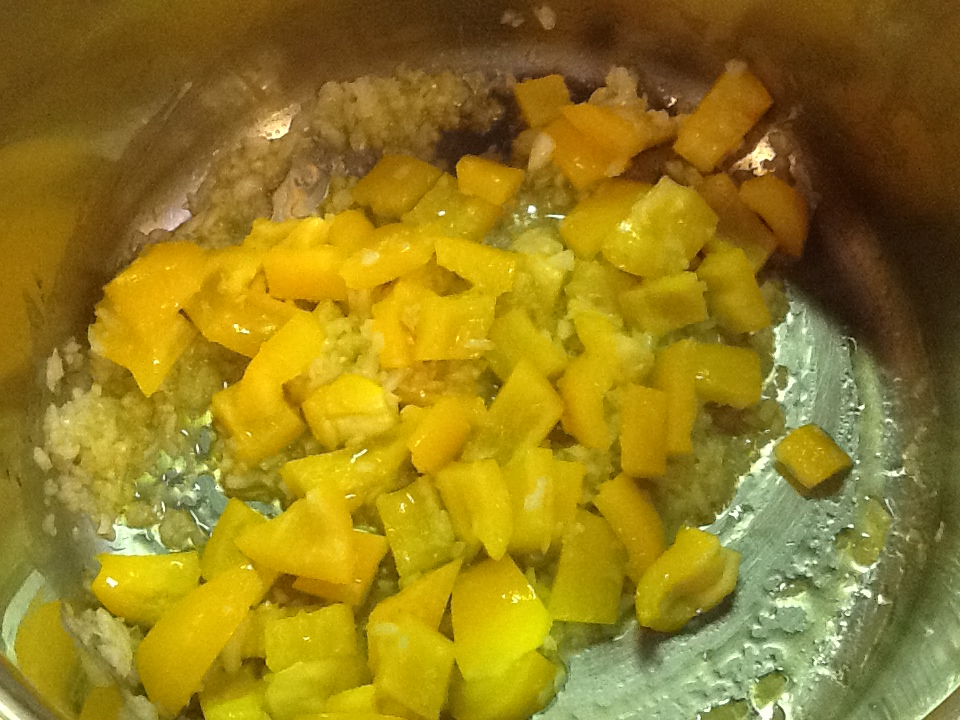
1.  Cut all the vegetables into bite size pieces.  In a large skillet or Dutch oven, sauté the onion in the oil over medium low heat until tender, about 5 minutes.

2.  Add the peppers and sauté for another minute or two.

3.  Add the tomatoes or paste next and stir for 2 minutes, to coat the onion and peppers.

4.  Add the rest of the vegetables (include potatoes or string beans here as well, if using).  Add salt and pepper to taste.  Stir well to combine.  Cover and cook, stirring occasionally, until all the vegetables are tender, about 30 minutes, but you must keep checking.  You don’t want the vegetables to be too mushy.

5.  If you need to add some water, do.  If there is too much liquid, uncover and cook for a few minutes more.

Whether you serve this as a meal or a side dish, you’ll want some nice crusty bread to sop up all the juices.

Image

Image

Image

Image

Image

Image

Image

Image

Pasta Alla Norma (A Variation)

Image

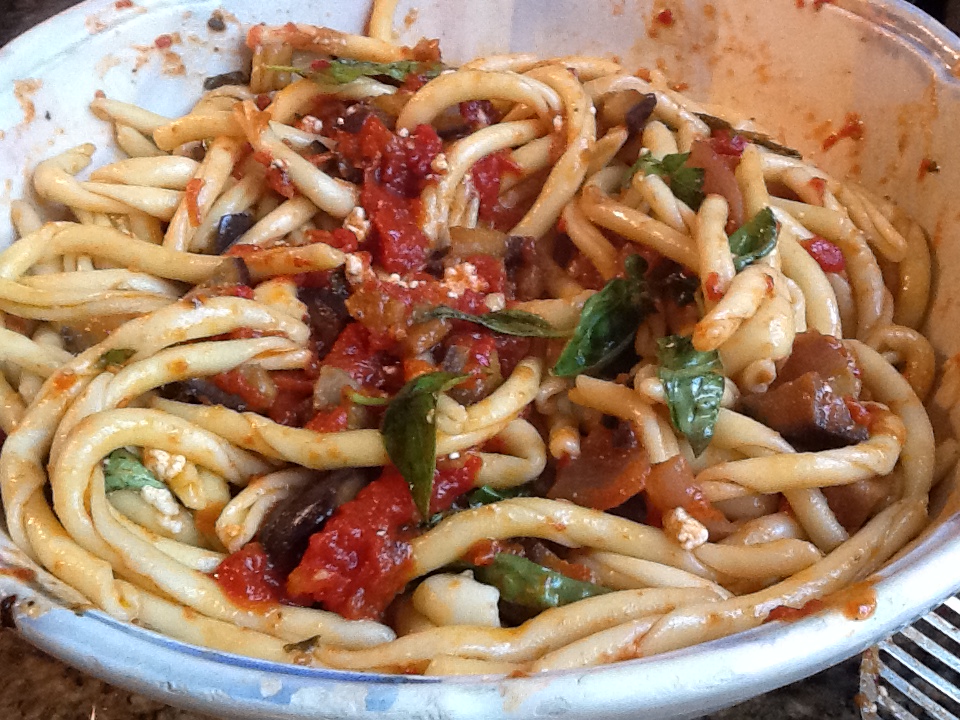
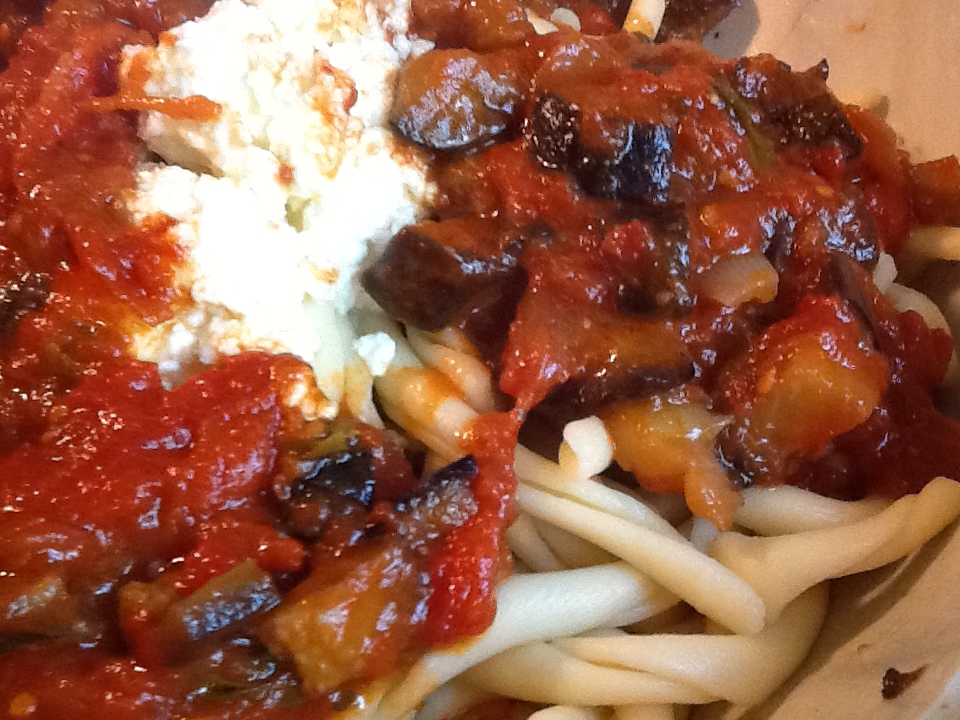
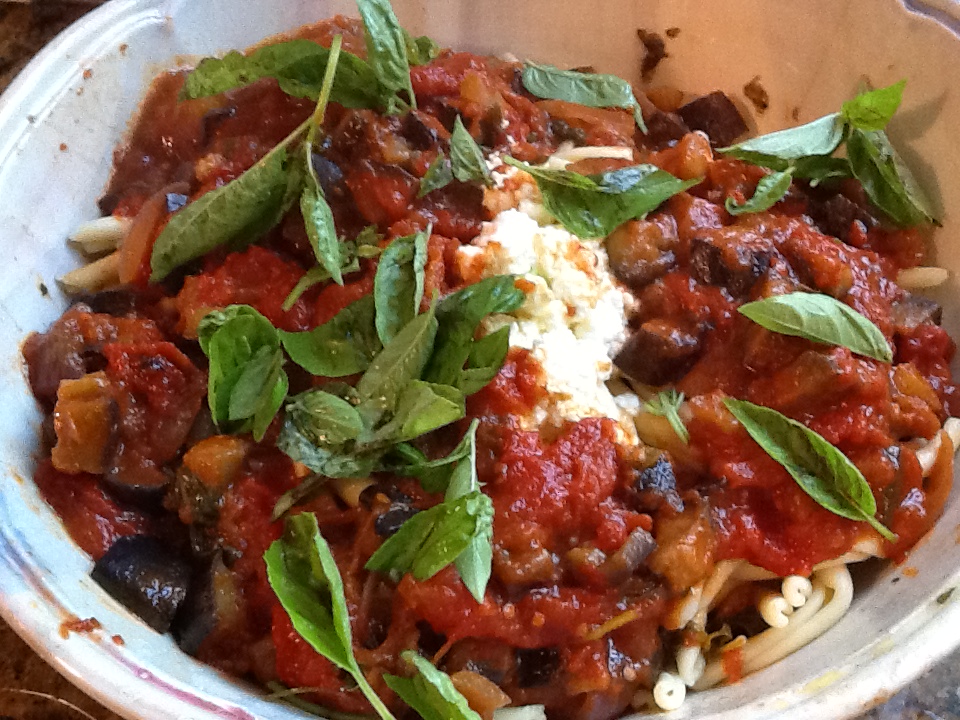
Since we’re on the topic of eggplant these days, I’m hoping that by now, you’ve conquered your fears and realize that it’s an easy and delicious vegetable to cook.  So let me introduce to you “Pasta Alla Norma.”  Pasta Alla Norma is a traditional dish in Sicilian cuisine.  When I first was introduced to this dish many years ago, it was made simply with tomatoes, eggplant, olive oil and grated ricotta salada cheese (which is just hardened ricotta cheese), and basil.  It certainly did not need improvement, but as the “food craze” took over the airwaves and book shelves, different versions of this classic dish started to emerge.  I’m guilty myself.  But honestly, the ingredients alone just can’t miss, so why not mix it up a bit now and then.  So that’s what I’m giving you here…..the variation on Pasta Alla Norma that my family loves the most.

When I visited Sicily, I ate only the traditional version, as we tend to dine mostly in local trattorias that Italians frequent (you can never go wrong doing this).  They never tried to make this dish fancier, but it was always beyond delicious.  As I always say, it is very difficult to get the exact, same taste as in Italy when you’re back home.  I still salivate at the thought of this dish in it’s native surroundings.  But that being said, we can get pretty darn close.

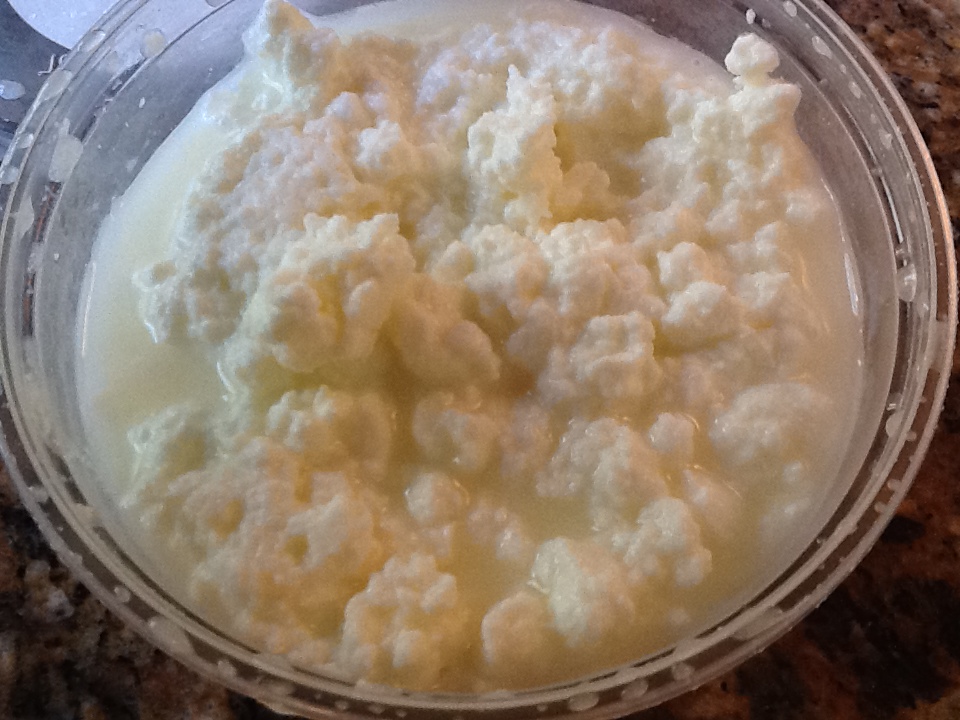
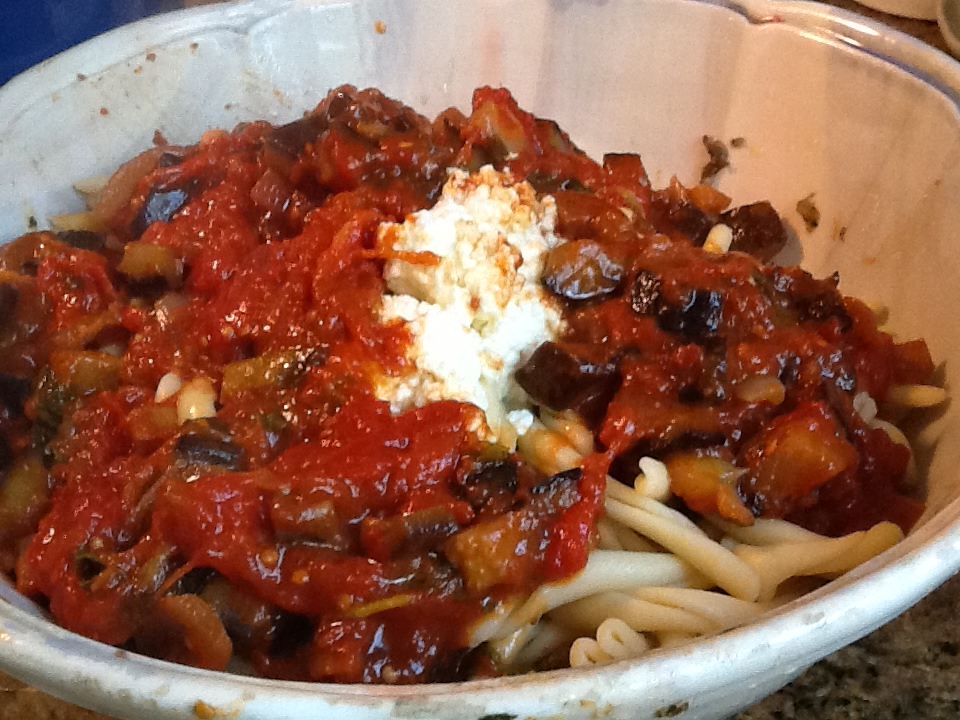
So as far as my variation on this recipe goes ( I suppose I’d better give my husband some credit here, as he really is the mastermind behind this particular version), to begin with, I didn’t use ziti, which is the traditional macaroni shape used.  I used long cavatelli.  My next break in tradition was the use of sautéd red onion.  And lastly, instead of ricotta salada, I used fresh ricotta (that was totally my idea).  So if you want to try the classical preparation, you now know how to change my version.  And please note, there is no garlic used in either, but if you like spicy, do add some red pepper flakes.   I realize that long cavatelli are difficult to find.  I’m fortunate to live in an area where you can get almost any ethnic ingredient you desire, especially Italian.  It’s almost as good as living in Italy.  So, certainly substitute with ziti or any long tubular macaroni like this.  I even love it with bucatini, perciatelli or spaghetti, even though Sicilians would flinch at the thought!   Also, supermarket ricotta is just fine….no need for fresh if it’s not available to you.

And lastly, any variation of Pasta Alla Norma is delicious baked in a 375 degree oven for approximately 45 minutes.  Just remember to cook the ziti al dente, and line the bottom of the baking dish with the sauce. You can even throw a little bit of seasoned bread crumbs on top for some crunch.

And so now for my version (oops, “our” version) of Pasta Alla Norma…..

RECIPE:

1 pound of pasta

2 medium eggplants, cut into 1 inch cubes

1 medium size red onion

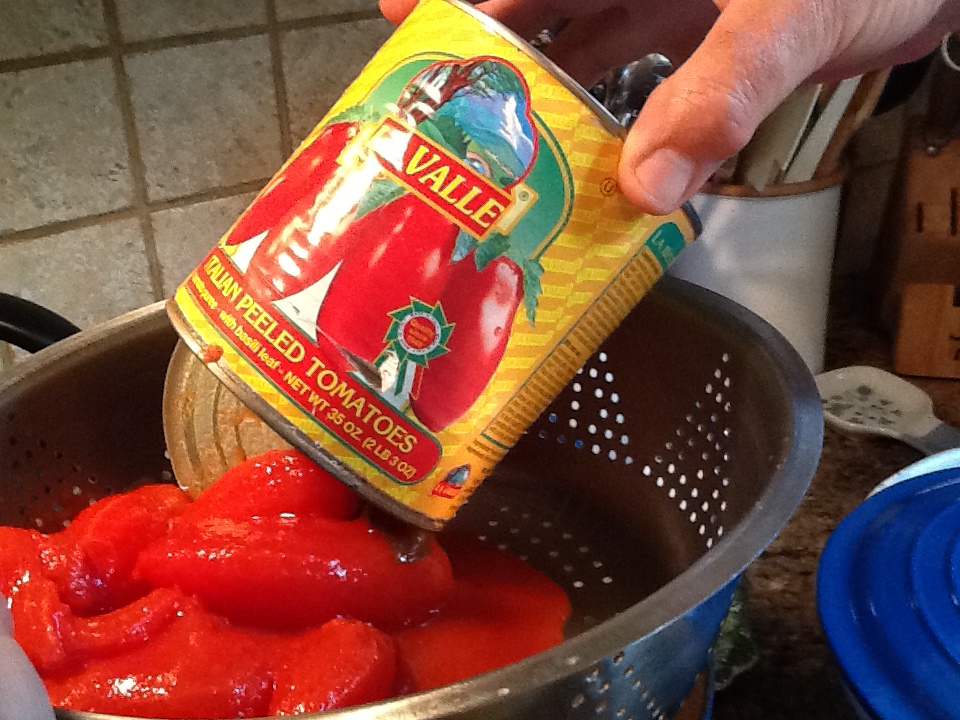
1 36 ounce can of whole peeled imported San Marzano tomatoes, squished in hands.

1/3  cup olive oil, plus extra for cooking the eggplant and onion.

20 basil leaves

1 cup ricotta cheese

salt and pepper to taste

Grated Pecorino Romano cheese, if desired

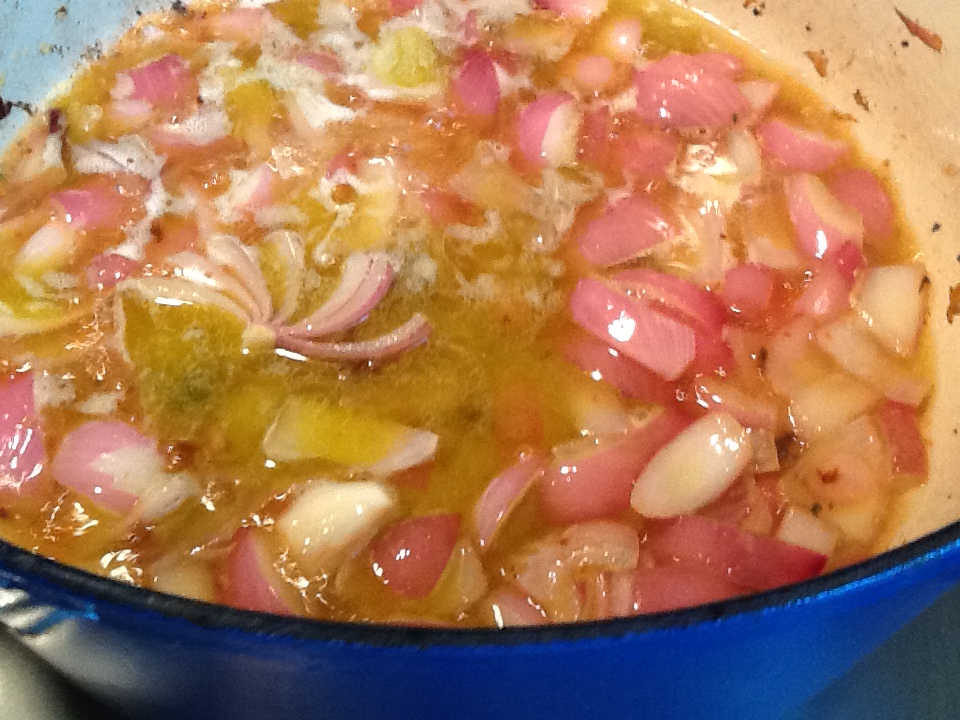
1.  Heat some of the olive oil in whatever pan you like for making sauce (I’m hoping you have a favorite).  Here I used a modern day Dutch oven, and I coat the bottom with olive oil for sautéing.

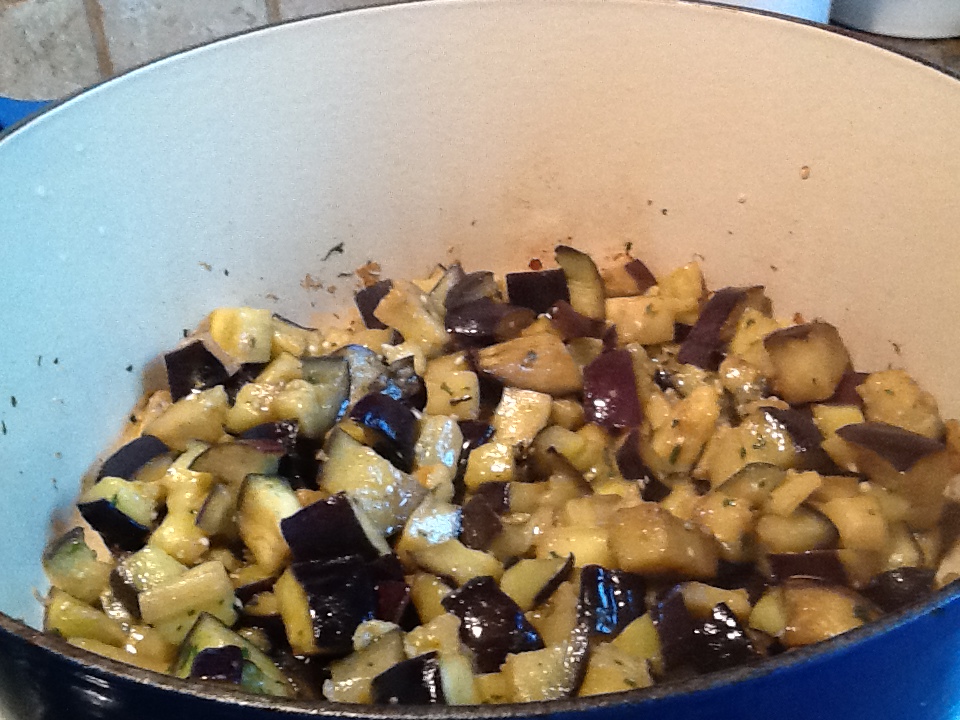
2.  Add the eggplant, and stir well to coat it with oil.  Cook for approximately 10 minutes, stirring often until eggplant is soft.  Add some salt (a pinch or two) while cooking and more olive oil if needed.

3.  Once the eggplant is cooked, remove it to a plate with paper towel to drain it of some oil.

4.  Now add more oil if needed, heat and sauté the onion until soft.

5.  Add the remaining olive oil and heat.

6.  Add the squished tomatoes and their juice.

7.  Simmer for 20 minutes.  Taste for seasonings and add half the basil leaves, torn in half.

8.  Add the eggplant back to the sauce and heat through for 5 minutes or so.

9.  Drain the pasta and put in a serving bowl.  Drizzle with just a little olive oil and toss.

10.  Add the ricotta cheese, sauce, remainder of the basil leaves and toss gently.

11.  Serve with freshly grated Pecorino Romano cheese, if desired.

eggplant sauce:saute

eggplant sauce:onion saute

eggplant sauce:onion cookedeggplant sauce canned tomatoes eggplant sauce cookingeggplant sauce cookedeggplant sauce ricottaeggplant sauce cavatell:ricottaeggplant sauce in bowleggplant sauce in bowl closeupeggplant sauce in bowl:basileggplant sauce in bowl mixed*eggplant sauce in bowl mixed closeupeggplant sauce platedeggplant sauce plated closeup

Eggplant Caponata ( a la Silvia)

Image

If you are “afraid of eggplant,” which has been the lament of my very dear friend for the past 27 years, then be “afraid” no more!  I have a simple and absolutely delicious recipe for you to try.   I suppose eggplant can be an intimidating vegetable, especially if you’re not Italian.  Heck, the British don’t even call it eggplant. They call this vegetable aubergine.  Who wouldn’t be afraid?

I absolutely love eggplant, and feel that I must have one hundred different ways to prepare it.   Perhaps that’s a slight exaggeration, but I even make eggplant “meatballs” (I’ll share that recipe soon as well).  Eggplant Caponata was never a favorite of mine,  and I just couldn’t understand why not, even though I tried countless different ways to make it.  It seems that different regions of Italy make it differently, but this was not something my grandmothers or mother made, so I was at a loss.  People told me to bake the eggplant, whole, in the oven and then scoop out the middle.  Others told me to cut it in chunks and sauté it slowly.   Some recipes call for fresh or canned tomatoes, and some just use tomato paste.  Some recipes include capers and olives.  I’ve even seen anchovies in some of the recipes.  Peel the eggplant or leave the skin on?    I’ve tried it all, but it wasn’t until I came upon this particular recipe for “roasted eggplant spread”  in the Barefoot Contessa’s Cookbook, that I was finally happy.   I made a few modifications, and can now say that I am 100% happy with my caponata.

I made Eggplant Caponata for this “eggplant anxious” friend the other night and she loved it. She timidly asked for the recipe, and I convinced her to conquer this fear once and for all and give this recipe a try.   There’s nothing to be afraid of.  It couldn’t be simpler, and everyone ( even those scared of eggplant) always leave my house wanting the recipe.

RECIPE: 

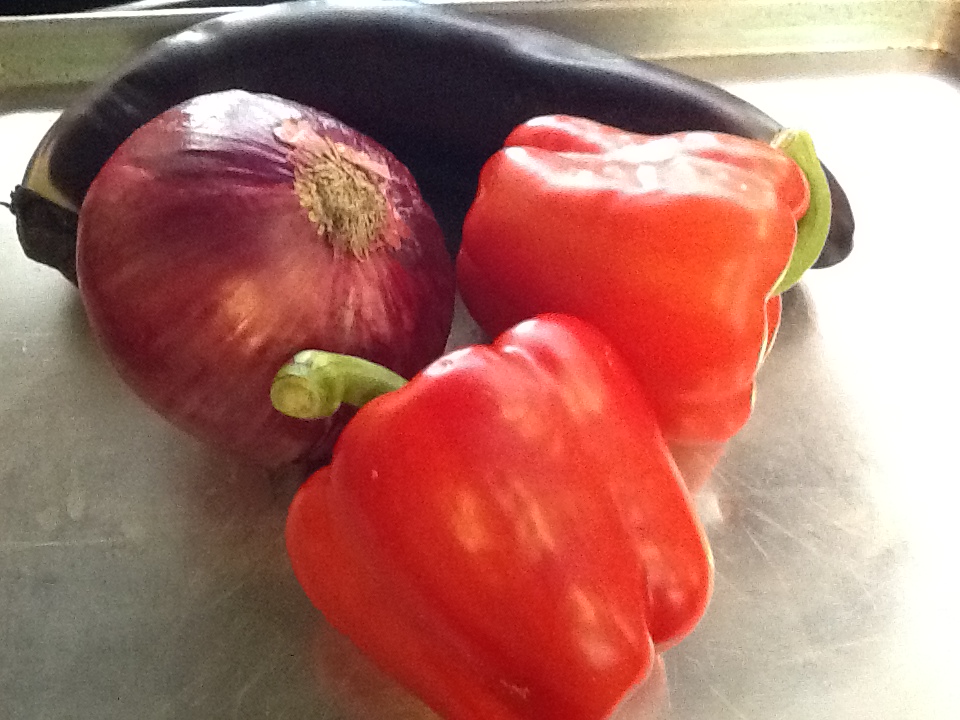
1 large eggplant, NOT peeled.  The skin gives a great texture and color.

2 red bell peppers

1 red onion , peeled

3 cloves garlic, minced

4 TBSP good olive oil (who uses bad??)

2 tsp. Kosher salt

1/2 tsp. freshly ground pepper

2 TBSP tomato paste

1.  Preheat oven to 400 degrees.

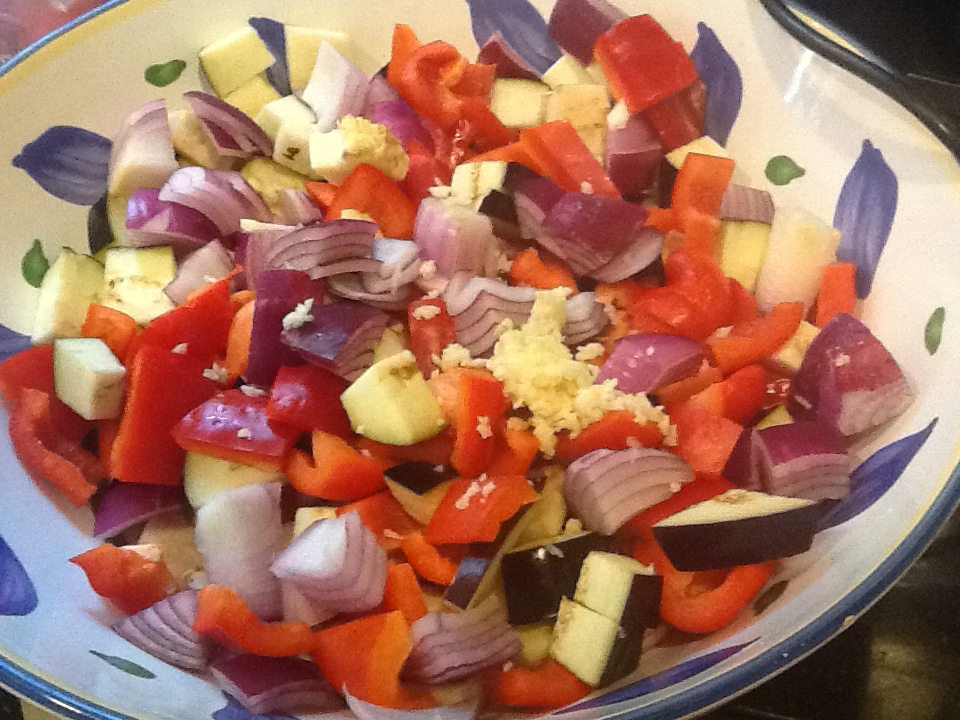
2.  Cut the eggplant, bell peppers and onion into 1 1/2 inch cubes (roughly).

3.  Toss them in a large bowl with the garlic, olive oil, salt and pepper.

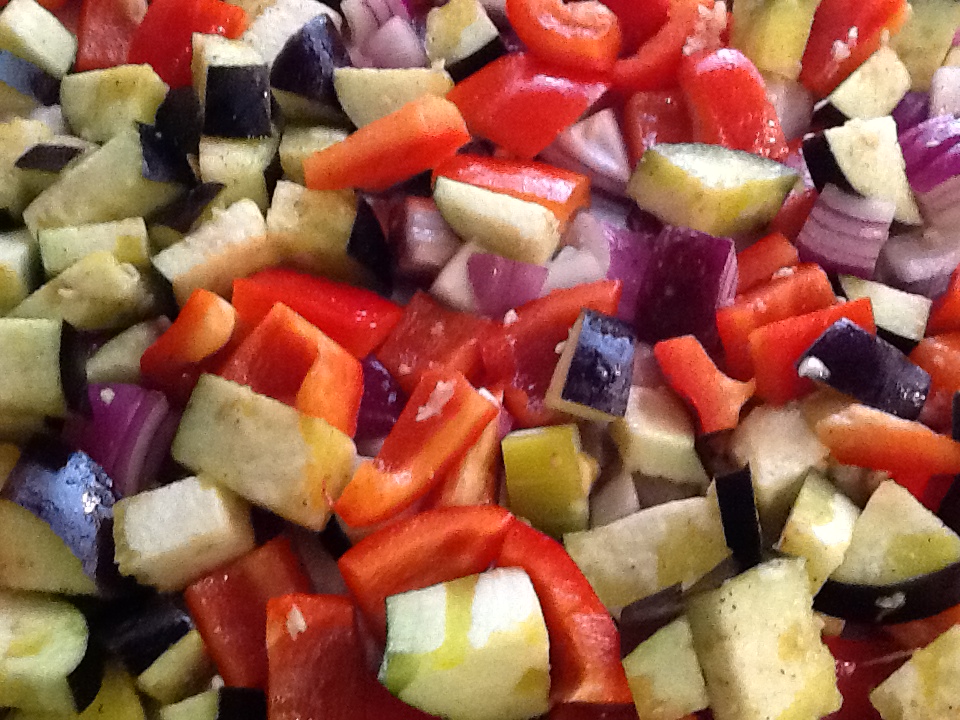
4.  Spread them on a baking sheet (I usually spray the baking sheet with olive oil spray first).

5.  Roast for approximately 45 minutes until vegetables are lightly browned and soft, tossing once or twice during cooking.  Cool slightly.

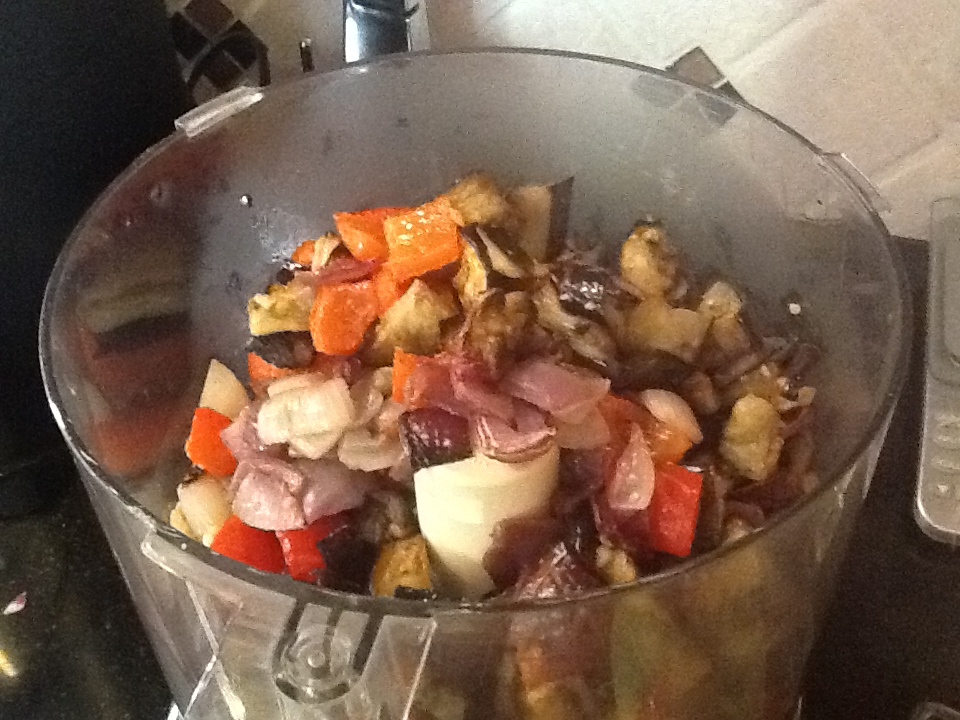
6.  Place the vegetables in a food processor fitted with a steel blade.  Add the tomato paste and pulse 3 or 4 times to blend.  Taste for Salt and pepper.

Image

Image

Image

Image

Image

Image

Image

Image

String (Green) Beans and Tomatoes

Image

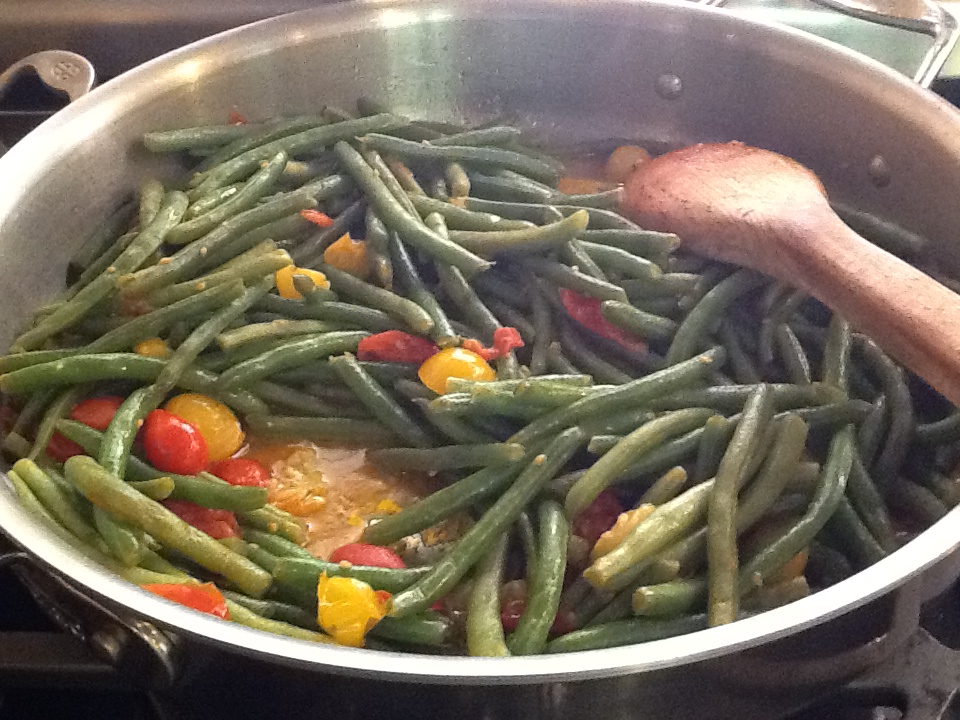
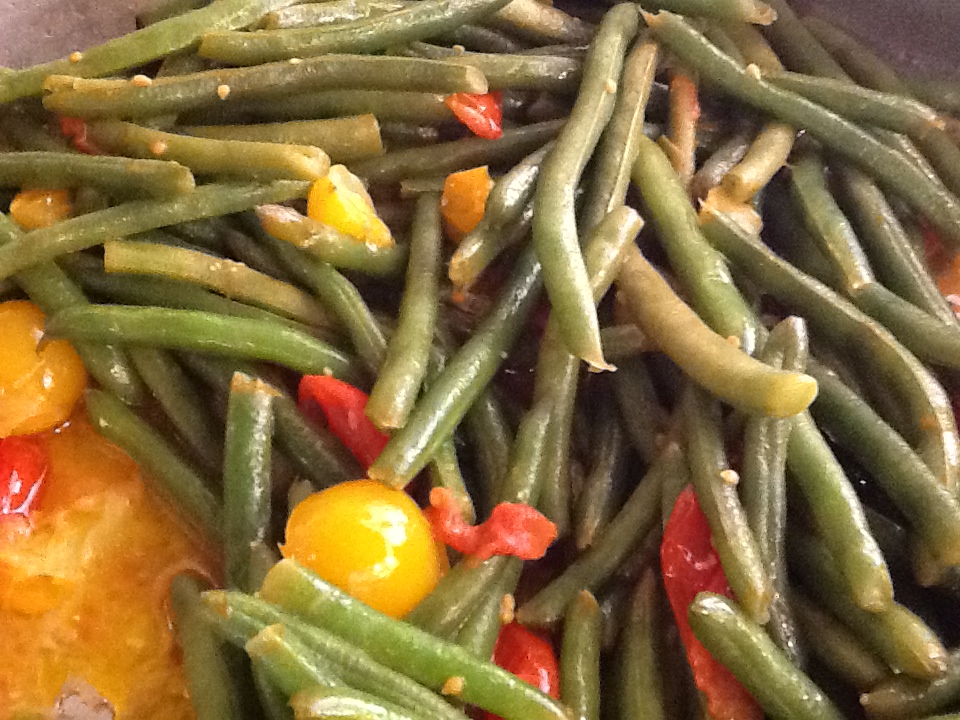
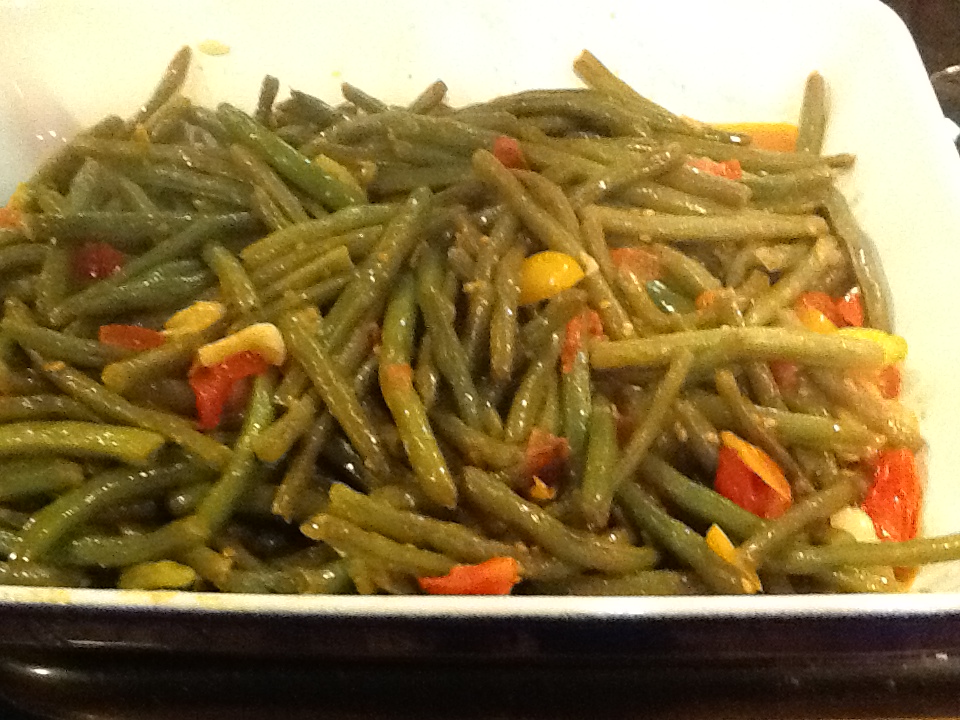
While I continually waited for my mom to make the famous “French’s Green Bean Casserole” that was so popular in the 60s and 70s, I knew that string beans ( we never called them “green beans” in my household, growing up) with tomatoes and garlic, was about as good as it was ever going to get for me.   I longed for the creaminess of that Cream of Mushroom Soup and the crunchiness of  the French’s Fried Onion Rings in the can. But I knew this casserole was never coming to the dinner table as long as my mom was cooking, and my dad was sitting at the head of the table.

All this being said, my mom did make string beans a heck of a lot better than some of my friends’ moms did.  There was nothing less appealing than these basically tasteless green morsels, dotted with butter. Thank goodness for the butter, but honestly, how boring can you get?  This is the reason why kids hate vegetables…..boring!   I must say that these “string” beans that my mom made had lots of flavor, and I have been able to tempt my children and grandchildren to eat their vegetables without having to add the extra trans fats and sodium from a canned soup or fried onions.  My mom used to make her string beans using canned, peeled Italian tomatoes, of course, squished in her hands and sautéd in olive oil and sliced garlic.  I do this in winter, but in summer, I love to use fresh, ripe cherry tomatoes.  By now you know my addiction to these tomatoes, especially in the summertime, when they are locally farm grown.  So this is just another way to use up the many pounds of cherry tomatoes that are in my kitchen all summer long.  In the winter, I revert back to the canned Italian tomatoes, and it’s also just delicious, so I will give you the recipe for both styles.  I hope you and your family enjoy them both.

RECIPE:

2 pounds green beans

1/4 cup olive oil

3 garlic cloves, sliced

2 cups cherry tomatoes, halved …...or

2 cups Italian peeled plum tomatoes (San Marzano, please), drained and squished

Salt

Pepper

6 fresh basil leaves, torn into pieces……..if you have it on hand.

1.  Trim ends of green beans and blanch in a large stock pot of well salted boiling water  until bright green in color, but still crisp, about 2 minutes.  Drain and shock in a bowl of ice water to stop them from continuing to cook.

2.  Meanwhile heat the olive oil in a large heavy skillet.  Add the garlic and sauté for about one minute.  Add the tomatoes and about 1/4 teaspoon of salt.  Stir well.  Cover and cook for approximately 10 minutes.

3.  Add the green beans to the cooked tomatoes.  Stir well and cook until heated through, about 5 minutes.  Adjust for seasonings.  Add basil if you like.

Image

Image

Image

Image

Image