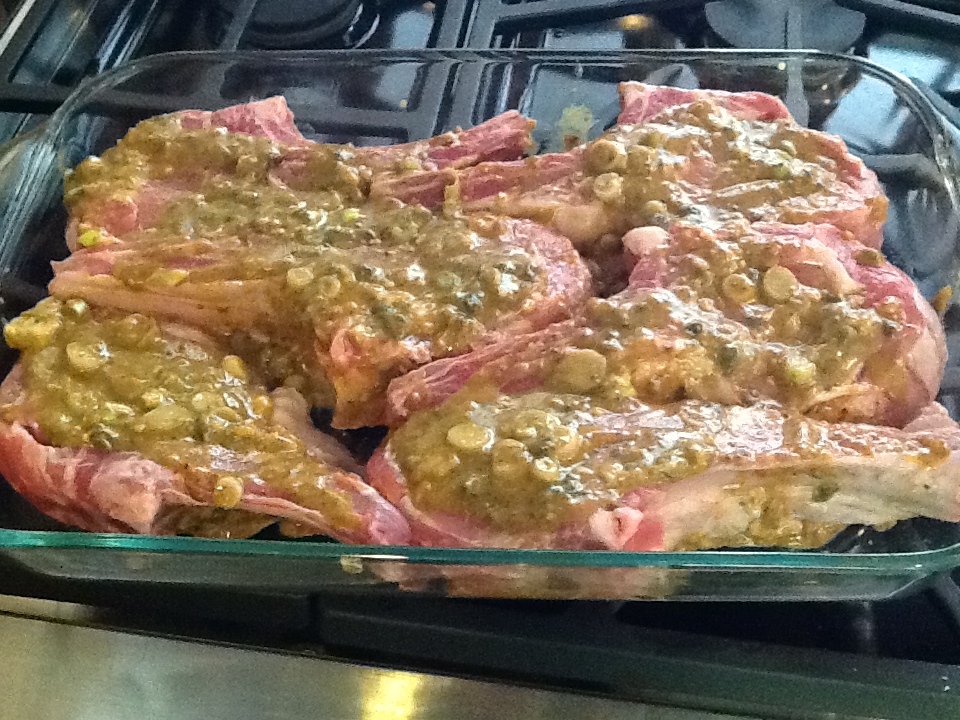
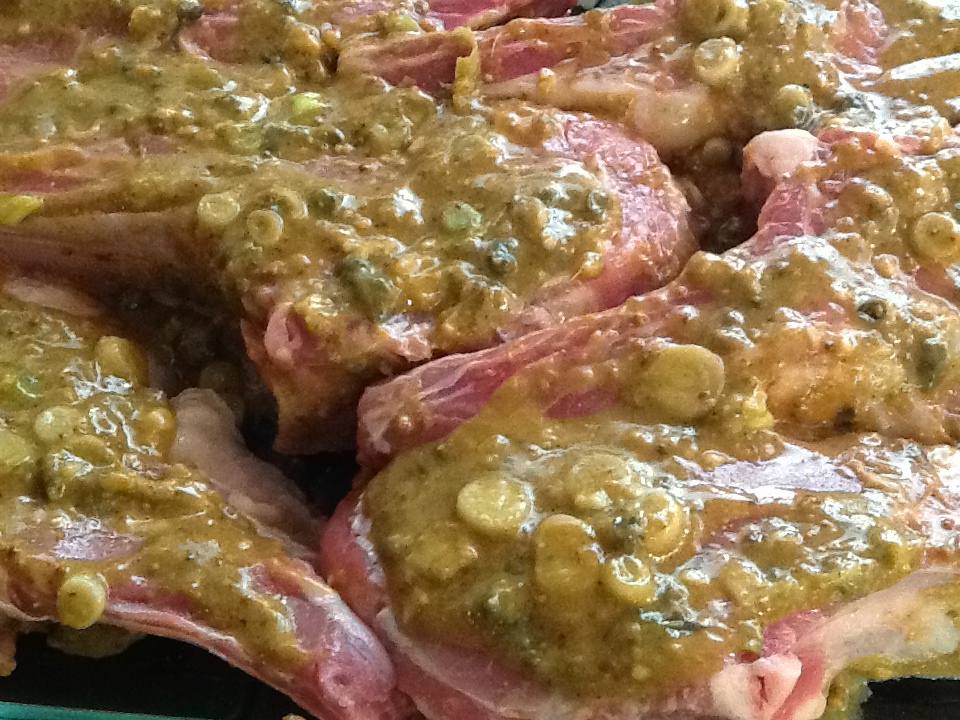
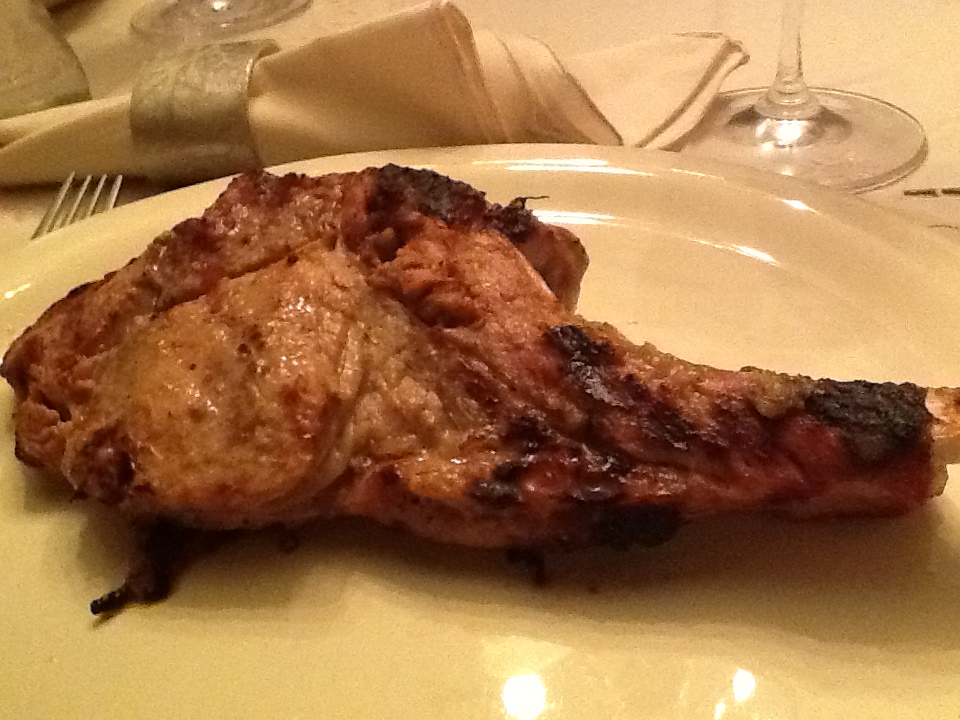
Barbecued Veal Chops

Image

Vegetarians beware.  This post may contain disturbing pictures.  I’m sensitive to the beliefs of vegetarians and always honor their requests when cooking for them.  While I generally follow a Mediterranean diet of mostly vegetables, grains, legumes and fish,  I do desire a piece of meat now and then.  So when given the opportunity to cook for a bunch of meat loving carnivores, I go to town.  I tend to like my meat cooked on the grill when possible.  However, grilling can be challenging, especially in my household.  For some reason, I have always thought of grilling as “the man’s job.”  So I continually pass this job off to my husband, which is a big mistake.  Yet I continue to do so and am always upset when he ruins a beautiful, expensive piece of meat.  He has literally charred thousands of dollars of meat to ruins over the years.  We have fondly nicknamed him “the killa on the grilla.”  And yes indeed, he can kill a nice cut of meat, if you let him.  Where is my feminist self?  Why can’t I be the griller in the family?

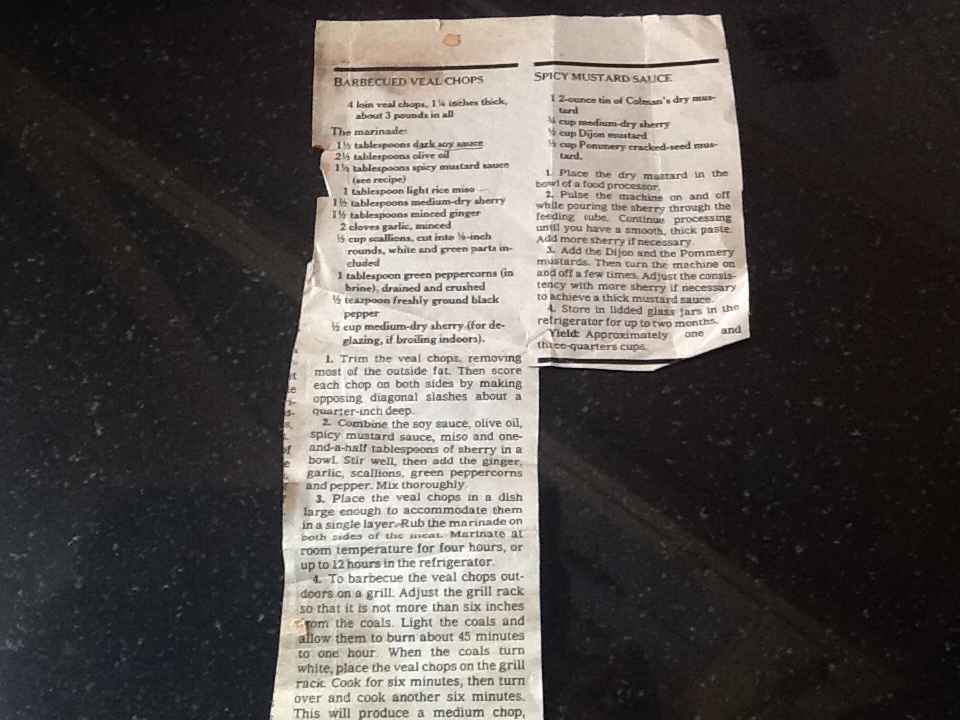
Recently, we were having a dinner party for 6 meat loving friends.  I decided to take the challenge, and prove to myself that I can grill as good as the next guy/gal.  After all, I have watched enough episodes of chef Bobby Flay on the grill.  I also have another secret weapon.  I had a foolproof recipe for barbecued veal chops that I tore out of the New York Times Magazine in 1985.  At that time, I was planning my first dinner party where the food was to be cooked on a grill.   I was nervous, to say the least, but this recipe was very explicit in it’s directions.  It worked to perfection then and has not failed me since.

So I would like to share the marinade, as well as the cooking method with you.  The cooking method used in this recipe from the Times was a charcoal grill, as gas grills were not as common as they are now.  However, I also have the perfect method for the gas grill as well, by consulting several grilling cookbooks over the years.    Once you try this,  I believe it will be in your grilling repertoire for many years to come.  Please don’t let the rice miso scare you.  It’s now very  easy to find in most supermarkets, and you can use the extra in soups and dips.

Come on ladies…. you can do it!

RECIPE:  Barbecued Veal Chops

4 loin veal chops, 1 1/4 inch thick

The marinade:

1 1/2 TBSP dark soy sauce

2 1/2 TBSP olive oil

1 1/2  TBSP spicy mustard sauce (see recipe)

1 TBSP light rice miso

1 1/2 TBSP medium dry sherry

1 1/2 TBSP minced ginger

2 cloves garlic, minced

1/3 cups scallions, cut into 1/8 inch rounds, white and green parts included

1 TBSP green peppercorns (in brine), drained and crushed

1/2 teaspoon freshly ground pepper

1/2cup medium-dry sherry (for broiling if indoors).

1.  Score each veal chop on both sides by making opposing diagonal slashes about a quarter-inch deep.

2.  Combine the soy sauce, olive oil, spicy mustard sauce ( recipe below), miso and one-and-a-half tablespoons of sherry in a bowl.  Stir well, then add the ginger, garlic, scallions, green peppercorns and pepper.  Mix thoroughly.

3.  Place the veal chops in a dish large enough to accommodate them in a single layer.  Rub the marinade on both sides of the meat.  Cover with plastic wrap and marinate in the refrigerator for four to twelve hours.  Take the meat out of the refrigerator thirty minutes or so before grilling, to bring it back to room temperature.

4.  To barbecue outdoors on a charcoal grill:  Adjust the grill rack so that it is not more than six inches from the coals.  Light the coals and allow them to burn about 45 minutes to one hour.  When the coals turn white, place the veal chops on the grill rack.  Cook for 6 minutes, then turn over and cook another 6 minutes.  This will produce a medium chop, crusty on the outside and pink within.  Allow the meat to sit at least 5 minutes on a serving plate before serving.   To barbecue on a gas grill:  Turn the grill on to High heat.  Let it heat up for 15 minutes.  Put the chops on the direct high heat.  Cook for 5 minutes, and then turn  the meat and cook for another 5 minutes.  Let the meat rest for 5 minutes before serving.

5.  To cook indoors in the broiler:  Preheat the broiler for 20 minutes.  Place the veal chops on a rack resting in a shallow roasting pan.  Broil them as close to the flame as possible for 6 minutes.  Turn the chops over and carefully sprinkle in a half cup of sherry, which will prevent the drippings from burning and will add flavor to the natural sauce.  Broil the chops another 6 minutes, then remove to a serving platter. Reduce and deglaze the the drippings by placing the pan over a low heat, then stirring until all the juices have been incorporated into the sauce.  Pour this over the chops.

Spicy mustard sauce:

1 2-ounce tin of Colman’s (or any brand) dry mustard

3/4 cup medium dry sherry

1/2 cup Dijon mustard

1/2 Pommery (or any brand) cracked-seed mustard

1.  Place the dry mustard in the bowl of a food processor.

2.  Pulse the machine on and off while pouring the sherry through the feeding tube.  Continue processing until you have a smooth, thick paste.  Add more sherry if necessary.

3.  Add the dijon and cracked-seed mustards. then turn the machine on and off a few times.  Adjust the consistency with more sherry if necessary to achieve a thick mustard sauce.

4.  Store in lidded glass jars in the refrigerator for up to two months.

Image

Image

Image

Image

Image

Image

Image

Image

Image

Penne with Roasted Tomato Sauce

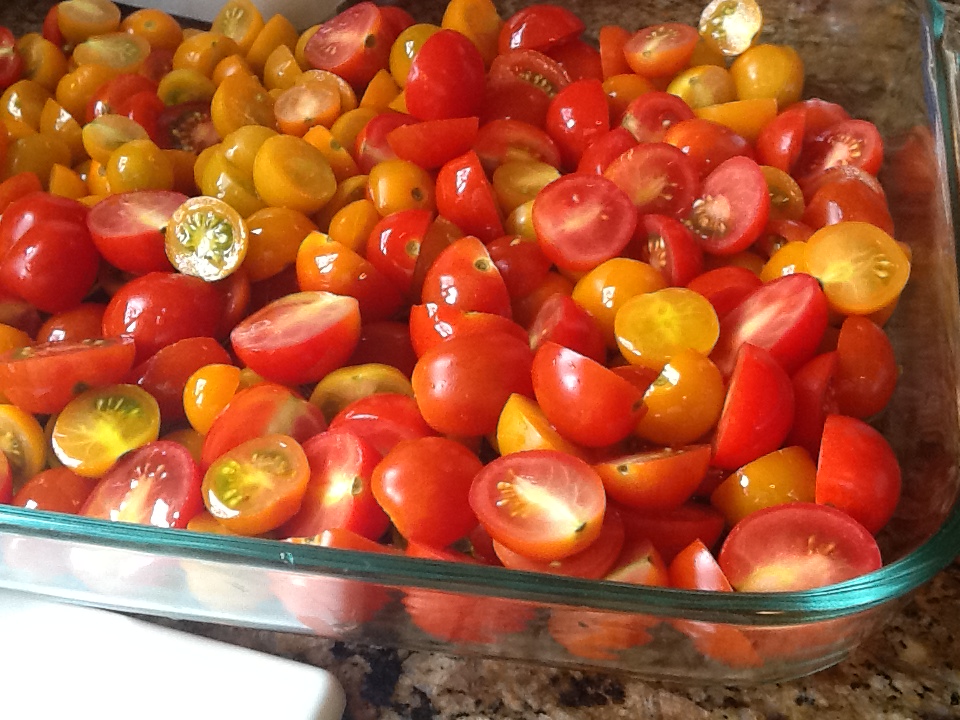
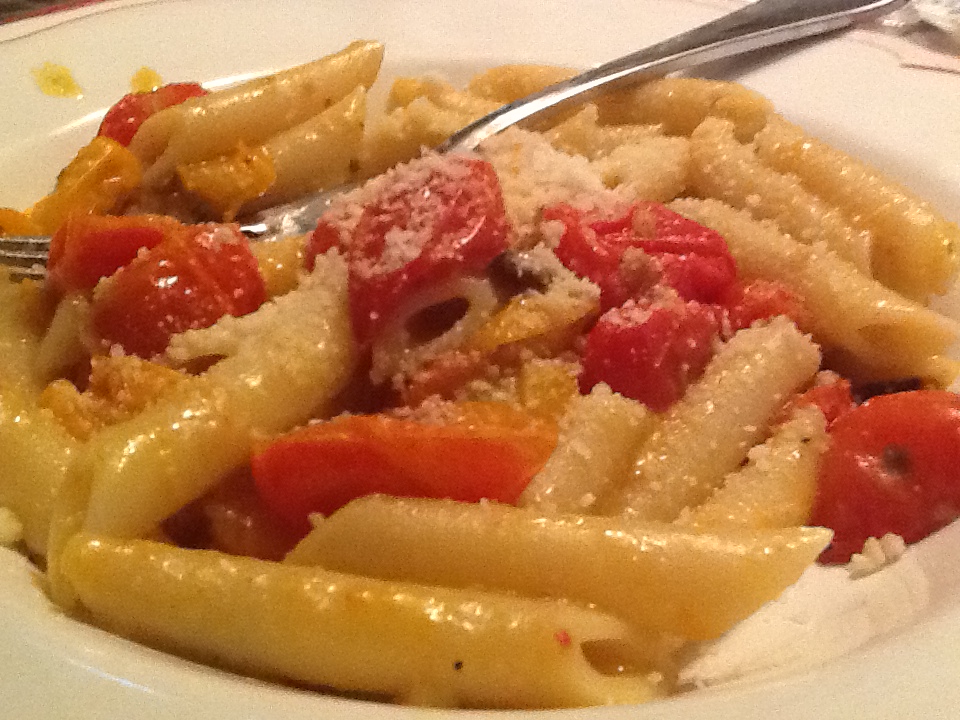
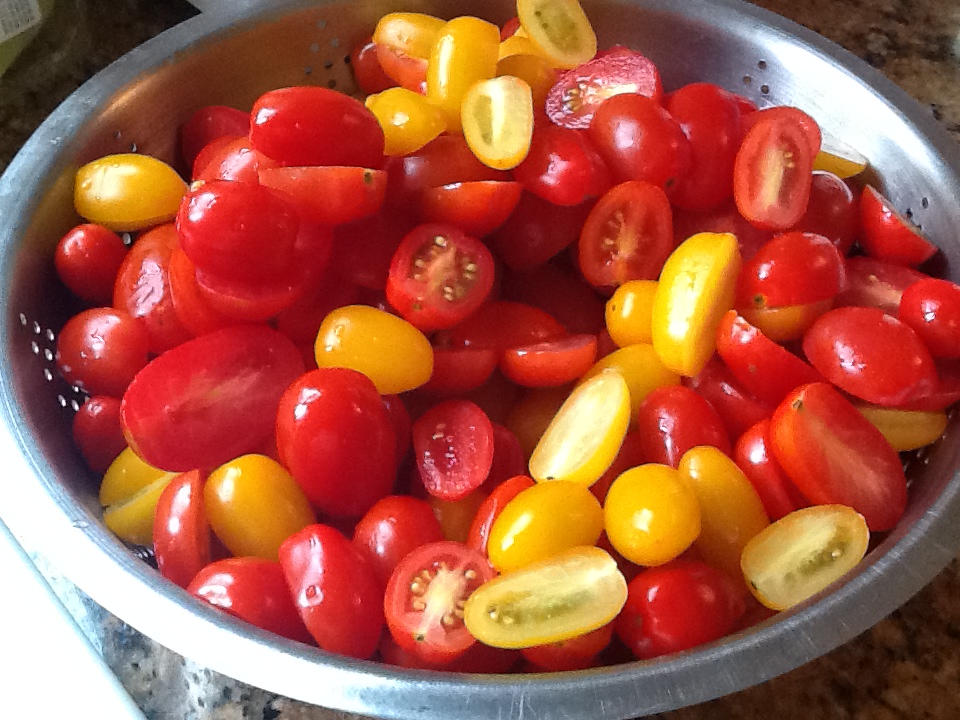
Image 2001 was the year of the “cherry tomato.”  When I look through my folder of pasta recipes, I laugh at all the different recipes using cherry tomatoes that my friends and I shared during this period.  We were crazy for these red, juicy, flavorful little tomatoes.  Over the years, we have seen yellow ones, orange ones, and even some purple colored heirloom types appear at farmers’ markets and supermarkets.  I love using these tomatoes whenever I can.  When I first came upon this recipe in 2001, I thought that perhaps I could substitute this sauce for a Sunday “red sauce” for my family.  It’s a bit richer and thicker than the other cherry tomato sauce I have posted.  But while everyone thought it was delicious, it just didn’t cut it for my Italian family, who only wanted a heavy red sauce (“ragu”) on Sundays.  Really people, not even in the summer??  I did try this several times when we were gathered at the Jersey Shore ( notice I didn’t say “down the shore”), but still it was a “no go” for Sundays.  Thank goodness times change, and so do people.  Now even my 92 year old dad enjoys this roasted tomato sauce on Sundays.  I just made it for him this past Sunday, and after his second bowl, he said, “why don’t we have this more often?”  And, as you will see from the pictures, I didn’t use only red tomatoes! The beauty of this dish, aside from the colorful presentation, is that it can all be made in under thirty minutes.  Once you put the tomatoes in the oven, you just boil the pasta water, cook the pasta al dente, and then it all comes together at one time.  I promise you that this dish will become a mainstay for your family, yet elegant enough for company.  I’ve “wowed” many with this dish, especially unexpected company.  I usually have cherry tomatoes in the refrigerator, and of course, the other ingredients are staples for any Italian home cook. I hope Sunday’s leftovers are still in the fridge.  It’s yummy cool as a pasta salad as well.

RECIPE:

2 pounds small cherry tomatoes, of any color, halved

2/3 cup extra virgin olive oil, plus 3 TBSP for tossing

Sea salt

Freshly ground pepper

1/2 cup freshly grated Pecorino Romano cheese, plus more for serving

1/2 cups bread crumbs (I use Italian flavored bread crumbs)

1 pound penne

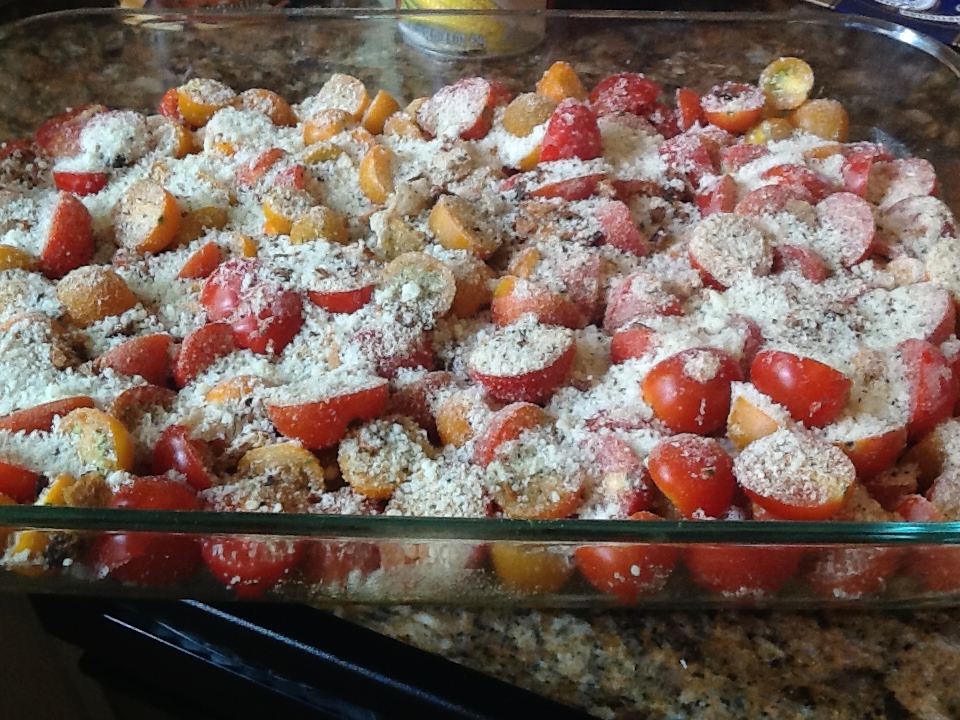
1.  Preheat oven to 425 degrees.  Line bottom of casserole dish with cherry tomatoes in a single layer, halved side up.  ( I crowd them all together and don’t pay too much attention to what side is up). 2.  Pour oil on top.  Season with salt and pepper.  Sprinkle cheese and bread crumbs on top. 3.  Bake until tomatoes have wilted, about 20 to 25 minutes. 4.  Meanwhile, bring a large pot of salted water to a boil.  Season with enough se salt     so that the water tastes mildly salty. 5.  When tomatoes are just about done, add penne to water and cook until al dente.  Scoop out about a cup of pasta water and reserve. 6.  Drain pasta and add to casserole.  Place over medium heat and fold tomatoes and pasta together, adding another 2 to 3 tablespoons of oil, to coat.  Taste and adjust seasonings.  If it is too dry, add a little reserved pasta water. 7.  Serve, passing more grated cheese at the table. Image Image Image Image Image Image Image Image Image

Key Lime Pie

ImageI first tasted Key lime pie in Key Biscayne, Florida when I was 19 years old.  Upon first bite of this velvety, sweet dessert, I knew I was in love.  I would forever be on a quest for the perfect Key lime pie.  It was not easily found outside of Florida back then, so many years went by before I met up with this delicious stranger once again.  But whenever I went to Florida, you knew what I was getting for dessert, even before a menu came out.  Now that I am spending more time in Florida (oops, is my age showing?), I always order Key lime pie every time we are out to dinner.  After our stay is over, I pick the “winner” as they all claim to be the “authentic recipe.”  I do admit to being a bit obsessed.  

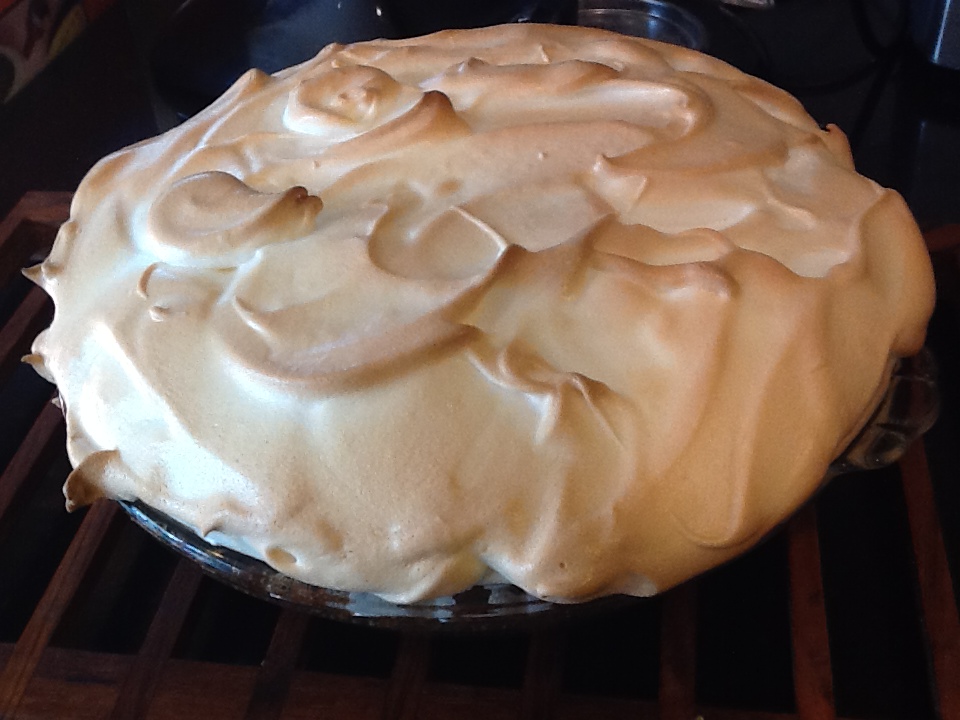
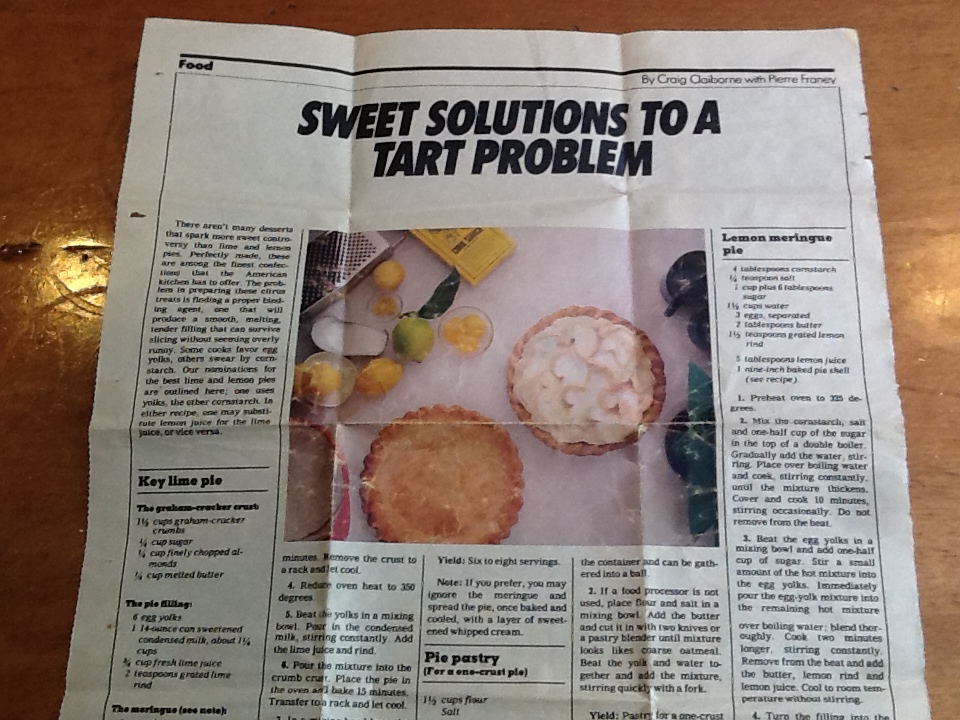
But the real “winner” is from this recipe that I tore out of the New York Times Magazine in 1981 by Craig Claiborne and Pierre Franey.  These two chefs were culinary icons at this time, and their recipe intimidated me.  Was I up to their standards?  I didn’t think so at the time, but I simply had to give it a try.  Even though I keep comparing it to many others, I always come back and say “this one is simply the best.”  I think the meringue could have something to do with it.  You be the judge, and please let me know what you think.  And if you have a better recipe, or a restaurant to recommend, please do.  I just can’t get enough  of this Floridian sweet.

RECIPE:

The graham-cracker crust:

1 1/2 cups graham-cracker crumbs

1/4 cup sugar

1/4 cup finely chopped almonds

1/4 cup melted butter

The pie filling:

6 egg yolks

1 14-ounce can sweetened condensed milk, about 1 1/4 cups

3/4 cup fresh lime juice

2 teaspoons grated lime rind

The meringue (see note):

6 egg whites ** See note

1 cup sugar

1/2 teaspoon cream of tartar

1.  Preheat oven to 375 degrees.

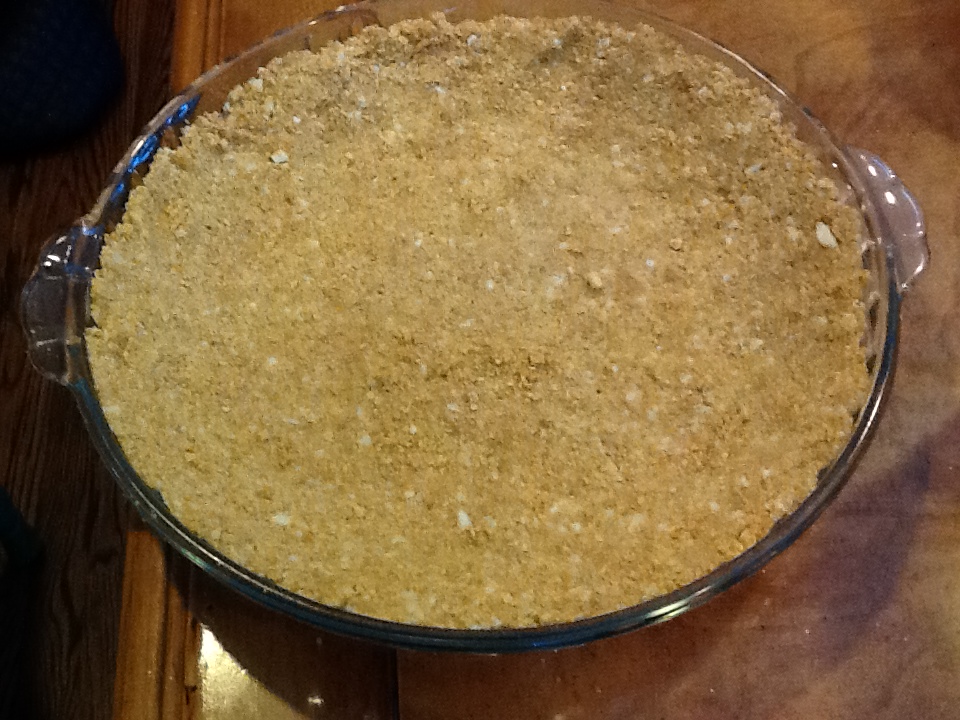
2.  Combine the crumbs, sugar, almonds and butter in a bowl.  Blend well.

3.  Use the mixture to line the bottom and sides of a 10-inch pie plate.  Bake eight to ten minutes.  Remove the crust to a rack and cool completely.

4.  Reduce oven heat to 350 degrees.

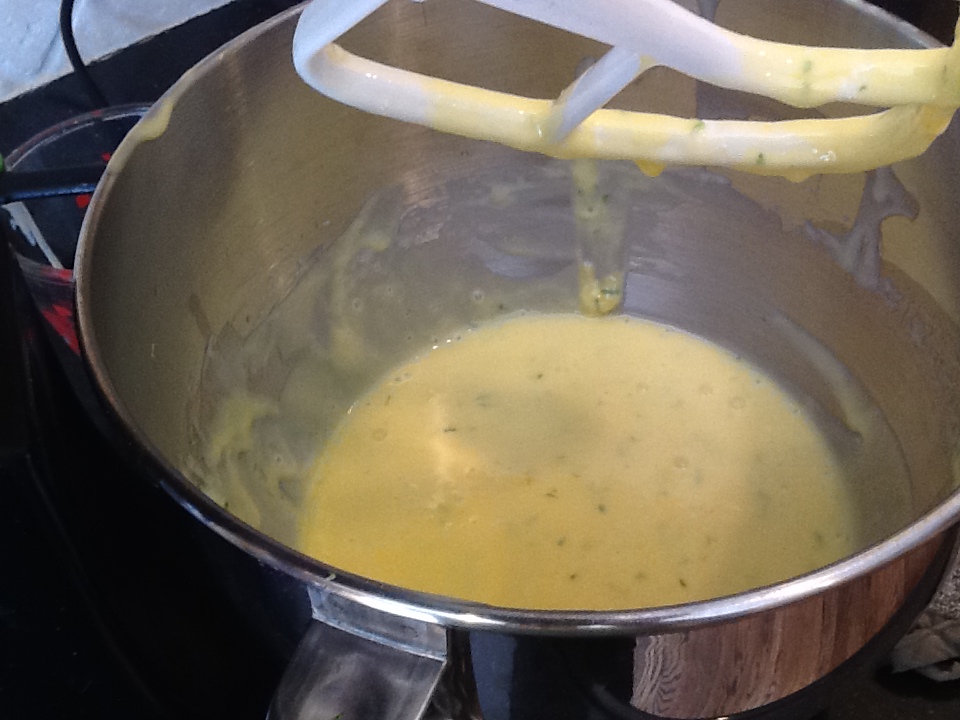
5.  Beat the yolks in a mixing bowl.  Pour in the condensed milk, stirring constantly.  Add the lime juice and rind.

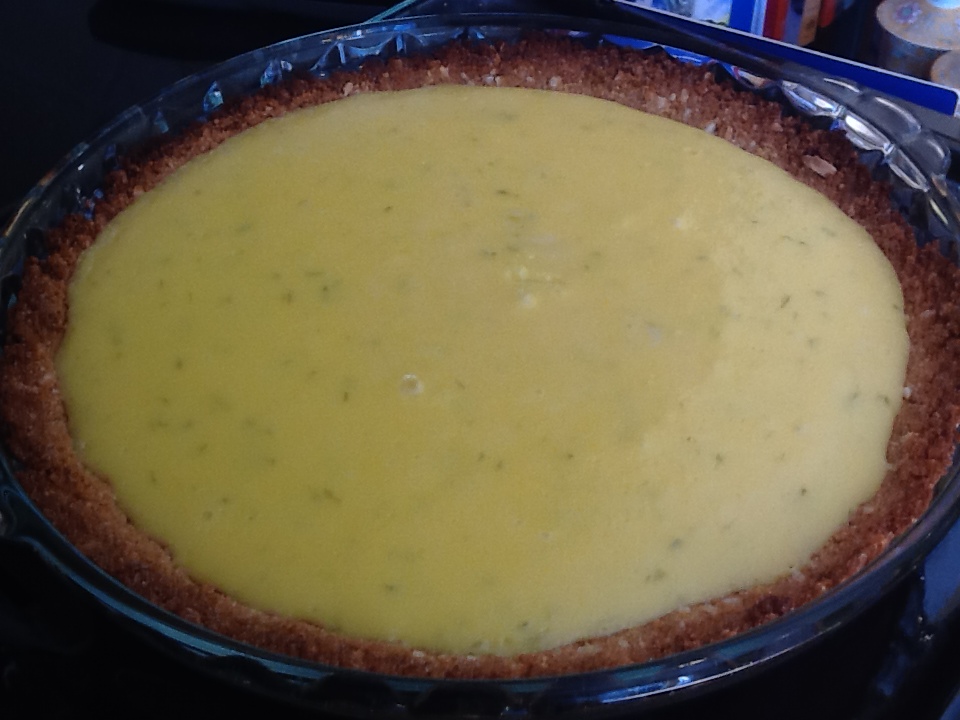
6.  Pour the mixture into the crumb crust.  Place the pie in the oven and bake 15 minutes.  Transfer to a rack and cool completely.

7.  In a mixing bowl, beat the egg whites until frothy.

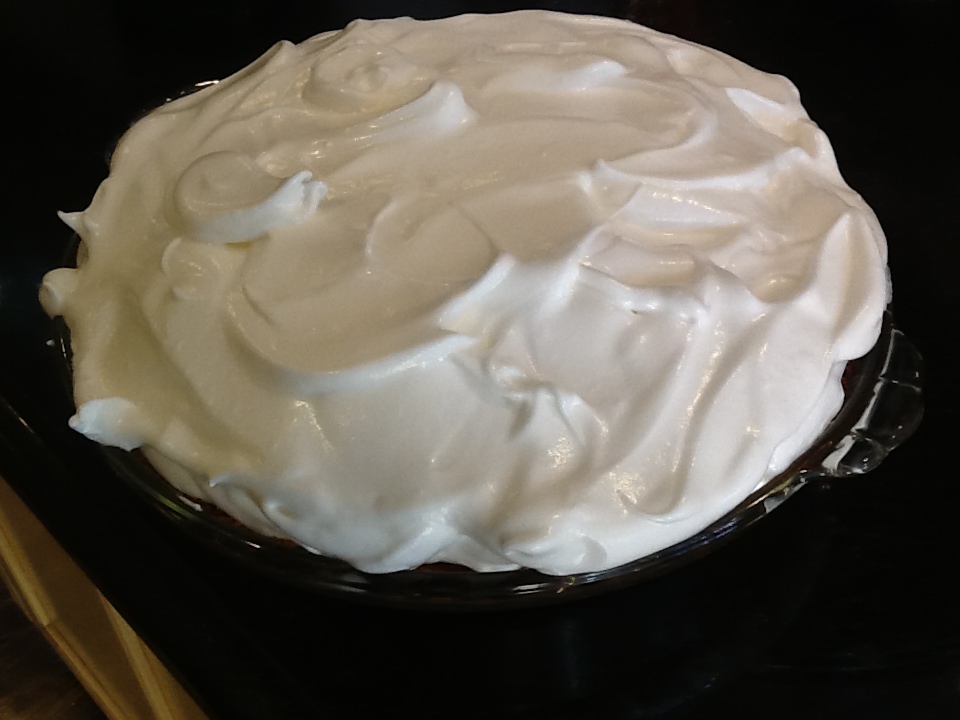
8.  Gradually add the sugar and cream of tartar, beating constantly until peaks form.  Continue beating until stiff.

9.  Spread the meringue over the pie, being sure to cover all the way to the edge of the crust.  Bake five to six minutes or until meringue is nicely browned.  Remove to a rack to cool. Serve chilled.  ***See note.

NOTE:  from Craig and Pierre (but definitely not me).  “If you prefer, you may ignore the meringue (not), and spread the pie, once baked and cooled, with a layer of sweetened whipped cream.”  

**NOTE:  I use 7 egg whites to make sure that the meringue is plentiful!

***NOTE:  Make sure you cool the finished pie completely before you chill it in the fridge.

Image

Image

Image

Image

Image

Image

Image

Image

Image

Erica’s S’mores

Image

As a child, I always loved to roast marshmallows over the dying embers of the outdoor  grill after a barbecue. My brother, sister and I would stand for hours with our sticks, waiting for the marshmallows to toast to our individual specifications. My sister’s were always evenly roasted, with just the right amount of burnt crunch. My brother impatiently set his aflame.  And I, of course, was mainly concerned with merely eating as many as I could before my parents took the bag of marshmallows away.  I wish I’d had the foresight to invent what we now call S’mores.  It was pure genius.  Kids love marshmallows, chocolate and graham crackers, and once put all together, it’s pure heaven.

Do we need a recipe for this?  Well, my granddaughter, Erica, has put an enormous effort into making the “perfect S’more.”  She has it down to a science, and let me just say, she turns out a scrumptious piece of sweet perfection every time.  Now her male counterparts (brothers and cousins) make their S’mores is rough haste, slapping it all together in reckless abandon.  Their object is to get as many S’mores as possible into their tummies in no time at all.   You will see from her recipe, that she has each move down to the second.  She is patient and precise, and also enjoys every bite.

My first experience making S’mores was only a few years ago.  This is when our grandchildren were old enough to realize that an outdoor fire pit was the perfect cooking mechanism needed.  We all love to sit outside and gather around the fire at our mountain house in the Catskills.  And you know what that leads to…..roasting marshmallows and making S’mores. I must say, if you can overlook all that sugar, this is a wonderful way to get to know your grandchildren. You can learn a lot about someone’s personality by the manner in which they make and eat S’mores.  Also, since no one can sleep after this sugar consumption, we end up huddling around the fire telling stories or perhaps a dance party will ensue.  Either way, S’mores have contributed greatly to the many happy memories I have of my grandchildren.  It’s back to the basics……..which is a wonderful thing in this electronic day and age.

I hope we are all gathered around the fire pit for many, many more years.  You can never get enough of the grandkids….or S’mores!

RECIPE:  (by Erica)

Graham Crackers

Hershey’s “Symphony” milk chocolate bar***See note below

Marshmallows

1.  Prepare your graham cracker by breaking it neatly into 2 squares.

2.  Place the chocolate on top of one of the squares, covering it from corner to corner.

3.  Place one marshmallow securely on a long twig (you don’t want to get too close to the fire).

4.  Place marshmallow into the fire, rotating for approximately 10 seconds.  Then find a nice flame and let it catch on fire for only 2 seconds.  Pull it quickly out of the fire and blow on it to put out the flame.

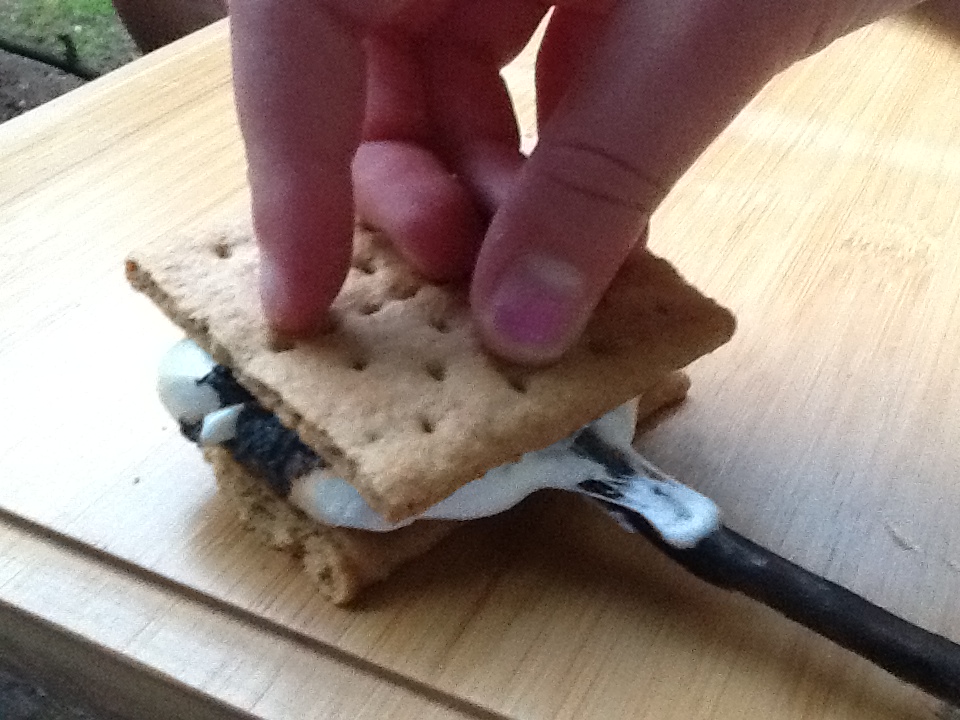
5.  Place the charred marshmallow on top of the chocolate.  Using you other hand, put the other graham cracker square on top.  Gently pull out the stick, while using you hand to keep it neatly together.

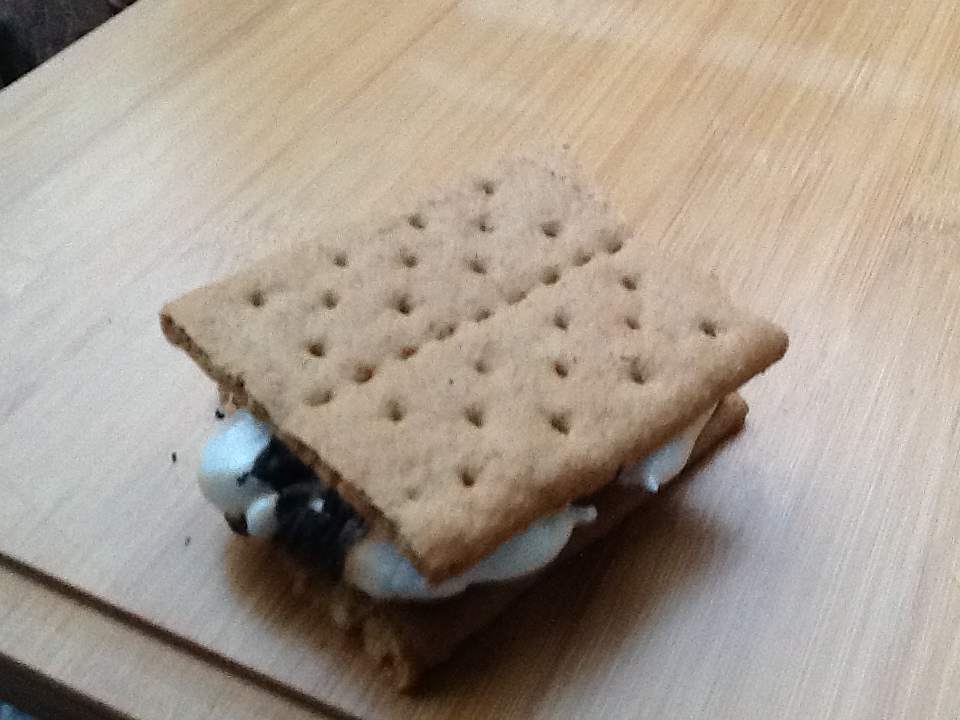
6.  Give it one last, light press of the hand to smoosh it altogether.

7.  Be careful to let it cool a bit before taking that first delicious bite.

***Note:  Hershey’s Symphony Milk Chocolate Bar is Erica’s chocolate choice.  We have used others, even dark chocolate and they are all good, but this is heaven.  She also feels that the thickness of a large bar adds to the flavor…..more chocolate.

Image

Image

Image

Image

Image

Image

Image

Image

Image

Image

Image

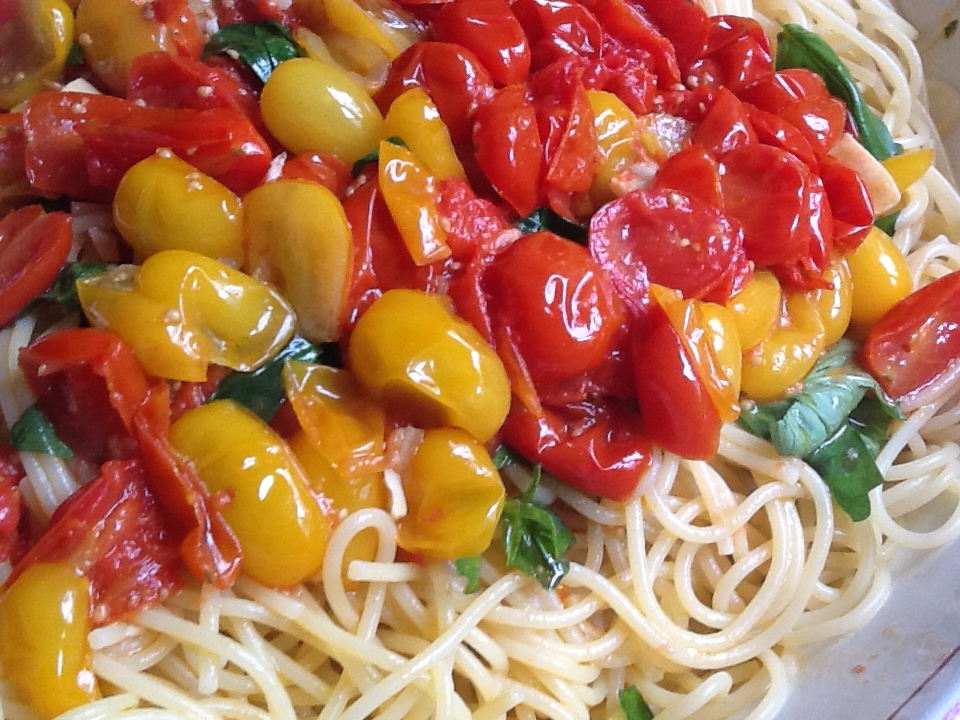
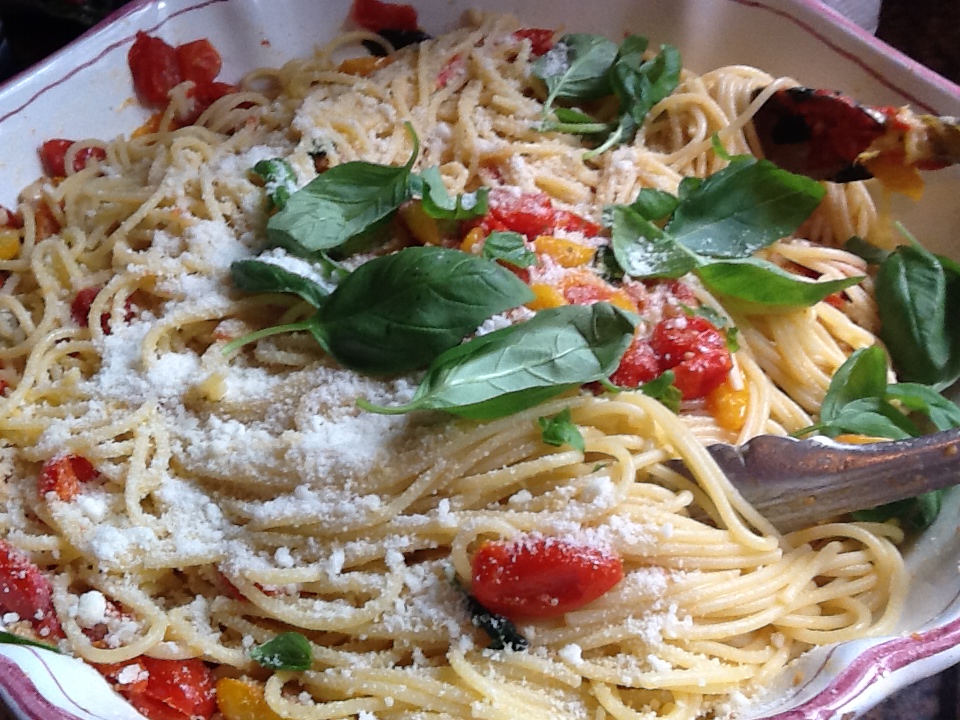
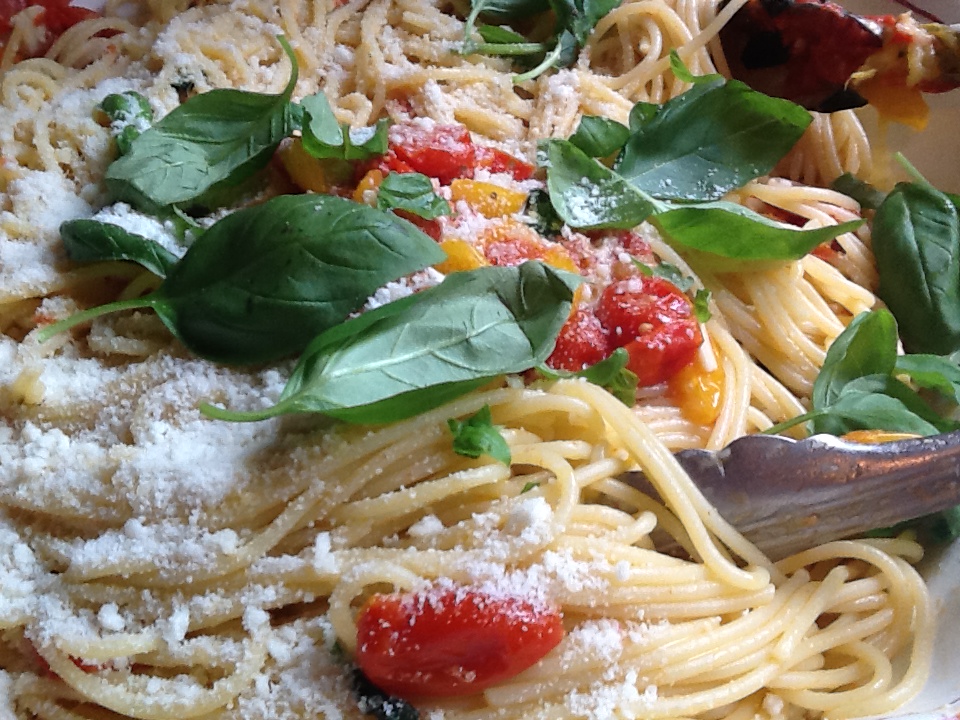
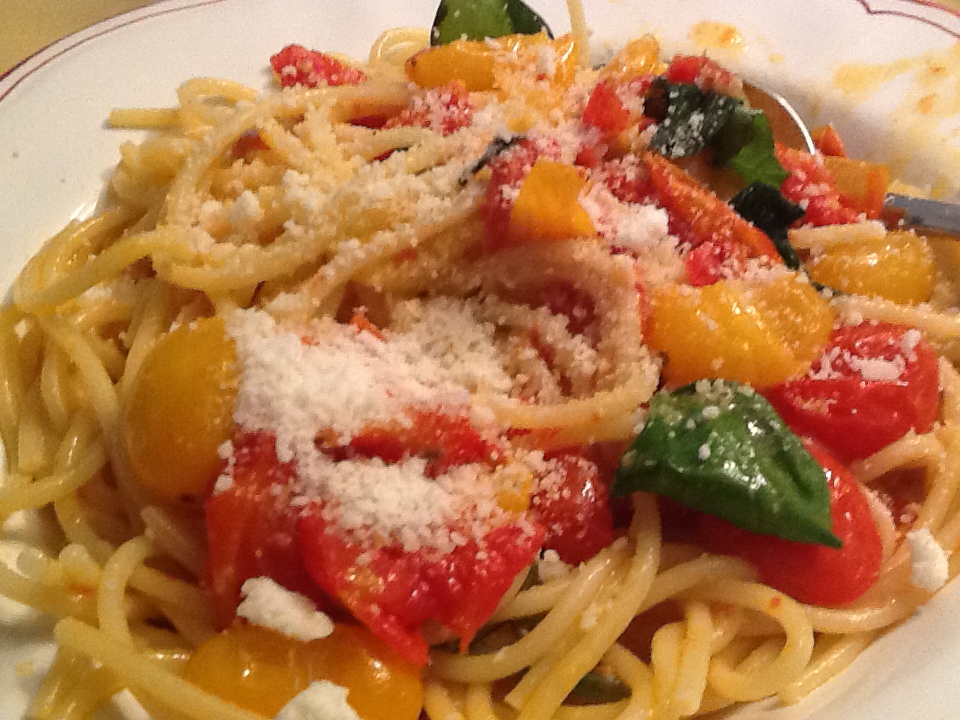
Spaghetti with Cherry Tomato Sauce and Basil

Image

When I think of the Amalfi Coast of Italy, with it’s dramatic coastline and picturesque seaside towns, I recall so many happy memories with family and friends.  My mind will forever hold on to my “mental snapshots” of the moments shared in this special place.  From the Isle of Capri, to the beautiful city of Sorrento, to the cultural hilltop town of Ravello, and the magical town of Positano, I remember the magnificent coastline and the warmth of the people.  And driving this coastline is an experience one can never forget!

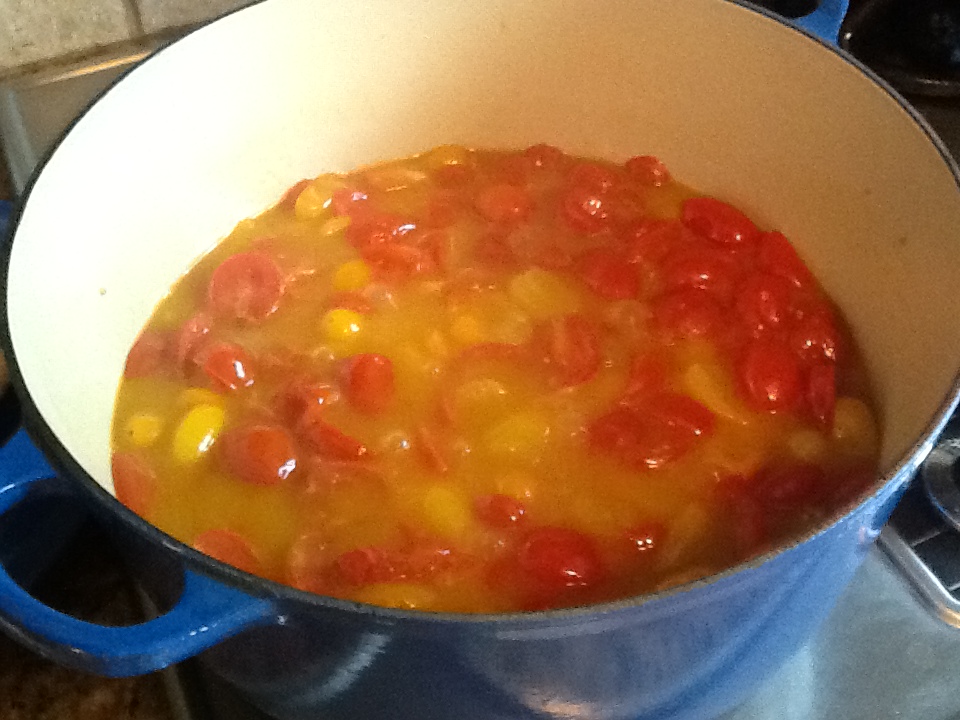
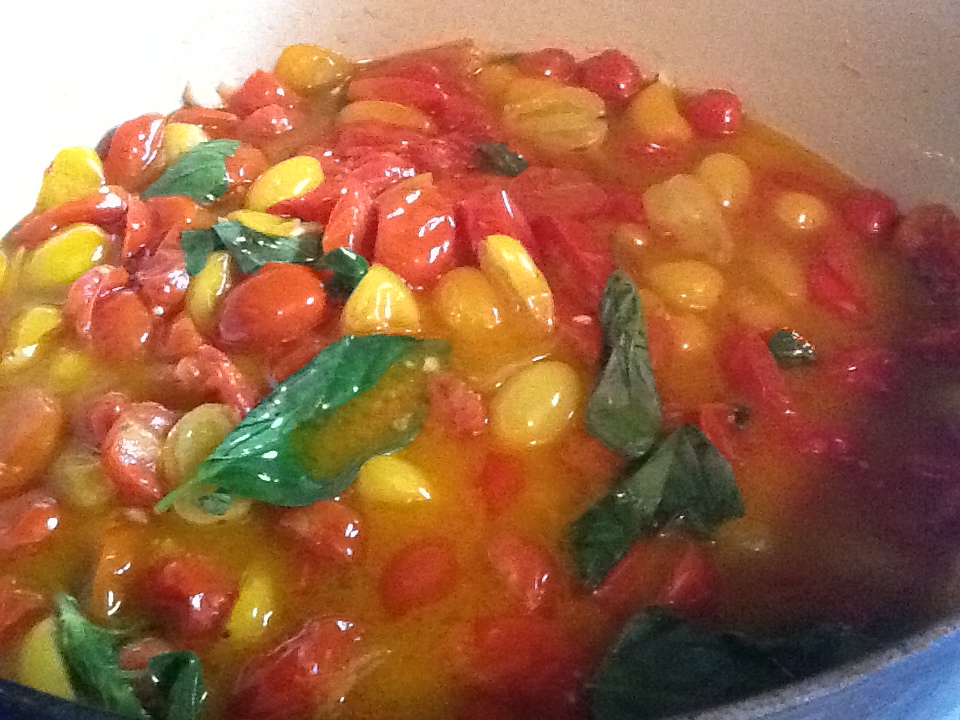
I think you know me well enough by now, to expect that some of my fondest memories of the Amalfi Coast must be of food.  And you would be right.  It is a “foodie” heaven.  We first tasted this simple sauce of tiny tomatoes and basil 23 years ago on the Isle of Capri.  We were enjoying a day at the beach, and walked into a small restaurant right there, overlooking the rocky beach.  My husband and his brother ordered this simple pasta dish as a first course.  It was so unbelievably delicious, that they both ordered it again as their second course!  Yes, that’s a true story, and yes, it was that delicious.  It was just tomatoes, garlic, olive oil and basil, but we couldn’t understand how it could taste this good.  A few years later, I asked a restauranteur in Ravello how he made this sauce so tasty.    He took us into the kitchen and showed us just how simple it really was.  Of course, the freshness of the ingredients is a key factor.  The soil in Italy produces tomatoes that taste a bit different from what we grow here in the states.  But we are now able to get delicious cherry tomatoes here, and I honestly sometimes feel that I am back in Amalfi when I make this sauce. Even the aroma of the tomatoes and basil cooking brings me back.  It is so simple and quick to make.  It cannot fail. Just use the best ingredients you can get, and you will have a dish that everyone will rave about, and it will only have taken you 30 minutes to make….at most.

RECIPE:

1 pound of spaghetti

2 1/2 pounds of cherry tomatoes, halved (I love to mix in some small yellow tomatoes )

1/2 cup extra virgin olive oil, plus 2 TBSP extra for tossing

4 garlic cloves, minced

1 cup basil leaves, roughly torn (never use a knife) in half, and reserve several whole for garnish on each plate

1 tsp sea salt

freshly grated Pecorino Romano Cheese or Parmigiano

1.  Bring a large pot of salted water to a boil.

2.  In a large saute pan or Dutch oven, heat the oil.  Add the tomatoes, garlic and salt.  Stir. Cover and cook over low heat, stirring occasionally.

3.  The tomatoes will break down and get creamy in about 15 to 20 minutes. Add half the torn basil leaves and cook for several minutes more.

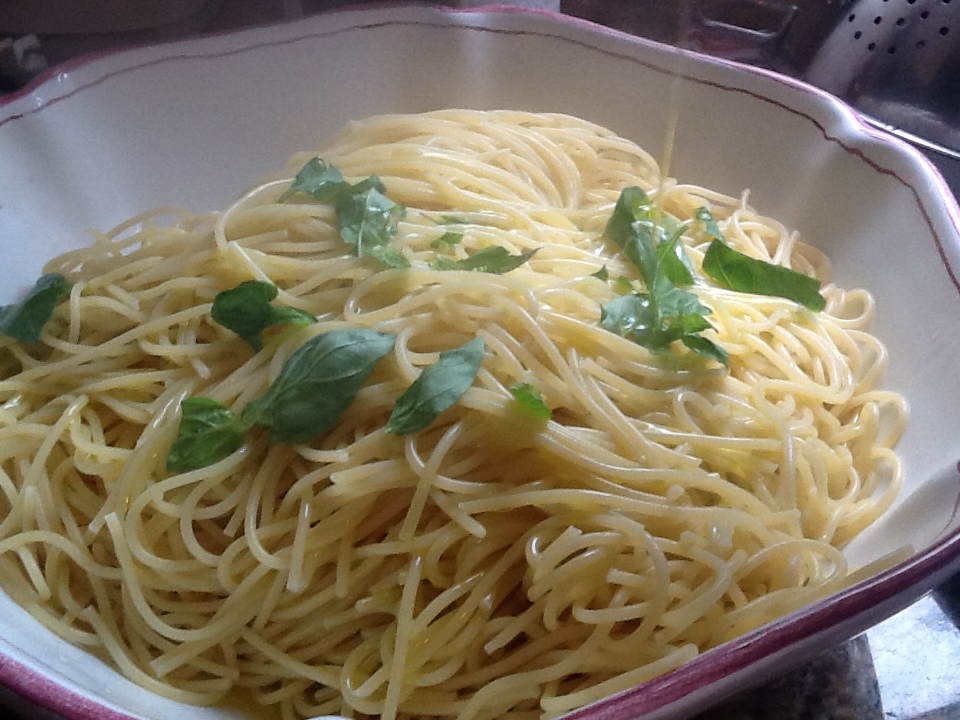
4.  Drain pasta and put in serving bowl.  Drizzle with the 2 TBSP of oil and the rest of the torn basil leaves and toss.

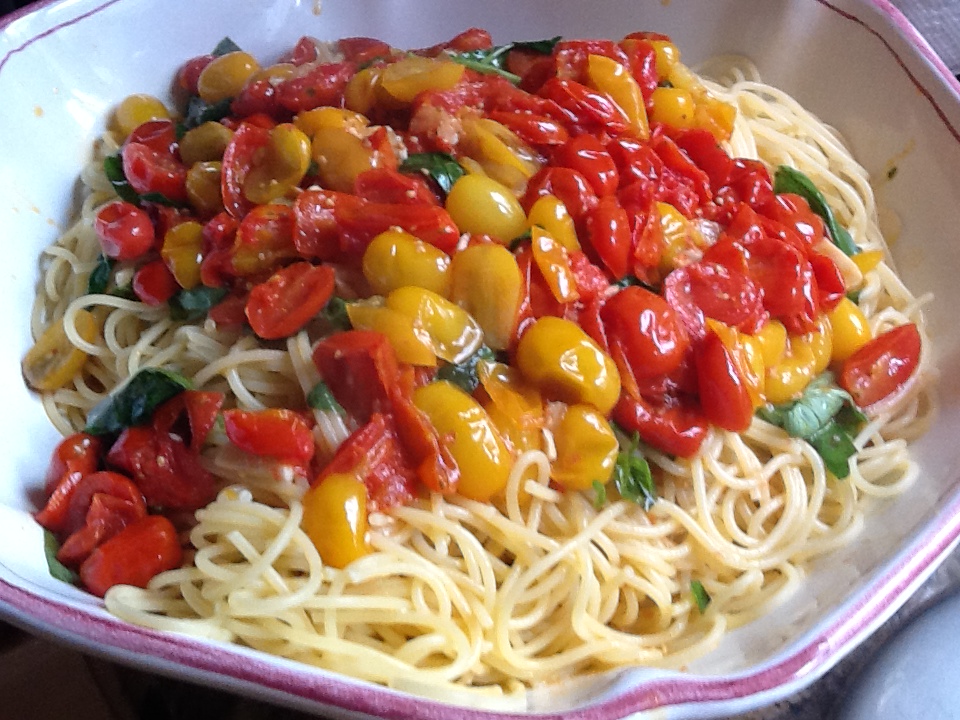
5.  Add the tomatoes to the pasta and some grated cheese and toss well.

6.  Top each dish with some fresh basil and serve additional grated cheese.

** A variation on this dish is to use the very tiny grape tomatoes and do not cut in half.  They will burst while cooking in the oil.  I prefer the creaminess of the cherry tomatoes, but you may just get sick of making this dish (doubt it) and want to try something just a little different.

Welcome to the Amalfi Coast!  Buon Appetito!

ImageImage

ImageImage

Image

ImageImage

ImageImageImageImageImageImage

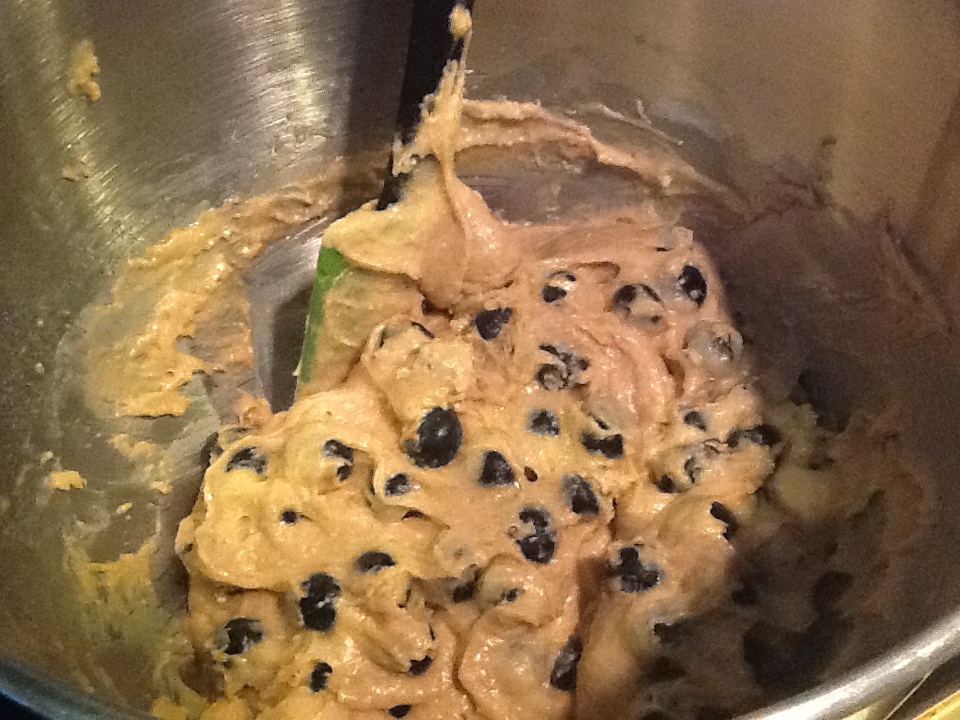
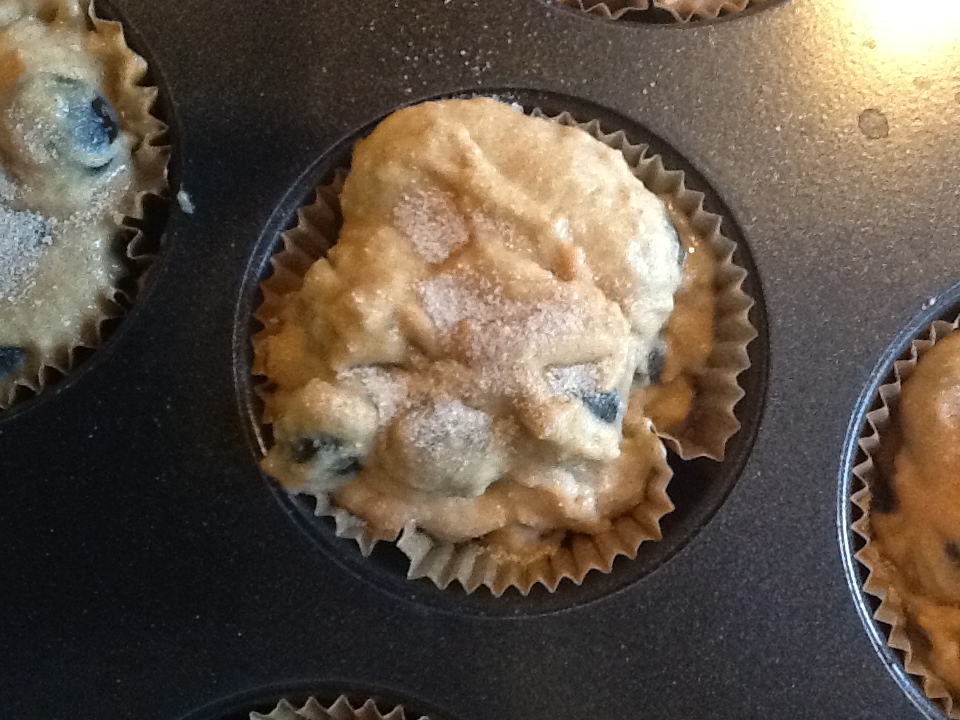
Blueberry Corn Muffins

Image

Every summer, when blueberries are abundant, inexpensive, and taste like candy, I eat them by the handful, and bake with them until my family cries for mercy.  The first few (okay, maybe dozen) pies I make, they are very happy, but then someone will coyly ask, “remember that delicious peach pie you used to make?” and I know it’s time to cool it with the blueberries.  So I just move on to the many other wonderful goodies you can make with blueberries.  The past two years I have purchased 10 pounds of blueberries at a time from my local CSA (Community Supported Agriculture).  Needless to say, I have pulled out all the blueberry recipes from the past, and have added many new ones to my repertoire.  I’m always amazed at how many recipes I have collected over the years for blueberry muffins.   It’s hard to imagine that there could be so many different versions of something so simple. I believe that it’s the actual taste of the blueberries that contributes so greatly to the outcome of each baked item.  Out of season, when the blueberries taste like blue styrofoam (for $6.00 a pint), the finished item is still quite tasteless, no matter how much sugar you add to it.  But in season, it is almost irrelevant what else is in the batter.  I do however, have my favorite recipes, especially for blueberry muffins.

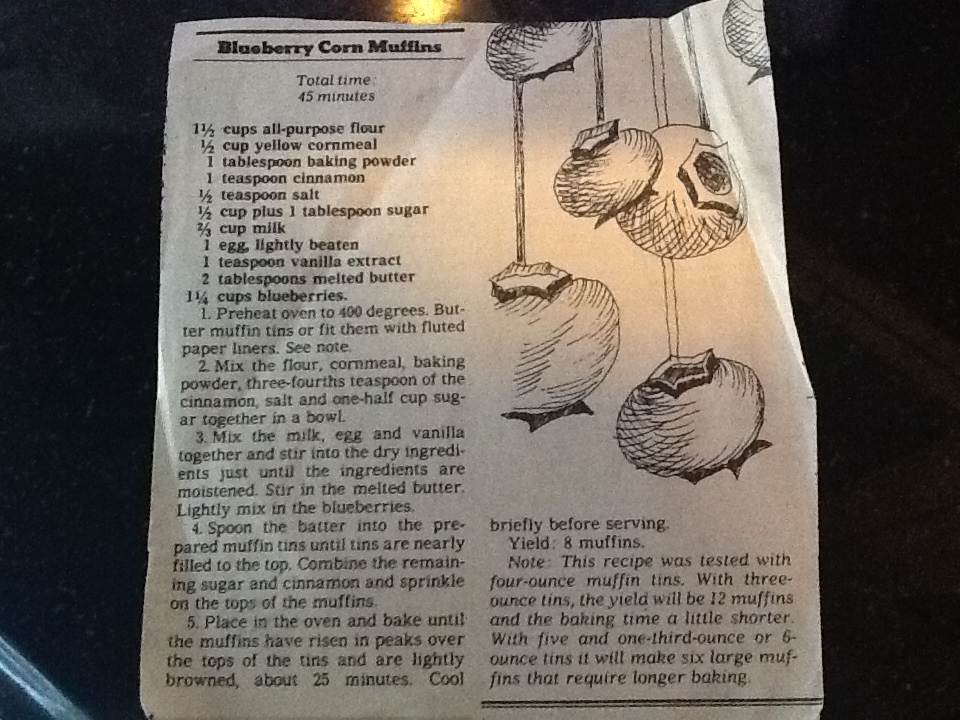
This recipe for Blueberry Corn Muffins is indeed one of my favorites.  It is not too sweet, so you really taste the blueberries, and the cornmeal gives it a bit of substance.  Don’t get me wrong, I love those light, sweet, cake-like blueberry muffins as well ( and will also share some of those recipes with you at another time) but there is something about this muffin that has had me making it for many years.  There were several summers, when my children were young, that many conversations with my girlfriends consisted of recipes for summer fruit in season.  We would sit at the pool and swap so many recipes, that I really can’t remember which friend passed me this recipe, cut from a newspaper.  But what I do recall is how much fun we had those lazy summers, when our biggest problem was what to do with all the fruit we would buy at the local farm before it went bad.  Well, maybe that wasn’t our biggest problem, but that’s what we focused on.  What fun!

RECIPE:

1 1/2 cups all-purpose flour

1/2 cup yellow cornmeal

1 TBSP baking powder

1 tsp. cinnamon

1/2 tsp. salt

1/2 cup plus 1TBSP sugar

2/3 cup milk

1 egg, lightly beaten

1 tsp. vanilla extract

2 TBSP melted butter

1 1/4 cups blueberries

1.  Preheat oven to 400 degrees.  Butter muffin tins or line them with fluted paper liners.  See note.

2.  Mix the flour, cornmeal, baking powder, there-fourths teaspoon of the cinnamon, salt and one-half cup sugar together in a bowl.

3.  Mix the milk, egg, and vanilla together and stir into the dry ingredients just until the ingredients are moistened.  Stir in the melted butter.  Lightly mix in the blueberries.

4.  Spoon the batter into the prepared muffin tins until tins are nearly filled to the top.  Combine the remaining sugar and cinnamon and sprinkle on the tops of the muffins.

5.  Place in the oven and bake until the muffins have risen in peaks over the tops of the tins and are lightly browned, about 25 minutes.  Cool briefly before serving.  they are yummy warm, but are also good for days at room temperature.  These also freeze nicely.

The yield is 8 muffins.  So if you have 10 pounds of blueberries sitting in your fridge like I do, you’ll want to double the recipe.

NOTE: This recipe was tested with fund-ounce muffin tins.  With three-ounce tins, the yiled will be 12 muffins and the baking time a little shorter.  With five ad one-third ounce or six-ounce tins, it will make six large muffins that require longer baking.

ALL recipes calling for blueberries would be greatly appreciated.

Image

Image

Image

Image

Image

Image

Image

Image

Image

Image

Imageblueberry muffins recipe

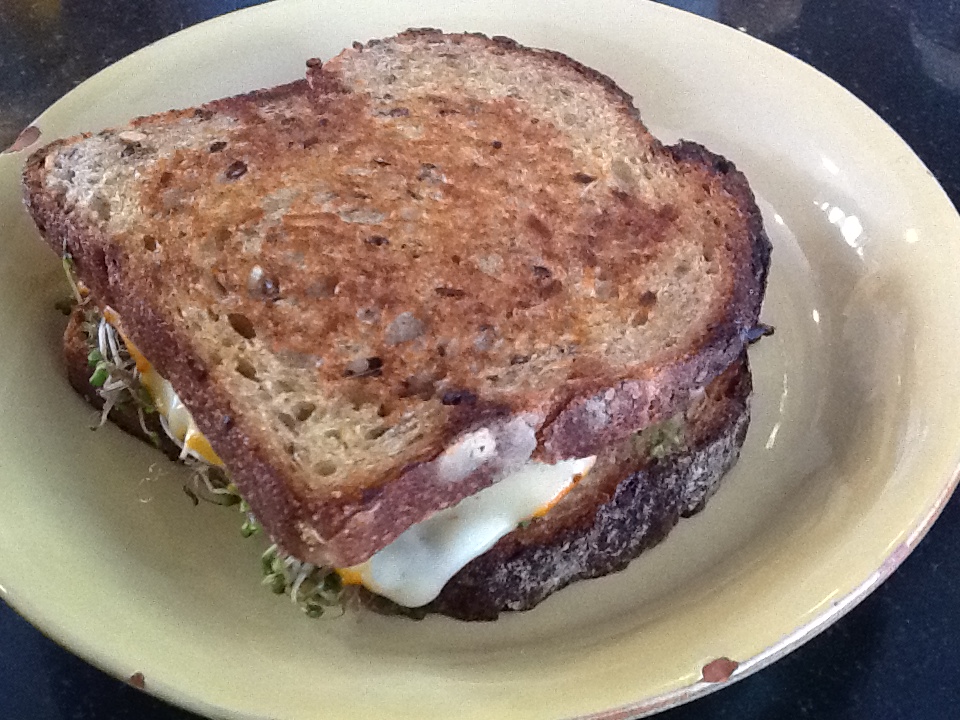
My Favorite Sandwich

Image


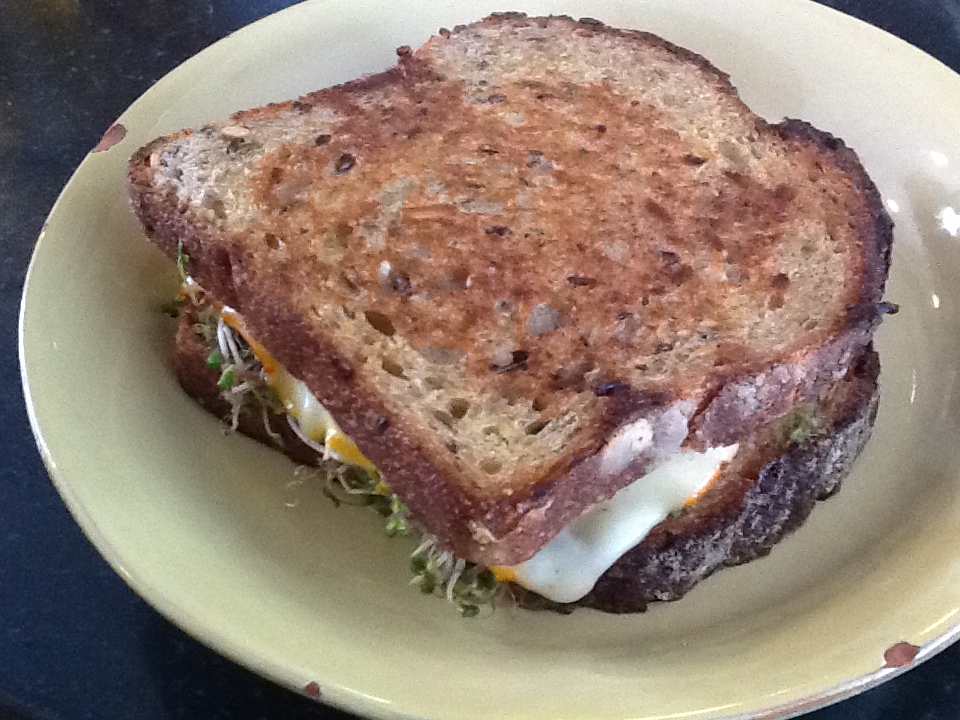
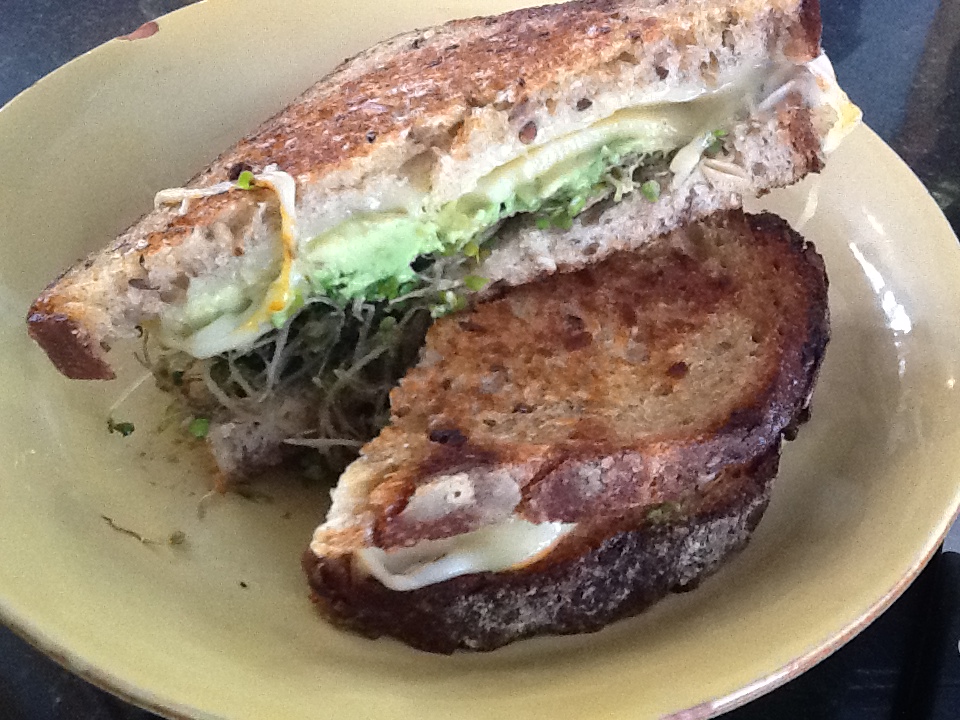
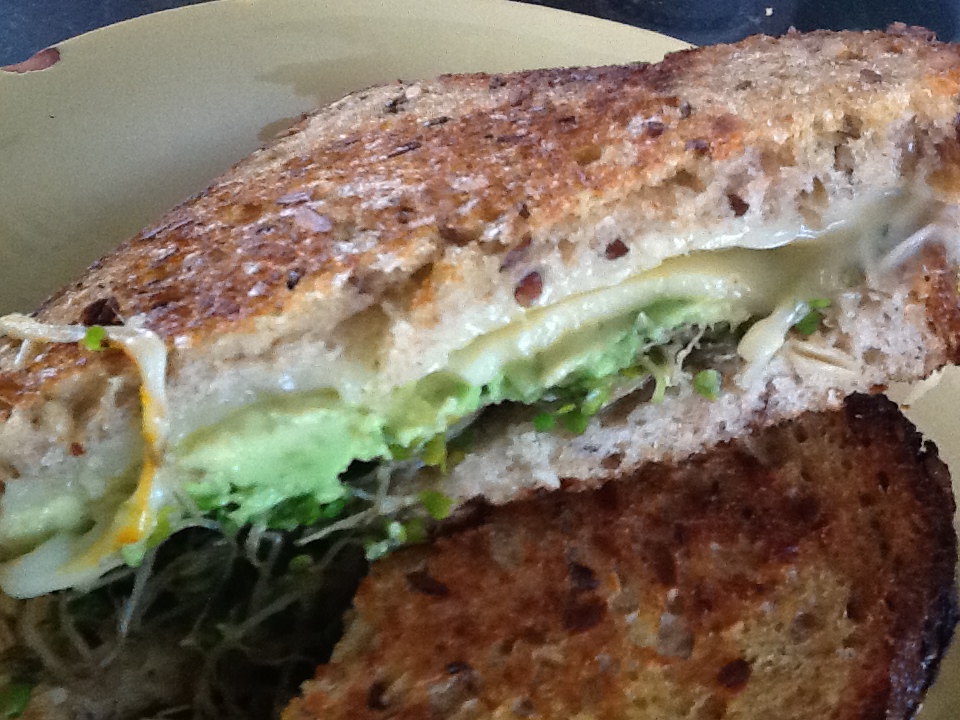
How can a sandwich need a recipe?  How can a sandwich have a memory attached to it? Well, my favorite sandwich has both.  When I first came upon this sandwich in a tiny restaurant in Montclair, New Jersey 26 years ago, it was very exotic, as far as sandwiches went at the time.  The usual “sandwich faire” was tuna fish salad on rye or perhaps turkey and swiss on whole wheat bread.  Oh yes, the classic “Reuben” was in vogue, but way too fattening.  There were no fancy panini then. So when a friend and I sat down to this healthy and delicious sandwich, we were on a mission to duplicate it at home.  How hard could it be?  We knew the ingredients were muenster cheese, avocado and alfalfa sprouts.  But could these three simple ingredients add up to all this flavor?  It took several attempts to perfect it, and we soon realized that the secret is in the bread and the cooking process.  You need exceptional, grainy, dense bread.  You also need to butter the bread before cooking, in the same manner of an old fashioned grilled cheese sandwich.  This is what gives it the perfect “crunch.”   We were ecstatic once we “broke the code” for our favorite sandwich.  Now we could enjoy this sandwich frequently (I ate it almost every day for several months) in our own homes. We would call each other daily, at lunchtime (if we weren’t already together) and would talk and crunch and moan over the deliciousness of our sandwich. However, there was one problem.  This sandwich, in it’s pure form, was probably as fattening as the Reuben.  We started to notice our waistlines expanding, and realized that we had to remove it from our daily lunchtime routine.  I still enjoy indulging in this lunchtime treat from time to time. I can’t resist it. I have figured out some ways in which to lighten it up, and they really don’t detract from it’s authentic taste.  

I will give you the original recipe, along with my tips for making the lighter version.  But on first try, please indulge fully.  You won’t regret it.  It’s only one sandwich after all……and it is very healthy for you.  

And just as an aside…this sandwich is still on the menu at that restaurant in Montclair.  It has been on their menu for 30 years!!  Obviously it is a favorite.  I hope it will be a favorite of yours.  This is not your mother’s grilled cheese sandwich!

RECIPE:

2 slices multi-grain bread (I love Ezekial Organic Sprouted Whole Grain bread and it is only 80 calories a slice.  You can find it in frozen food section)

2 slices Muenster cheese (to lighten up, just use one or even 1 1/2)

1/2 avocado, sliced thinly ( to lighten up, I mash the avocado and use only 1/4)

alfalfa sprouts

soft butter spread  ( to lighten up, I use Olivio spray or I Can’t Believe It’s Not Butter for 0 calories)

1.  Spray a heavy skillet or grill pan with non-stick oil spray and heat pan.

2.  Butter the under side of one slice of bread.  Place the cheese and avocado on top and place in the heated pan, over medium heat. 

3.  Cover the cheese and avocado with the sprouts.  Mound the sprouts on high.

4.  Butter one side of the other piece of bread and then place it (buttered side up) on top of the sprouts.

5.  As the sandwich cooks, press it down occasionally with a spatula.  It will sizzle. Once the the underside is golden brown and crispy and the cheese starts to melt, gently flip over.  Cook until golden and crispy peeking occasionally underneath.

Image

Image

Image

Image


Pan-fried Zucchini with Mint

Image

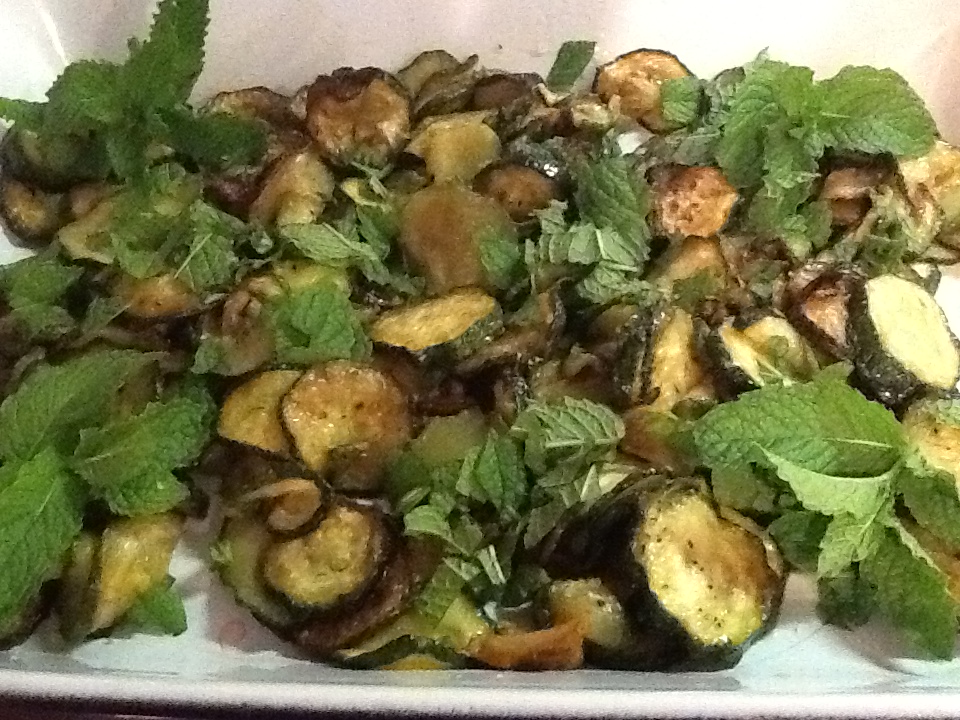
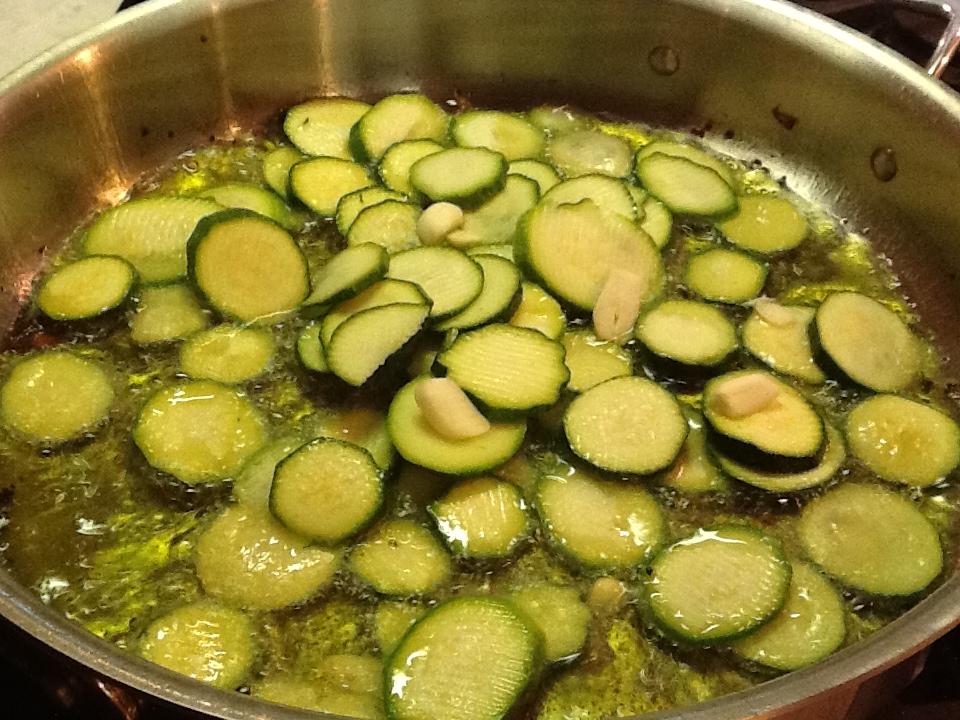
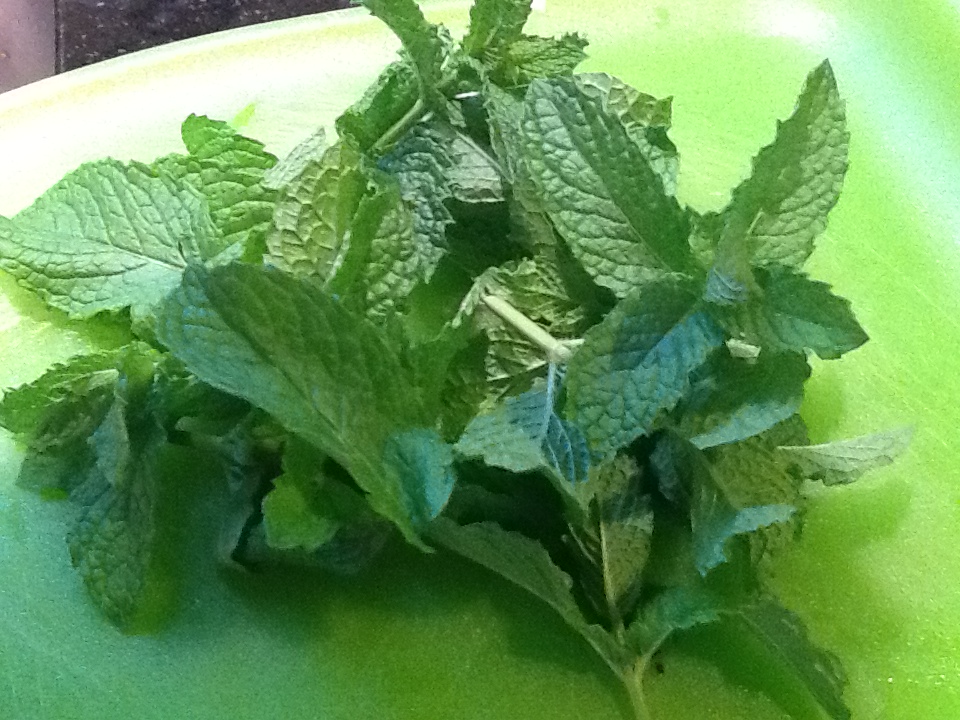
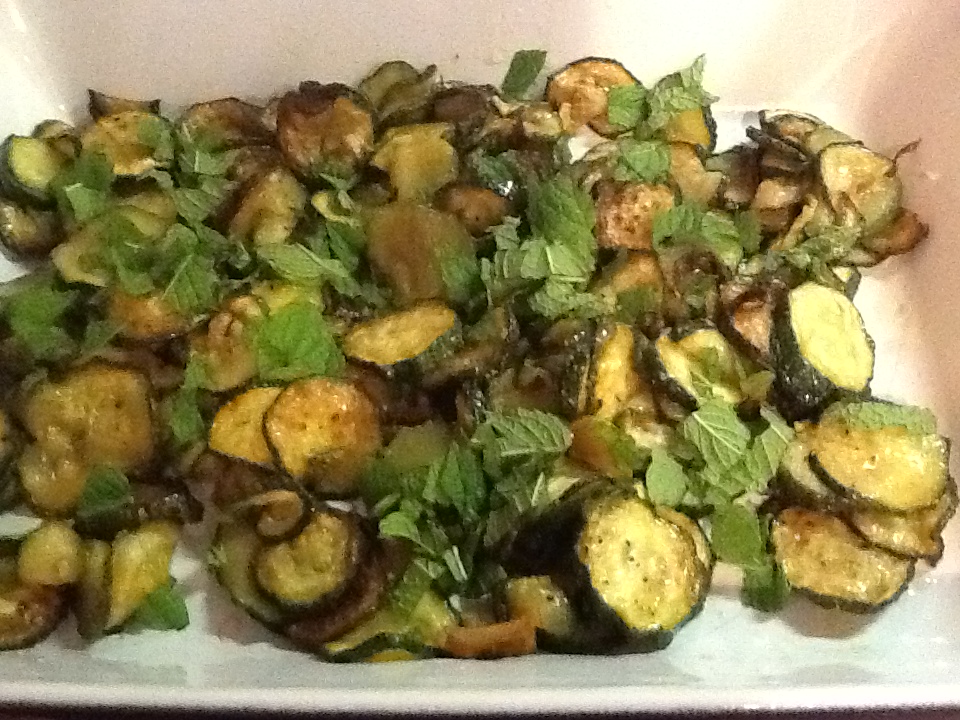
Zucchini are abundant during the summer, so I am always looking for different ways to prepare them.  Pan-fried, with mint, vinegar and garlic is one of my favorite ways to enjoy this versatile vegetable.  The way in which these flavors mingle together produces a delicious and surprisingly light dish.  When you drain the fried zucchini on the paper towels, you will see that it doesn’t really hold onto the oil.  Just a hint of the oil lingers.  Then when you add the vinegar and mint, it balances the taste to perfection.  I’m sure there is a culinary explanation for all this, but for me, it’s just about the taste.  And I just love the taste of this preparation for zucchini.  You will see from the pictures that I love mint and use more than is called for in the recipe.  I would suggest that you adhere to the recipe the first time, and then certainly adjust the mint to your own liking.  The best part about this recipe is that it’s great  served warm, room temperature or even cold.

RECIPE:

4 to 5 large zucchini, cut into 1/3 to 1/2 inch rounds

4 cloves garlic, thickly sliced

3 TBSP red wine or white vinegar

10-12 fresh mint leaves ( about 1/3 cup)

1/2 cup peanut or vegetable oil for frying

a few pinches of sea salt

1.  Place the cut zucchini in a colander and sprinkle with sea salt.  Let sit for 5 minutes.  Pat dry with a paper towel.  I usually skip this step in most recipes, but zucchini is very delicate, and this helps it stand up to the frying process better.  

2.  Heat the oil in a large skillet over medium-high heat.  The larger the skillet the better as you are going to fry the zucchini in batches, in a single layer.

3.  Arrange as many zucchini rounds as you can fit, in a single layer into the heated oil.

4.  Scatter the garlic over the zucchini.

5.  Cook for about two minutes, until the undersides of the zucchini are a deep golden brown.

6.  Turn the zucchini gently and cook for another 2 minutes or so, until deep golden brown.

7.  Remove the zucchini from the oil, and drain on paper towels.

8.  Continue this process until all the zucchini is fried, adding more oil if needed.

9.  Place on a serving plate and sprinkle with the vinegar and fresh mint.

Image

Image

Image

Image

Image

Tres Leches Cake

Image

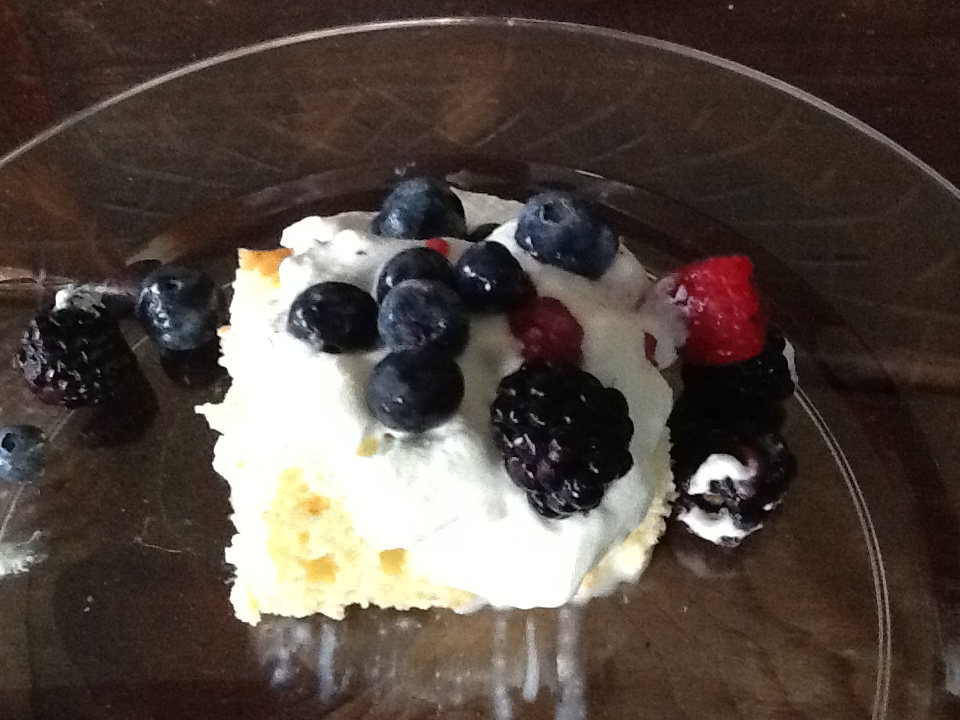
Tres Leches (three milks) cake is a sponge cake soaked in evaporated milk, sweetened condensed milk and whole milk.  It is believed to have originated in Latin America, as it is a popular desert there, but this fact is somewhat disputed.  Many Spanish cultures claim this desert for their own. It reminds me of rum cake or tiramisu, but only lighter.  I wish I could say that I was given this recipe by someone with a Spanish heritage, but I was not.  Despite the fact that this recipe was given to me by a friend from England, it is a very authentic recipe.  There are many variations of this cake, but every time I have made this for friends from Spain, Cuba, Mexico and Puerto Rico, I have received rave reviews.  They tell me it tastes “like home.”  This makes me happy.  Actually, this cake makes me happy.  The whipped cream and berry topping add a freshness to it.  It is light and airy, and is a perfect ending to any meal, especially a barbecue.  I suppose I feel this way because I seem to make this desert mostly in the summer, when berries are deliciously sweet and abundant.

I would love to hear if any of you have another version of this desert. you can always add your recipes in the comment area.

Espero que te guste.

RECIPE:

Unsalted butter for baking dish

6 large eggs, separated

1 cup sugar

1 cup all-purpose flour, sifted

1 can (14 ounces) sweetened condensed milk

1 can (12 ounces) evaporated milk

1 cup whole milk

1 1/2 cups heavy cream

1 TBSP confectioners sugar

Fresh berries   (I like to use a combo of raspberries, blueberries and blackberries)

1.  Preheat oven to 325 degrees.  Butter a 9 by 13 inch dish.

2.  In a mixing bowl, beat egg yolks and sugar on high until light and fluffy.

3.  In another bowl, beat egg whites to soft peaks.

4.  Using rubber spatular, fold whites into yolks until almost combined.

5. Gently fold in the flour.

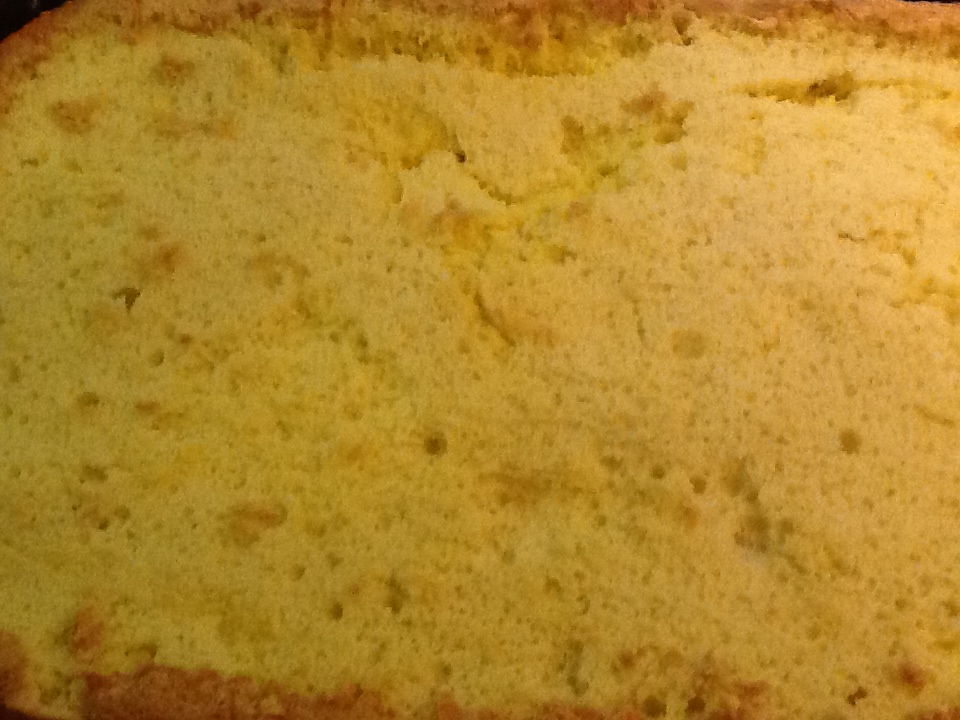
6.  Spread batter in prepared dish.  Bake until golden brown and pulling away from the sides of the dish, about 20 to 25 minutes.

7.  Using a small knife, scrape skin from the top of cake and discard.

8.  Cool cake for 20 minutes.

9.  In a medium bowl, whisk together the three milks and pour evenly over the cake. Cover with plastic wrap and refrigerate for at least one hour or up to one day.

10.  To serve, prepare topping.  In a mixing bowl, mix heavy cream with confectioners sugar, and beat until soft peaks.  Serve cake in squares and top with the whipped cream and berries.

Image

Image

Image

Image

Image

ImageImage

Image

Image

Image

Image

Sauteed Dandelion Greens

Image

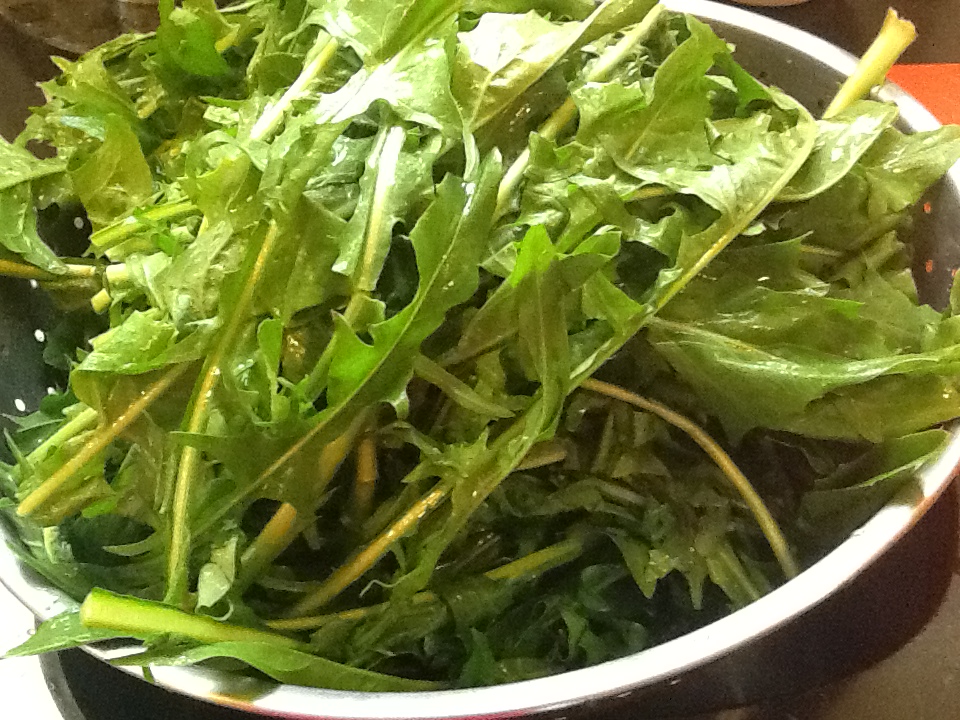
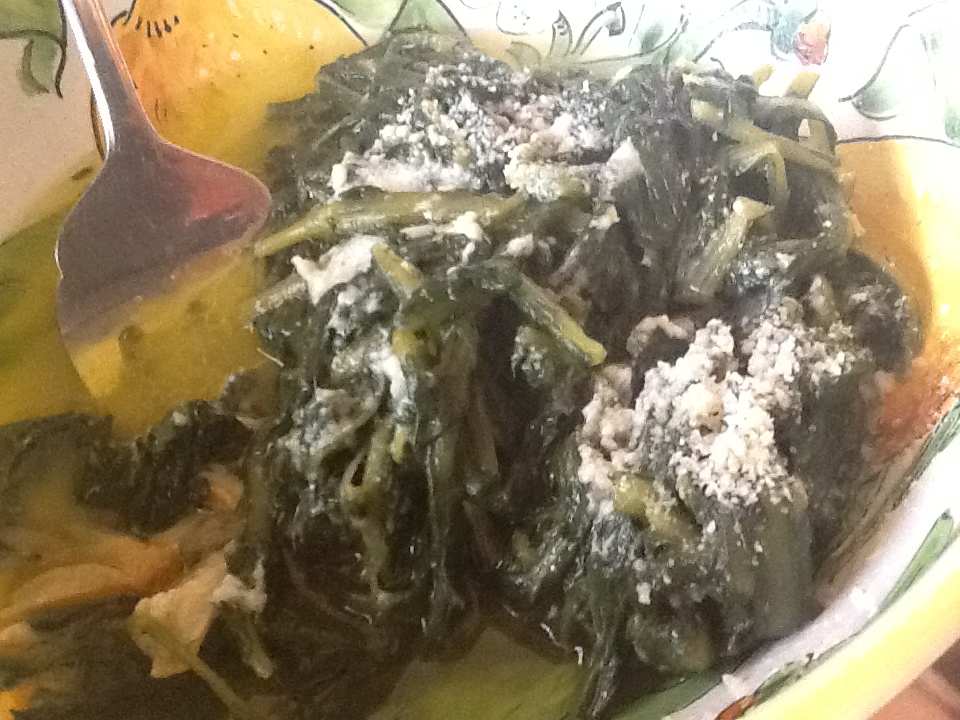
Dandelion greens, or “Cicoria” as we call them in Italian, are delicious and have many health benefits as well.  I had a hard time liking this vegetable as a child because of their bitter taste, as well as my conception of them growing in our front lawn.  Of course, they didn’t come from our front lawn, but  I just couldn’t get this idea out of my head.  I began to acquire a taste for them as I got older, and after my first trip to Italy, where they are served in most restaurants in many different ways, I have become slightly addicted to them.  I also learned that my mother was right about these greens when she said that they are high in calcium and iron.  I am delighted that they are now available in most supermarkets, so I can enjoy them as often as I like.  I have many recipes for dandelions…..a pesto sauce….with pasta…. with cannelloni  beans, but my favorite way to prepare them is the way my mother did.  Its simple, yet delicious, and the leftovers are just wonderful in an omelet.

RECIPE:  

2 large bunches of dandelions

1/2 cup olive oil

4 to 5 cloves garlic, smashed or coarsely sliced

1/2 tsp salt

1/2 cup grated Pecorino Romano cheese….or Parmigiano

1.  Cut off the bottom part of the stems and discard.

2.  Soak the dandelions in a large pot of cold water.  They are usually gritty, so you will probably have to change the water at least 4 or 5 times to get them clean.

3.  Cook in a large pot of salted water for 30 minutes.

4.  Drain in colander.  Gently press out excess water.

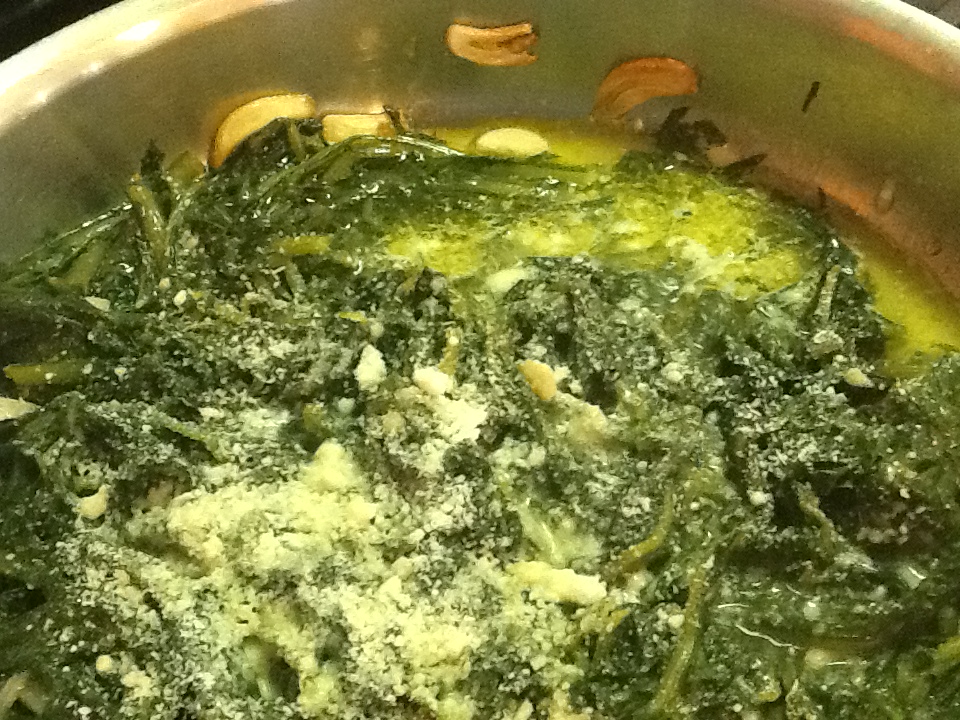
5.  Heat oil in a heavy skillet over medium heat.  Add garlic and sauté until slightly browned (be careful not to brown the garlic too much as it will add too much bitterness to these already bitter greens).

6.  Add greens to the oil and coat them well with the oil by turning frequently for 5 minutes. Add the salt and the grated cheese, and cook on low heat for approximately 15 minutes, stirring occasionally.

7.  Add a little more grated cheese before serving.

I hope you have leftovers for that omelet!!

Image

Image

Image

Image

Image