Pasta with Sweet Bell Peppers

Image

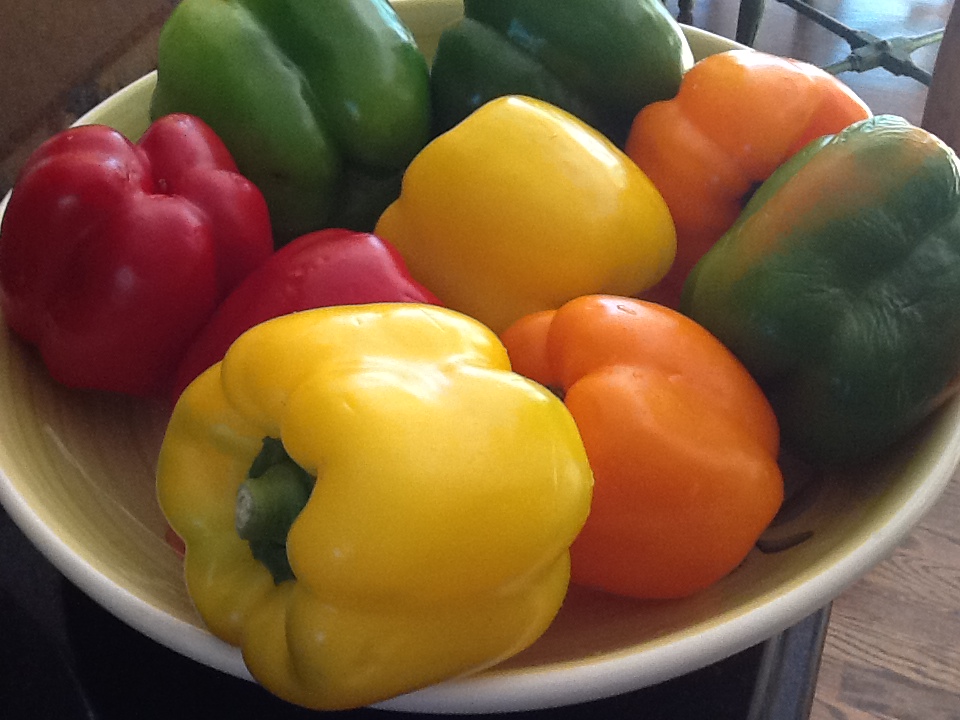
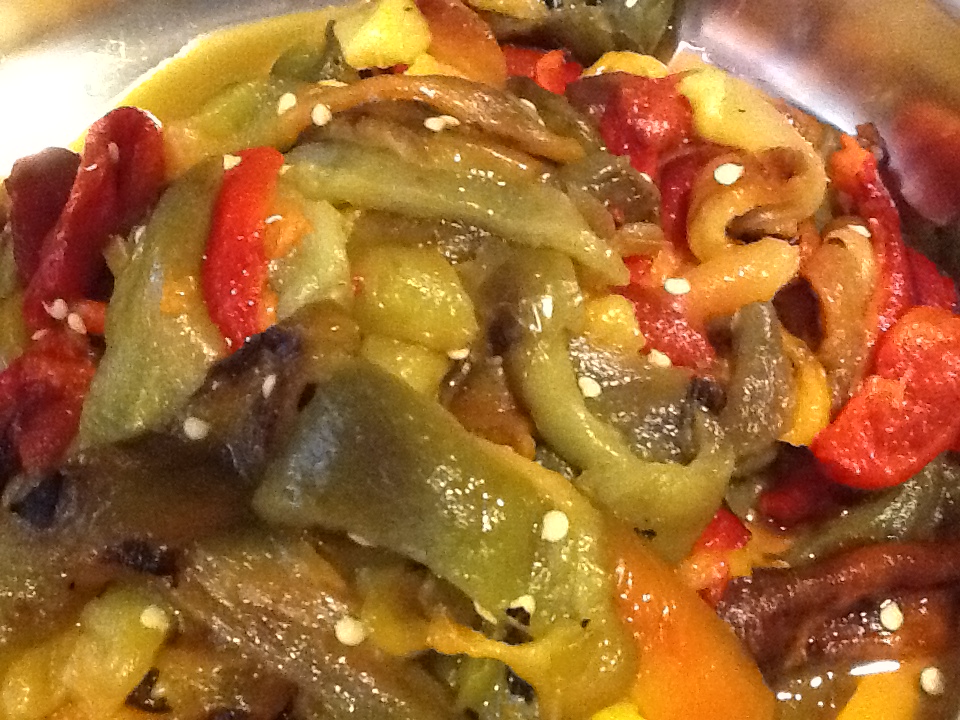
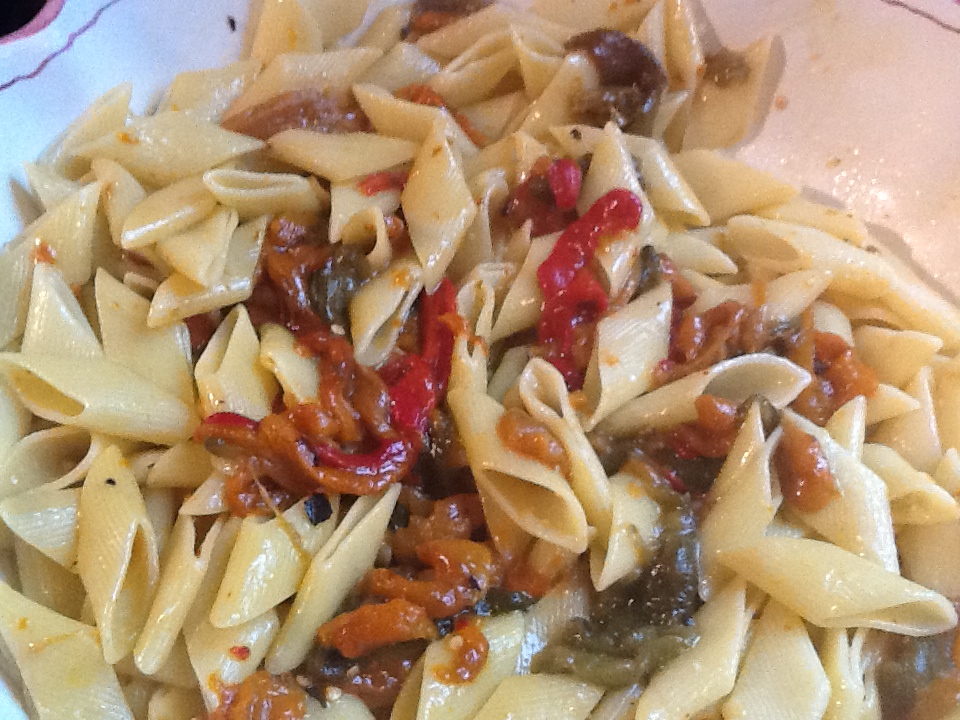
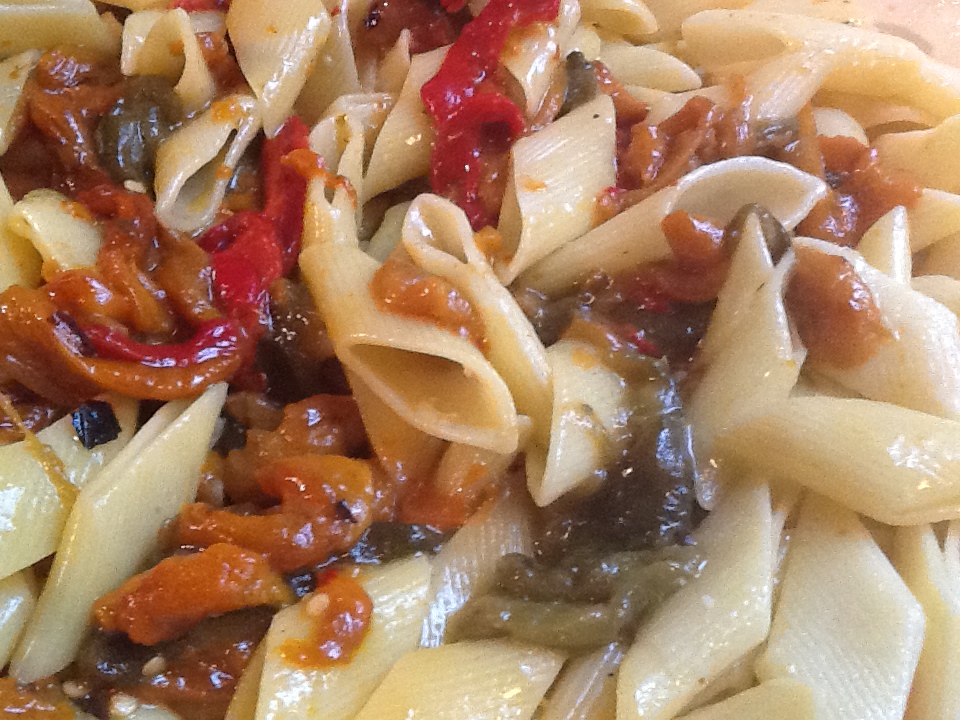
This sauce basically consists of only sweet bell peppers and olive oil.  Yes, we need a little salt and pepper and maybe some hot red pepper flakes, but honestly it is the flavor from the peppers and olive oil that makes this sauce good enough to eat with a spoon, without even the pasta. I’ve done it.  Put it on a crusty piece of Italian bread, and you will be delighted with the taste and texture.  The beautiful, rich colors of the peppers makes this a feast for the eyes as well.  But put this sauce on rigatoni or any other tubular shaped pasta, and you will be very, very happy.

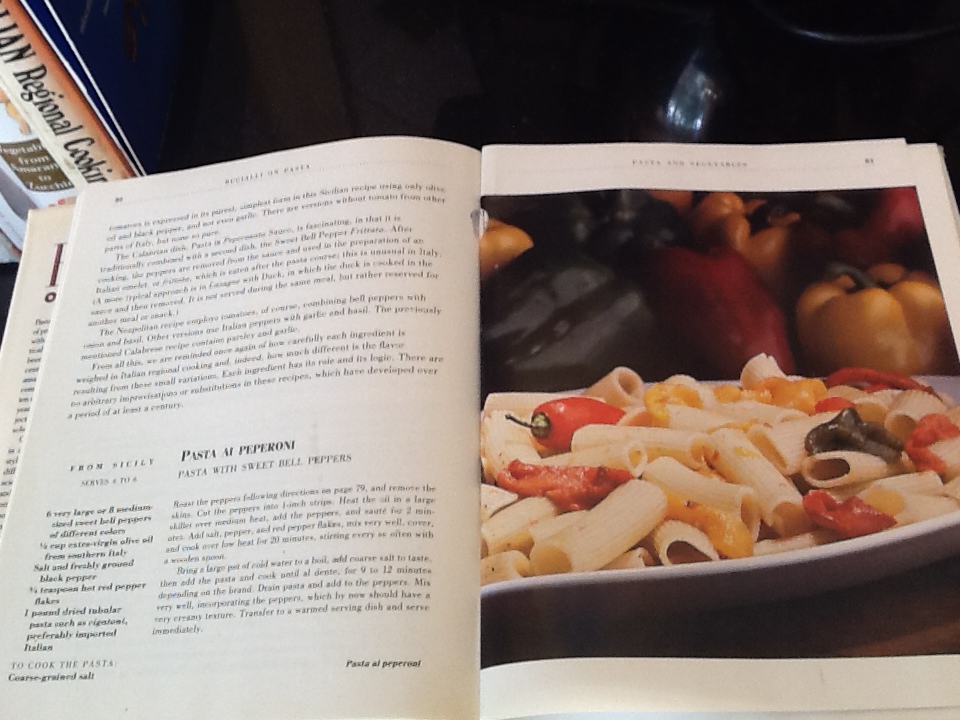
In 1988, my sister gave me the cookbook “Bugialli on Pasta.”  I have made many  (almost all) of the recipes for pasta in this book, and love them all.  However, when I came across this recipe I remember thinking that it was very different from any sauce I had ever had.  It actually seemed like an odd combination to me…..roasted peppers and pasta?  I loved roasted peppers and mozzarella.  Why not roasted peppers and pasta?   I gave it a try, and have been making it regularly ever since.  It is probably the most requested pasta that I am asked to make for my family and friends.   If I say that I’m making “pepper sauce,” a stray adult child or two will show up at dinnertime.  And they fight over leftovers.

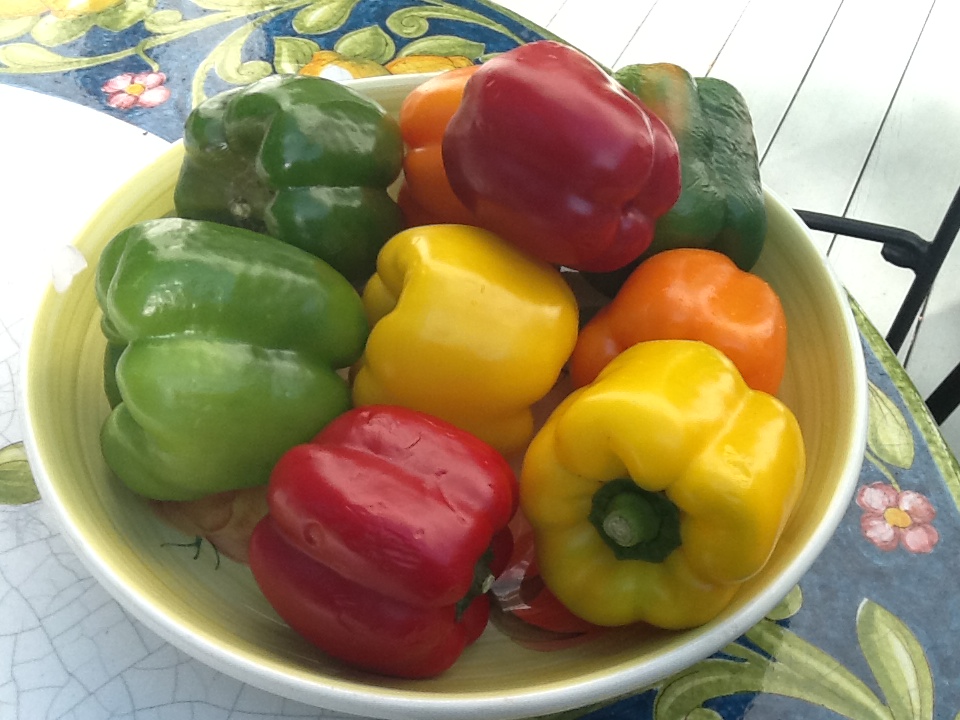
I seem to make this sauce mostly in the summer, when colorful bell peppers are bountiful.  I use as many colorful peppers as possible, as I believe each color adds something to the taste of the sauce.  I also prefer to roast the peppers on the outdoor grill, but they can be roasted in the oven as well.

RECIPE:  for 1 pound of pasta

6 very large or 8 medium sized sweet bell peppers of different colors

1/2 cup of extra virgin olive oil

Salt and freshly ground pepper

3/4 teaspoon of hot red pepper flakes (optional)

1 pound rigatoni of other dried tubular pasta

1.  Roast the peppers either on a gas grill or in the oven.

Grill Method:

Roast on medium heat, turning often, until peppers are soft and charred on all sides.  They should collapse.

Oven Method:

Preheat oven to 450 degrees.  Line a baking sheet with foil.  Lay peppers on their sides on the foil.  Put in oven, turning peppers every 15 minutes until peppers are charred and soft.  They should collapse.

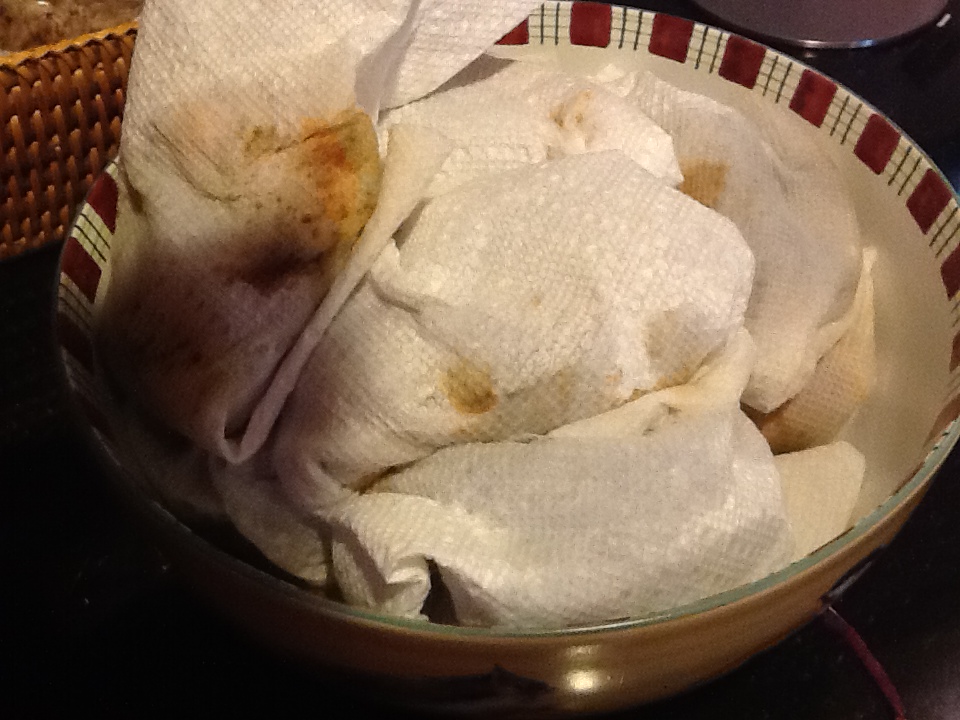
2.  Wrap each pepper individually in a paper towel while still hot.  Let peppers cool like this until slightly warm (even cool is fine) to the touch.  This helps loosen the skin.

3.  Remove the skins and seeds from each pepper.  Cut the peppers in 1 to 2 inch strips (no need to be exact).

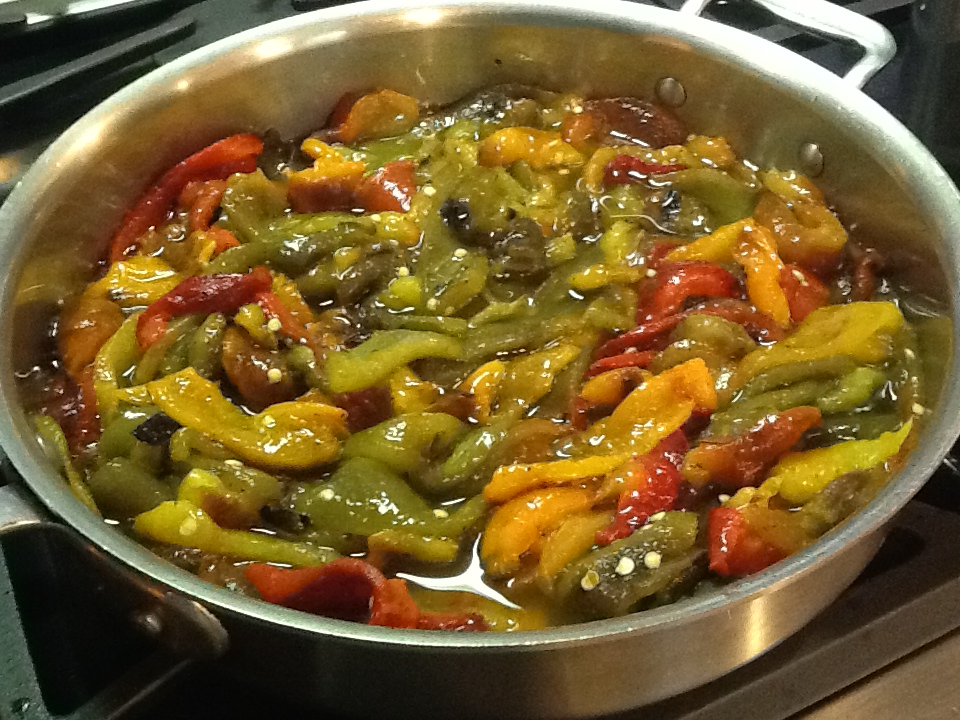
4.  Heat the oil in a large skillet over medium heat.  Add the peppers and sauté for 2 minutes.   Add salt, pepper and red pepper flakes (if desired).  Mix very well, cover and let cook over low heat for 20 minutes, stirring often.

5.  Bring a large pot of salted water to a boil for the pasta.  Cook the pasta until al dente.  Drain the pasta and add to the peppers, which should be very creamy by now.  Mix very well.

6. Serve with freshly grated Pecorino or Parmigiano cheese.
ImageImageImageImageImageImageImageImageImageImageImageImageImage

Swiss chard

Image

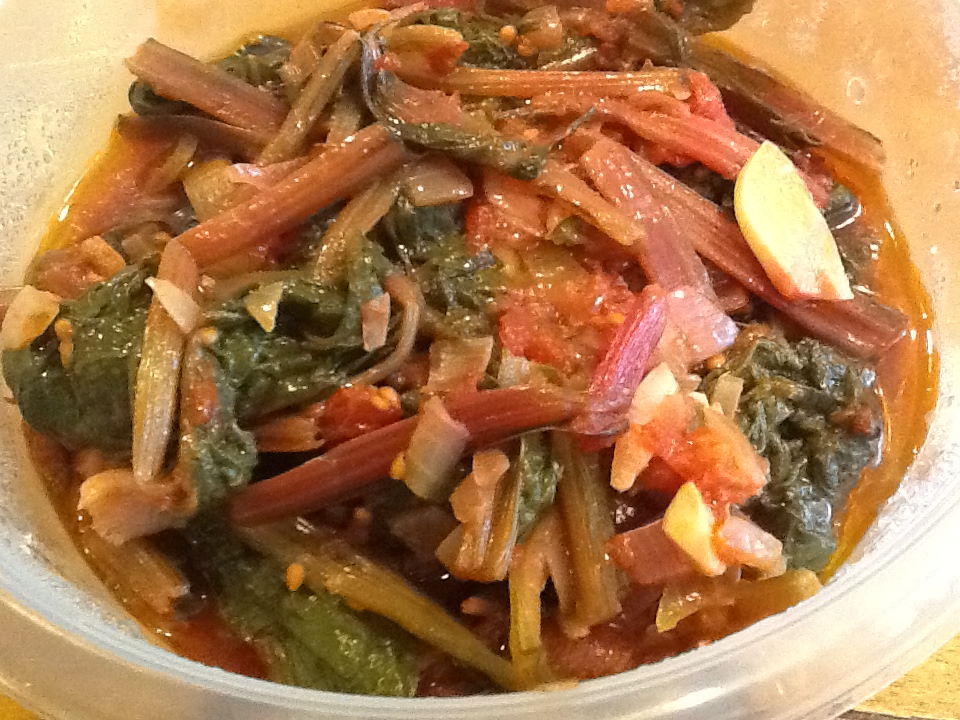
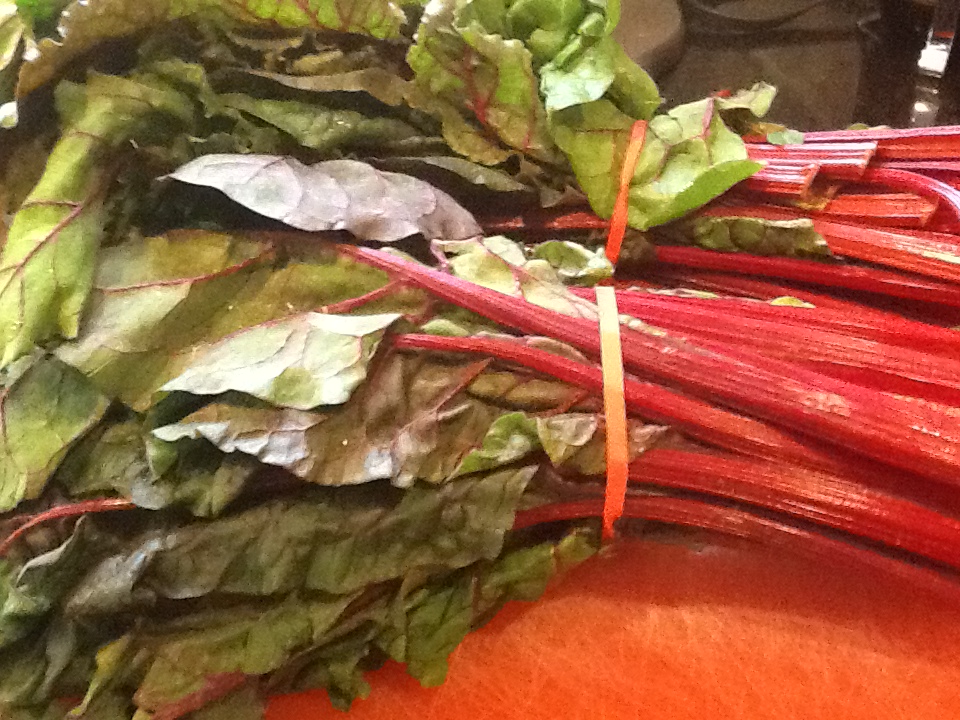
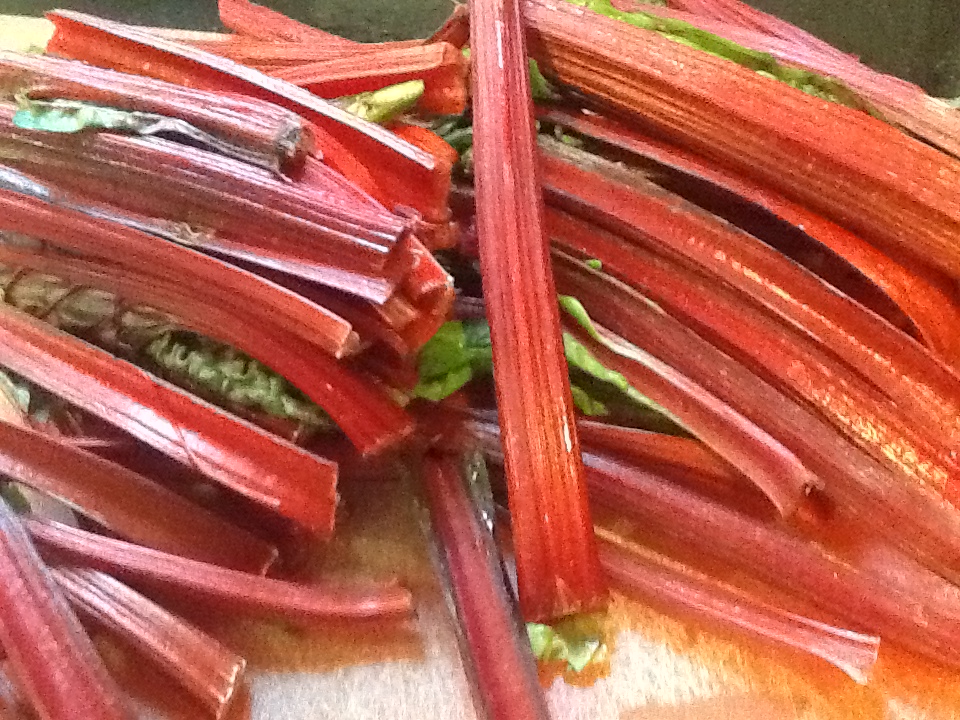
Swiss chard is a delicious and beautiful vegetable.  Even though it is available all year long now in our supermarkets, it reminds me of summer.  This is the time of year that my mother would prepare it.  As a child in the 50s and early 60s, we used to have a”vegetable truck” that came to our neighborhood twice a week with bushels of whatever fruits and vegetables were in season.  “Cappy” drove a converted old school bus, painted green.  It was so much fun to climb inside and look at all the fresh produce.  He was a friendly man, who continued this service well into the 1980s, even though his business was replaced with mega supermarkets and specialty stores.  Also as women entered the work force, they were not home during the day and often stopped at the grocery store on their way home from work. Take-out food began it’s popularity, even in the suburbs.  But back in the day, my mom and the other women in the neighborhood would buy whatever looked good that week.  There were always some vegetables that did not look familiar to most, but my mom knew how to make almost any vegetable taste delicious.  Of course she did…..garlic, olive oil and tomatoes!

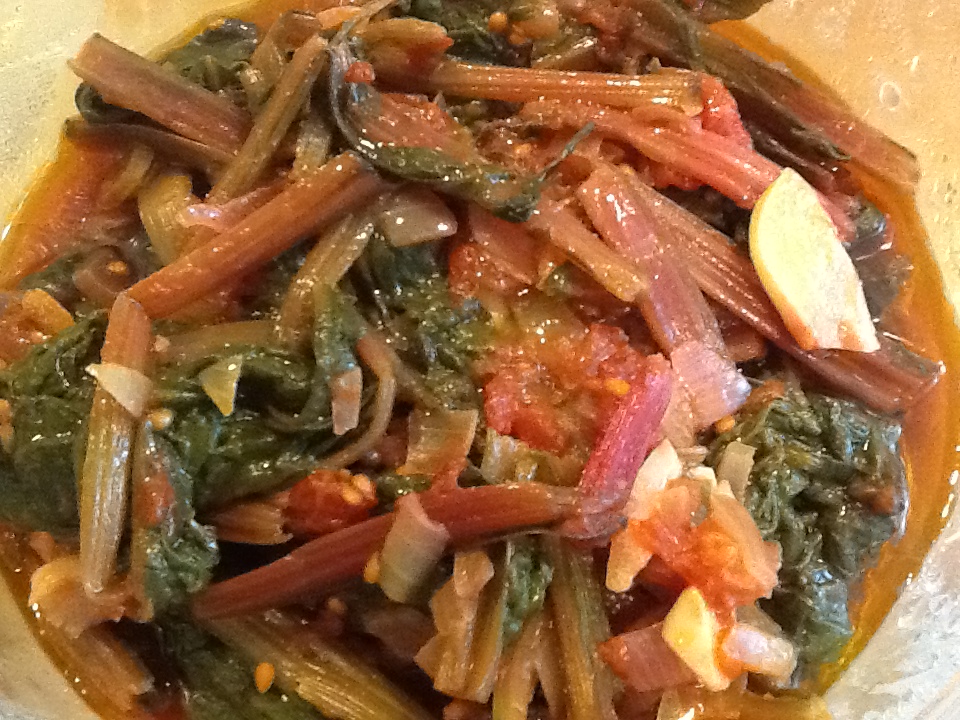
I love preparing swiss chard this way.  I always make extra because it is wonderful on top of pasta.  I just heat up the left overs (maybe add a little more oil and sautéd garlic), and combine with my favorite pasta.  Add some grated Parmigiano cheese, and you have a scrumptious, healthy meal in minutes.

RECIPE:

2 bunches swiss chard

1/2 cup olive oil

3 cloves garlic, sliced thickly

1 onion, chopped

1/2 (28 ounce) can Italian Plum (San Marzano) tomatoes

salt and pepper to taste

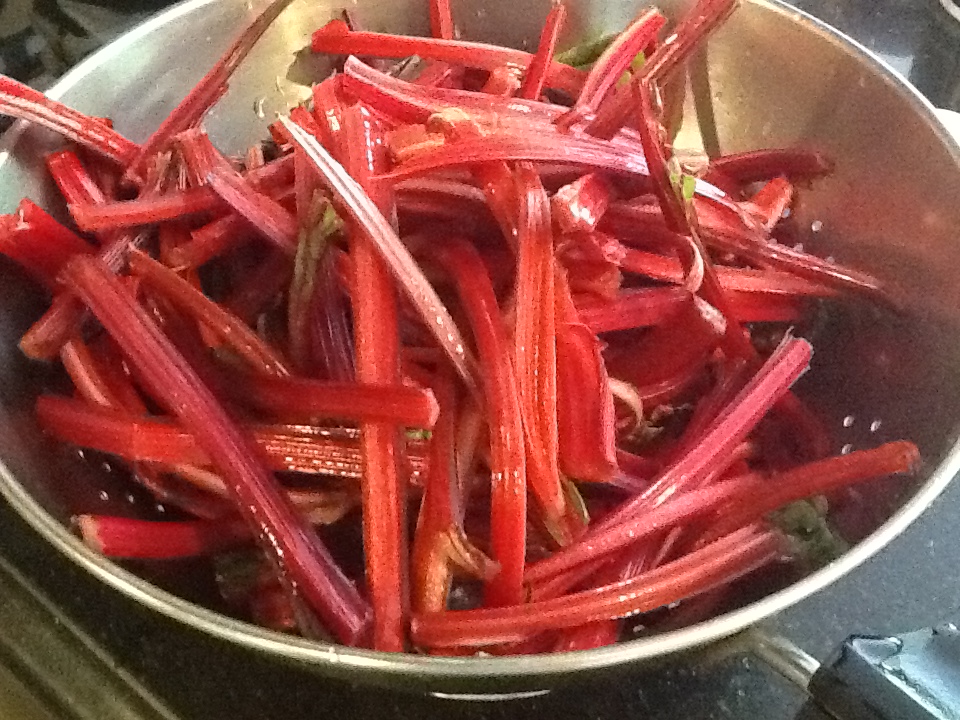
1.  Separate stalks from the leaves.  Clean them well by putting them in two different pots of cold water.  Keep changing the water until they are free from dirt and the water is clear.

2.  Put the stalks in one pot and the greens in another, covered with water.  Bing to a boil.  Cook the stalks for 25 minutes and the greens for 20. Drain.

3.  In a large fry pan or pot, saute the garlic and onions in the olive oil until soft.  Add the tomatoes, squishing them in your hands before adding.  Cook for 10 minutes over medium heat and stirring.  Add all the swiss chard to this pot, and add a little water (maybe just a tablespoon or two).  Season with salt and pepper as desired. Cook for another 20 minutes, stirring occasionally.  Check the seasoning again before serving.

Image

Image

Image

Image

Image

Image

Image

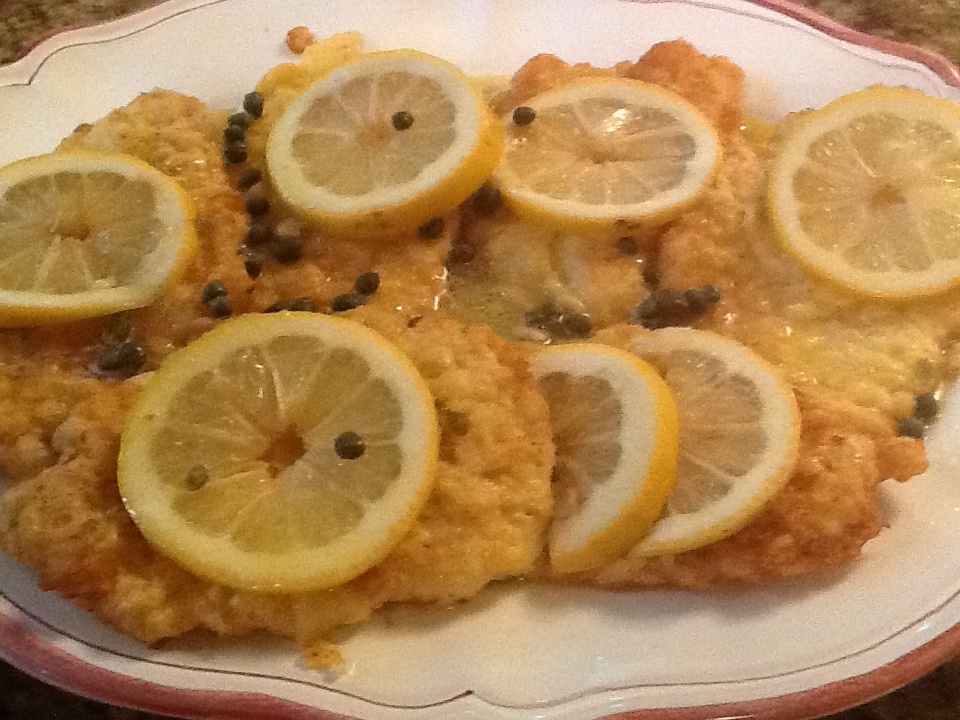
Chicken Francaise

Image

This is such a classic dish that I have made many, many times for small dinner parties, family meals, as well as for large gatherings of up to 30 people.  My feeling is that once you start dipping and frying, you might as well keep going for as long as you have the stamina.  You start to get on a roll, and the process almost becomes meditative.   Dip; flour; egg; flour; egg; fry.  Dip; flour; egg; flour; egg; fry.   And so on and so on.  

This recipe comes from my childhood friend, who shared it with me about forty years ago.  It was our “go to dish” used to impressed our elders….in-laws, aunts and uncles, etc.  It never failed to do just that.  It looks relatively elegant on a platter and tastes divine.  I remember making platters of this for my daughter’s christening party 36 years ago.  “Too much of a good thing” retired this recipe for many years, but I do pull it out from time to time.  There always seems to be a “perfect” occasion that comes along that requires Chicken Francaise.

RECIPE:   for 8 cutlets

8 chicken cutlets …..I buy the thin sliced and still pound them with a meat mallet for tenderness

4 eggs, beaten with a little water and 2 TBSP grated Parmesan cheese

2 cups flour

2 tsp. salt

1 stick butter (1/4 pound)

Juice of 3 lemons or approximately 3/4 cups

1 cup wine

2 TBSP capers

2 lemons, thinly sliced for garnish

Vegetable oil for frying

1.  Beat eggs, water and cheese in one bowl.

2.  Combine flour and salt in another bowl.

3.  Heat oil in a fry pan until nice and hot for frying.

4.  Dip each cutlet in the flour, then egg, then flour again and then egg, and then place in the hot oil.  Do not let the cutlets touch, so you will do this in batches.  Fry until golden brown on both sides.

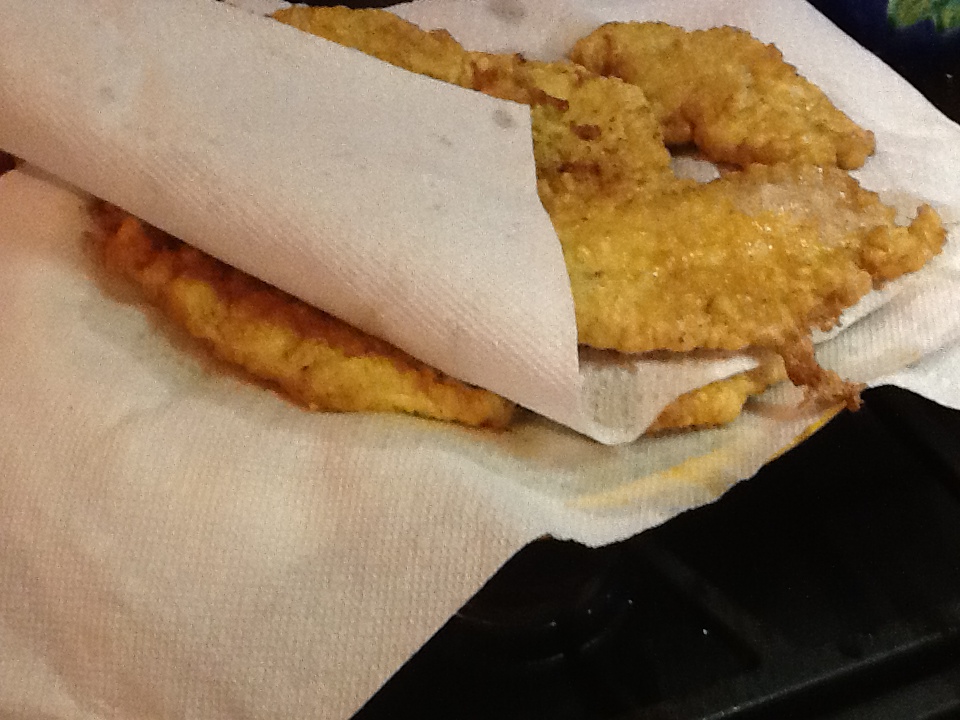
5.  When you remove the cutlets from the pan, place on a platter lined with paper towels to absorb the oil.  You can layer this, but always have paper towels under each layer of cutlets.

6.  Once all the cutlets are done, place in a roasting pan or glass pyrex pan.   Cover with aluminum foil  and cook in a 350 degree oven for 35 minutes.

7.  While the cutlets are in the oven, melt the butter in a small saucepan.  Add the lemon juice, wine and capers.  Keep warm.  Thinly slice the other lemons for garnish.

8.  When cutlets are cooked through, place on a plater.  Pour the butter sauce over the cutlets. then garnish with the lemon slices.

Image

Image

Image

Image

Image

Image

Image

Image

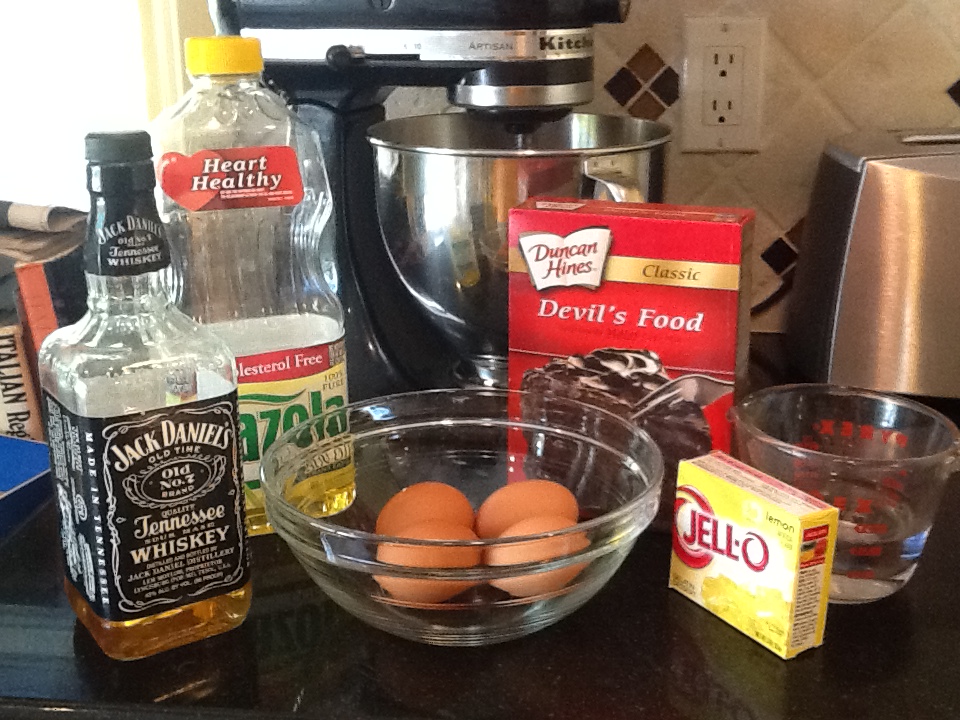
Whiskey Cake

Image

Packaged cake mixes became very popular in the 1950s.  Betty Crocker was the first to get  Yellow and White cake mixes to American supermarkets in 1947.  In 1948 Pillsbury was the first to introduce a Chocolate cake mix, and in 1951, Duncan Hines got in the act by grabbing a hold of his share in the marketplace.  Should the history of cakes interest you, I suggest you go to http://www.foodtimeline.org.  I found the information there on cakes (and other foods as well) to be fascinating.  So let’s get back to the 1950s, and my mother’s kitchen.  All her baked goods were made from scratch.  There were no cake mixes in her kitchen, until her good friend and neighbor, Ginny, started sharing her desert recipes that used pre-packaged cake mixes.  My mom was not a believer until we tasted these treats.  Ginny was forever tearing cake recipes out of magazines and trying them on her family, which consisted of only three (herself, husband and son), so there was always plenty to bring to us.  Only one house separated our kitchen door from hers, and lots of food went back and forth.  We were always delighted to see one of Ginny’s cake creations sitting on our counter.    My mom reluctantly acquiesced, and soon boxed cake mixes lined our pantry shelves.

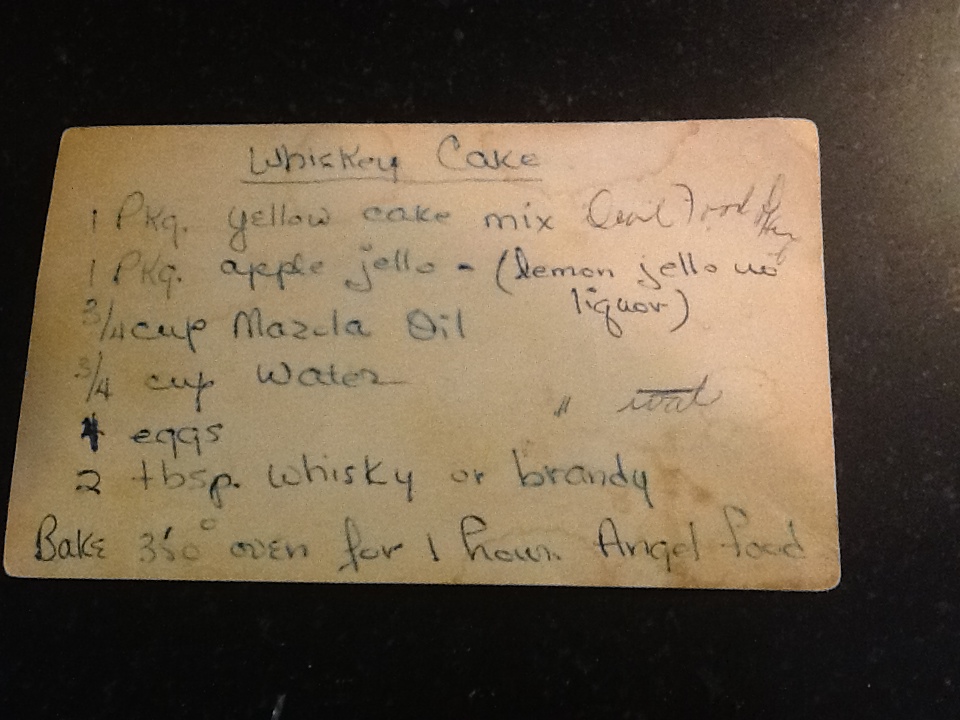
For a real taste of nostalgia, I love to pull out one of Ginny’s cake recipes, with her very distinct handwriting.  They never cease to delight.  I sometimes feel that I have pulled away from this simple, yet delicious way of baking, and get all too caught up in deserts that you might see made on TV shows like “The Cake Boss.”  I’m not saying that you can compare the two, but there is a true “homemade” taste to this Whiskey Cake recipe (and other Ginny cake mix creations) that takes me back in time to when food food was simple, and so was life.  Or so it seemed.

I have so many favorites cake recipes of Ginny’s, but this one is a family favorite, so I thought I would start with this.  I promise to share more in weeks to come.

RECIPE:

1 Package Chocolate or Yellow Cake Mix (Both are delicious. I used chocolate here)

1 Package apple or lemon Jello

3/4 cup vegetable oil, such as Mazola

3/4 cup water

4 eggs

2 TBSP whiskey

1.  Grease and lightly flour an Angel food pan.  Preheat oven to 350 degrees.

2.  Put all ingredients into a mixing bowl in order as listed (do not mix jello separately).  Mix well with electric beater and put into pan.

3.  Bake for 1 hour.  Cool and frost.  You can frost the entire cake or just mound the frosting on top.   Serve with vanilla ice cream.

RECIPE FOR FROSTING:

1/2 Cup Crisco

1/8 tsp salt

2 Cups confectioners sugar

2 TBSP milk

1.  Cream shortening and salt.

2.  Beat in sugar, alternating with the milk.  Add more sugar or milk as needed.

Image

ImageImage

Image

Image

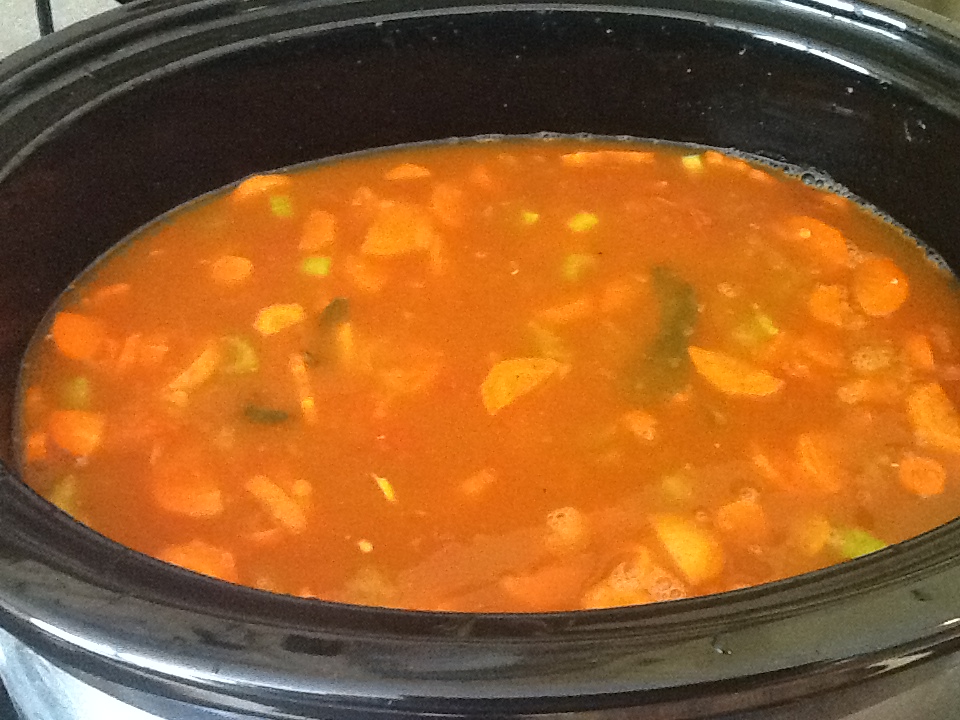
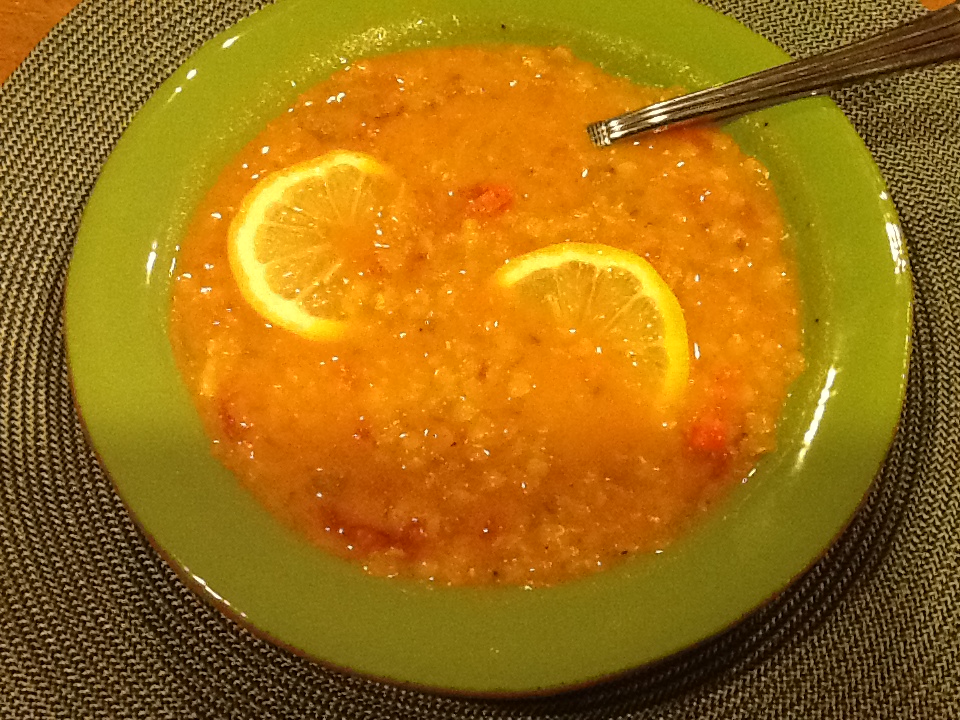
Red Lentil, Carrot and Coconut soup

Image

I had this red lentil soup in a “Fusion” restaurant many years ago, when the word “fusion” was new to the culinary world.  It was one of those dishes that you enjoy in a restaurant, and know that you will search all over for a recipe that is similar.  The problem was, however, where would I find such a recipe?  Would it be in an Indian cookbook?  I had several, but there was nothing like this soup in it.  Would it be in a Thai cookbook?  Or in a “Soup Only” cookbook, such as  the ones you see in  William Sonoma Stores?  I looked everywhere, but to no avail.  I even wrote into Gourmet Magazine for the recipe.  They used to have a column every month, where you could write in looking for a recipe from a particular restaurant.  They never answered me.  I reluctantly gave up my search, but the subtle flavors still lingered.  I tried hard to erase it from my mind.  Then one day, many years later, I was thumbing through a new cookbook I had bought, for the Slow Cooker, and I came across a recipe for red lentil soup that I thought could be it…or at least close.  As I read the ingredients, my tastebuds started to come to life, remembering all the delicate flavors.  Yes, this could be it!  I was ecstatic!

It is indeed very close to that “fusion” red lentil soup I had many years ago.  Every time I make this soup, I am still amazed that I found such a similar recipe. The “food gods” were truly shining upon me when I accidentally happened upon it.

RECIPE:  For Slow Cooker, but can be adapted to stove top.

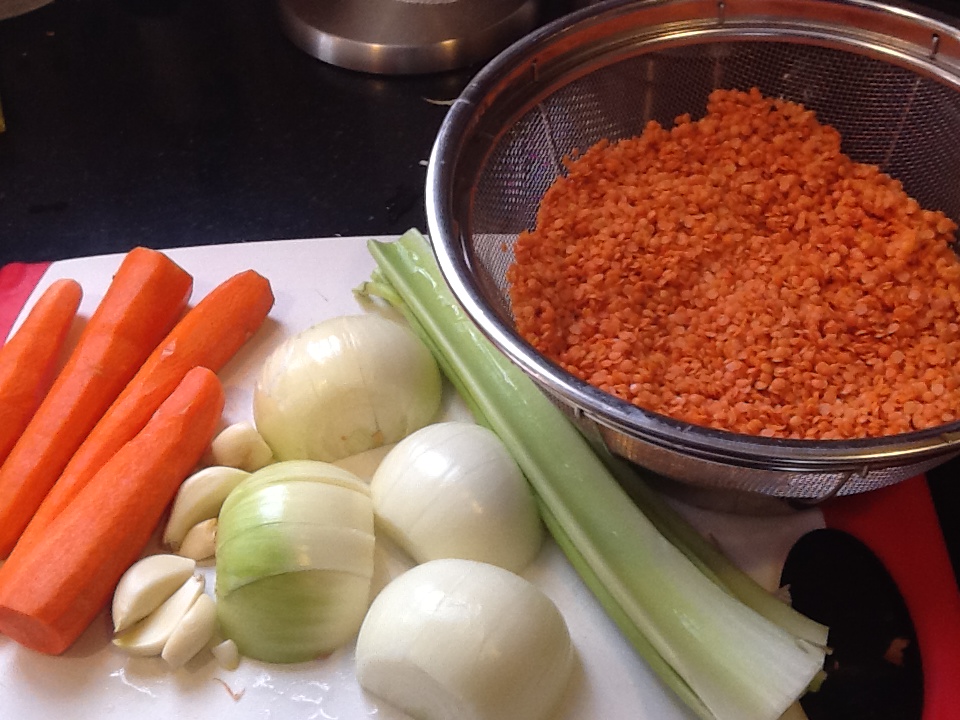
2 cups red lentils

1 TBSP vegetable oil

2 onions, finely chopped

4 cloves garlic, finely chopped

1 stalk celery, chopped (I added this)

2 tsp. turmeric

2 tsp cumin seed

1 tsp salt

1/2 tsp cracked black peppercorns

1 long red chili pepper or 2 Thai chilies, finely chopped

1 can (28 oz.) tomatoes, including juice

2 large carrots, peeled, cut in half lengthwise and thinly sliced ( I sometimes chop)

1 TBSP  (I do 2 TBSP) freshly squeezed lemon juice

6 cups vegetable or chicken broth

1 can (14 oz.) coconut milk

Thin slices of lemon

Finely chopped cilantro

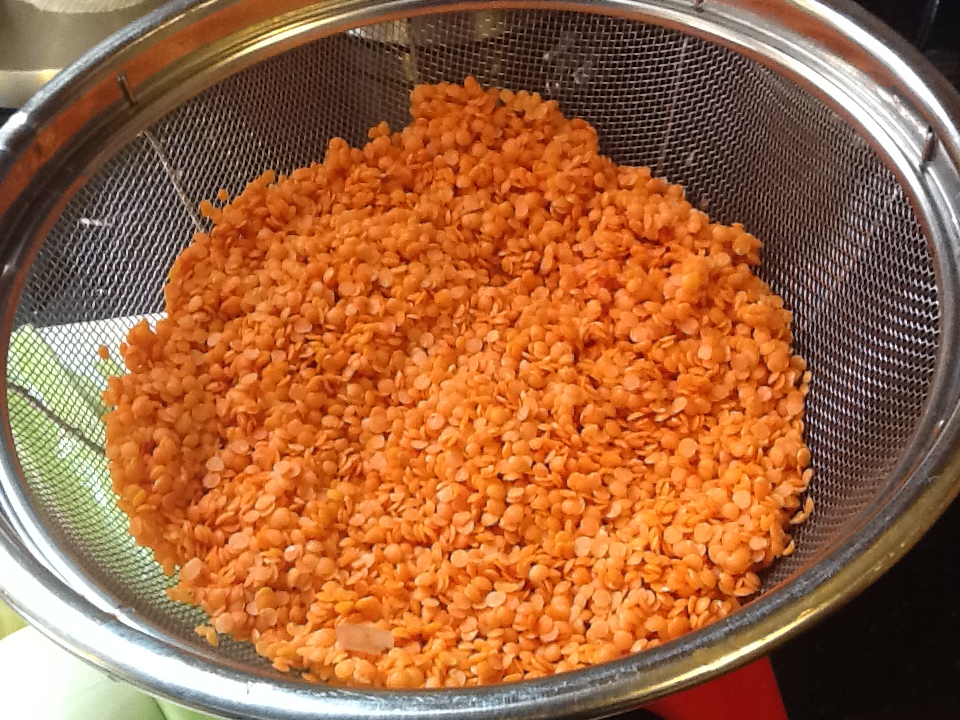
1.  In a colander, rinse lentils thoroughly under cold running water.  Set aside.

2.  In a skillet, heat oil over medium heat.  Add onions and cook, stirring until soft.  Add garlic,celery, turmeric, cumin seeds, salt, peppercorns, and chili pepper and cook, stirring for about 1 minute.  Add tomatoes and bring to a boil, breaking up with the back of a spoon, or squish in hands before adding.  Stir in carrots, lentils, lemon juice and broth.

3.  Transfer mixture to slow cooker stoneware.  Cover and cook on LOW for 8 to 10 hours or on HIGH for 4 to 5 hours, until carrots are tender and mixture is bubbling.

4.  Stir in coconut milk and cook on HIGH for 20 to 30 minutes, until heated through.

5. When ready to serve, ladle into bowls and top with lemon slices and cilantro, if using.

**  If cooking on the stove, follow all the steps in order.  I would cook the soup, simmering on the stove for at least 1 1/2 hours, or until the lentils are cooked well and the carrots are tender.

Image

Image

Image

Image

Image

Image

Image

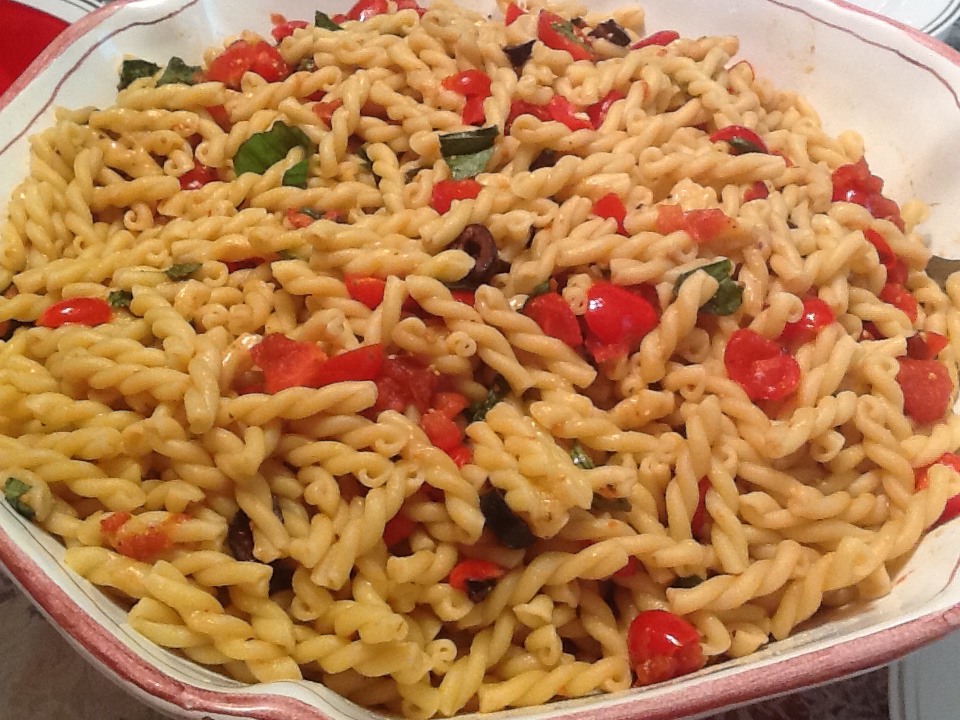
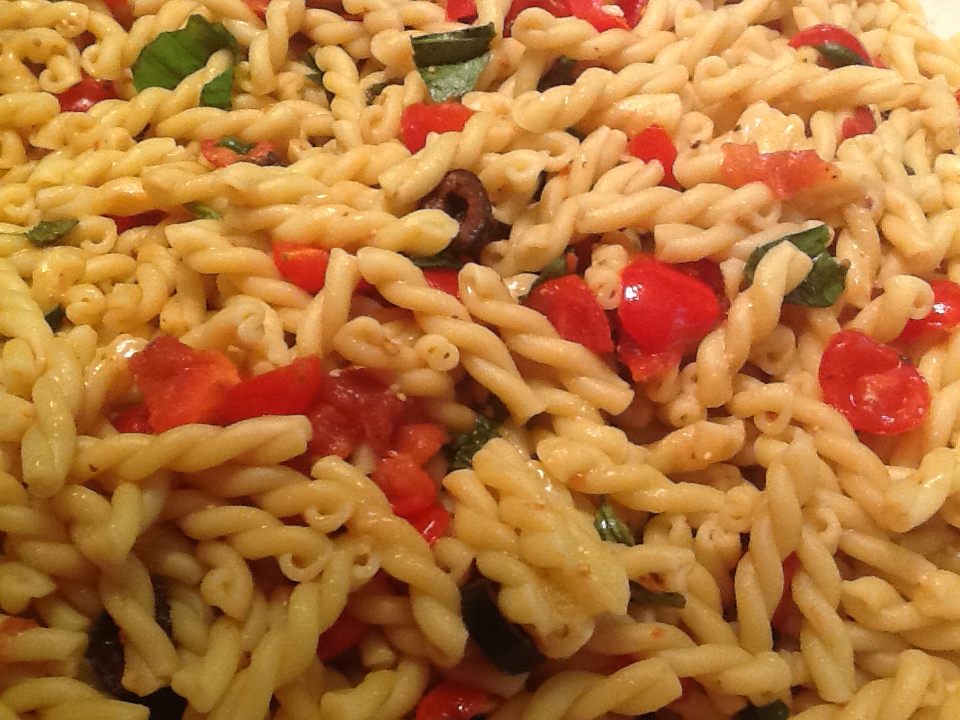
Summertime Pasta

Image

This pasta dish is full of wonderful, fresh, summer ingredients.  For some strange reason, it tastes best when eaten outdoors on a beautiful spring or summer day.  We serve it room temperature, so it can sit on a picnic buffet table all afternoon.  We love it and make it often in the spring and summer because, besides be absolutely delicious, it solves the problem of what pasta to make for a barbecue.  And if that barbecue is on a Sunday, it solves the “red sauce” dilemma.  This past Sunday was Mother’s Day (Happy Belated Mother’s Day to all you moms out there), and this pasta dish rounded out our culinary celebration.  There is a funny joke about Italians and barbecues that I just love.  ” What is an Italian Barbecue?  We eat the baked ziti outside instead of inside.”   While this may be true, in my family, we just choose to make a lighter pasta, that’s goes better with the outdoors…..and hamburgers and hotdogs!  As crazy as it seems, once the thrill of that first hotdog of the season is over, everyone is looking for the pasta.  For years, I fought my family on this, and didn’t want to make pasta for our barbecues.   How about a little macaroni salad or cole slaw, people?  Anyway, I have given up the fight, and now, I too am always looking forward to some pasta sitting next to my hamburger!

RECIPE:  For 1 pound of pasta

1 pound of gemelli or short fusilli pasta

1 pt. cherry tomatoes

6 plum tomatoes

2 TBSP. capers

1/2 cup Italian black cured olives, pitted and chopped

1 tsp. oregano

1 tsp salt

freshly ground pepper

1/4 olive oil, plus a tablespoon or two for drizzle

2 cups loosely packed basil, chopped, but save several large sprigs for garnish

Freshly grated Parmigiano and Pecorino Romano cheese

1.  Boil water in a pot large enough to hold the plum tomatoes.  Put tomatoes in the boiling water for 3 to 5 minutes, just long enough to soften the skin.  Drain and let cool.

2.  Chop the cherry tomatoes in quarters.  Put in large bowl.

3.  When cool, remove skin from the plum tomatoes, and chop coarsely.  Place in bowl with cherry tomatoes.

4.  Add oil, capers, olives, oregano, salt and pepper.  Add the basil, even the garnish. Mix.

5.  Cover the bowl tightly with plastic wrap and let marinate for several hours at room temperature.

6.  Bring a large pot of water to a boil and add the pasta.

7.  Drain pasta when done, put in serving bowl and add a drizzle or two of olive oil plus a handful of Parmigiano cheese before adding the other ingredients.

8.  Serve with freshly grated Pecorino Romano or Parmigiano cheese.
9.  Serve hot, room temperature, or cold………inside or outside.
ImageImageImageImage

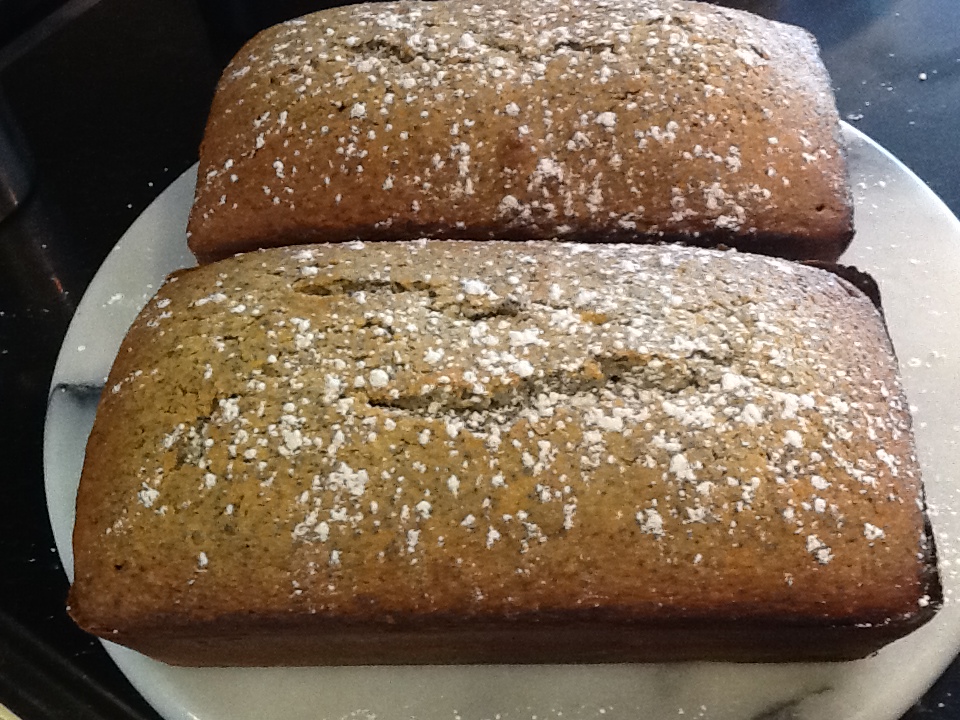
Poppy Seed Bread

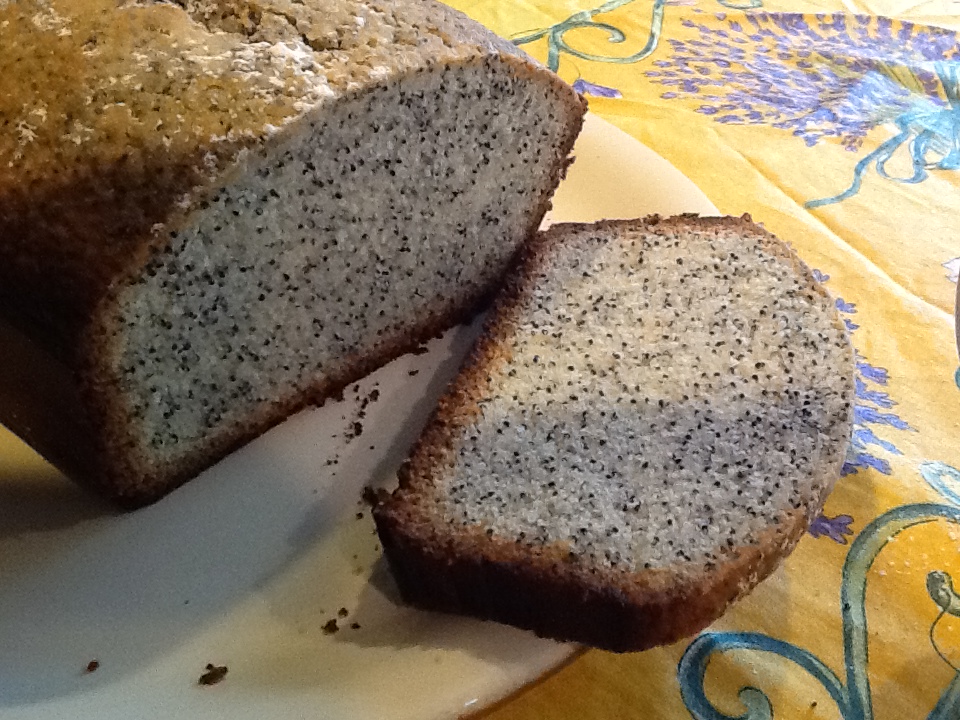
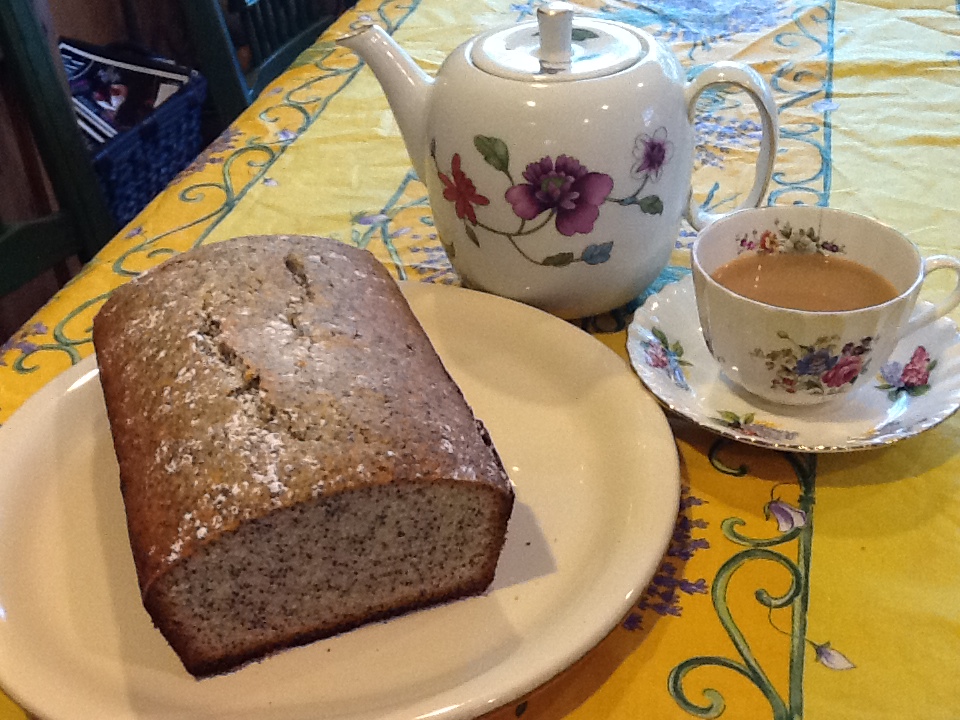
ImageWhen I indulge in a piece of this light, sweet poppy seed bread with a cup of tea, I am immediately transported back to a time in my life that now seems to have gone by so quickly.  When I reluctantly put my daughter into a nursery school program for the first time, I felt lost without her.  She was two and a half, and the program consisted of two mornings a week for 2 hours.  I would go food shopping, do an errand or two, and before I knew it, it was time to go back to pick her up.  But there were the days when I had no errands, and I just didn’t know how to fill the void.  As luck would have it, many other mothers felt the same.  There were no Starbucks back then to meet for coffee and pass away an hour or two.  Can you imagine a life without Starbucks?   We would sometimes go back to each others homes and make coffee or tea, and sit around and chat.  Somewhere along the way, we started to serve our homemade baked goods and share recipes.  This recipe for poppy seed bread came from one such experience.  I remember sitting on a patio, on a brilliant spring day, enjoying a piece of this sweet bread, a cup of tea, and wonderful conversation.  Many strong friendships were formed during these weekday gatherings, and many recipes changed hands.  I look back fondly on this uncomplicated, yet wonderful time in my life.  My memories of these women, our conversations and our delicious baked goodies, always brings a smile to my face.  
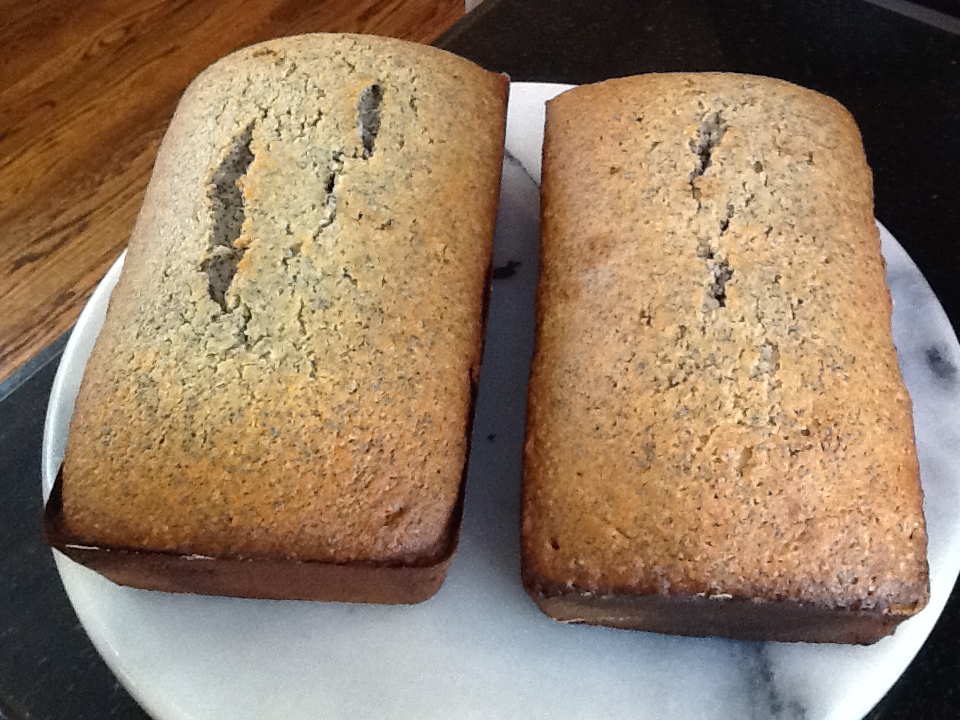
RECIPE:  Makes two loaves

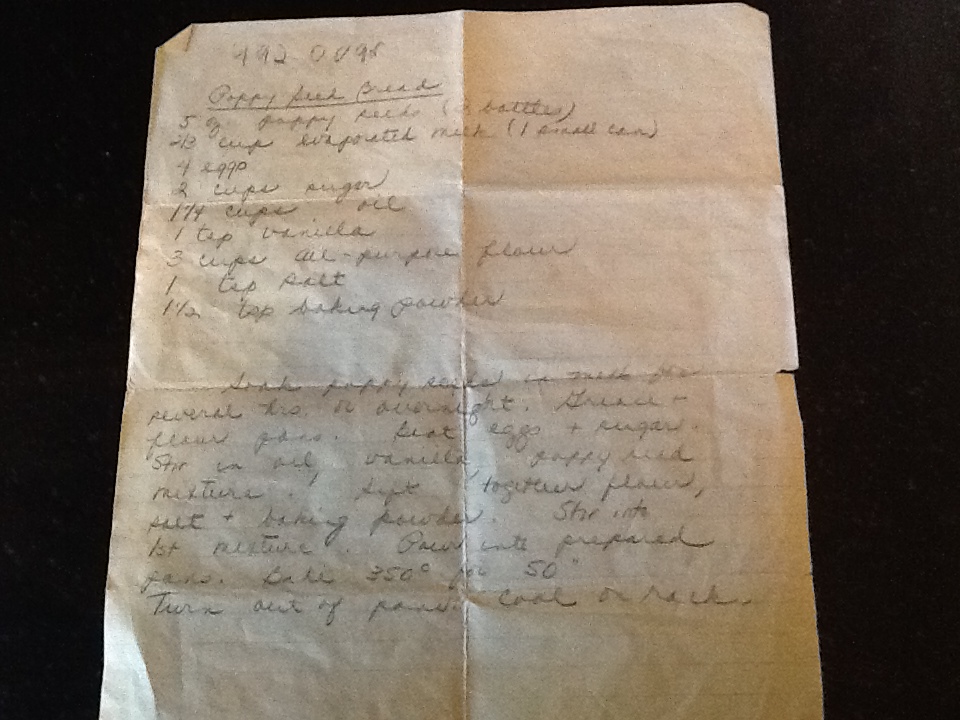
5 ounces poppy seeds (2 bottles)

2/3 cup evaporated milk

4 eggs

2 cups sugar

1 1/4 cups oil

1 tsp. vanilla

3 cups flour

1 tsp. salt

1 1/2 tsp. baking powder


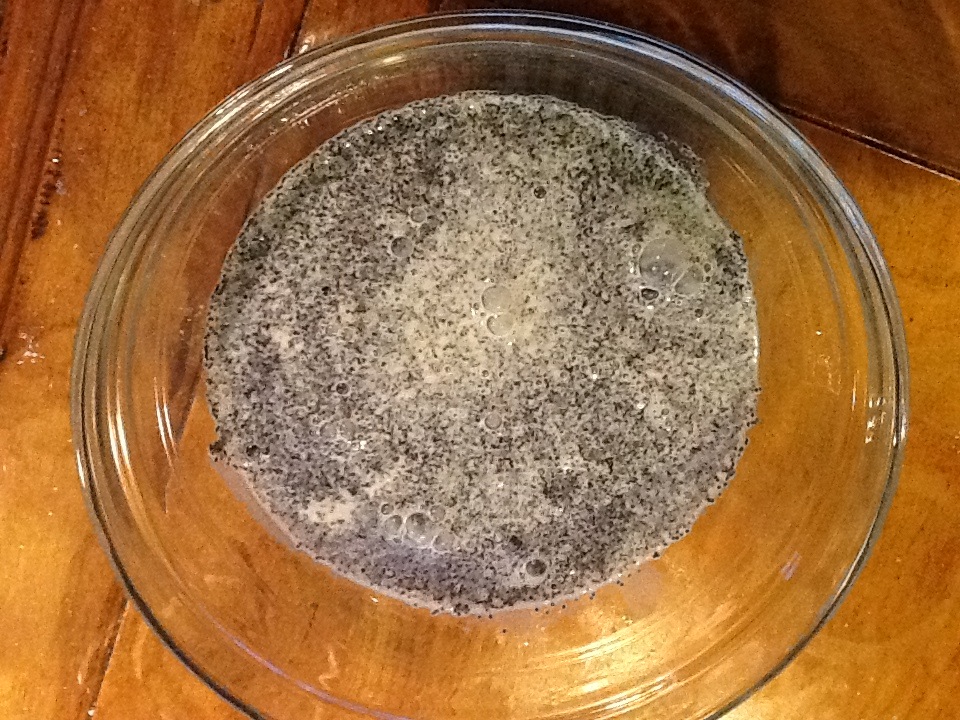
1.  Soak poppy seed in milk for several hours or overnight.  

2.  Grease and flour two loaf pans.  Preheat oven to 350 degrees.

3.  Beat eggs and sugar.

4. Stir in oil, vanilla and poppy seed mixture.

5.  Sift together flour, salt and baking soda. Stir into poppy seed mixture.  Stir well.

6.  Pour into prepared pans.

7.  Bake at 350 degrees for 50 minutes or until light brown.

8.  Turn out on racks to cool.  May dust with powdered sugar if desired.

9.  Invite a friend or two over for tea, and sit and have a nice long chat while enjoying a piece of this delicious bread!

Image

ImageImageImageImageImageImageImageImageImage


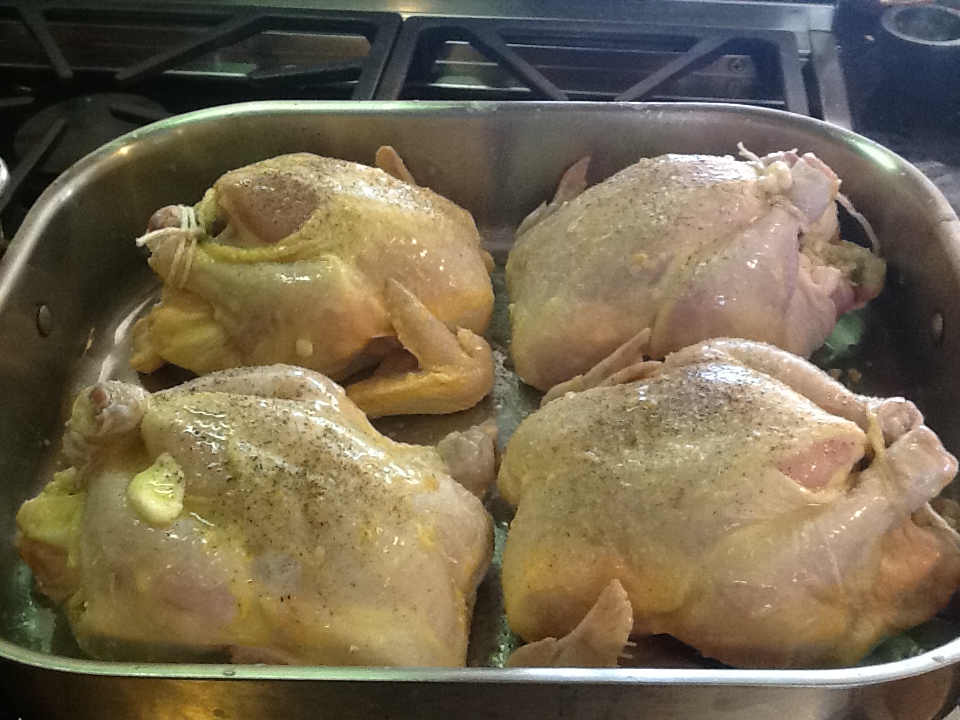
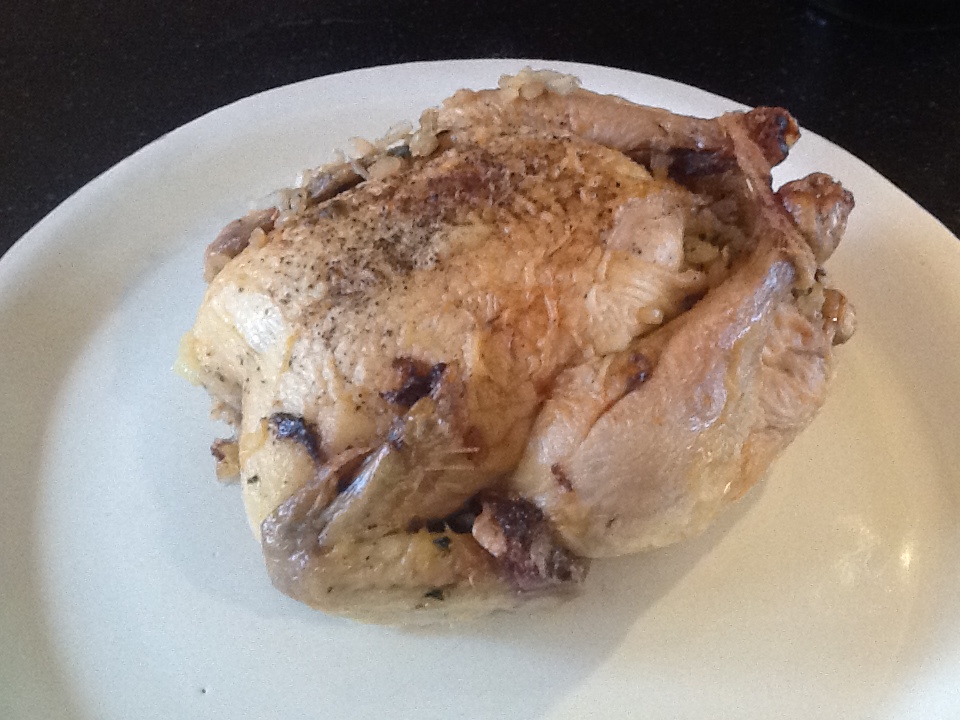
New Bride Stuffed Cornish Hens

Most new young brides have a recipe that is their “go to meal” to make when company comes for dinner.  They find something that works, and then make it over and over until neither the husband nor the new bride can possibly eat it again.  This recipe for stuffed Cornish hens was that recipe for me in 1973 until probably 1977.  Yes, for 5 years if you came to my house for dinner, this is what you would have been served.  This was my “fancy meal.”  I thought it was somewhat chic at the time.  And for me, if it wasn’t Italian food, then it must have been somewhat elegant.  Elegant or not, when I made this meal the fancy china, silver and crystal came out of hiding, as it was time to play “hostess.”  I would spend all day Saturday preparing.  When I pulled this recipe card out of my files the other day, I had a good laugh remembering one of the first times that I made this dish.  I had spent all day preparing, as I said, and then put the hens in the oven when our company arrived, figuring that the timing would be perfect for us to have cocktails first. Just as we were to sit down to dinner, I realized that I had not turned on the oven, so we had to wait another hour or more for dinner!!  I learned from this experience that alcohol and entertaining do not go hand in hand.  At least not until I had mastered the art of entertaining.  Now I am proud to say, I can do both at the same time.  Thank goodness!!

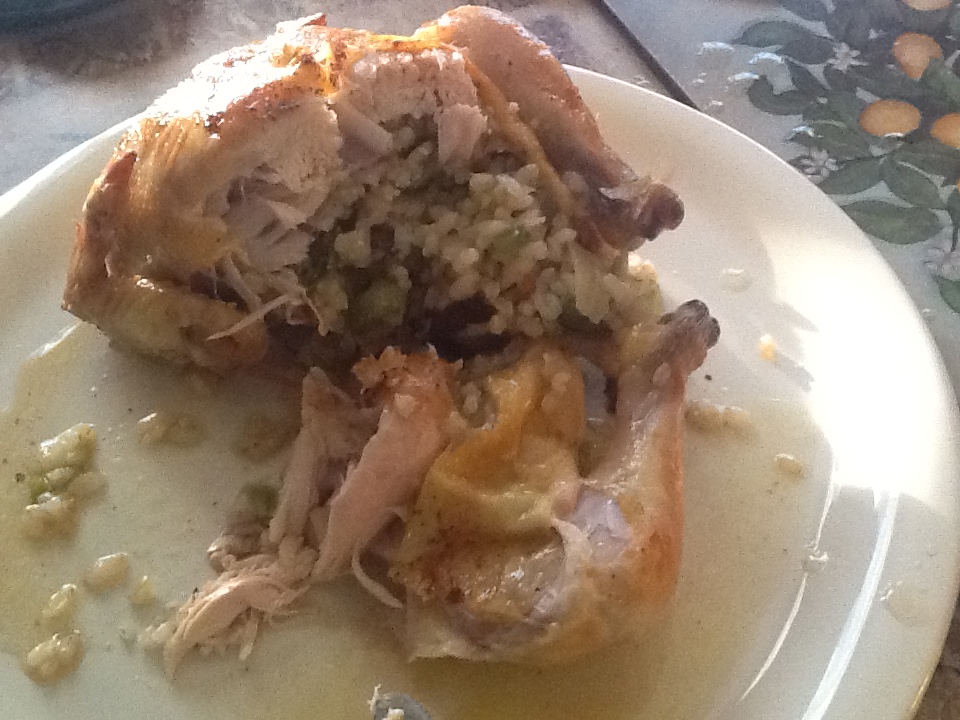
I probably had not made this cornish hen recipe in over 30 years (frankly, I was sick of it), so I was eager to see how I would feel about it now.  Well, it certainly didn’t take all day to make.  Actually, it’s  quite an easy dish.  It really only took about 30 minutes or so to get the hens stuffed and in the oven.  What the heck was I doing in the 1970s?  I did’t have a Cuisinart, but still there isn’t that much chopping to do.  Well, with years of cooking under my belt, I guess everything is just easier.  It tasted just as delicious now as it did then, even though I did make a few minor adjustments, something I never would have done in 1973. 

RECIPE:

1 cup long grain rice (I used brown rice and would love brown and wild rice as an option)

4 ounces butter, plus melted butter for basting

1/2 cup chopped celery

1/2 cup chopped green pepper

1/4 cups chopped onions or shallots

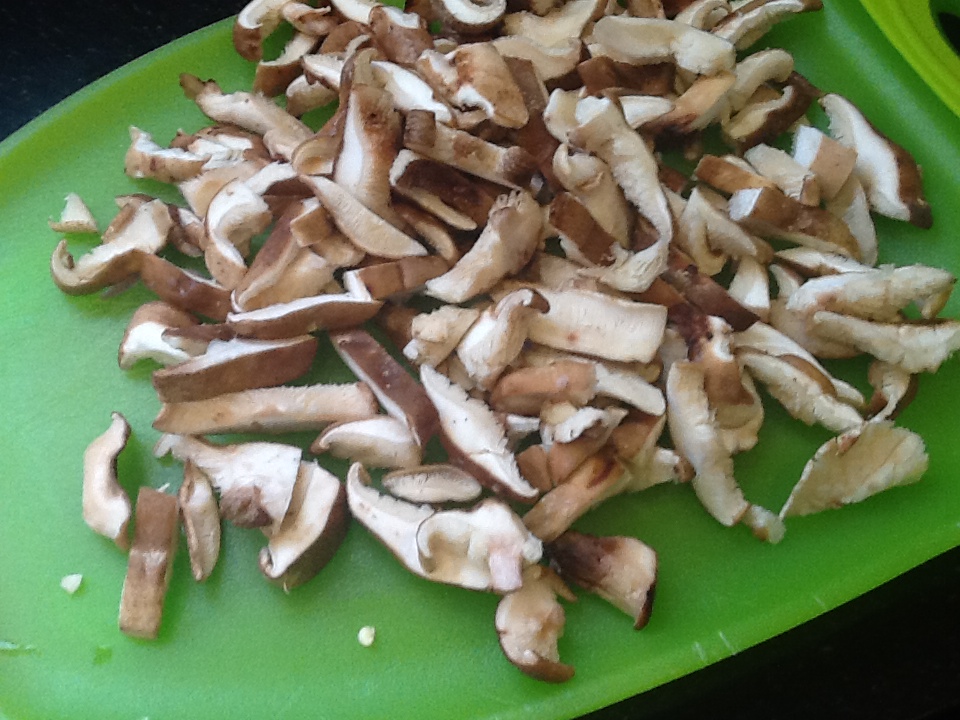
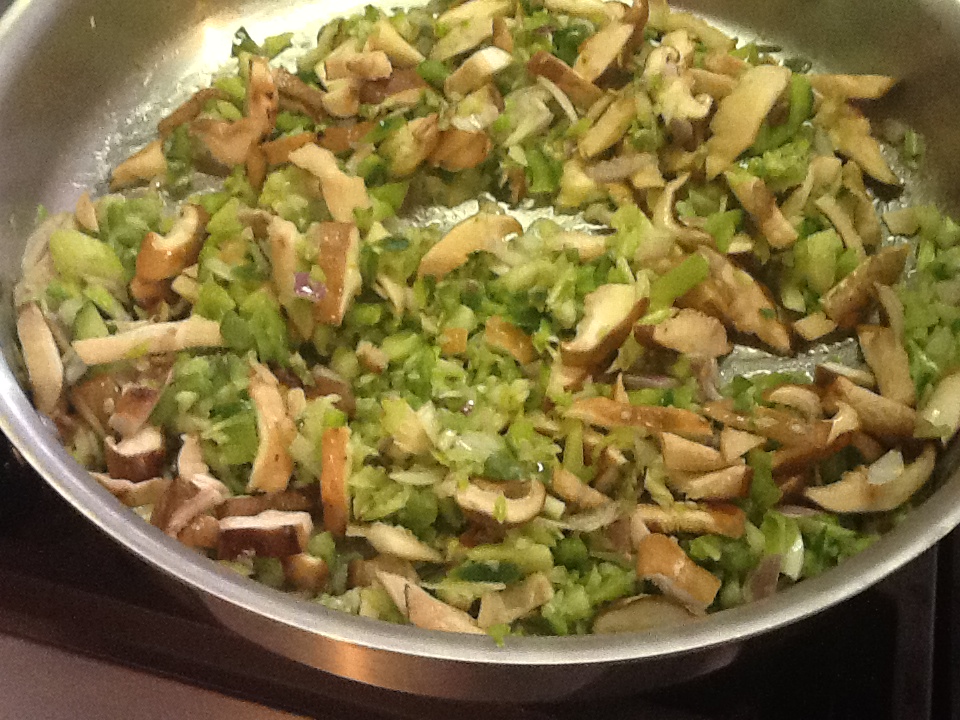
1/4 pound chopped mushrooms (I love shitake in this recipe)

salt and pepper to taste

4 Cornish hens, about a pound or so each

1.  Prepare rice as label directs, but cook a bit al dente.

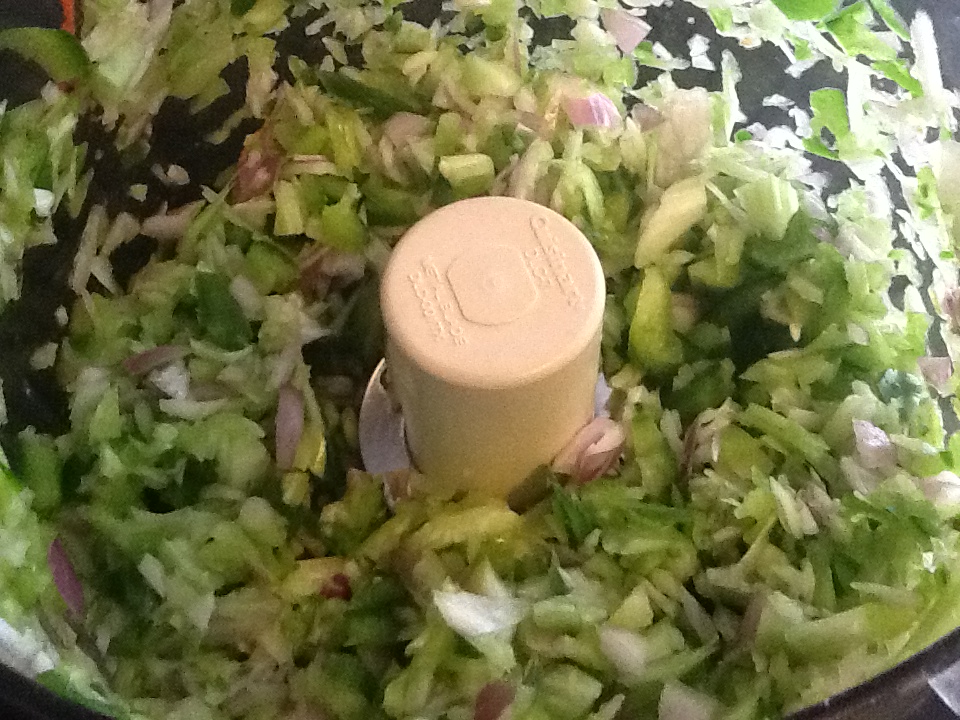
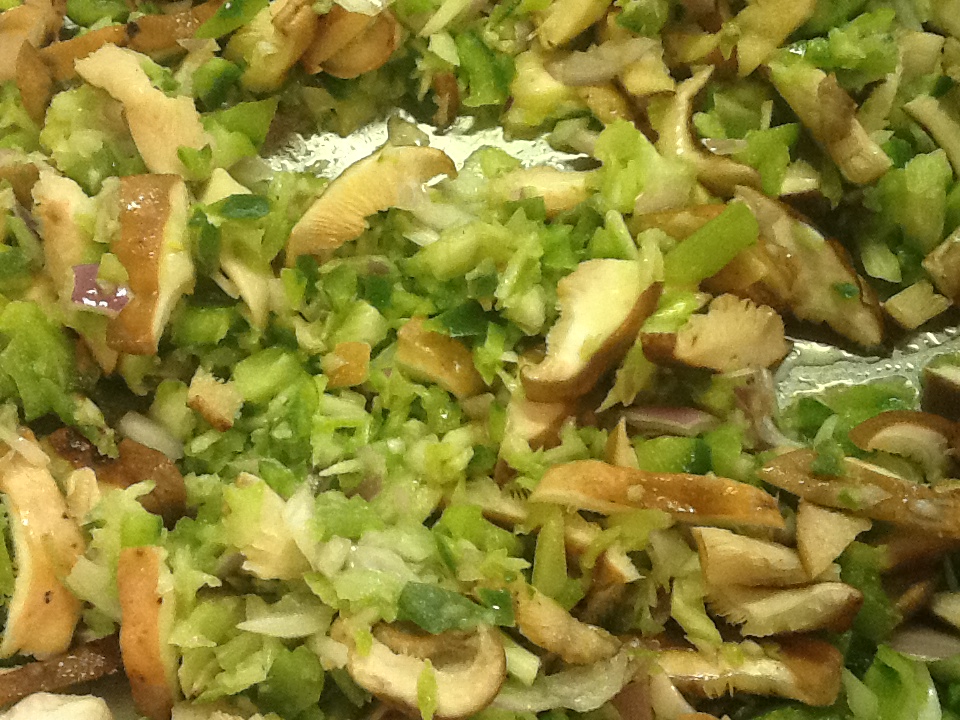
2.  In skillet, melt the butter and sauté the mushrooms, celery, onions and green pepper for approximately 10 minutes.

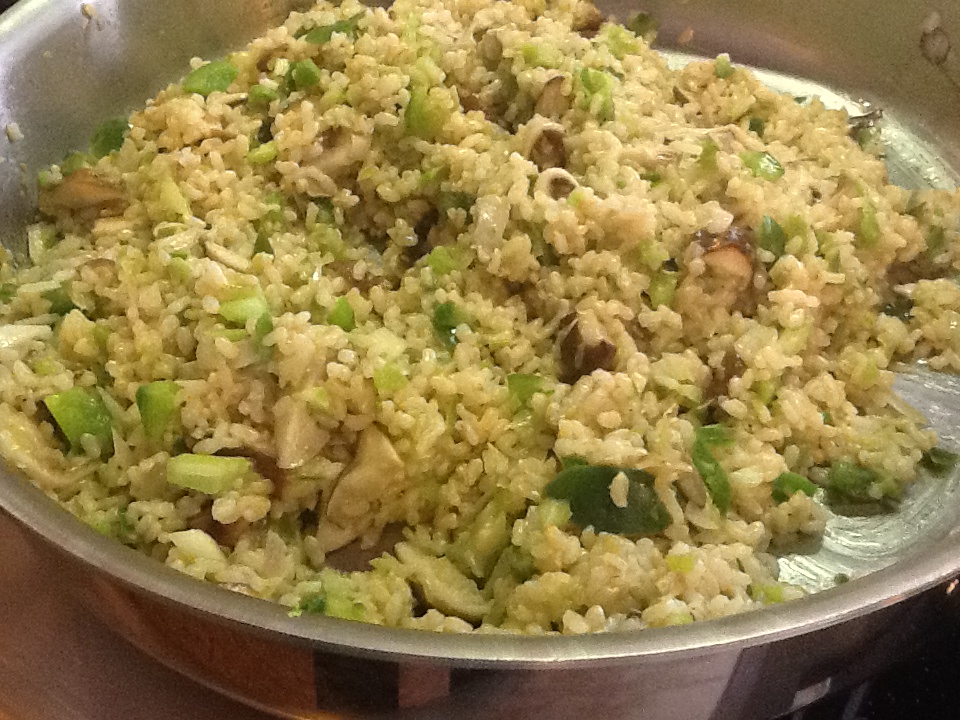
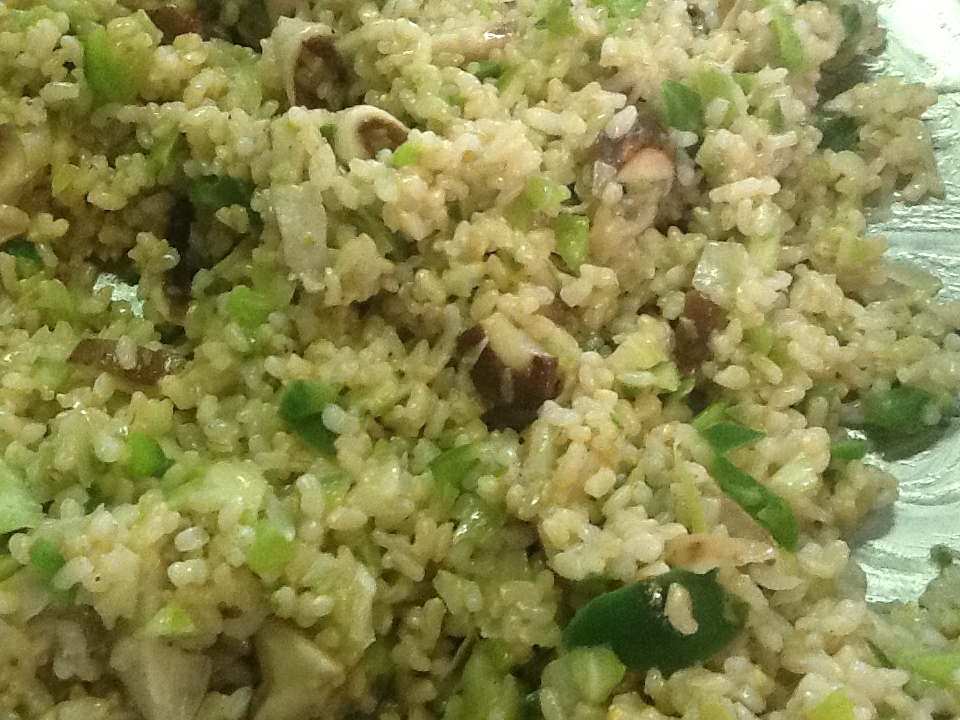
3.  Combine cooked rice and veggies in skillet.  Add salt and pepper to taste.

4.  Preheat oven to 375 degrees.

5.  Wash hens and pat dry.  Spoon rice mixture into hens and tie up legs with cooking twine.  Place in pan, breast side up.

6.  Place leftover rice mixture into a small, greased casserole dish.

7.  Brush hens with melted butter.  Salt and pepper them.

8.  Cook hens, basting occasionally, for about an hour, until cooked through.

9.  During the last 30 minutes, bake the remaining rice until hot.

ImageImageImageImageImageImage

ImageImageImage

Roasted Butternut Squash ( from BC)

ImageIt’s Spring, and I find myself obsessed with vegetables.  It’s a little too early for grilling them (but I will obsess over that in another few weeks), so I’m roasting them in a hot oven every chance I get. Honestly, you can’t go wrong by just coating them in a good olive oil, salt ( Kosher preferably), pepper and any spices of choice.  You can let your imagination run wild.  When I’m in the mood for India food, I will go through my spice drawer and pull out ground curry, turmeric, cumin, coriander, etc. and mix it all together with cauliflower florets and maybe some cubed red and yellow peppers.  I can’t think of a vegetable that is not delicious just simply roasted like this.  Being a “recipe gal,” it is not easy for me to just grab and mix with no instruction of any kind, but this is truly fool proof.  I hope you will throw caution to the wind, and enjoy your favorite vegetables combined with your favorite spices.

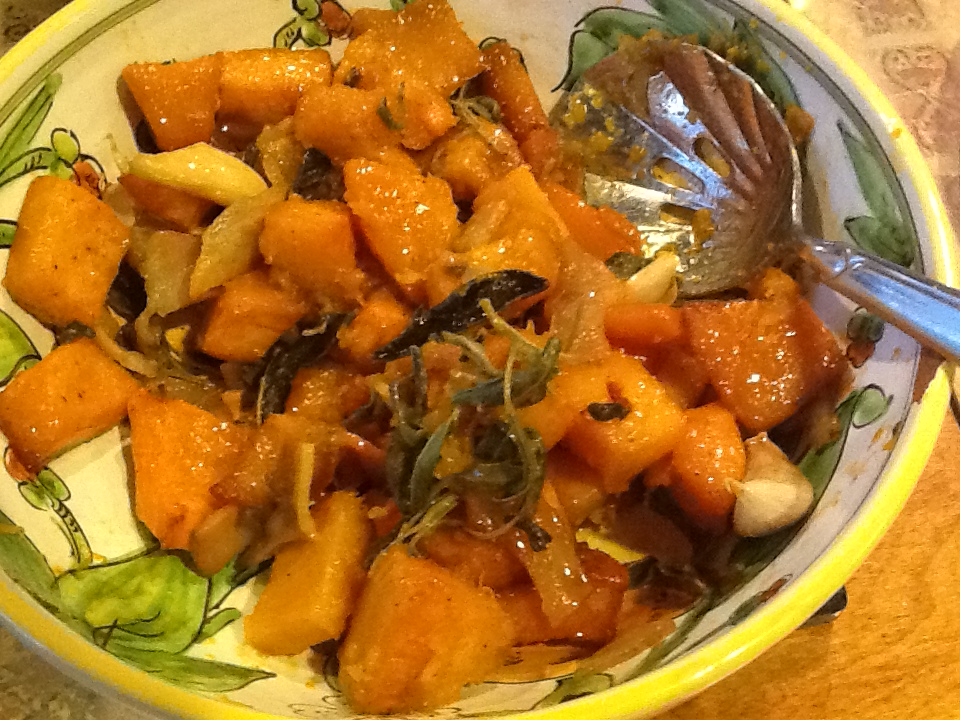
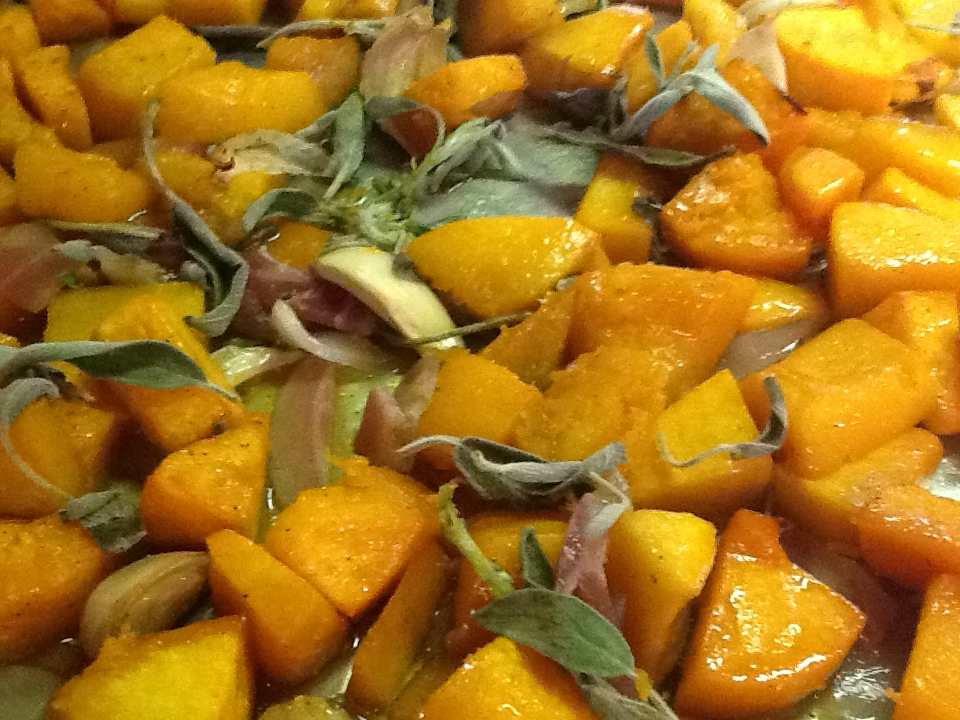
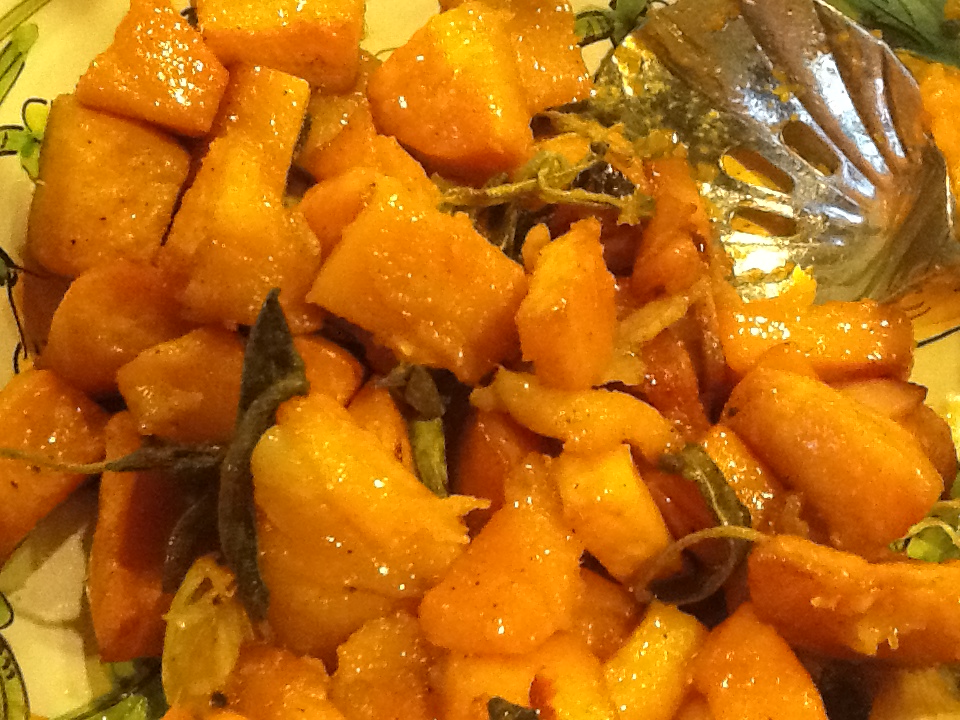
All that being said, I must share with you another recipe from the Barefoot Contessa which roasts butternut squash with maple syrup, pancetta and sage. This may sound a bit more difficult than what I have described above, but it is still as simple as can be.  These flavors all blend so beautifully that you will have to restrain yourself from eating the entire pan!

RECIPE:

1 large butternut squash, peeled, seeded and cut into 1 inch cubes.

1 head garlic, separated but not peeled

2 TBSP good olive oil

2 1/2 TBSP pure maple syrup

1 tsp. kosher salt

1/2 tsp. freshly ground pepper

2 ounces thinly sliced pancetta, chopped

16 whole sage leaves

1.  Preheat oven to 400 degrees.

2. Place the squash and whole unpeeled garlic cloves on a sheet pan in one layer.  Toss with the olive oil, maple syrup, salt, pepper and bake for 20 to 30 minutes, until the squash begins to brown, turning once during baking.

3.  Sprinkle the pancetta and sage leaves evenly over the squash and continue to bake for another 20 to 30 minutes, until the squash and garlic are tender and caramelized.  Season to taste and serve hot.  She suggests that you serve with French bread and spread the roasted garlic on the bread.  With or without the bread, this is yummy!

I would love to hear what vegetable and spice combinations your imaginations produced.  The possibilities are limitless.

ImageImageImageImageImage