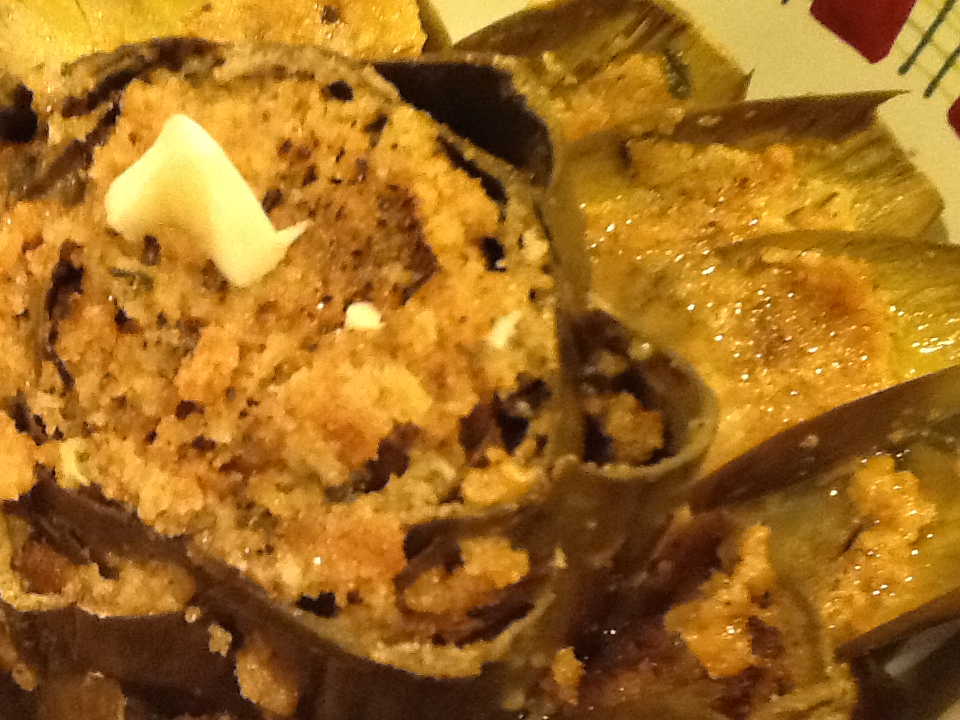
The Barefoot Contessa’s Parmesan-Roasted Broccoli

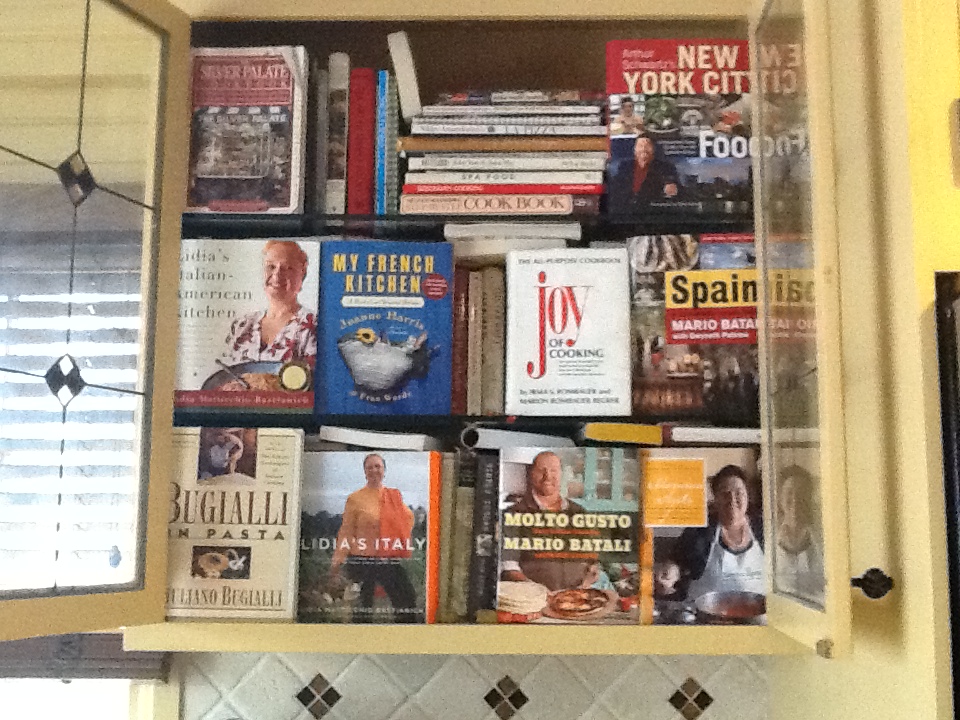
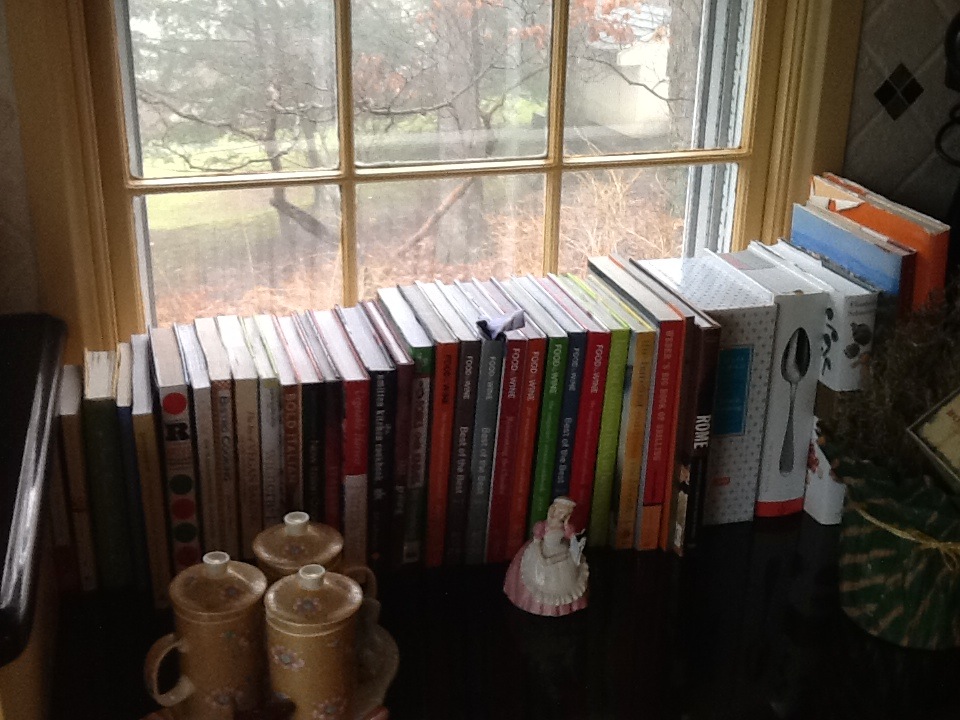
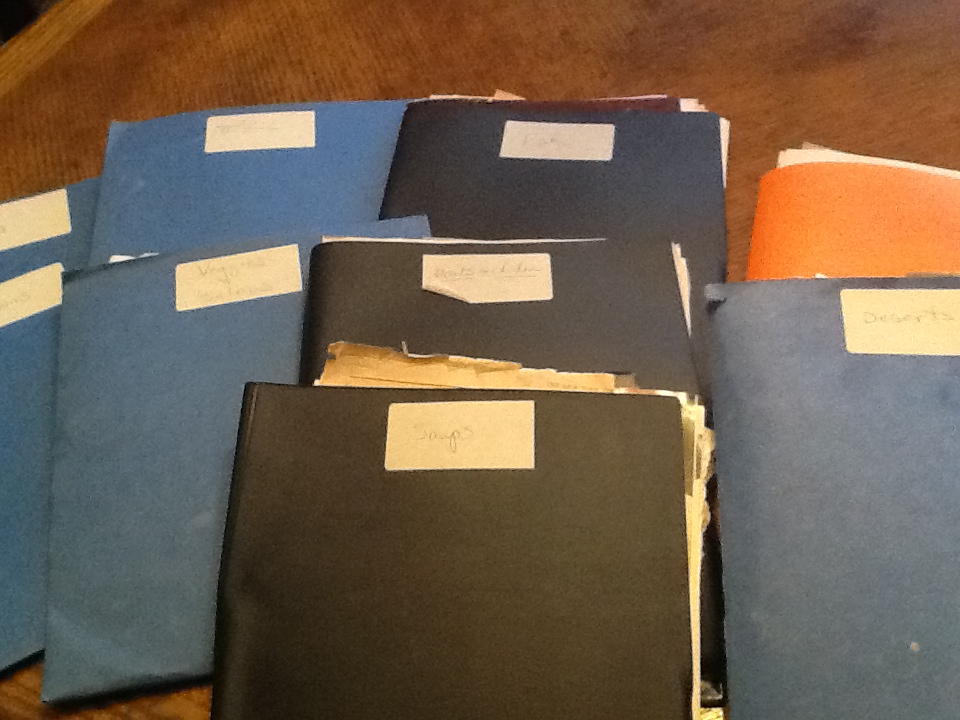
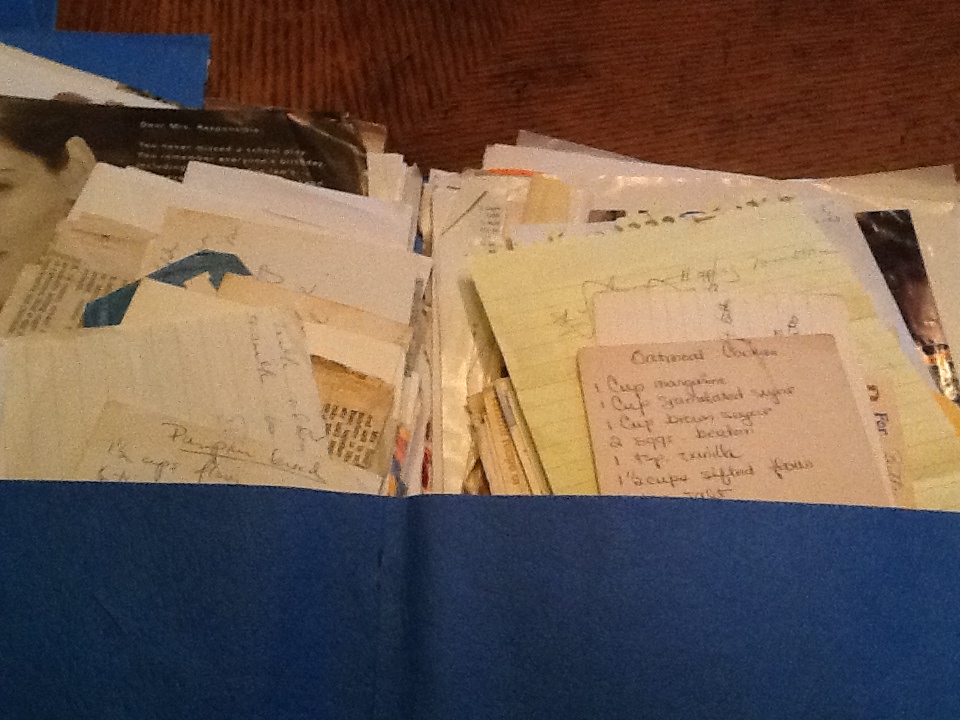
I think it’s time for me to confess my cookbook obsession.  I have been collecting cookbooks for 40 years and have never discarded a single one.  I just keep adding to my collection no matter how hard I try to stop myself.  I just can’t stop!  I read through them like novels, earmarking recipes I would like to try.  I set challenges for myself to make a new dish from a cookbook every week.  I don’t always succeed, but I love the challenge.  And then there are the cooking magazines that I also collect.  I save years worth of these magazines, before I can unwillingly throw them out, but not before I rip out the recipes that I promise myself I will make.  I have these recipes filed away in folders along with all my handwritten ones.  What am I thinking? Do I think I will live to be 120 years old and cook every day for the rest of my life?! Or maybe it just makes me feel good to see all these familiar friends (oh yes, I feel chummy with some of my favorite cookbook authors) on my kitchen shelves and in different parts of the house.

Why am I telling you this? Well, because from time to time, I’m going to share some of my all time favorite recipes from my favorite cookbooks.  As I said, I consider many of these authors to be my “friends.”  After all, many of them have been on TV daily for many years.  They came into my home both in printed word, as well as through the media.  I watched and read them while my children were home sick from school, or during late sleepless nights.  I have had breakfast with them, as well as an evening cocktail or glass of wine.  Many of these books and recipes hold memories for me.  And many are just simply delicious and I would like to share them with you.  Even though I sometimes change a thing or two in the recipe, I like to give credit to these old (imaginary) friends, just as I do with my family and friends.  cooking magazines

ImageImage

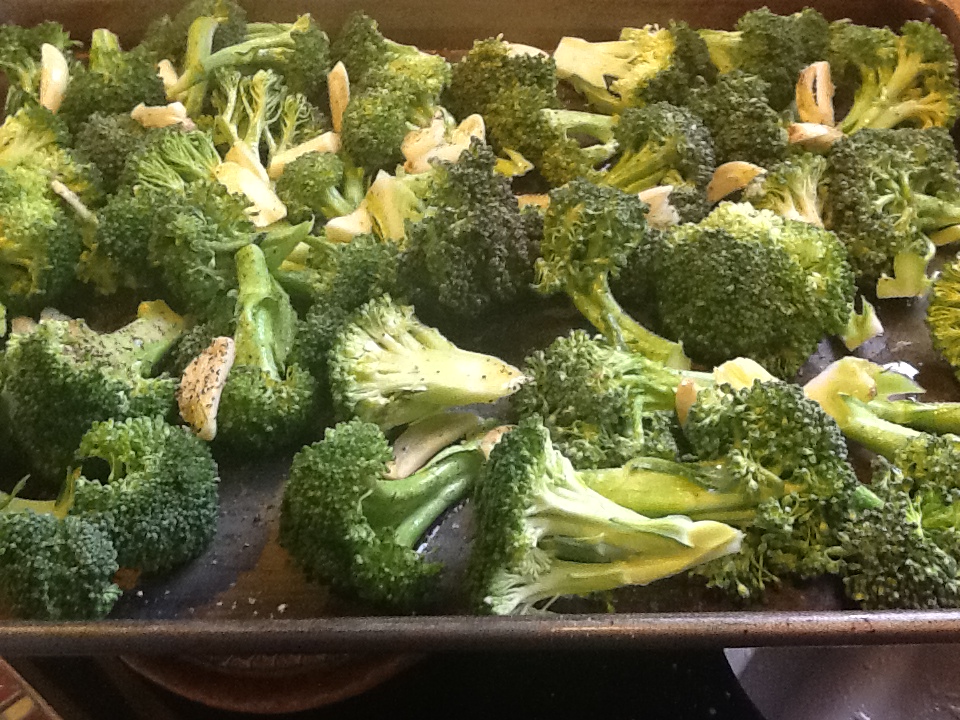
ImageImageThis Parmesan-Roasted Broccoli recipe comes from the Barefoot Contessa herself, Ina Garten.  I love her cooking show and her cookbooks are fabulous.  Her recipes are simple and delicious.  I love roasting vegetables.  They stay so crisp, and roasting really brings out their flavor.  I don’t think a week goes by that I am not making one of her many roasted vegetable recipes.  I hope you enjoy this one.

RECIPE:

4 to 5 pounds broccoli

4 garlic cloves, peeled and thinly sliced

Good olive oil

1 1/2 tsp. kosher salt

1/2 tsp. freshly ground pepper

2 tsp. grated lemon zest

2 TBSP. freshly squeezed lemon juice.  (I use more as I love lemons)

3 TBSP. pine nuts, roasted  (I use about 6 TBSP)

1/3 cup freshly grated parmesan cheese

2 TBSP. julienned fresh basil leaves (about 12 leaves)

1.  Preheat oven to 425 degrees.

2.  Cut the broccoli florets from the thick stalks, leaving an inch or two of stalk attached to the florets, discarding the rest of the stalks. You should have about 8 cups of florets.

3.  Place the broccoli florets on a sheet pan large enough to hold them in a single layer.  Toss the garlic on the broccoli and drizzle with 5 TBSP olive oil.  Sprinkle with salt and pepper.

4.  Roast for 20 to 25 minutes, until crisp-tender and the tips of the florets are browned.

5.  Remove the broccoli from the oven and immediately toss with 1 1/2 TBSP olive oil, the lemon zest, lemon juice, pine nuts, Parmesan and basil.  Serve hot.
ImageImageImageImageImageImage

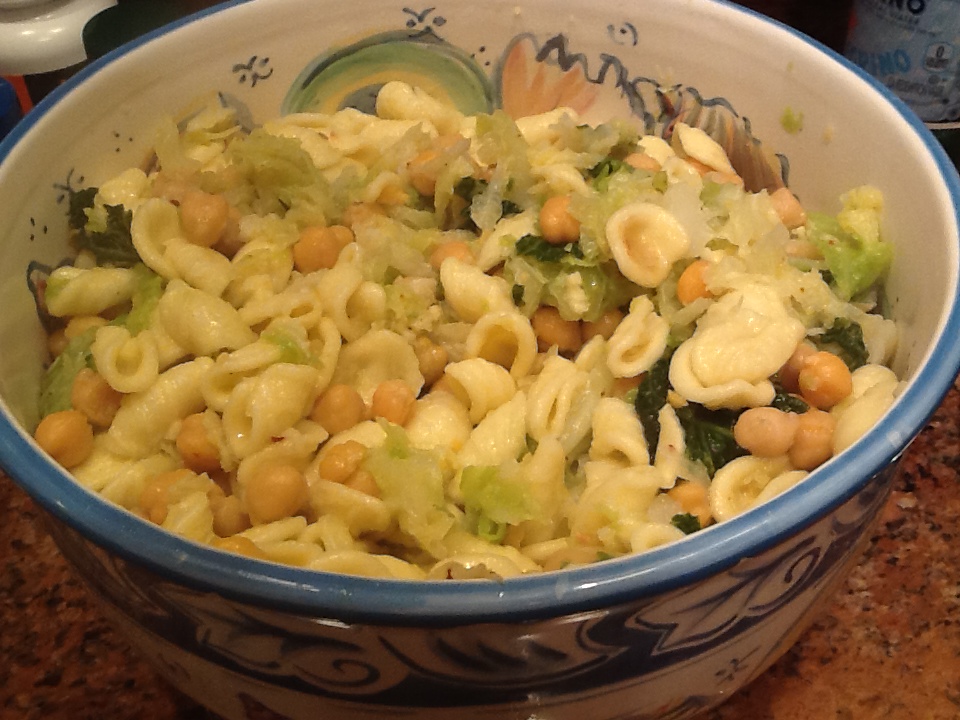
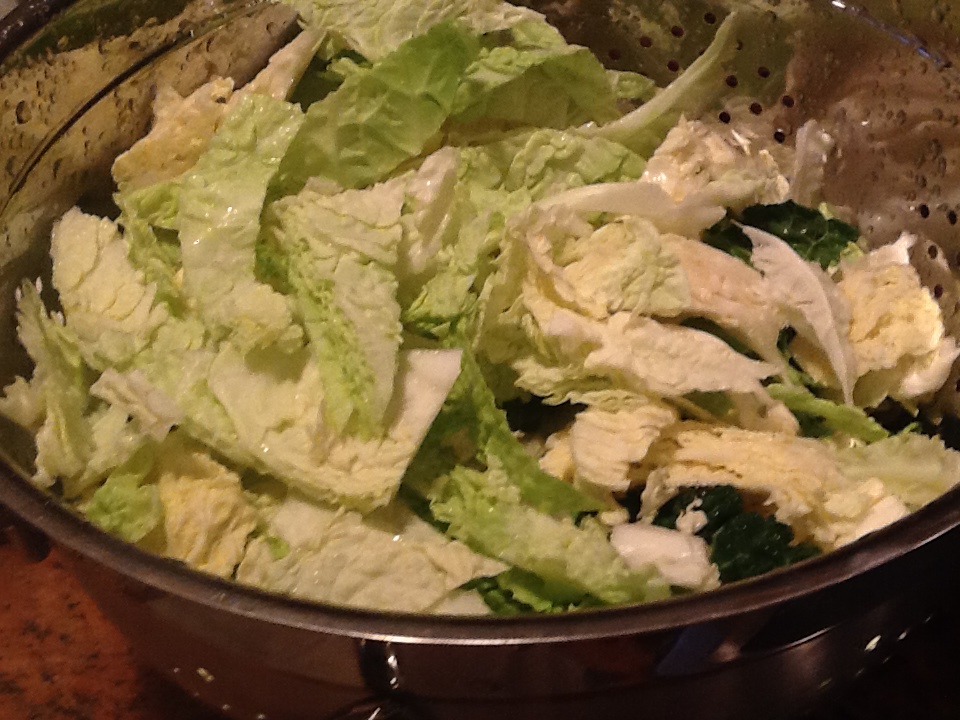
Orecchiette with savoy cabbage and ceci beans (chickpeas)

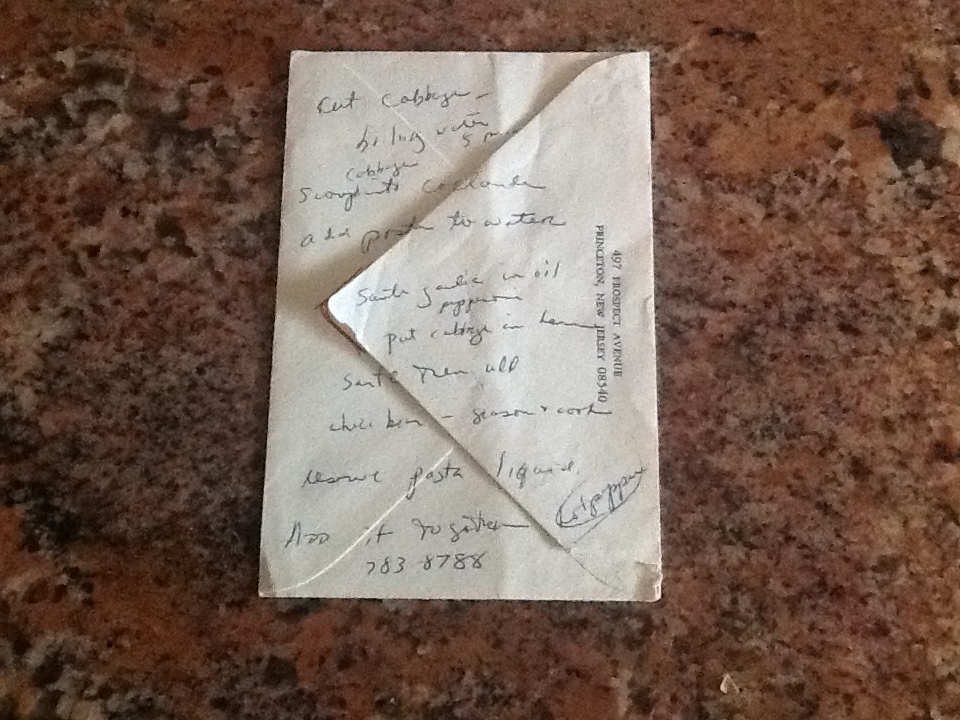
ImageWhen my sister-in-law Maria calls, and says she’s just made a delicious dish, I run for a pen and paper, especially if it’s pasta dish!  When she called me with this recipe many years ago, I listened carefully as she described it, wiped the drool from my mouth, and ran for the nearest writing utensils.  As you can see from the picture of this recipe, I grabbed a piece of mail, tore it open and used the envelope to write down her instructions.  As with most good Italian cooks, you have to take notes quickly, as they are so excited about the taste of the dish, that they talk quickly and may leave something out in their excitement.  Her passion for cooking can be felt over the phone.  You can almost taste the flavors and smell the ingredients while she colorfully describes the cooking process.

I am so happy that I was able to get this recipe on paper.  We have enjoyed it over and over again.  I hope you do too!

RECIPE:

1 head savoy cabbage

3 cloves garlic, sliced

1/2 tsp. peperoncino    ( red pepper flakes)

1/4/ cup olive oil

1 can of chickpeas  (of course you can cook your own)

1 pound orecchiette pasta

1.  Bring a large pot of salted water to a boil.

2.  Slice cabbage and add to boiling water.  Boil for 5 to 7 minutes

3. Scoop cabbage into colander. (do not drain)

4.  Add the pasta to this pot of water.

5.  In large fry pan, saute the garlic and red pepper flakes in the olive oil.

6.  Add cabbage to the fry pan.  Saute.

7.  Add the chickpeas to the fry pan.  Season with salt and pepper, if needed.

8.  Add some pasta water to the fry pan (maybe a half cup or so).  Cook for 10 minutes, stirring often.

9.  Drain pasta, and combine all in the fry pan.  Stir to completely combine.

10.  Serve with freshly grated Italian cheese.

ImageImageImageImageImageImageImage

Spaghetti San Juanil

Image

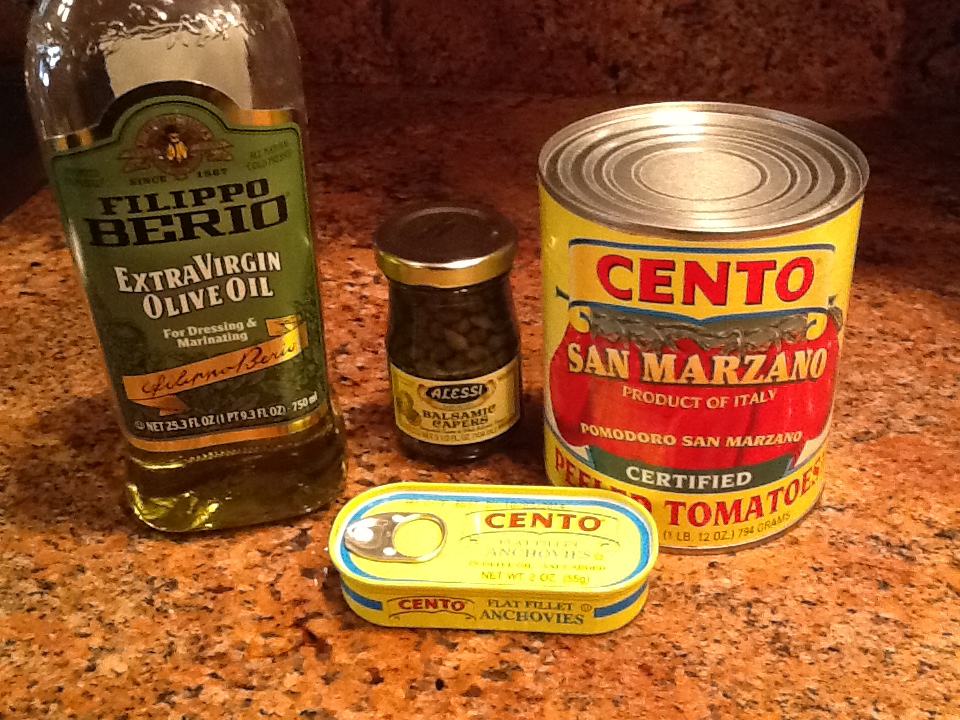
Here’s another quick pasta dish that I’m certain you will love.  If you don’t like anchovies, you can leave them out.  It will still be delicious as I am a firm believer in “your sauce is as good as your tomatoes.”  My preference by far, is to use only canned San Marzano Italian peeled plum tomatoes.  This means that the tomatoes come from San Marzano, Italy, and it must say “Product of Italy” right on the can.  There is something in the earth where these tomatoes are grown that makes them so delicious and good for you.  I heard on a Dr. Oz show that San Marzano tomatoes are one of the top four cancer fighting foods.  And just an aside, so are white beans, so check out my recipes for pasta e fagioli and menestra e fagioli.  Honestly, these tomatoes are so good, that you could eat them out of the can and be happy.  Please don’t.  I’m just trying to make the point of how important good tomatoes are in a recipe.  The anchovies definitely add flavor, so please use them unless you just don’t like them.

This is another “Little Nonni” recipe, but whenever I make it, I think of my brother.  I taught him how to make it in my kitchen several times, but he would call me EVERY time he made it for himself or his family for more than thirty years.  He even called me in London, when I was living there, for the recipe.  Perhaps it was just an excuse to call me.  I didn’t mind, as I found it very endearing.  Later in life, this became his “signature dish.”  If you were going to his home for dinner, and he was cooking, you knew you were going to have “San Juanil” sauce.  Sometimes, he would use perciatelli instead of spaghetti, which was a very good alternative.  He loved this sauce, and I hope you will too.

RECIPE:

1 pound spaghetti or perciatelli

1/4 cup olive oil

3 cloves garlic, cut in half

1/2 can of anchovies

3 TBSP. capers

8 to 10 plum tomatoes, squished (this is approximately on 28 ounce can of tomatoes)

2 tsp. oregano

1/2 tsp. pepper

(red pepper flakes if desired)

1.  Bring a large pot of salted water to a boil for the pasta.

2.  Meanwhile, heat the oil in a large fry pan and sauté the garlic until golden, but not brown.

3.  Remove the garlic with a slotted spoon and turn off the heat.

4.  Add the anchovies and stir until dissolved….or close to dissolved.

5.  Add the capers (and hot pepper if desired) and  cook on low flame for 5 minutes.

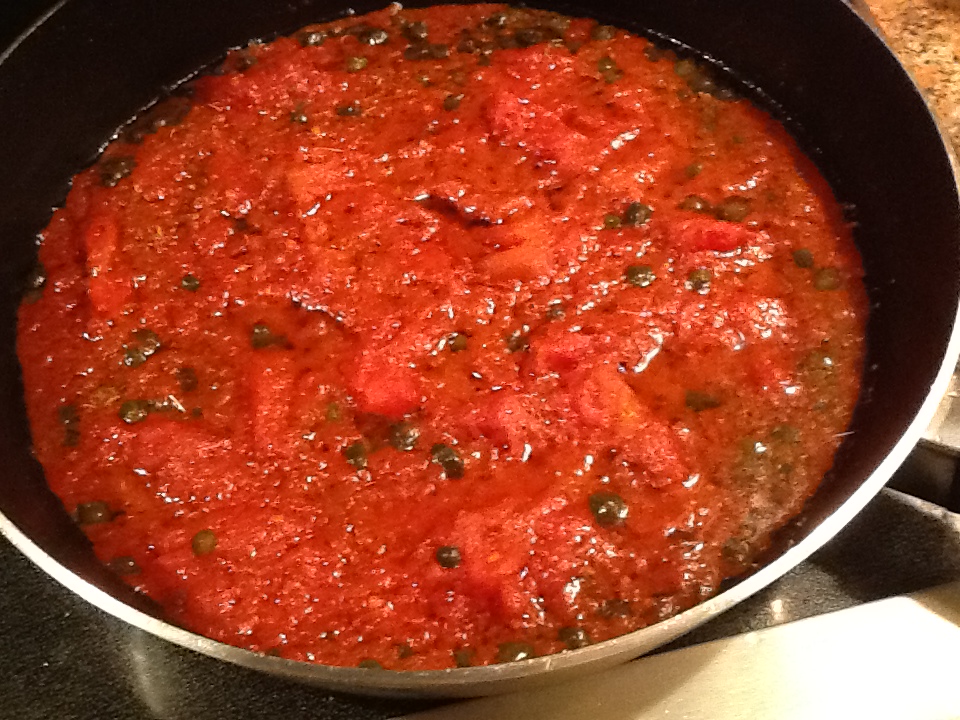
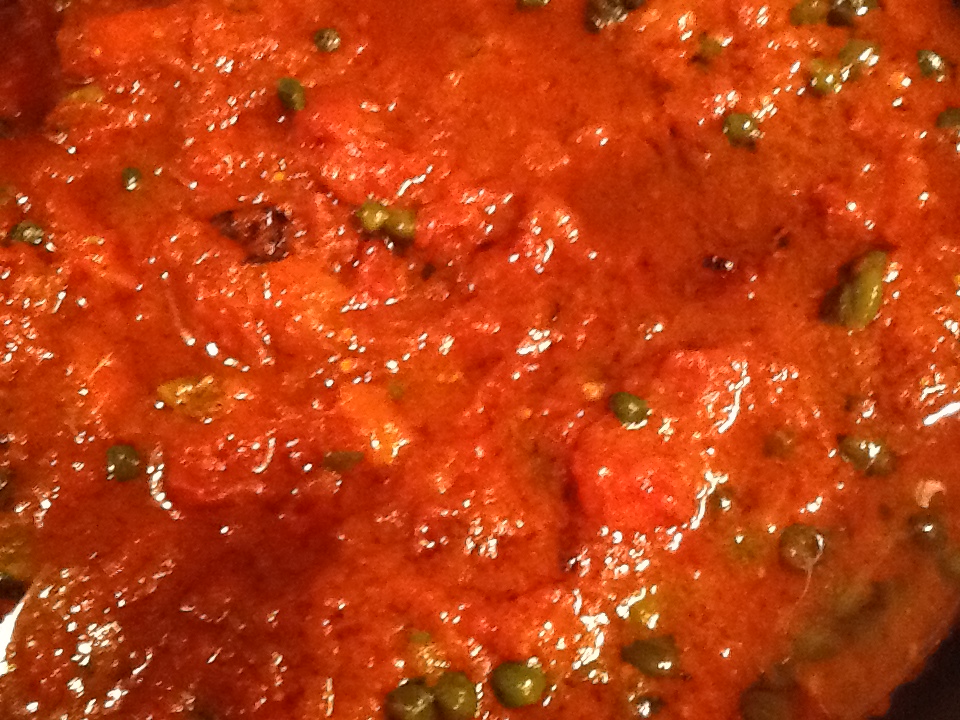
6  Add the tomatoes, oregano and pepper and cook for 20 to 25 minutes, stirring occasionally.  If the sauce seems to thick, add 1/4 cup water from the boiling pasta.

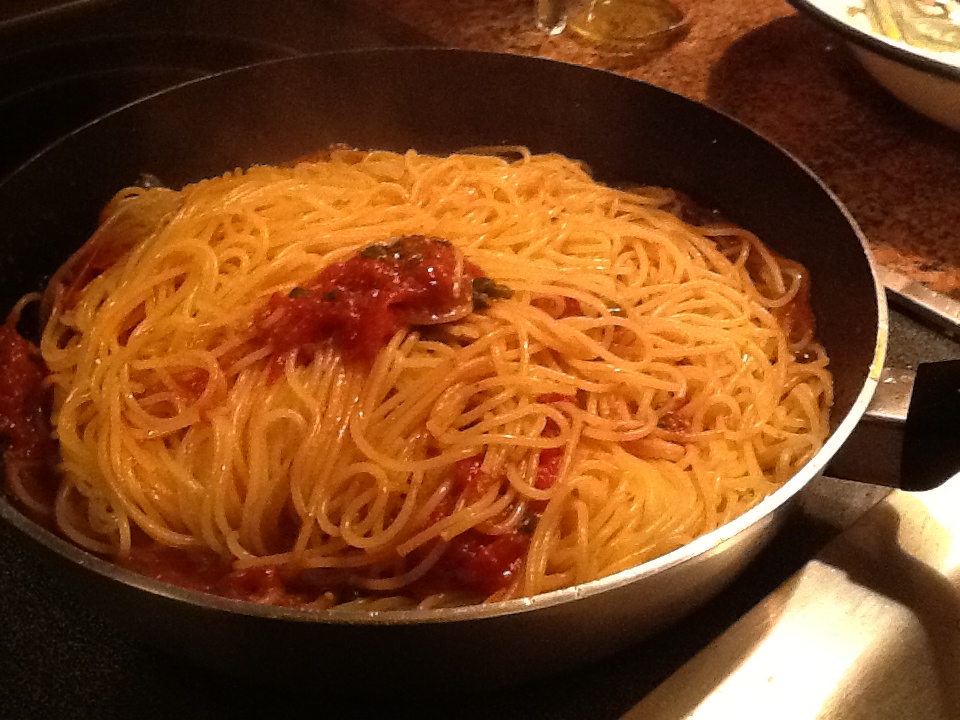
7.  Drain pasta and add to the pan and stir to coat the pasta thoroughly with the sauce, or combine it all in a dish,

**Because of the use of the anchovies (fish), Italians do not put grated cheese on this dish. It is up to you.  Enjoy!!

Image

Image

ImageImageImageImageImageImageImageImage

Pasta with Radicchio

Image

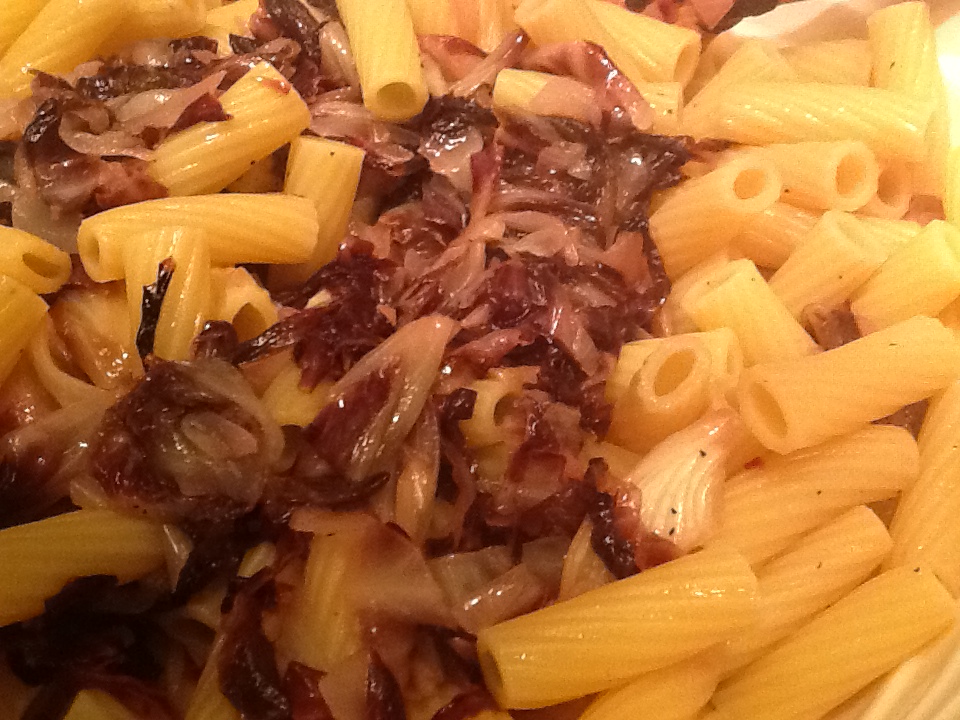
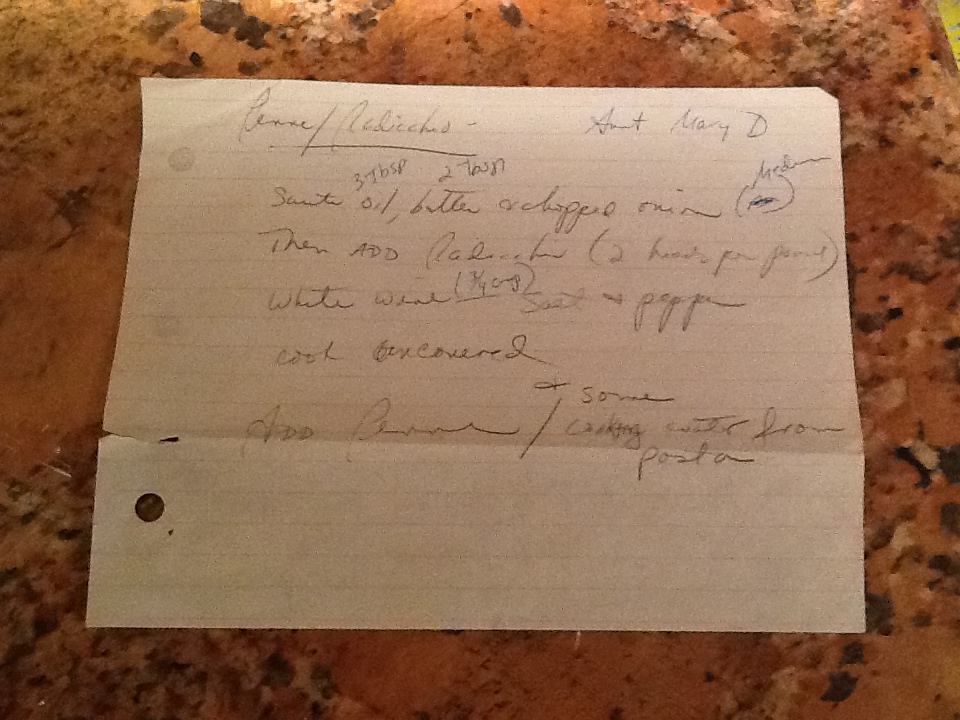
If your looking for a quick, delicious and nutritious meal, please give this recipe a try.  I try to always have radicchio in the house for use in salads, but it also gives me the opportunity to make this dish any time I am looking for something quick and easy.   I always have the other ingredients needed  on hand, so I can whip this up in a jiffy whenever I desire it.

The source of this recipe is quite unlikely.  My Aunt Mary (well actually I had three Aunt Marys…. remember, I am Italian) This Aunt Mary that I am referring to is a spectacular cook to this day.  The reason I find this recipe unlikely to have come from her is that growing up, she was a very traditional Italian cook.  We spent all our holidays with Aunt Mary and Uncle Joe and my three cousins, eating the delicious food prepared by either Little Nonni, Aunt Mary or my mother.  Aunt Mary was amazing in that she worked a full time job as a business woman (very unusual in the 50s and 60s), and yet was able to prepare a full Holiday or Sunday meal.  She had one foot in the next generation, in that she was always trying new recipes and loved to barbecue.  She was a master at the grill, standing there for hours turning different varieties of Italian sausage, while we waited anxiously with crusty Italian rolls in hand.  Meanwhile, in her kitchen she would have also prepared Sunday gravy, a roast, several vegetables, salad and Italian pastries.  When Aunt Mary cooked, they came from far and wide.  You never knew who was going to show up, and it was always a cast of characters.  Her daughter was a very big help to her, and we all learned from Aunt Mary.  She was a big influence on the next generation of woman in our family.  She was the first woman in my life who showed me that “you can have it all.”   However, she left out the “but it’s not so easy” part.

So I suppose this recipe should not have come as such a surprise when she made it for us one evening at their Florida condo.  She was older then, but still always interested in what was new in the culinary world.  That very night, after delighting in this meal, I grabbed a piece of paper, wrote down what she had done, and have enjoyed this pasta dish over and over again for many years.

I have a feeling you may add this to your regular repertoire of quick dinners.  This entire dish can be made in the time that it takes for the pasta to boil to aldente.

RECIPE:

1 pound penne or penne rigate

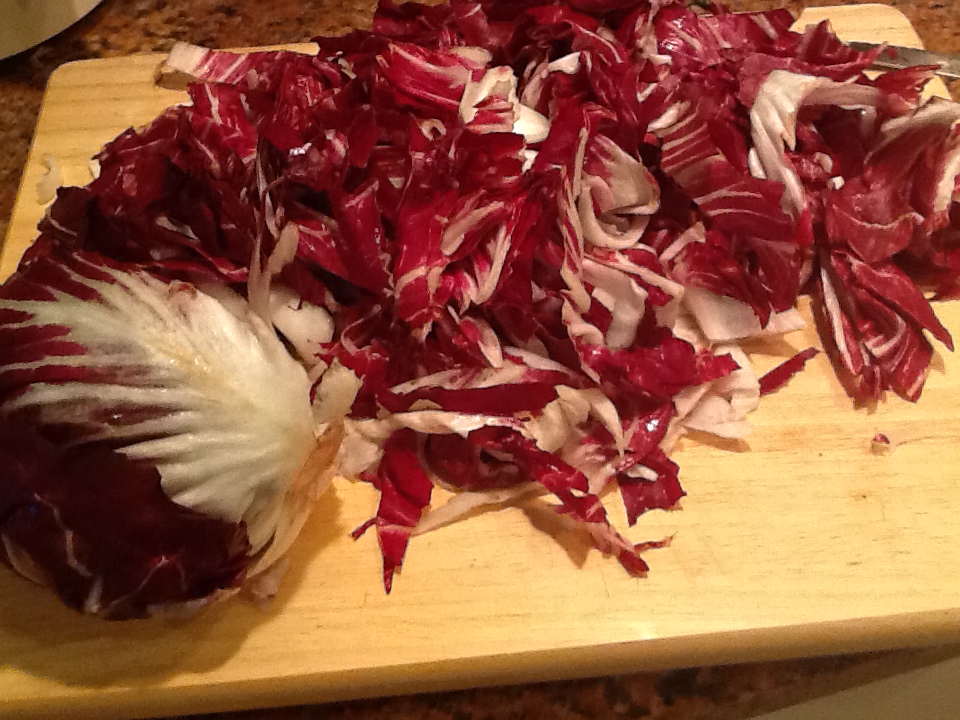
2 heads of radicchio, roughly sliced or shredded.

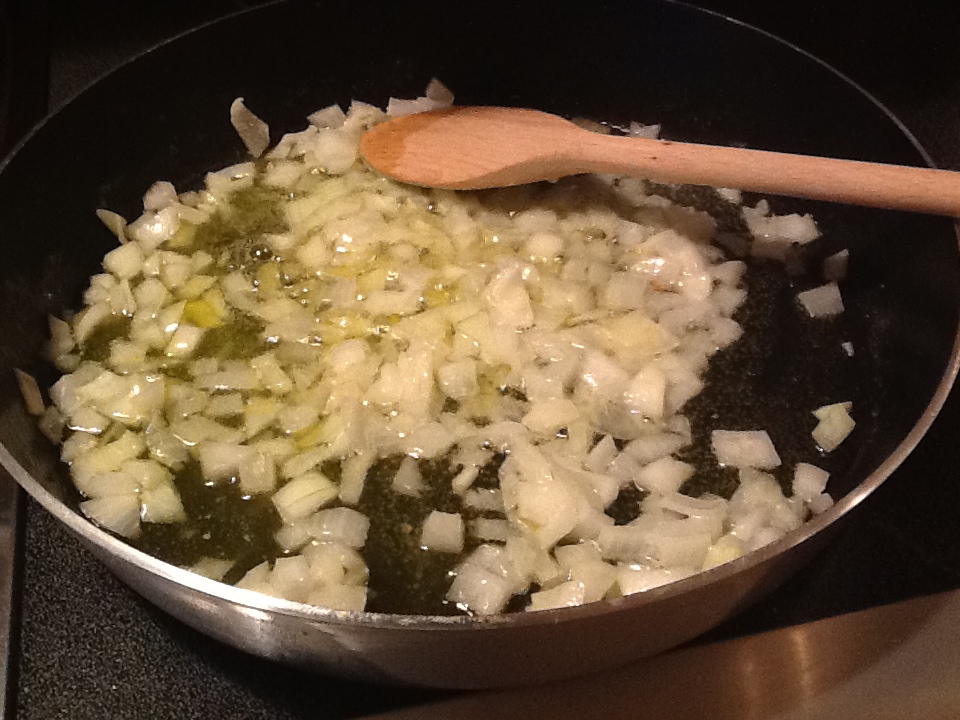
1 medium onion, chopped

3/4 cup white wine

3 Tbsp. olive oil

2 Tbsp. butter

1 tsp. salt

freshly ground pepper to taste

freshly grated Pecorino Romano or Parmigiano Reggiano cheese

1. Put up a large pot of salted water for the pasta.

2.  Saute the onion in the melted butter and oil until soft.

3.  Add the radicchio and wine, salt and pepper.  Cook until the radicchio is soft and cooked through, about 10 minutes.

4.  Before draining the pasta, reserve 1 cup of the pasta water.  Add 1/3 cup of this water to the radicchio and let cook for a minute or two.

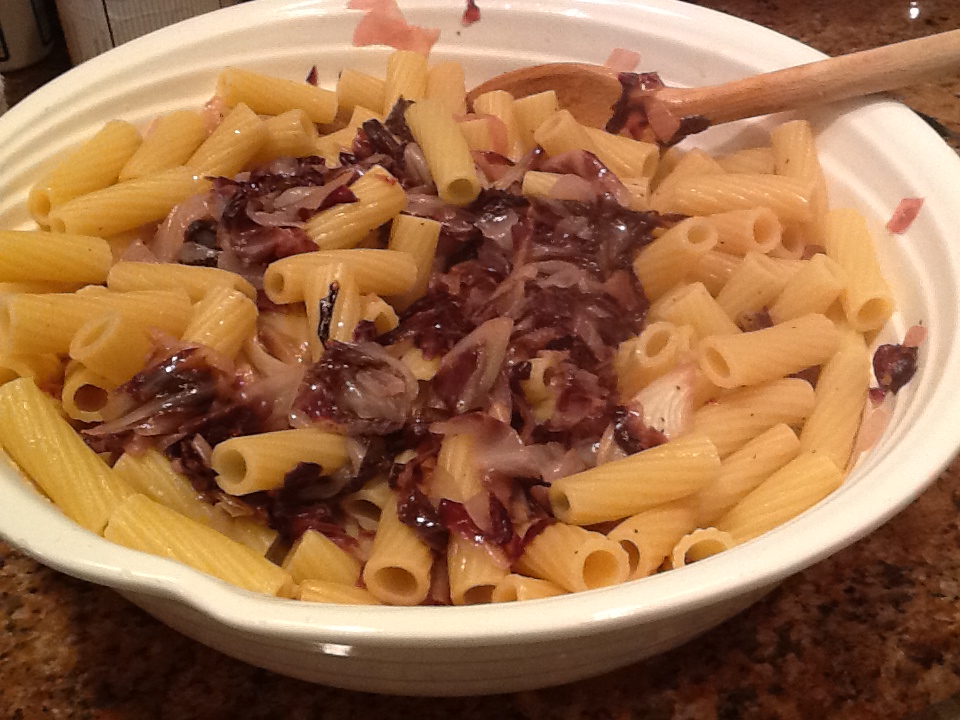
5.  Drain the pasta and add to the pan with the radicchio.  Add more water if needed and a little of the grated cheese and stir well.   Or you can combine everything in a large serving bowl.

6.  Serve with grated cheese.

radicchio pasta raw radicchioradicchio pasta onionsradicchio pasta saute with wineradicchio pasta in bowl 1radicchio pasta close upradicchio pasta recipe

Meatloaves

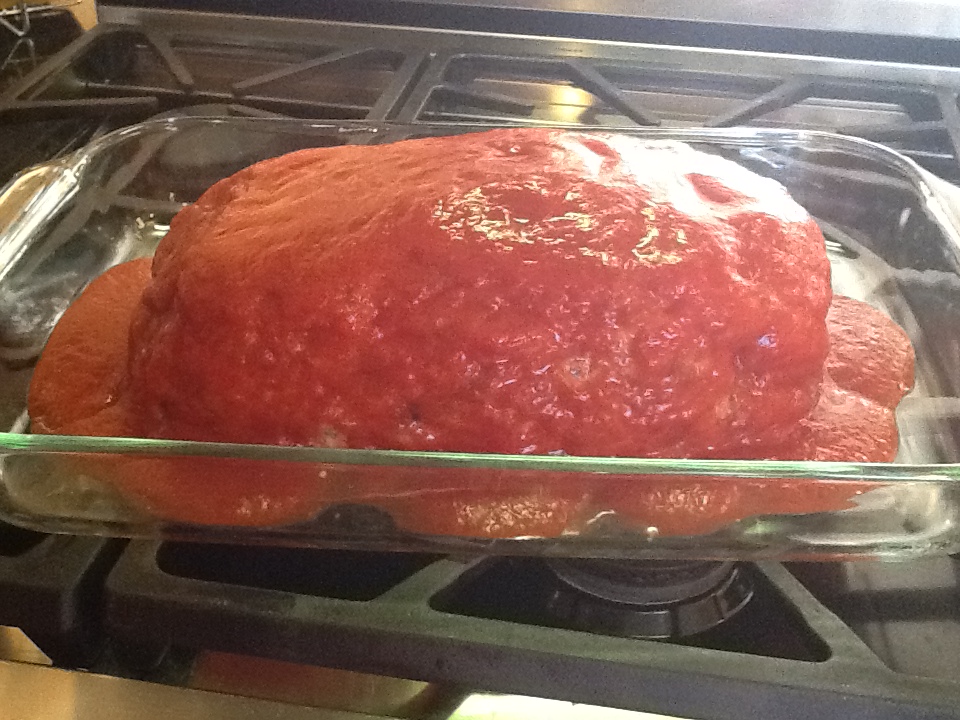
When I think of meatloaf, I don’t find myself recalling fond memories of childhood.  My mother did make something she called meatloaf, and as a child I knew no better.  Once I tasted meatloaf in it’s true culinary form, I realized that what my mother made was merely a very large meatball, shaped into a loaf, stuffed with mozzarella and prosciutto, and covered in gravy (red sauce).  All I can remember thinking is “so where’s the spaghetti?”

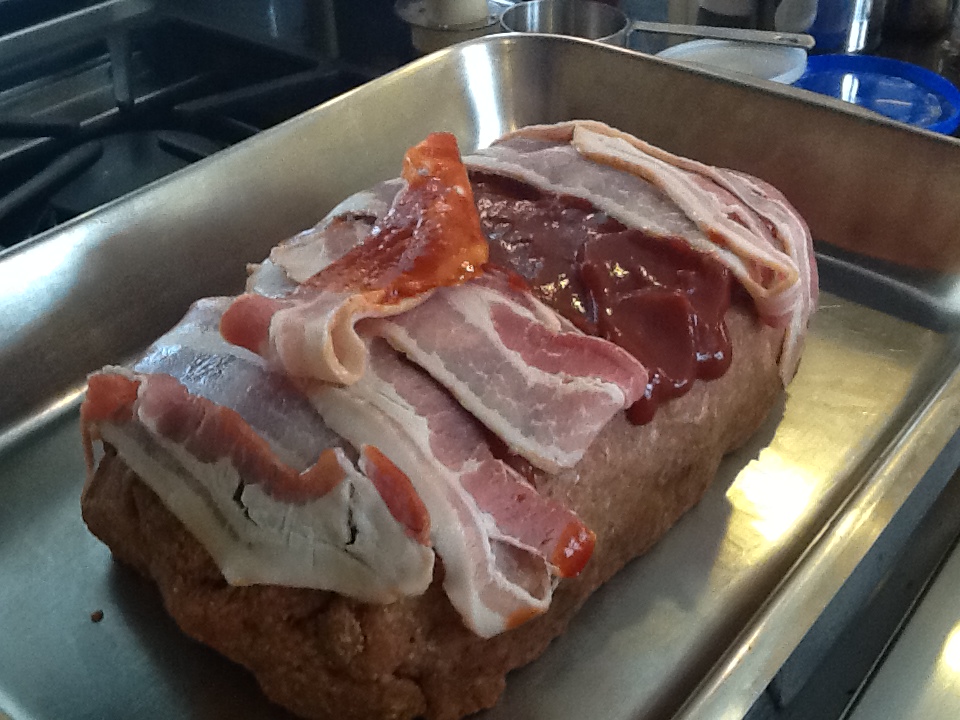
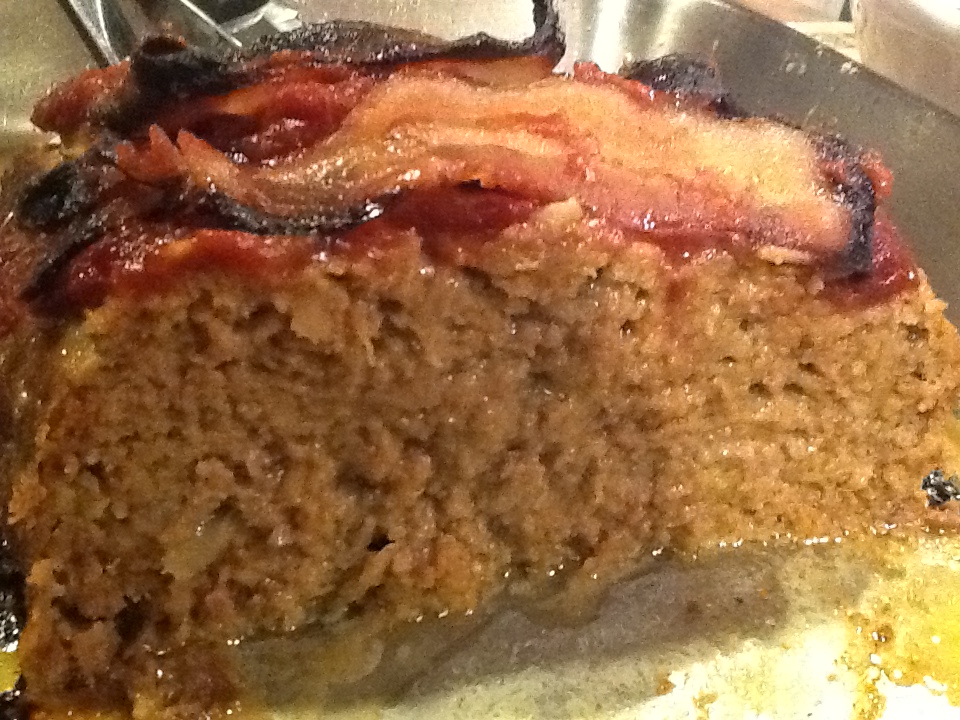
I can remember, as if it were yesterday, the evening that I was introduced to American style meatloaf.  I was 17 years old, and invited to have dinner at my boyfriend’s house.  He had experienced my mother’s cooking many times and warned me that his mother did not share the same talent in the kitchen.  I couldn’t have disagreed more once I tasted her meatloaf.  It was moist and delicious, with onions, bacon and ketchup, a wonderful combination with chopped meat.  When she was to become my mother-in-law, this was the first recipe of hers that I added to my collection. We didn’t call it “comfort food” back then, but this is exactly what we mean by that now.   My children grew up on this, and still love it to this day. I have made a few slight changes of my own over the years, but basically this is the recipe I fell in love with over 40 years ago!

I’m going to share both these recipes for meatloaf with you, and you can decide which you prefer.

RECIPE for Eileen’s Meatloaf:

2 lbs chopped meat, can be all beef or a combination of pork, veal and beef

3 eggs, slightly beaten

1 onion, chopped

1/4 cup worcester sauce

1/3 cup ketchup, plus additional ketchup for the top of loaf

1/3 cup milk

1 cup breadcrumbs…add more if necessary

1/2 tsp. garlic powder

1 tsp. salt

pepper to taste

bacon strips

1.  Saute chopped onion in the worcester sauce until they soften a bit.  Let cool.

2.  Mix all the ingredients in a large bowl, except for the bacon.

3.  Once it is mixed well, form into the shape of a loaf in a 9 x 13 baking pan.  I don’t use a loaf pan, as I like the grease to drain away from the meat.  I recently purchased a meatloaf pan that has a special draining system, but I have not tried it yet, so I can’t recommend it.

4.  Cover the top of the loaf with ketchup, and then with the bacon slices, crosswise.

5.  Bake in a 350 degree oven for 45 minutes to an hour.  Let settle a bit before slicing.

ImageImageImageImageImageImage

RECIPE for Italian Style Meatloaf:

2 lbs. of chopped meat, a combination of beef, veal and pork

3 eggs, slightly beaten

4 to 5 cloves garlic, minced

1 cup Italian style breadcrumbs

1/2 cup pecorino romano grated cheese

1/2 cup chopped parsley

2 tsp. salt

1 tsp. pepper

1/8 to 1/4 pound prociutto

1 mozzarella, about 8 ounces

1/4 pound prosciutto or pancetta

1 10 ounce can of tomato sauce….also can use any leftover red sauce.

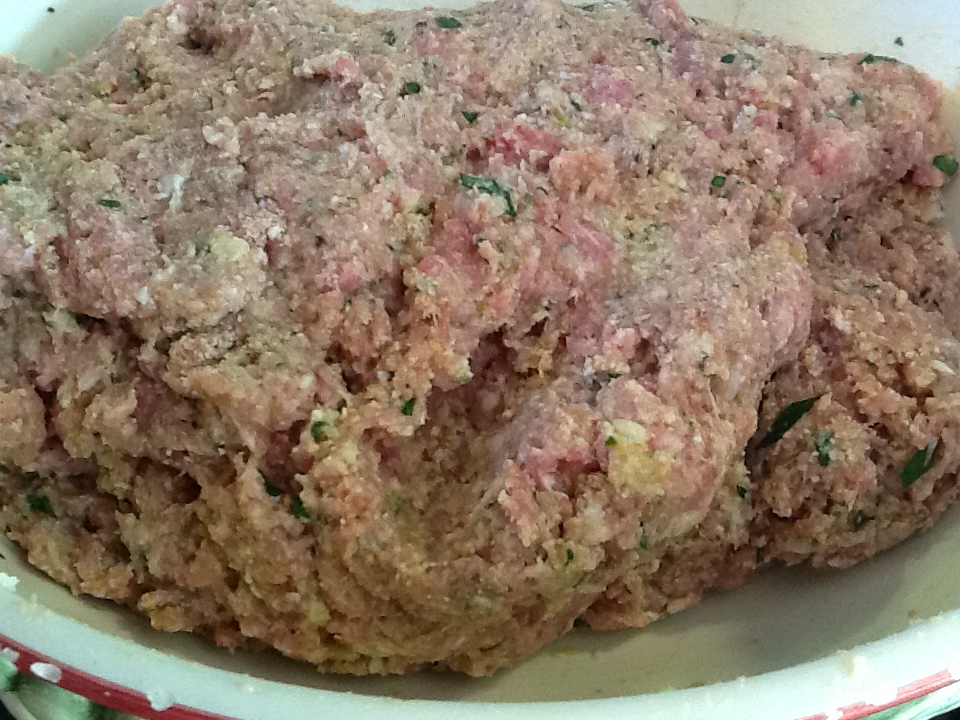
1.  Combine all ingredients, except the mozzarella, prosciutto and tomato sauce, in a large bowl and mix well.

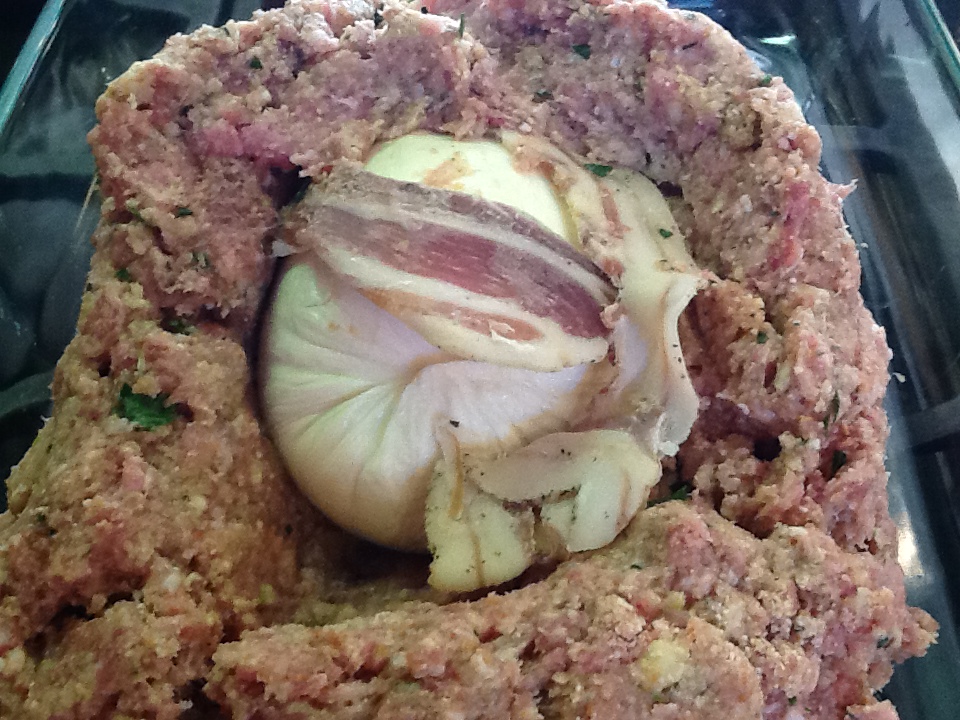
2.  Put meat mixture in a  9 x 13 inch baking pan, creating a long hole in the middle, where the mozzarella and prosciutto will be placed.

3.  Wrap the prosciutto or pancetta around the mozzarella and place in the hole and cover it with the meat mixture.  Basically you are stuffing the meatloaf with the mozzarella and prosciutto.

4.  Pour the tomato sauce on top of the meat.

5.  Bake for one hour in a 350 degree oven.

Image

Image

ImageImage

Easter Sweet Ricotta Pie

Image


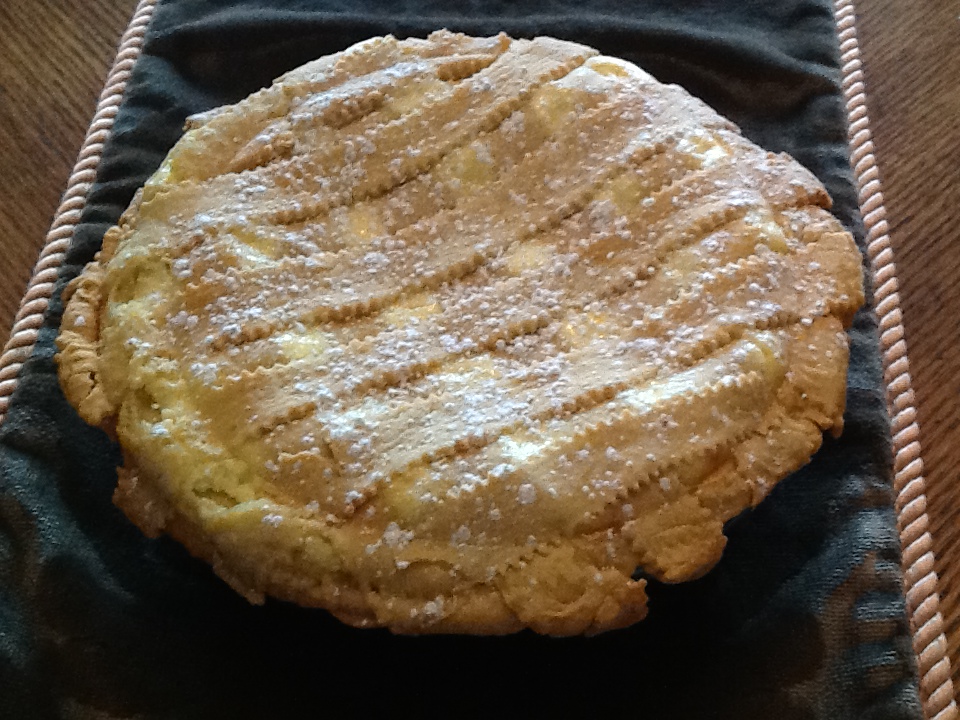
When most young children think of Easter, they think of the Easter Bunny, chocolate, Easter baskets, beautifully dyed eggs, egg hunts, etc.   While all this is part of my fond memories of Easter, what really sticks out in my mind are the pies!  The variety of Easter pies that came in and out of our house during this particular holiday season was quite amazing.  There were the non-sweet pies of cured meats, cheeses and eggs, such as Pizza Rustica and Pizzagaina, and then the sweet pie varieties, that contained ingredients such as ricotta,eggs, sugar, rice and grains.  It seemed that families all had their own distinct version, and wanted to let you taste their family recipe.  So as fast as my mother could make her Easter pies, they went out the door to friends and family just as quickly.  For days before and after Easter Sunday, our doorbell was ringing with all sorts of Easter pies, coming and going.  It was fun to taste and judge the pies of others.  Who had room for chocolate!!

This recipe for Easter Sweet Ricotta Pie, or “Pizza Dolce” as my mother calls it, came from her mother’s family in southern Italy, near Naples.  My mother only rarely made the versions with rice or faro, as she was busy making this pie for all her brothers and sisters and their families.  She wanted to keep this tradition alive even after her mother was gone.  

I’m going to put a modern spin on this recipe by making the crust in the KitchenAid, using the dough hook. While I miss the rhythmic, old fashioned way of doing this by hand, mixing in one egg at a time into the well of flour and sugar, I was pressed for time, as we all are now and then.  It worked beautifully.  I hope you enjoy!

RECIPE:

**  This recipe will make 2,  9 inch pies.  It is easy to halve the recipe and just make one.  Sometimes, I make the double recipe for the crust, using half for a single pie (just make half the filling recipe), and then I form the other half of the crust dough into a ball and bake it.  You can slice this, and enjoy enjoy it with a cappuccino  in the morning!

Filling: 

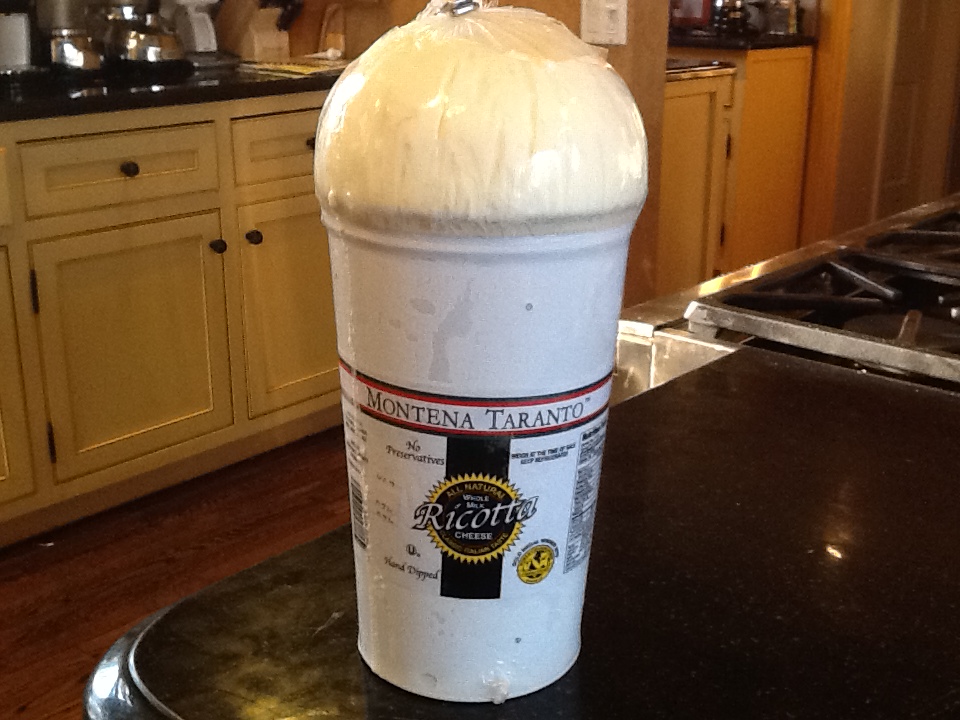
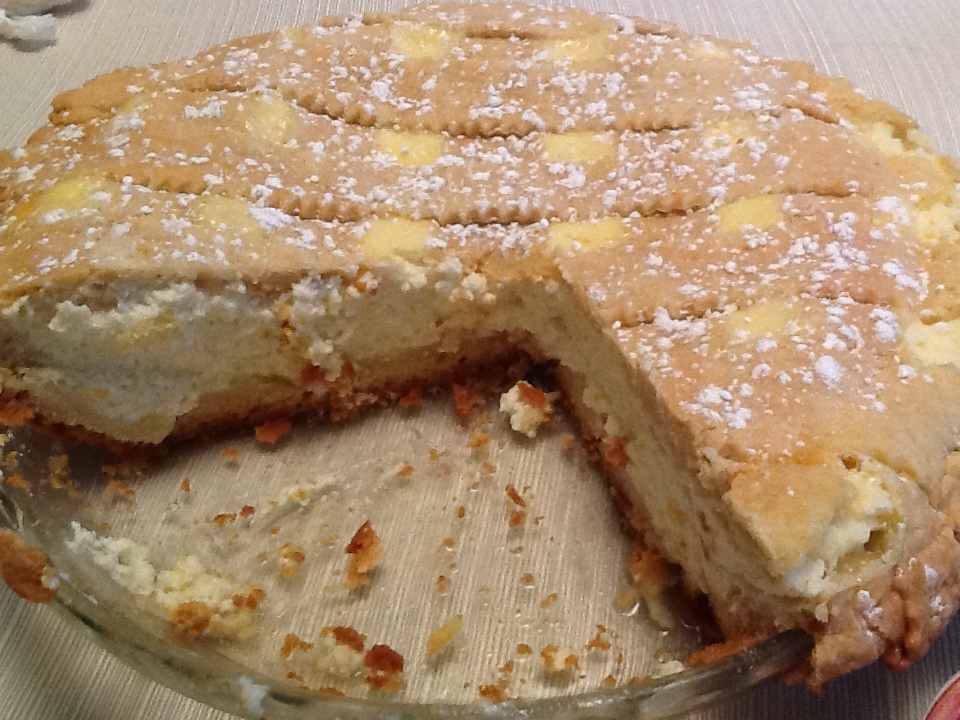
3 lbs ricotta

1 1/4 c. sugar

4 eggs

1 1/2 shots of whiskey

the zest of one orange

Dough:

6 cups flour

1 cup sugar

6 eggs

1 1/2 stick of butter, melted

3 tsp. vanilla

6 tsp. baking powder

zest of one orange

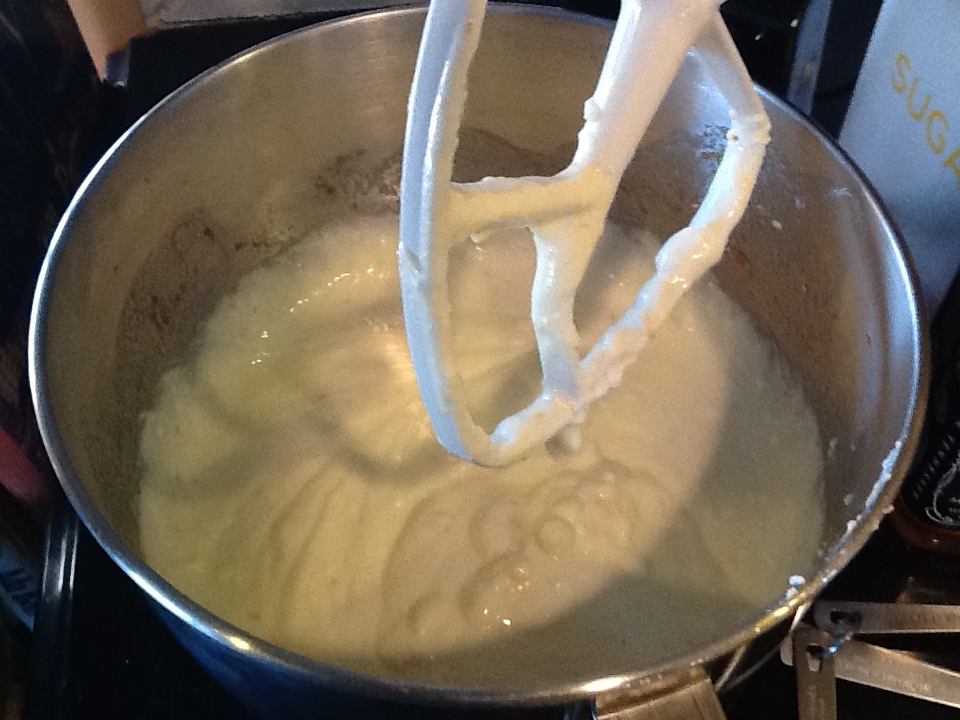
1.  Beat all the wet ingredients in the KitchenAid, with dough attachment.  Then add all the dry ingredients.  Beat until a moist dough forms.  Or use the “by hand” method of forming the dry ingredients into a well, and put the wet ingredients into the center.  Gently incorporate all the ingredients.  If you choose this method, please see pictures and details under my December recipe for “Ribbons.”

2.  Divide the dough into 2/3 and 1/3.  Wrap in plastic wrap and let sit, while you make the filling.

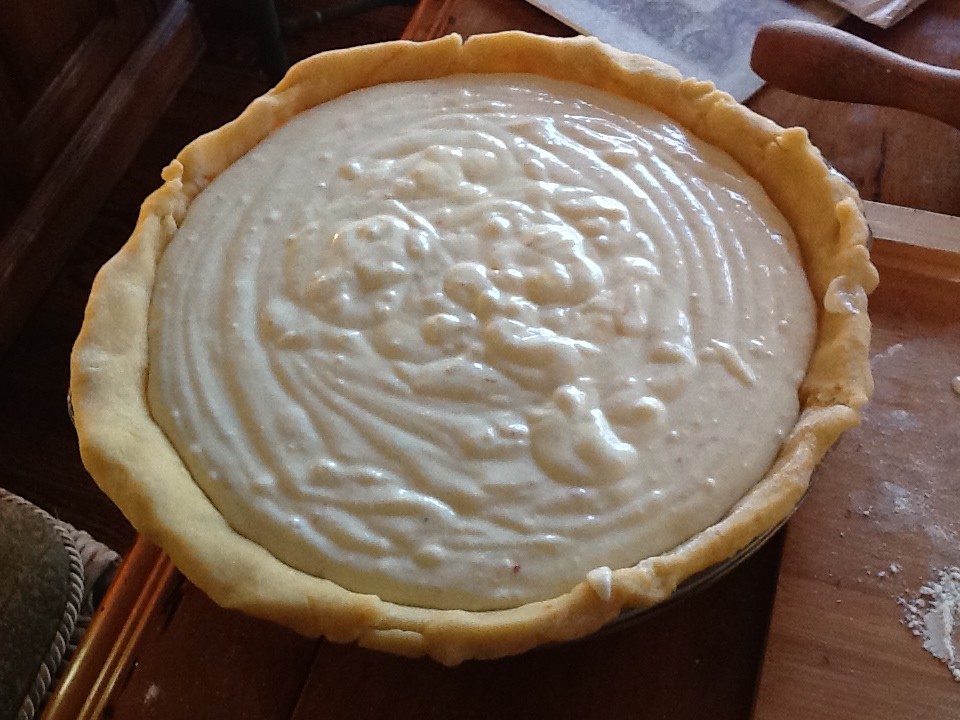
3.  Put all the ingredients for the filling into the KitchenAid and blend until creamy. Certainly you can use a hand- held mixer for this.

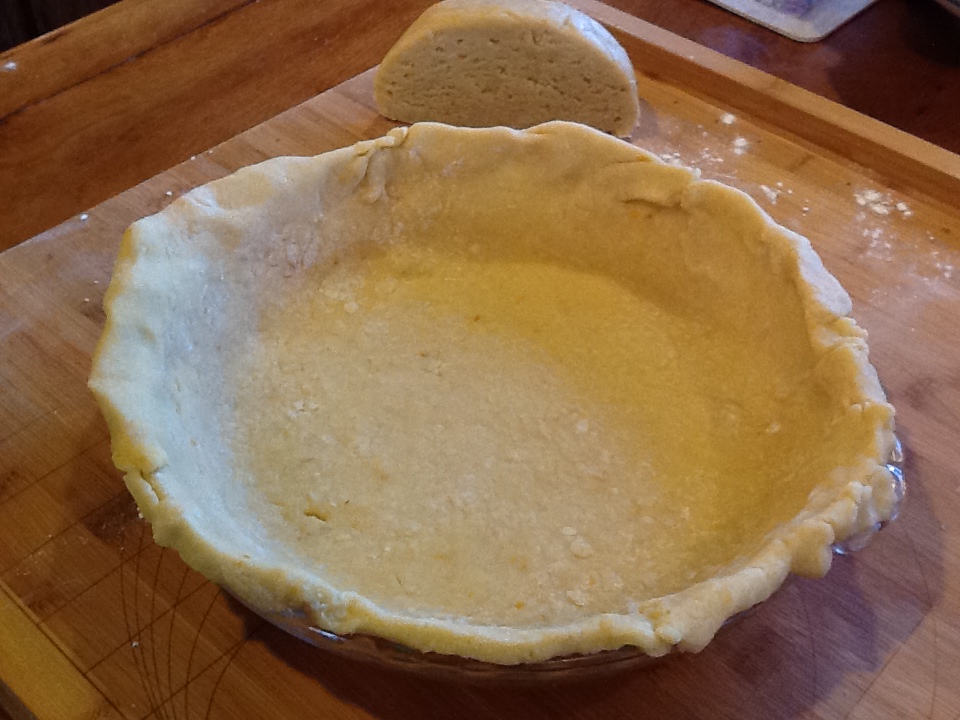
4.  Cut the 2/3 piece into two and roll out each and put in pie plates.  This crust is on the thick side….thicker than usual pie crust.

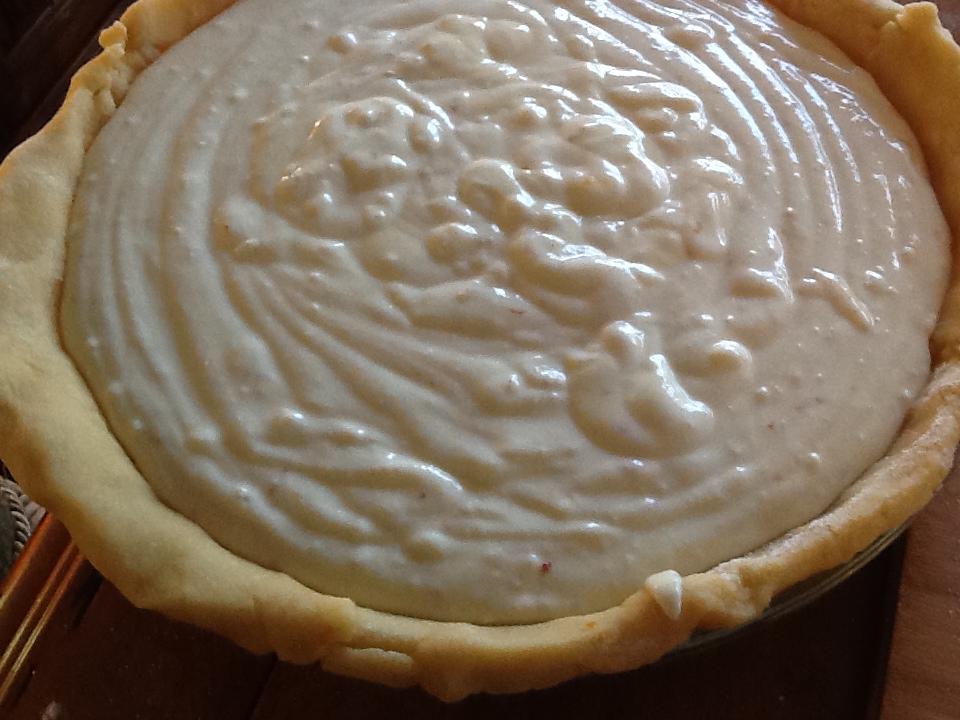
5.  Put filling in both.

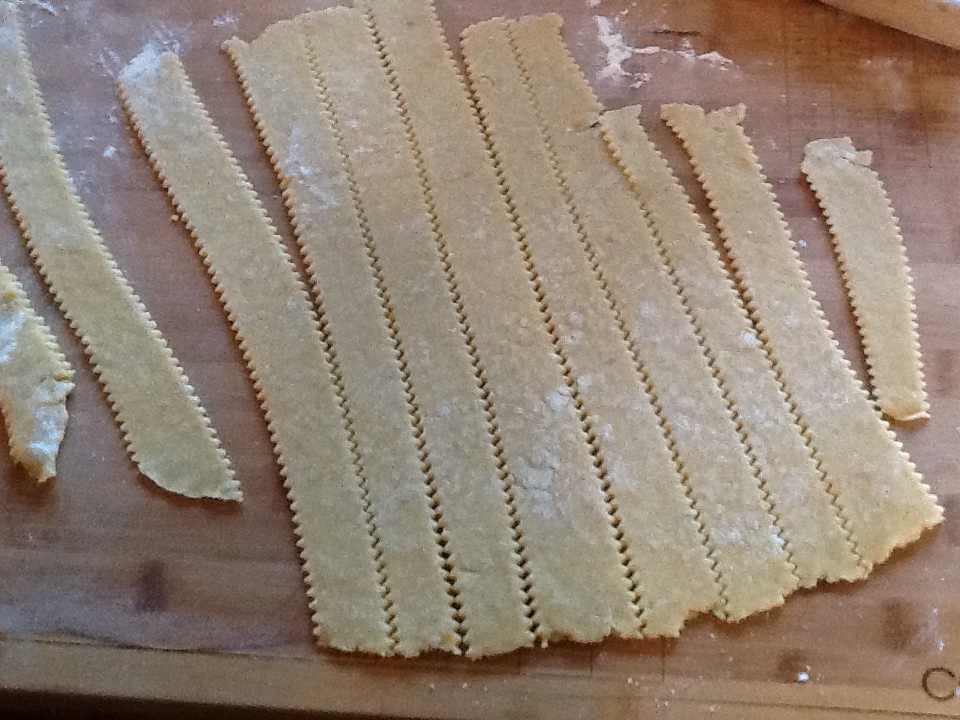
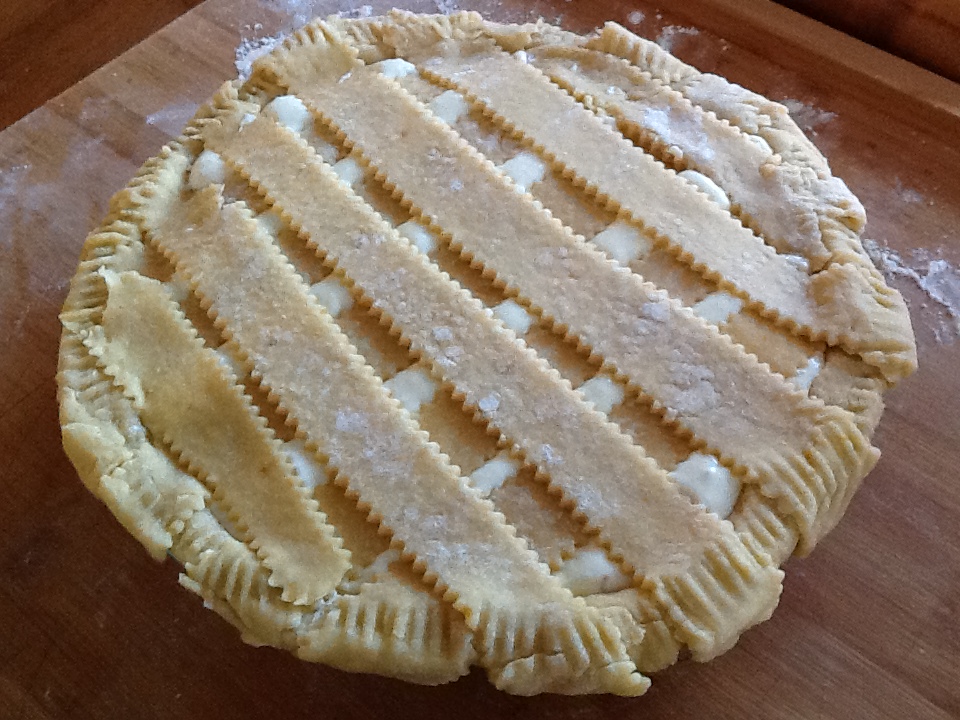
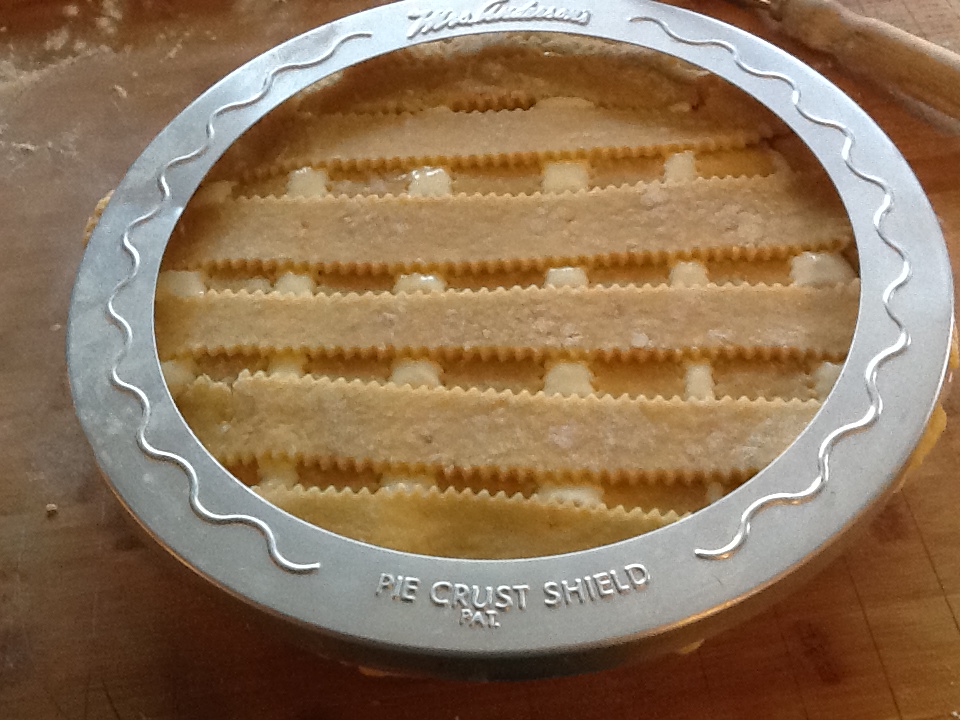
6. Now roll out the 1/3 piece and cut strips ( about 2 inches wide) with a fluted pastry cutter.  Place strips on top in a manner that forms a lattice.

7.  Cover the edges with aluminum foil.

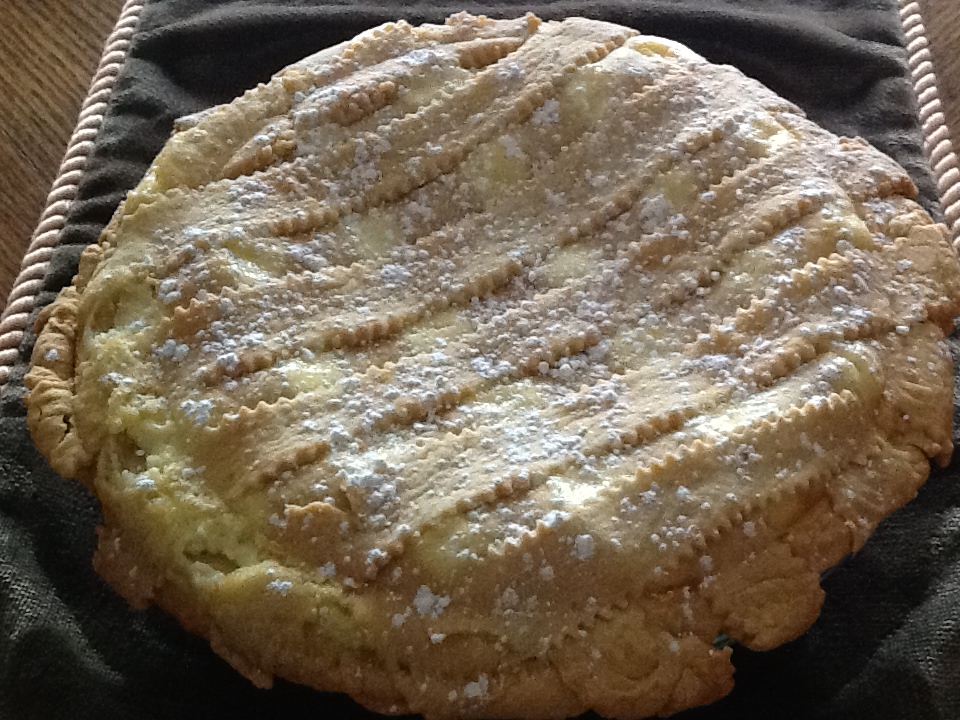
8.  Bake in a 325 degree oven for 1 hour.  Then shut the oven and leave inside for a half hour more.  If after the hour, the crust is not golden, raise the oven temperature to 350 for about about 10 minutes, before turning off the oven.

9.  When cool, sprinkle with confectioners sugar.

**10.  If you have leftover ricotta, enjoy it on a piece of toast, sprinkled with a little sugar and cinnamon.  This is also delicious with a cup of cappuccino for breakfast or any time.

ImageImageImageImageImageImageImageImageImageImageImage


Pizza de Cipolle (Scallion Pie)

Image


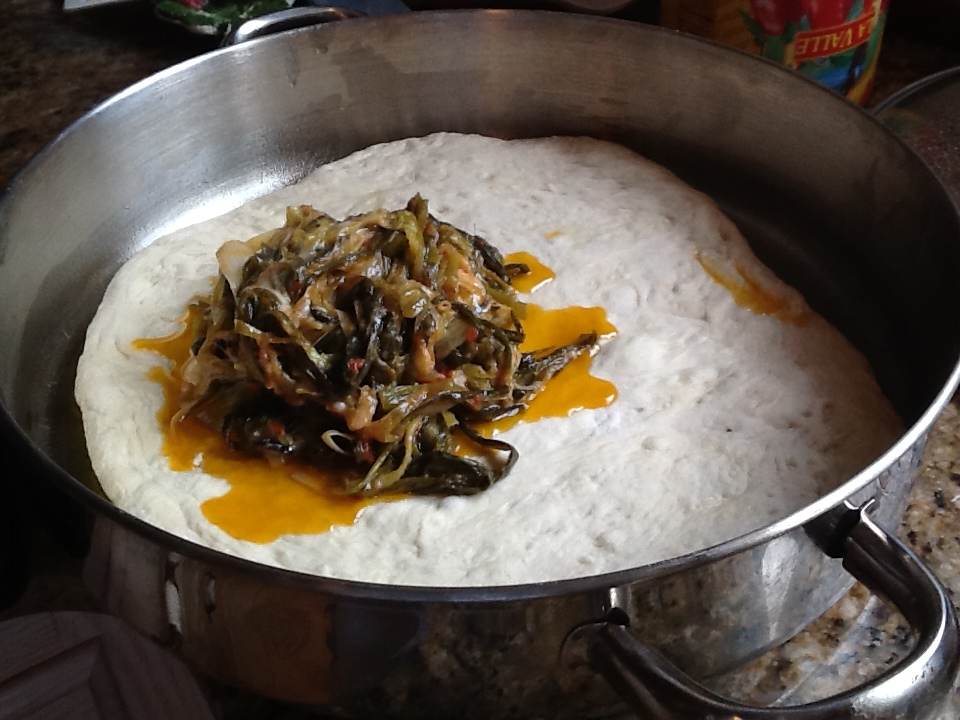
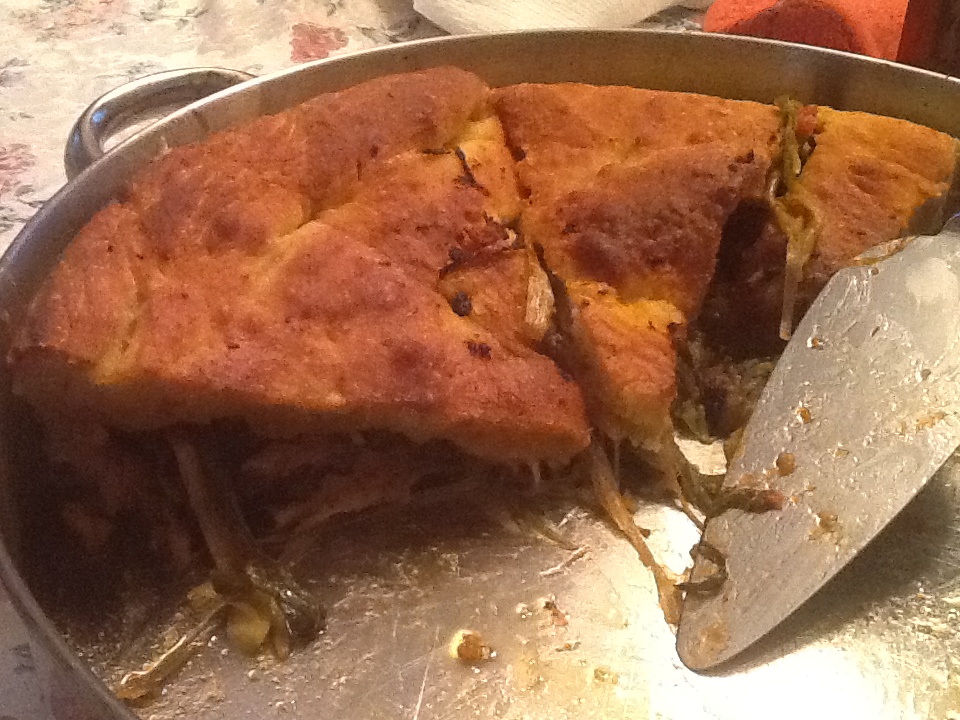
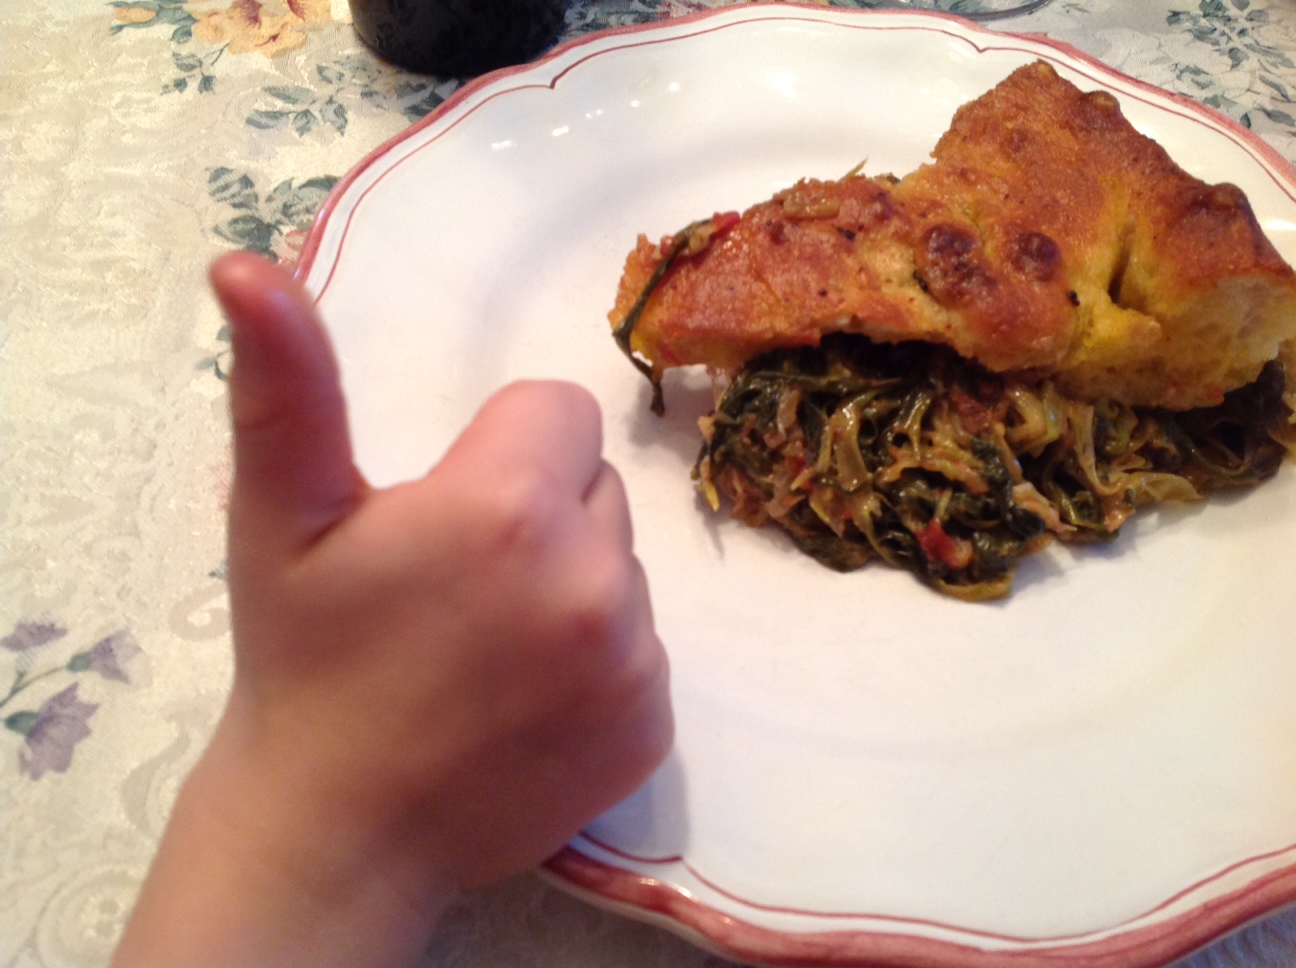
Scallion pie? Seriously?   I’m sure that’s what you’re thinking.  If this wasn’t my all time favorite dish on the planet, I would think the same.  But believe me, my “Little Nonni” did it again with this recipe from her beloved Puglia.  Traditionally, in her small home town in Italy, this was made during the Lenten Season, on meatless Ash Wednesday and Fridays. She carried on this tradition in American, and my mom followed the same tradition of making this only during lent.  I often questioned why we don’t make this more often during the course of the year, since we all love it so much, but now my sister and I also follow the tradition of lent only.  Maybe its a way to make sure that everyone comes to dinner the one night of the year that pizza de cipolle is served.  And they do!  If perchance they absolutely, positively cannot make it, we take pictures and send them to those that are missing.  Once you taste this, you’ll be able to look at a picture and know what you’re missing.  I think another reason this is only made once a year is that it is rather labor intensive.  The slicing of the scallions takes a long time, as you are slicing 12 bunches of scallions (they cook down  a lot) in a very meticulous manner.  Well that’s how my grandmother, mother, sister and I do it.  However, one time my husband and brother-in-law decided to help us out by preparing the scallions, and they took the easy way out (men!) by chopping them instead of slicing.   It was indeed still delicious, but not authentic to the purists in the family.  I hate to even put this idea in your head, but after you try it using the authentic way of slicing the scallions, you might want to give this other way a try.  It definitely saves time.  

There is another finicky rule when making pizza de cipolle.   You must use two separate fry pans when sauteing the scallions.  As you slice the scallions, you separate the green part from the white part and then cook them in separate fry pans. You cover the greens, but not the whites.  After they are nice and soft, you combine them in one large fry pan.  Don’t ask me why this is done like this, but I wouldn’t dare to change a thing in this recipe.  This is how Little Nonni did it, and I believe she had her reasons for doing so.

So while you may find this recipe to be peculiar in some ways, I encourage you to try it in it’s pure form.  It will take you back in time to a small village outside of Bari, Italy.

* Note:  The pictures will be helpful as a visual aide.


RECIPE:

12 inch round pan,  5 qt.

2  pounds of pizza dough divided in two 

12 bunches of scallions

1/2 pound to 3/4 pound imported provolone, cut in 1 inch chunks

1 1/2 cups Italian cured, black olives, pitted

1 to 2 cans anchovies  (while this is an important ingredient, if you absolutely hate anchovies, you can omit this)

6 Italian canned plum tomatoes, squished

olive oil for sautéing, approximately 1/2 cup


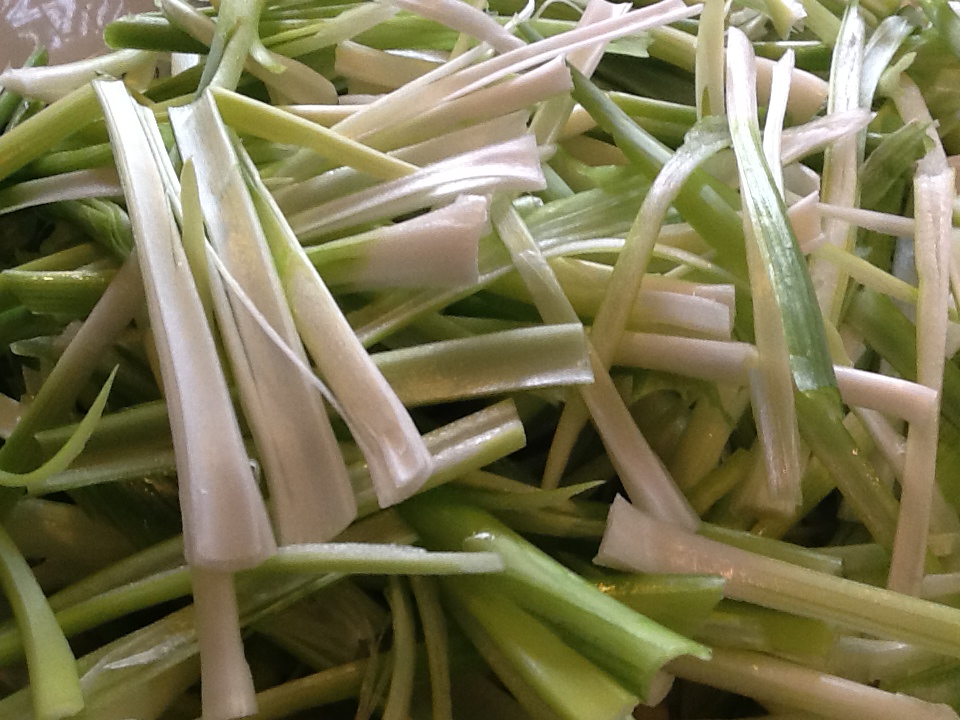
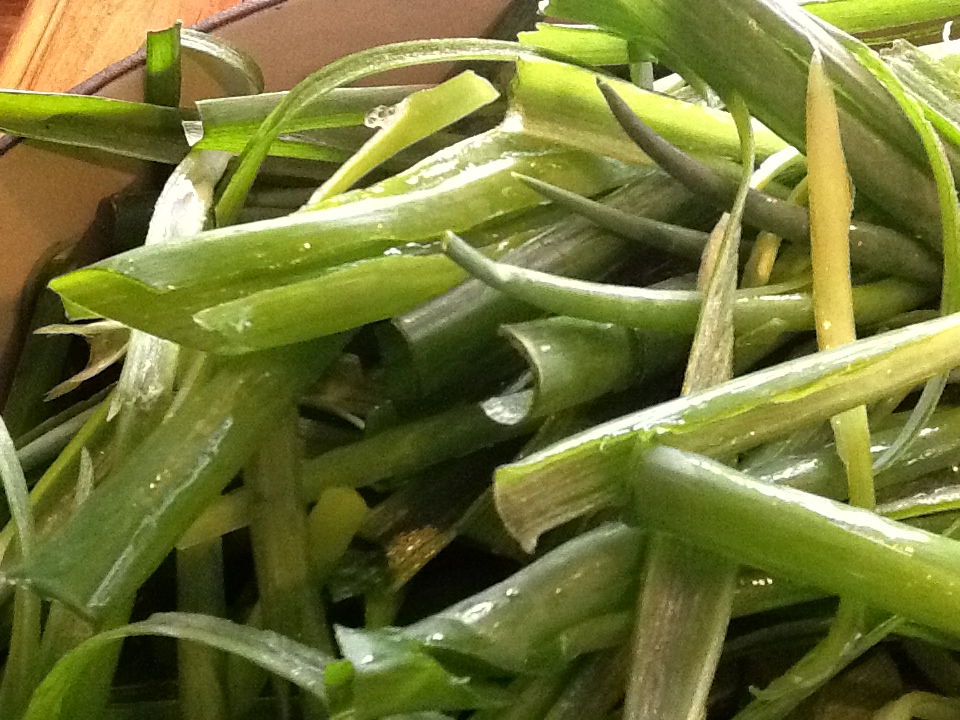
1.  Cut the scallions in half, separating the green part from the white.  Slice them into approximately 1/4 inch wide strips.  I’m only giving you this measurement so you have an idea of how they should be.  Honestly, as you will see from my pictures, they end up being all sizes.  But do keep the greens separate from the whites.

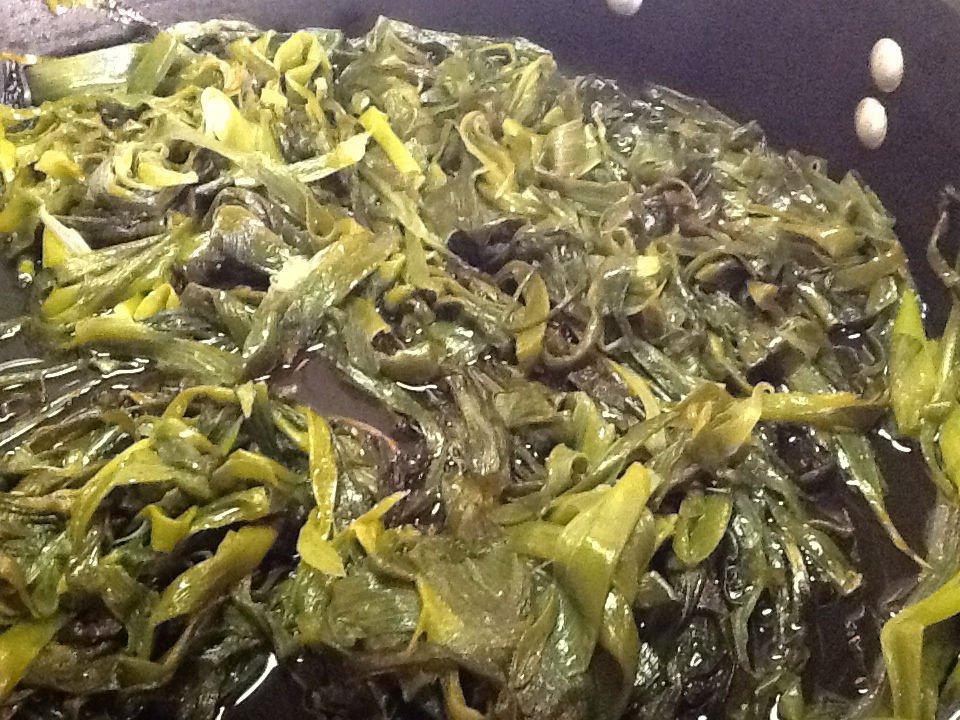
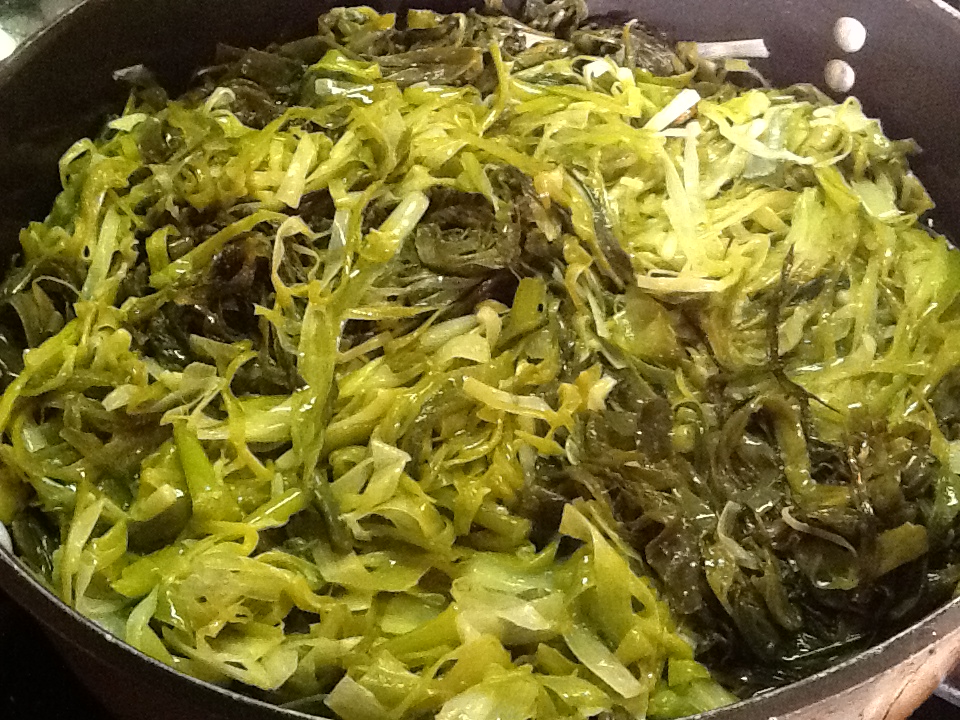
2.  Heat 1/4 cup olive oil in each large fry pan.  Add the green slices to one pan, and cover.  Add the white slices to the other pan, and do not cover.  Cook over low heat and stir often, until soft.

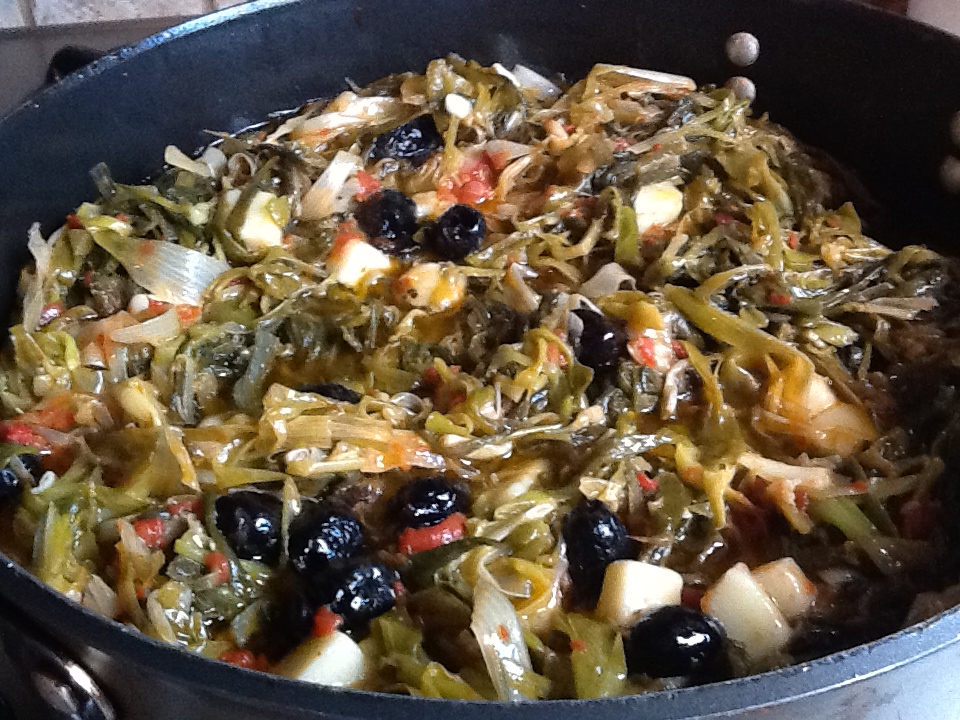
3.  Combine cooked scallions in one fry pan.  Add the tomatoes, olives. 1/2 to 3/4 can of anchovies.  Stir over low heat to combine.  After 5 minutes, add the provolone.  Stir until cheese slightly melts.

4.  Put a little olive oil in the bottom of the round pan to lightly coat the bottom.  Roll out 1 pound of the pizza dough to fit the bottom of the pan and place it in the pan.  Add the scallion filling on top of the dough.  Place whole anchovy filets on top, using as many as you like.  Roll out the second pound of dough and place on top.  Lightly brush the top with the leftover oil and bits from the fry pan (credit to my sister on this) and puncture a few times with a fork.  

5.  Cook in a hot 400 degree oven for 30 minutes or so.  Cool and let settle for 15 minutes before serving.  

**Note:  If you just have one or two people who don’t like anchovies, you can take some filling out before the anchovies, and separately wrap it in pizza dough, like a calzone, brush with some oil and bake in the oven.


Image

ImageImage

Image

Image

Image

Image

Image

Image

Image

Image

Image

Image

Image

Image

Image

ImageImage


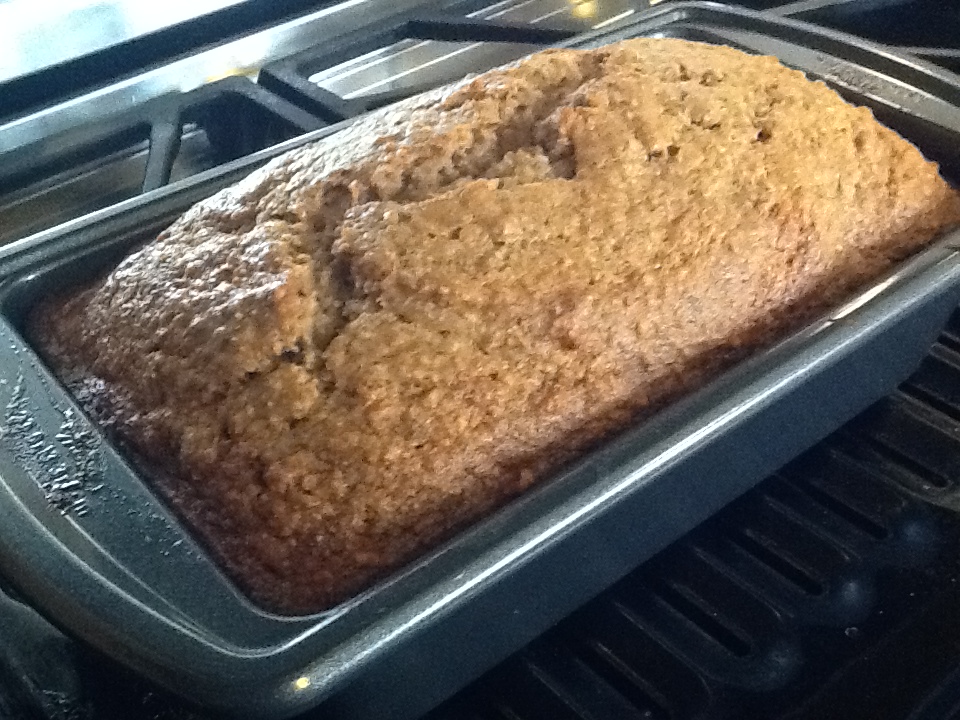
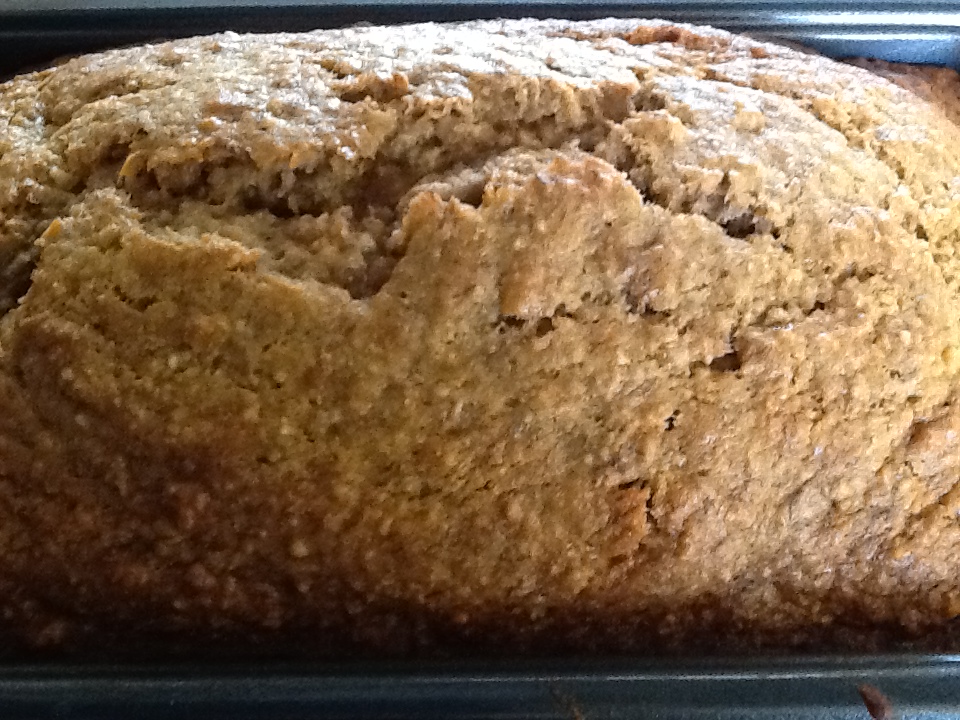
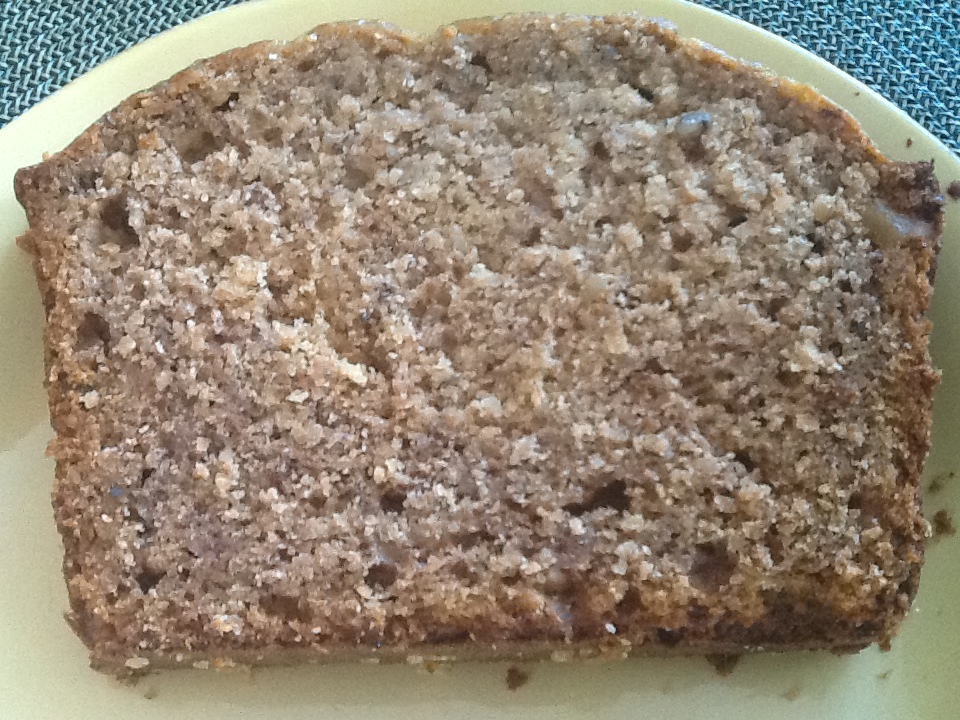
Healthy Banana Nut Bread

Image


Is this really a healthier version of the banana bread recipe I posted earlier?  It’s hard to say.  The ingredients seem to be healthier….bran, organic whole wheat flour, local honey, nuts.  It tastes healthier.  It has a crunch and it is quite dense in texture.  I was trying to remember when exactly I decided to part my ways from my mom’s recipe that I grew up on and loved so much to become a “health nut.”  Well I’m really not, nor ever was, a health nut, but when my children were young, I did like to think that I curtailed their sugar consumption.  I tried hard to disguise fiber and limit white flour.  But I’m just not one to sacrifice taste in order to accomplish this.  Judging from the scribble all over my recipe card, my children were indeed young when I began trying to outsmart them with healthful  goodies.  I can’t help but wonder if one of them wasn’t trying to wipe out the recipe with their pencil, in the hopes that I would return to their grandmother’s sweeter rendition of banana bread.  Honestly, I made both of these breads on a regular basis, and still do today.  Whichever one is on the plate, we say is our favorite.  So I guess that means we love them both and can’t decide which one is tastier.  I’ll let you be the judge.  I hope you’ll try them both and let me know what you think.


RECIPE

1/2 cup of butter, room temperature for easier creaming

3/4 cup honey  (you can always add more for a sweeter bread)

2 eggs

2 1/4 cups whole wheat flour

1 cup bran

2 tsp. baking powder

1/2 cup milk,  with 1 TBSP vinegar and 1/4 tsp. baking soda mixed in

3 large bananas, mashed

1/2 tsp. vanilla

1 cup chopped pecans or walnuts 


1.  Cream the butter and honey.

2.  Add eggs, one at a time, beating well after each addition.

3.  Mix the flour, bran and baking powder together in another bowl.

4.  Add the flour mixture to the creamed butter, alternating with the milk mixture.

5. Add the mashed bananas, vanilla and nuts.  Mix well.

6. Bake in a 9 x 3 x 5 inch loaf pan, well greased and bottom lined with wax or parchment paper, for 1 hour and 40 minutes in 325 degree oven.  


ImageImageImageImageImageImageImageImageImage


Italian Style Pot Roast

Image

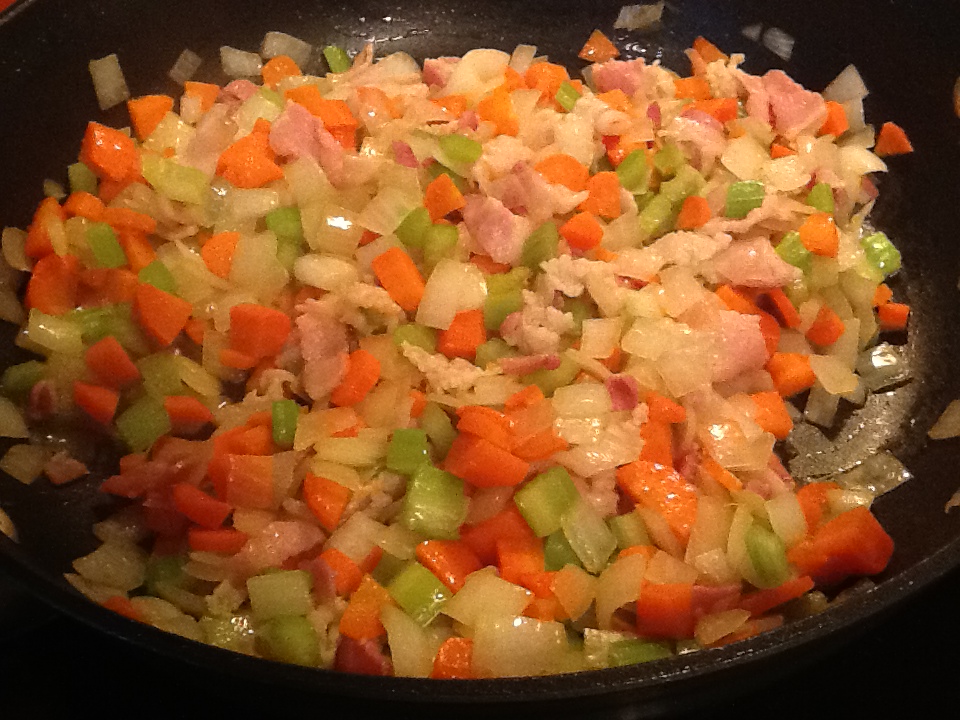
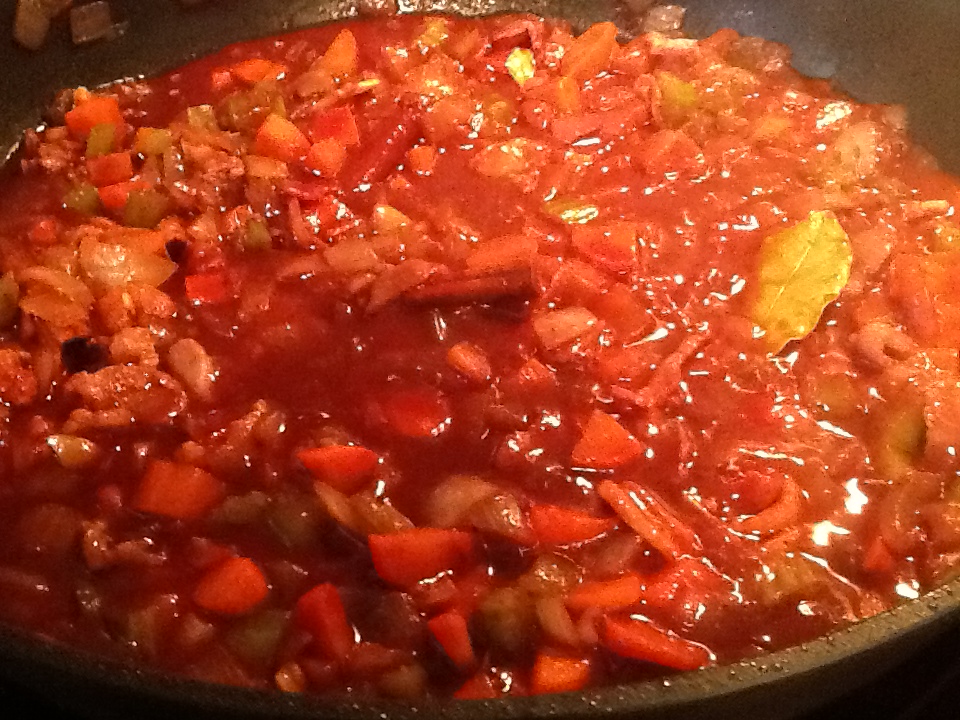
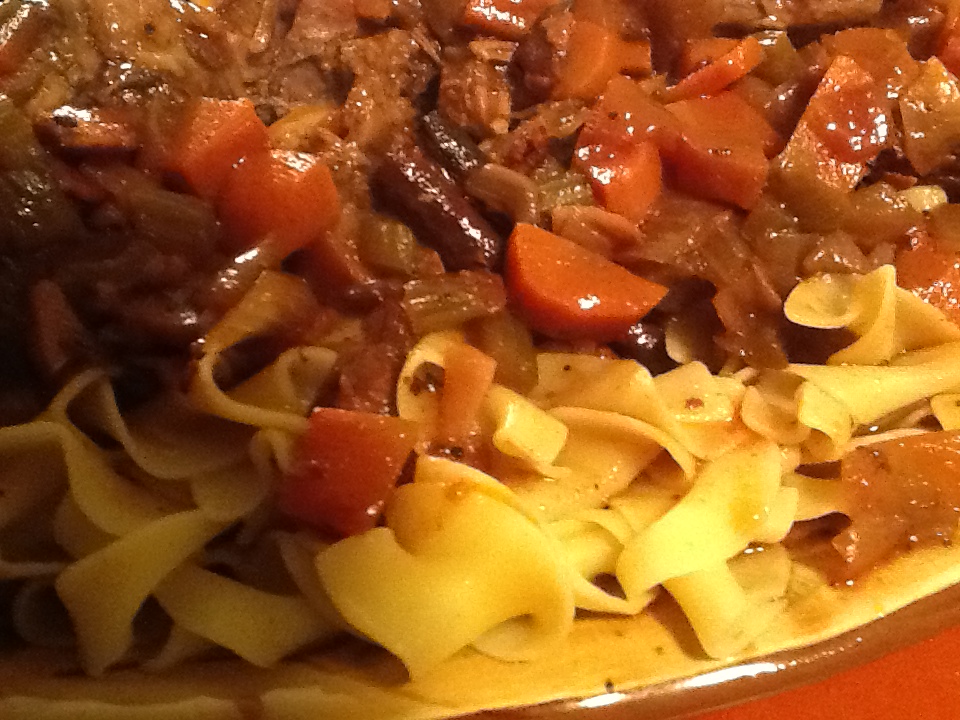
Whenever I have a craving for good old American pot roast, I pull out this very old recipe card and have a chuckle.  It was part of the collection that I typed up from my mom’s recipes before I got married (for the first time) in 1973.  After reading it back to her for final approval, she added “you can also add plum tomatoes, red wine, garlic and beef broth, and don’t make the gravy.”  Okay, so now this is no longer pot roast as most Americans know it.  Now it is beef in tomato sauce and vegetables, or better known  as “Italian Style Pot Roast.”  Italians are funny.  We just have to add tomatoes and garlic to almost anything.  Sometimes my mom made it the traditional American way, and sometimes she made it the Italian way.  I struggle with this decision myself each time I pull out this card.  Over the years I have made a few changes of my own.  I sometimes cook this in a slow cooker.  It’s great to get this in the slow cooker early in the morning and then come home to a hearty meal, ready to be served.  Your house will have been filled with this wonderful aroma while you were gone.  All you’ll have to do is cook some noodles (or sometimes I serve this with polenta) and sit back and have a glass of that wine you opened earlier to add to the pot.

RECIPE:

2 TBSP vegetable oil

1 beef pot roast, 3 to 4 pounds

2 medium onions, chopped

3 carrots, peeled and sliced

3 celery stalks, sliced

3 cloves garlic, minced

3 ounces pancetta or bacon

2 tsp. salt

1 tsp. black pepper

2 cinnamon sticks, 2 inches long

4 cloves

2 bay leaves

3 TBSP tomato paste

3 Italian plum tomatoes (from can), squished   (You can omit this and add another TBSP paste).

1 cup red wine

3/4 cup beef broth

1.  Brown the beef in the 2 TBSP oil, in  large pan.  Make sure to brown on all sides.  If  you are going o cook this on top of the stove, use a dutch oven type pan for this step, as you will cook the entire dish in this.

2.  Take meat out of pan and set aside.  To this pan, add the pancetta, onions, carrots and celery and cook until softened, stirring often.

3.  Add the garlic, cloves, cinnamon stick, bay leaves, salt and pepper. Cook for a minute or two.

4.  Add the wine, tomato paste, tomatoes (if using) and the broth.  Bring to a boil.

5.  Depending on your cooking method, either return the meat to the dutch oven, or put meat in slow cooker and then cover in the veggies and sauce.

6.  On the stove, cook for about 2 1/2 to 3 hours.  Check often and add more broth if needed.  In the slow cooker, cook on low for 10 to 12 hours, or on high for 5 to 6 hours.  Meat should be tender.

6.  Serve on buttered noodles or on top of polenta.

ImageImageImageImageImageImageImageImage

The first two steps are the same, whether you make this on the stove or in a slow cooker.  I use the slow cooking time table from my favorite slow cooker cookbook by Judith Finlayson.  I also love her additions of pancetta or bacon, a cinnamon stick and tomato paste ( I use very little plum tomatoes now, if any).

Stuffed Artichokes from an Angel

Image

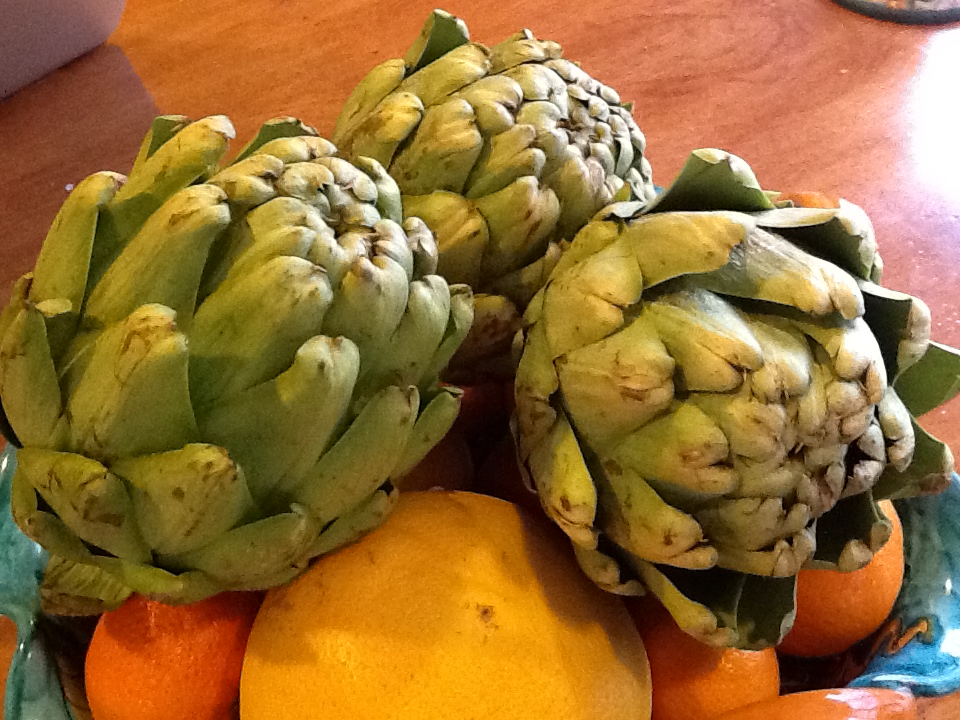
Stuffed artichokes were always something I ate at restaurants, but never dared to attempt making them at home.  I don’t recall my mother ever making stuffed artichokes at home either.  I always thought that it was just too difficult and time consuming.  How could I possibly think I had time to stuff each little leaf while tending to children, who always seemed to want attention while I was cooking dinner.  Then one day it dawned on me that when I would visit my cousin, who also had two small children, she often had stuffed artichokes cooking on the stove.  Boy did they look and smell heavenly!  How did she do it?  Did she have more patience than me?  Were her children better behaved?  The whole “stuffing” thing scared me, but eventually, one day I asked her if she would show me how to make them.   Well the stuffing was simple enough to make, and I found the process of gently pressing the stuffing into each leaf to be almost meditative.  I have been enjoying  this recipe of hers for close to thirty years, and it never fails to be absolutely scrumptious every time.  Now don’t get me wrong, this is not a quick dish.  You will need several hours to prepare and slowly simmer them,  as the longer you cook them, the more tender they will be.  So this is a great dish to prepare earlier in the day, and then you will have time for the kiddies (or whatever else you choose) during the bewitching dinner hour.   

ImageImageImageImageImageImage

RECIPE

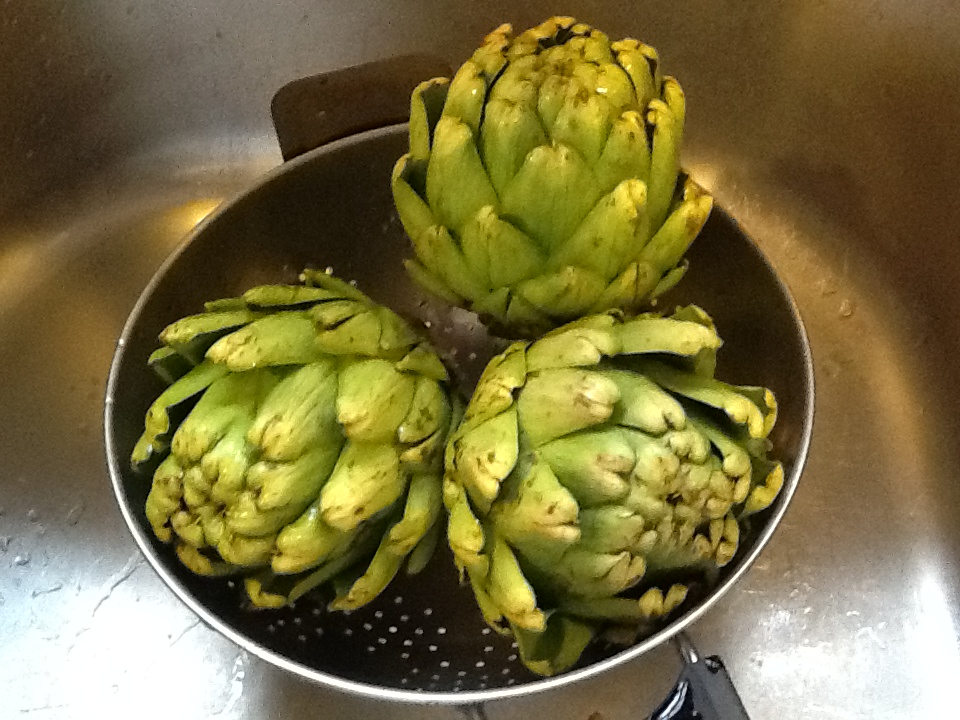
3 to 4 large artichokes, washed, with 1/2 inch cut off the top,  and stems trimmed so the artichokes can stand up in a pot.  Using a scissor, cut off the pointed tops of each leaf.
1 cup white wine

Juice of one lemon

Stuffing:

6 cloves of garlic, minced

1/3 cup chopped flat leaf Italian parsley

2 cups Italian flavored breadcrumbs

1/2 cup Pecorino Romano cheese

1 tsp. salt.

1/2 tsp pepper

1/2  cup olive

1.  Mix all the above ingredients in a bowl until slightly moistened.  You may need to add more olive oil, if the mixture is too dry.

2.  After washing and preparing the artichokes for stuffing,  stand them in a large pot to make sure they fit.

3.  Gently spread the leaves so they open a bit.  Add a small spoonful of stuffing to each leaf, or to as many as desired.  Add as much stuffing as you like to cover the the top.  I stuff the heck out my chokes!

4.  Place them back in the pot.  Surround them with 2 inches of water, a cup of white wine and the juice of one lemon.  Drizzle some olive oil over the artichokes and liquid.

5.  Cover and bring to a boil.  Lower heat and simmer, covered, for at least an hour to an hour and a half, until leaves break off easily.  Check every so often to make sure liquid has not evaporated.  Add more liquid if need be.

6.  Serve in individual bowls, with some cooking liquid.

If you stuff your artichokes differently, I would love to hear your recipe.  I love this vegetable and am always looking for different ways to enjoy them.