Shrimp Scampi

Image


When I think back to the varieties of fish that were available when I grew up, I can only come up with three.  There was filet of flounder or sole, lobster tails and shrimp.  This seems hard to believe now, since you can find so much more than this in any supermarket.  The choices seem endless.  And recipes for fish abound.

This recipe for shrimp scampi is a favorite of mine.  It is one of the first things that my husband cooked for me when we began dating, and it just might have been instrumental in solidifying our relationship.  Just kidding of course, but a man who can cook is nothing to sneeze at!  Cooking is a big part of our life together.  There is nothing more satisfying than watching your partner enjoy a delicious meal that you created and vice versa.  

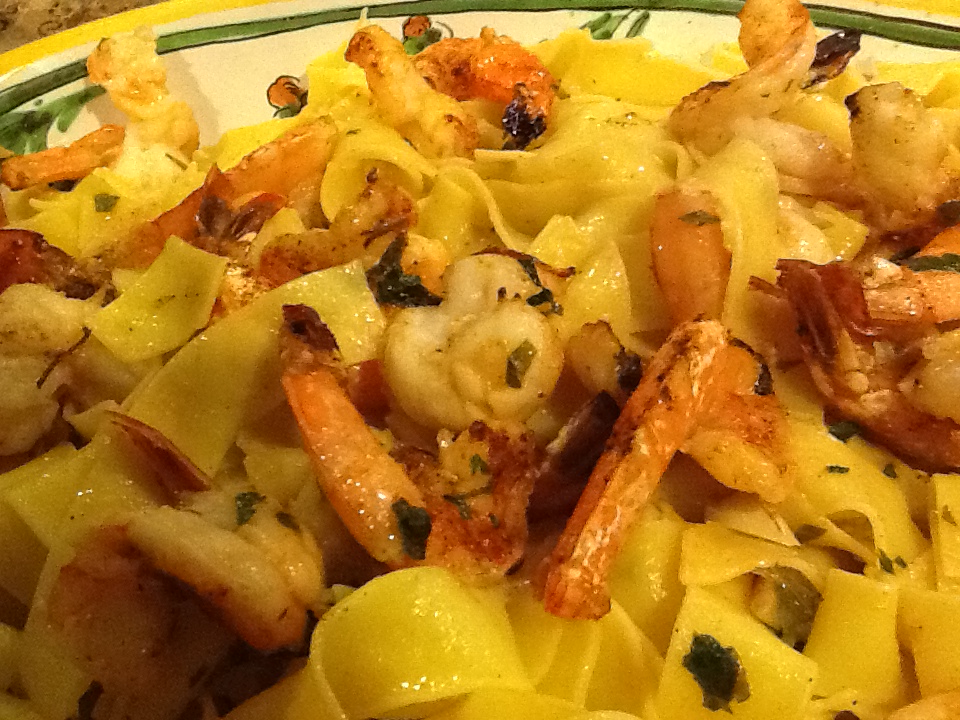
If you love shrimp, you will love this recipe. First of all, how can you miss with butter, fresh lemon juice, white wine, olive oil, garlic and parsley?  Those ingredients alone, on anything, would taste divine.  It is fresh, light and savory.  We like to pour the shrimp, with all it’s juices, over noodles (pappardella) or rice.  Both are delicious ways to enjoy this dish.

RECIPE

2 lbs. extra large shrimp, remove shells, except the tail, devein and butterfly.

2 Tbp. olive oil

1/4 pound of butter

5 garlic cloves, sliced

1/4 cup chopped parsley 

1 Tbsp. paprika

juice of one lemon

1/2 glass to 3/4 of white wine

sea salt and pepper to taste

1. Coat the bottom of  a cookie sheet with olive oil .

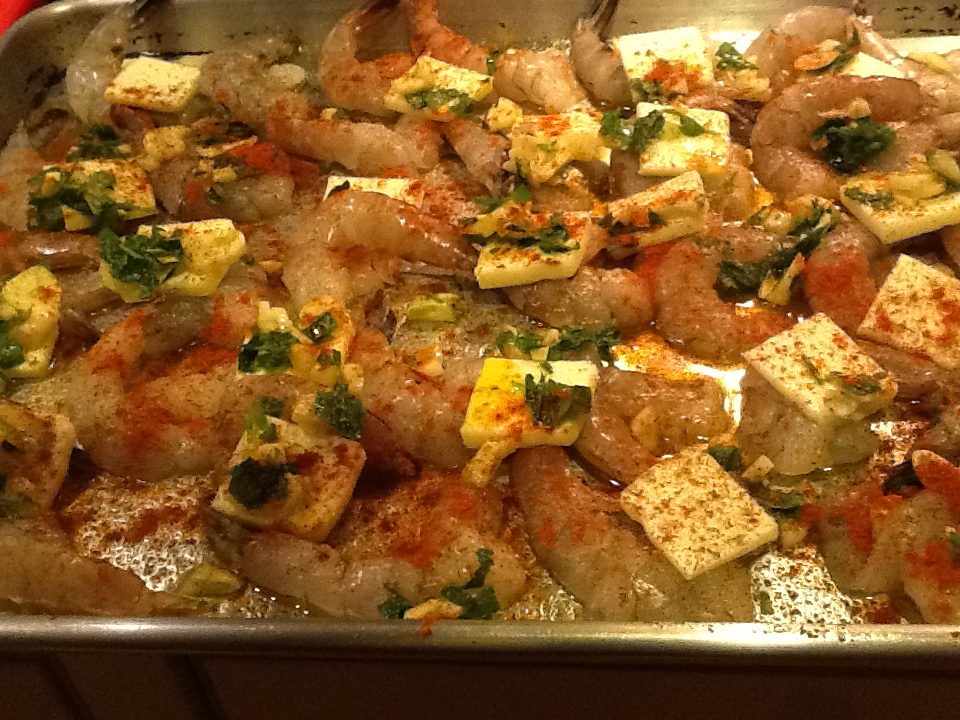
2.  Put shrimp in pan, spacing so as not to touch.

3.  Combine parsley, garlic, olive oil, salt and pepper in small bowl.  Spread on top of shrimp.

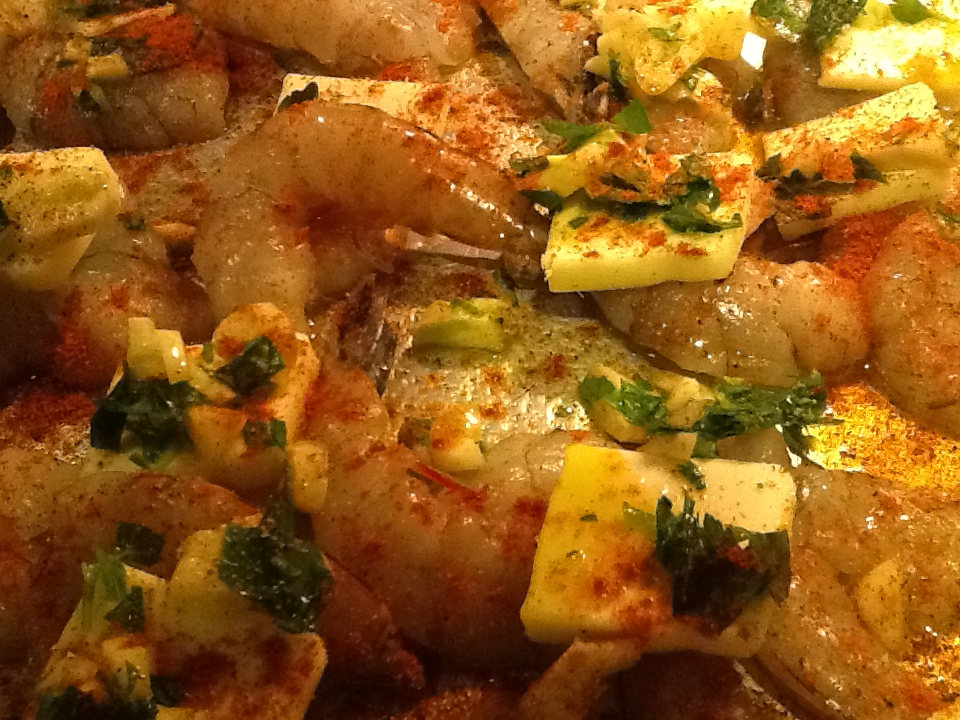
4.  Slice the stick of butter into pats and place on top of shrimp.

5.  Sprinkle paprika all over the shrimp.

5.  Put into a 400 degree oven for 10 minutes.

6.  Take out of oven and squeeze the lemon all over the shrimp and then the wine.

7.  Put under broiler for approximately 3 – 5 minutes.

8.  Serve with noodles or rice and lots of the delicious juice.  It is yummy with a side of sauteed broccoli rabe.


ImageImageImageImageImageImageImageImage


Avgolemono Soup (Greek Lemon Chicken Soup)

Image


While discos and big hair were all the rage in the eighties, some of us were home, raising children and counting pennies.  Being “house poor” was sometimes trying, but thanks to good friends, we made the best of our Saturday nights.  While we did not dance under a disco ball, there was always great music and good food.  We had so much fun trying new recipes (many of which failed), and comparing child rearing stories.  Yes, it does sound awfully boring, but I look back on these times fondly.  One of my closest friendships developed during these days, and we still get together in much the same way, only now we discuss our grandchildren over a delicious, homemade meal.  I can still remember the first dinner party at her house.  The table was set beautifully with homey pottery and glassware.  I remember admiring the creative display of candles and flowers on a lovely linen tablecloth.  To this day, I still look forward to table she will set for dinner, only now it is set with tableware from around the world, purchased on her many travels.  She started a tradition with these dinner parties all those decades ago, serving several different, delicious soups.  I had a favorite, which is this velvety Avgolemono soup.  I always hoped it would be included in the menu for the night, and it usually was as she knew it was my favorite. It’s rich lemony taste made me think it would be difficult to make, but I finally asked for the recipe, and was surprised to see how simple it was to make.  You don’t need a fancy, Saturday night dinner party to make this soup.  It is simple and quick enough to make any night of the week.  But a beautiful table setting will make it taste even better!  

Coming soon……her husband’s salad dressing recipe.  It also has passed the test of time.  We love it today as much as we did all those decades ago.  But I’ll keep you in suspense.


RECIPE

4 cans chicken broth 

1 cup rice  (sometimes I use regular long grain rice and sometimes Arborio rice)

1/4 – 1/3 cup fresh lemon juice

3 large eggs

3 split chicken breasts, but into small chunks

white pepper and salt to taste

dill for garnish, if desired

1.  Combine broth and 1 cup water and boil.

2.  Stir in rice and boil for 15 minutes.

3.  Whisk lemon juice and eggs in bowl.  Add one cup of the hot broth in a stream.

4.   Whisk this mixture into broth and rice. Add the chicken and cook until tender.  Do not boil.


ImageImageImage

Sour Cream Coffee Cake

Image


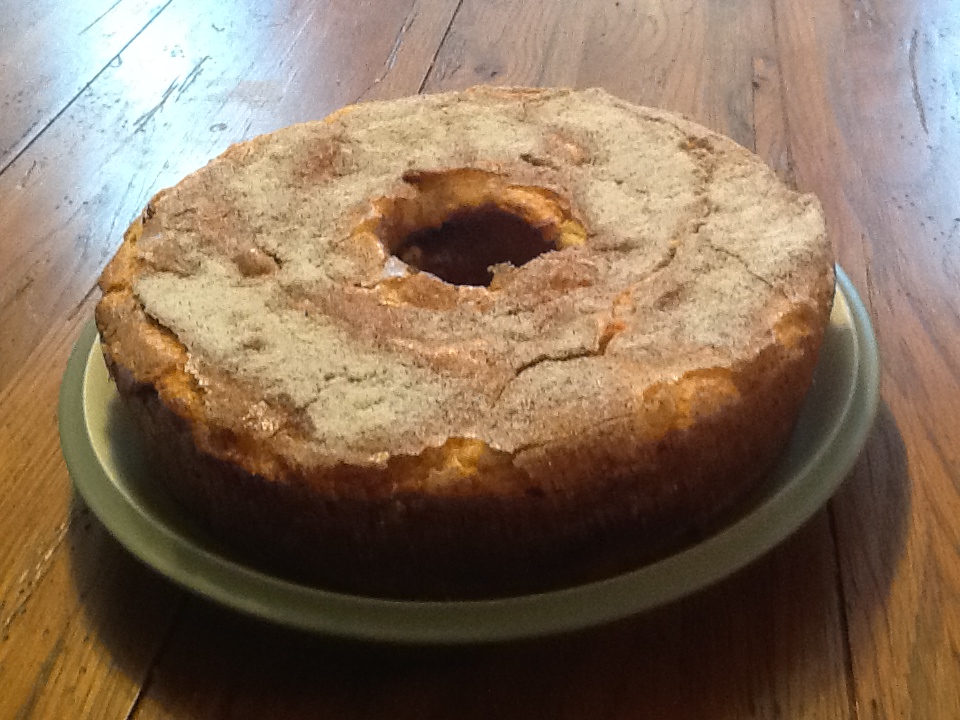
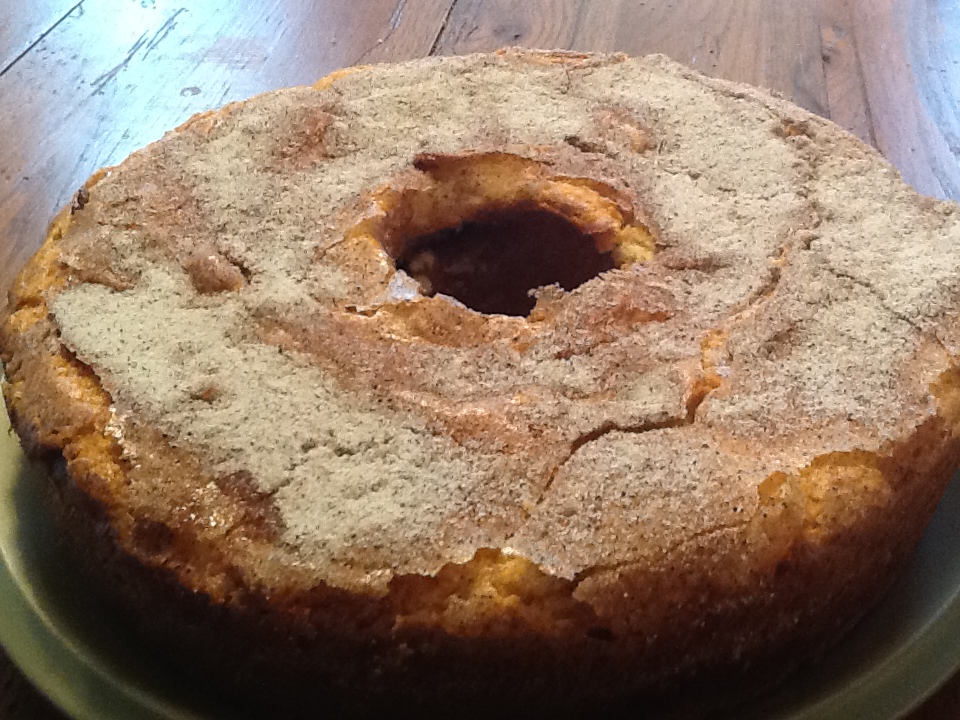
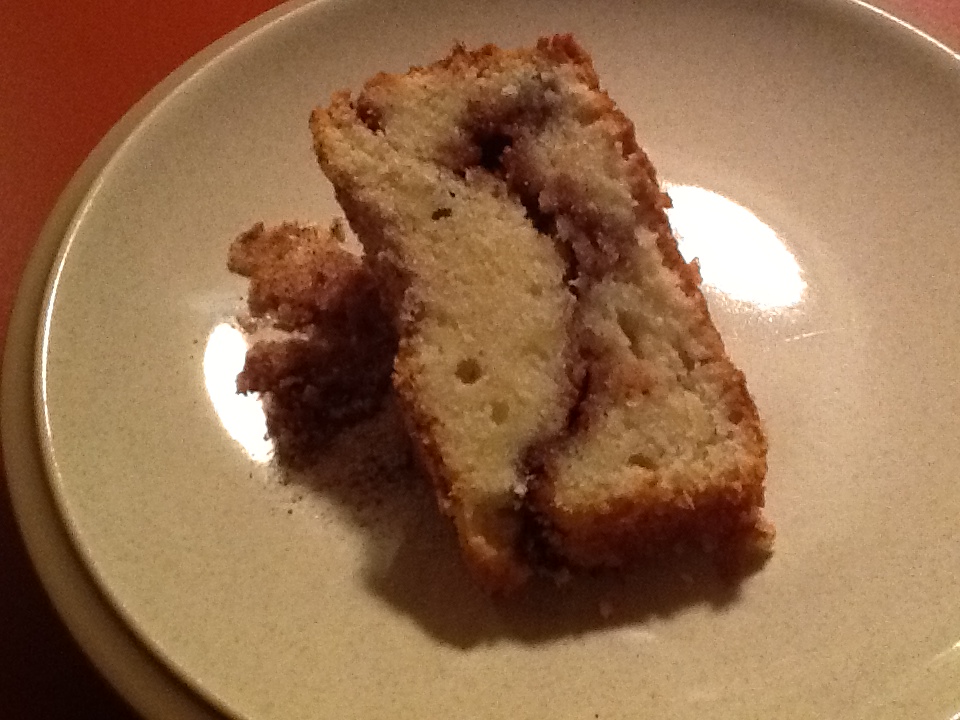
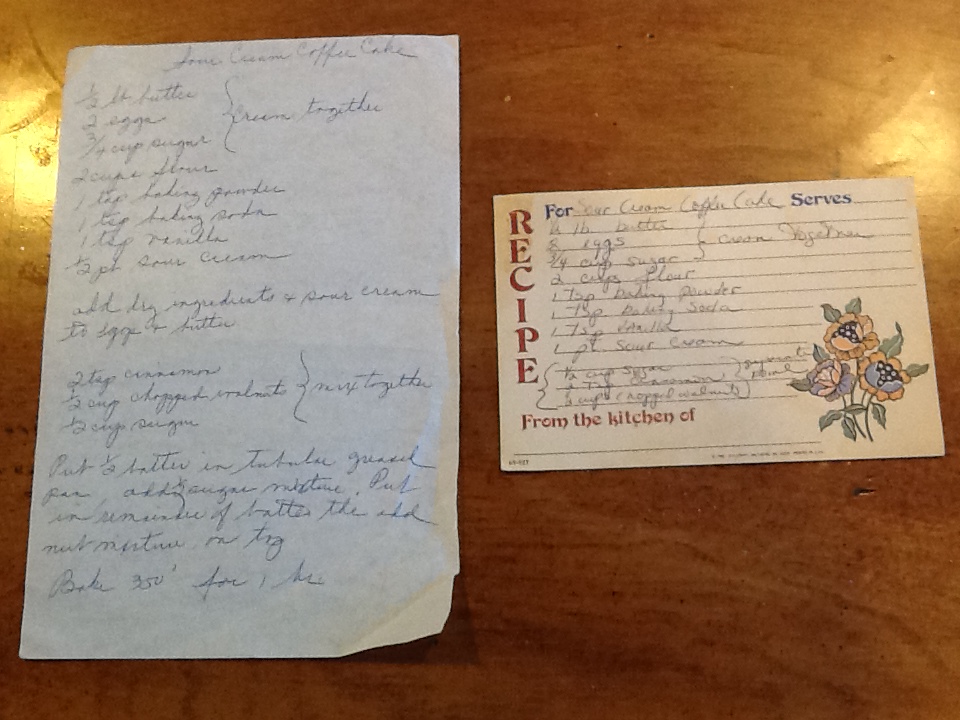
You will want to grab a cup of coffee for sure, once you sit down to eat a piece of this Sour Cream Coffee Cake.  If you think you can bake this and save it for the next day’s breakfast, you’re fooling yourself.  You’ll be lucky if it sticks around that long. In my house this usually disappears in a matter of hours.  Every time I walk by it on the counter,  I notice that someone has whacked off a another piece.  So pay no attention to the time of day, just grab a piece while you can and sit and enjoy.  That is how I remember this coffee cake being experienced.  In the 50s and 60s, life seemed to move at a slower pace, especially for women.  People seemed to visit one another more frequently.  I remember my mother’s friends stopping by in the afternoon for coffee, cake and some good conversation.  This sour cream coffee cake was a favorite of her guests, and it always made me happy to see it on the table when I got home from school.  I wish I could say that I still make this cake for my afternoon entertaining, but times have changed and this is a ritual from a past era. When I get together with my friends now in the afternoon, it is for a walk, golf  or some other form of exercise.   However, this coffee cake is always in my repertoire for brunch or luncheon.  Or perhaps I may sneak a piece in the afternoon after exercise.

You don’t come across too many recipes for coffee cakes the way you did in the 50s, 60s and even the 70s.  If you have one to share, please do.  I still enjoy sitting with a cup of coffee and indulging every now and then.  I hope you do too.

**Note:  While the recipe calls for chopped walnuts, I made this without the nuts so that my grandson, who is allergic to nuts, could enjoy this.   And indeed he did……4 pieces worth!


RECIPE

Batter:

1/2 pound butter, room temperature

2 eggs

3/4 cup sugar

2 cups flour

1 tsp. baking powder

1 tsp. baking soda

1 tsp vanilla

1/2 pint sour cream  ( I am usually more generous with this and use 12 ounces)

Filling:

1/2 cup sugar, heaping

1/2 cup chopped walnuts  (can be omitted if you like)

2 to 3 tsp. cinnamon

1.  Preheat oven to 350 degrees.  Grease and lightly flour a 10 inch Angel Food Cake Pan.

2.  Cream the butter, eggs and sugar.

3.  Add the dry ingredients and sour cream and mix.  

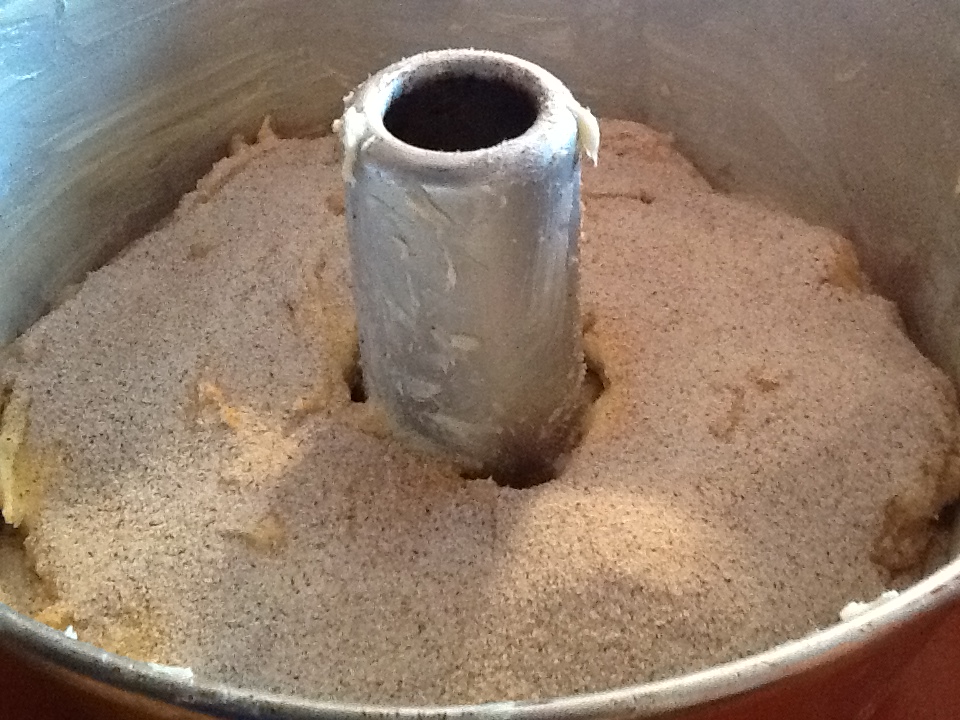
4.  Put half of the batter into the pan.  Add half of the sugar mixture.  Put in the remainder of the batter and smooth it around on top to cover all the filling.  Then sprinkle the remainder of the sugar mixture on top.

5.  Bake ate 350 for one hour.  I always check it after 45 minutes.  

6.  Cool in pan before removing.

ImageImageImageImage


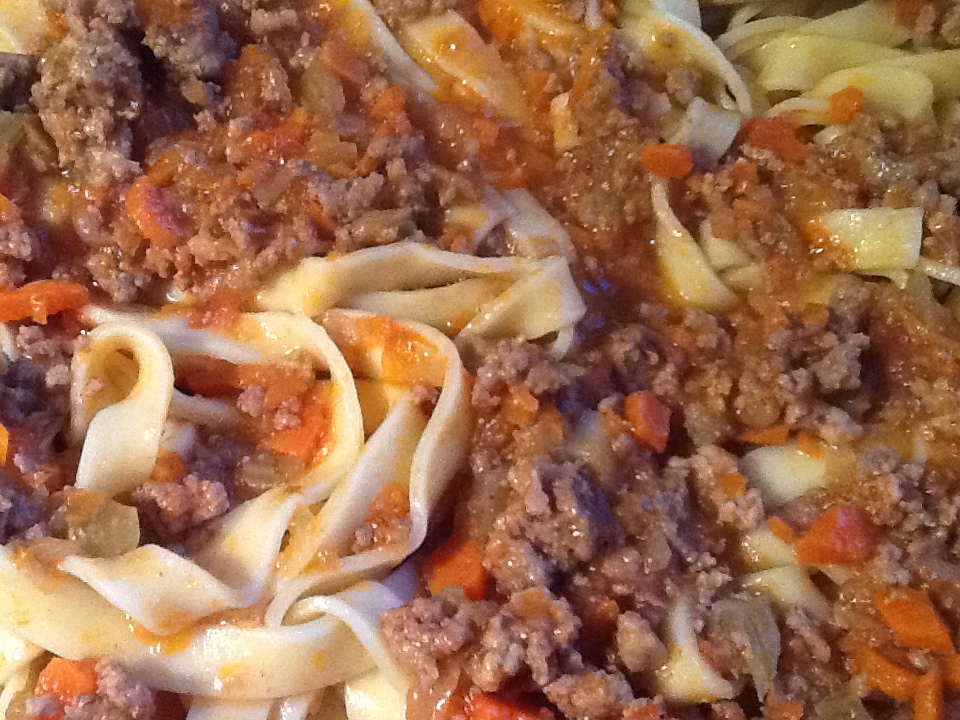
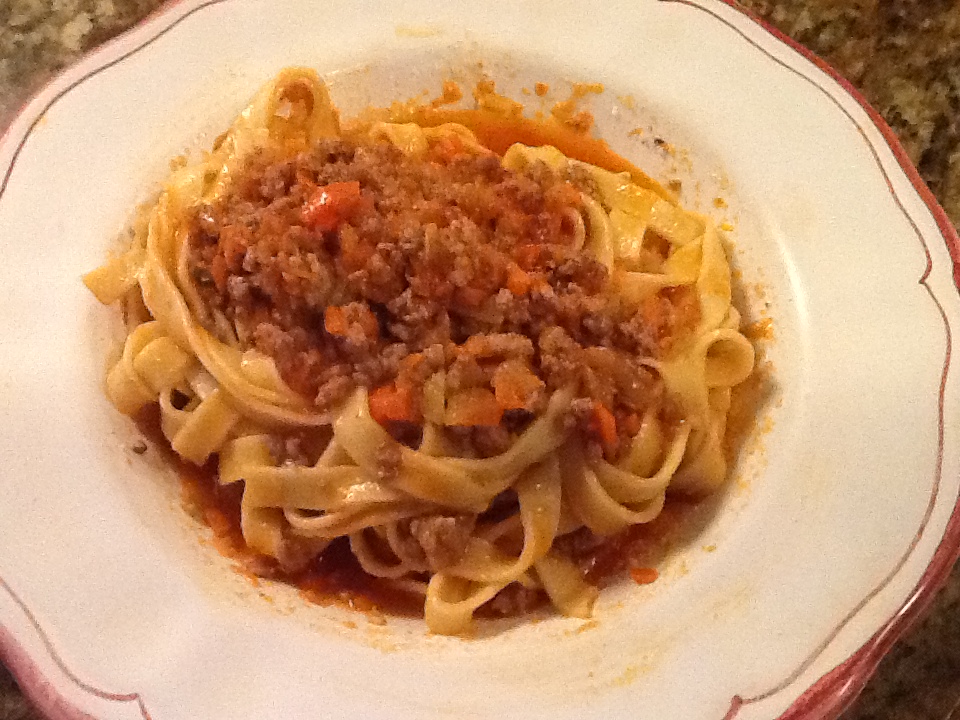
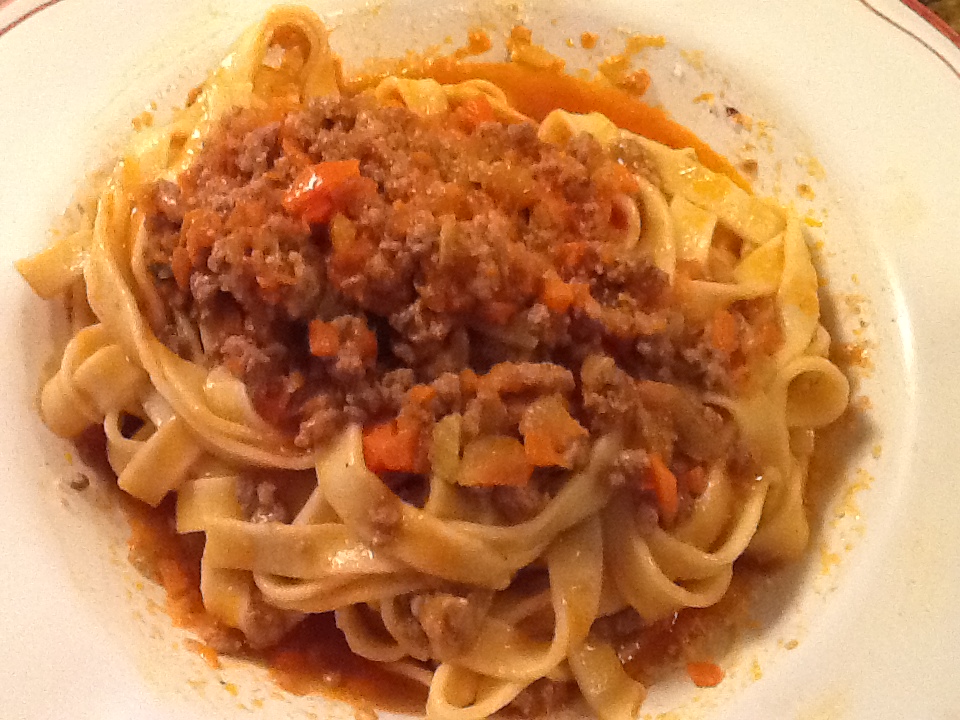
Fettuccine Bolognese a la Aunt Geri

I have many fond memories of my mother’s sister, Geri, and of course, many of them revolve around food.  Even when I am remembering how much fun it was to ride with her in her Thunderbird convertible, it is the blueberry pie a la mode at Schrafts or the diner that sticks out in my mind.  My mom didn’t drive, so being the thoughtful Godmother that she was, Aunt Geri would pick me up, take me shopping at Best & Co for some pretty clothes, and then we would end the excursion eating chicken salad sandwiches and blueberry pie a la mode. This special ritual began when I was about five years old and continued until I was old enough to shop with my girlfriends, and had decided that perhaps I should be ordering a salad instead.  I also think about all the Friday nights that she would come to our house with her two sons for homemade pizza and calzones (I will be posting those recipes in the near future).  Trips to the beach meant baskets full of sandwiches of peppers and eggs and eggplant parmigiano on warm, crusty Italian rolls. There were always lots of homemade goodies for desert.  These two sisters loved to cook, and their children loved to eat.  All this made for very happy childhood memories.  It has been many decades now that have passed, but I look back fondly on all the fun and food we shared.

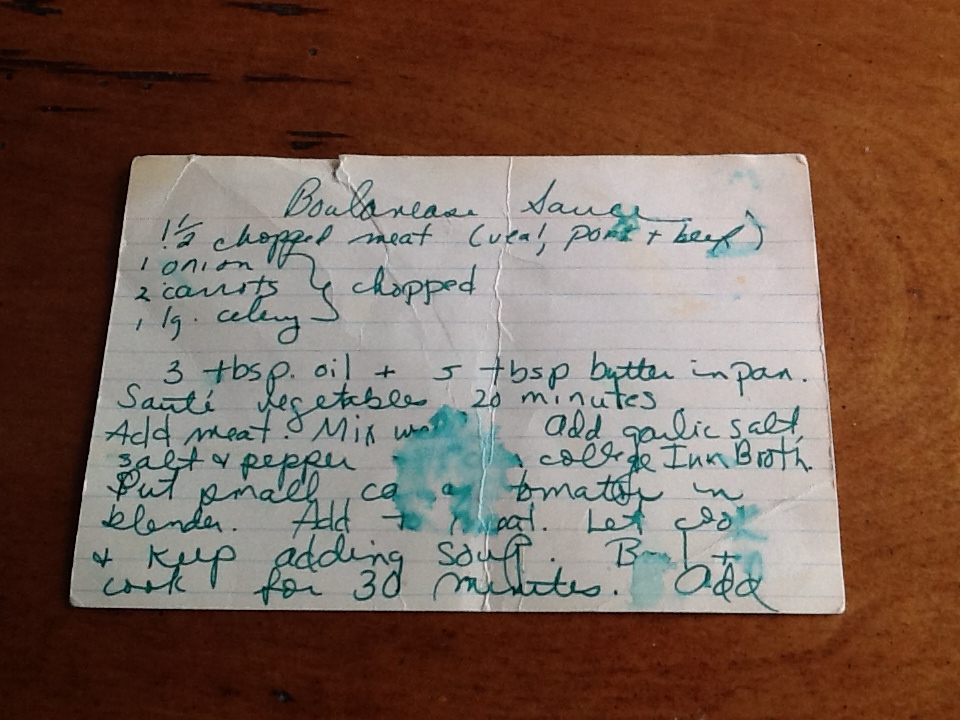
This recipe for Fettuccine Bolognese holds a special place in my heart.  From the first time Aunt Geri made it, I loved it so.  I would call her from time to time for the recipe and she would tell me what to do over the phone.  I’m not sure why I never wrote it down, but I guess that was because I knew I could always call her when I wanted to make it again.  But then she became very sick, and I didn’t call for the recipe anymore, not wanting to bother her with something so trivial.  One of the last times I visited her, we were sitting in her kitchen ( which is as vivid in my mind today as it was more than 30 years ago), and of course, we were still talking about food.  I mentioned her Bolognese sauce and she insisted that I write it down.  I knew what she meant by this.  I found an index card and green pen in the kitchen drawer, and she dictated this recipe to me.  I see her beautiful face and smile each time I hold this index card in my hand.  I recall our family gatherings and the joy these two sisters brought to their families.  

I hope you enjoy this recipe for Fettuccine Bolognese a la Aunt Geri.  I love how she told me to use “College Inn Chicken Broth.”  And I do.  There weren’t as many brands then as there are now.  I would bet that the only chicken broth you could buy 30 plus years ago was College Inn.  Anyway, I make this EXACTLY as she told me and always will, but feel free to use any chicken broth you wish.  I also have to laugh at my phonetic spelling of Bolognese!  

RECIPE

1 1/2 pound chopped meat, a combination of veal, pork and beef

1 large onion, chopped

2 large carrots, chopped

1 – 2 large celery stalks, chopped

3 TBSP. olive oil

5 TBSP butter, plus 3 TBSP for dressing the pasta

1 28 ounce can of Italian Plum Tomatoes, always making sure it says “Product of Italy”

1/4 tsp. garlic salt or powder

4  (10 ounce)cans College Inn chicken broth or broth of choice

2/3 cup white wine

salt and pepper to taste

2 pounds fresh fettuccine noodles

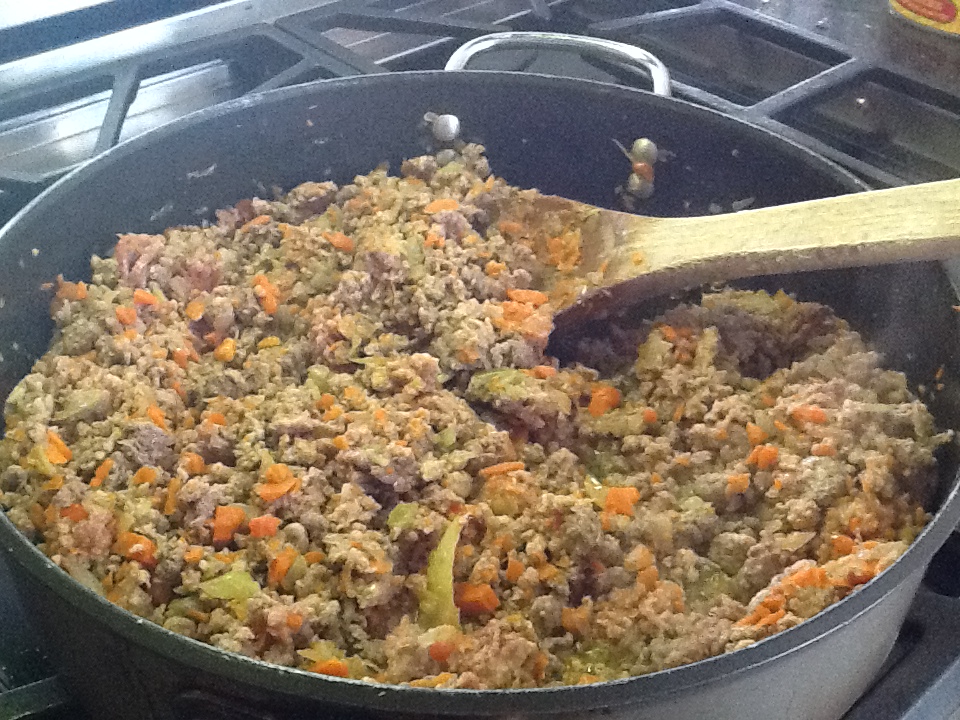
1.  In large skillet, heat the olive oil and the 5 TBSP of butter.  Add the onion, carrot and celery and saute for 15 to 20 minutes, or until soft, stirring constantly.

2.   Add the meat and brown.  Mix well.  

3.  Add the garlic salt (or powder ) salt and pepper.

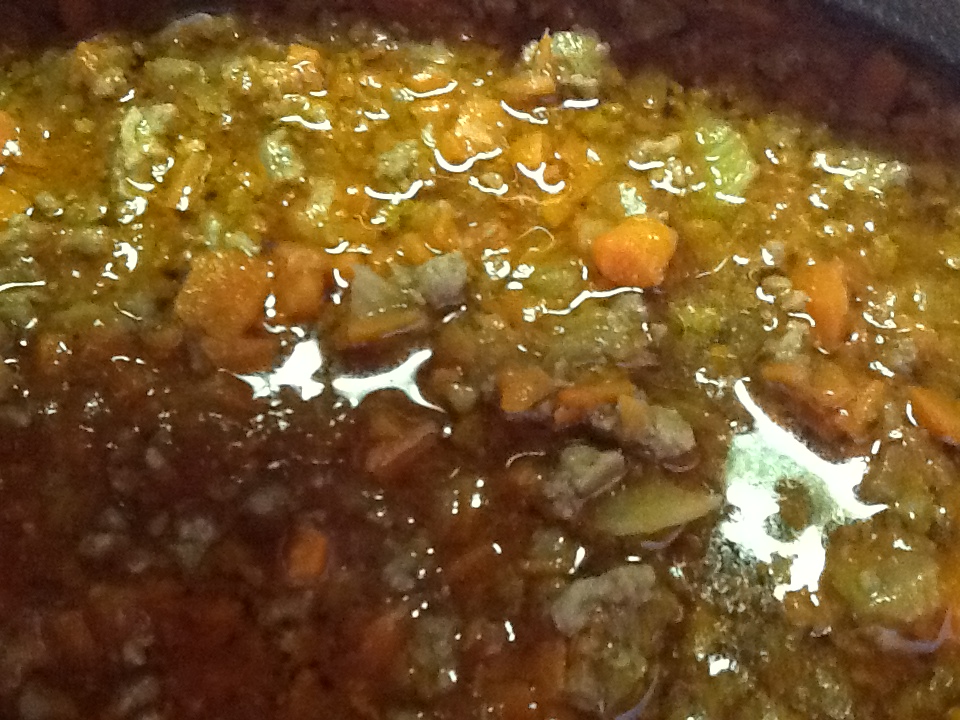
4.  Add the Broth and bring to a boil, then lower to a simmer.  

5.  Put the tomatoes in a blender ( a trick I learned from her) and pulse it for a minute or two to puree, but don’t overdo it.  Add this to the skillet and bring again to a boil.  Lower to a simmer and cook for 30 minutes, adding more broth if necessary, and stirring often.

6.  Add 2/3 cup of white wine and heat through for about 5 to 10 minutes.

7.  Cook the fettuccine in a large pot of salted water.  

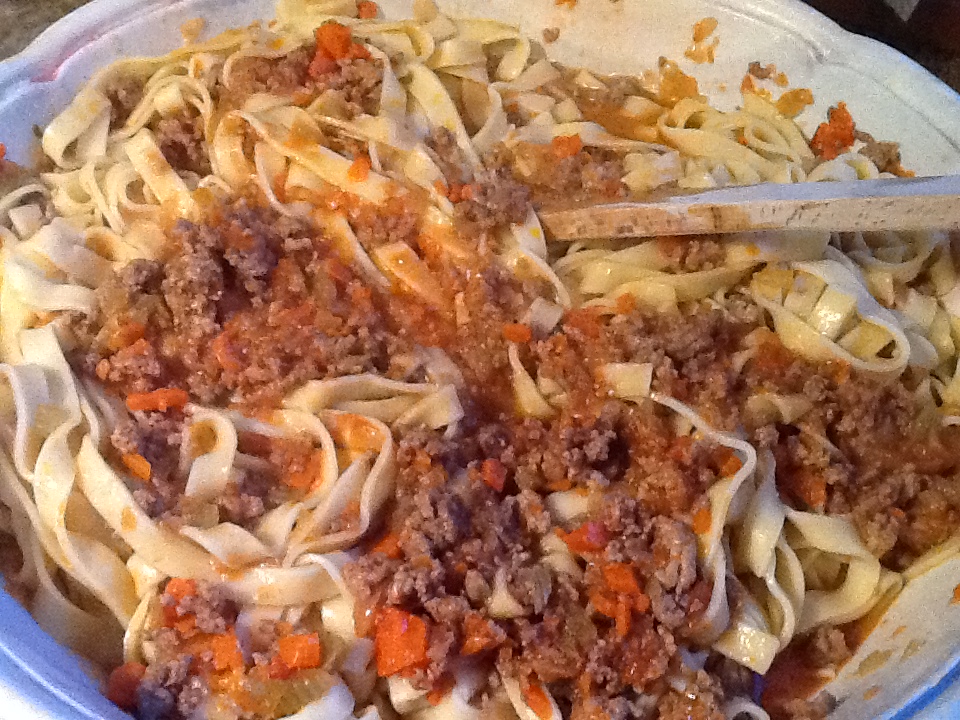
8.  When pasta is drained, add it to a the 3 TBSP. of butter in a large pasta bowl.  Mix to coat, and add some (but not all) the sauce.  Mix well. 

9.  This is best if plated after step #8, and then add more sauce on top of each serving.  Serve with freshly grated cheese.

10.  Finish your meal with a delicious piece of blueberry pie a la mode!

ImageImageImageImageImageImageImageImageImageImage


Cavatelli with Broccoli

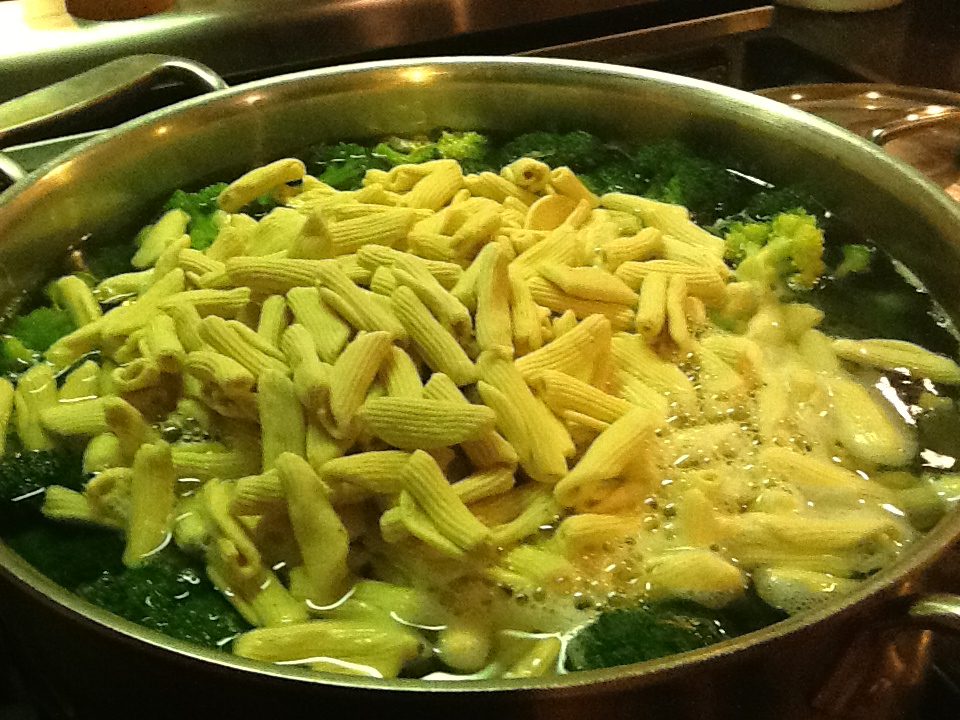
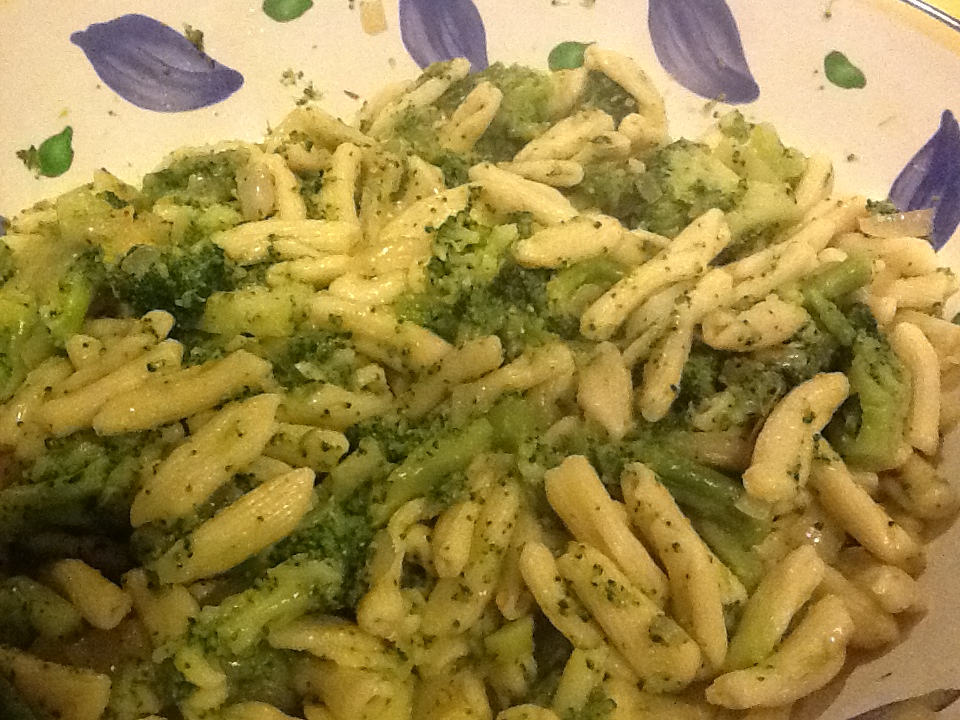
ImageCavatelli and broccoli……another winner from Little Nonni.

However, when I think of this dish, I remember it as my mother’s.  It was a family favorite so she made it often.  It was the dish that most people requested when coming to our house for dinner.  She became famous for it.  It’s one of those dishes that people actually moan with delight while eating.  Now we all have had pasta with broccoli, and perhaps you don’t remember any moaning, but I believe that there are two ingredients in this recipe (that are usually not used), that make the difference between “moaning” and just “enjoying.”   These are anchovies and onions (no garlic at all).  Also, cooking the broccoli and the pasta together, in the same salted water, adds to the flavor.  Cavatelli is what we use, but certain pastas such as ziti works wonderfully. I have also used a pasta made from faro in this dish, and it is very tasty.  However, myy family are purists, especially with traditional recipes (they want the taste to be exactly as they remember), so 99% of the time, I use cavatelli.  One more note….. if you really don’t like anchovies, you can eliminate them. The taste will be somewhat different, but still delicious.  Most people don’t even realize that there is anchovy in this, and are shocked when I tell them.  You also can control how much you use.  Even 1 or 2 filets will make a difference that I think you will enjoy.  And of course, if you love anchovies, then go for it!  I would love to hear your comments about this.

RECIPE

2 heads of broccoli,

1 1/2 onions, chopped

1/2 cup olive oil

1/2 to 1 can of anchovy filets   (or more or less or none)

2 pounds cavatelli

crushed red pepper, if you like

salt and pepper to taste

1.  Cut the broccoli into florets. Remove stems and slice into 2 inch pieces.  This allows the broccoli to cook through evenly.

2.  Bring a large pot(large enough to hold both the broccoli and the pasta together) of salted water to a boil.

3.  Add the broccoli.  Let it cook for 5 minutes.  Add the pasta.  Stir.

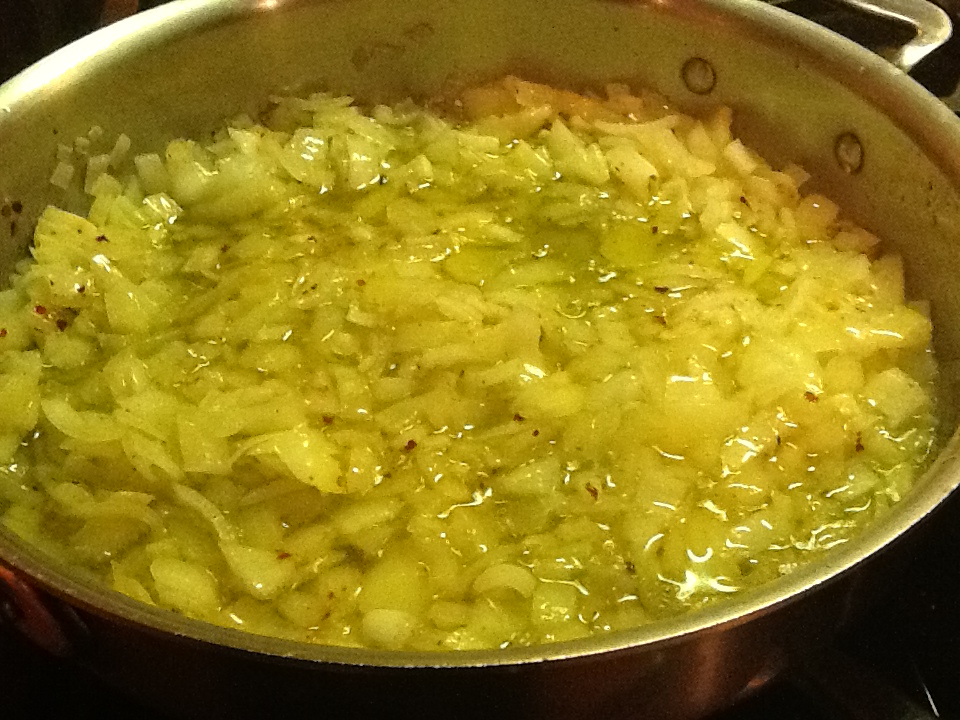
4.  Meanwhile, sauté the onion in the olive oil until soft.  If you want some heat, add the red pepper flakes.  After the onion has softened, add the anchovy filets and stir until dissolved.  You can add one filet at a time to see how it goes.

5.  Add 2 scoops of pasta water to the onions.  Reserve another scoop or two, just in case you desire more.

6.  When pasta and broccoli are done, drain and put in a large bowl.  Pour onion mixture over and stir.

*Traditionally, Italians do not put cheese on pasta that contains fish.  However, I like a little Parmigiano on this.

** My husband always adds a little olive oil to the pasta and stirs before dressing it with the sauce.  I have seen this done elsewhere as well.  You might want to give it a try here or on any pasta recipe.

***  You will want to keep the moaning to a minimum.  People might get the wrong idea!!

ImageImageImage

Mom’s 1950s Banana Bread

ImageImageBanana bread has gone through many changes over the decades.  Haven’t we all?  We have used wheat flour instead of white; honey instead of sugar; threw in some wheat germ or bran; chopped up some nuts…..looking for a healthier version.  While all this was very tasty, I always came back to my mom’s original recipe.  It’s simple and delicious.  Why mess with perfection?  It was, and still is a family favorite.  My mom would send us back to college with a loaf wrapped in aluminum foil, and I did the same for my kids.  It was like bringing a “slice of home” back to the dorm room.  I can remember hearing my mom give out this recipe over the phone so many times that I wondered how she could not have had it memorized.  I too have given this recipe out more than any other recipe I possess.  When you take a look at her old recipe and mine, you’ll see what I mean.  They have that well used look.  A slice of this bread goes down very easily.  I always have to watch myself, or I can go through half of a loaf with a pot of tea.  It is also wonderful with cream cheese, like a tea sandwich.  It also freezes very well.  Sometimes I freeze it whole (usually minus the piece that I just HAD to taste), or I freeze it in slices and take out and defrost as desired.

I hope you will try this recipe first,  in it’s simplistic form.  Then please share if you change or add to it in any way.  I’d love to try your version.  Maybe you can convert me.

RECIPE

1 cup sugar

1 egg

1/4 lb. buter

2 cups flour

2 tsp baking powder

1/4 tsp. salt

1/4 tsp. baking soda

3 – 4 mashed, ripe bananas

1.  Cream the sugar and butter (butter should be brought to room temperature).

2.  Add the egg.

3.  Combine all the dry ingredients and add.

4.  Add the mashed bananas.

5.  Put batter into a greased and lightly floured loaf pan.

6.  Bake at 350 for 1 hour, but check after 45 minutes.


banana bread recipes

Chicken Cacciatore – The Real Deal??

Since I posted the recipe for “Grandma’s Chicken Cacciatore” a month or so ago, I have been haunted by the fact that my Grandmother’s (Little Nonni) recipe is really not the traditional way this dish was made. My other Grandmother (Big Nonni) made it in a much different manner. Actually, my memory of her making this dish is of her, as always dressed to the nines, bejeweled and make up on, instructing her spinster daughter on what to do. She would stir the pan every so often just to remind us (and her daughter) that this was HER dish. Oh how they would argue! It was always delicious, and the aroma of it cooking made your mouth water. However, in my house growing up, as well as in my own kitchen, it was only Little Nonni’s version that was made. I had to really dig deep into my memory bank to remember the ingredients she used, as well as consult with several family members. After several trials (without make up and in sweat pants), I think I finally have come up with something that is as close to hers as possible. Chicken Cacciatore is what is considered to be a peasant dish. I believe the reason for so many different recipes for it is that the cook used whatever ingredients she had in abundance. If there wasn’t enough chicken to go around, she would just throw on more peppers and mushrooms to stretch the meal. You can do the same. And if you want this dish to have more panache, put on your finest outfit, jewelry and don’t forget your make up!

I would love to hear which recipe you prefer.

RECIPE

One 3 to 4 pound chicken, cut into pieces
4 TBSP olive oil
One large onion, sliced
2 to 3 green or red peppers, thickly slicked
4 cloves of garlic, sliced or smashed
2 cups mushroom, thickly sliced
4-5 Italian plum tomatoes, from the can, squished
3/4 cup white wine
1 lemon, freshly squeezed juice
2 TBSP oregano
3 TBSP rosemary, fresh is always better
salt and pepper to taste

Rinse chicken and pat dry. Season with salt. Heat 2 TBSP of the olive in a large, heavy frying pan. Brown chicken well on all sides and remove to platter. Add the rest of the olive oil and heat. Then add the onions and cook for several minutes until soft. Now add the garlic, peppers, mushrooms and salt and pepper. Stir well and cook for 5 to minutes. Add the wine,tomatoes, oregano and rosemary. Then put the chicken back in the pan and cover for 5 to 10 minutes. Cover off and cook on low heat for 35 minutes of so, until everything looks cooked through and tender. Add the lemon juice right before it is done and heat through. Should it dry out while cooking, you can always add more wine(my choice always!) or a little water.

Please don’t forget to stir occasionally, just as Big Nonni did.
A Chicken Cacc in pan

A Chicken Cacc in pan close up

A Chicken Cacc plated

A Chicken Cacc plated close up

Sauteed Brocoli Rabe (Be Not Afraid)

Brocoli rabe, sauteed in garlic and oil, is one of my favorite vegetables.  But this was not always the case.  Believe it or not, the broccoli rabe we know and love today was not the brocoli rabe of times past.  While Italian farmers are responsible for bringing broccoli rabe to the States in the early 1920s, the popularity of broccoli rabe did not occur until the late 1960s, and even then, you did not readily find it in supermarkets. My mom used to get it from the vegetable vendor, who came to our street twice a week with a truck full of fruits and vegetables. This broccoli rabe was very different from what we know now. It was very bitter. My mom always bought it when it was available. She cooked it to death to get the bitterness out, and then sauteed it with oil and garlic. Pass the spinach please. This bitter green was not for me. Then in the late 1970s, you started to see this vegetable on menus in Italian restaurants in New York City. Shortly thereafter, there it was, in the produce aisle of most food stores.

I have had many of my non-Italian friends tell me they are “afraid” of brocoli rabe. I get it. I was initially afraid of broccoli rabe myself. I didn’t know what to do with it, and I certainly didn’t want to make something as bitter as I remembered. But this “new” broccoli rabe was different. It was produced on farms in California and did not have that bitter taste. It has taken me a long time to lose my fear, but finally, I see just how simply you need to prepare this vegetable to make it taste absolutely delicious as a side dish to any meal. Sometime I even eat in all alone with a piece of nice crusty Italian bread. My husband tells me that he used to eat broccoli rabe sandwiches in his youth and his friends would laugh at first, and later begged him for a bite.

So I hope these simple instructions will persuade you to make this not so bitter green for your family. Do not be afraid!

RECIPE

2 heads broccoli rabe
4 cloves of garlic, sliced or smashed.
1 tsp red pepper flakes, or more if desired
1/4 cup olive oil

1. Wash brocoli rabe and cut off the thick stems at the bottom.

2. Bring a large pot of salted water to a boil. Add the broccoli rabe. Bring to a boil again and then cook for another minute or two.

3. Meanwhile sauté garlic and red pepper in the heated olive oil.

4. Drain the brocoli rabe, saving a cup of water.

5. Add the brocoli rabe to the pan with garlic, red pepper and oil. Toss well. Add some of the water if you want to moisten it.

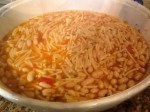
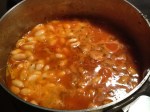
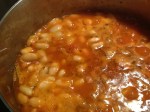
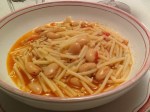
Pasta e Fagioli

I apologize for seeming to be obsessed with beans (fagioli) lately, but it’s winter, and beans make for a hearty meal. I don’t really think about beans as much in the summer. It’s in winter that we want our meals to have a bit more substance and earthiness. And beans do the trick. Besides, who cares about a little bloat in wintertime? You can cover it up better than in the summer, when clothes are skimpier and more is exposed. So please throw caution to the wind, and enjoy another delicious meal made with beans.

Pasta e fagioli (macaroni and beans) was a popular Friday night meatless (if were Catholic…before they changed this rule) meal in my house, growing up. However, it was not a favorite of mine then. My mother often used ceci (Chickpeas) as an alternative in this dish, and then I really wasn’t happy. I think you know by now, that there was not much I didn’t like as a child, but I was never happy to see this dish cooking in the kitchen. It was a favorite of my brother’s, so if you grew up in an Italian family, you know that we had this often. Perhaps beans are an acquired taste that we develop as we get older. Or perhaps, my husband’s recipe for pasta e fagioli is just infinitely better. I could easily make this a Friday night ritual. It is just so good!

RECIPE

1 pound spaghetti, broken into 1 to 2 inch pieces, or ditalini
4 cloves garlic, thickly sliced…use more if you like
1/4 cup olive oil
1-2 cans of cannolini beans or 1 pound dried, soaked and cooked
1/2 cup left-over red sauce or 5 to 6 Italian plum canned tomatoes, squished, of course.
2 tsp. oregano
salt and pepper to taste
red pepper flakes, to taste, if you like.
freshly grated Parmigiano or Pecorino cheese

Put a large pot of salted, water on the stove and bring to a boil. Add pasta and cook until al dente.

Meanwhile saute garlic in the olive oil, being careful not to brown it. This is where you would also add the red pepper flakes, if you are using them. Add the sauce or tomatoes, and cook over low heat for 10 minutes. Now add the beans and oregano and cook for another 5 to 10 minutes.

Before draining the pasta, take out 1 cup of the pasta water and add to the beans.
**Note….it wouldn’t be my kitchen, if my husband ad I were not arguing over a recipe. Here is a case in point. He likes his pasta e fagioli “soupy” and I like mine on the dry side. So if you would like it “soupy”, add another cup (or more) of the pasta water. You can also put some aside now for later use, if needed.

Drain pasta and combine with the bean mixture and stir on low heat for a minute or two. This is a good time to add more pasta water if you feel it needs it.

Serve with freshly grated cheese.

PS I’ll be posting MY recipe for pasta e fagioli soon….before summer!

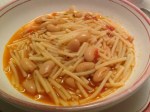
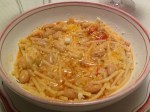
Minestra e Fagioli

Minestra e Fagioli

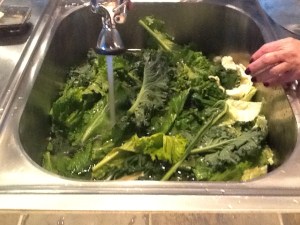
Greens in sink

Greens in sink close up

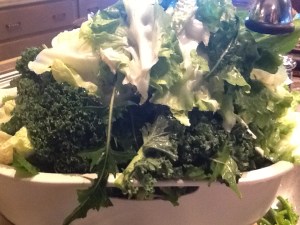
washed greesn

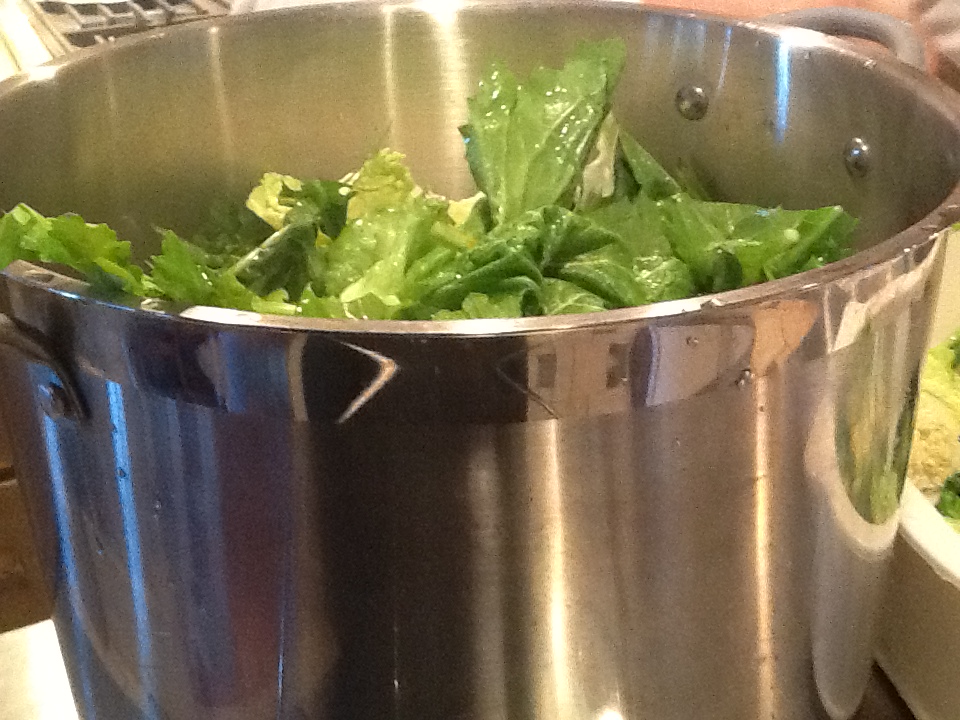
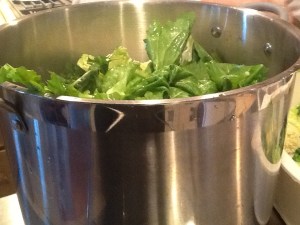
greens in pot

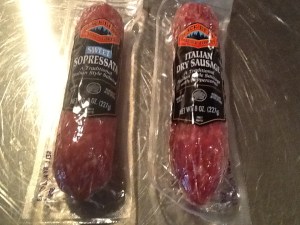
Italian sausages

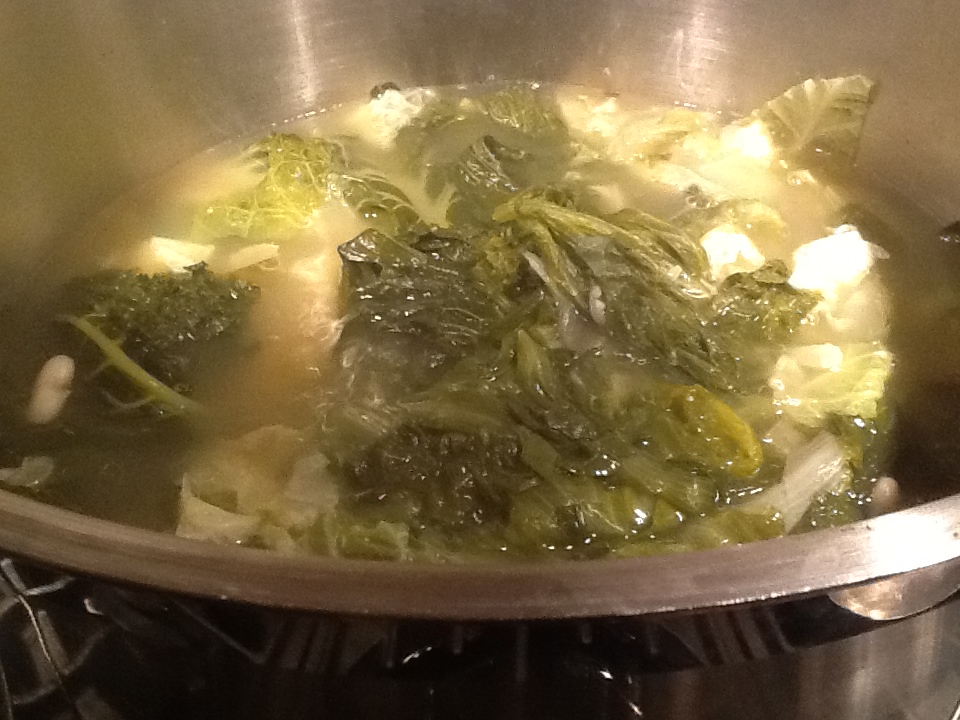
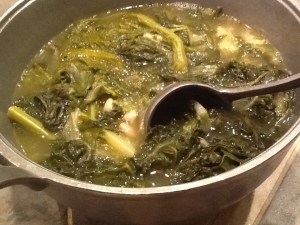
greens cooking

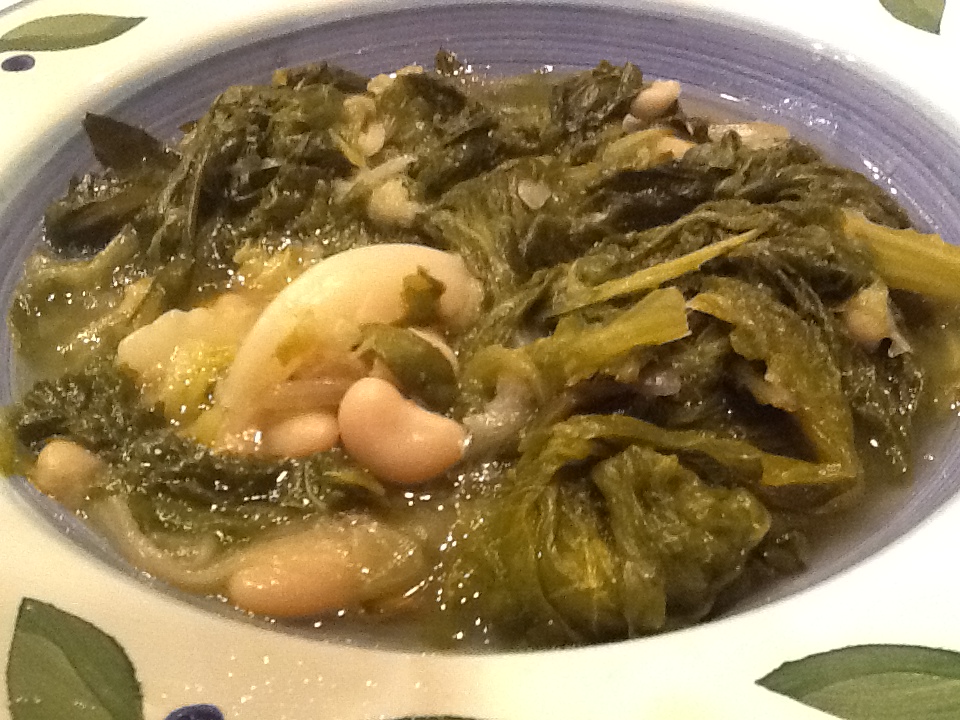
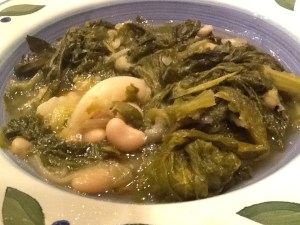
ready to serve minestra

bowl of minestra close-up

bowl of minestra

basket of breadThirty-six years ago, just about to the day of this posting, my cousin, and dear friend, brought me a container of her home-made “Minestra e Fagioli.”   I was just about to give birth to my daughter ( having Braxton Hicks contractions), and I was confined to our apartment.  It was the coldest and iciest January on record, and the year was 1977.  My doctor did not want me to go out and perhaps fall on the ice that covered the sidewalks and roads.  It was a freezing January day, much like we are having now, and I was feeling anxious.  I was so happy that my cousin was going to come over and keep me company.  I knew she would soon have me laughing, and I would forget my nervousness, if only for a while.  She had an 11 month old son and a two year old son, so I was looking forward to talking about labor and the thrill of having a baby. She arrived at my door, covered in snow and with a container of what she referred to as her grandmother’s ( on her dad’s side…we were related through our mothers) recipe for “minestra e fagioli.”  Now this dish was new to me.  I don’t believe I had had anything like this before, but after all, not all Italians made the same dishes.  This was obviously from her father’s side of the family.  I was addicted to savoy cabbage, cooked in garlic and oil, for this entire pregnancy, so this container looked like manna from heaven to me.  I think I hung up her coat, but all I remember is rushing to the stove to heat it up.  I was salivating just looking at it in the pan.  We sat down to a delicious lunch and laughed and laughed….something we still do to this day.  I was thrilled that there was so much left over. I already knew I was going to eat it again for dinner.

I did indeed eat it again for dinner, and went into labor the next day.  Was it the minestra?  Or was it just time?

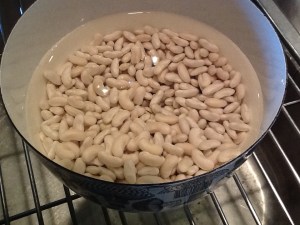
So for the past thirty-six years, I have been asking my cousin for the recipe, but to no avail.  Her answer has always been that she did not have a recipe.  She learned how to make this dish watching and helping her grandmother.  Her jobs were to pick the stones out of the soaking beans and rip the leaves of all the greens into large pieces, as her grandmother believed that cutting them with a knife destroyed the vitamins.  Who knows, this could be true.  For the sake of argument, we will “rip” while making this recipe.

I knew that the only way I would get the true picture of how to make this dish, was to watch my cousin myself.   On this frigid January day, thirty-six years later, I went to her house and documented the entire procedure.  I would like to share it with you now.  Please, if you are pregnant, eat at your own risk!

Minestra e Fagioli

1 pound Cannolini beans, rinsed and soaked overnight or 6 to 8 hours.

1 large head escarole, leaves ripped to medium size

1 medium savoy cabbage, ripped

1 bunch Kale, ripped

1 bunch Swiss chard, ripped

1 bunch mustard greens, ripped

1 bunch dandelion greens, ripped

1/2 Italian dried sausage, cut into 2 large chunks

1/2 Italian Sopressata, cut into 2 large chunks

2 vegetable bouillon cubes or 2 quarts of vegetable broth

3 cloves garlic, chopped

1/2 cup olive oil

** any combination of greens will do.  You do not have to follow this exactly.  Use what looks good at the market.  Also, if you want to make this a vegetarian meal, skip the sausage, and maybe add a little more bouillon or broth for flavor.  If you have an old rind from Parmesan or Pecorino cheese, just throw that in as well for flavor.  I always save old rinds for this purpose.

Soak the ripped up vegetables in a large pot or sink filled with water. Drain several times and repeat to get dirt or sand off.

Drain the beans. Cook them alone first in a large pot, with approximately 6 quarts of water, with the bouillon or broth added. Cover and bring to a boil. Cook until beans have softened, about 15 minutes. Now add the greens. Once again, cover and bring to a boil. Add the dried sausage and sopressata and rind if you have it. Then lower heat to a simmer and cook, covered, for approximately 1 hour and a half to 2 hours, stirring occasionally.

Saute the garlic in the oil in a small saucepan. Once the greens and beans are cooked, take out as much broth (save it…it will be delicious on it’s own) as you want. I like this dry, but some people like more broth. After you have removed the broth to your desire, add the oil and garlic. Stir well.

Serve with freshly grated Parmesan or Pecorino cheese and the best Italian, crusty bread you can find.