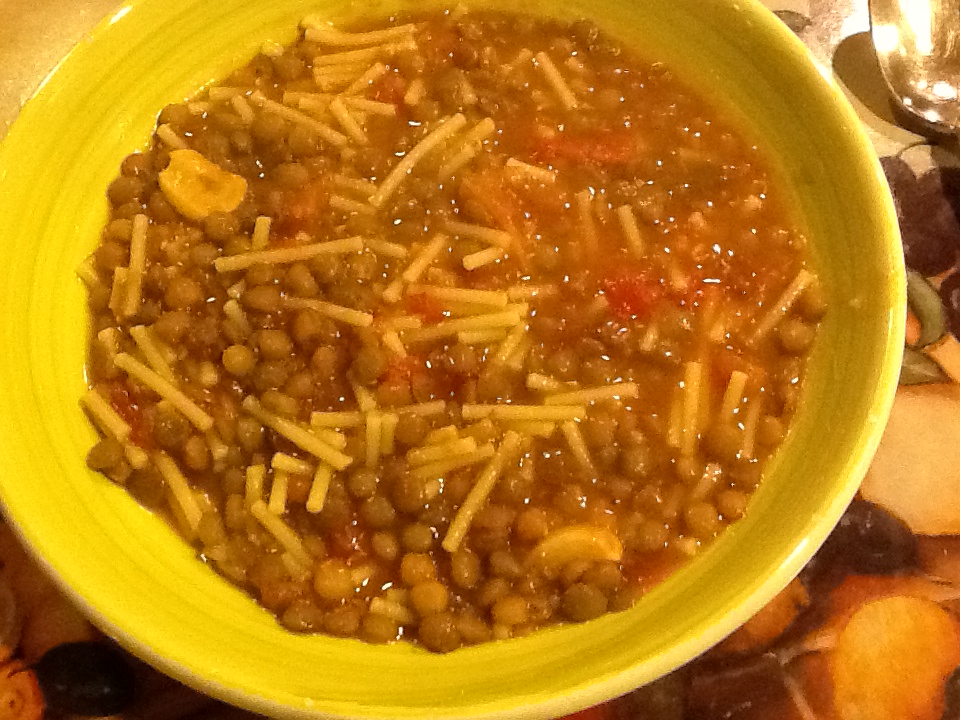
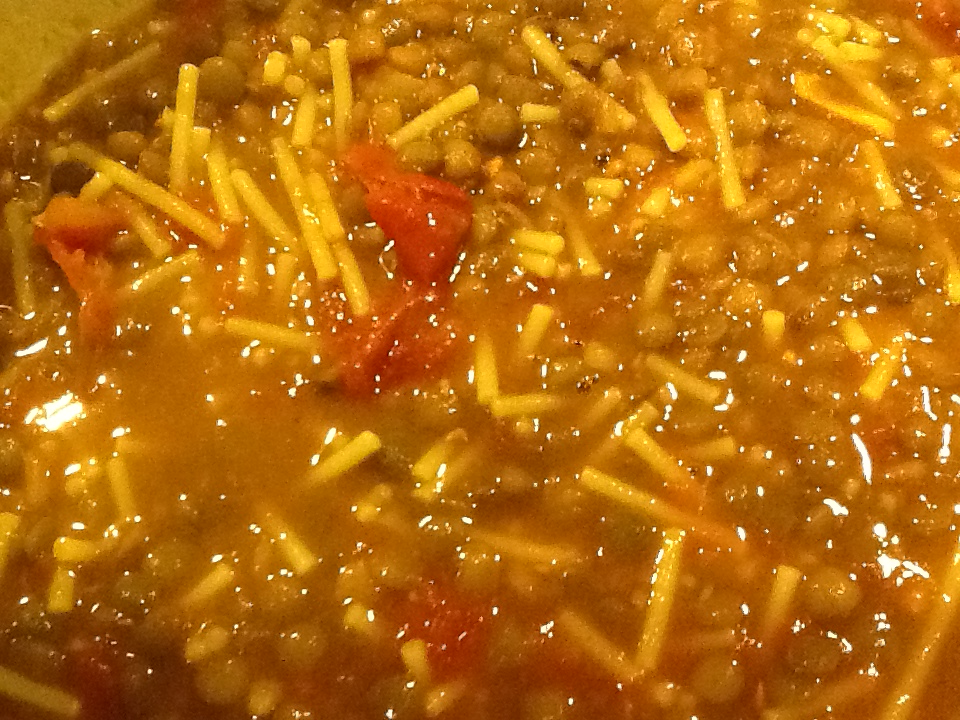
Lentil Soup / Lentils and Macaroni

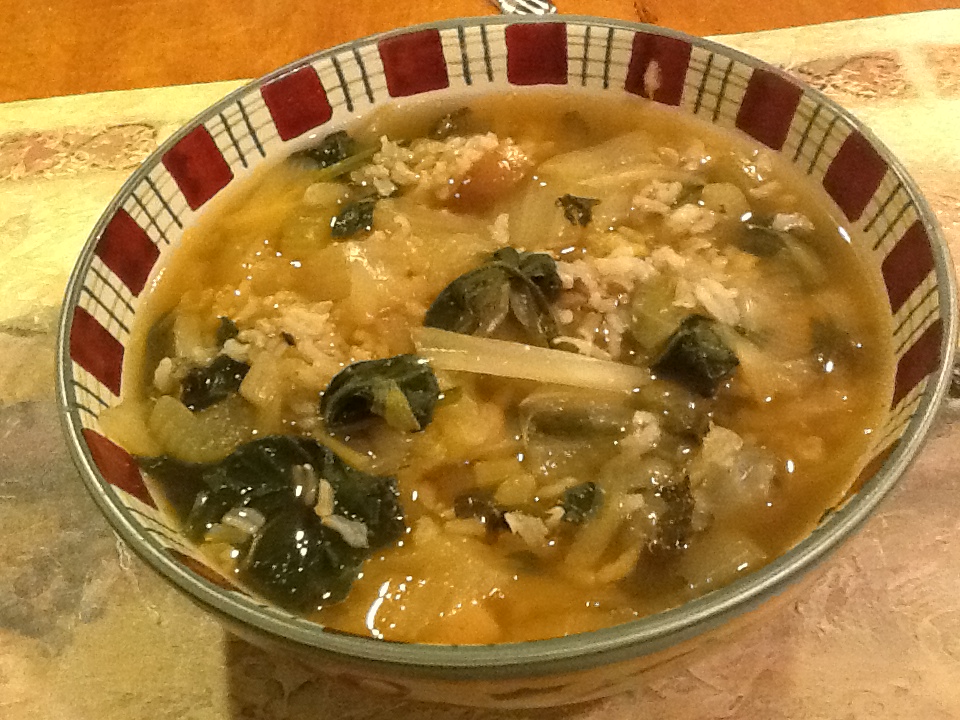
Oh dear, I am 23 days late with this “good luck” dish.  I am hoping that “better late than never” will apply here.  You see, lentils on New Year’s Eve or New Year’s Day (my family has always been loose with some traditions so we usually give ourselves a day or two to carry out the deed), is said to bring good luck.  Well at least this is so for Italians, and I believe it is so for a few other countries, such as Brazil and Germany, but perhaps others.  The lentils are symbolic of coins, so I believe this “good luck” is tied to financial matters.  No difference to me…good luck is good luck, and I will take it in any form.  While I was in bed with the flu this past New Year’s Eve, my sister-in-law was nice enough to make this for my husband (his family adheres strictly to these traditions), so at least I feel good about the fact that he will have good luck.  Isn’t his good luck, my good luck anyway? I think that is what marriage is all about.

But now, what about me and my good luck (which is also his)?  I think that an exception can be made since I was sick for some time this January.  So I just wanted to get some lentil soup made as soon as I felt well enough. I don’t mean to make this superstition yours (after all, most traditions are superstitions), but if you want to join in and get some good luck, or just want to enjoy a delicious soup, give this recipe a try.  

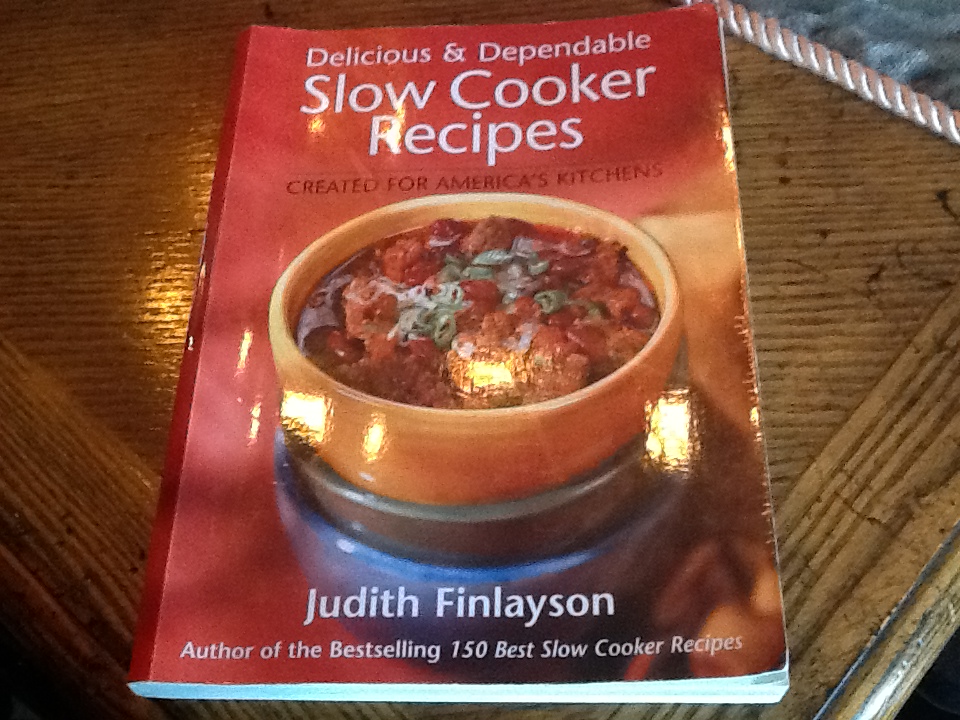
This is a slow cooker recipe, which comes from a cookbook by Judith Finlayson.  You can certainly adapt it to stove top cooking.  It would probably need to cook for 2 hours or so…until the lentils and veggies are soft.  I don’t have a lentil soup recipe from my mom because the only soup she made was chicken soup, as you already know.  We had lentils, it was not soup, but lentils cooked with tomatoes and served with macaroni…usually small elbow macaroni.  I still make this recipe (and I will post it here for you as well) but I have never been a big fan of elbow macaroni.  I use cut up spaghetti in this recipe.  If you want this recipe to be soupier, just add some vegetable broth or more juice from the tomatoes.

Good luck……literally!!


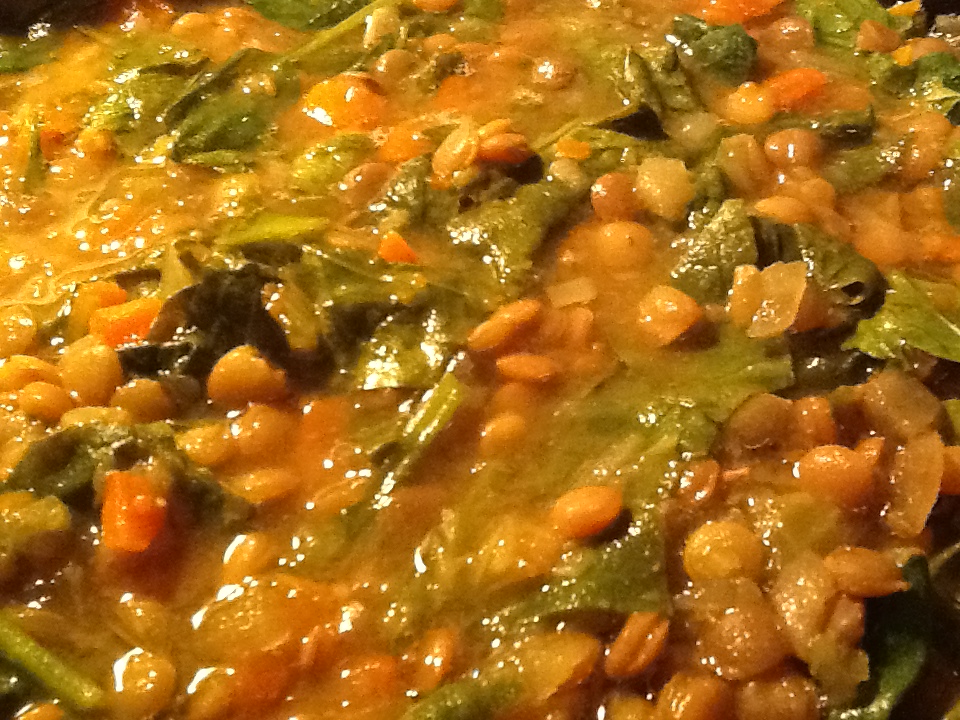
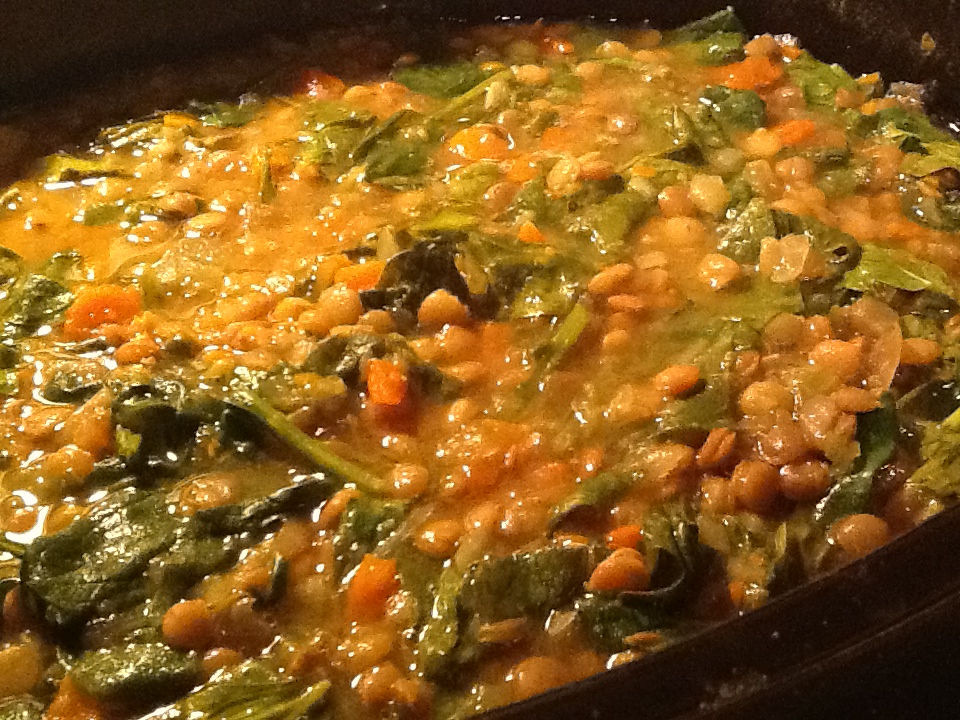
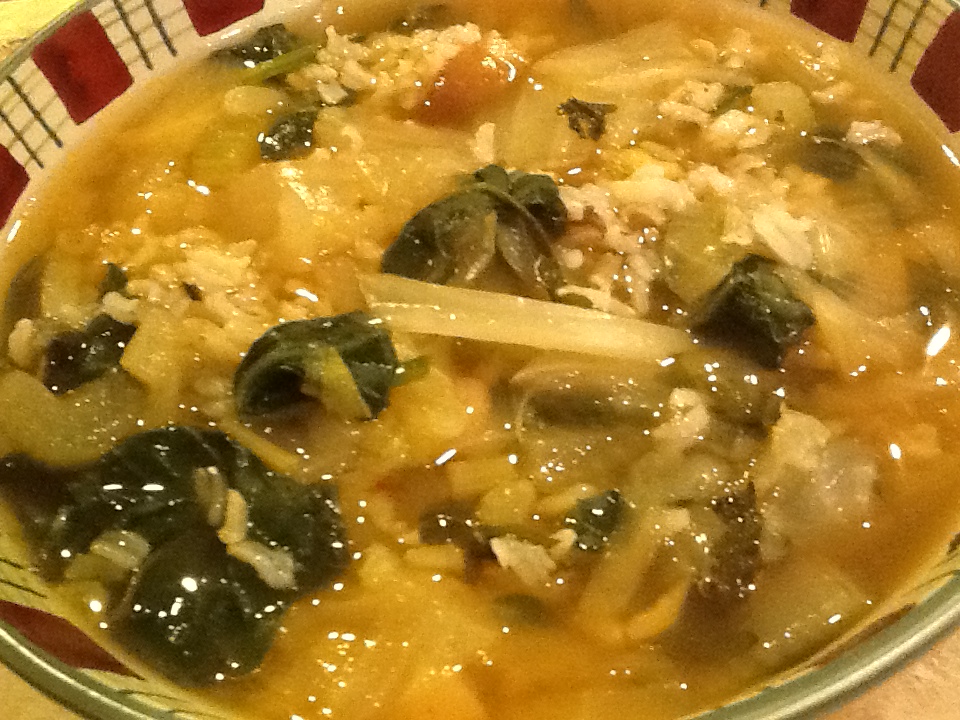
Slow Cooker Mediterranean Lentil Soup with Spinach

1 cup green or brown lentils

2  onions, chopped

2 stalks celery, chopped

2 large carrots, peeled and chopped

1 potato, peeled and grated

1 clove garlic, minced

1 tsp. Cumin seeds

1 tsp (I like 2 tsp) grated lemon zest

6 cups vegetable or chicken broth

1 pound fresh spinach leaves or 1 package  (10 oz.) spinach, washed and coarsely chopped

2 Tbsp (I use 1 whole lemon)  freshly squeezed lemon juice

——

1.  In a colander, rinse lentils thoroughly under cold running water.  In a slow cooker, combine lentils, onions, celery, carrots, potato, garlic, cumin seeds, lemon zest and broth.

2.  Cover and cook on Low for 8 to 10 hours or on High for 4 to 6 hours, until vegetables are tender.  Add spinach and lemon juice.  Cover and cook on High for 20 minutes, until spinach is cooked and mixture is hot and bubbly.

ImageImageImageImage


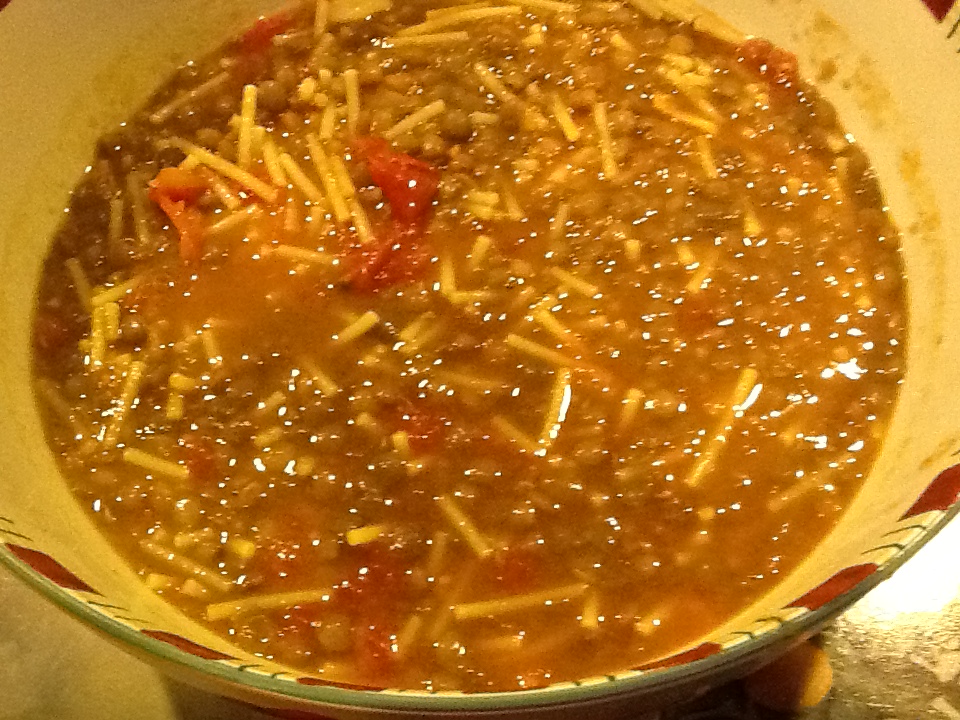
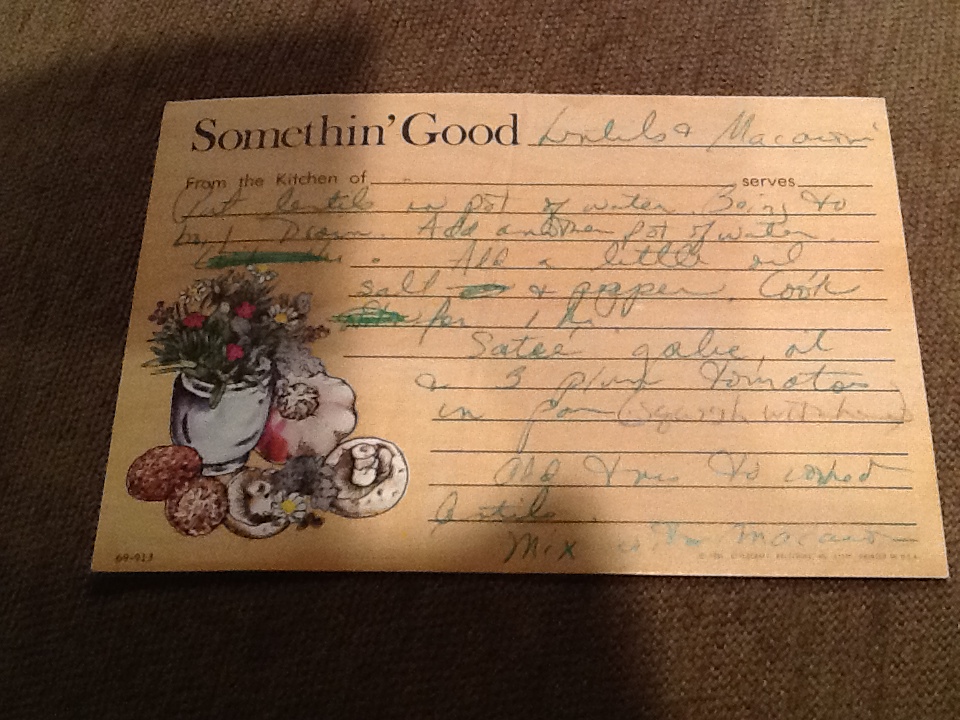
Mom’s Lentils and Macaroni

1 pound of lentils

1 small can (1 pound 12 ounces) Italian tomatoes with Puree

1/4 cup olive oil

2 cloves garlic, sliced

1/2 pound macaroni

salt and pepper

freshly grated Parmesan cheese

Fill large pot with lentils and water.  Drain after a few minutes, then fill again with water. Add about a Tbsp of salt and cover and let come to a boil.  Lower flame, leave it covered and cook for 1/2 hour.

In a saucepan, add 1/4 cups olive oil and sauté the garlic.  Add the tomatoes (squish in your hands, of course), salt and pepper to taste.  Cook this for 15 minutes, then add to the lentils and simmer for another 15 minutes.

Bring slightly salted water to a boil and add the macaroni.  I like spaghetti, broken into small pieces, but any small pasta(including elbows) will do.  Cook until al dente. Then drain and add to the lentil mixture.

Serve with freshly grated Parmesan cheese.
ImageImageImageImage

The Carbonara Controversy….Rigatoni or Spaghetti

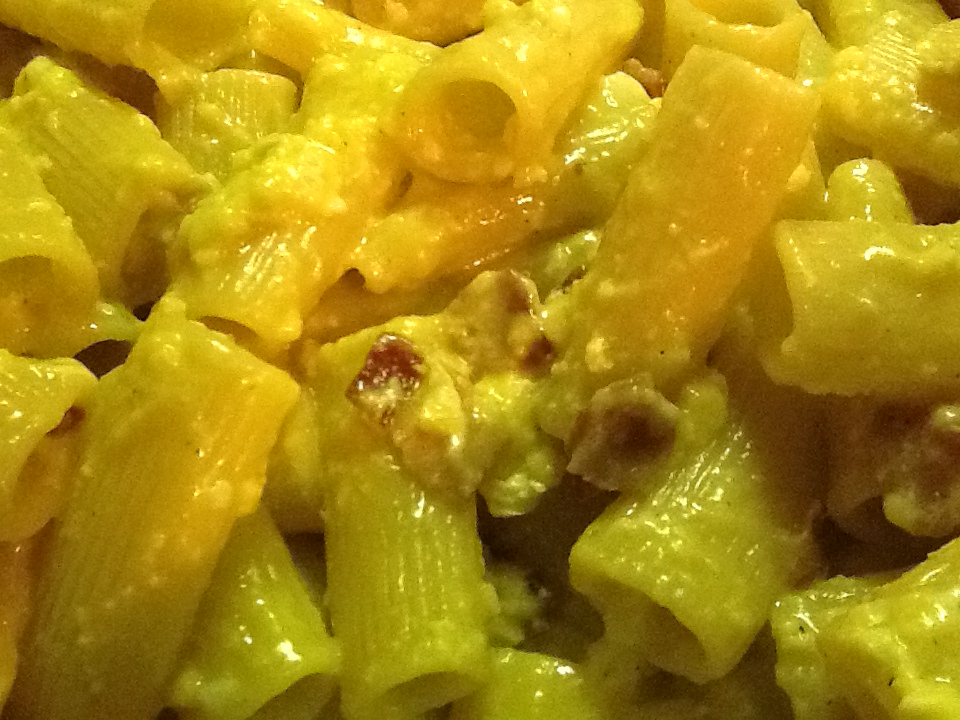
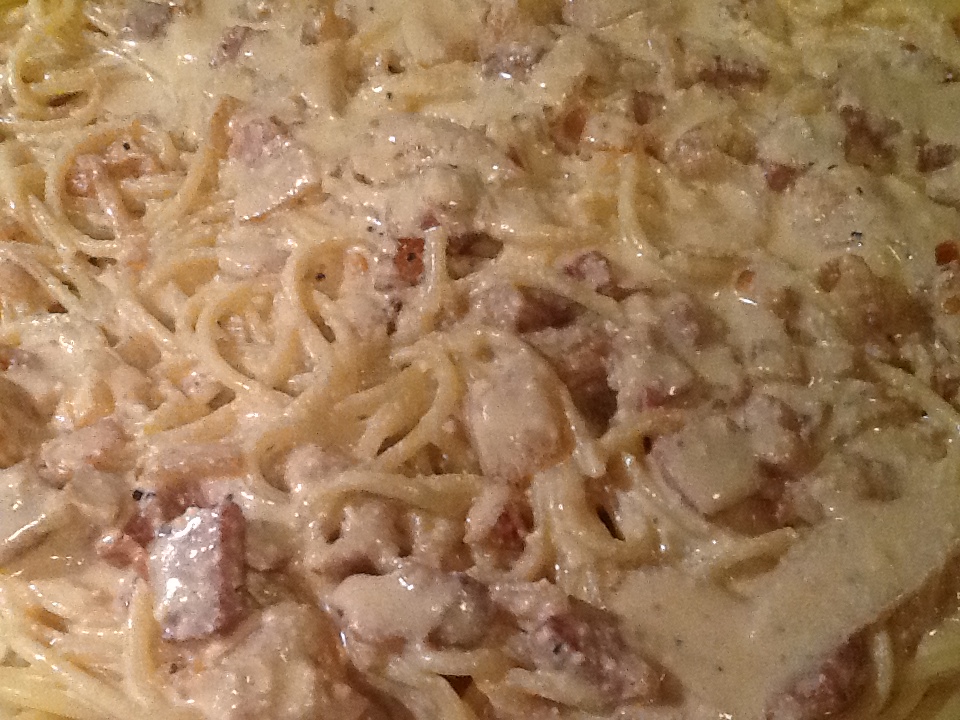
ImageIf you are an aficionado of Italian food, or have spent any time in my kitchen, you are probably involved in what I call the “carbonara controversy.”  There are two issues in question here.  1.  Do you use rigatoni or spaghetti?  2. The ingredients.  

My husband and I have been arguing (not heated, but arguing non the less) for many years over these issues.  He believes (and wrongly so) that his recipe is how they make it in Italy.    My recipe ( the authentic one) comes from the1969 cookbook by Ada Boni entitled, “Regional Italian Cooking.”  I believe this cookbook to be one of the first authentic Italian cookbooks to come to The United States.  It was given to me by my aunt and uncle in the mid seventies.  My uncle had been making carbonara for many years and this was his recipe of choice.  Needless to say, I think of him every time I make this recipe.  For him, and his family, this was a great snack before bed.  For my children, this was a great late morning breakfast that I would make for them on weekends, especially when they were home from college.  It was always the main request from my starving college students.  It is comfort food and beyond. So you can see that I am emotionally attached to this recipe.  And besides, Ada Boni rules!!  Her cookbook is amazing, but out of print now. If you are a cookbook collector, as I am (I am going to have to put an addition on my kitchen just for my cookbooks), you will want to try to get your hands on a used copy of this cookbook.  

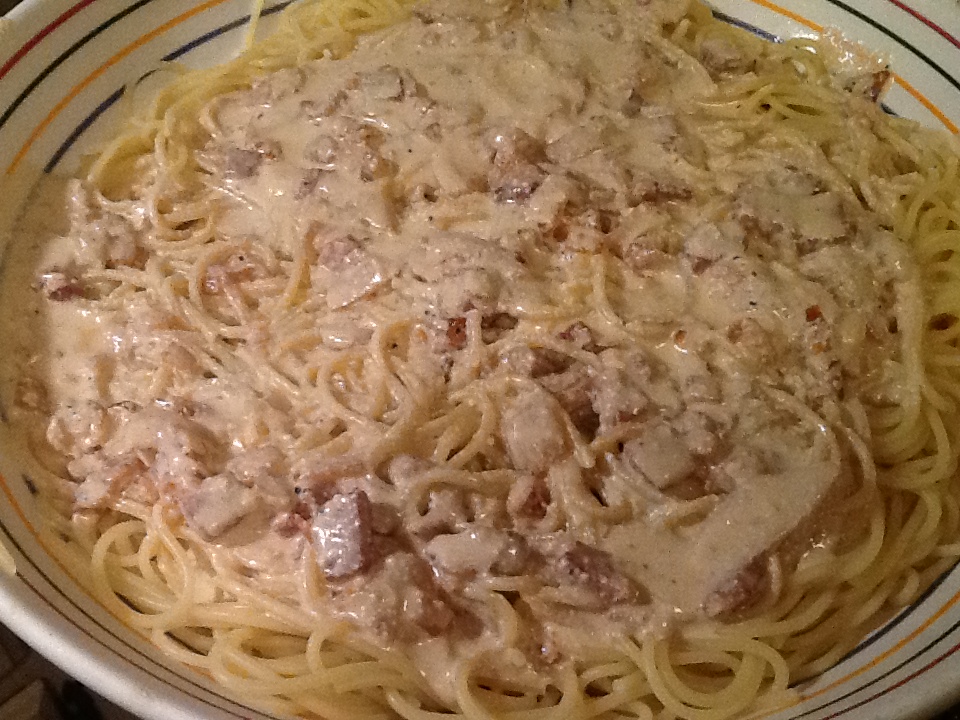
Now my husband’s recipe, which is absolutely delicious, by the way, comes from his brother who lives in Italy.  Does that make it authentic?  I’m not so sure.  But why should we care when it tastes as good as it does?  He uses spaghetti, and I use rigatoni.  My recipe calls for eggs, and he uses no eggs.  He uses heavy cream and ricotta cheese, and I use neither.  I use American style bacon (this is what Ada calls for, but she probably used pancetta, which was impossible to find in the US in 1969), and he uses pancetta and prosciutto.  I use garlic and he uses onion.  

Do you see what I mean?  These both cannot be Carbonara recipes.  I say mine is the true carbonara recipe, as dictated by Ada Boni.  But I will say that both these recipes are absolutely scrumptious.  So please try them both and let me know what you think.  I would love you to weigh in on the controversy.

After many years of being caught in the crossfire, my son finally decided to weigh in with his opinion.  He feels that my carbonara is good for lunch or a snack of sorts, and my husband’s is more for dinner.  Traitor!

Rigatoni alla Carbonara ( Ada Boni)

4 tsp. olive oil  (sometimes I use a bit more, depending on how fatty the bacon is)

5 ounces bacon, diced  (approximately 5 strips of bacon)

1 clove garlic, crushed

salt

1 1/4 pounds rigatoni

5 eggs 

5 Tbsp. grated Parmesan cheese

5 tablespoons grated Pecorino cheese

pepper

Heat the oil and sauté the bacon and garlic.  As soon as the garlic is browned, discard it.  Bring a large pan of salted water to a boil.  Cook the rigatoni until tender but still firm (al dente).  

Meanwhile, beat the eggs thoroughly in a large shallow pan with a pinch of salt, the Parmesan and Pecorino cheeses, and plenty of freshly ground pepper.  Do not heat.  

As soon as the rigatoni are tender, drain them and add them to the pan with the egg mixture.  Add the bacon, with it’s cooking fat and then cook on a very low heat, stirring constantly, for a couple of minutes to heat the eggs through.  Serve immediately.

She does state at the end of her recipe that “spaghetti is frequently served “alla carbonara.”   But first, please use rigatoni……for the sake of the controversy at hand.ImageImageImageImageImage


Spaghetti alla Carbonara (sort of)

1 onion, chopped

1/4 pound  thick pancetta, cubed

1/4 pound, 1/4 inch thick prosciutto, cubed 

2 Tbsp. olive oil

1 pt. heavy cream 

1 cup ricotta 

1/3 cup Parmesan cheese

pepper

1 1/2 pound spaghetti

Saute the onion, pancetta, and prosciutto in olive oil in a frying pan.

Meanwhile, bring a large pot of salted water to a boil.  Add the spaghetti to the boiling water and cook until al dente.

In large saucepan, combine cream, ricotta, Parmesan cheese and freshly ground pepper and bring to a simmer over a low heat for no more than 10 minutes….just until heated through.

When pasta is done, drain and put in a large pasta bowl.  Pour the cream/ricotta mixture and the pancetta/prosciutto mixture over the spaghetti and toss to combine.  Add more Parmesan cheese, if desired.

ImageImageImage

Enjoy and please let me know your thoughts.  He can take it !!


Pinwheel Cookies

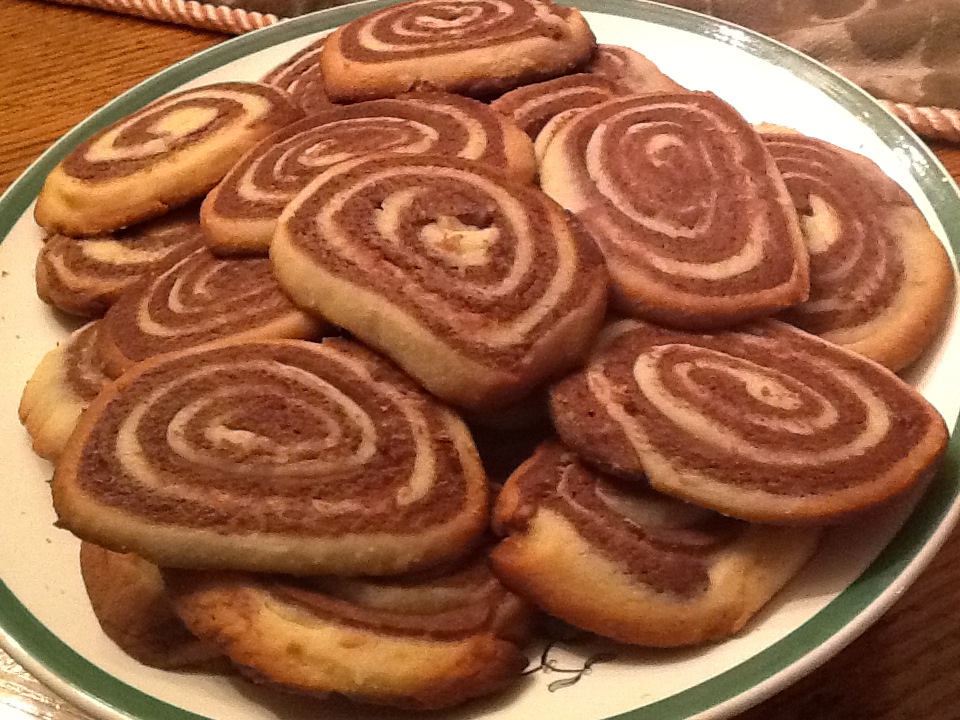
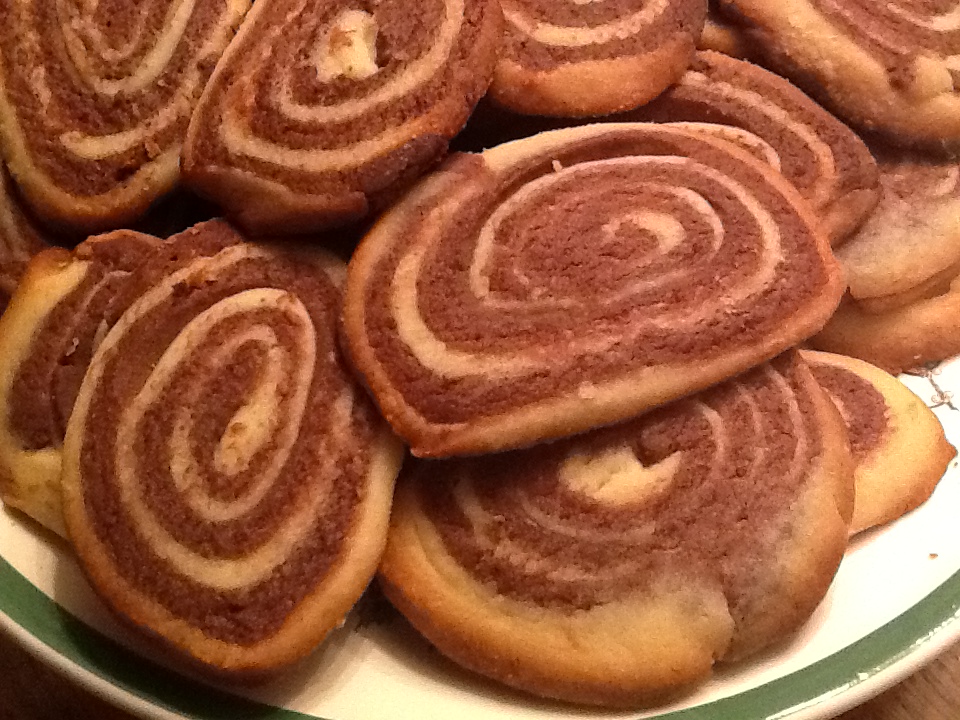
Only 12 days into the new year, and all those resolutions to cut out sugar, and here I am posting a cookie recipe.  I apologize.  I just don’t want to forget about this easy and delicious cookie recipe.  It is fun to make.  Kids especially love to get involved in transforming half the dough into a yummy chocolate color and then rolling the two different colored doughs out, one on top of the other.  For some reason, growing up, we only made this cookie recipe at Christmas time.  I then, carried on this nonsensical tradition with my family, even though they don’t even look like Christmas cookies and are delicious any time of the year.  I cannot find my mom’s original recipe, but I can still see the page that was ripped from a1960’s Good Housekeeping or McCalls magazine with the recipe and a picture of these cookies….and it was not Christmas time. For 50 plus years, these cookies were never seen again for another 12 months.  Funny.   So I am adding this to my New Year’s resolutions…..I will make Pinwheel Cookies all throughout the year.  I hope you will too.  They are especially yummy with a cup of hot cocoa on a cold winter’s day. 


Recipe

3/4 cup butter

1 cup sugar

2 eggs

1/2 tsp vanilla

2 1/2 cups flour

1 tsp. baking powder

1 tsp. salt

2 squares ( 1 oz. each) unsweetened chocolate, melted

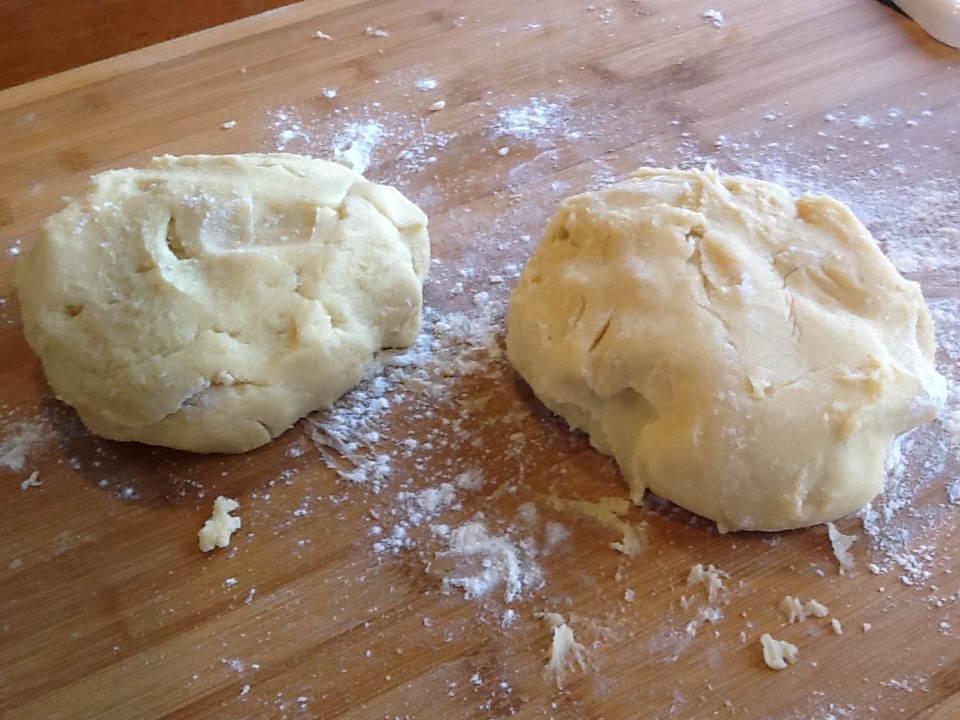
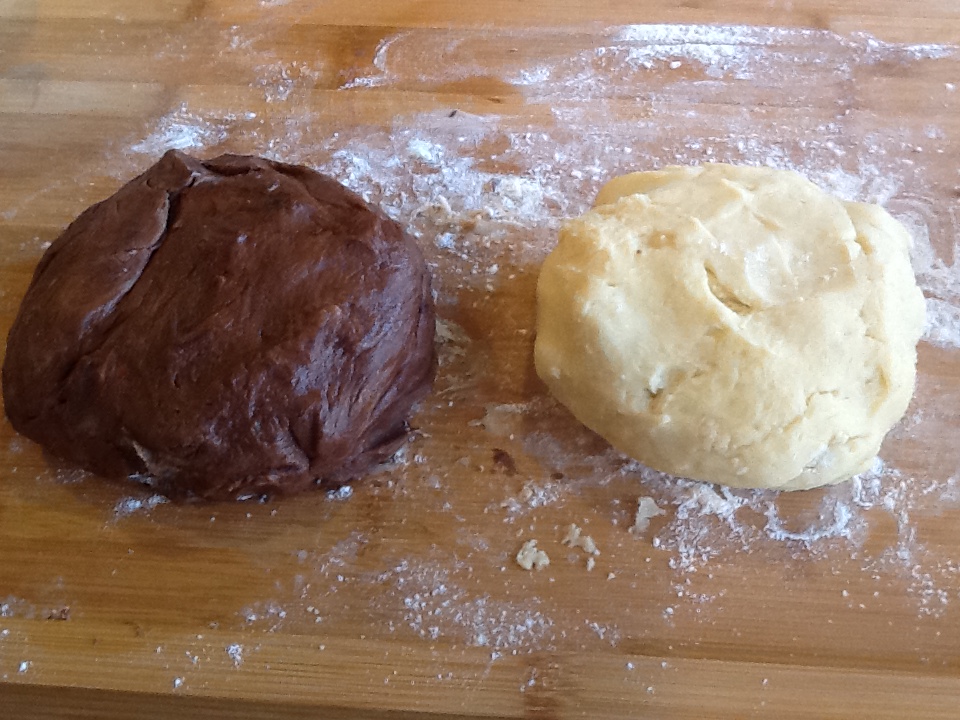
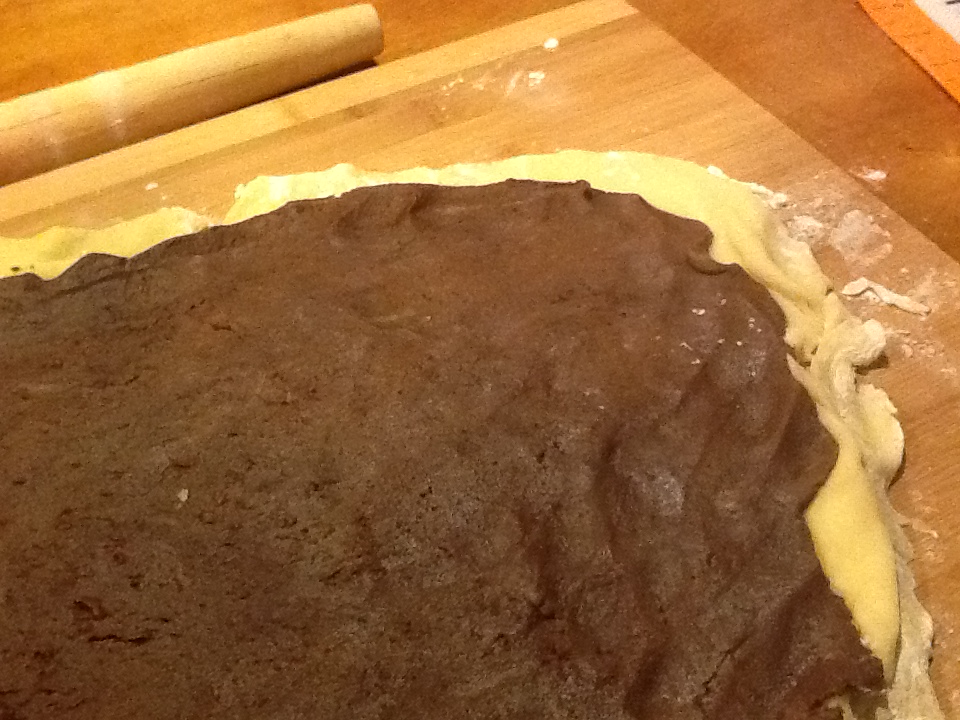
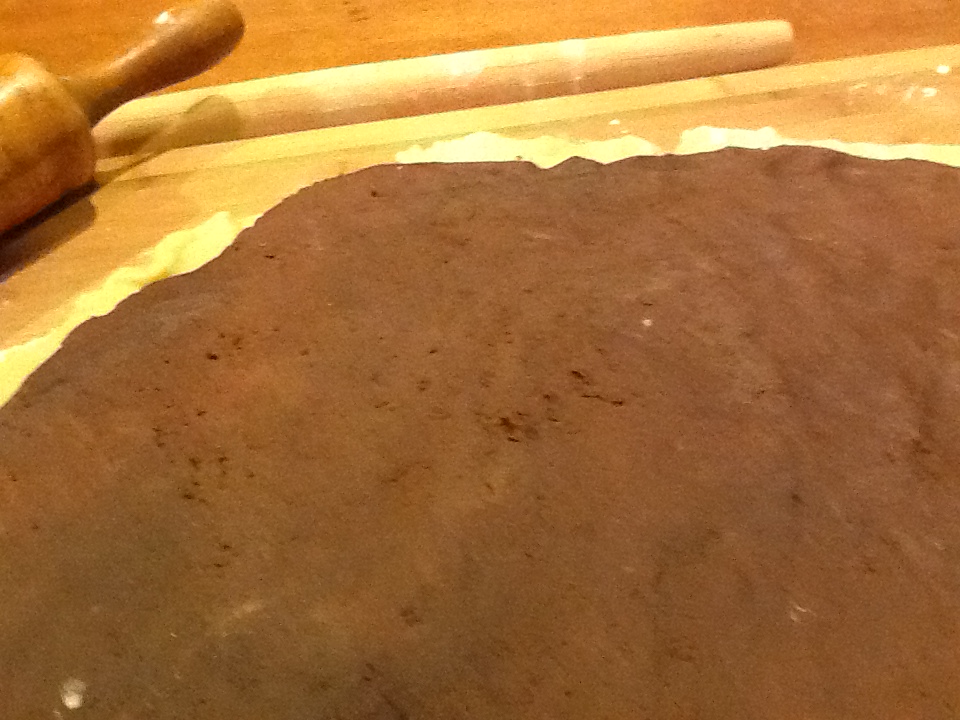
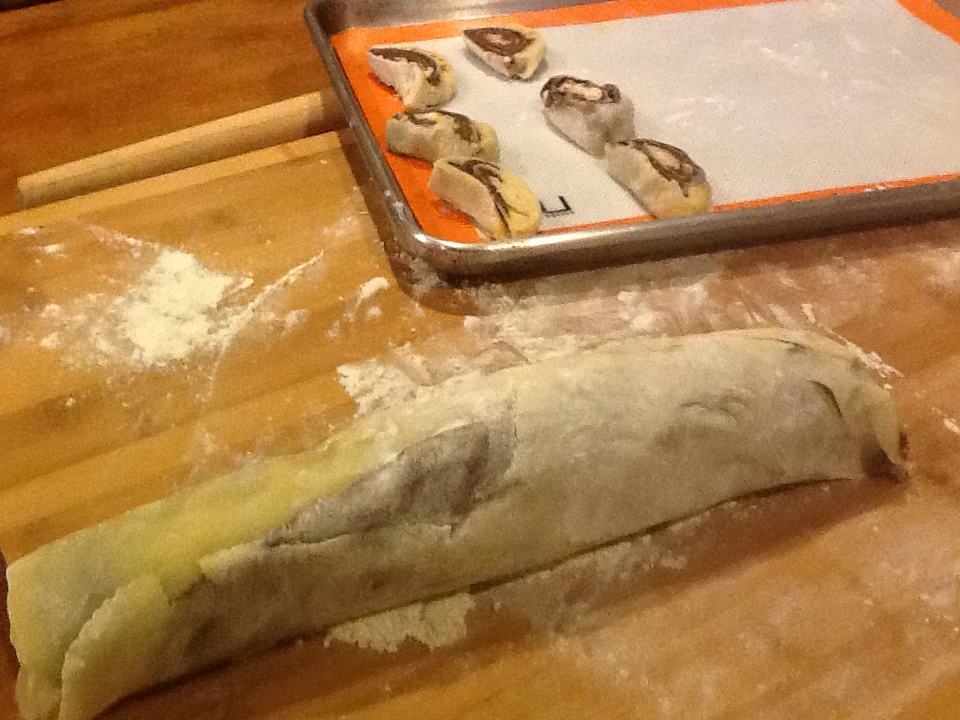
Combine all ingredients, except the chocolate and form a dough.  Split the dough in half to form 2 separate balls of dough.  Make it as even a split as possible. Add the melted chocolate to one of the balls of dough and mix well.  Now you will have one chocolate and one plain.  Roll out the plain dough first, then roll out the chocolate one on top of it.  Roll together tightly.  Cover in plastic wrap and refrigerate for 4 to 5 hours or overnight.

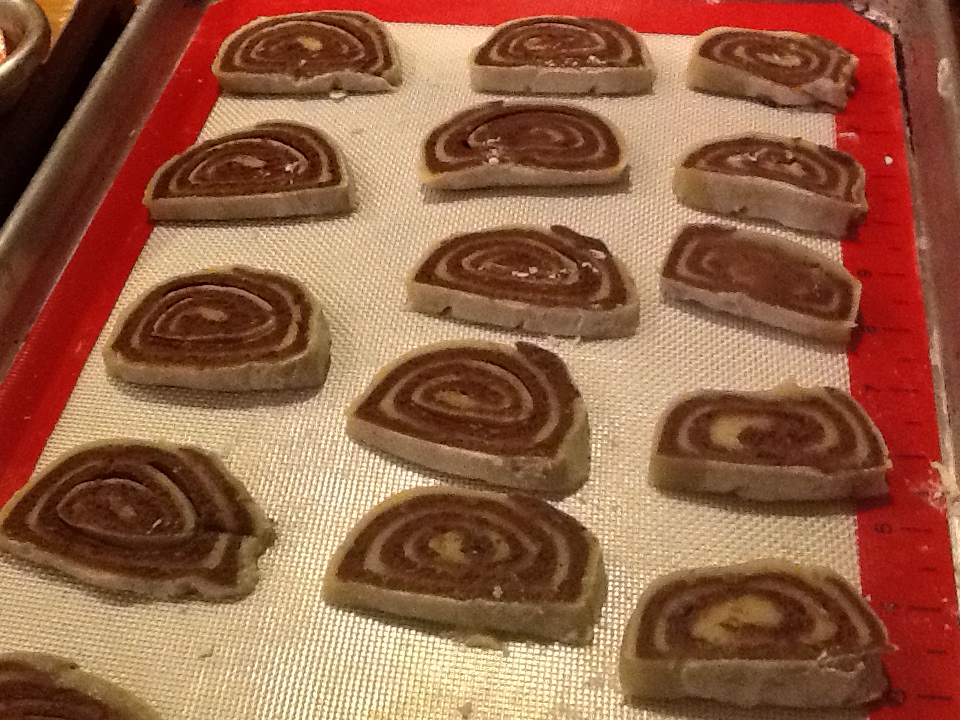
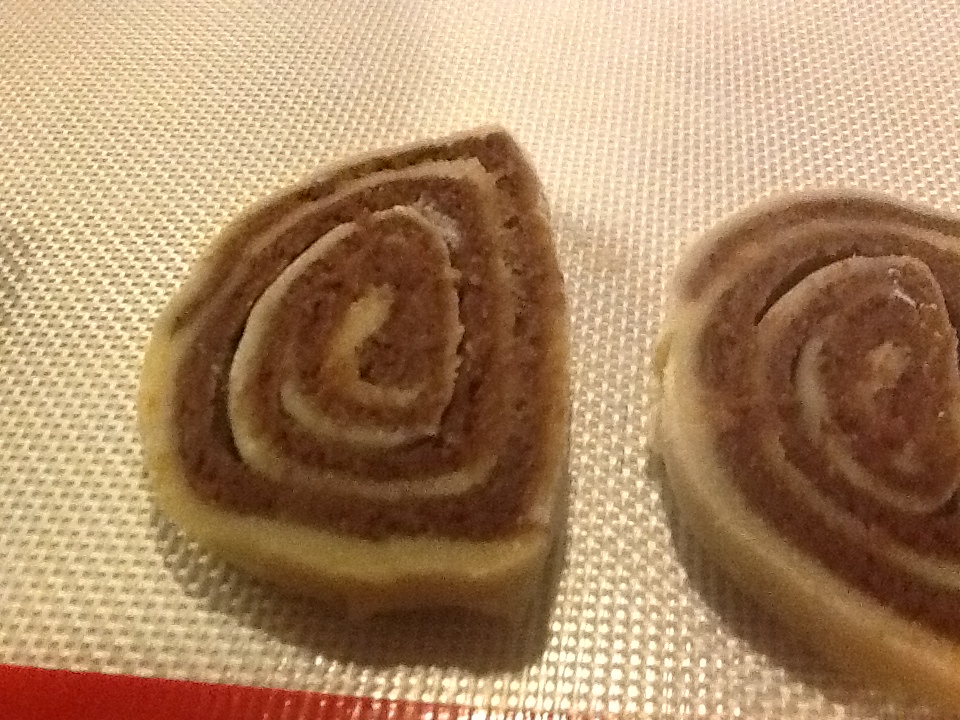
Cut into 1/2 inch slices.

Bake at 400 degrees for approximately 8 minutes.


ImageImageImageImageImageImageImageImageImage

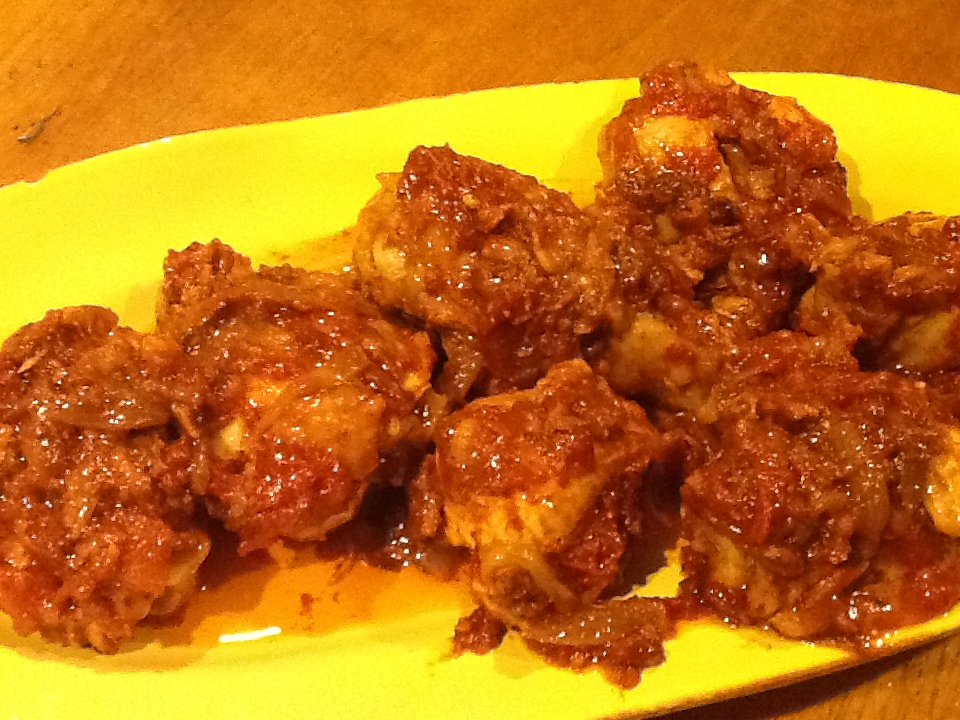
Grandma’s Chicken Cacciatore

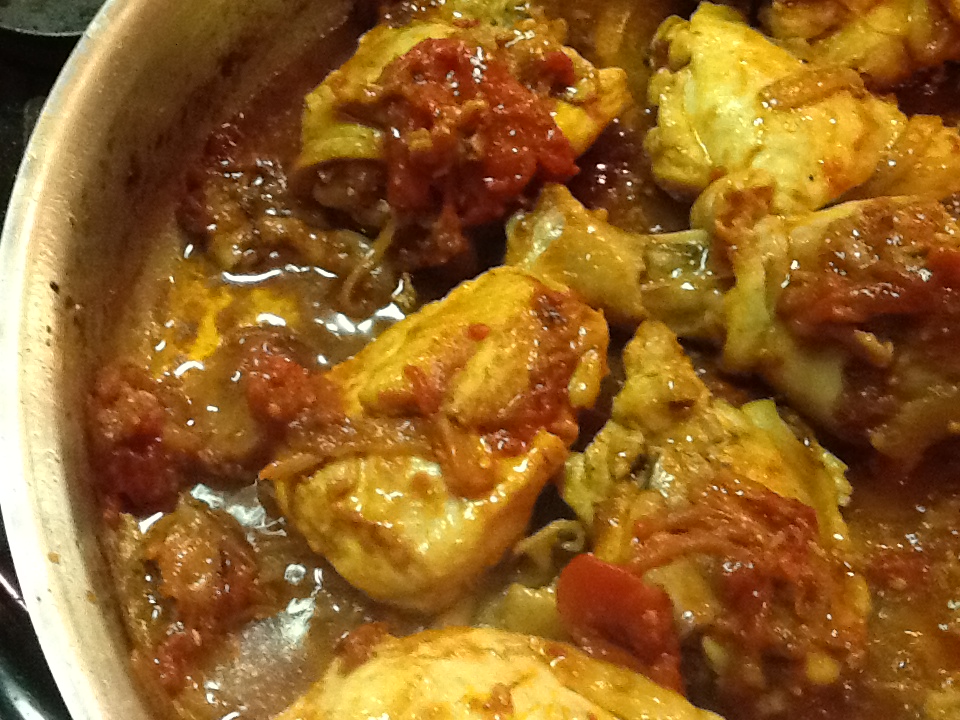
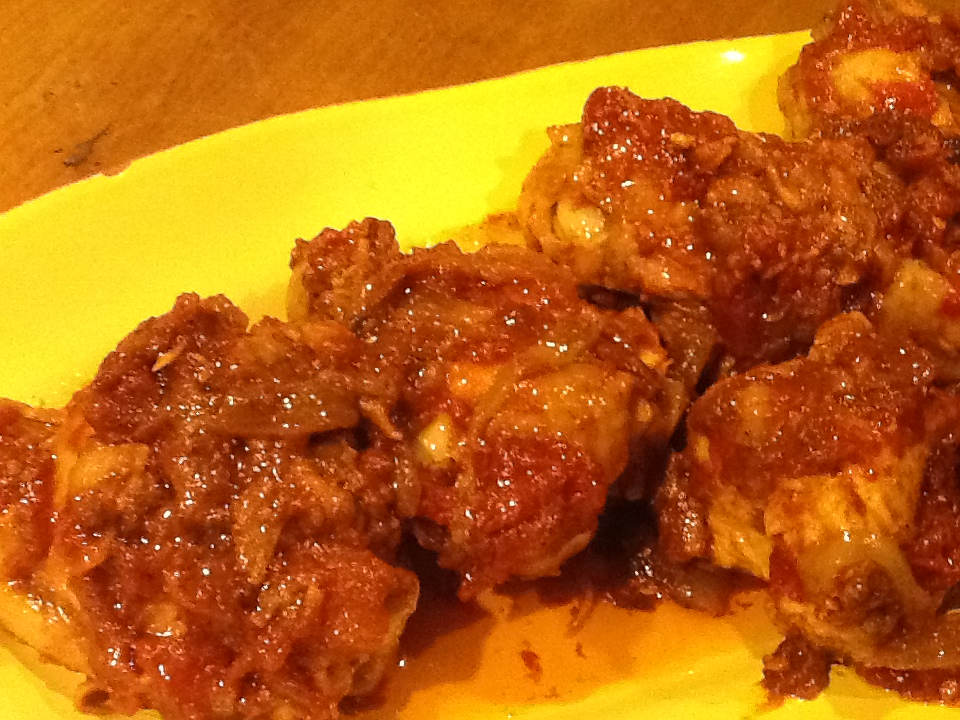
There are many different renditions of chicken cacciatore, all using a variety of different ingredients.  I have tried many of these varied recipes, but I always come back to this very simple and delicious version that my grandmother (little Nonni) used to make.  I have tried very hard, for many years, to achieve the exact taste of her’s, but somehow I always fall, ever so slightly, short.  I know her secret ingredient (to be revealed later), but I still always miss the mark.  After hundreds of attempts, over many decades, I have decided to blame it on the chickens.  Yes, the chickens.  They are different now, in taste, as well as in appearance.  While I wasn’t looking, the chickens got bigger over the decades.  They are pumped with hormones, so they are huge, and the taste is just not the same.  While we have recently moved to more humanely raised, free range, organic, local chickens, there is still a difference.  So the way I get this recipe as close as possible to what I remember is to buy a chicken that is as close as possible to what we ate decades ago.  I stay away from the brands that use hormones, etc. to plump up their chickens, and I buy the smallest pieces I can find.  Also, use the heaviest skillet you have. She used a big black cast iron fry pan that probably weighed as much as she did.  

The thing about this recipe is the smell of the chicken cooking with all the flavors.  It really is very distinct.  We could smell this wondrous aroma when walking up the stairs to their apartment.  I was under 8 years old but I still remember the excitement I felt, climbing the stairs and praying that it was indeed the smell of her chicken cacciatore.  We would burst into the apartment and run to the kitchen to see that big, black pan on the stove with those succulent pieces of chicken, just oozing with juices amidst pieces of tomato, bacon and onion. Sometimes she would sneak me a small chicken wing just to see my delight.  This is what she lived for….to see her family smile with happiness while enjoying the food she had cooked for us.  I really think that she loved me because of my love of her food.  She once gave me a standing ovation at the Sunday dinner table because I ate a dozen of her homemade ravioli (they were small).   Did I mention that I was an overweight child?  Did I need to mention it?  What 8 year old remembers the smell of chicken cooking with tomatoes and bacon and onions and nutmeg (the secret ingredient)?  Once I discovered boys, several years later, the only choice I had was to fake stomach aches so that she did not expect me to eat so much.  I could not disappoint her by saying that I was on a diet.  I don’t know if there even were “diets” back then, and I certainly don’t think there was a word for it in Italian.  Anyway, better for her to think I was sick than to think I was denying myself of her food.  

I hope you will try this recipe, and breathe in the luscious aroma while it cooks on the stove.  


Recipe

1 chicken cut into small pieces

1/2 large onion, sliced

4 slices of bacon, sliced or cut in cubes

grated fresh nutmeg

1 small can Italian plum tomatoes 

salt and pepper to taste

3  to 4 Tbsp. olive oil


Saute the sliced onion and bacon in the olive oil in a heavy skillet for a about 5 minutes.  Add the chicken pieces and brown.  Lower heat and cook for 20 to 25 minutes, turning often.  While cooking, add lots (thats the best I can do, sorry) of grated fresh nutmeg while the chicken is cooking.  Then add 4 of 5 handfuls of plum tomatoes, squished in your hands (no juice), salt and pepper to taste.  Cook another 20 minutes on low flame, turning often.  Feel free to add more oil if you need it, and certainly add more nutmeg.

Don’t forget to breathe in!!ImageImageImageImage

Today’s Vegetable Soup

The Holidays are over, and like most, I’m constantly hearing about healthy eating, cleansing, de-toxing, 100 different types of diets and exercise plans.  You cannot turn on the TV or pick up a magazine without feeling guilty that you are just not interested in any of it.  I enjoy all sorts of exercise and always have a moderate, varied plan in place, and I try all year long to eat healthy, with some splurges now and then (mostly now).  I am just not interested in trying the new “Stiletto workout” and drinking nothing but green juice for a week.  First of all, I can not even walk in stilettos, let alone do a workout in them.  And it literally pains me to take gorgeous fresh vegetables and put them through a machine and watch 5 drops of juice come out, and then throw the rest away.  Sorry, but I will stick with yoga and vegetable soup.  So today I would like to share my secret for delicious (and cleansing) vegetable soup.  The secret is to throw any vegetables, herbs and spices that you love into a huge pot of water, add some seasonings and cook for at least an hour.  When done, you can add some beans, brown rice, pasta, if you like, and you will be very, very, happy.  Don’t worry.  I am not going to leave you hanging like that without any direction.  I will give you the recipe that I concocted last night, with variations, so you can begin the fun of creating your own different, delectable “healthy” soups.  Half the fun, is doing something different each time, and then awaiting the taste and making mental adjustments for the next time.

As I have mentioned, soup was something my mother made from scratch only when someone was sick.  If you weren’t sick, soup came out of a can…Campbell’s.  It wasn’t until I was a teenager that I realized that there was something other than homemade chicken soup.

Many years later, it was my mother-in-law who taught me to not be afraid to put anything that I thought would taste good into a soup.  She was a master at this.  She literally could take celery and turn it into a soup to die for.  I would love to hear her tell stories about living in the countryside in Italy and having to feed a family of six ( 5 of which were boys) with just some potatoes and a few vegetables from the garden.  Hence…..soup!

So let me share with you what I put together last night, along with a tip or two from “my Soup Angel,” who I think of fondly each time I go through this ritual.  I hear her voice whispering, “just throw it in…it will be delicious” even when I might doubt it.

Vegetable Soup

2 onions, sliced

2 stalks celery, roughly chopped

1 1/2 cups sliced shitake mushrooms

2 small fennel bulbs, sliced

1 head cabbage, sliced roughly  (I love Savoy cabbage as well in soup)

1/2 cup parsley, chopped

4 cloves garlic, chopped

1 Tbsp. sea salt

2 Tbsp paprika

1 Tbsp tumeric

1 tsp. hot pepper flakes (optional, but feel free to use any form of heat you like)

2 tsp. dried thyme

3 cups baby spinach

2 cups cooked cannelini beans ( or canned)

2 cups cooked brown rice

Combine all the ingredients, except the baby spinach, beans and rice in a large soup pot.  Add approximately 3 quarts of water.

Bring to a boil.  Reduce heat to a simmer, cover and cook for at least one hour, tasting for seasonings and checking on water level.  Add whatever you feel is needed.  The soup is done when the vegetables are softened to desired, and the flavors have melded together to produce a tasty broth.

Just before turning off the heat, add the spinach, beans and rice.  This last step can be added to almost any version of this soup, if desired.  It is also delicious without this step.  You can always keep the beans and rice on the side, for those who want to add it to their bowl.

Some tips from my mother-in-law:

1.  Serve with a drizzle of fresh olive oil on top and some grated parmigiano cheese.

2.  Lightly toast a piece of crusty Italian bread and place on the bottom of the bowl before ladling in the soup.  You can use up stale bread this way.

3.  Just serve a nice, fresh piece of Italian bread on the side.  And as she always said “eat with the bread.”   She still remembered how she used the bread (“pane’) to fill up the tummies of her six children.

ImageImage

Spaghetti with Broccoli Rabe

After all that cooking and baking associated with Christmas, it has been nice to sit back and relax for a bit. I made “Mom’s Chicken Soup” the other night. I needed some comfort food and that soup certainly soothes the soul. We decided to get away for a few days to our mountain house in the Catskill Mountains in New York State. I wanted to just hunker down and relax after the Holidays. I didn’t mean that literally, so be careful what you wish for. We were snowed in for 24 hours. It certainly was beautiful and peaceful, but we had planned on eating dinner out most of the time at our favorite restaurants. We had done a little food shopping, but had not really planned on cooking dinner. Thank goodness for my husband and his sister, who are the type of cooks that can look in the pantry or refrigerator (even a barren one), and can create a meal that you will dream about for days afterwards. I believe that they learned this skill by watching their mother and grandmothers in Italy, who would have to make a meal for many children from very little. Of course, there was always flour and water for bread , pasta or pizza dough, and vegetables from the garden. If they were lucky, the chickens may have laid some eggs, and perhaps there was a rabbit that they could kill and cook. Whatever they learned from these creative women, they certainly brought it to America with them and now share this talent with their families.

So what did they manage to cook in a blizzard? Well they found 2 pounds of spaghetti (it wouldn’t be a home without that), garlic (always have several cloves in the kitchen), extra virgin olive oil (there are always several bottles in the pantry, red pepper flakes (of course), and 2 heads of fresh broccoli rabe which we had brought with us from home (okay, we are Italian after all). The recipe that follows is simple, quick and simply delicious.
pasta:brocoli-rabe close uppasta:brocoli-rabe close up

RECIPE

2 heads broccoli rabe
1/2 cup extra virgin olive oil
4 cloves of garlic, thinly sliced
1/4 tsp red pepper flakes….or to taste

Wash the brocoli rabe and trim the stems. Bring a large pot of water to boil and add the brocoli rabe. Cook for approximately 5 minutes. Then take from boiling water with spoon. Add the spaghetti to this boiling water and cook until a dente. Meanwhile, in a large sauté pan, saute the the sliced garlic and pepper flakes in the olive oil, until golden. Be careful not to burn the garlic. Now you can add the brocoli rabe and sauté briefly. When pasta is done (always reserve a cup of the pasta water), drain and add to the brocoli rabe in the saute pan. Add liquid and combine briefly. Serve with grated parmesan cheese.
Don’t wait for a blizzard to try this!!

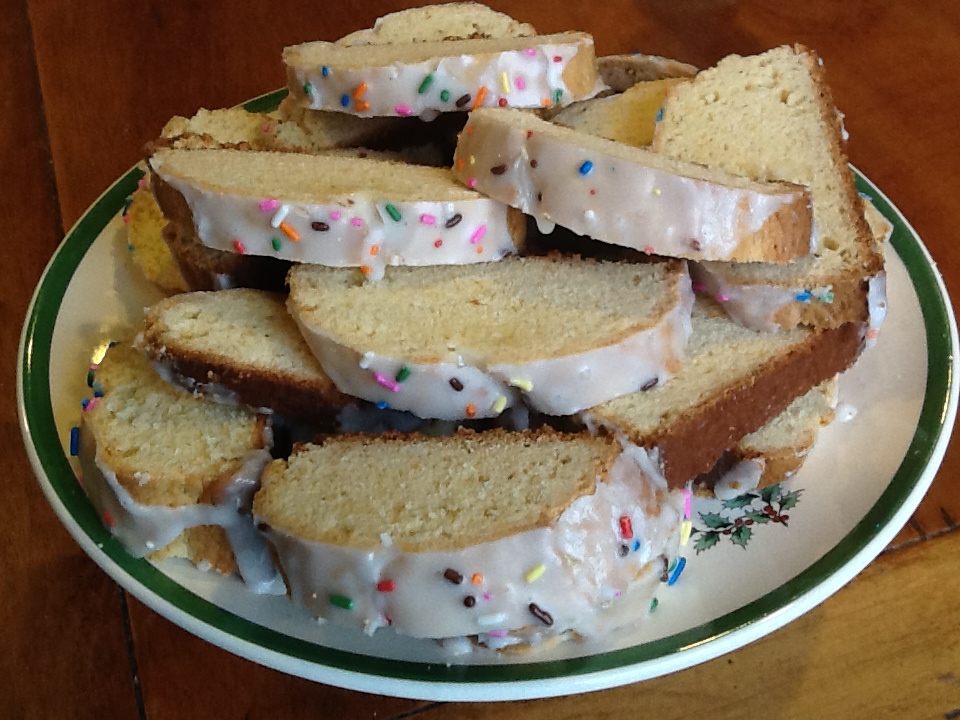
Italian Christmas Cookies????


It is Christmas morning.  Even after a night of cooking the feast of seven fishes, I woke up early to make this recipe for Italian Christmas cookies.  I did not have time to make them till now, and it would not be Christmas morning without them.  They are exactly what you need with a cup of coffee after a night like last night…if you know what I mean.  For the past 25 years or more, this is how I start my day on Christmas morning.  

Why the question marks in this recipe title?  Well, I always smile when I pull this recipe out of my file as it was not given to me by an Italian, but rather from a friend of English decent.  Not that I am doubting the origin of the recipe.  It certainly tastes like an Italian cookie.   My friend and I have shared so many recipes over the years, but generally, I gave her Italian recipes, and she shared recipes for things like English Trifle (which I will share with you in the future), Yorkshire pudding, etc.  But one day, she proudly told me to try this cookie recipe as it was easy and delicious.  If you look closely at the original recipe in her handwriting, you will notice the word “plop.”  This word is used in every recipe she has ever given me.  I know the recipe came from her if “plop” is written somewhere.  Is this an English culinary term?  Certainly no Italian cook is “plopping” anything, but I do, when it comes to her recipes.  There is a certain release of tension when you “plop”, and you stop taking yourself so seriously while cooking or baking.  I constantly tease her about this.  We always have a good laugh about it.

I met this dear friend 27 years ago.  We have shared many recipes over these years, but I have to say,  in the late 1980s and early 90s, we spent more time dancing in our kitchens then we did cooking. We would put on the Pet Shop Boys, Phil Collins, Fleetwood Mac, and dance our hearts out.  Oh yes, we would stop around dinner time, when the kids got hungry, and I would teach her a pasta dish or two.  The kids loved these get togethers as there were lots of laughs, good music and good food.  Hey…there’s another good title for a book….”Dance, Laugh, Cook”.  

We often talked about the dichotomy  of our experiences with food growing up in very culturally different families.  My family was all about food…..hers, not so much.  I remember my shock when she told me that her family ate the same thing on the same night of the week, each week.  In an English family, if it’s Sunday, it most be a roast.  But this is how it was each night of the week in her family.  This absolutely shocked me.  I remember her telling me that her mom had a friend and neighbor, who was Italian, and who taught her mom to make several italian dishes, just in the same way that we began the recipe swapping.  To this day, we are still exchanging recipes and cooking for each other.   And oh yes, we still dance.  

ImageImageImageImageImageImageImage


Italian Christmas Cookies

2 1/2 Cups flour

3/4 Cup sugar

2 1/2 tsp. baking powder

Combine above ingredients in a bowl.  

In a separate bowl combine:

2 eggs

3 Tbsp. Anisette  (I have used Sambuco in a pinch)

2 oz. orange juice

1 stick melted butter

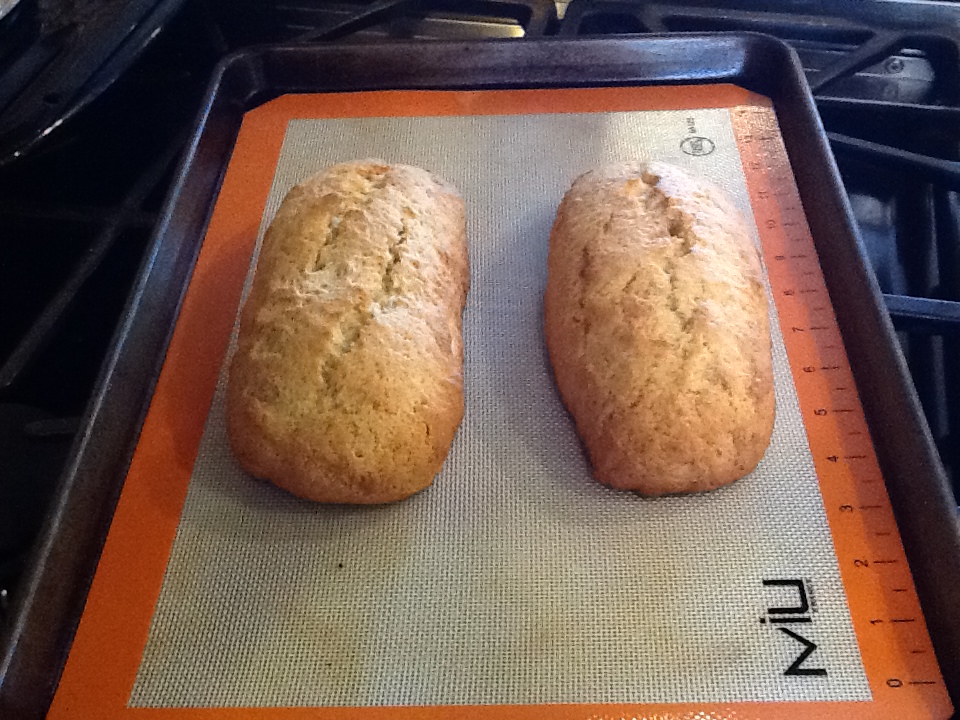
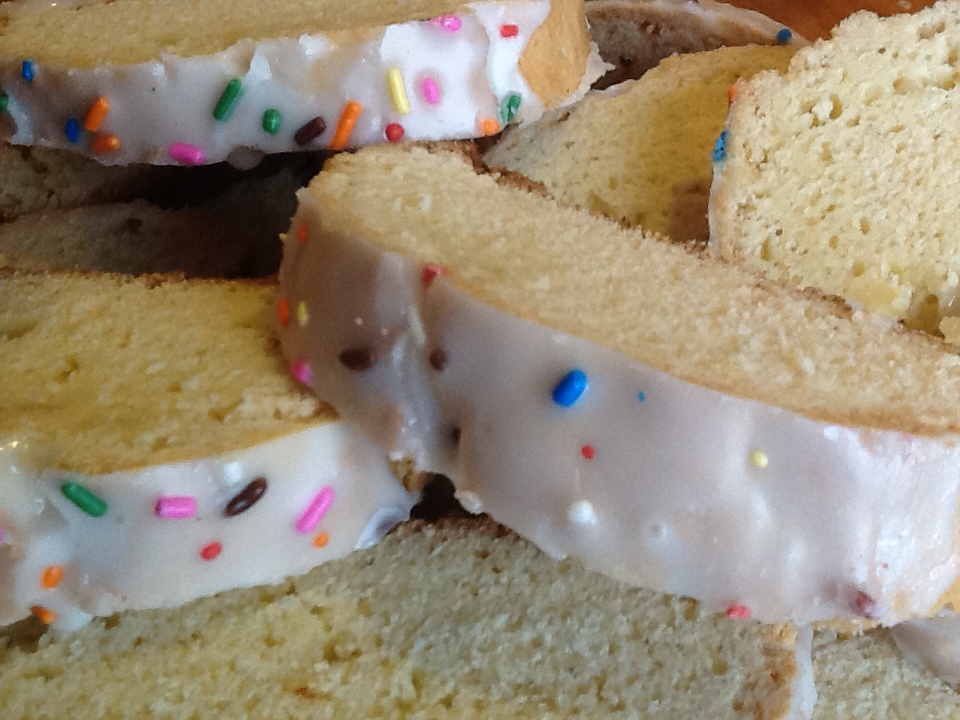
Combine both sets of ingredients.  You can easily mix by hand or use the dough hook of a Kitchen Aid.  Plop onto a cookie sheet forming two logs.  Bake at 350 degrees for 20 to 25 minutes.  Let cool completely.  Mix 1 cup Confectioners sugar with 2 Tbsp. milk or water and mix until a thick paste forms.  You can add more sugar or water to get desired consistency.  Drizzle over the top of both loaves.  Add sprinkles or colored sugar. Slice about an inch thick.


Ribbons (Another Delicious Version of What Italians Can Do With Fried Dough)

Ribbons   (Another Delicious Version of What Italians Can Do With Fried Dough)

Right now, off the top of my head, I could name you at least a dozen names for variations on fried dough that would knock your culinary socks off.  And it seems that every time I speak about one of these delicacies, I learn of another recipe for fried dough that was a tradition in another family.  Talk about imagination!  This recipe for ribbons, that I will share with you today was a Christmas tradition in my mother’s family, but I believe the recipe she used all these years came from her “Cook, Bake, Pray” friend Anne, who you met in the “Christmas Cookies” post.  Many years ago I found the remains of this recipe in my mom’s folder with Anne’s name on it.  It was truly illegible, and I had to call my friend for the recipe, which is what we have here.  I think the original one disintegrated, and my mom’s mom made it from memory.

So let’s talk a bit about “Big Nonni.”  As I mentioned yesterday, she was only big by comparison to Little Nonni’s size.  As kids, we would delineate which grandmother was coming over to visit by size.  You could also say that the adjective “big” was used to describe the size of her heart.  She did not spend all her time in the kitchen cooking the way that Little Nonni did, as she lived a life of privilege here in America.  She came to the USA in 1910 with her husband, after having 5 miscarriages in Italy.  He was to become very wealthy in the banking industry in New York City, and she would have 7 children, 3 homes and a staff of 40.  There was no pounding dough in a kitchen for this woman.  However, my grandfather would die suddenly of appendicitis at the early age of 45 just before the Depression, and due to many circumstances of the times, my grandmother’s wealth faded.  Her children all had to leave their private schools and go to work to support the family.  They were not unlike many other families at this time who struggled financially. The blessing in disguise here is that many of the family recipes came out of hiding, and my mother and her 3 sisters would learn how to prepare these dishes with their mother, and then pass them down to the next generation.  My memories of her in the kitchen were watching this tall (only by comparison), well dressed, well coiffed woman standing over the stove as if she were getting ready for a photo shoot for a magazine.  She always was fully made up with red lipstick and her long, slender hands were always perfectly manicured in a beautiful red polish.  As she got older, she would come to our house to visit and cook with my mom, especially around any of the holidays, but till the day she died, she cooked in this fine regalia. Perhaps it made the food taste better.

So back to Ribbons.  I can still see my grandmother and mom working together, over the pastry board, kneading and twisting these delicate pieces of dough into the shape of ribbons.  Eventually my mom took over the kneading as my grandmother became more frail, and my grandmother would sit for hours, forming the dough into ribbons with her beautiful, perfectly manicured, even till the end, hands.  I still want to reach out and hold her hand, stroking her bright red nails one by one, as I often did.  As children, my sister and I would sit at the kitchen table with them, and would do our best trying to form the perfect ribbon.  This is not an easy task for a child, but over the years, you develop the knack and it gets easier.  So there we were, back in the 50s and 60s, three generations bonding in the kitchen.  Here we are in a different century, but my mom, my sister and our daughters form this three generational bond at Christmas time, making our Ribbons.  Usually a cousin or two will stop by and stories start rolling.  Each year we seem to learn something new about a relative or old family friend.  The family albums come out of the closet and we end our day with a glass of wine and shared memories.  Two added pluses……we now have a fourth generation helping (my grandson, who at 6 years old loves to put the dough through the pasta machine, making it as thin as can be)…..and I have my grandmother’s hands!!!

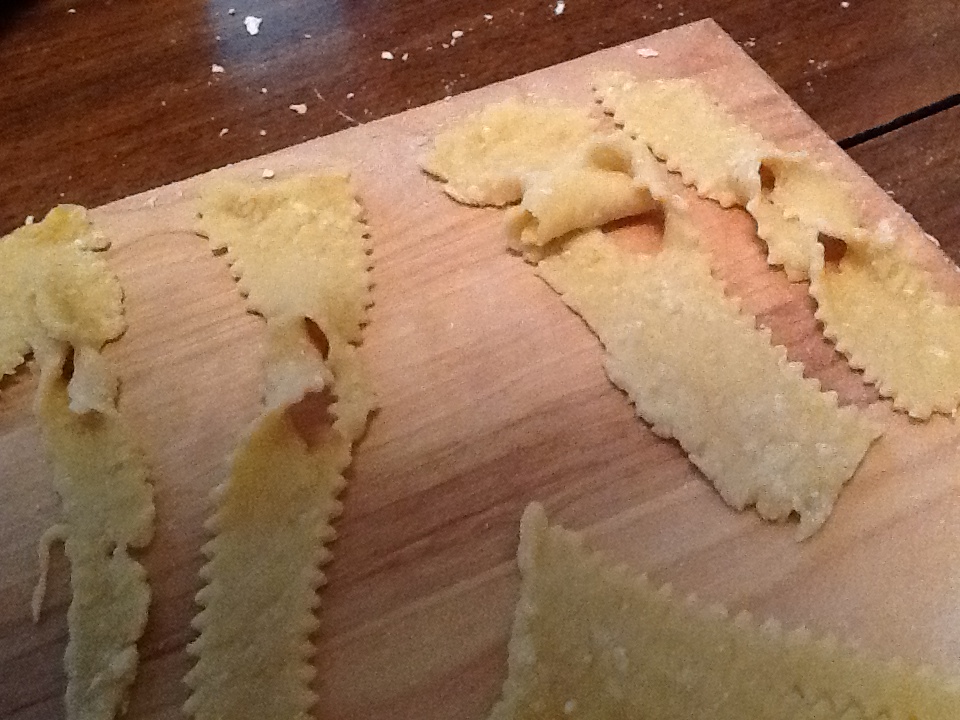
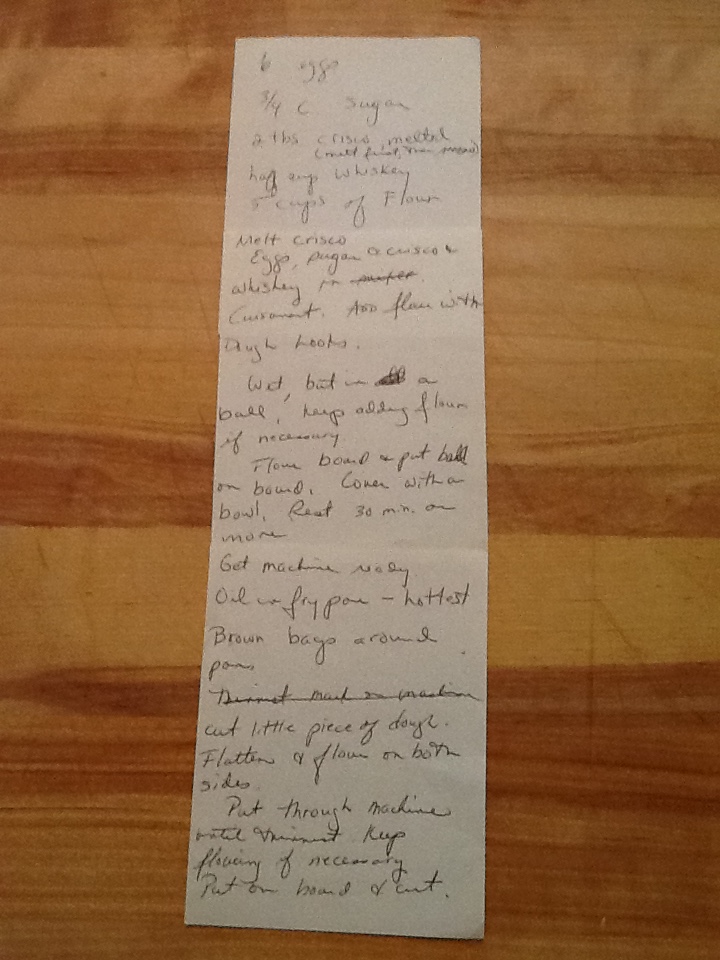
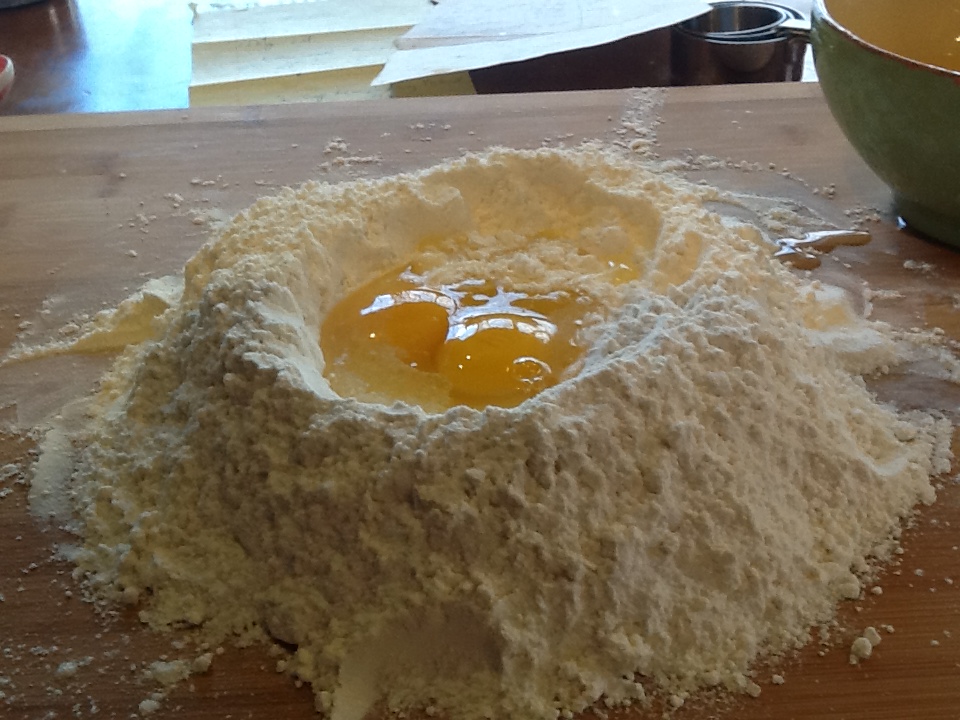
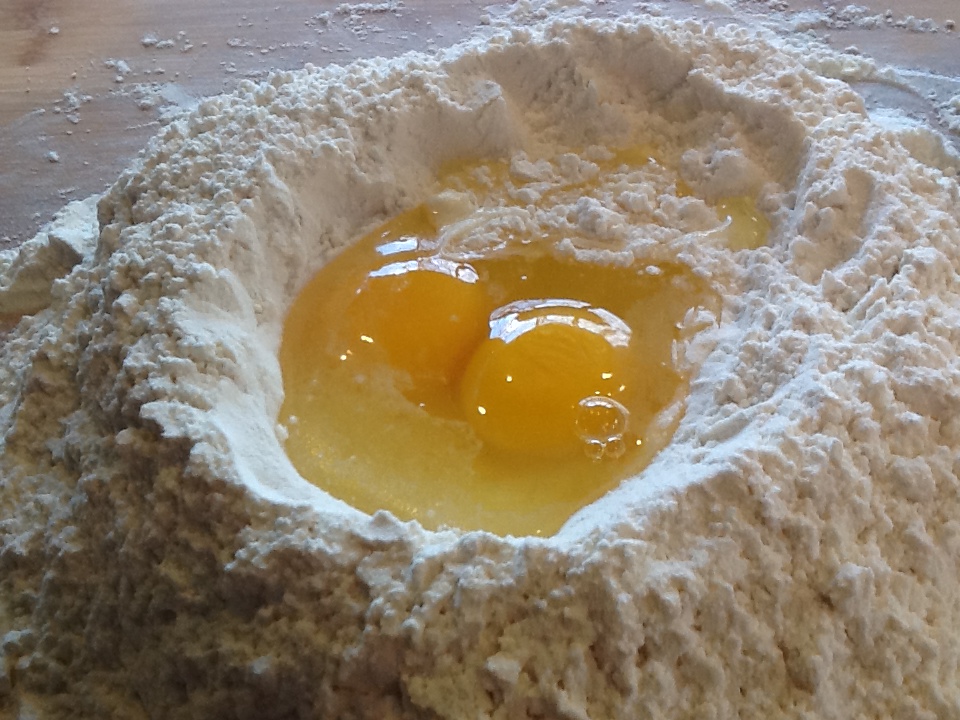
Let me say just say a few things regarding the process of making Ribbons.  First of all, this dough can also be made in the Cuisinart or KitchenAid with dough attachments, but please don’t miss the picture here of my mom working the flour and eggs with her beautiful 92 year old hands.  Also, the shape of the ribbons do not have to be perfect and/or all the same.  As a matter of fact, mine are all sizes and shapes…….perhaps due to my impatience or to the fact that there are many hands involved.  Honestly, you could just throw strips of this dough into a fry pan, put powdered sugar and/or honey on it, and it would be delicious.  I hope you enjoy this recipe.  Please let me know any fried dough recipes that your family enjoys.  I am always looking for more ways to enjoy this basic Italian food group.ImageImageImageImageImageImageImageImageImage


Ribbons

6 eggs            

3/4 cups sugar

2 Tbsp. melted Crisco

half cup whiskey

5 to 6 cups flour (start with 5… you can add as you go along if needed)

1 tsp. salt


Make a well with the dry ingredients on a pastry board.  Put the eggs, crisco and whiskey in the middle.  OR throw all the ingredients into the Cuisinart.

The dough should be slightly moist.  Form into a ball and cover with a bowl (not sure why) for 30 minutes.  While the dough is resting, I get the pasta machine ready and lightly flour the pastry board so the dough does not stick.  

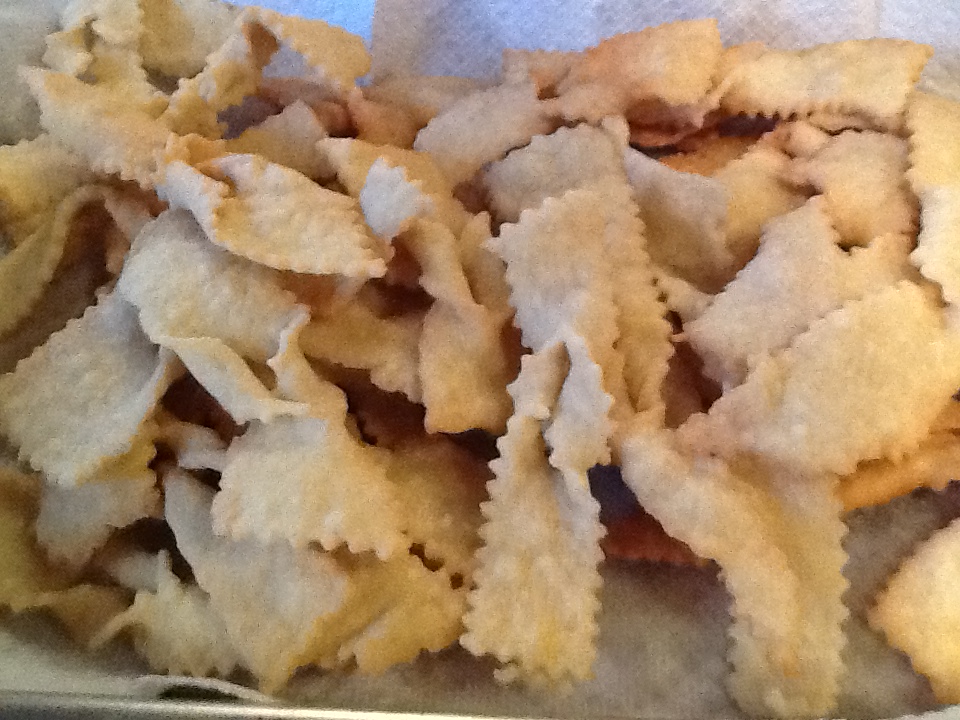
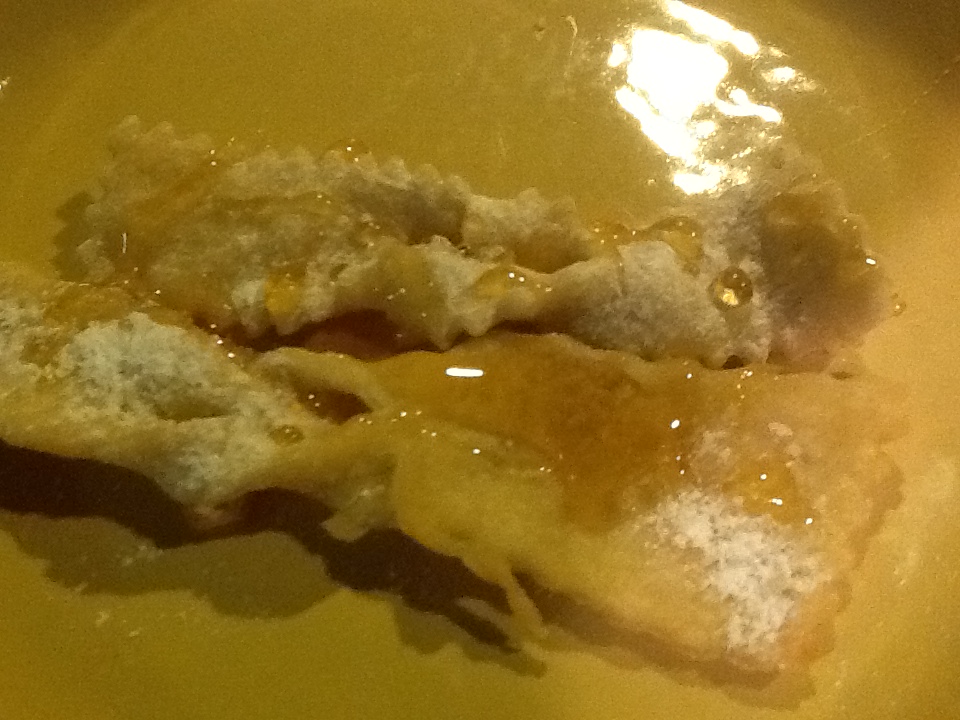
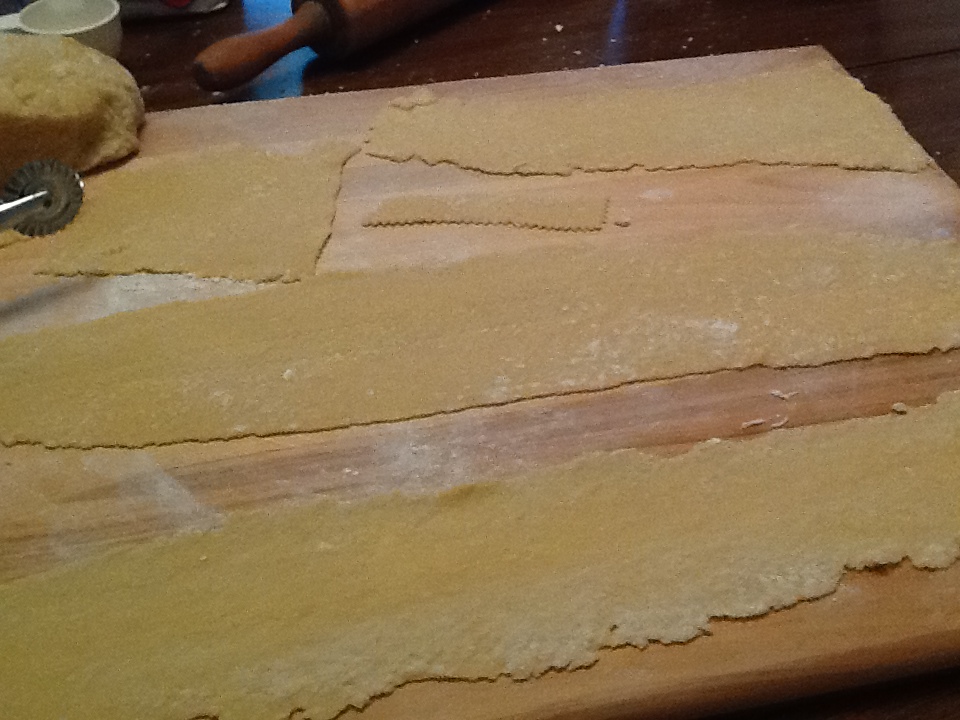
Once the dough is ready, cut a little piece (maybe the size of a fist) and flatten.  Put through the pasta machine several times until it is very thin.  I keep raising the setting on the machine each time I pass the dough through until it goes through level #4 on my machine.  This is the thinness I desire.  Keep flouring if the dough is too sticky.  Lay out the strips on the floured board until ready to cut.  I use a pastry cutter to get the ridged edges.  In a perfect ribbon world, each strip would be about 5 to 6 inches long and 2 inches wide, with a slit in the middle, but this is never the case with me.  It doesn’t hurt to shoot for this ideal though.  After all the dough is formed into these ribbon shapes, heat vegetable oil in one or two deep, large fry pans.  Place them gently into the hot oil. Turn them once or twice.  When they are a golden (not too dark) brown, remove and drain on paper towels.  Once they are cooled, stack them up and shake confectioners sugar over them. Cover them until serving.  You can eat them just like this, and they are delicious, but we always serve honey on the side so everyone can drizzle their desired  amount of honey.

The Many Recipes of Strufolli

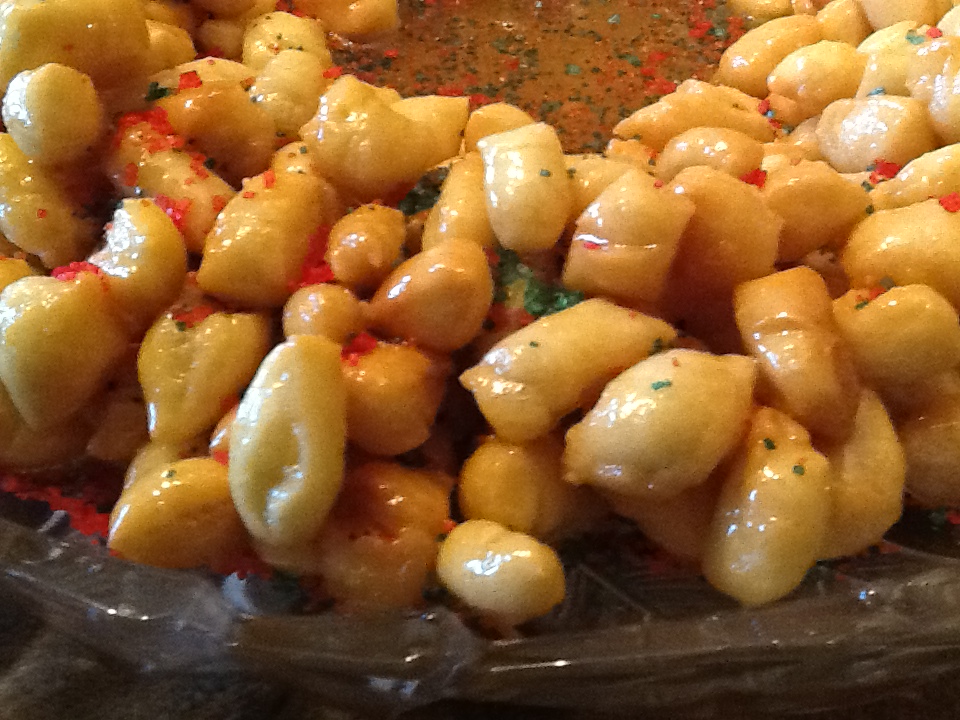
Struffoli is not something I make every Christmas.  Just like my mom, I would try it every few years, always saying afterwards, “never again.”  It is very time consuming, and, quite frankly, back breaking, especially if you are doing it alone.  While going through the many recipes that both my mom and I have collected over the years, I could not help but wonder how many ways can there possibly be to make dough and fry it up?  But collectively, we had a dozen different recipes from various different woman.   Every time I decide to make struffoli, as I did this year,  I look at all the different recipes and decide which one I will follow.  Even though they are basically the same, they do produce a different tasting result.  Of course, I always seem to pick “Little Nonni’s ” recipe, as that is the taste I remember and love.  Now you may question just how different can all these recipes be.  It makes sense to think this way.  But let me tell you…all struffoli are not created equal.  Some families like them small and dense. Other like them larger and airy.  Also, the honey that you choose to use will give your struffoli a distinct flavor.  This year I went with a local honey (since local is the thing nowadays) and the taste was different, and I must say, spectacular.  But my grandmothers struffoli always tasted the same for many decades, and I am sure this is due to the fact that there was probably on one brand of honey available at the supermarkets in those day. 

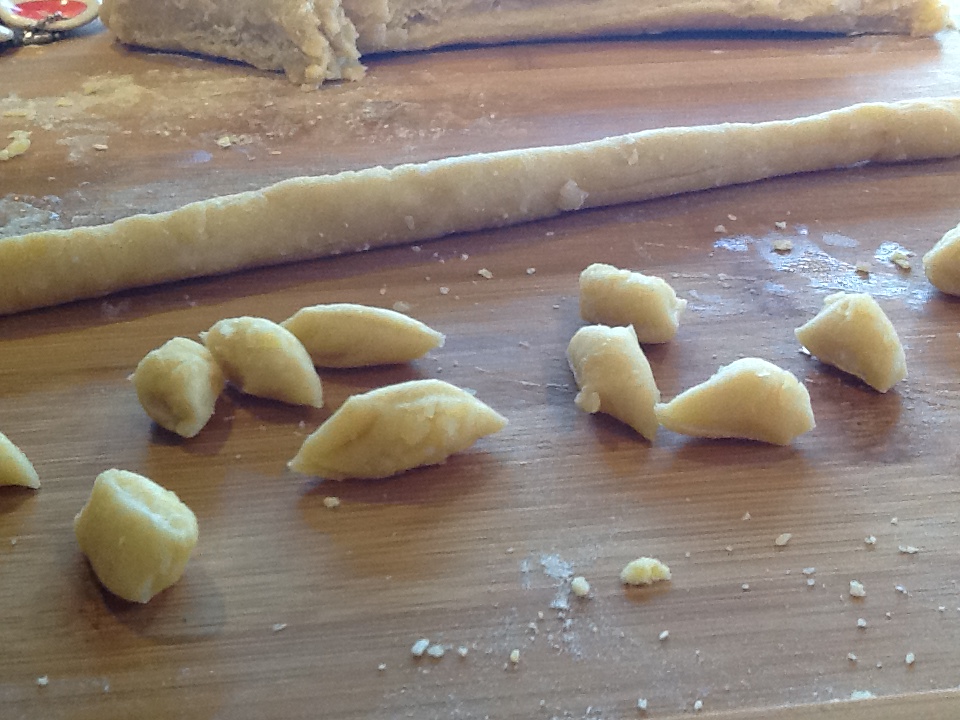
I will transcribe the recipe that I use, but let me give you some tips before we begin.  First off, this dough can be made in the Cuisinart or Kitchen Aid, with the dough blade or attachment, but to me the ritual of creating a well of flour and slowly incorporating the eggs and other ingredients signifies the true meaning of “cooking with love.”  I remember the beautiful hands of little Nonni, big Nonni (my mother’s mother, who was only big by comparison..not really a big woman) and my mother, twirling the eggs around and around, gathering every bit of flour until it was all incorporated.  The patience that they exhibited while performing this act, expressed the love that they felt for their families.  Today, I sat and made this dough by myself, as if I was in a meditative state, thinking of these women, and feeling gratitude for the time they spent teaching me how to make these delicious treats that delight my family.  It seemed like nothing then, but I feel so lucky now.  As we sat and rolled out the dough like long pencils and cut them into tiny pieces,  they would tell stories and laugh, and of course talk about what we would be baking tomorrow or cooking for dinner that night.  Usually a family secret would be revealed and we would be sworn into secrecy.  It was a female right of passage.

So after you have incorporated all the flour and eggs into a nice, moist dough, knead it a bit, scraping up some of the bits of flour left behind.  I tend to discard most of the flour left behind as it is a lot of work to keep kneading this in.  However, I am sure my 4 foot 9 inch grandmother scraped up every bit of flour and did not waste a thing.  She put all her weight and strength into the kneading process.  She certainly did not need to work out in a gym.  Just a few holidays a year kept her in perfect shape!
 

Strufolli

6 eggs

4 cups flour

1 tbsp baking powder

2 tbsp oil

1/4 tsp salt

1 cup honey

1/2 cup sugar

Combine flour, baking powder and salt and then form into a well on a pastry board.  Put eggs and oil in the middle of the well and slowly incorporate all ingredients until a moist dough is formed.  Add more flour if needed.  Let the dough sit for one hour.

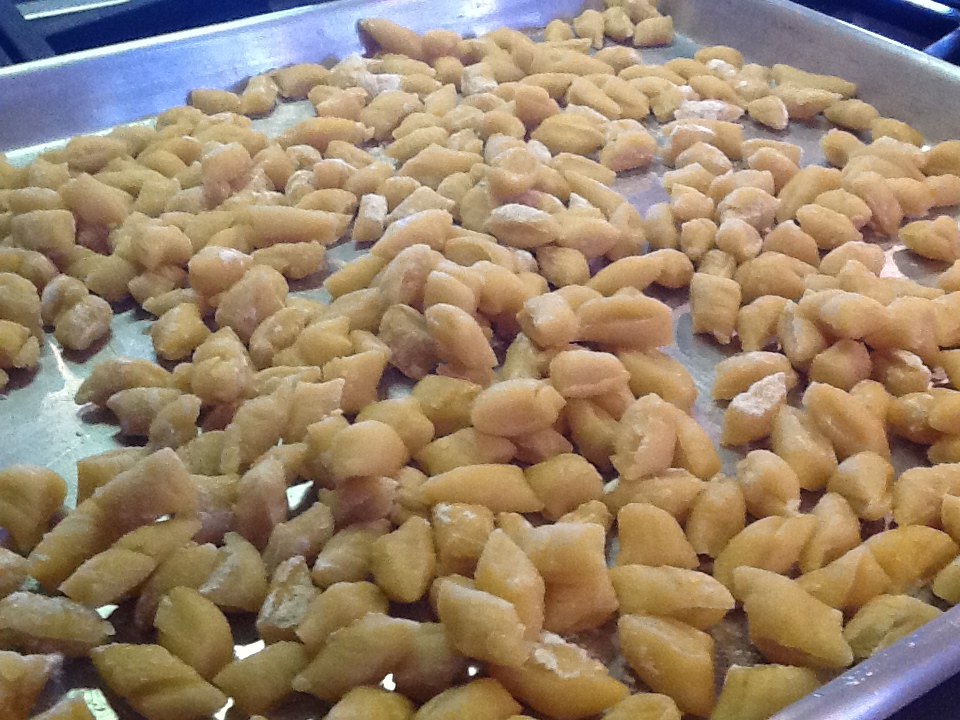
Break off pieces of the dough and roll into long pencil size ropes.  Then slice into no more than 1/2 inch pieces.  

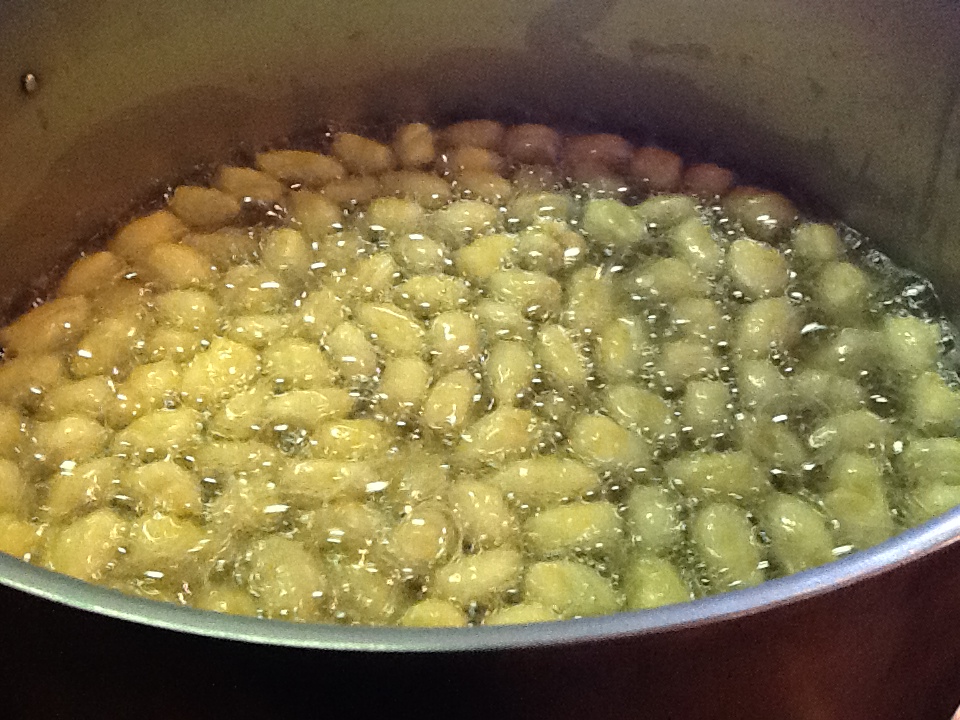
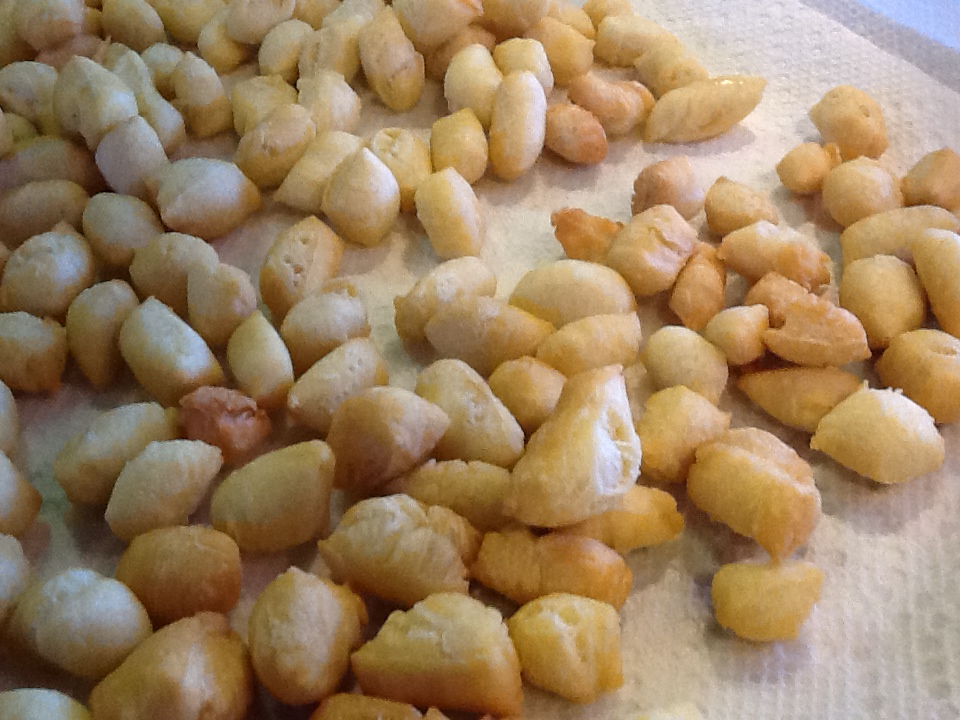
Put about an inch or so of oil into a deep fry pan and heat the oil.  I have never used a thermometer, but the oil is ready when you drop one piece of dough in and the oil sizzles up nicely.Slide in as many struffoli as you can without overcrowding.  Stir a few times during this process, but they should ready to be removed in about two minutes or so. They should be golden brown.  Use a slotted spoon to remove and place on paper towels to drain.  Continue frying in batches.

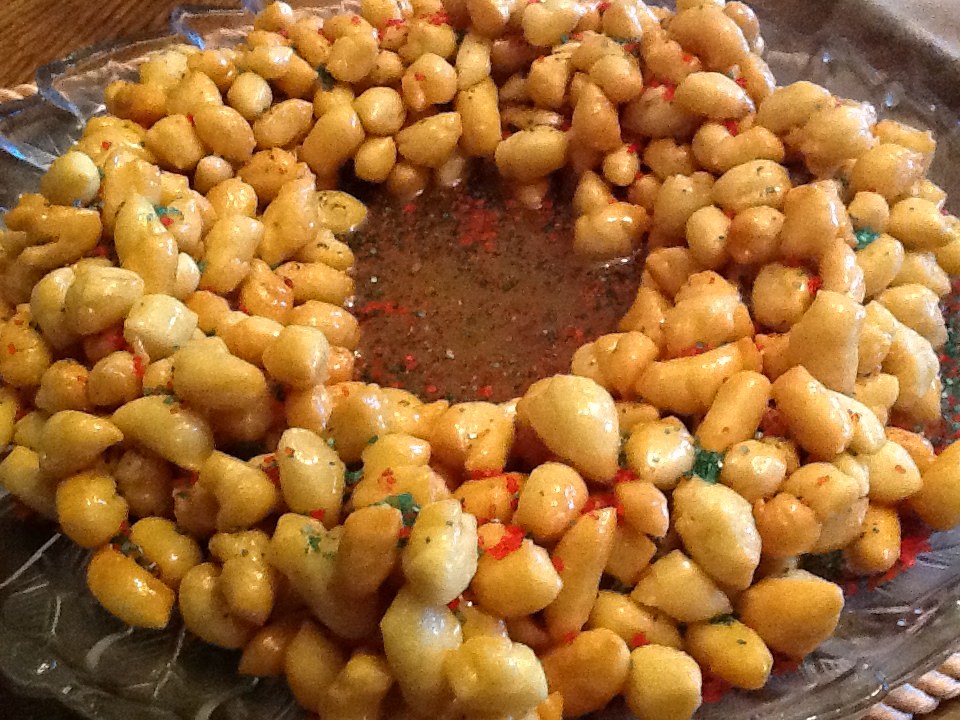
When all the struffoli are fried, heat the honey in a large fry pan.  Add the sugar and stir to dissolve. shut of the heat and add the struffoli, stirring to coat.  Once well coated, spoon onto a large dinner plate in the shape of a wreath.  spoon all excess honey over the struffoli.  Decorate with colored sprinkles or colored sugar.ImageImageImageImageImageImageImageImageImageImage


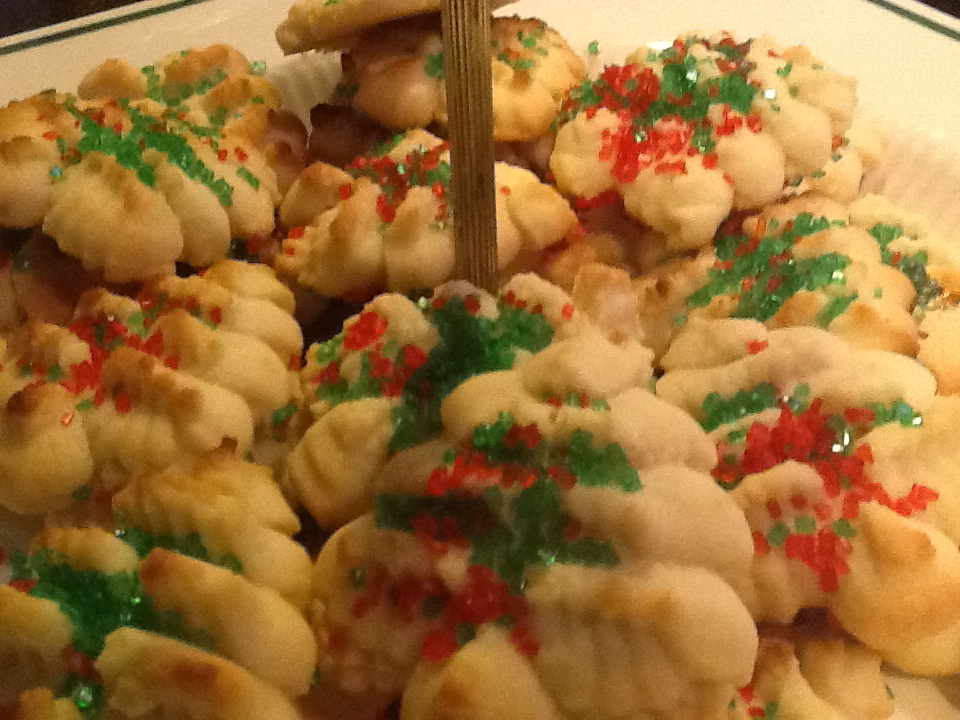
Christmas Butter Cookies

Somewhere around 1960, my mom met a wonderful woman, who was the mother of my soon to be best friend.  I was 9 years old at the time, and we are still great friends to this day.  My Mom and Anne (last name to remain anonymous) both loved cooking and St. Jude.  They were constantly in the kitchen cooking and sharing recipes….unless it was Tuesday and Thursday at 4:00 PM, when they were at the St Jude Novena in a small church not far from our home.  Anne was a second mother to me, and both she and my mom are responsible for my love of cooking, recipes and cookbooks.  When I look through my mom’s folder of worn and stained recipes, Anne’s name is on many.  It is hard to distinguish, and remember, exactly whose recipe it was originally.  So I beg forgiveness from my dear friend, if I am claiming her mom’s recipes as my own mom’s.   Like that Apple Crisp recipe…was Anne on the other end of the phone, telling my mom the ingredients that she wrote down on that pharmaceutical pad?  Maybe.  Either way, these two gals could cook, bake and pray like nobodies business!  Now there’s an idea for a book…”Cook, Bake, Pray.”  Please don’t steal my idea anyone.  You needed to know Tess and Anne in order to this title justice.

Anyway, I have sifted through countless cookie recipes, as well as recipes for “ribbons”, “pizza dolce,” and I am not exactly sure in what kitchen the recipe actually began, but I do know that all these Christmas cookie recipes have been made every December for the last 50+ years in my family, as well as Anne’s, and in many others,  whose lives these two ladies touched.

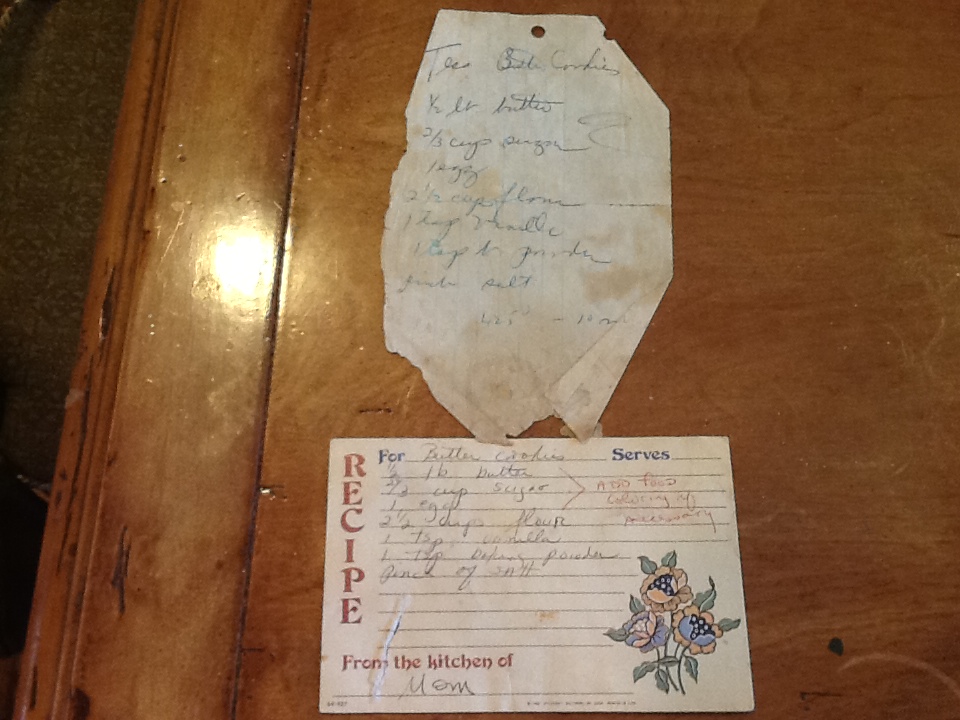
So let me begin with Tess’s ( or maybe Anne’s) Butter Cookies.

Recipe:

1/2 pound of butter, softened to room temperature

2/3 cup sugar

pinch of salt

1 tsp. vanilla

1 egg

2 1/2 cups flour…… may need a little more

1 tsp baking powder

green and red sprinkles ( colored sugar)

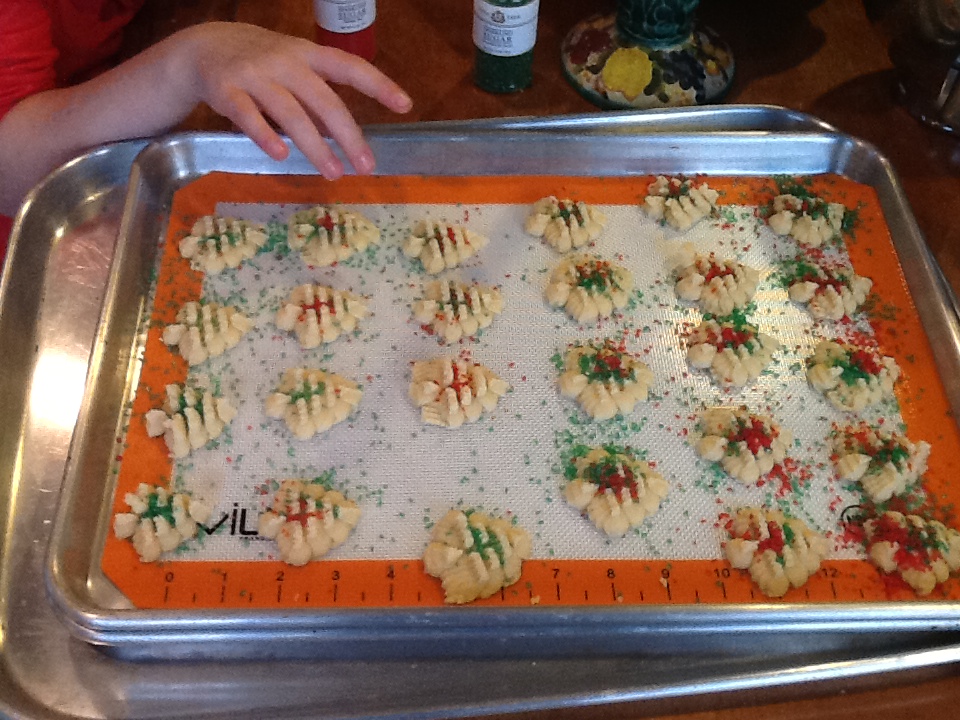
  1.  Cream butter and sugar.
  2. Add egg, salt, and vanilla
  3. Add flour and baking powder and mix well.  Incorporate all the flour.
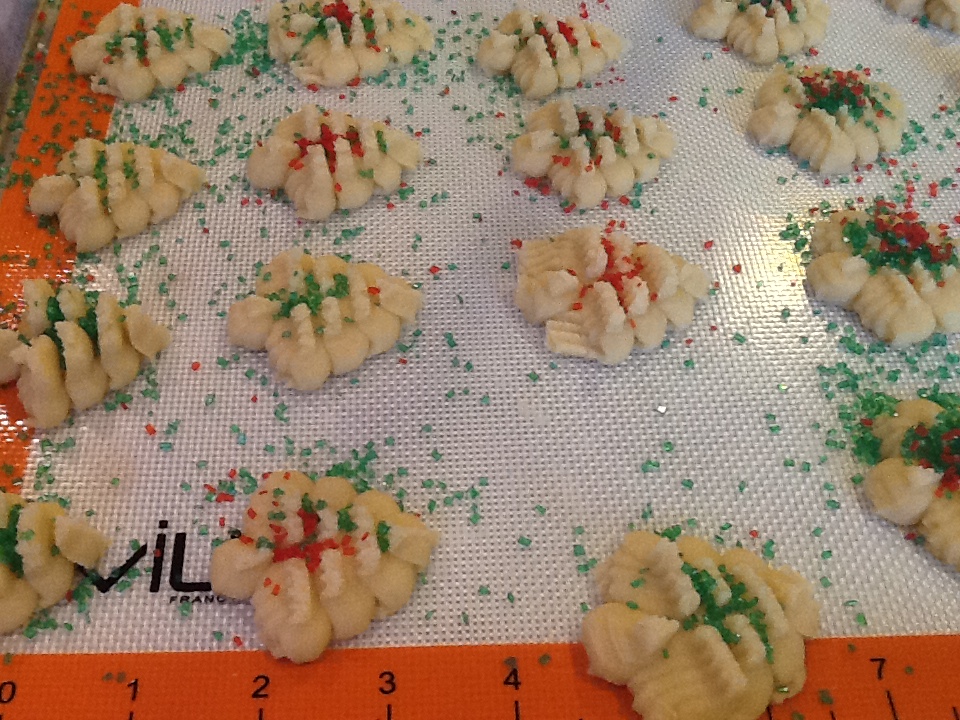
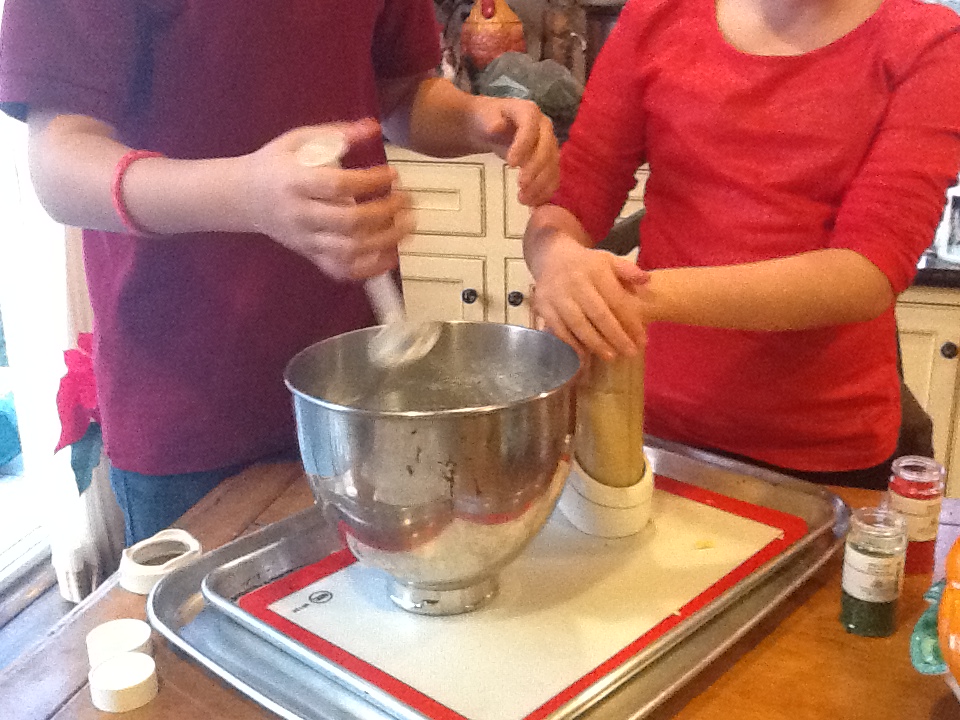
  4. Load up your Super Shooter Cookie Press and go to town.
  5. Sprinkle with the colored sugar.
  6. Bake at 400 degree oven for 10 minutes or until very lightly browned.


Butter CookiesImageImageImageImageImageImage

You can see from the original recipe that this is indeed ancient.  My earliest recollection of making these cookies at Christmas time is with my sister and I pressing out this dough from a manual, cookie press that had different cookie attachments, ranging from Christmas trees to angels.  We would wait anxiously for the day that mom would pick for us to help her with these cookies.  It was a family ritual that I also began with my children.  They could not wait t throw the sprinkles on before placing the cookies in the oven.  As my mom got older, my sister and her daughter would join me and my daughter at my mom’s house each December to carry on this tradition, as well as the many other recipes.  Now I am delighted to make this recipe with my grandchildren.  We now use a Super Shooter, which is tons of fun, and they, too love to toss the sprinkles on the cookies.  I guess making Christmas cookies is timeless.  Certainly my memories of all the special women, who have left their mark on my life through these cookie recipes, are forever.  I can look at the recipes and remember how much I admired them all, and could not wait to have a family of my own to create new memories within my own kitchen.  I hope to share as many of these as I can with you during this Holiday Season.  But heck, who says it has to be Christmas time to make Christmas cookies?!  I might just continue into January and February!   Maybe start a new tradition.

If you have a cookie recipe to share, please post it on Comments.  Stories are also always welcome.