Pasta Asciutta

peas dish 2 ******

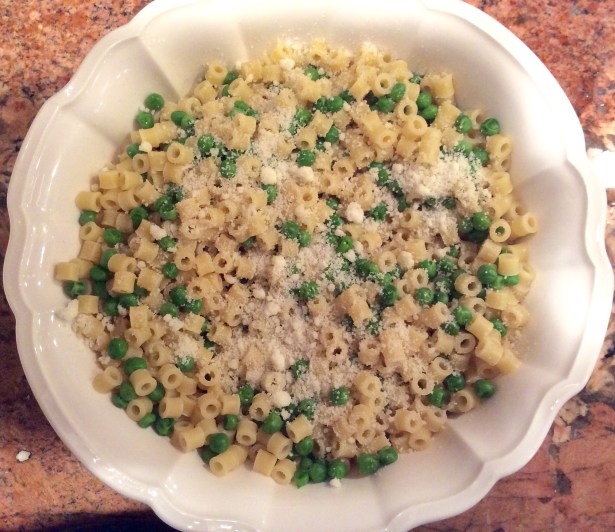
“Asciutta” means dry in Italian, and doesn’t usually refer for food, but when referring to pasta it means dry or without sauce.  When I first heard about this pasta dish, I must say that I was very skeptical.   There’s only three ingredients…peas, grated Italian cheese and pasta.   How good could this taste? Well, in one word, “delicious.” Oh, how I love this dish!   I’m almost embarrassed to even call it a recipe. It’s a recipe in all it’s simplicity, and it has a very nice story/memory for my husband to go along with it. You know I love the memories

When my husband was a young boy in Italy, he visited his aunt (Zia) in Naples, who served this dish for a first course of a family dinner. He claims he had never had this before, and that perhaps it was created as a result of the food rations during World War II, when you had to make due with whatever food you had. He loved it so much that he ate dish after dish until he could barely eat the second course. As in most Italian families, his good appetite was applauded (literally) by the elders.   Even to this day, when we make this, he eats dish after dish. I don’t applaud, however. I just try to keep up with him.

If you want to make this a bit more “robusto,” you can (and I often do) add a drizzle or two of some wonderful extra virgin olive oil.   Obviously, the quality of ingredients is of utmost importance here, especially the grated imported cheese. Whether you use parmigiano reggiano or pecorino Romano is entirely up to your taste.   I also like a few twists of the black pepper to top it off.

Now if you still feel you’d like to make this more of a meal, you can add a step or two, and make this the way my mom did. In a saucepan, sauté chopped onion and chopped bacon, pancetta or even prosciutto in a few tablespoons of olive oil until onion is quite soft. Add 2 cans of Le Sueur canned peas or slightly cooked frozen peas. Then combine this with the pasta. Add cheese and pepper, and you’re all set.

My guess is that you’ll enjoy this both ways, but the “asciutta” is what I want to focus on here, and hope you’ll give it a try.

RECIPE: serves 4 ( or one hungry husband)

1 pound of ditalini pasta ( has to be ditalini)

15 ounces of frozen peas

freshly grated parmigiano reggiano or pecorino Romano cheese

freshly ground black pepper

extra virgin olive oil for drizzling ( optional)

  1.  Bring a large pot of salted water to a boil for the pasta.  Cook the ditalini, reserving a cup or so of the pasta water.
  2. While the pasta is cooking, gently cook the peas as directed, making sure they are not over-cooked.
  3. Drain the pasta and put in a serving bowl.  Add the peas.  Add some of the reserved pasta water, just to moisten a bit and keep the pasta from sticking together.
  4. Add the grated cheese and some freshly ground pepper and toss.
  5. Serve with lots of grated cheese and more fresh pepper.
  6. If you want a little drizzle of olive oil, now is the time to add it.


peas ingredientspeas peas

peas dishpeas dish **pease plated 1peas closeup ***

Pasta con Amore (Pasta with Love)

amore dish**

I think of this recipe each year around Valentine’s Day. Some years I make it, and some years I don’t, but it always comes to mind. Sorry I didn’t post it for you before the holiday came and went, but this was one of the years that I was going to pass on it. However, I thought I really should share it with you. Who can’t use a little “amore” any time of the year? Plus the memories associated with this recipe always make me smile. It also proves my point that I’ll try a recipe from just about any source.

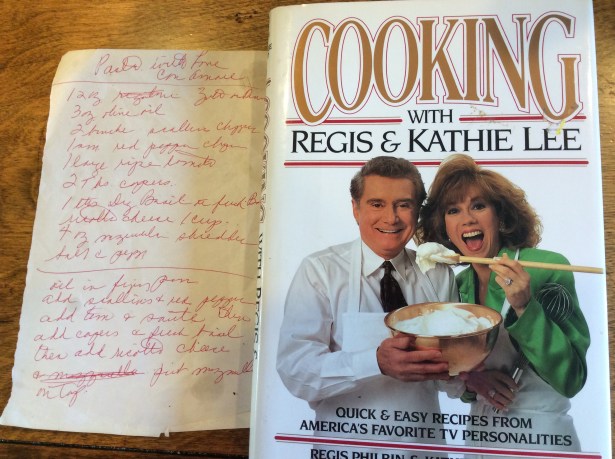
It was just before Valentines Day 1993. My mom and I shared a love for the Regis and Kathie Lee Show. For the 15 years that they were on morning television together, my mom would watch the show in the morning, and I would tape it at my home, and watch it the next morning when I was on my treadmill, before going to work.   We’d often talk about the shows and share a laugh or two, as they were a very funny duo. Francis Anthony, better know as the Love Chef, was frequently on the show, cooking and sharing his recipes. This particular episode with the Love Chef really caught our eye. I knew that I didn’t need to pause my tape and treadmill to write down the recipe, because I was most certain that my mother would have written it down the morning before. I was right. Later that day she called me to tell me that she had written it down, and we were both eager to try it. Once we did, it certainly was “amore.”
I thought it was cute that my mom wrote the recipe in red ink, in honor of Valentine’s Day, and I, of course, had to buy their cookbook, which does have many wonderful recipes that I tried throughout the 1990s.   Upon glancing through the cookbook recently, it brought back lots of memories from the show and that era in time.   That’s what I love about old recipes……the memories.   I hope this creates some new ones for you and your loved ones, with “amore.”

RECIPE: serves 4

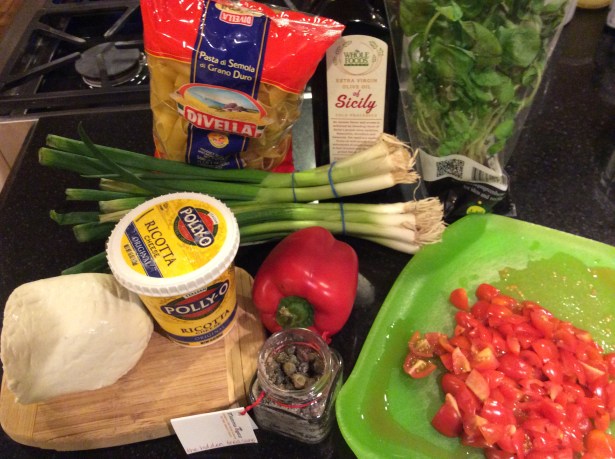
6 TBSP olive oil

2 bunched scallions, chopped

1 small red pepper, seeded and chopped

1 large very ripe tomato, chopped or 4 Italian plum tomatoes (from can), chopped

2 TBSP capers

2  to 3 TBSP chopped fresh basil or 1 tsp. dried

freshly ground pepper and salt to taste

1 cup ricotta

1 lb. ziti or penne pasta

4 ounces shredded mozzarella cheese

  1.  Bring a large pot of salted water to boil, in which to cook the pasta.
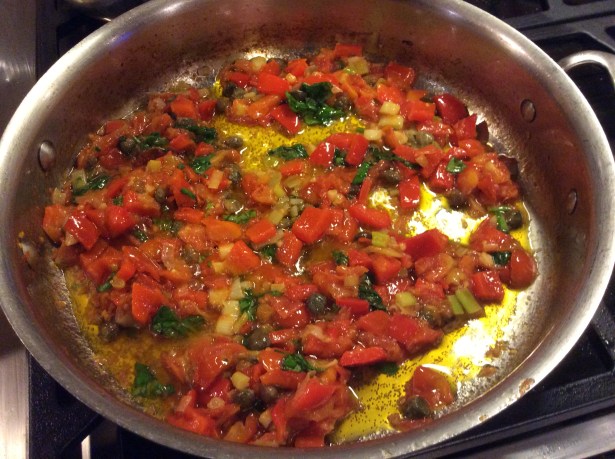
  2. Meanwhile, in a large skillet, heat the olive oil over medium-high heat.  Cook the scallions, red pepper and tomatoes for 5 to 7 minutes (stirring), or until vegetables are tender,
  3. Add the capers and basil and continue stirring.
  4. Add the ricotta, pepper and salt.  Simmer until all the ingredients are thoroughly blended.
  5. Drain the pasta. Add the sauce and toss to combine.  Top with mozzarella cheese.
  6. Amore!


amore recipeamore ingredientsamore pan1amore pan2amore pan3amore pan4amore pan5amore pan6amore dish

Aunt Addie’s Rice Croquettes

croquettes plated **


When I let “food nostalgia” get the better of me, I am usually transported back in time to a scene where someone dear to me, such as an aunt or grandmother or close family friend, is cooking a particular dish that is their specialty. I fondly remember the person, the taste and the smell of what is being cooked or baked. This recipe for rice croquettes holds a special place among them.

Aunt Addie was a wonderful Italian cook, but my fascination with her cooking was the “American food,” as we called it then, that she prepared.   At the time, I thought that she prepared meals very similar to what Donna Reed or Harriet Nelson cooked on their TV shows. It opened up a whole new world of cooking to me, even as a child. Aunt Addie loved to throw elegant dinner parties for friends and business associates of her husband. She knew that everyone wanted her traditional Italian dishes, which she often served, but she loved to surprise her guests with something a little fancier.   Either my sister or I would help her serve at these dinner parties, passing her meticulously plated food from one guest to another. We both were very happy when rice croquettes were on the evening’s menu. I would eat several, in the kitchen, before even bringing them out to the guests.

As a young bride, I asked her to teach me how to make these, so that I, too could have a nice dinner party some day. I went back on a Saturday before her guests arrived, to watch (not serve this time) as she taught me her “system” for making these delectable morsels. “You have to have a system,” she said often,  about so many things. She had a “system” for keeping her shopping bags in alphabetical order so you could easily grab the right one before returning an item to a store. She had a “system” for keeping napkins and tablecloths grouped appropriately together for easy access. She had a “system” for closets, drawers, etc. She was the original home organizer. I still find myself hearing her voice in my head when I’m frustrated at my lack of a system. I wish I had followed more of her suggestions. However, the one system I do follow is how to make her rice croquettes. I will share her “system” with you, as the recipe is incomplete without it, at least for me.  I’m sure it’s the reason that they are so delicious, each and every time I make them.

RECIPE: makes about 2 dozen

1 cup uncooked rice or 3 cups cooked.  I don’t know why, but Aunt Addie always used Carolina Rice.  I’ve never used any other brand.

2 eggs, well beaten, plus 2 more eggs for frying

2/3 cup grated parmigiano reggiano cheese

1/4 cup finely chopped parsley

salt and pepper to taste

1 cup breadcrumbs, plain or seasoned

olive oil for frying, about 2 cups

  1.  Put cooked, cooled rice in a large bowl.  Add the 2 beaten eggs, cheese and parsley.  Salt and pepper to taste.  Mix thoroughly.
  2. Set up the “system.”  Have a plate with the other 2 eggs, beaten and a plate of the bread crumbs next to one another, and have a large sheet pan or platter on which you will place the rolled croquettes before frying.
  3. Now roll a small amount of the rice mixture in your hands, packing it firmly and forming into small oblong balls.
  4. Gently roll in the egg to coat, and then the breadcrumbs.  Place on the pan or platter.
  5. Set up the next part of “the system.”   Heat the olive oil in a large, heavy skillet.  Place the ready to cook rice croquettes next to the skillet.  On the other side of the skillet,  have a pan or platter, lined with paper towels.
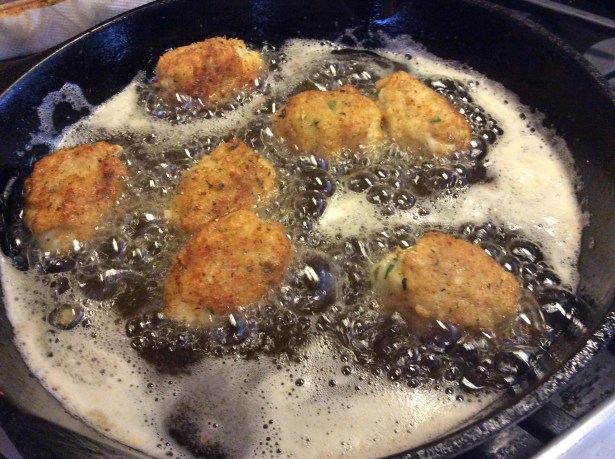
  6. Gently place several croquettes in the hot oil and turn gently ( she used two tablespoons to manage this), cooking them until golden brown on all sides.  I’d say this takes 3 to 5 minutes.
  7. As you remove them, drain on the paper towels.
  8. Serve warm.

**NOTE:  If you fry ahead of time and want to re-heat these, it is best done in a hot oven of 400 degrees for 5 minutes.

**NOTE:  It was suggested to me the other evening, that these would be delicious served with a little marinara sauce on the side or for dipping.  An excellent suggestion.

**NOTE:  Sometimes she added a little dollop of ricotta cheese inside before shaping.  Pack it in well should you try this.

**NOTE:  I can’t deny that these are very similar to what we now know as “Arancini di Riso,”  but to me they will always be the fanciest of fancy “Aunt Addie’s Rice Croquettes.”

croquettes recipecroquettes rice

croquettes cooked ricecroquettes bowl1croquettes bowl 2croquettes bowl 3croquettes systemcroquettes breadcrumbsIMG_7302 copycroquettes frying systemcroquettes frying 1croquettes frying 2croquettes friedcroquettes platedcroquettes plated closeup


Roasted Peppers

peppers plated *

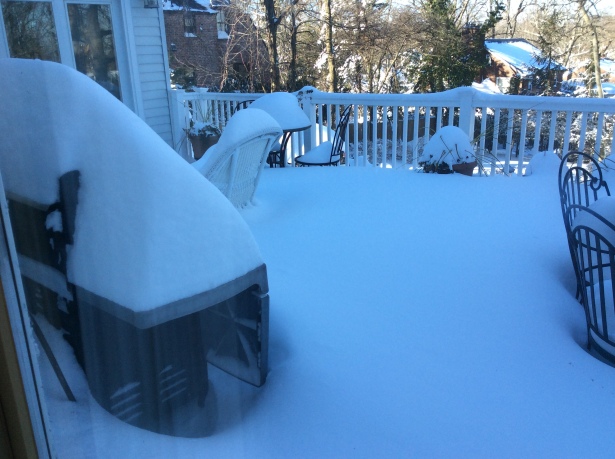
When New Jersey was hit with a blizzard last weekend, I was faced with a food dilemma.   I needed to roast 18 peppers for a family birthday dinner.  The request had been made for Rigatoni with Roasted Pepper Sauce ( you can find this recipe in the archives under “pasta”) long before the blizzard prediction.   The dilemma was that I always roast the peppers on my outdoor grill, which was covered with 2 feet of snow!   I knew that there were other ways to roast peppers, but I had never done so before. I was told that I could roast them directly over the flame of my gas stove, but that seemed like a laborious chore for 18 peppers. I was also told that you can broil them on a sheet pan in the oven, but my broiler is not working. What to do?

I decided to consult the internet, where I found a very easy solution.   You can bake them in the oven on a sheet pan. It sounded so simple. My only worry was that the peppers wouldn’t have that mildly, charred taste that they get from the grill. But what the heck, I had no choice. It was this or a disappointed birthday girl. I couldn’t have that!

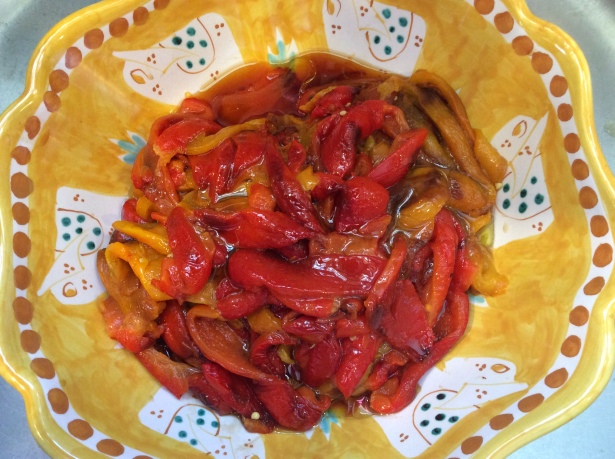
I was very pleased with the results. I might even like the peppers better when roasted this way. Once the charred skin was removed, the peppers were moist, plump, and extremely tasty.   A few slices of these peppers, with a drizzle of olive oil, next to a milky piece of fresh mozzarella cheese, and you’ll think you’re in heaven.   They are also a fabulous accompaniment to a simple, grilled piece of meat or fish. They just have so much flavor.

My sauce was a success, and the birthday girl was very happy, as was the entire family. I’m glad I didn’t let the blizzard ruin our celebration.

RECIPE:

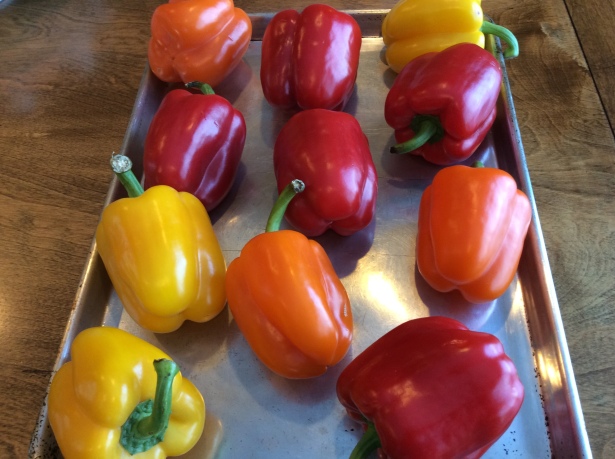
8 large red (and yellow and orange)bell peppers….it’s up to you what colors and how   many.

3 or 4 TBSP. very good olive oil

  1.  Preheat oven to 500 degrees.
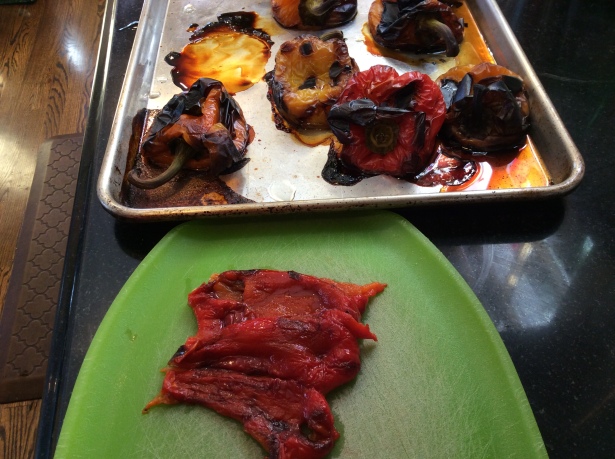
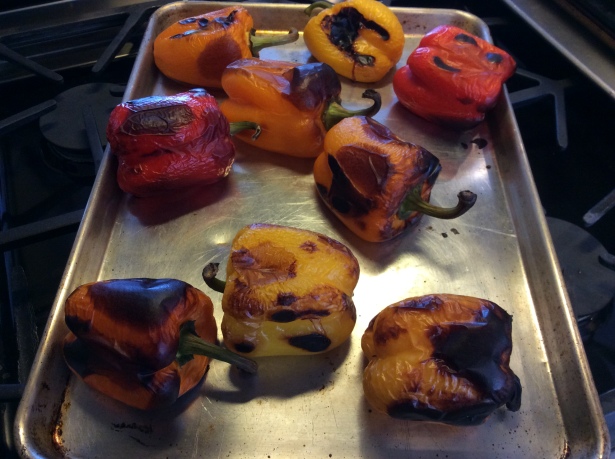
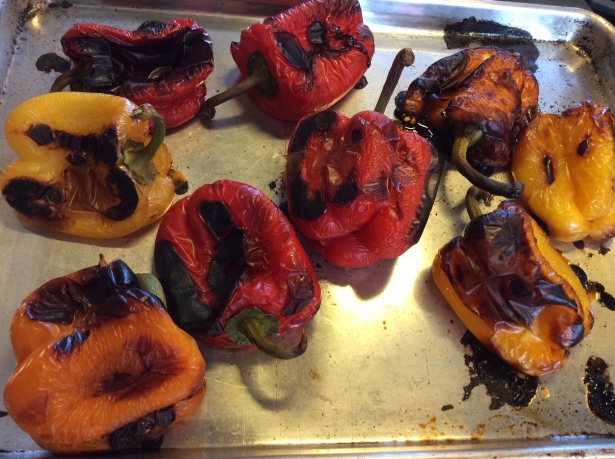
  2.  Place the whole peppers on a sheet pan and place in the oven for 30 to 40 minutes, until the skins are completely wrinkled and the peppers are charred, turning them once during roasting.
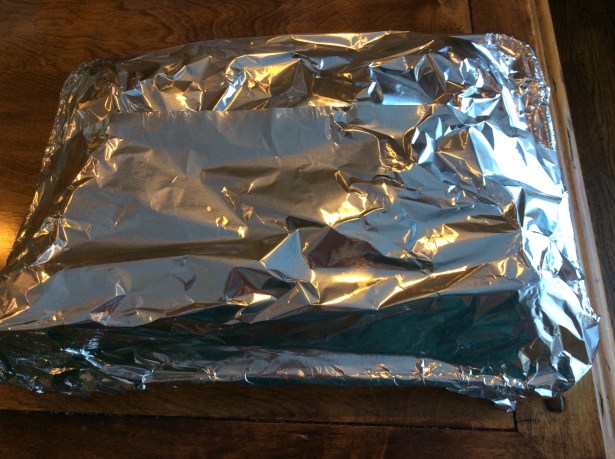
  3. Remove the pan from the oven and immediately cover it with aluminum foil. Set aside for 30 minutes or until the peppers are cool enough to handle.
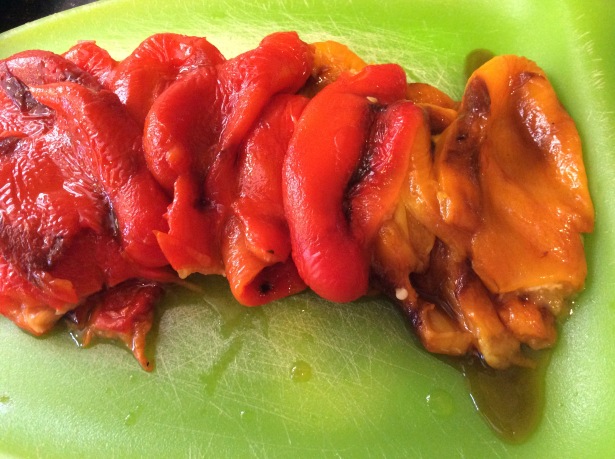
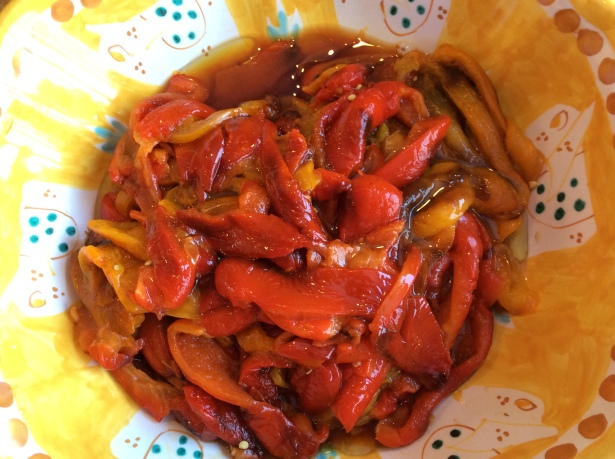
  4. Remove the stem from each pepper and cut them in quarters.  Remove the skins and the seeds and put in a bowl.  You can slice them thinner if you like.
  5. Pour the olive oil over the peppers.
  6. They will stay in the refrigerator, covered for up to 2 weeks.


peppers deckpeppers peppers 2+peppers peppers 2peppers pan 1peppers pan closeuppeppers wrappedpeppers cutting 1peppers cut boardpeppers closeup 2peppers closeup 1


Veal Marsala

veal marsala plated *

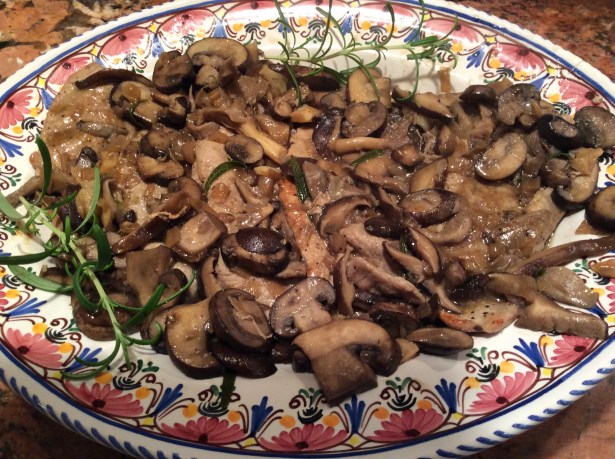
Veal Marsala was one of the first fancy veal dishes that I added to my repertoire of “company worthy meals” as a young, home cook. It scared me at first, and I’m not sure why. Maybe it was the Marsala wine that seemed exotic to me at the time. Now, I consider this a very easy meal to prepare any night of the week. It takes so little time to make, and one skillet is all that you need. One, two three…and you have a delicious (and somewhat fancy) meal.

I’ve made one change to this recipe over the years. I had always dredged the veal in seasoned flour before browning it. It was my belief that this gave the sauce a thicker consistency. But not too long ago, my friend Giada taught me that the flour was not necessary. Okay, she’s not really my friend, but I saw her make this on the food network, without the flour. I trust her, so I gave it a try, and was actually happier with the taste of the sauce. It’s a bit more delicate, which I like. I think you will too.

This can also be made with chicken cutlets, if you’re not into veal. Just make sure you tenderize the chicken with a meat mallet. The veal shouldn’t need that.

Let me know how you like this without the flour, and I’ll let Giada know the next time we have lunch. Oops there I go again , pretending she’s my friend.   But wouldn’t she be a great friend to have?   Just think of all the recipes she’d share. All kidding aside, the connection between food and friends is one that I cherish, so I tend to consider some of my favorite TV chef personalities as friends. Sharing recipes creates a familiarity among us and fosters the intimacy that is “friendship.” At least this is how it is for me. I watched my mom and her friends bond over recipe sharing, and I have definitely inherited that gene. So my friends, enjoy this recipe for Veal Marsala!

RECIPE: serves 4

8 veal cutlets (about 3 ounces each)

salt and freshly ground pepper

2 to 3 TBPS unsalted butter

2 to 4 TBSP olive oil

1 large shallot, chopped finely

2 to 4 garlic cloves, smashed

8 ounces assorted mushrooms, sliced

1/2 cup sweet Marsala wine

3/4 cup low-salt chicken broth

4 rosemary sprigs

  1. Sprinkle the veal with salt and pepper.
  2. Melt 1 TBSP butter and 1 TBSp oil in a heavy, large skillet.  Add 4 veal cutlets and cook until golden brown, about 1 1/2 minutes per side, depending upon the thickness of the cutlets.  Transfer the cutlets to a plate.
  3. If necessary, add another TBSP of butter and oil.  Repeat with the other 4 cutlets.  Set the cutlets aside.
  4. Add 1 TBSP of oil to the skillet.  Add the shallots and garlic.  Saute until fragrant, about a minute or two.  Add more olive oil, if necessary.
  5. Add the mushrooms and sauté until tender, about 4 minutes.  Season with salt.
  6. Add the Marsala and simmer until reduced by half, about 2 minutes.
  7. Add the broth, and the leaves of two rosemary sprigs (no need to chop them). Simmer until reduced by half, about 4 minutes.
  8. Return the veal to the skillet, along with all the veal’s juices.
  9. Cook just until heated through, turning to coat, about 2 minutes.  Stir the remaining TBSp of butter into the sauce.  Season the sauce with salt and pepper to taste.
  10. Transfer the veal to plates or platter.  Spoon the sauce over the veal.  Garnish with rosemary sprigs and serve.

veal marsala ingredientsveal marsala vealveal marsala seasonedveal marsala garlic:shallotsveal marsala pan 1veal marsala pan 2veal marsala saute 1veal marsala mushrooms 1veal marsala mushrooms 2veal marsala panveal marsala platedveal marsala plated closeupe


Mediterranean Cod with Olives

cod plated **

Happy 2016!  I hope you all enjoyed the holiday season and are now ready to repent by making the number one New Year’s resolution to change all your eating habits and get healthy! This always makes me laugh. Why must we make this resolution year after year? Why must we be tormented with advertisements from gyms? Why must every recipe in every magazine or cooking show be about cutting calories? And if I see one more segment on TV news shows about losing weight, I just might scream. It’s not that I don’t agree with what they have to say. I’m all for healthy eating and exercise. It’s just the necessity to inundate us every year with the same information that annoys me.

Now, all this being said, I apologize for spending this blog post touting the merits of “the Mediterranean diet.” It is not a diet, but rather a cuisine that consists of mostly “whole foods,” “good fats,” and lots of fruits and vegetables, legumes and whole grains. Research has shown that it promotes longevity, as it is heart healthy, anti cancer and reduces the risk for Alzheimer’s disease.   This is not to say that other cuisines are not as good, as many are indeed. But this is the cuisine I was raised on, and I do believe it contributed to my grandparents living to a ripe old age of 103. My parents are both 95 years old and going strong. I’m not overlooking the part that genetics play in longevity. I’m just saying that eating like this can’t hurt.

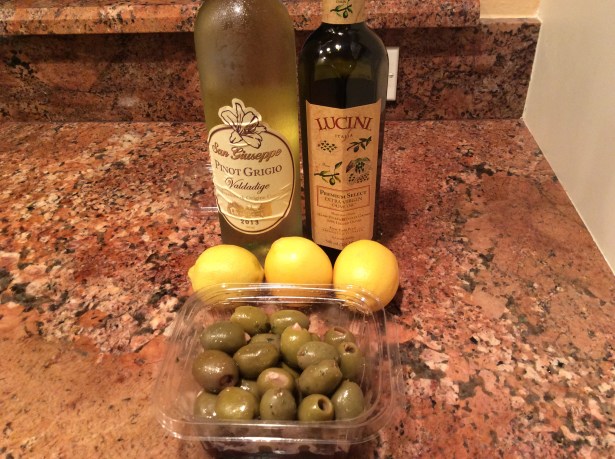
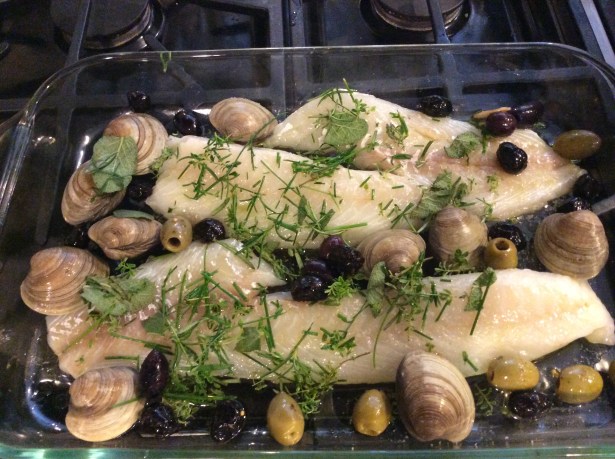
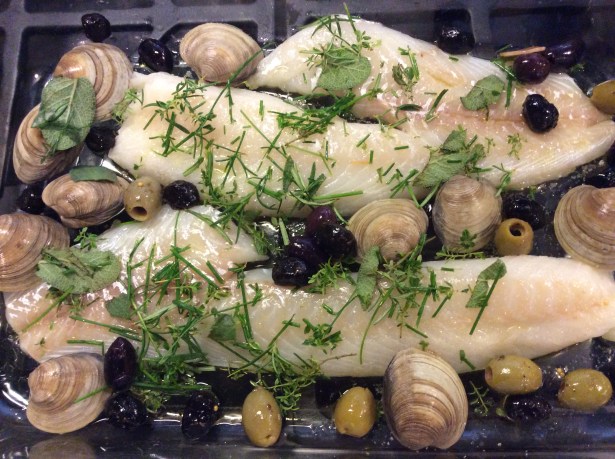
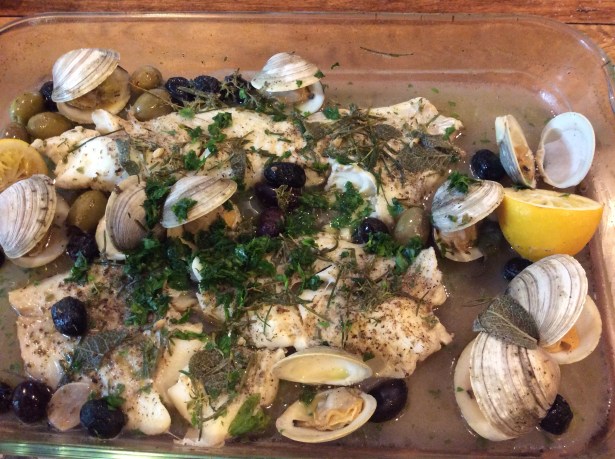
Today’s recipe for cod fish with olives embodies most aspects of the Mediterranean diet. My husband and I created this dish by just throwing everything “Mediterranean” into a pan, and baking it in the oven. We used cod, which is a fresh water fish, and added olives, olive oil, white wine, fresh herbs and lemons.   Here we also added clams, just to do something different. We eat this dish so often that we like to add a variation from time to time. Sometimes, I add capers or halved cherry tomatoes. Sometimes I top it with a little Italian seasoned breadcrumbs.   So experiment a little and enjoy!

Should you decide to complete this meal with a big piece of chocolate cake, go right ahead……there’s always next year!

RECIPE:  serves 4

1 lb to 1 1/2 lbs fresh cod fish

1 dozen or so clams (if desired)

1 cup olives…any kind…I like to use a mix of olives

1/2 cup of  dry white wine (approximately)

1/3 cup olive oil (approximately)

1 lemon

2 TBSP chopped fresh herbs ( oregano, rosemary, thyme, sage.. whatever you like)  If using dried herbs, just use 2 tsp.

sea salt and freshly ground black pepper to taste

  1. Preheat oven 350 degrees.
  2. Coat bottom of pan with half of the olive oil.
  3. Put cod in pan and turn to coat with the oil.
  4. Sprinkle with salt and pepper and herbs.
  5. Add wine and clams.
  6. Drizzle the rest of the olive oil over the fish.
  7. Squeeze the lemon over all and I leave the lemon in the pan.
  8. Cover with aluminum foil and bake for 20 minutes, covered.  Then remove the foil and cook another 5 minutes.  If using clams, make sure they are open before removing the foil.
  9. Put in platter and cover with liquid.cod ingredientscod 1.jpgcod 2cod 3cod plated closeup


H

Sausage and Swiss Chard Soup

chard soup plated *

Here is an easy, nutritious soup that can be made in under 45 minutes, and will soothe your soul after a long day of Holiday shopping. I’ve already made it twice this holiday season. It can be made in the morning before you head out and then just warm it up later, or you can assemble it quickly after a hard day of shopping.  Don’t be scared off by the rather long list of ingredients.  I like to chop in the morning, and assemble in the evening, with a glass of wine in hand.

It is always such a delight for me to receive recipes from friends via email or in the mail ( yes, regular U.S mail delivery), telling me that I will love a certain recipe.   To me, that shows a real bond between friends. We know each other so well that we are certain of the enjoyment the other will derive from a special recipe. We don’t want our friend to miss out on the pleasure of it.

As I have mentioned before, the exchange of recipes has been a large part of my life. Each shared recipe means so much to me. It always brings me back to that special person, and the special place that we shared at that moment in time.

Thanks, Bev.   You were right.   “This is yummy!” XO
RECIPE:  serves 6

1 cup dry white wine

2 TBS. olive oil
1 1/2 lb. chicken andouille sausage

1 small onion, diced

2 celery stalks, diced

2 carrots, diced

1 leek, white portion only, dice

2 cloves garlic, minced

1 to 2 tsp. minced fresh thyme ( can use 1 tsp. dried)

6 cups chicken stock, warmed

1 cup water, warmed

2 cups white beans, drained

Half a pound of swiss chard leaves cut into 1/2 strips ( I use 3 bunches, and my strips are roughly torn)

Salt and freshly ground pepper to taste

Grated Parmigiano-Reggiano cheese

  1.  In a small saucepan over medium heat, boil wine until reduced to 1/2 cup, 7 minutes or so.
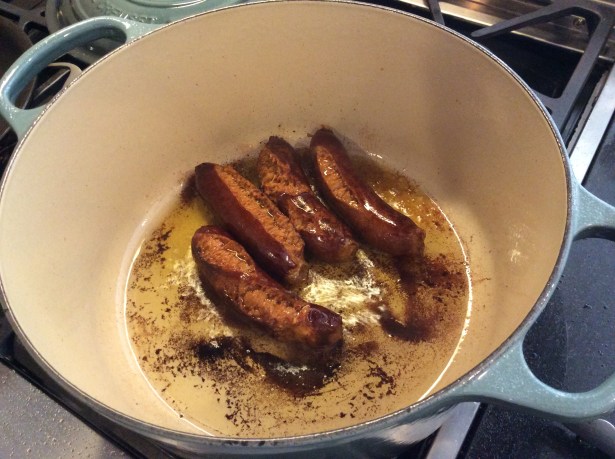
  2. In soup pot, over medium heat, warm oil.  Brown sausage, about 5 minutes per side.  Remove and let cool.  Cut diagonally into 1/2 inch slices.
  3. In same pot, over medium-low heat, cook onion, celery and leek until soft, about 10 minutes.
  4. Add garlic and thyme; cook 2 minutes.
  5. Add wine, stock and water and simmer on medium-high heat for 15 minutes.
  6. Add sausage beans and chard.  Cook until chard wilts, about 5 to 8 minutes.
  7. Season with salt and pepper.
  8. Ladle soup into bowls and top with grated cheese.


chard soup chardchard soup washedchard soup veggieschard soup sausagechard soup brothchard soup 1chard soup 2chard soup plated *?chard soup recipe


Acorn Squash

acorn squash plated*

Since Thanksgiving is tomorrow, I thought it only right that I share an “All American” recipe.   Acorn squash, baked in the oven with butter and brown sugar, would be a delightful side dish to a Thanksgiving dinner. It’s certainly easy enough, but the drawback is that it requires quite a bit of oven space, which is usually at a premium on Thanksgiving Day.   I have never made this on Thanksgiving, but I do serve it as a lovely and delicious side dish to almost any meal throughout the year.

The first time I ever had an acorn squash was in 1973 at the home of my newly married, childhood friend, Bev.   We were both new brides and loved to entertain and try out new recipes on each other. One bite of this lightly sweetened squash, and I knew I was going home with the recipe, which I did, and have been making it ever since. Each time I struggle cutting the squash, I think of all the different kitchens in which I have fought with an acorn squash over the years, trying desperately to get my knife through it so I can could it in the oven on time. This is the hardest part of the recipe, and I have so many funny images of myself trying to do so. I still haven’t mastered this, by the way, even though my knives are a better quality now. But the struggle is well worth it.   I felt so “fancy” whenever I served this in the 1970s. Now, I just feel thankful for all the memories.

You can find the recipes for two of my favorite, family Thanksgiving recipes in the archives: Mom’s Candied Yams and Tortellini in Brodo.

Happy Thanksgiving!

RECIPE:  serves 4 to 8

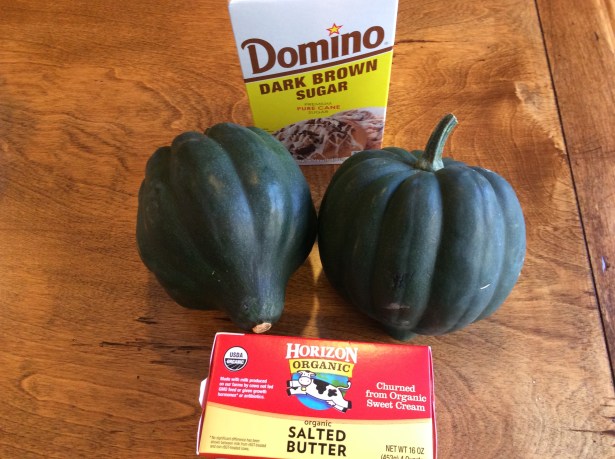
2 acorn squash

2 TBSP butter

2 TBSP brown sugar

  1.  Cut ( careful, now) squash in half.
  2. Scoop out the seeds and orange strings.
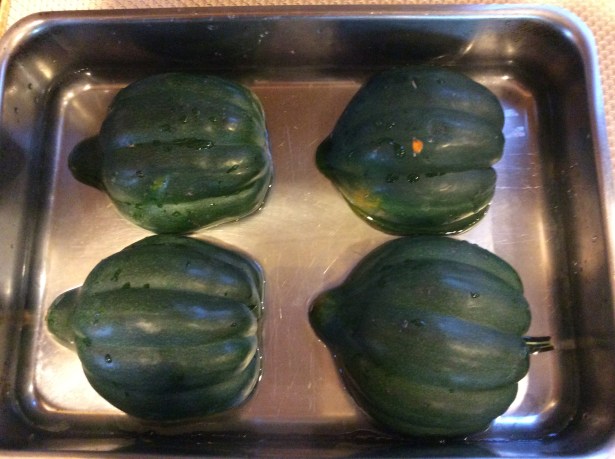
  3. Put squash, cut side down, in a baking pan with about 1/2 inch of water.
  4. Cover with aluminum foil.
  5. Put in preheated 350 degree oven for 30 minutes.
  6. Take pan out of oven and gently (and carefully) turn the squash over.
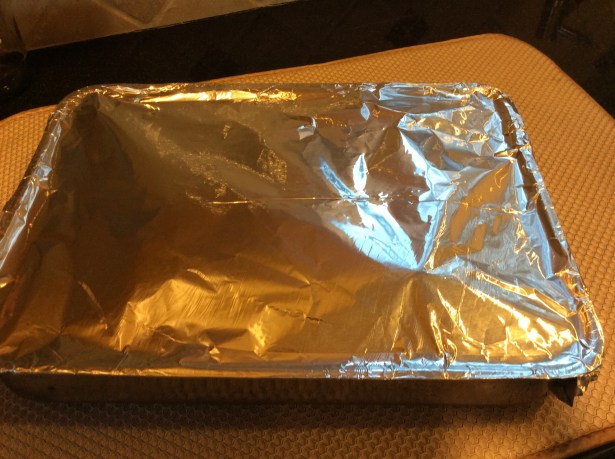
  7. Divide the butter and brown sugar amongst the squash halves. Cover again with the foil and put back in oven for 15 minutes.
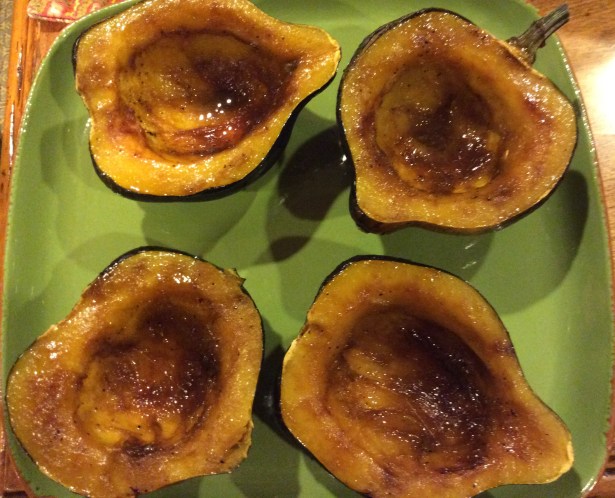
  8. Take out of the oven and remove the foil. Baste the flesh of the squash with the butter and sugar mixture.  Return to oven without foil, and cook for another 15 to 20 minutes, basting occasionally, until flesh is cooked well.


acorn squash ingredientsacorn squash cutacorn squash cleanedacorn squash pan 1acorn squash pan 2acorn squash pan 3acorn squash pan 4acorn squash pan 5acorn squash plated 2acorn squash plated closeupacorn squash recipe


Spaghetti Aglio e Olio

oil and garlid dish *

I can’t believe that I have been blogging for three years now, and have not mentioned the recipe for spaghetti aglio e olio. It is a staple for Italian families. For such a simple dish, it has many facets to it, and several medicinal properties….or so we Italians think. Many believe that a big bowl of this after a night of excessive drinking, will sober you up and ward off a hangover. Others believe that this dish will settle an upset stomach. When hungry, and there is very little in the pantry, you can always find garlic and oil, and this will fill your stomach as well as your soul. For some Italians, this is a traditional Christmas Eve dish, as it is in my family. There is also a running dispute among Italians with regards to anchovies or no anchovies.   This then leads to the next question, if there is fish in the sauce (anchovies), should you use grated cheese? The addition of red pepper flakes is also a personal choice. It’s definitely a question of taste.   My mom almost always added anchovies, so this is my preference, but it is wonderful without as well.   I’ll leave this part up to you.

I’m not quite sure how this dish of pasta became a late night snack for Italians, but it is not usually served as dinner. One of my fondest childhood memories is watching my parents, aunts and uncles come back to our house after they had been at a Christmas party or out to dinner, and my mom would whip up a few pounds of spaghetti aglio e olio. They’d sit at the dining room table, talking, laughing and eating with gusto.   The heavenly smell would wake us. Our stomachs would rumble with hunger as my sister, brother and I hid at the top of the stairs watching….salivating….hoping to be seen so they would invite us down for a taste. Heaven!

Another memory, that I still find incredible, was after a 6 hour wedding reception in Italy for 500 people, which consisted of 8 courses, three of which were pasta courses, the father of the bride announced that at 11:30 PM, spaghetti aglio e olio would be served.   I honestly thought it was a joke. Who could eat another thing? I felt like I would explode. It was no joke when they brought out bowls and bowls and more bowls of piping hot, cooked to perfection, al dente, spaghetti aglio e olio! It was crazy! But it was delicious, may I add. I think it made my stomach ache go away, and sobered me right up. It truly is a miracle dish!

So the next time you are looking for a delicious midnight snack, all you need is about 20 minutes to sooth your hunger. By the time the pasta cooks, your sauce will be made, and you can go to bed happy, full and will enjoy a peaceful nights sleep.

RECIPE:   serves 4 

1 pound spaghetti

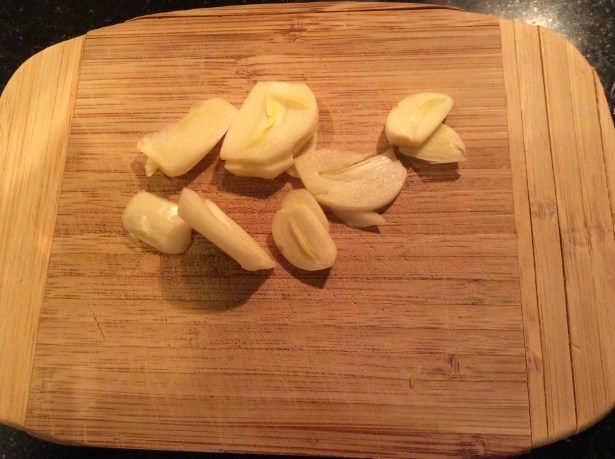
6 cloves garlic, sliced rather thin

1/2 cup of fabulous olive oil

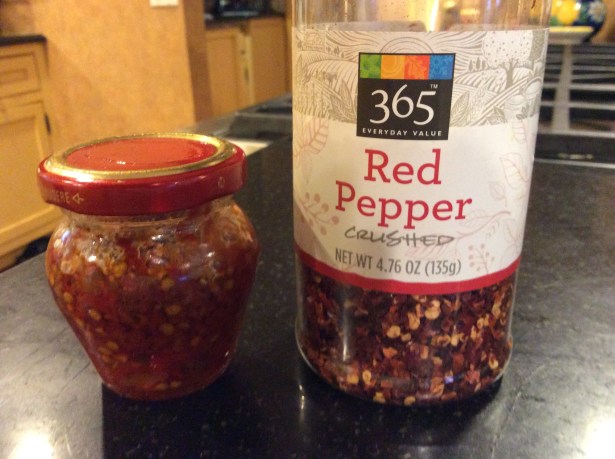
1/4 tsp. crushed red pepper ( optional, but do it)

4 canned anchovies filets (optional)

1/2 cup chopped Italian parsley

1/2 cup grated parmigiano cheese (ONLY if not using anchovies)

salt and freshly ground pepper to taste

  1.  Put  a large pot of water up to boil.
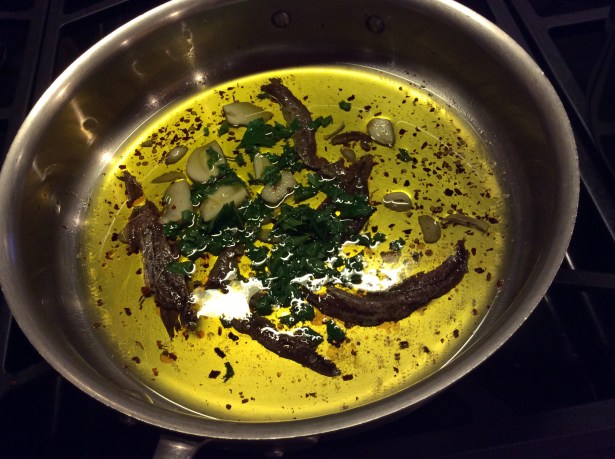
  2. Warm garlic and oil in a fry pan. Add red pepper, if using.  Saute until garlic is golden.
  3. Shut off heat and add half the parsley and anchovies, if using.  Stir until anchovies are dissolved.
  4. Cook spaghetti until al dente, saving 1 cup of pasta water ( water from the pot where the pasta is cooking).
  5. Add the pasta water to the fry pan and heat through.
  6. Add sauce to the pasta in a large bowl, and mix well.  Add the rest of the parsley, and freshly ground pepper.
  7. If not using anchovies, you can add the grated parmigiano cheese now, or simply pass it.
  8. Dig in with gusto, for dinner or a late-night snack!

oil and garllic ingredientsoil and garlic red pepperoil and garlic garlicoil and garlic pansoil and garlic parsleyoil and garllic sauteoil and garlic sauce panoil and garlic dish *2?

oil and garlic recipe

Peppers and Eggs Sandwiches

peppers and eggs sandwich *

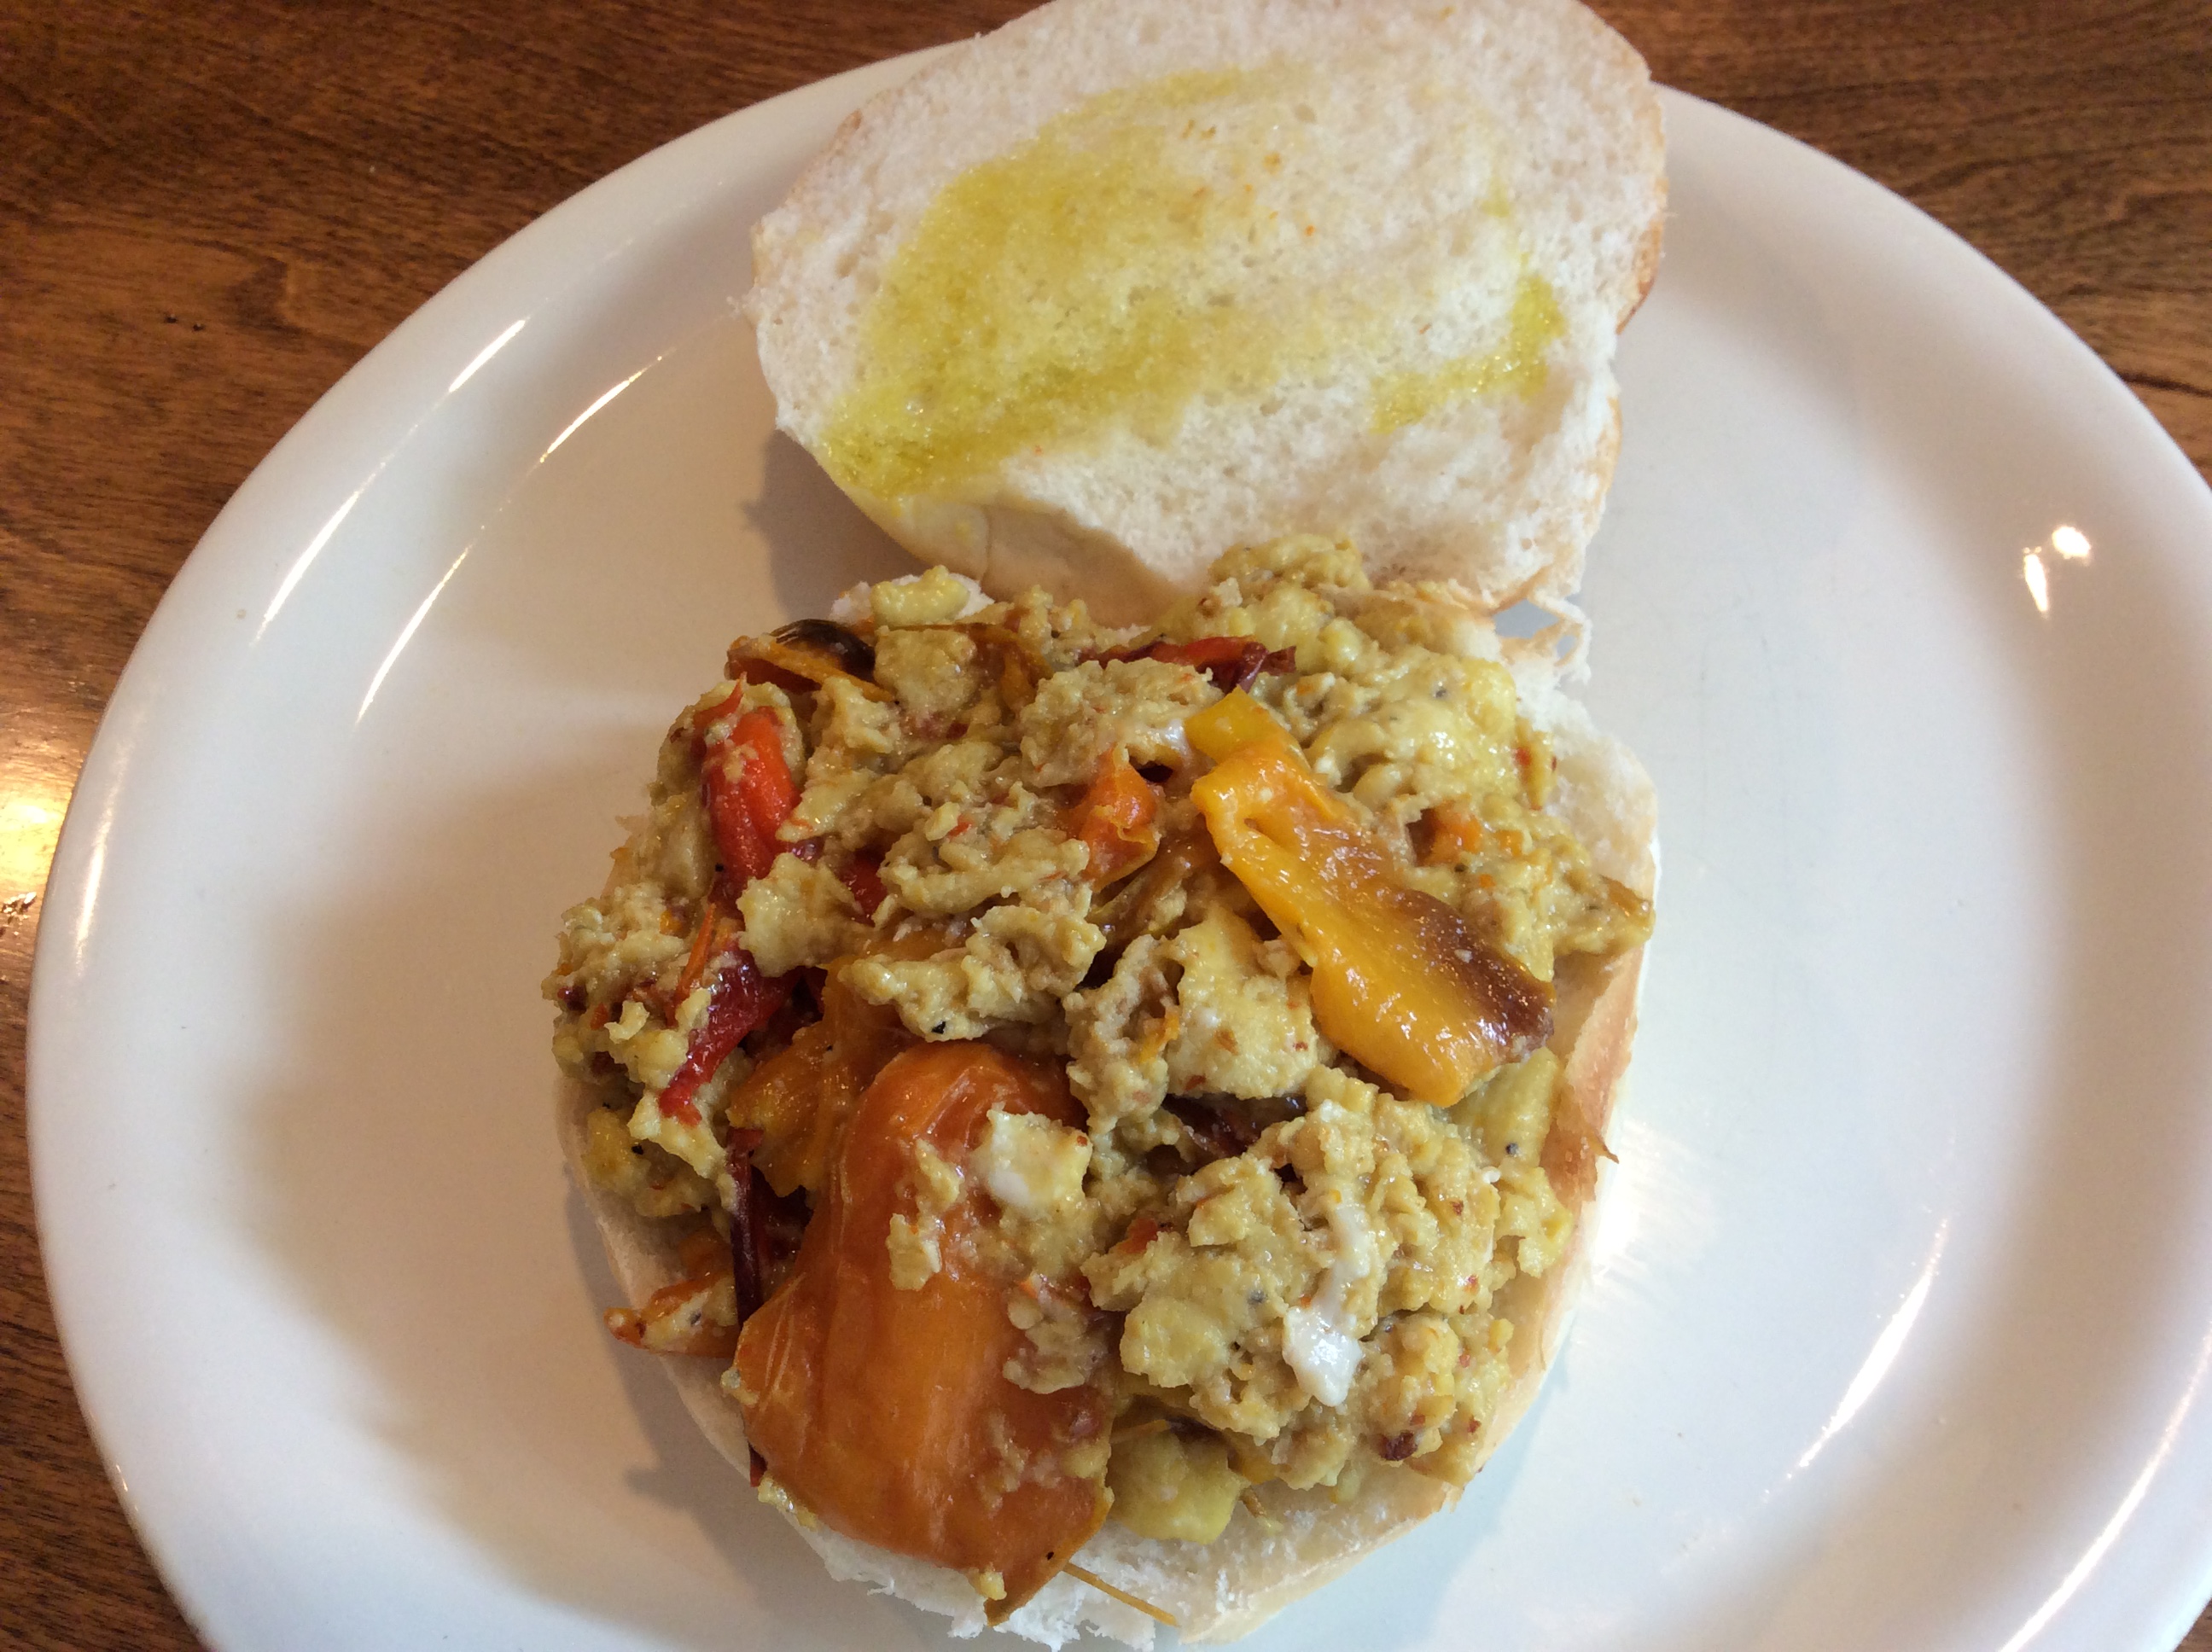
Since we’re on the topic of delicious sweet peppers (last week’s blog), I simply had to blog my favorite sandwich of all-time. I don’t even know where to start with this “love of my life” sandwich. It all began when I was a young girl, maybe eight years old or so. In the summer, my family would take day trips to the beach town of Deal, New Jersey. There was (and still is) a lovely, large beach there with cabanas to change in, and a pavilion where you could buy food, or tables where you could sit and eat whatever picnic lunch you might have brought. We spent many Saturdays and Sundays here with aunts, uncles and cousins.   As kids, we’d swim for hours, swing on swings, and anticipate the wonderful lunch that my mom had packed.

My mom would get up at 5:00 AM to make peppers and eggs sandwiches on hard rolls, as well as eggplant parmigiana sandwiches. You could smell the peppers cooking and the eggplant heating in the oven, the moment you woke up. I’m not sure what excited me more, the anticipation of the beach or these mouth watering sandwiches. She’d wrap each sandwich in aluminum foil and put them in a large wicker picnic basket, and off we’d go. Whether the picnic basket was in the trunk of our De Soto or in the way, way back of the station wagon we had later on, you could smell these sandwiches for the entire one hour ride.  It was intoxicating!

This truly is one of my fondest food memories from my childhood. Biting into this sandwich and having the oil drip down your chin after hours of jumping around in the ocean with my siblings and cousins, is still such a clear, image, as well as a taste I cannot forget.  When I make this for myself and my family, I still feel that sense of anticipation before I take that first bite. I can still taste the sea and these fond memories abound. The sandwich delights my taste buds every time, and the oil still dribbles down my chin, but I’m afraid it will never taste the way it did then. How can it?

RECIPE:  makes 3 to 4  sandwiches

1 lb of small sweet peppers, or 3 to 4 bell peppers or fryers

2 cloves of garlic, halved

4 TBSP olive oil, plus some for drizzling

6 eggs

1/4 cup grated Italian cheese ( parmigiana or pecorino romano)

salt and pepper to taste

the best Italian rolls you can find

  1.  Preheat oven to 400 degrees.
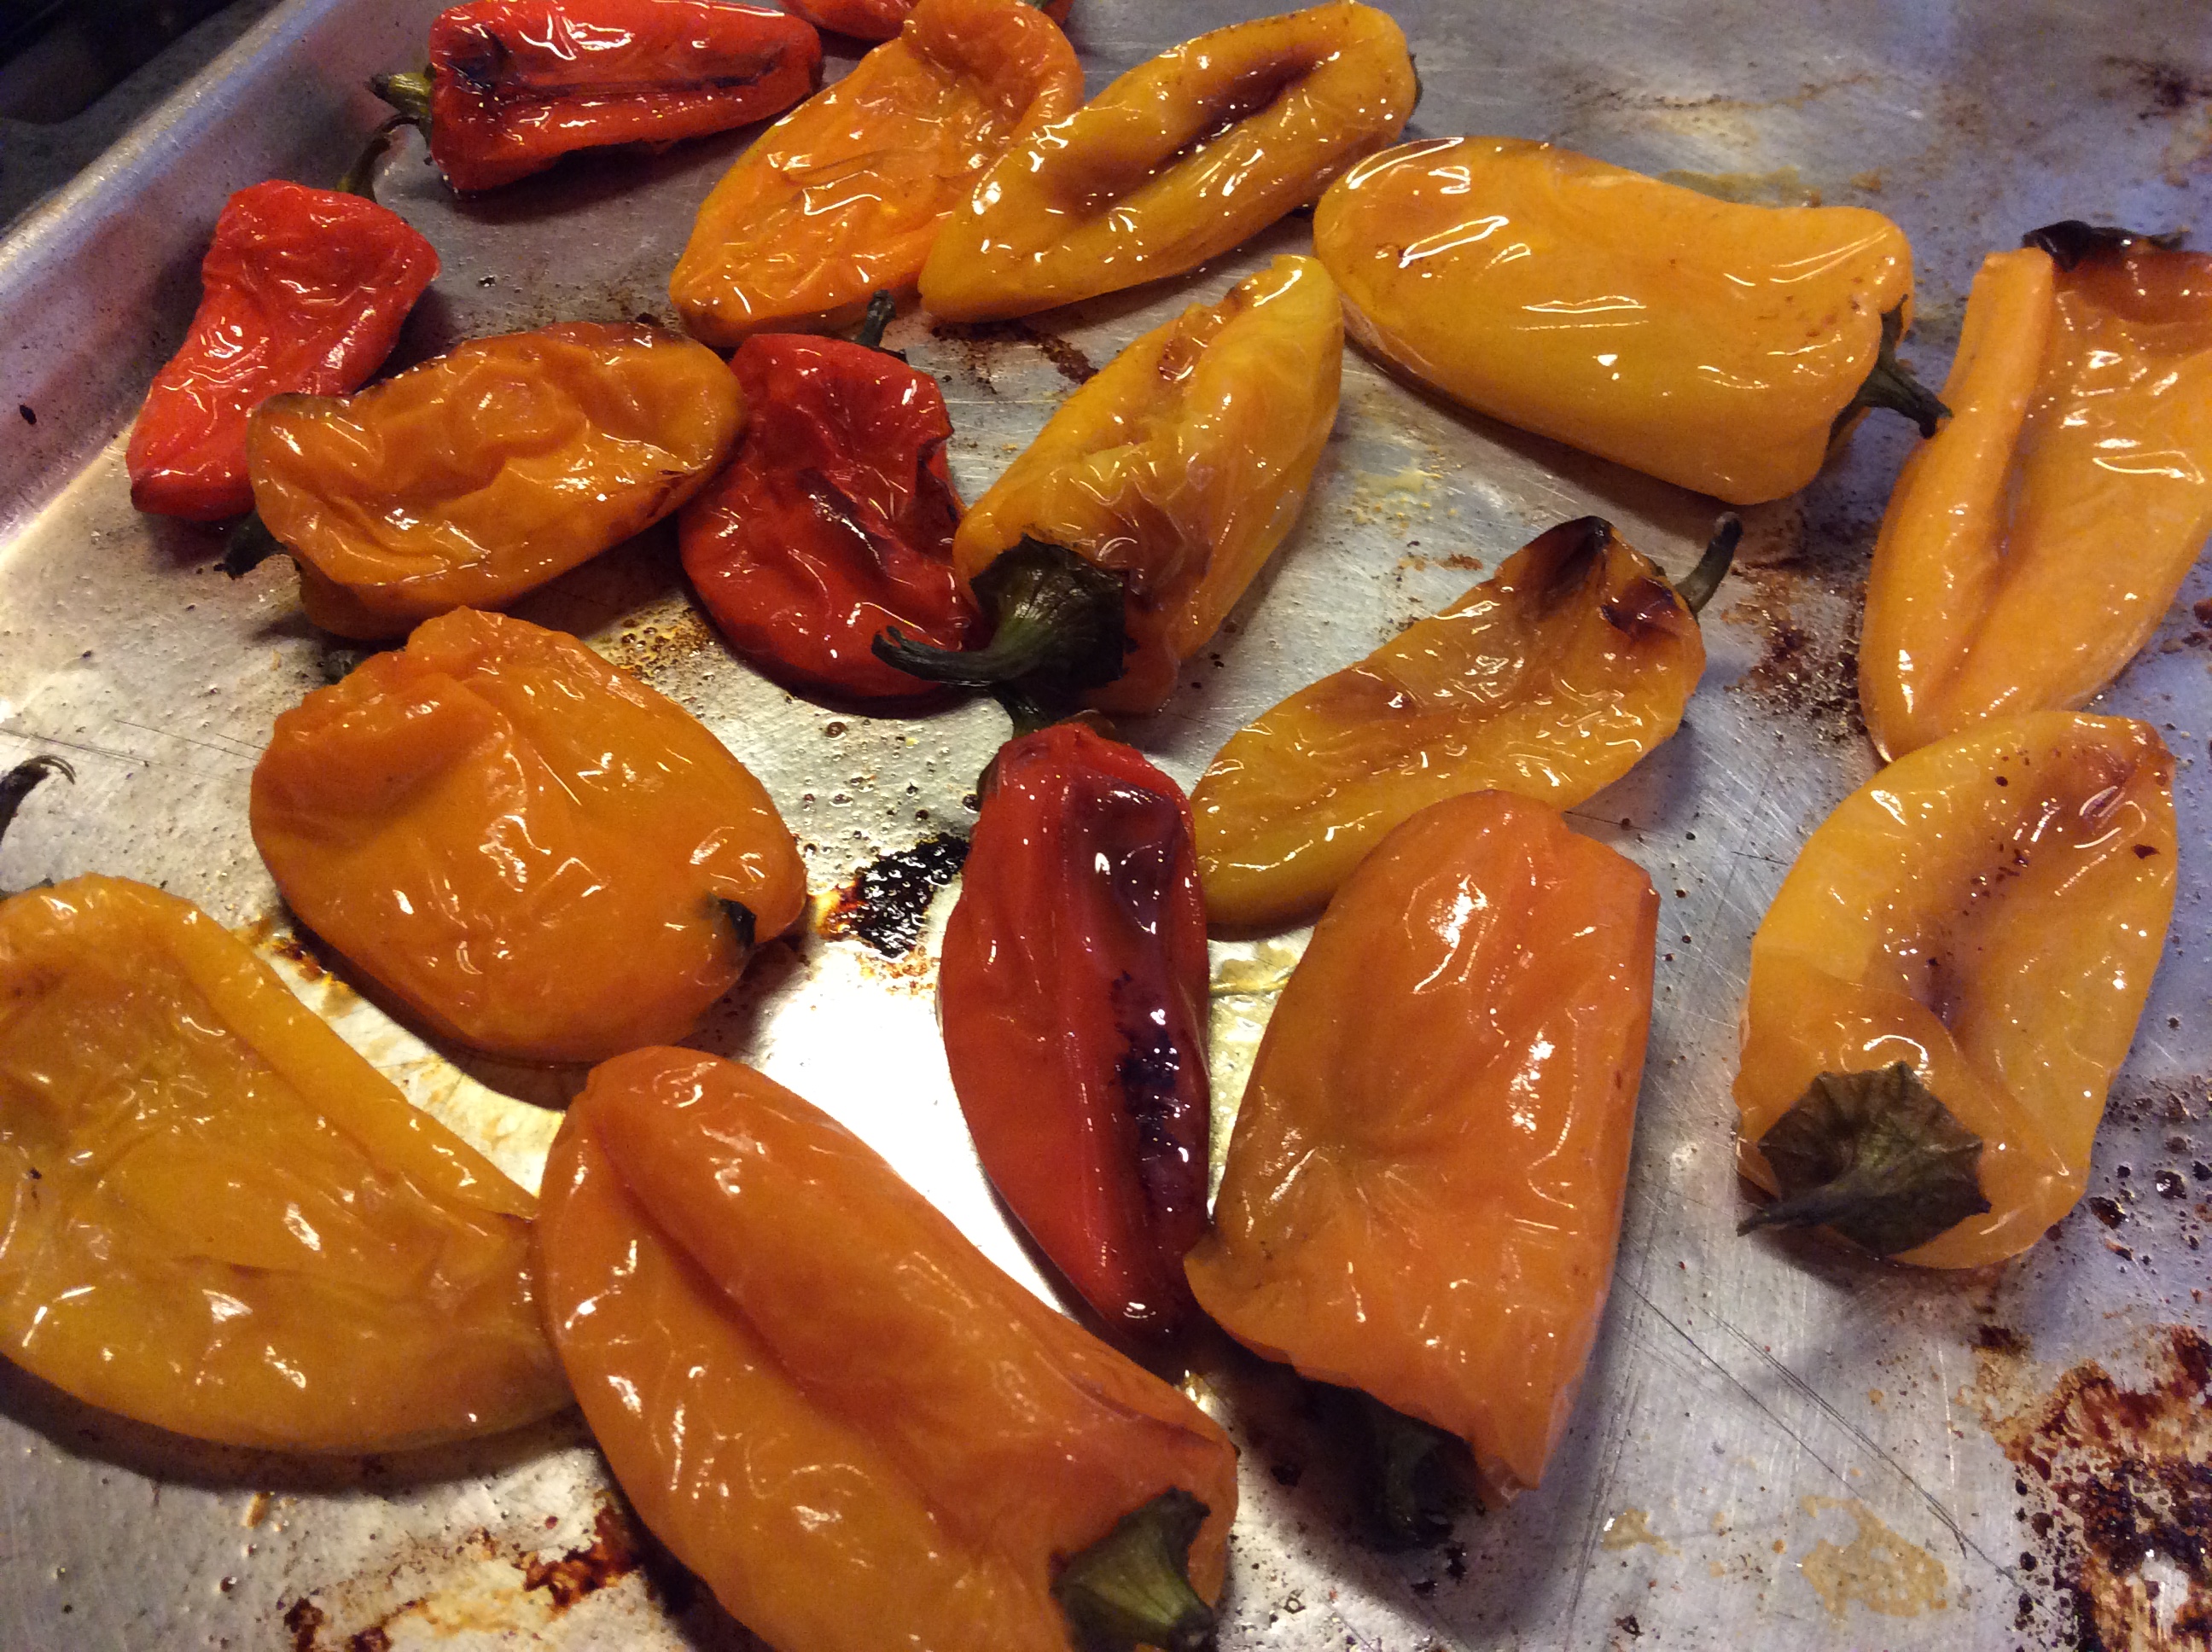
  2.  Put peppers on a baking sheet.   Drizzle with olive oil and season with salt. * See note for using bell peppers.
  3.  Bake in the oven for 30 minutes.
  4. Cut peppers into strips, removing the seeds.
  5. Beat the eggs with a fork or whisk.  Add the cheese and salt and pepper to taste.
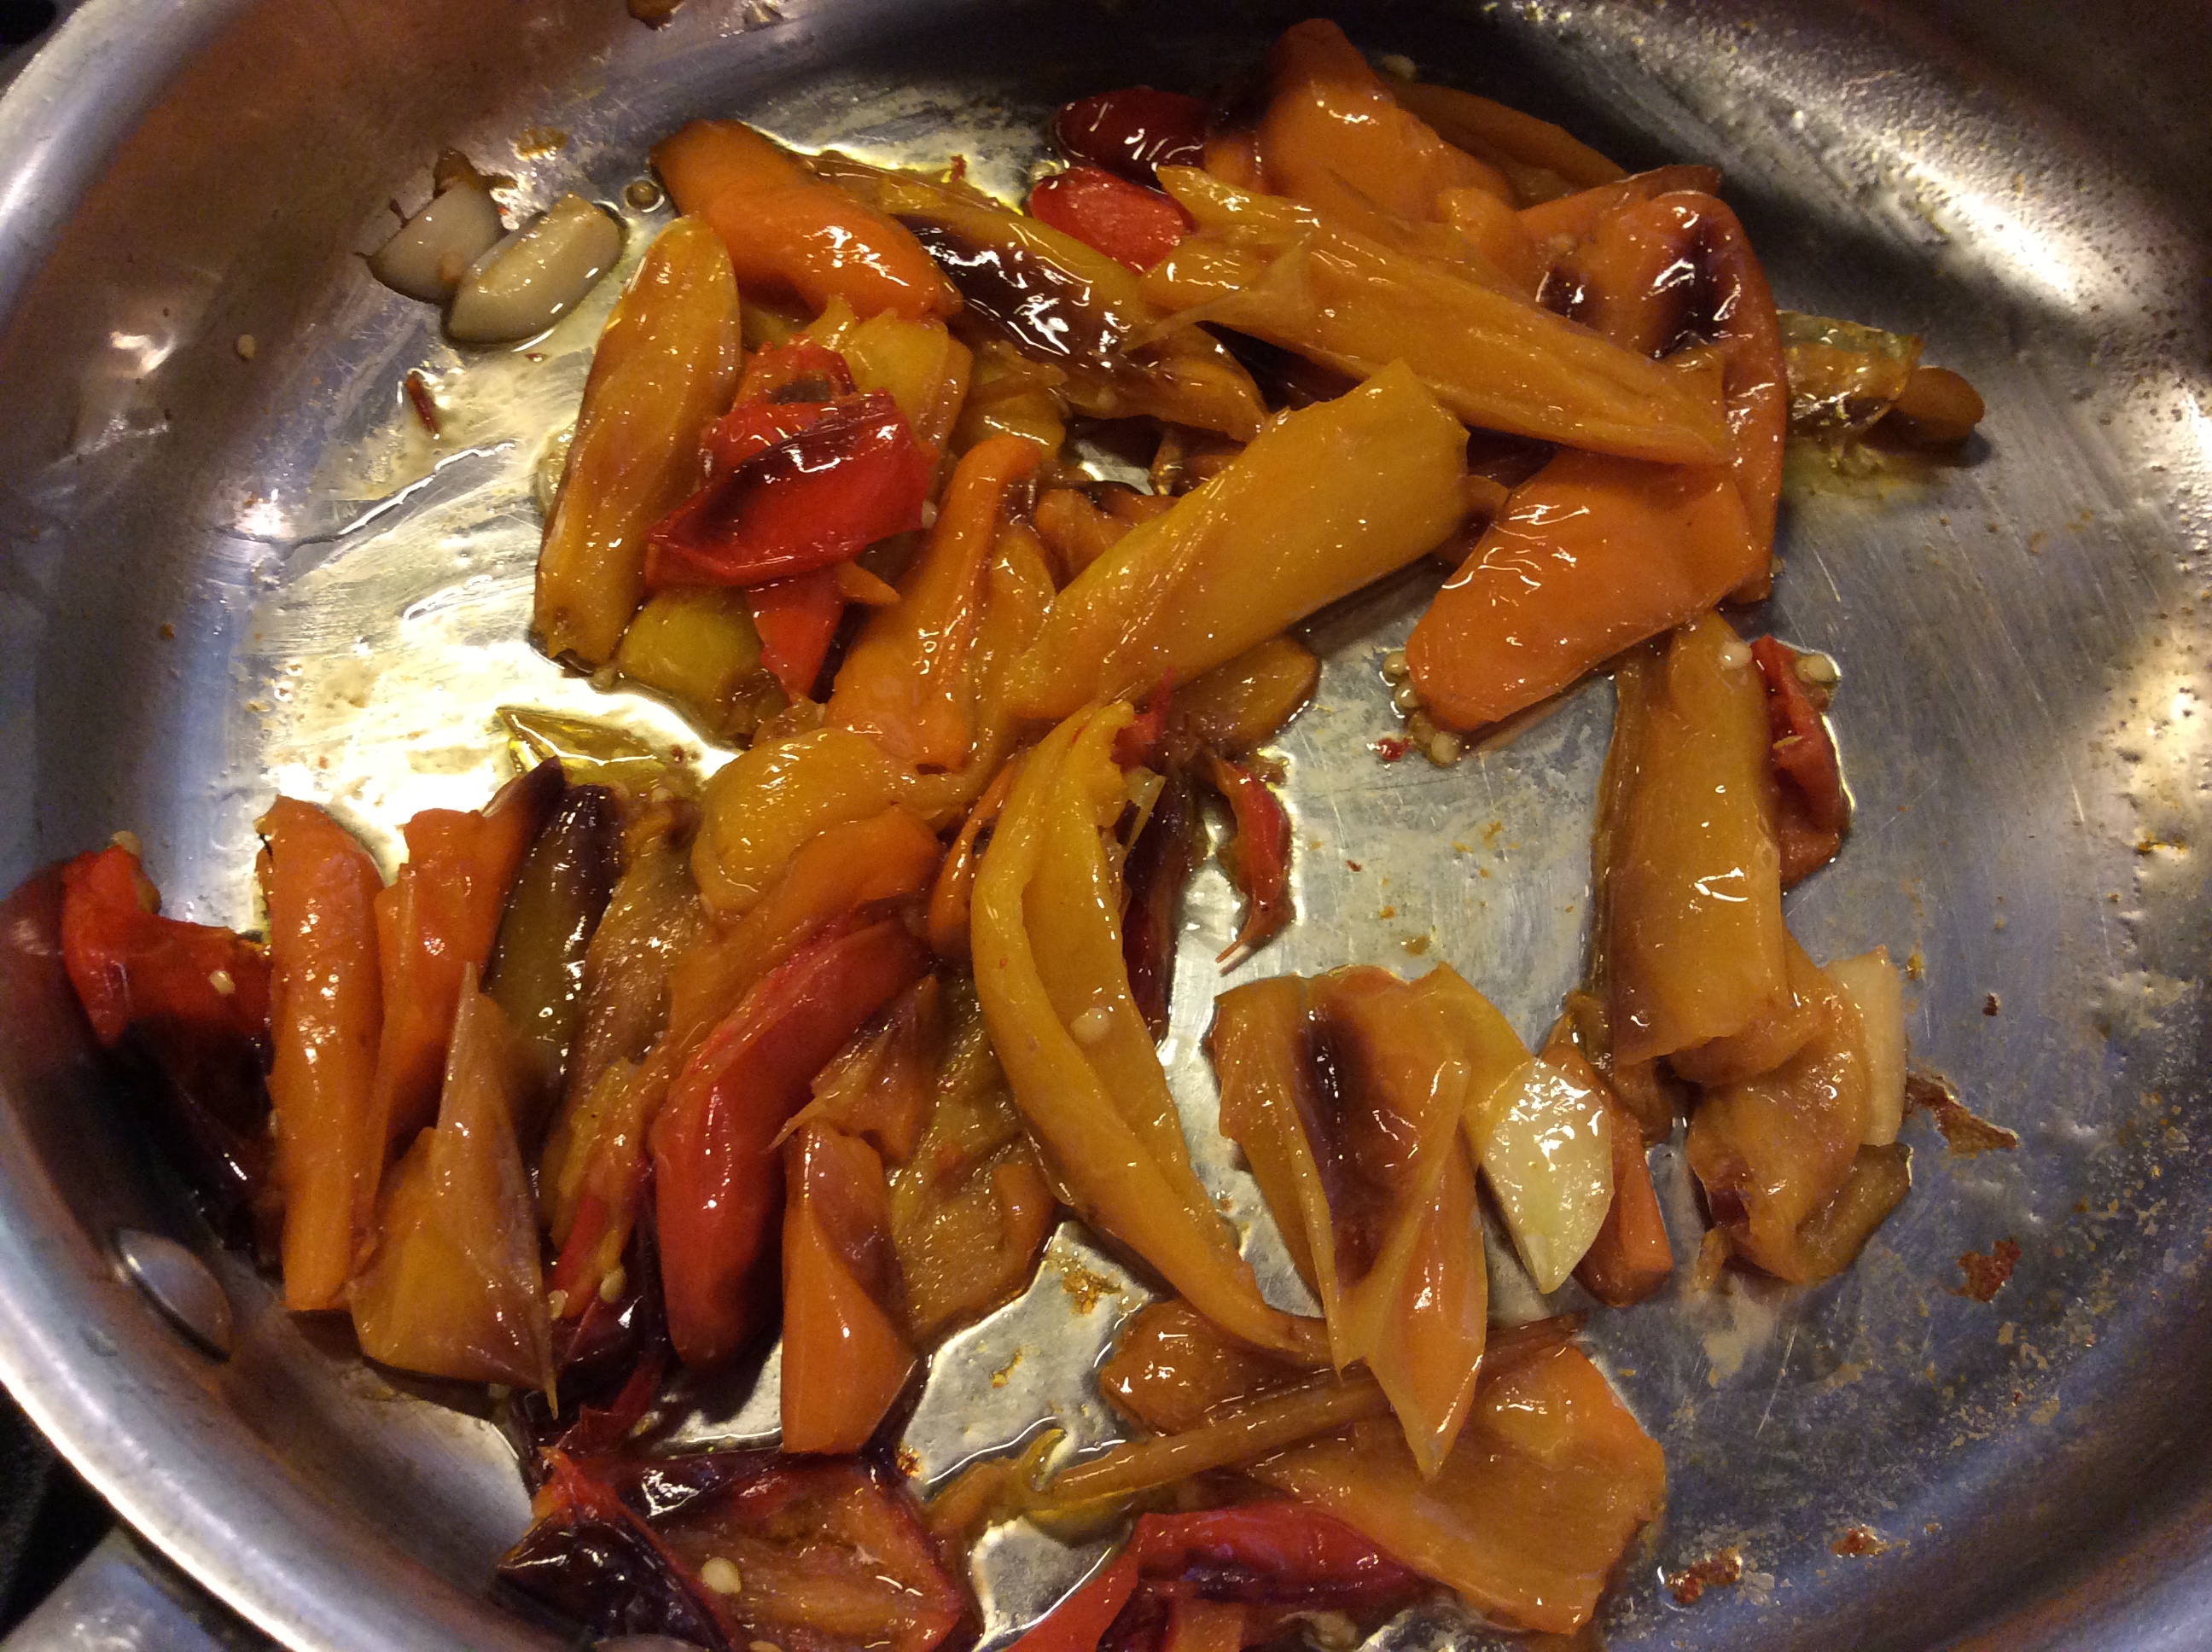
  6. Heat the 4 TBSP of oil and the garlic in a fry pan.  After a few minutes, add the peppers and sauté for 5 minutes.
  7. Remove the garlic and add the egg mixture.  Scramble as desired.

*NOTE:  If using bell peppers, cut them into wide strips after removing the seeds.  Put the oil in a fry pan and add the peppers, garlic and salt.  Cover and cook on low heat for 20 minutes, checking and stirring often, until soft.  Remove the garlic and then add the egg mixture.  I have never tried to put the bell peppers in the oven.  It might work fine.

**NOTE:You can find the recipe for eggplant parmigiana in the archives of this blog.  Put it on an Italian roll, and heaven awaits!

peppers and eggs peppers

peppers and eggs pan2peppers and eggs roastedpeppers and eggs sautepeppers and eggs eggspeppers and eggs scramblepeppers and eggs *?