Sausage and Peppers

sausage and peppers plate**

Who doesn’t love a big, greasy sausage and peppers sandwich on an Italian roll? Well, me for one.   While others sigh as they bite into an oil-soaked, crusty roll, making sure they get a piece of sausage and some peppers and onions in each bite, I look on in wonderment. How many sausage and peppers sandwiches can one eat in a lifetime? You simply must have one every time you attend an Italian sidewalk Feast. You cannot walk the Jersey Shore boardwalk without stopping for one of these sandwiches, as the aroma will follow and haunt you from one end of the boardwalk to the other. Tailgating would not be tailgating, if you didn’t unwrap one of these piping hot treats before or after the game. And let’s not forget the family barbecues. No matter what, you can always count on the sausage and peppers to appear at some point in the meal. Whether you want it or not, you will always find room.

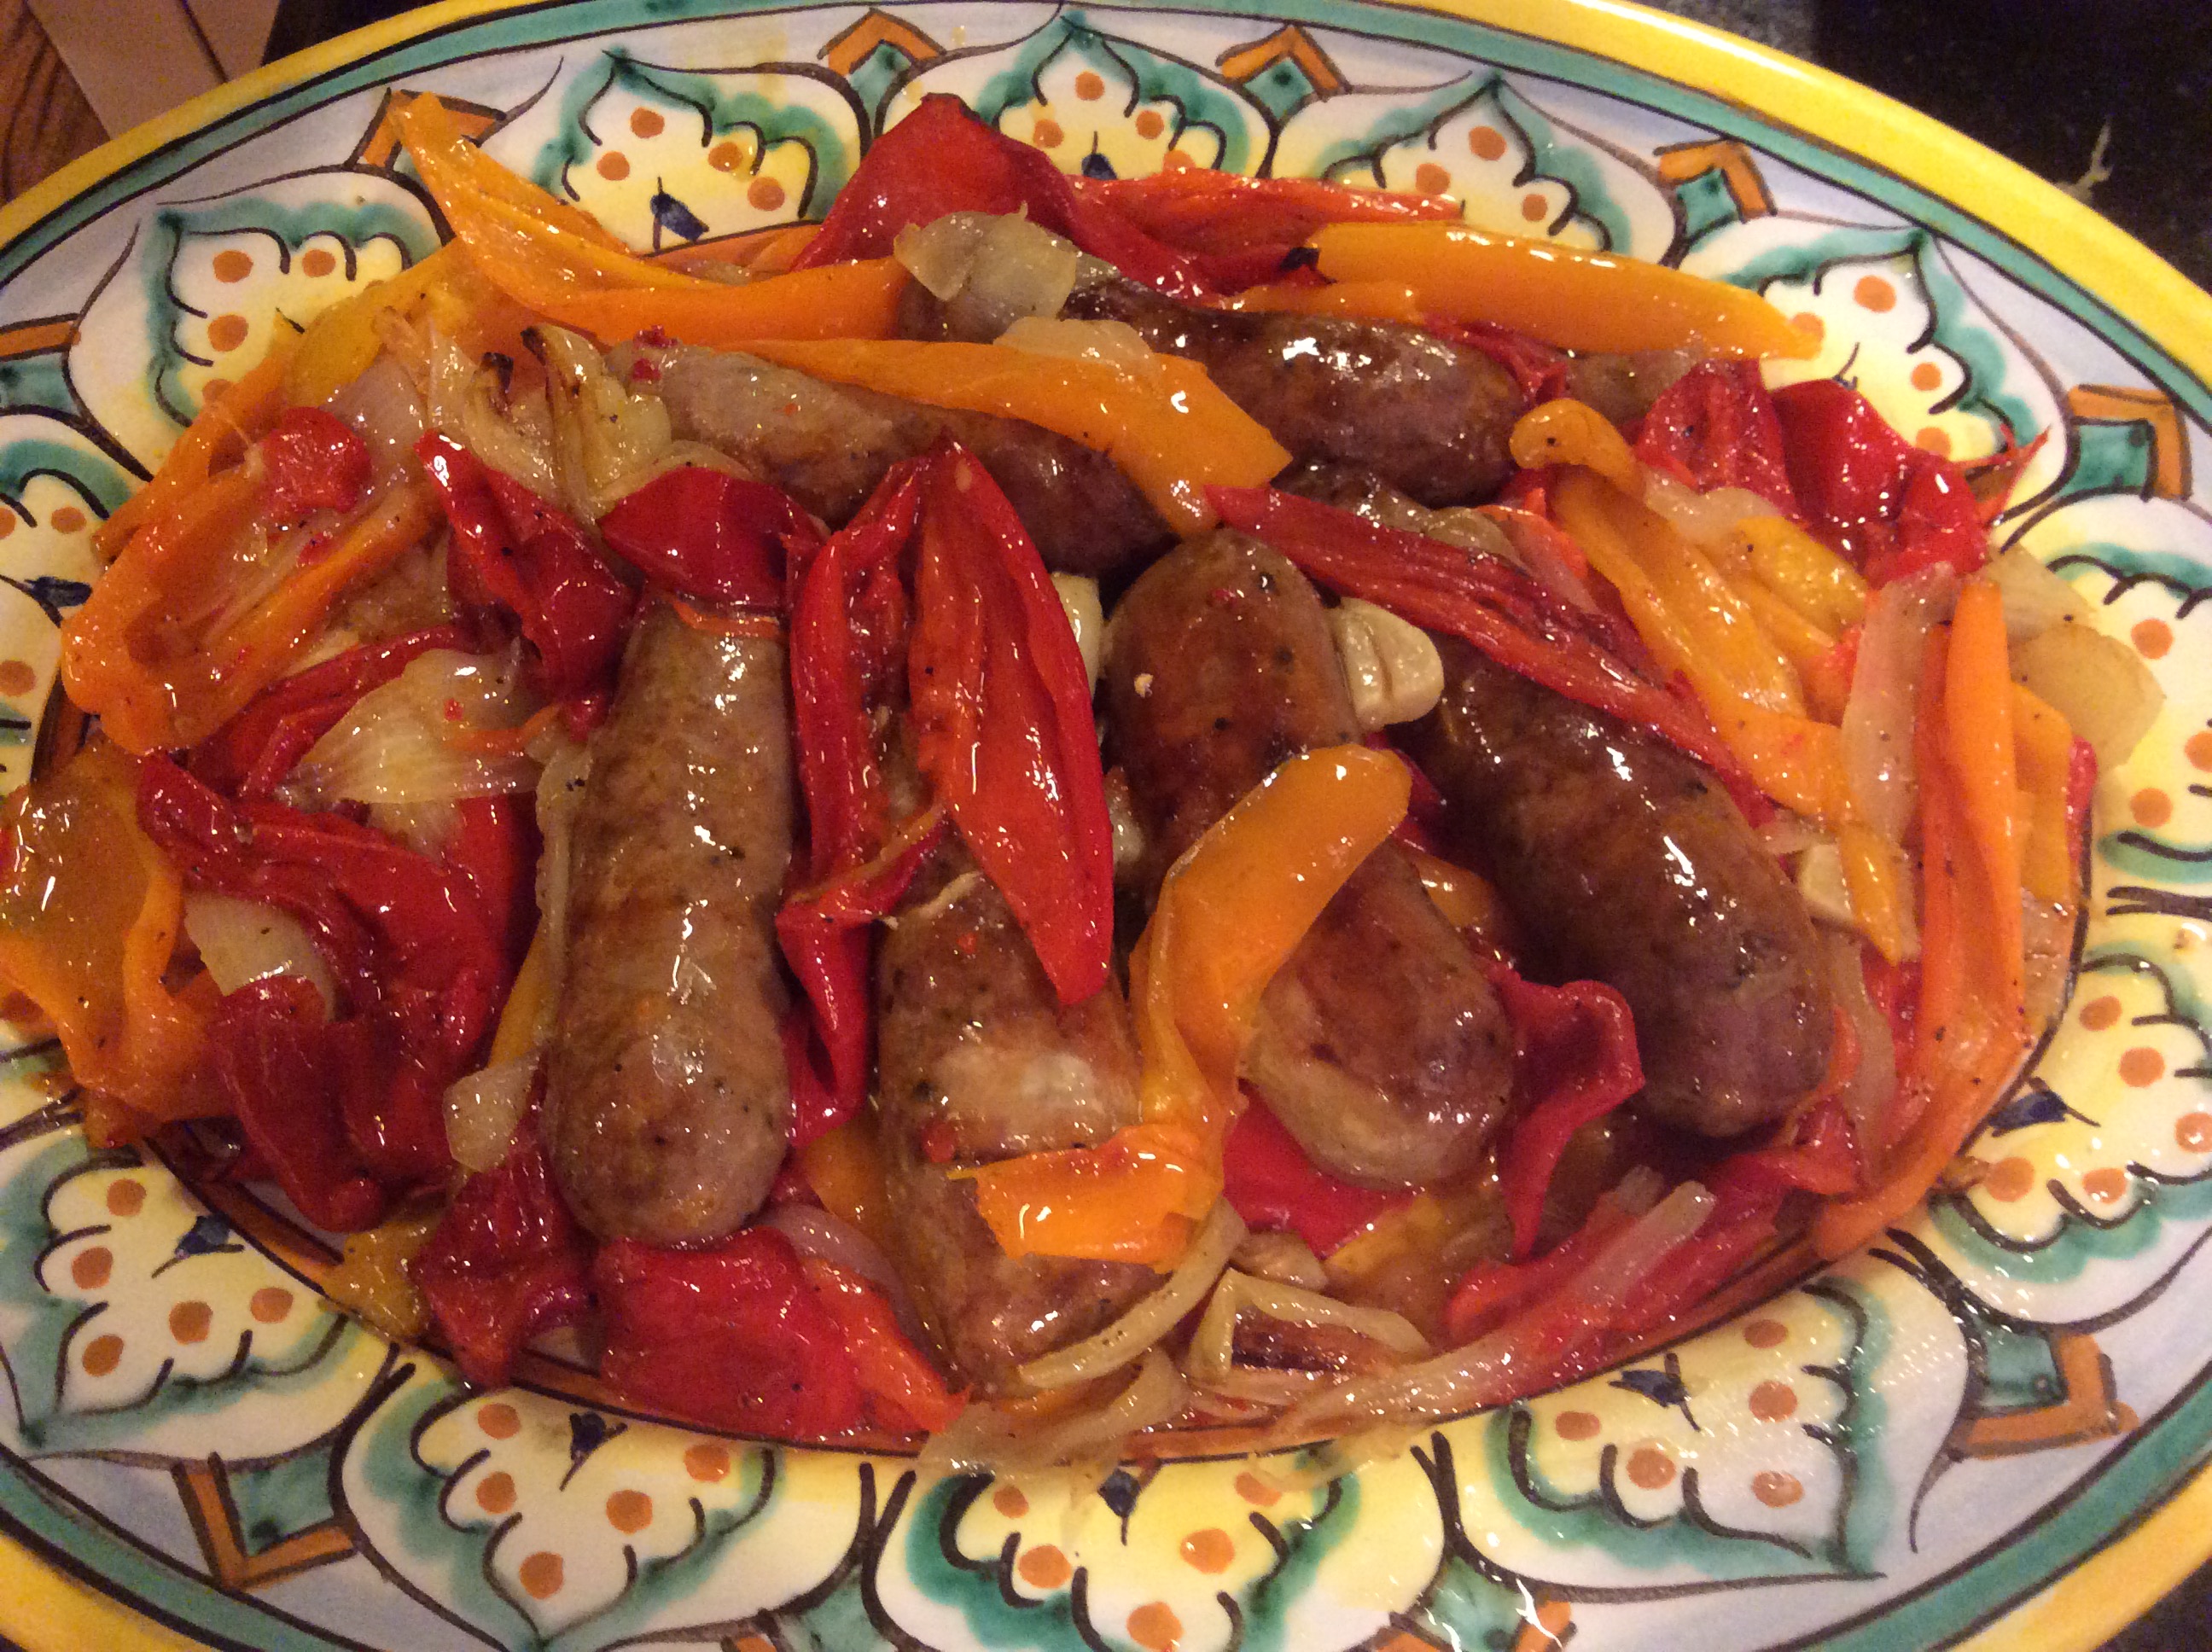
I have spent a lifetime explaining myself to those who can’t understand how I can pass up this Italian staple.   That is until now. I have finally found a way to make this dish so that I too can indulge. I’m not going to lie and say that this is close to what you might get on the boardwalk, but by using fresh, sweet peppers and the finest quality sausage you can find; baking instead of frying; and controlling the amount of high quality olive oil, you will have a more delicate, yet very reminiscent version of sausage and peppers.   Sure, put it on a roll. Even let some of the oil soak into the soft part of the bread. You won’t be disappointed. It’s so good that I have been turned into a believer.

RECIPE:  serves 4

1 pound Italian sausage

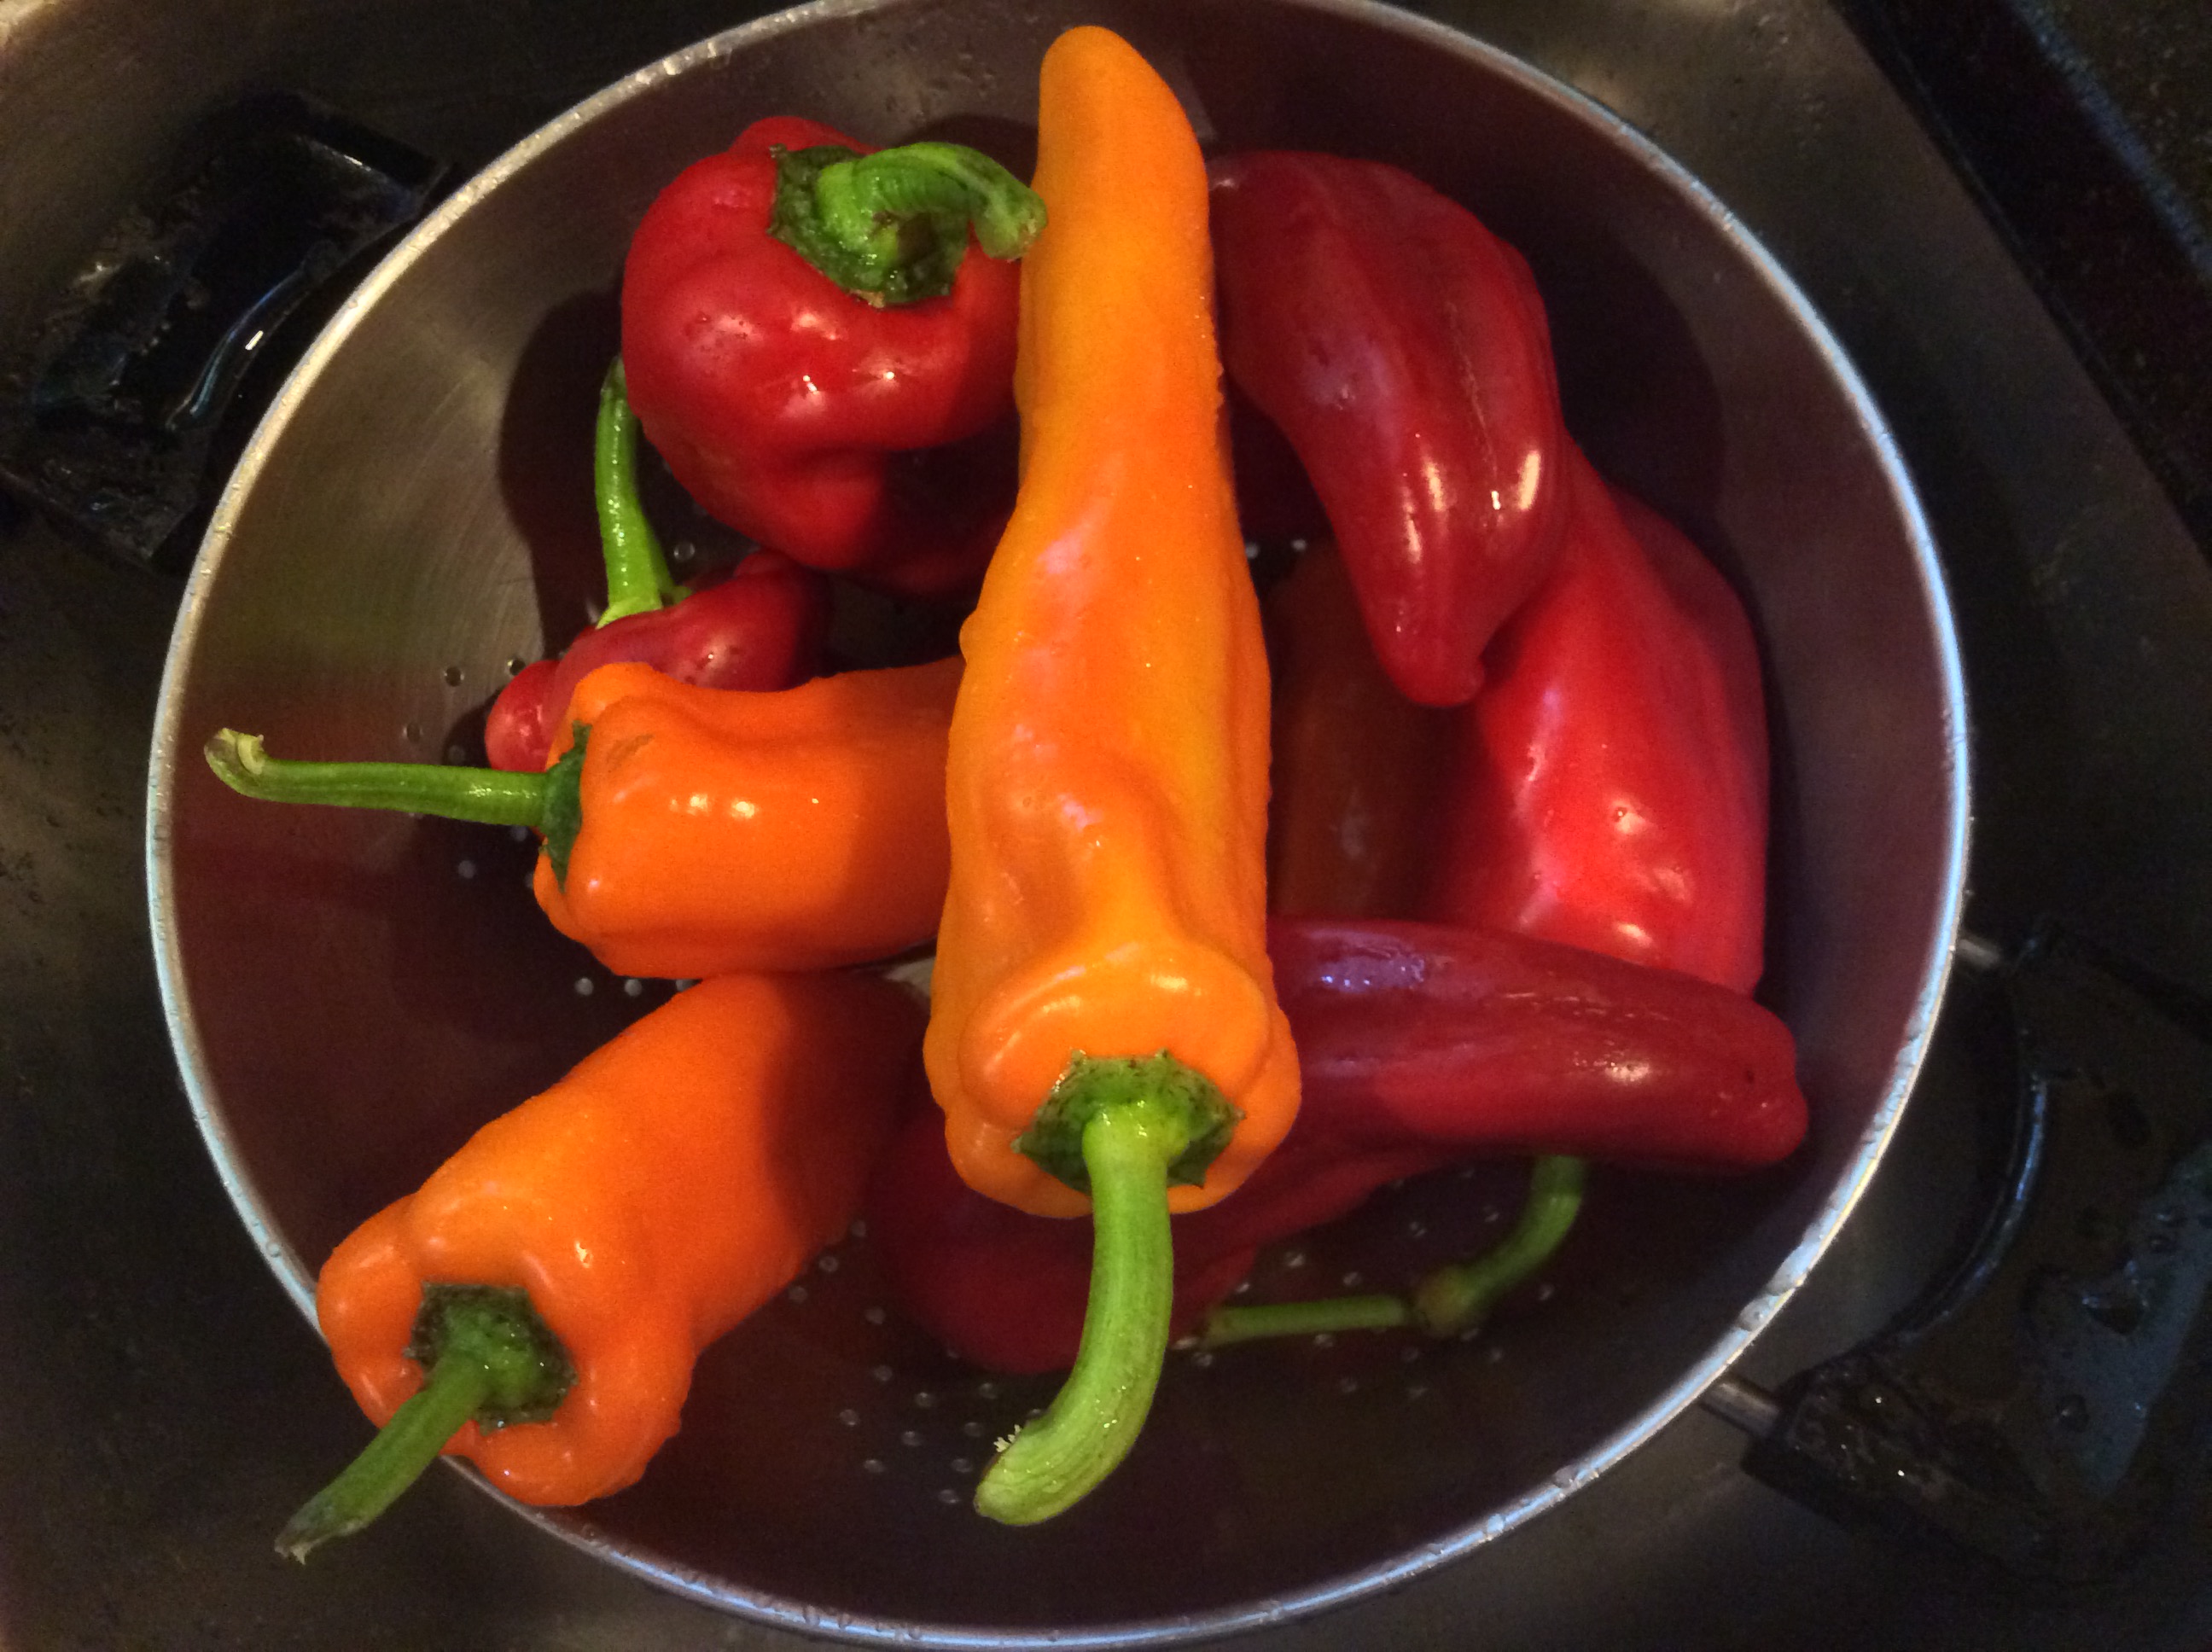
5 or 6 sweet bell peppers, sliced and seeds removed,  different colors…..I like the red and orange and yellow, but you can    include green

1 yellow onion, sliced

2 cloves garlic, sliced

3 TBSP olive oil

2 tsp, kosher or sea salt

freshly ground pepper to taste

4 Italian rolls, optional

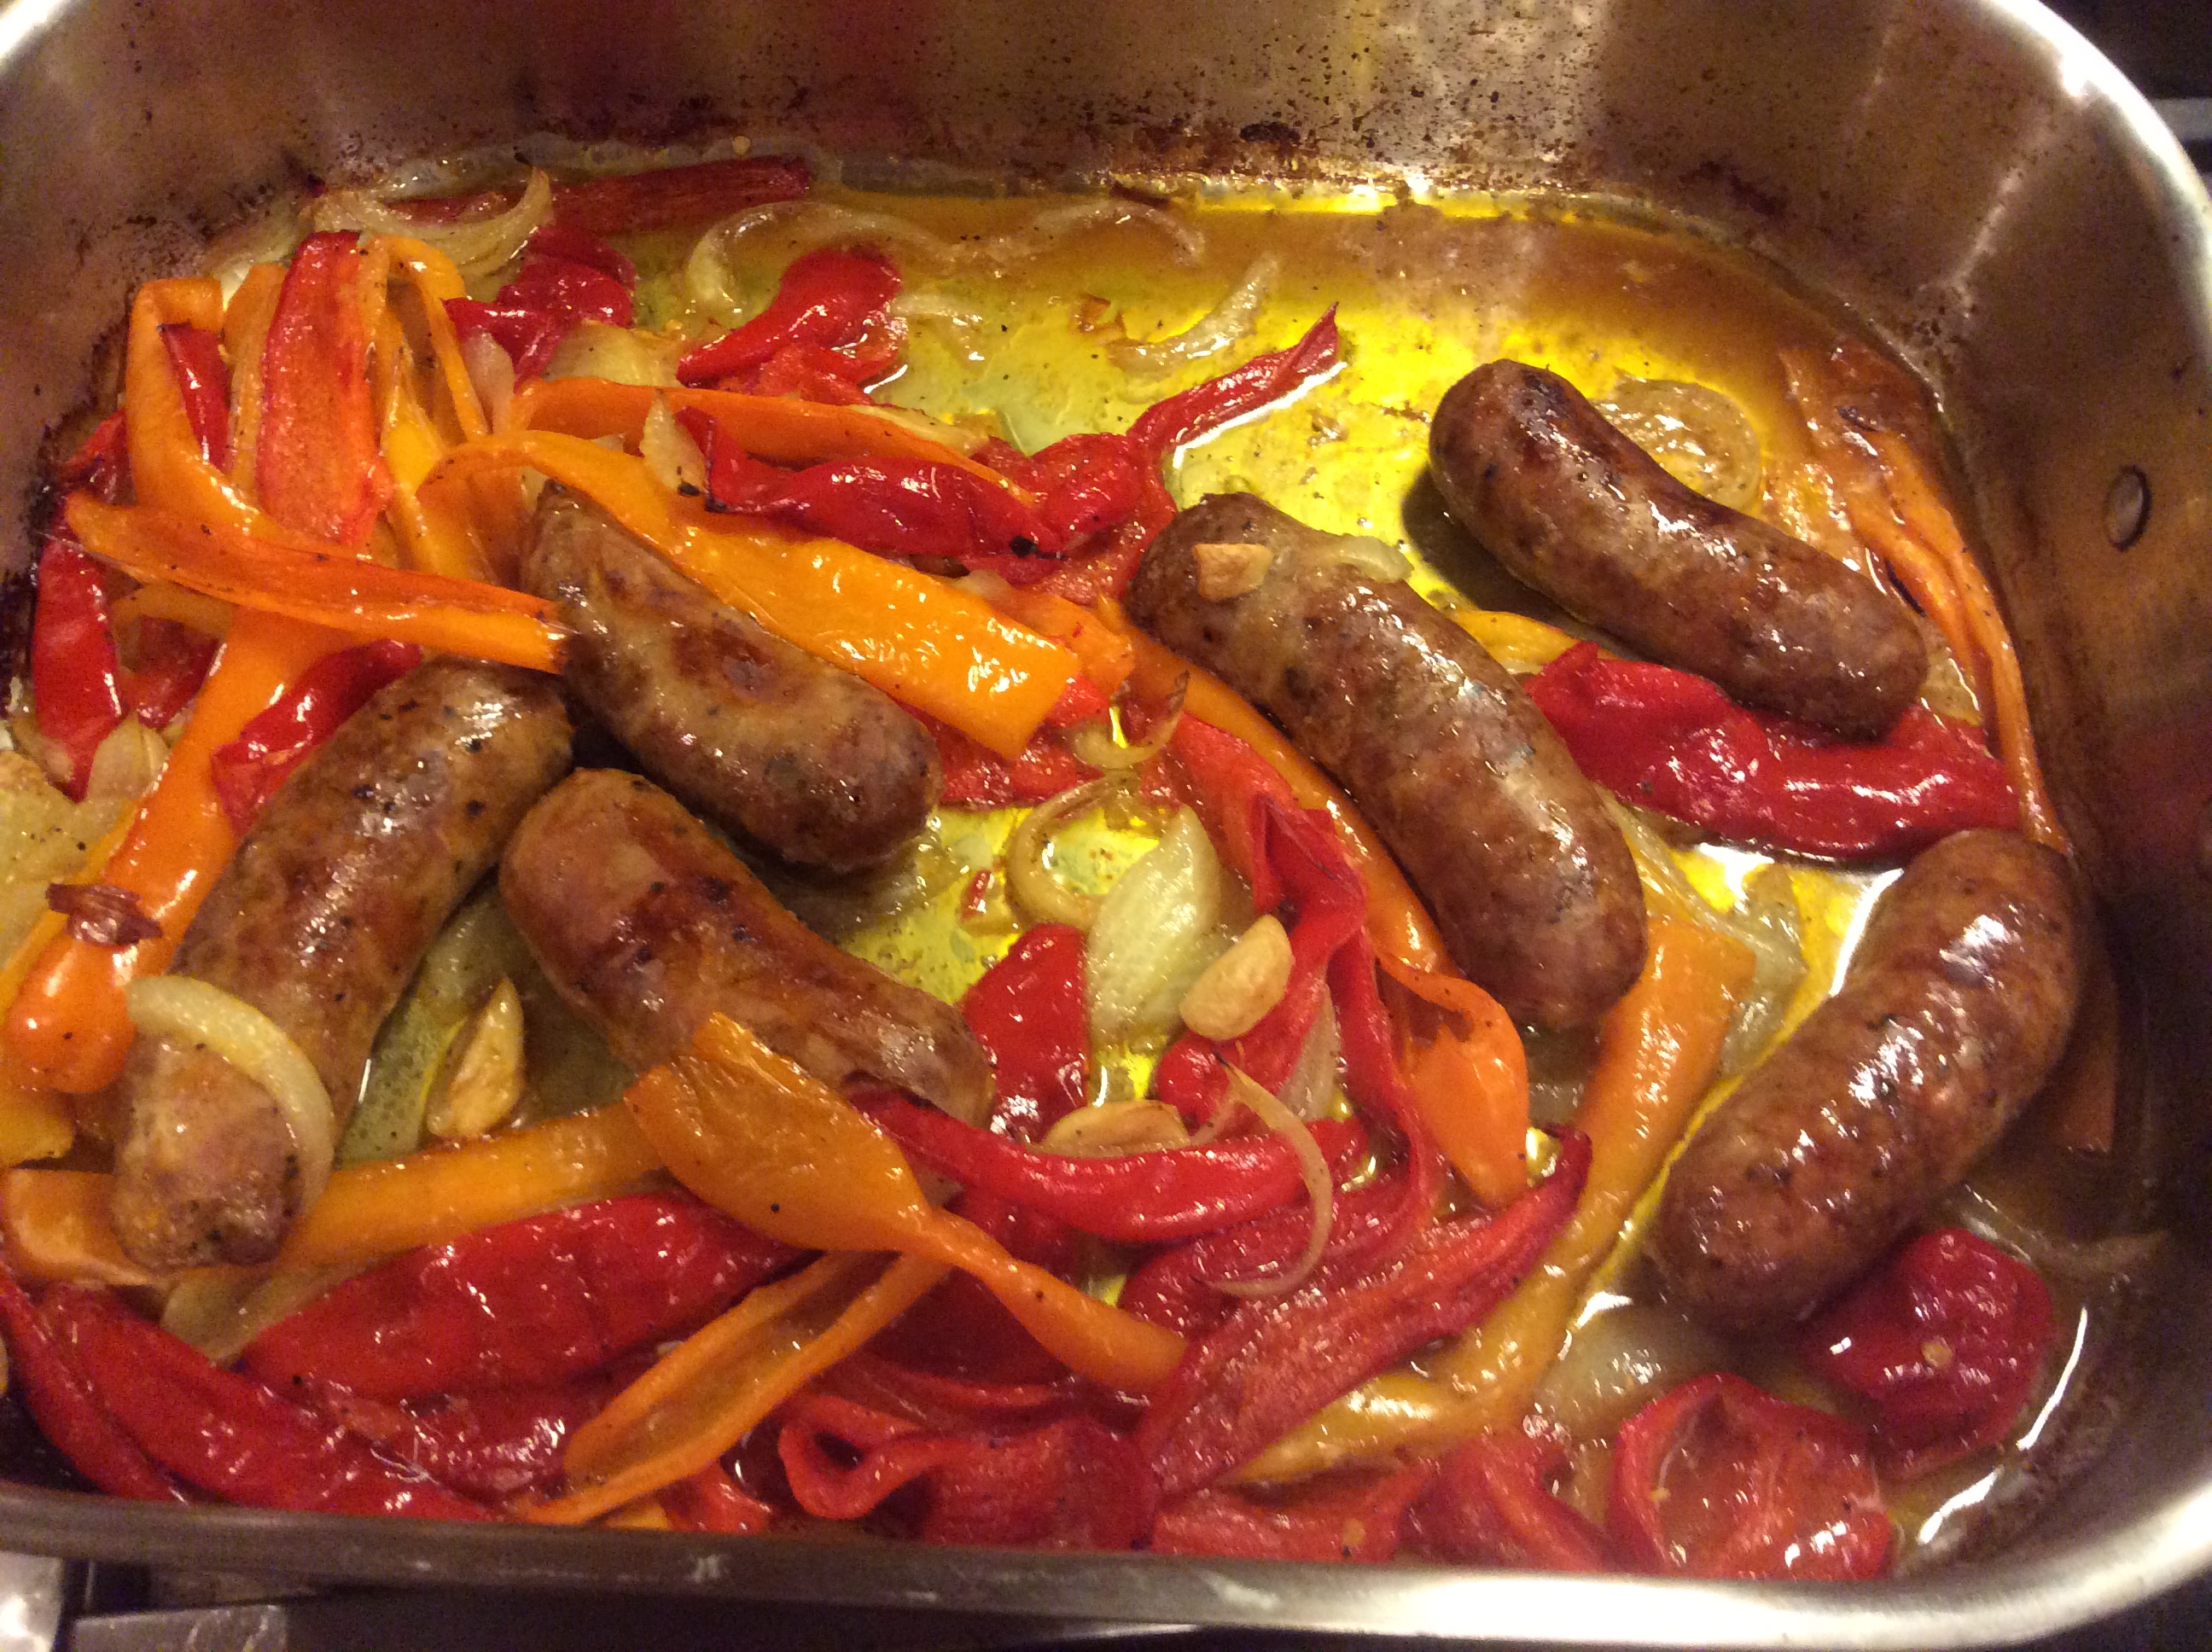
  1.  Combine peppers, onions and garlic in a roasting pan.  Add oil, salt and pepper and mix well.
  2. Add the sausage to the pan, and cover with aluminum foil.
  3. Bake in preheated 400 degree oven for 25 minutes.  Uncover, stir and cook for another 10 minutes.
  4. When serving, take as much oil from the pan as you like.
sausage and peppers pepperssausage and peppers pan 1sausage and peppers pan2sausage and peppers pan 4 sausage and peppers pan cooked?sausage and peppers plate closeupsausage and peppers plate

My Perfect Roast Chicken

roast chicken plated 3

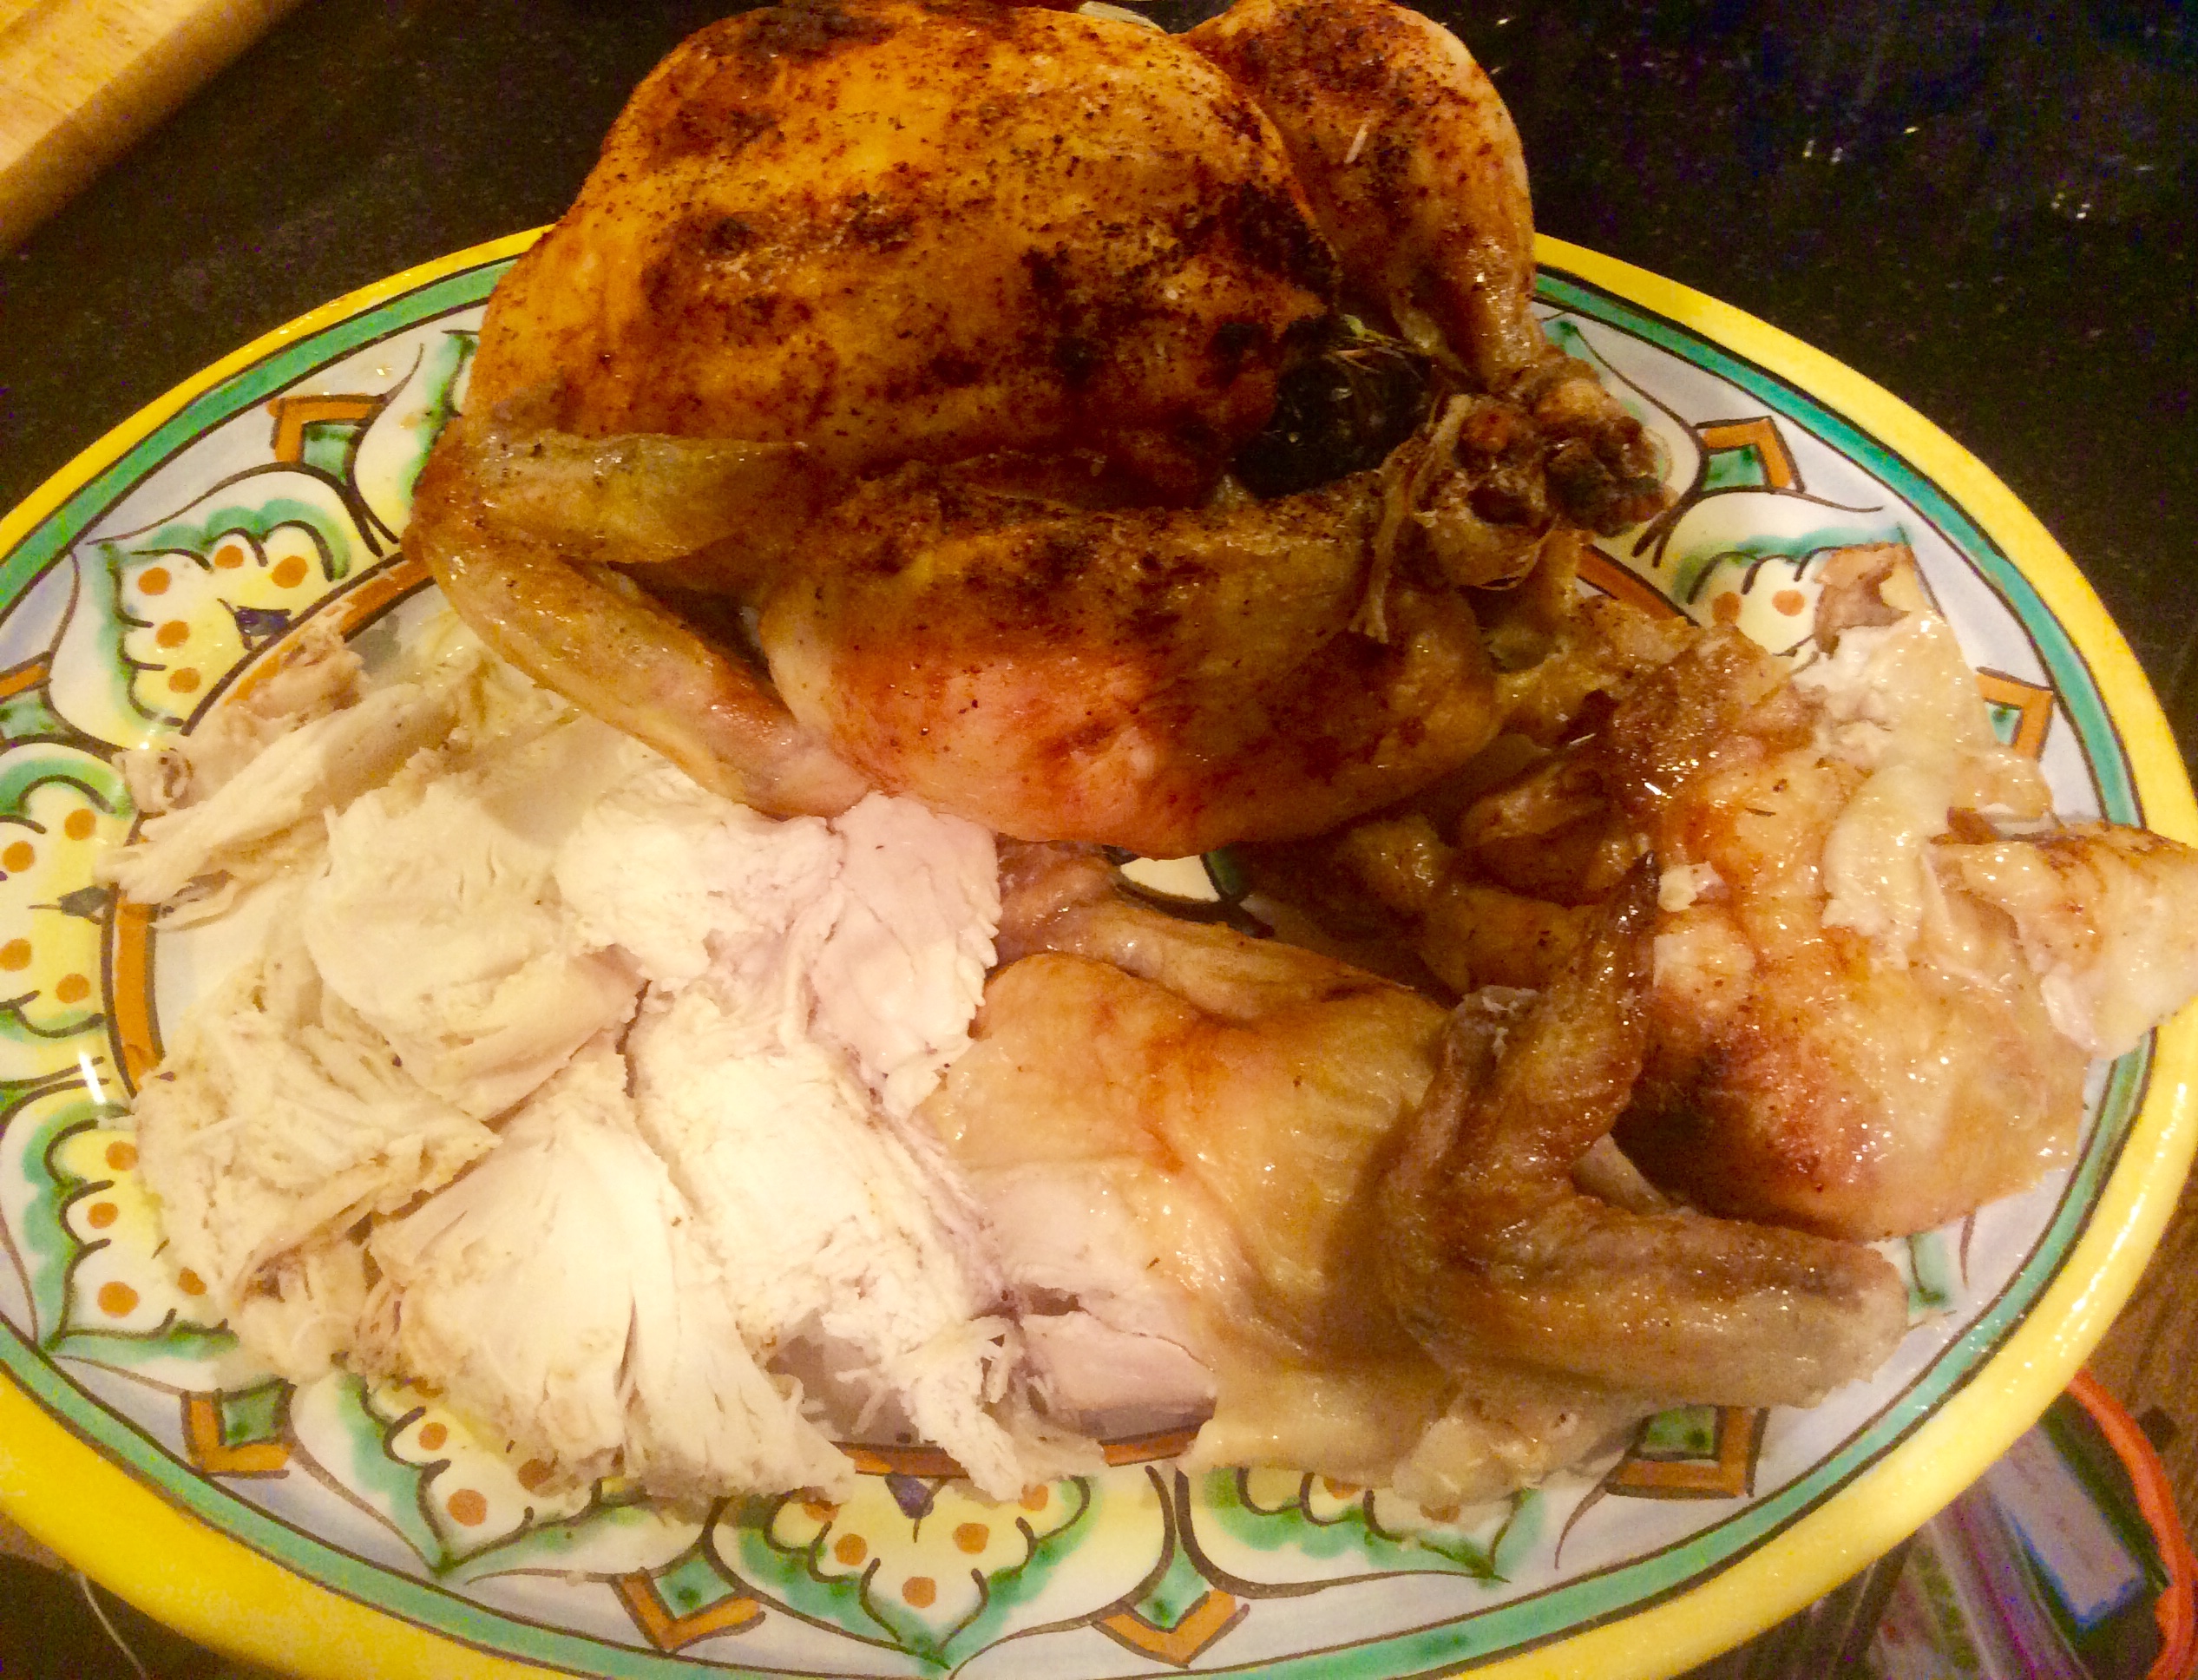
How do I roast a chicken? Let me count the ways. I have roasted so many chickens in my lifetime,that I couldn’t begin to count. I’ve tried countless recipes from friends and numerous cookbook renditions, and I have finally decided on what constitutes a “perfect roast chicken” for me. I’ve taken a little bit from various recipes.  It’s simple……almost foolproof. It has taken me years to get to this point. I’ve tried so many different glazes and ways to stuff a chicken that I believe I’ve exhausted every possible scenario. Most have been delicious, but my “perfect roast chicken” is moist, succulent and so very tasty with very little preparation. It is divine in it’s simplicity. You won’t want (or at least you won’t need) any gravy to disguise the meat. I think you will be happy with it, just as it is, right out of the oven, juicy and flavorful.

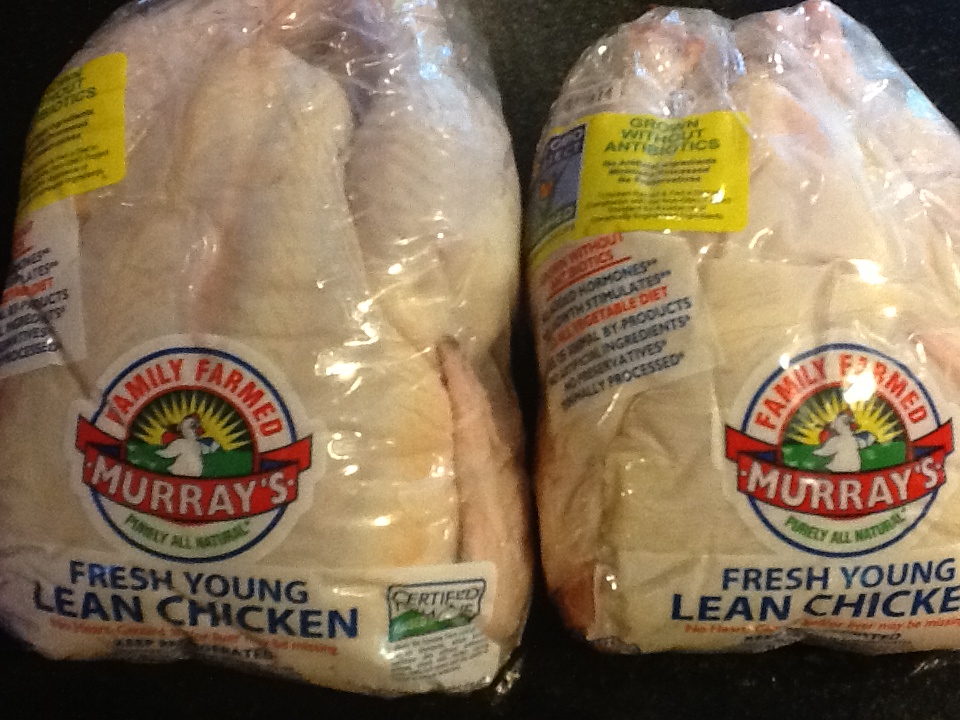
While this recipe is for one 4 1/2 to 6 pound chicken, I often make two 3 to 3 1/2 pound chickens so I can insure that I will have leftovers for a sandwich or salad the next day.  You can even add the leftover meat to soup.  The leftovers are an important part of the meal for me.   This lean source of protein can be used in so many ways, that I just sleep better at night knowing that there is some leftover chicken in the fridge. Okay, not really, but it does make me happy to open the fridge and have this delicious, rich source of protein readily available for a variety of lunch ideas or a nutritious snack.

RECIPE: one 4 1/2 to 6 lb chicken.  Double the ingredients for two 3 pound chickens.   DO NOT DOUBLE THE COOKING TIME

1 4 1/2 to 6 pound roasting chicken

kosher salt

freshly found black pepper

smoked paprika ( approximately 1 TBSP)

1 large bunch fresh thyme

1 large bunch fresh rosemary

1 lemon, halved

1 head garlic, cut in half crosswise

2 TBSP butter

1 large yellow onion, thickly sliced  (do not double for 2 chickens)

2 large russet potatoes, cut into large pieces  (do not double for 2 chickens)

drizzle of olive oil

  1.  Preheat oven to 425 degrees.
  2. Remove the giblets and all inners, and rinse the chicken well, inside and out.
  3. Place the chicken in a roasting pan, large enough to hold the chicken (chickens) and the onion and potatoes.  Liberally salt and pepper the inside of the chicken (chickens).
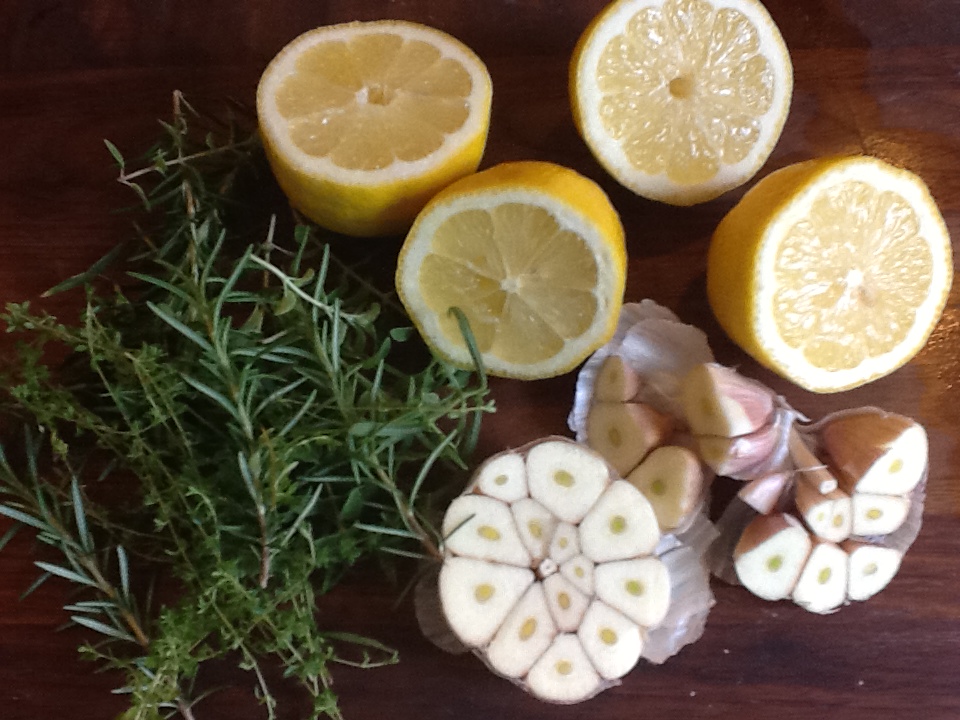
  4. Stuff the cavity (cavities) with the thyme, rosemary, both halves of the lemon, and all the garlic.  Tie the legs together with kitchen string.
  5. Liberally salt and pepper the outside of the chicken(s).  Sprinkle with the paprika, as much as you like.  It gives the chicken a smokey taste, as well as a beautiful colored skin, once cooked.  Don’t skimp.
  6. Break the butter apart into small pieces and dot the chicken with the butter.
  7. Place the potatoes and onions around the chicken(s) and drizzle with olive oil.
  8. Roast the chicken(s) for 1 1/2 hours or until the juices run clear when you cut between a leg and thigh.  **If roasting 2 chickens, you might need to increase this cooking time by 15 minutes or so.
  9. Remove from the oven, and tent with aluminum foil for 5 minutes before carving. You can drizzle the juices over the meat if desired.
  10. Make sure you keep some for leftovers before serving.  You’ll sleep better!!

roast chicken 1roast chicken ingredientsroast chicken potatoesroast chicken pan 2*roast chicken cookedroast chicken plated 3

September Brisket

brisket plated *

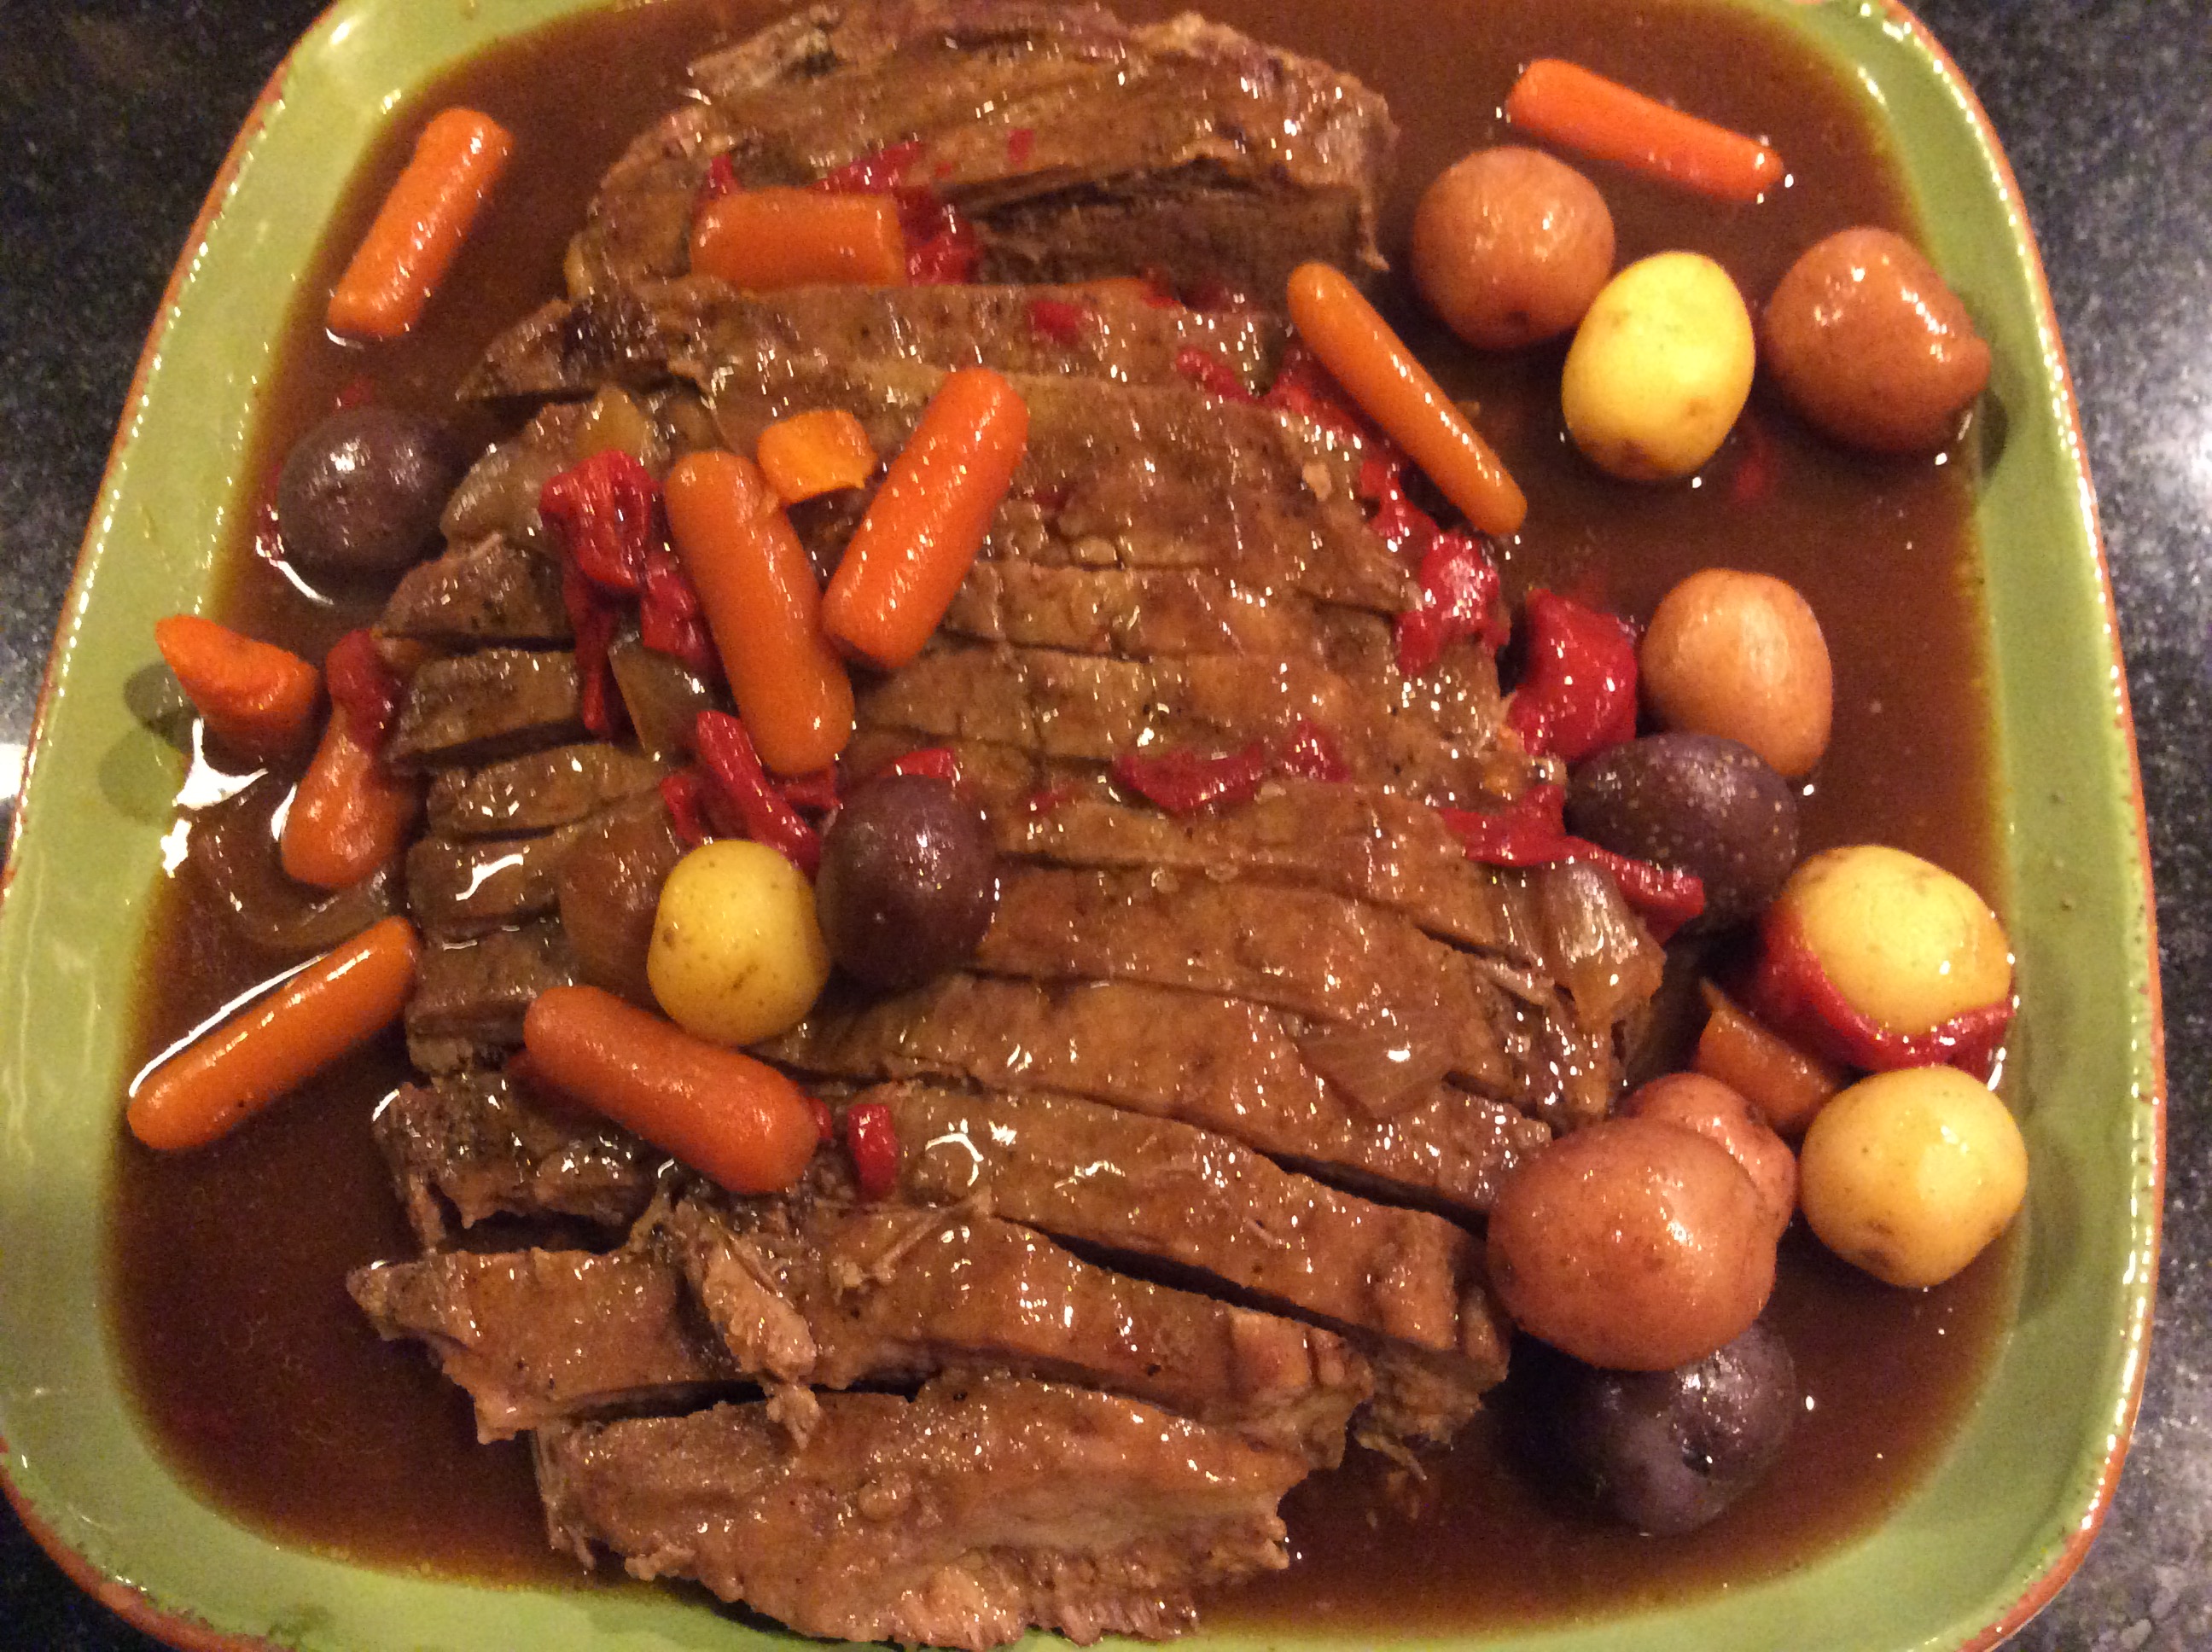
September signifies a new year to me. It is a new academic year for students and teachers. It’s a new year for families, with summer vacations behind them, they settle back into routines and look toward the future.   For me, it has always meant the return to schedules…… packing school lunches, driving to school and activities, making sure homework is done, etc.   It is a “new season” on many levels. While I always hate to see summer go, there is something renewing about September and the fall.

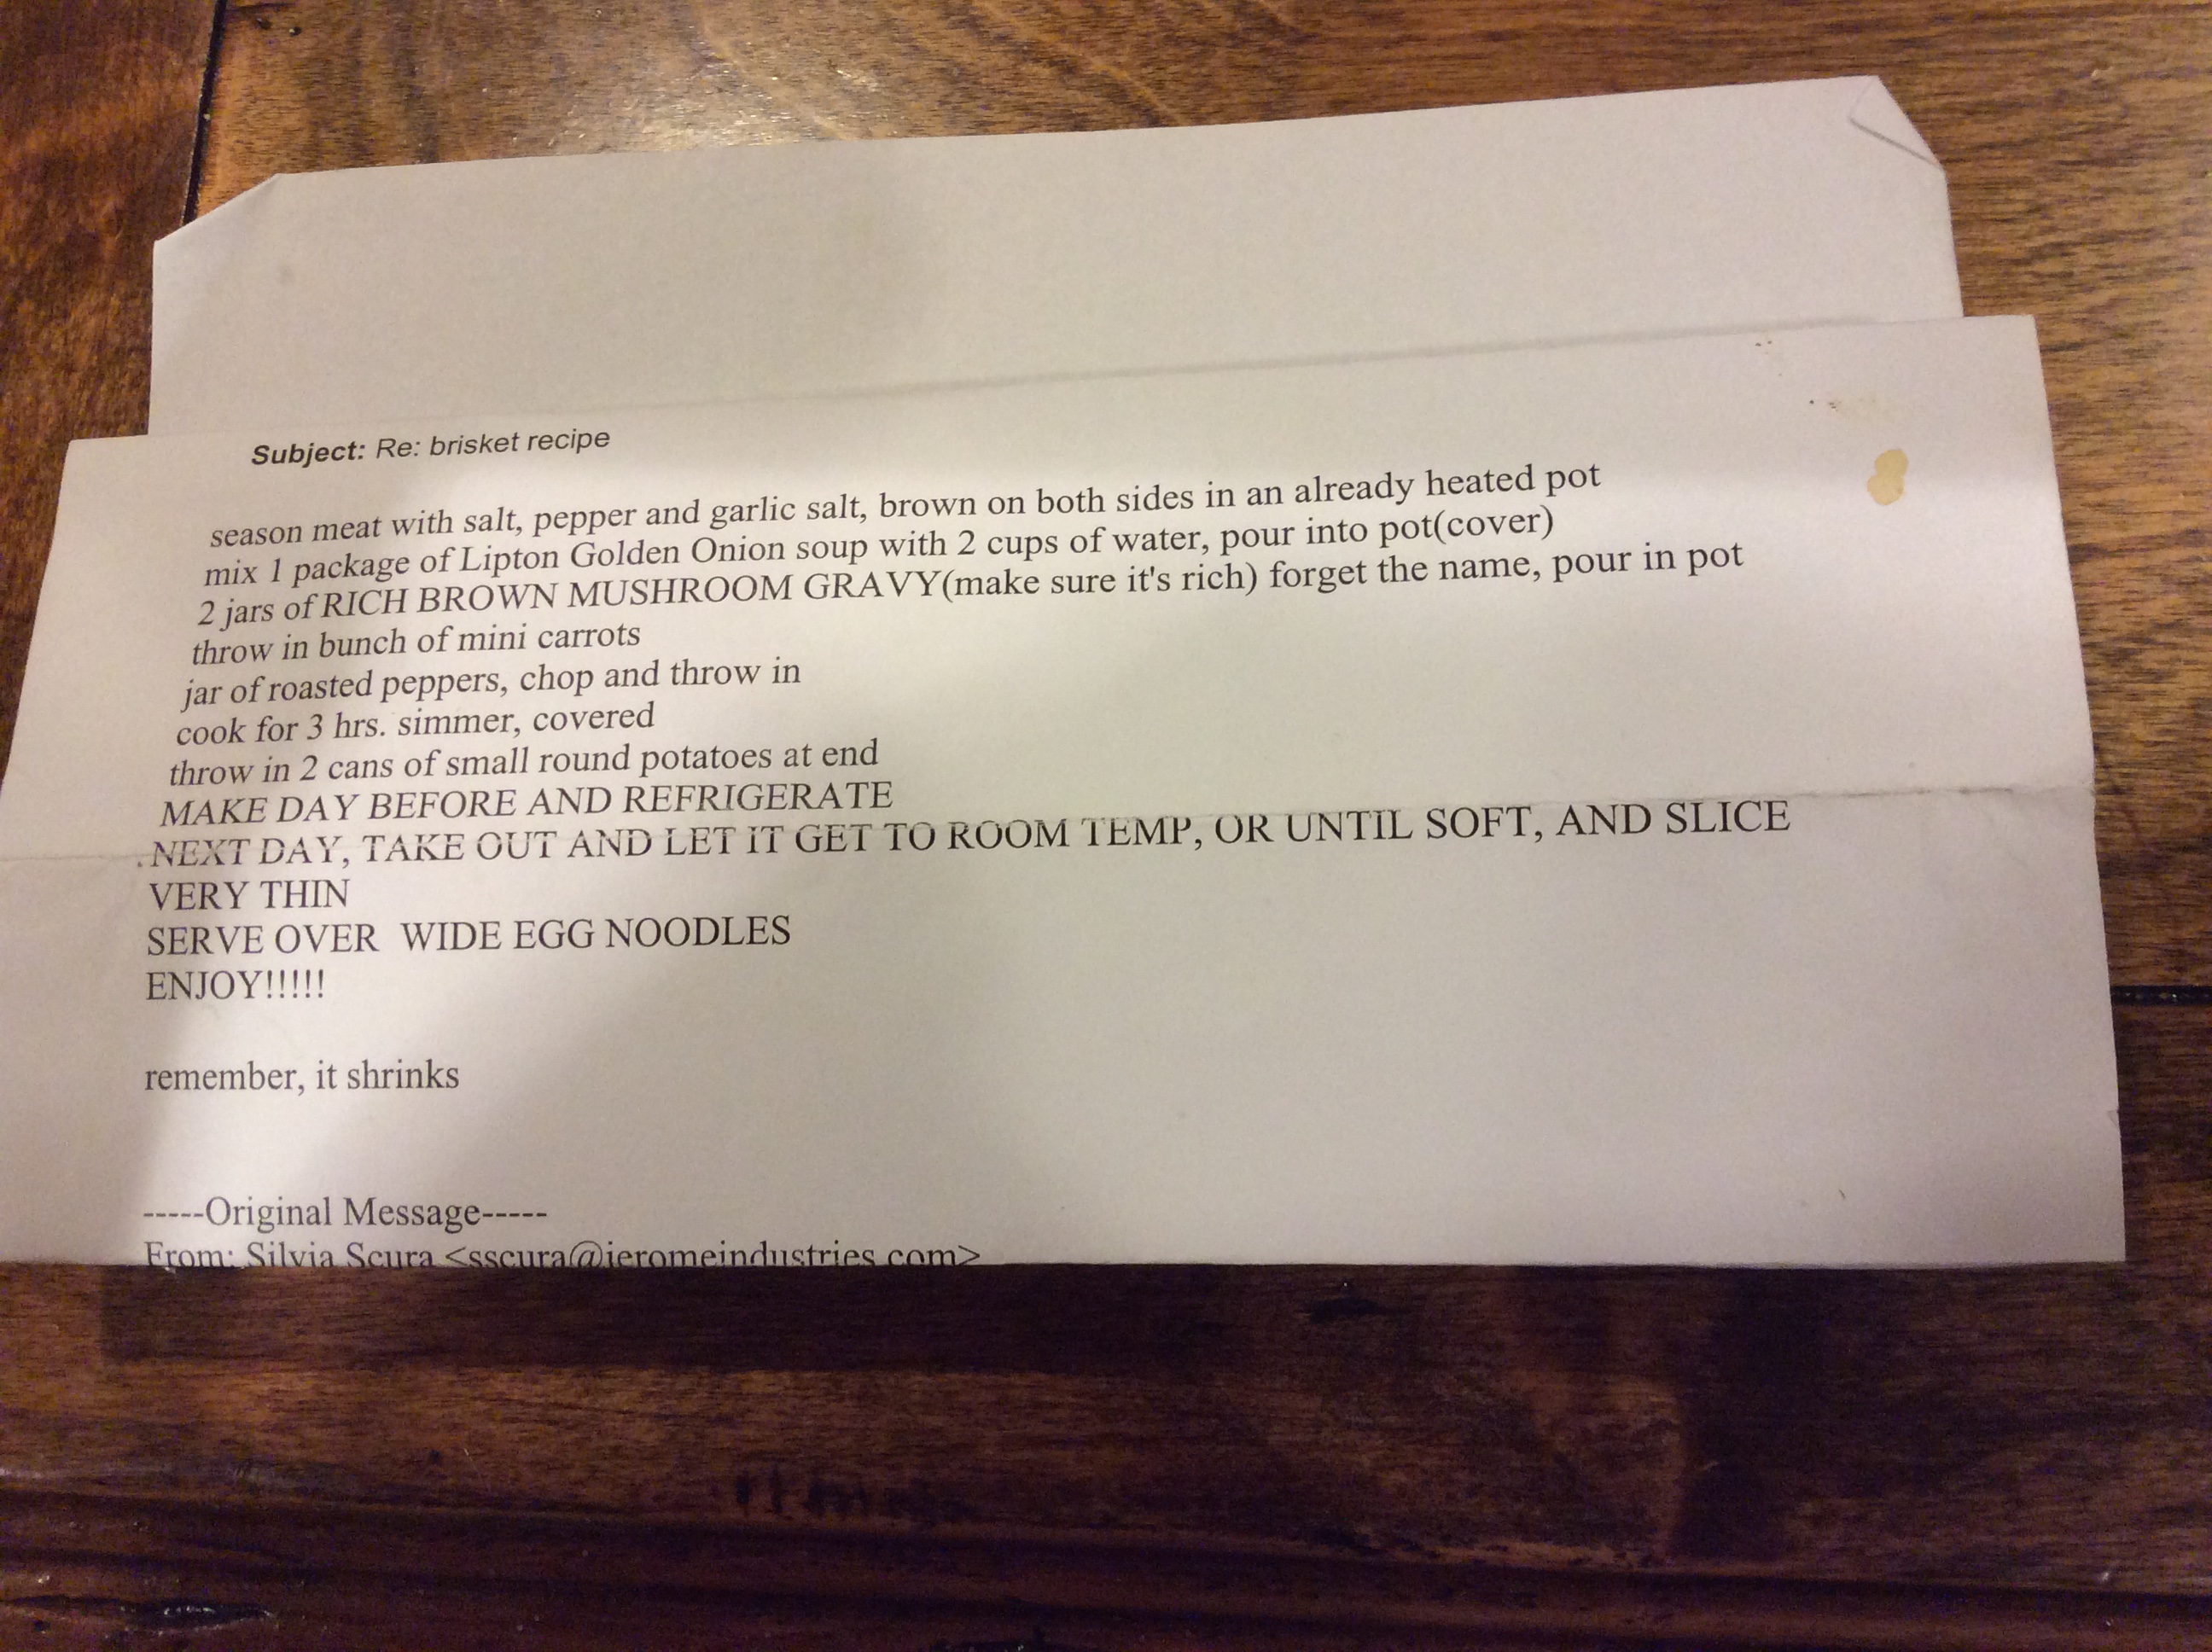
I usually use this “new year” to return to hearty fall recipes that make the house smell like the earthiness of autumn. I generally pull out this recipe for brisket, which was emailed to me from a dear friend, many years ago, at this time of the Jewish Holidays. Rosh Hashanah is the Jewish New Year so I always found it to be a fitting meal at this time of year.

This recipe intrigued me. First of all, after nearly 30 years of friendship, this still remains the only recipe we’ve shared.   It’s one of the reasons I cherish it so much. It is her family’s recipe, so I treat it with extra dignity, as you know how much I value family recipes. Mostly, I was intrigued by the ingredients. I just couldn’t imagine that this list of ingredients could add up to something delicious.   The first time I made this dish, I was fearful, but it was indeed delicious, and rapidly became a family favorite of ours.   It has become our family “September New Year” dinner.

RECIPE:

1 3 to 4 lb brisket

salt and pepper to tast

garlic salt to taste

1 package of Lipton Golden Onion Soup, mixed with 2 cups of water ( Instead, I have sometimes used 1 large onion, thickly sliced, and 2 cups of beef broth).

2 jars of Rich Brown Gravy (make sure it’s RICH)

2 Cups mini carrots

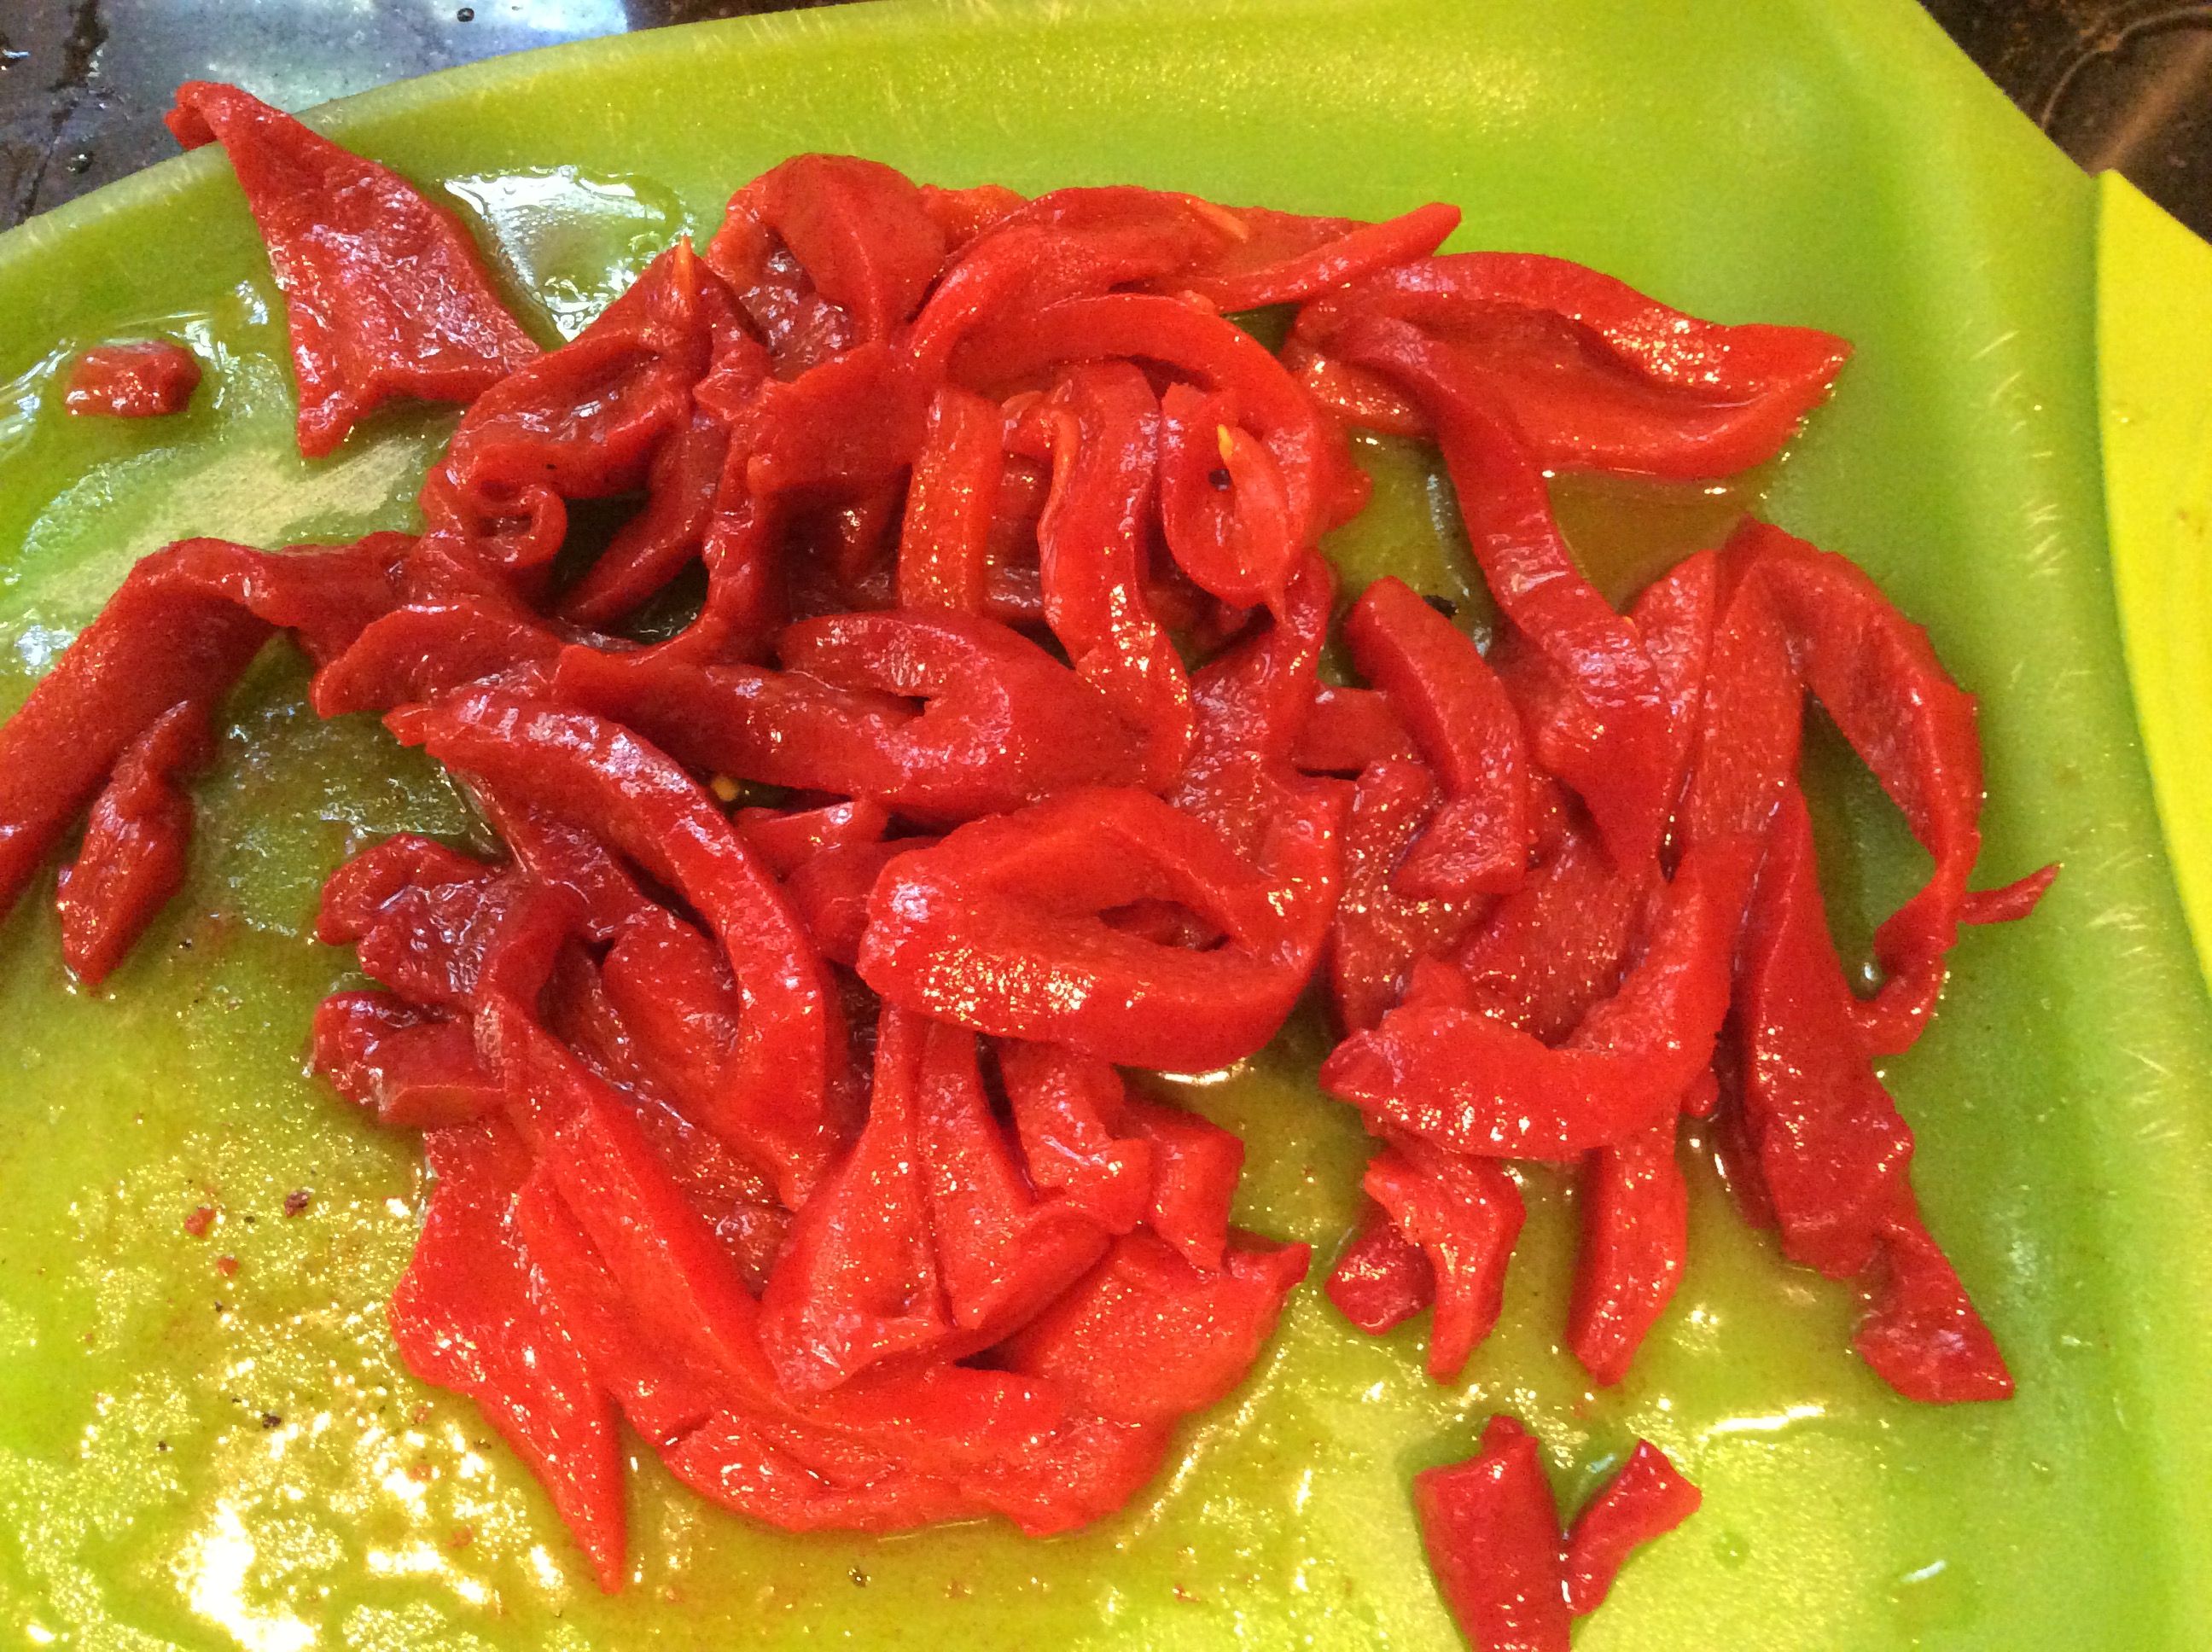
1 jar of roasted peppers, sliced

2 cans of small round potatoes ( I generally use the fresh tiny potatoes)

Wide egg noodles

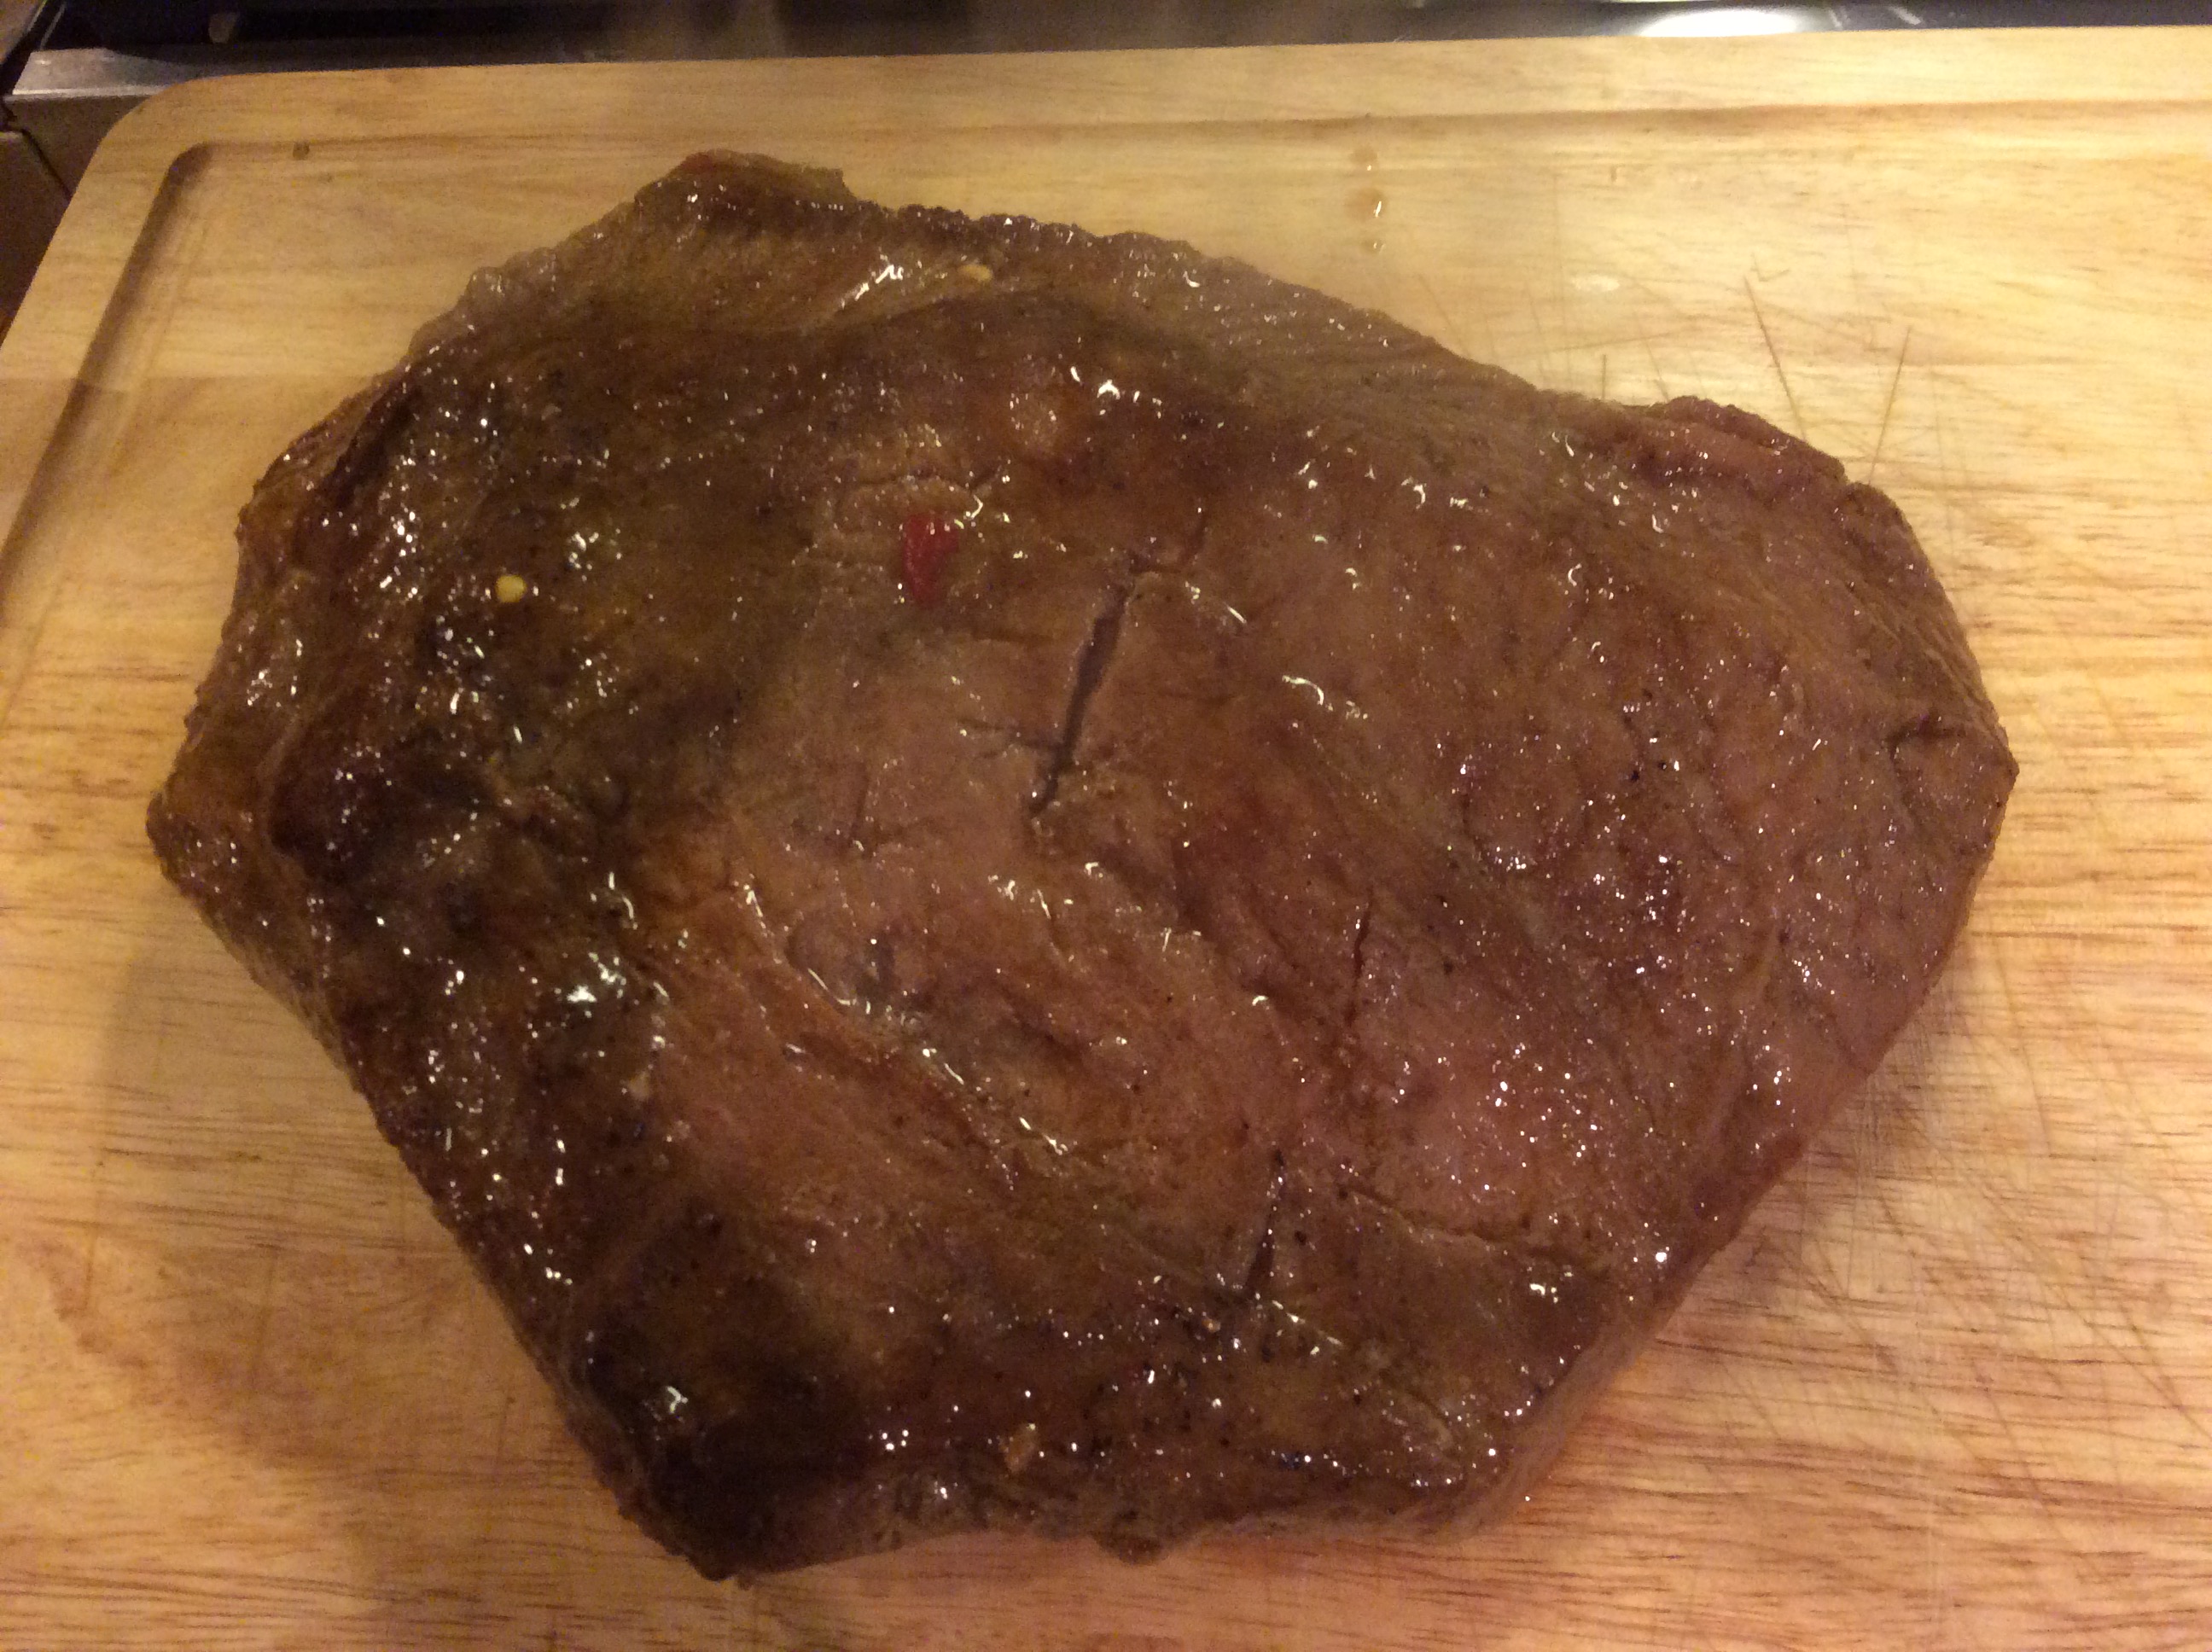
  1.  Season the meat with salt and pepper and garlic salt.  Brown on both sides in an already heated large pot. ( I use 1 to 2 TBSP of oil to brown the meat in).
  2. Add the onion soup, mixed with the water, and the 2 jars of gravy.  Stir to combine flavors.
  3. Add the carrots and peppers.
  4. Cover and simmer for approximately 3 hours.  If using fresh potatoes, I add them after 1 1/2 hours.
  5. If using canned potatoes, add them at the end…maybe 30 minutes before the meat is done.
  6. Serve over egg noodles.
  •  I have been told to make this the day before and refrigerate over night.  The next day, take it out and bring it to room temperature.  Then slice.  I must confess I have never done this.  Once I smell it cooking, I have to eat it that very night!!!

brisket seasonedbrisket browning 1brisket browning 2brisket:liquidbrisket peppersbrisket braisingbrisket cookedbrisket slicedbrisket plated 2*?brisket recipe

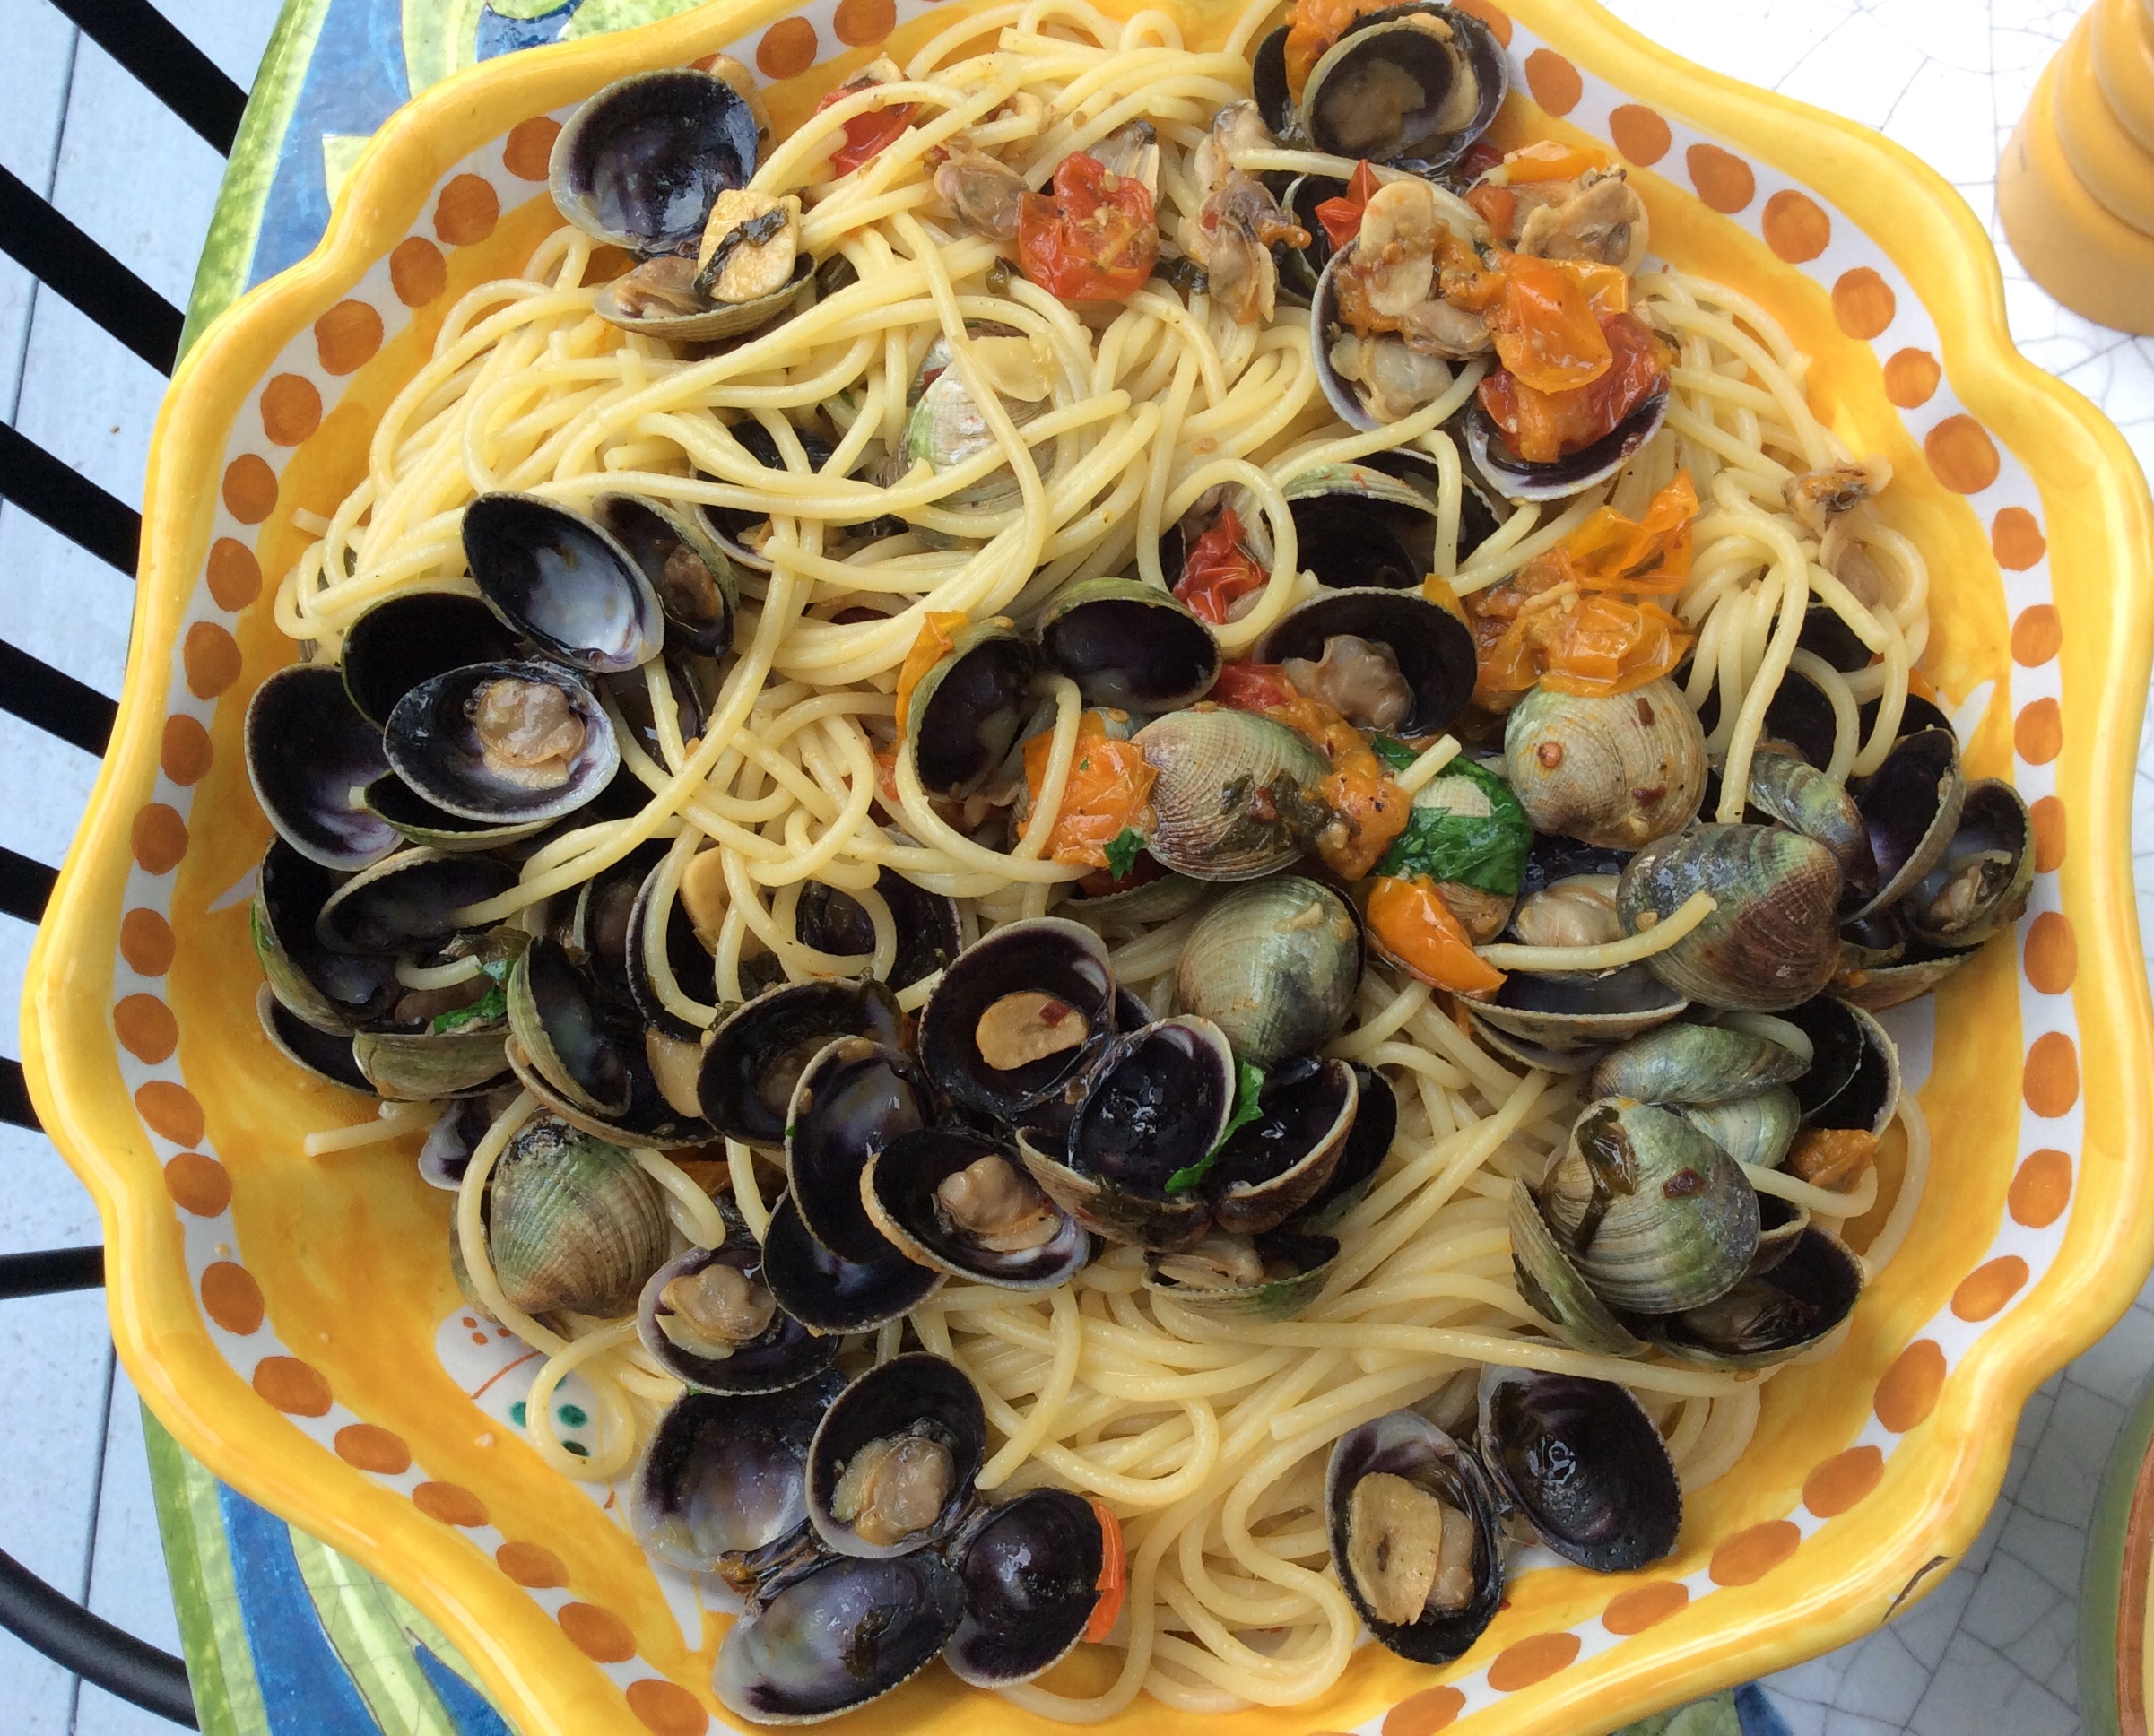
Spaghetti alle Vongole (Spaghetti with Clams)

\

clam sauce plated:bowl*

Pardon my absence, for those of you who noticed. I like to say that I’ve been traveling in search of recipes to share.   Research is very important! Ha ha!!

This recipe for Spaghetti Alle Vongole, was “researched” about 25 years ago on my first trip to Italy.   We were to visit the Amalfi Coast, and all I heard about for weeks prior was “wait until you taste the spaghetti alle vongole in Positano,” or any of the beautiful towns that dot the coastline in this area of Italy.  I couldn’t imagine what my taste buds were soon to experience. My mom did make linguine with clam sauce occasionally, especially on meatless Friday nights, but clams were hard to find in those days of my childhood, so she would use the large cherrystone clams, and sometimes she would even add a can of Progresso Clam Sauce. Horrors, right?!   This was as close as you could get to this Neopolitan classic at this time. Most restaurants made it with chopped clams, tons of chopped garlic and way too much oil. I liked this dish, but I couldn’t imagine it transforming my life, as promised.

Even during the entire 8 ½ hour plane ride to Rome, and the 4 hour drive to the Amalfi Coast, my fellow travelers were salivating in anticipation of this dish of spaghetti alle vongole. Well let me tell you, if you have not had the pleasure, my first bite was something my taste buds will never forget. There is truly no way to explain it. You have to experience it for yourself. You can actually taste the sea as you overlook the beautiful blue water, blue sky and a landscape of undefined beauty.

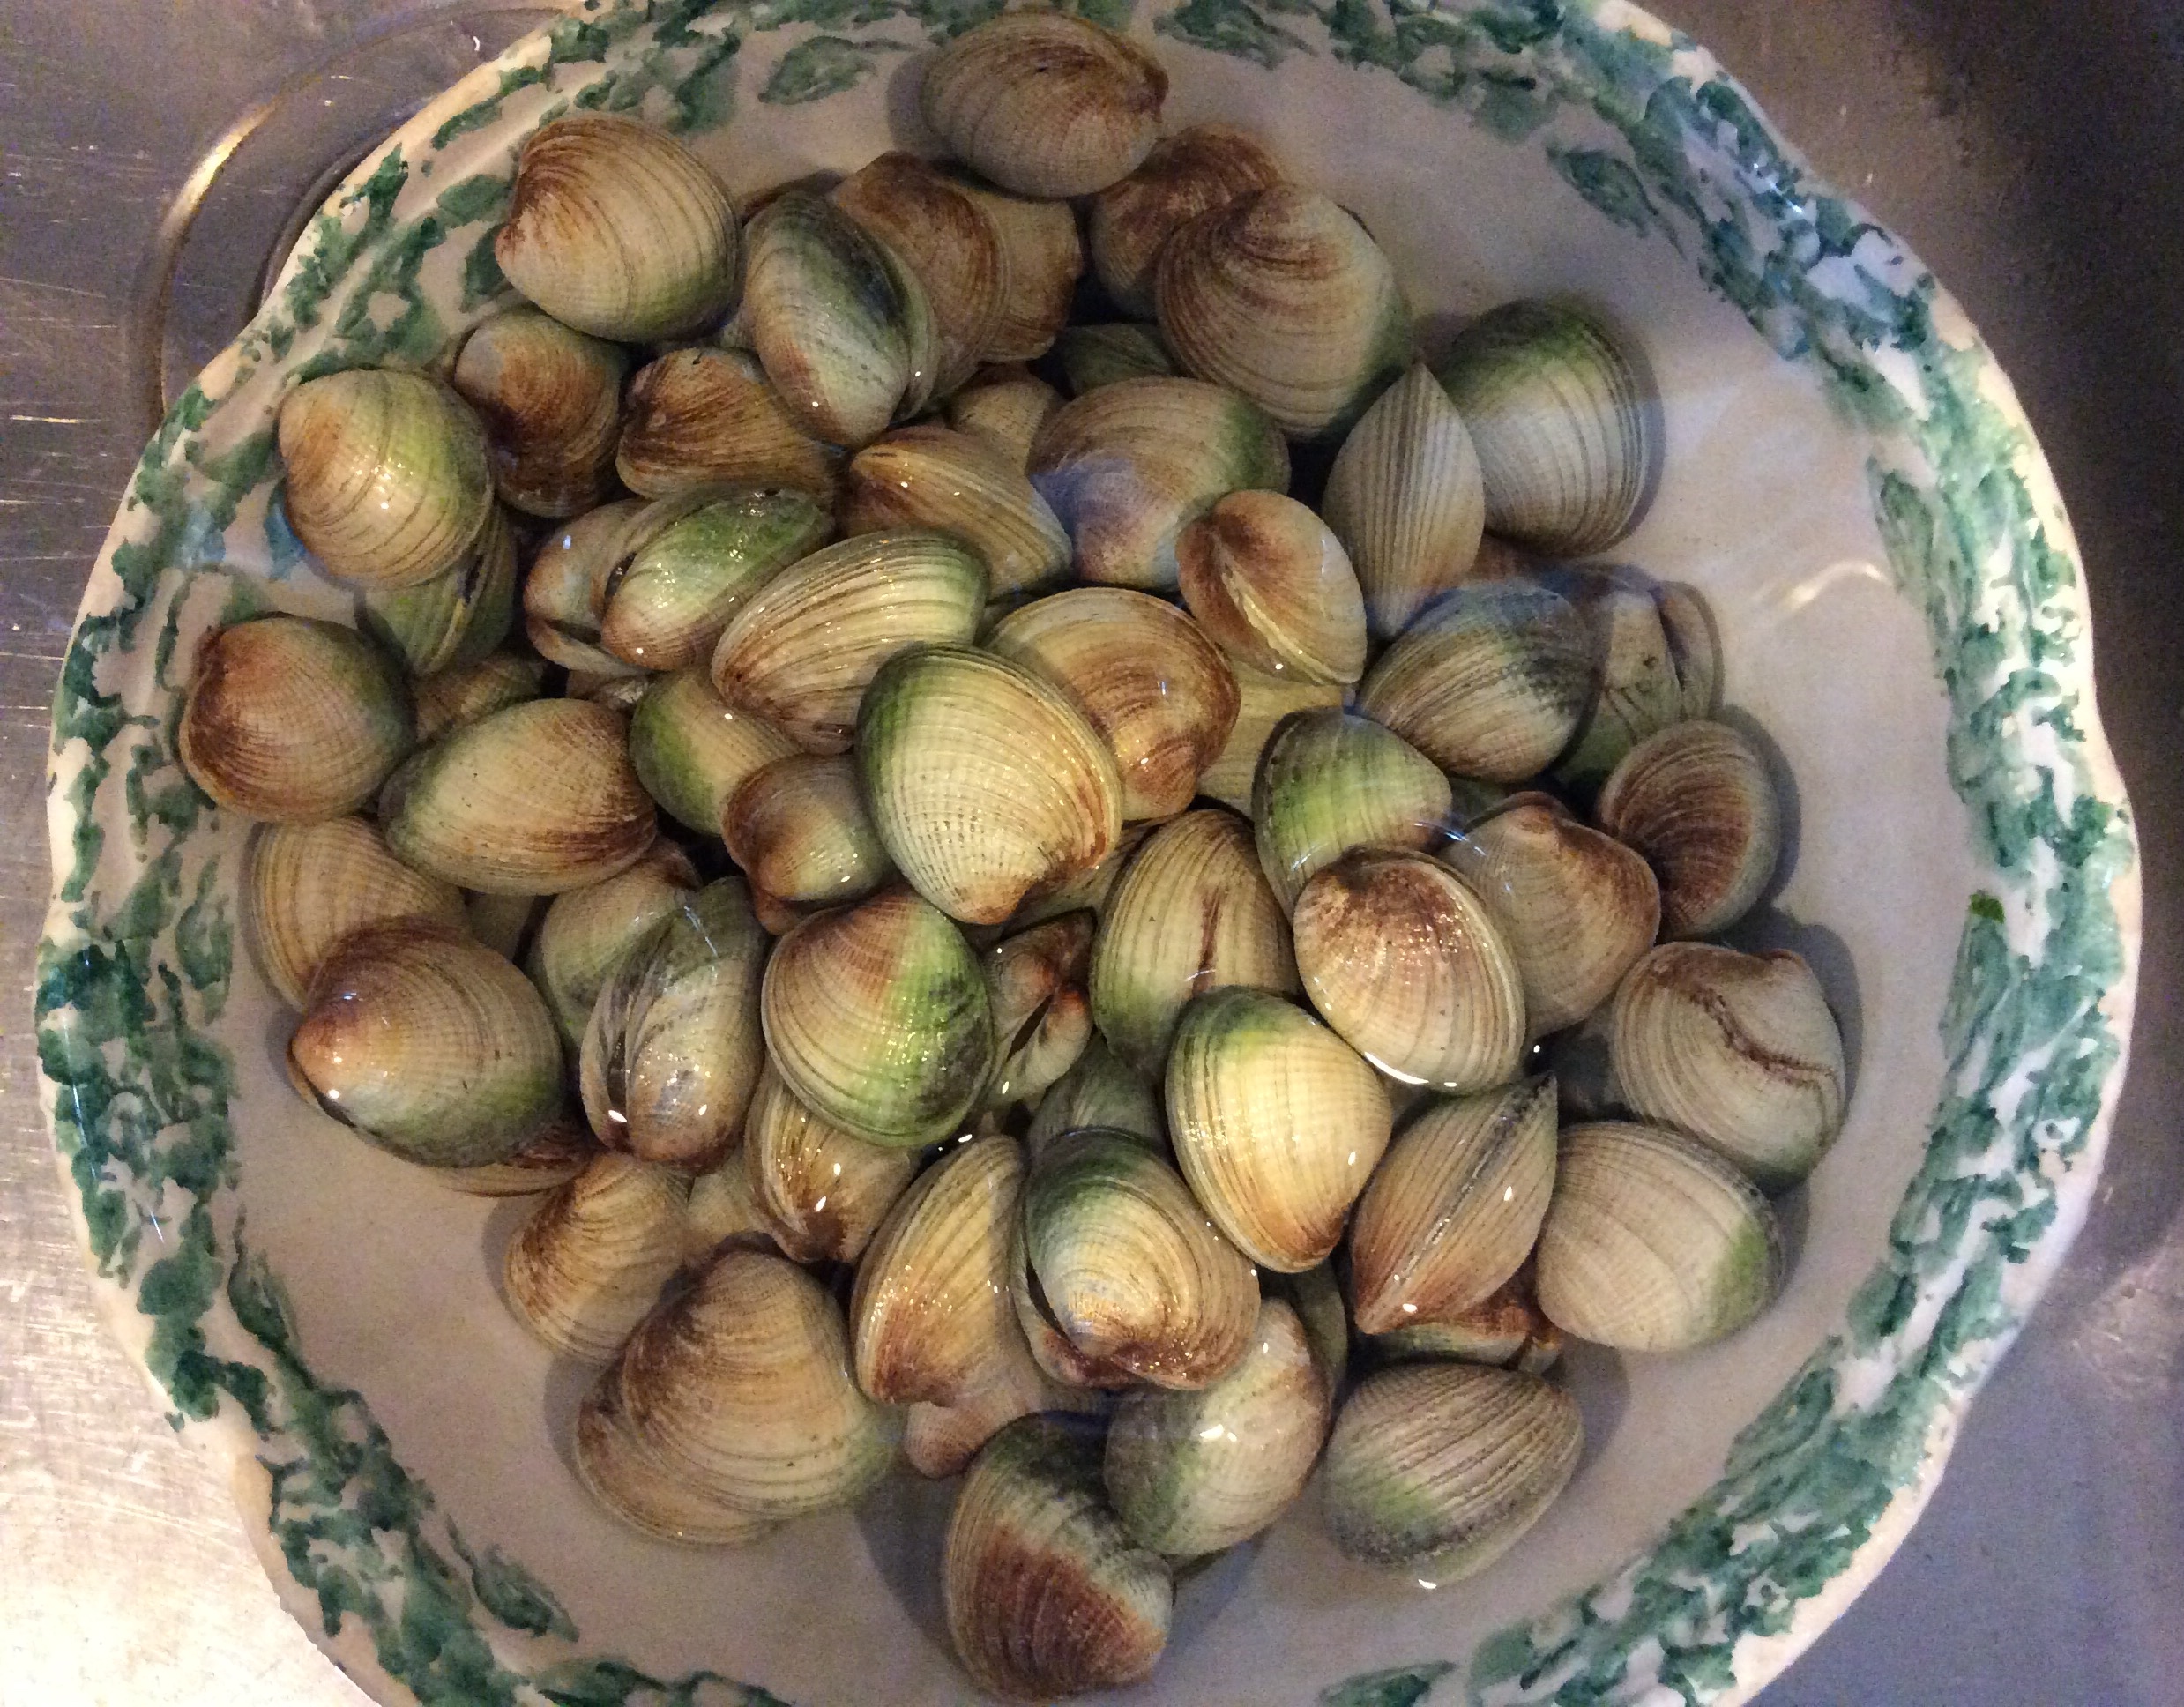
We have spent years trying to duplicate this recipe. We’ve returned many times to the Amalfi Coast in honor of “research.”   I believe this recipe is as close as we can get to duplicating this fantastic pasta dish. However, our clams ( please use Manila clams or cockles) do not taste of the Mediterranean Sea, and the view is only in our memories, marked forever.

RECIPE:  serves 4

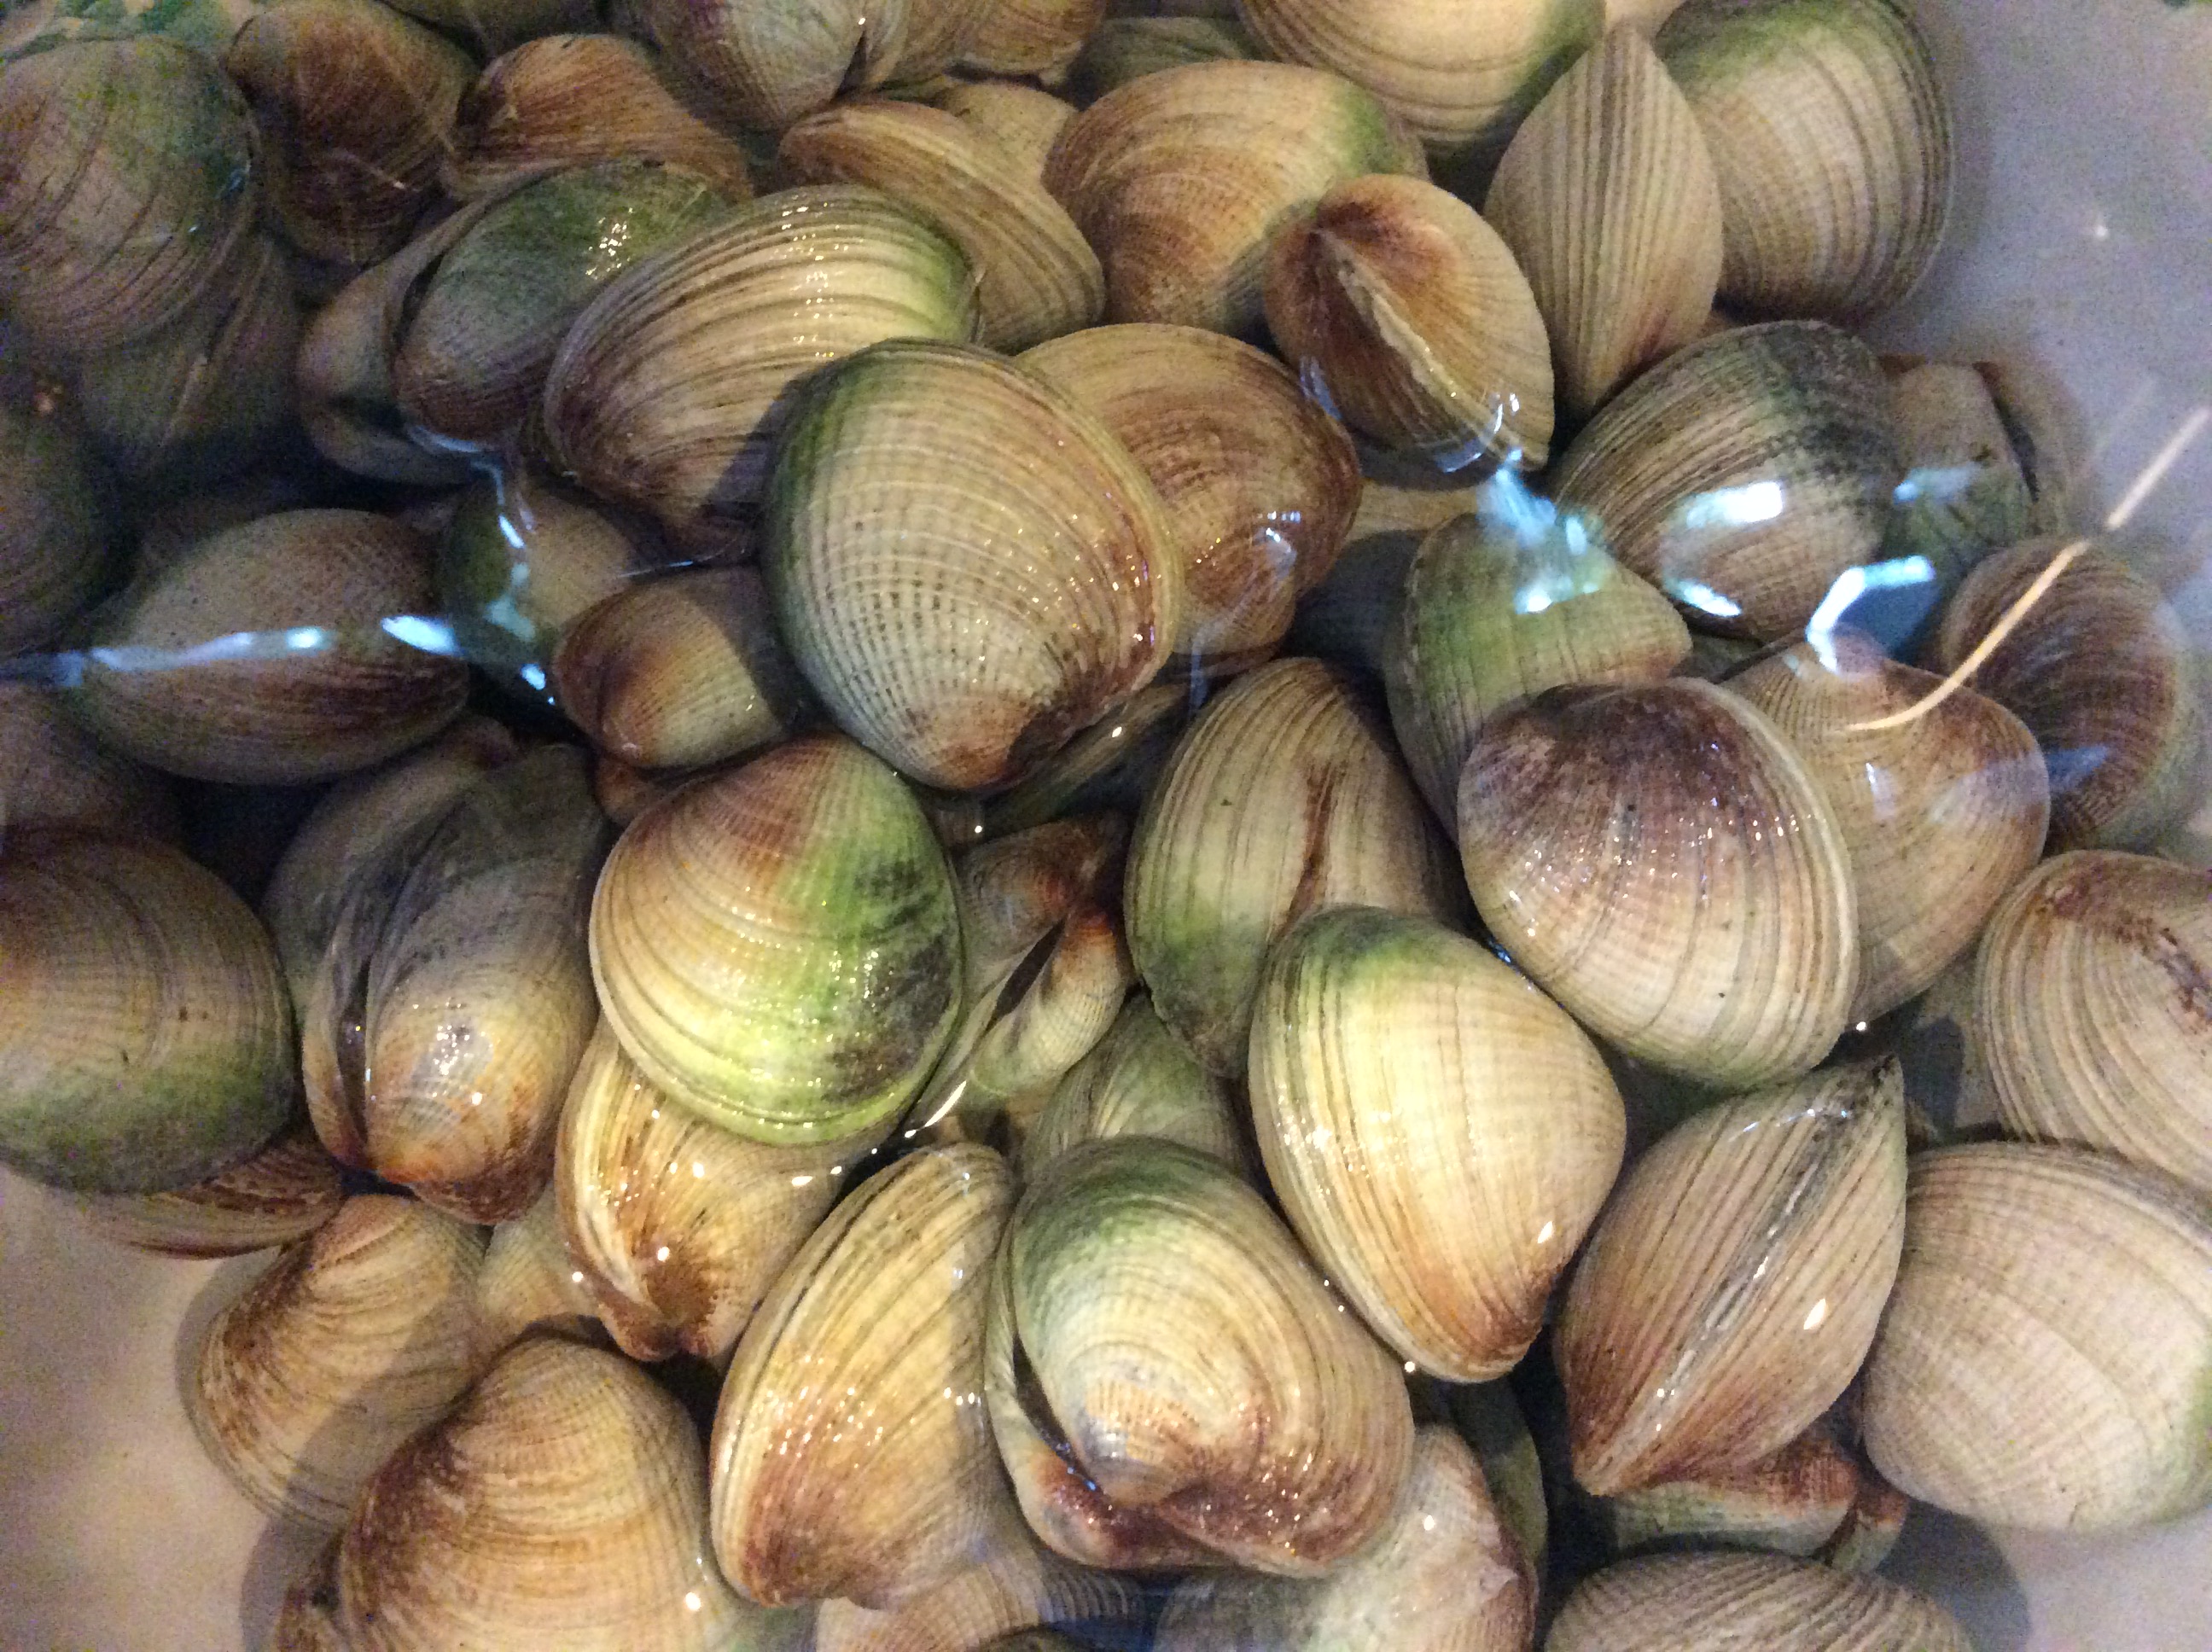
3 to 4 lbs cockles or Manila clams  (well scrubbed)

1/2 cup virgin olive oil…plus extra for drizzling

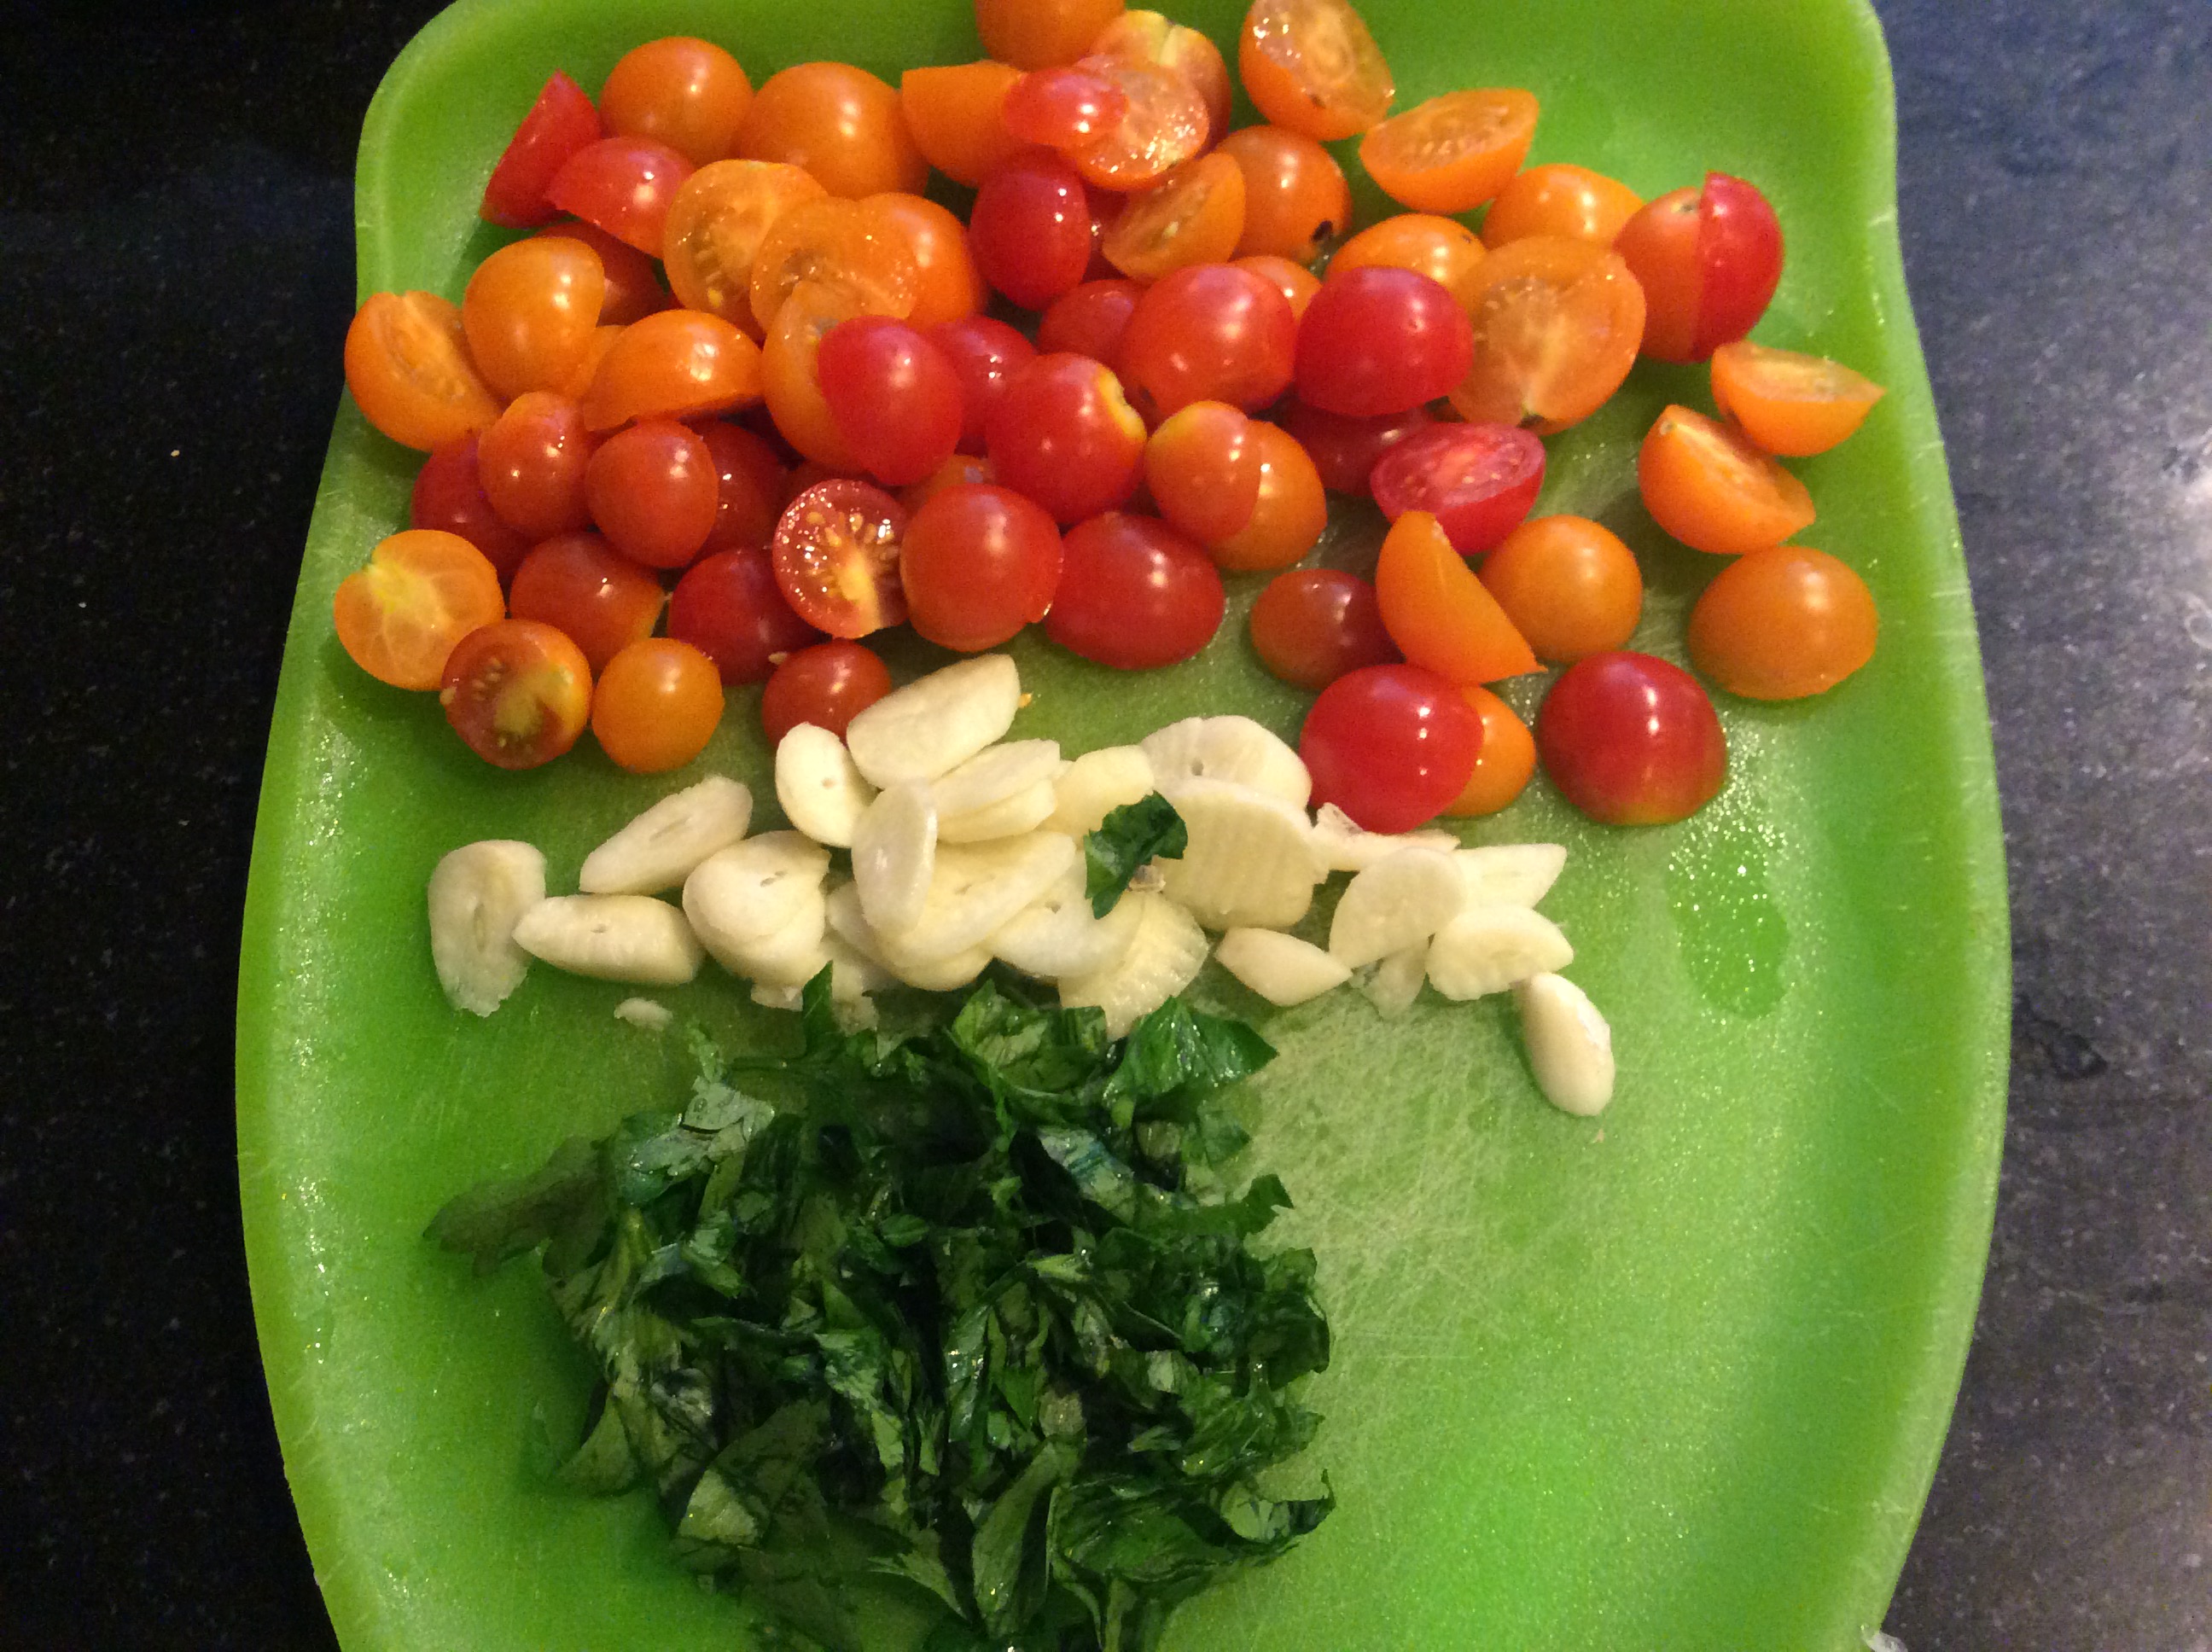
4 garlic cloves, sliced thin,

1/2 tsp. of crushed red pepper…or to taste

1 quart cherry tomatoes, halved ( I like to use red and yellow or orange)

1/2 cup finely chopped parsley

juice of 1/2 lemon

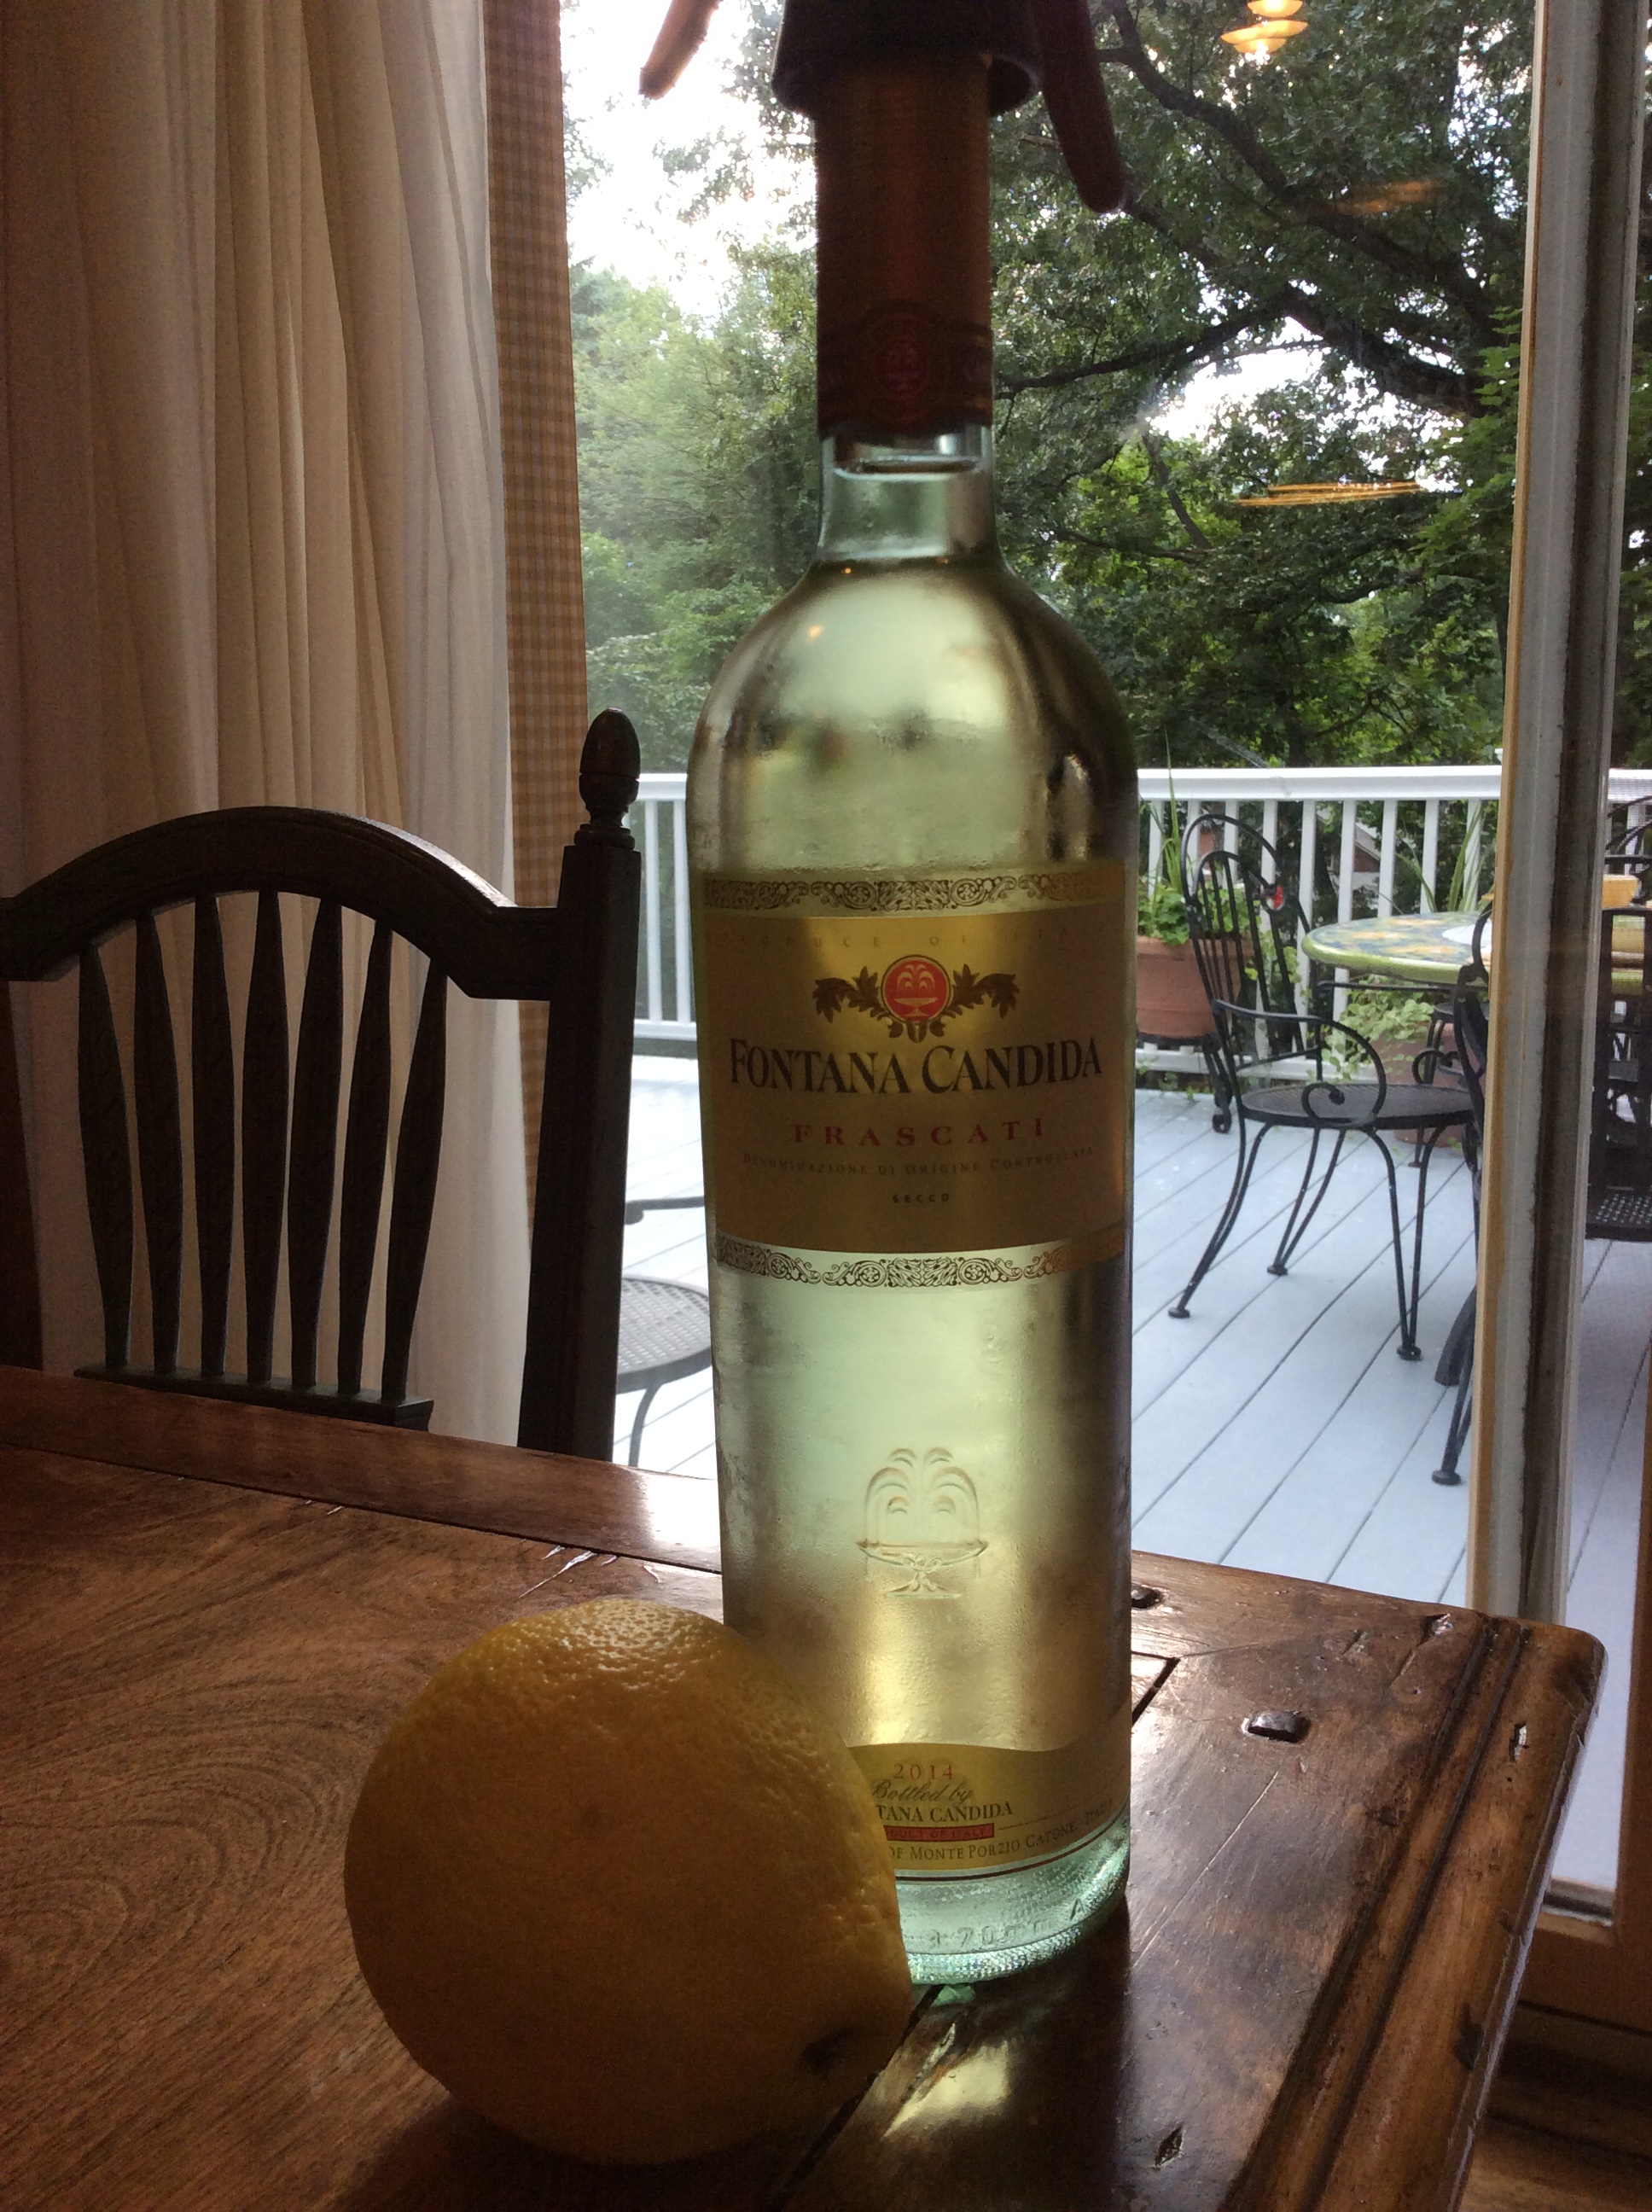
1/4 cup of dry white wine (preferably Italian)

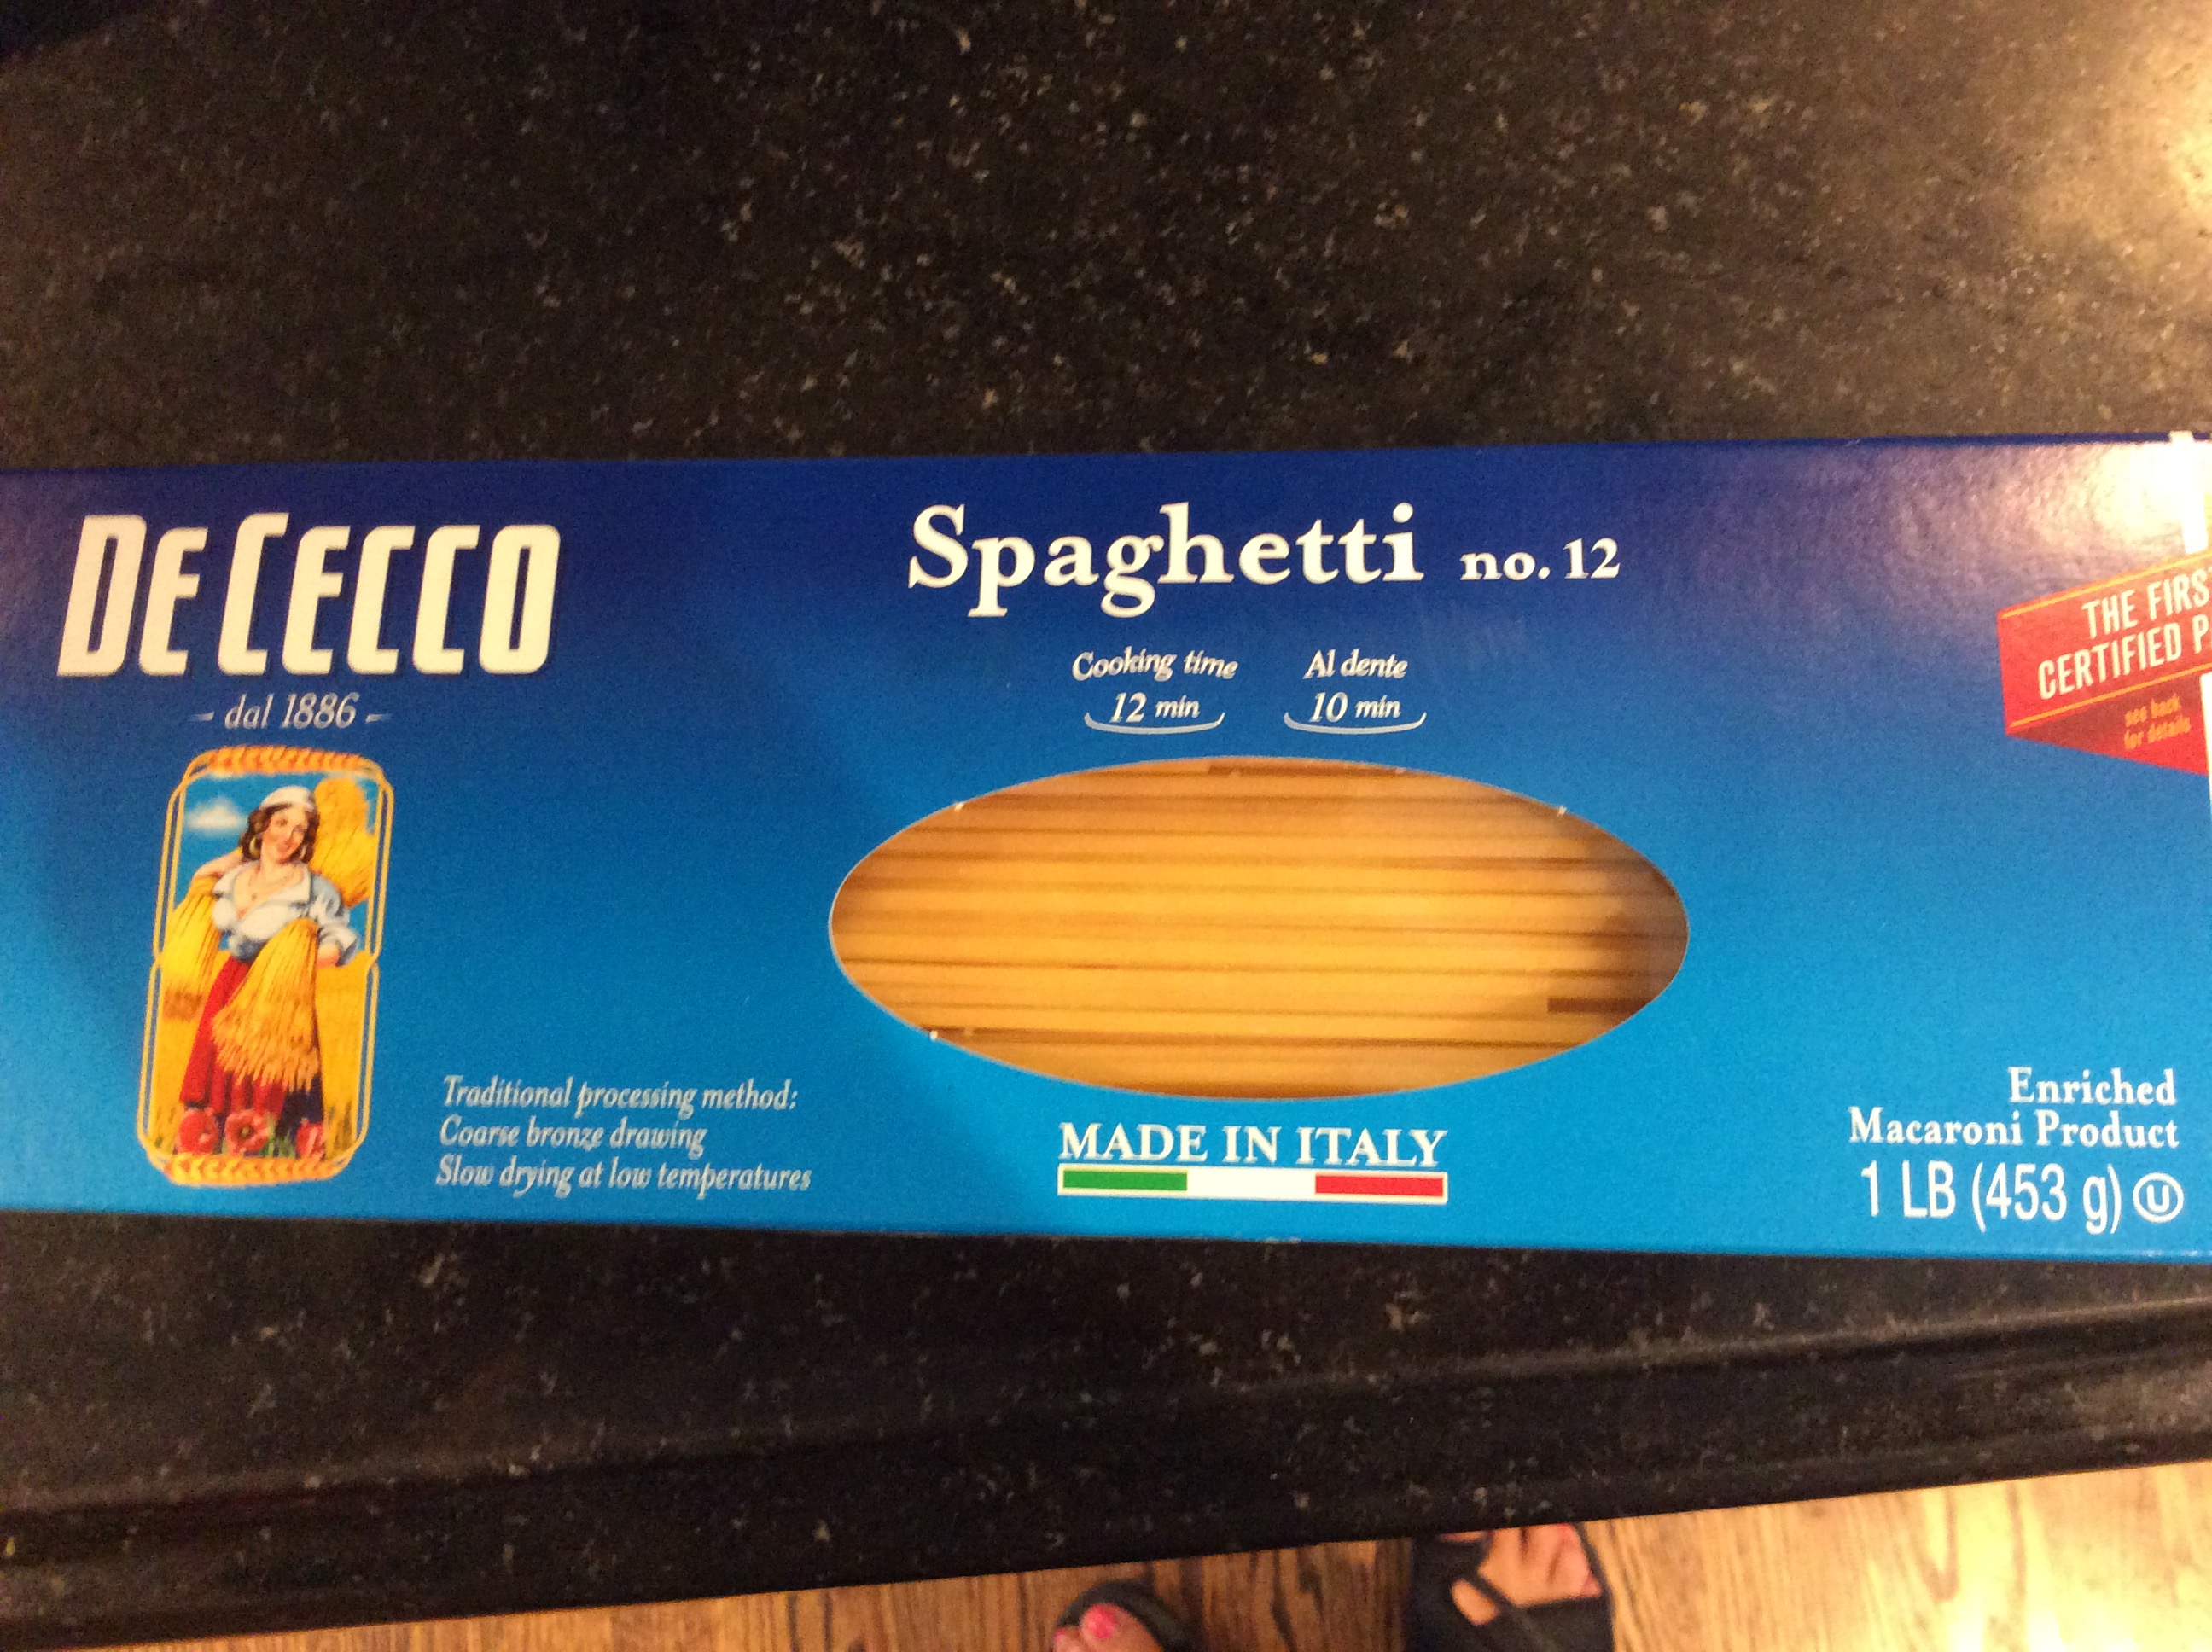
1 pound Spaghetti  ( you’re probably wondering why not use linguine, but we do not!)

Sea salt

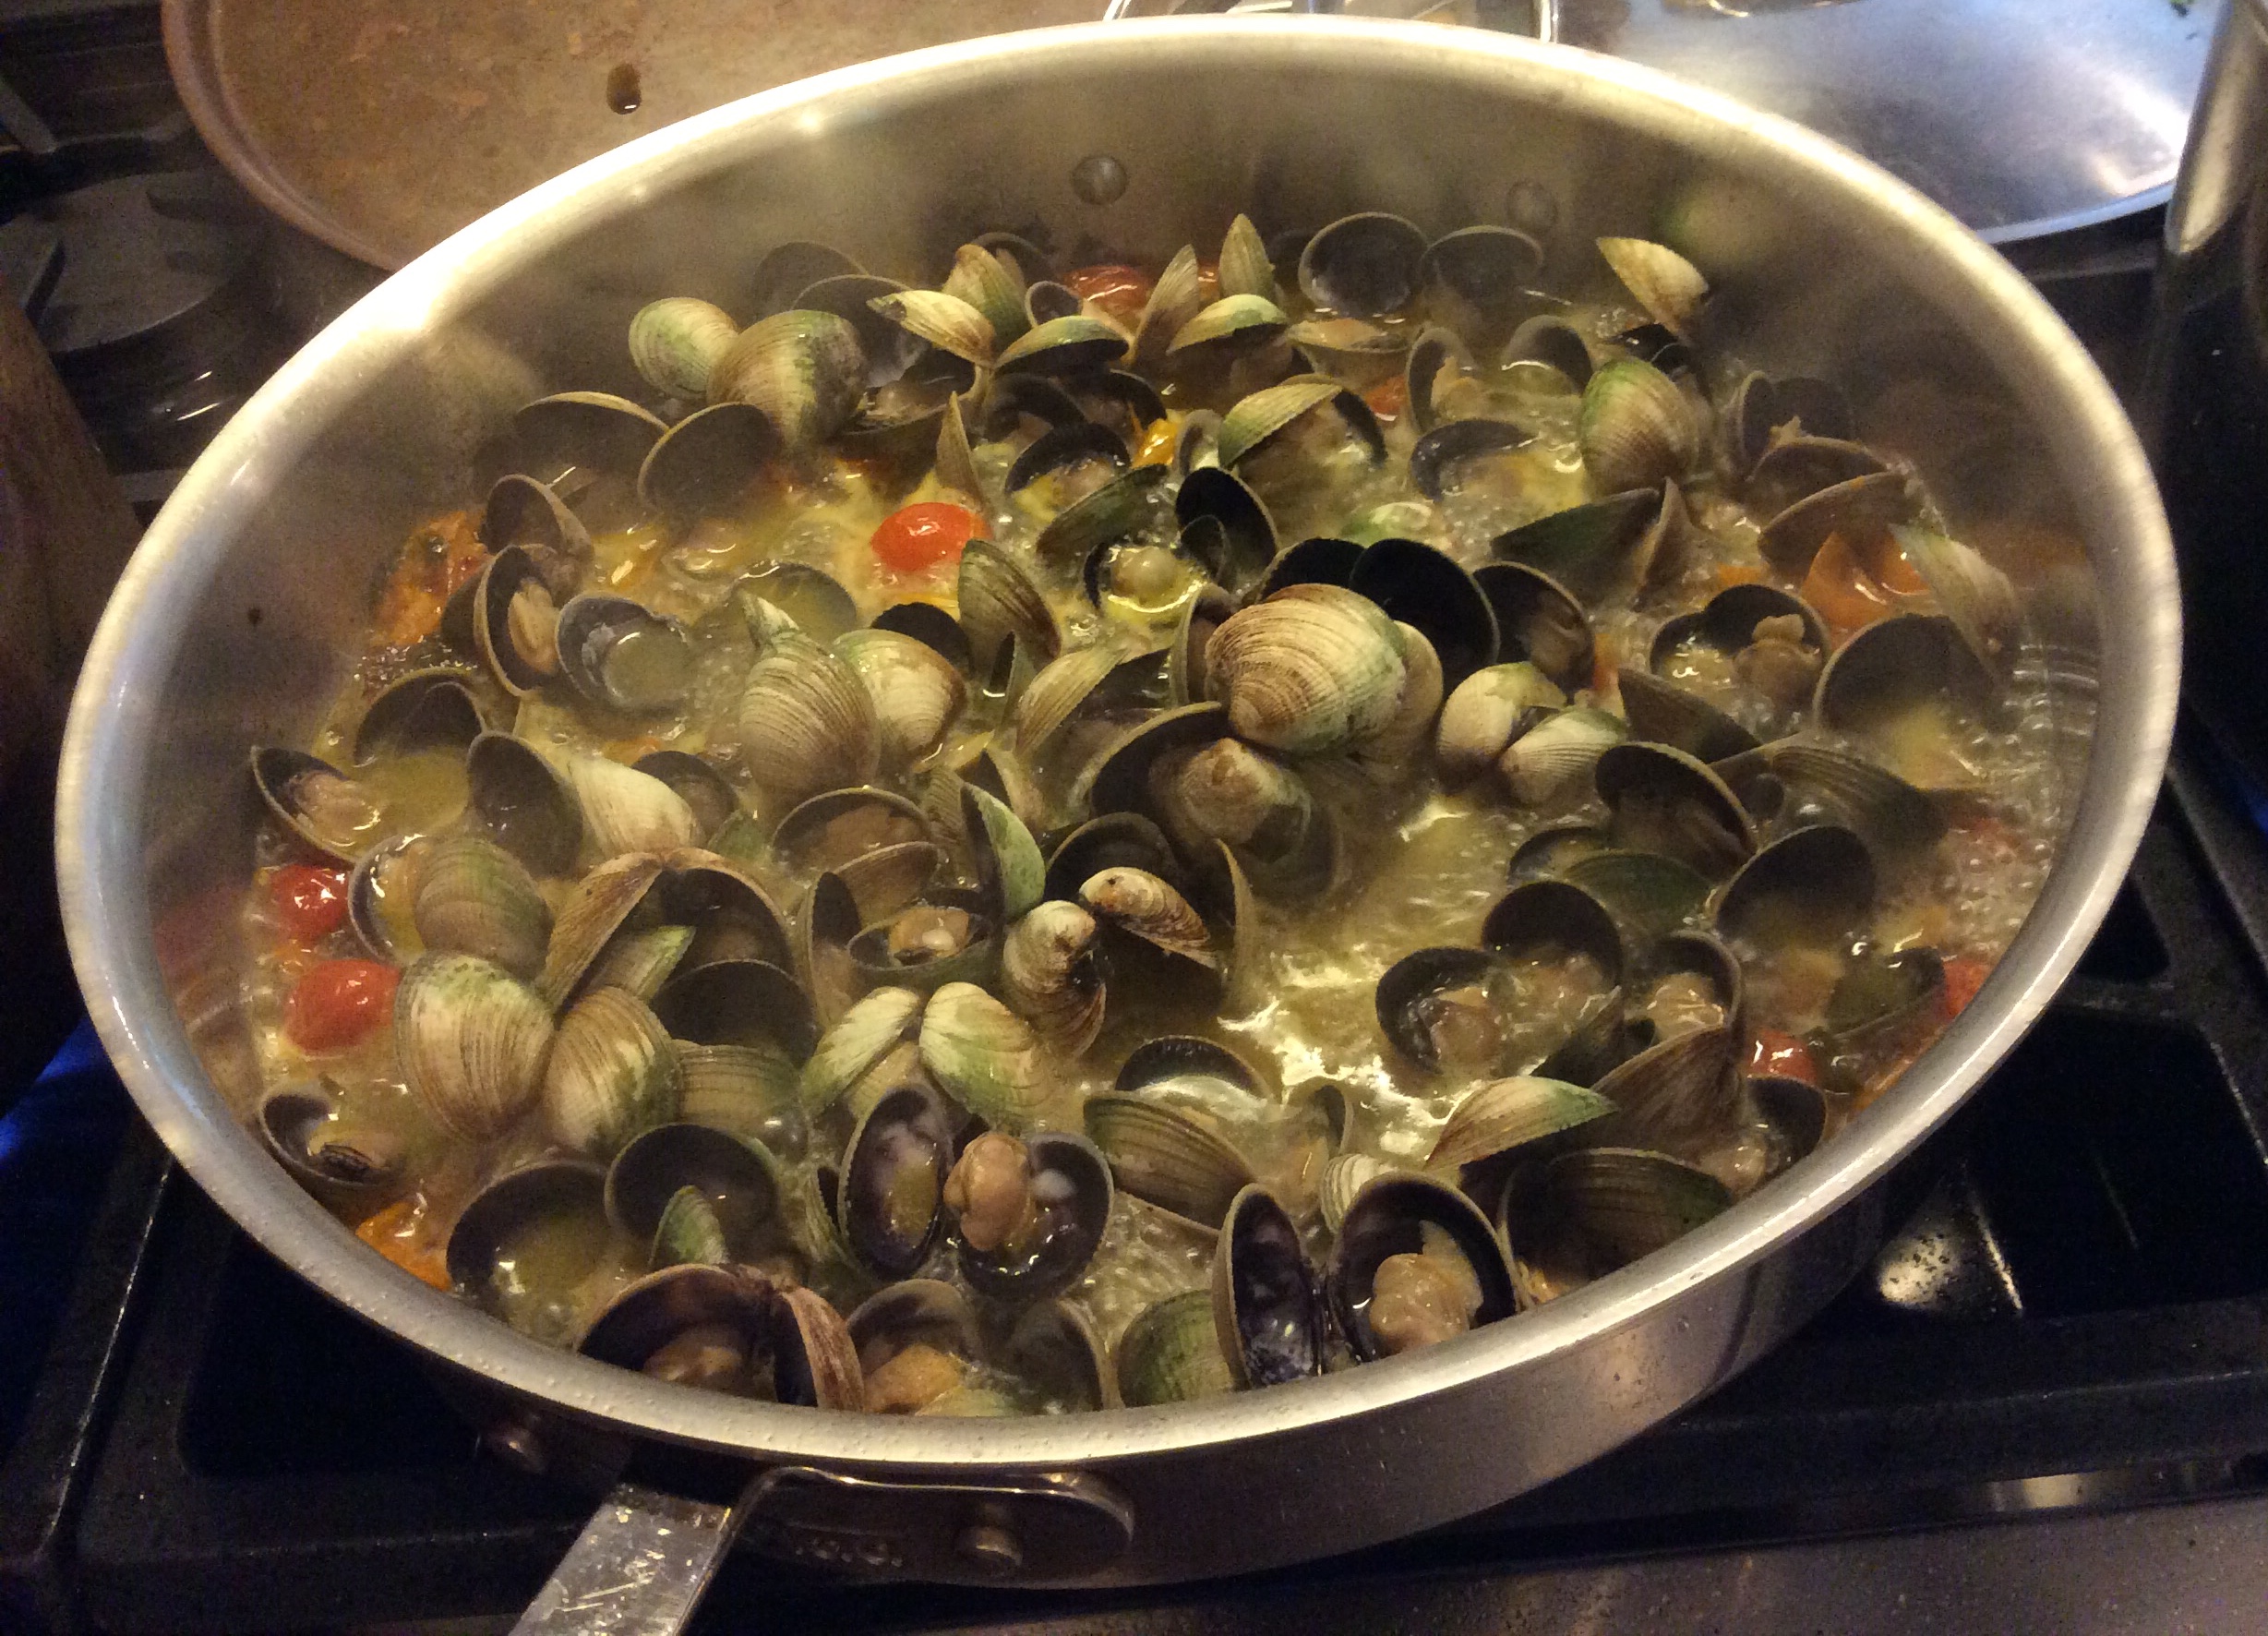
  1.  In a large skillet or pot with a cover, over medium heat, combine the oil, garlic, and red pepper.  Saute for 2 to 3 minutes.
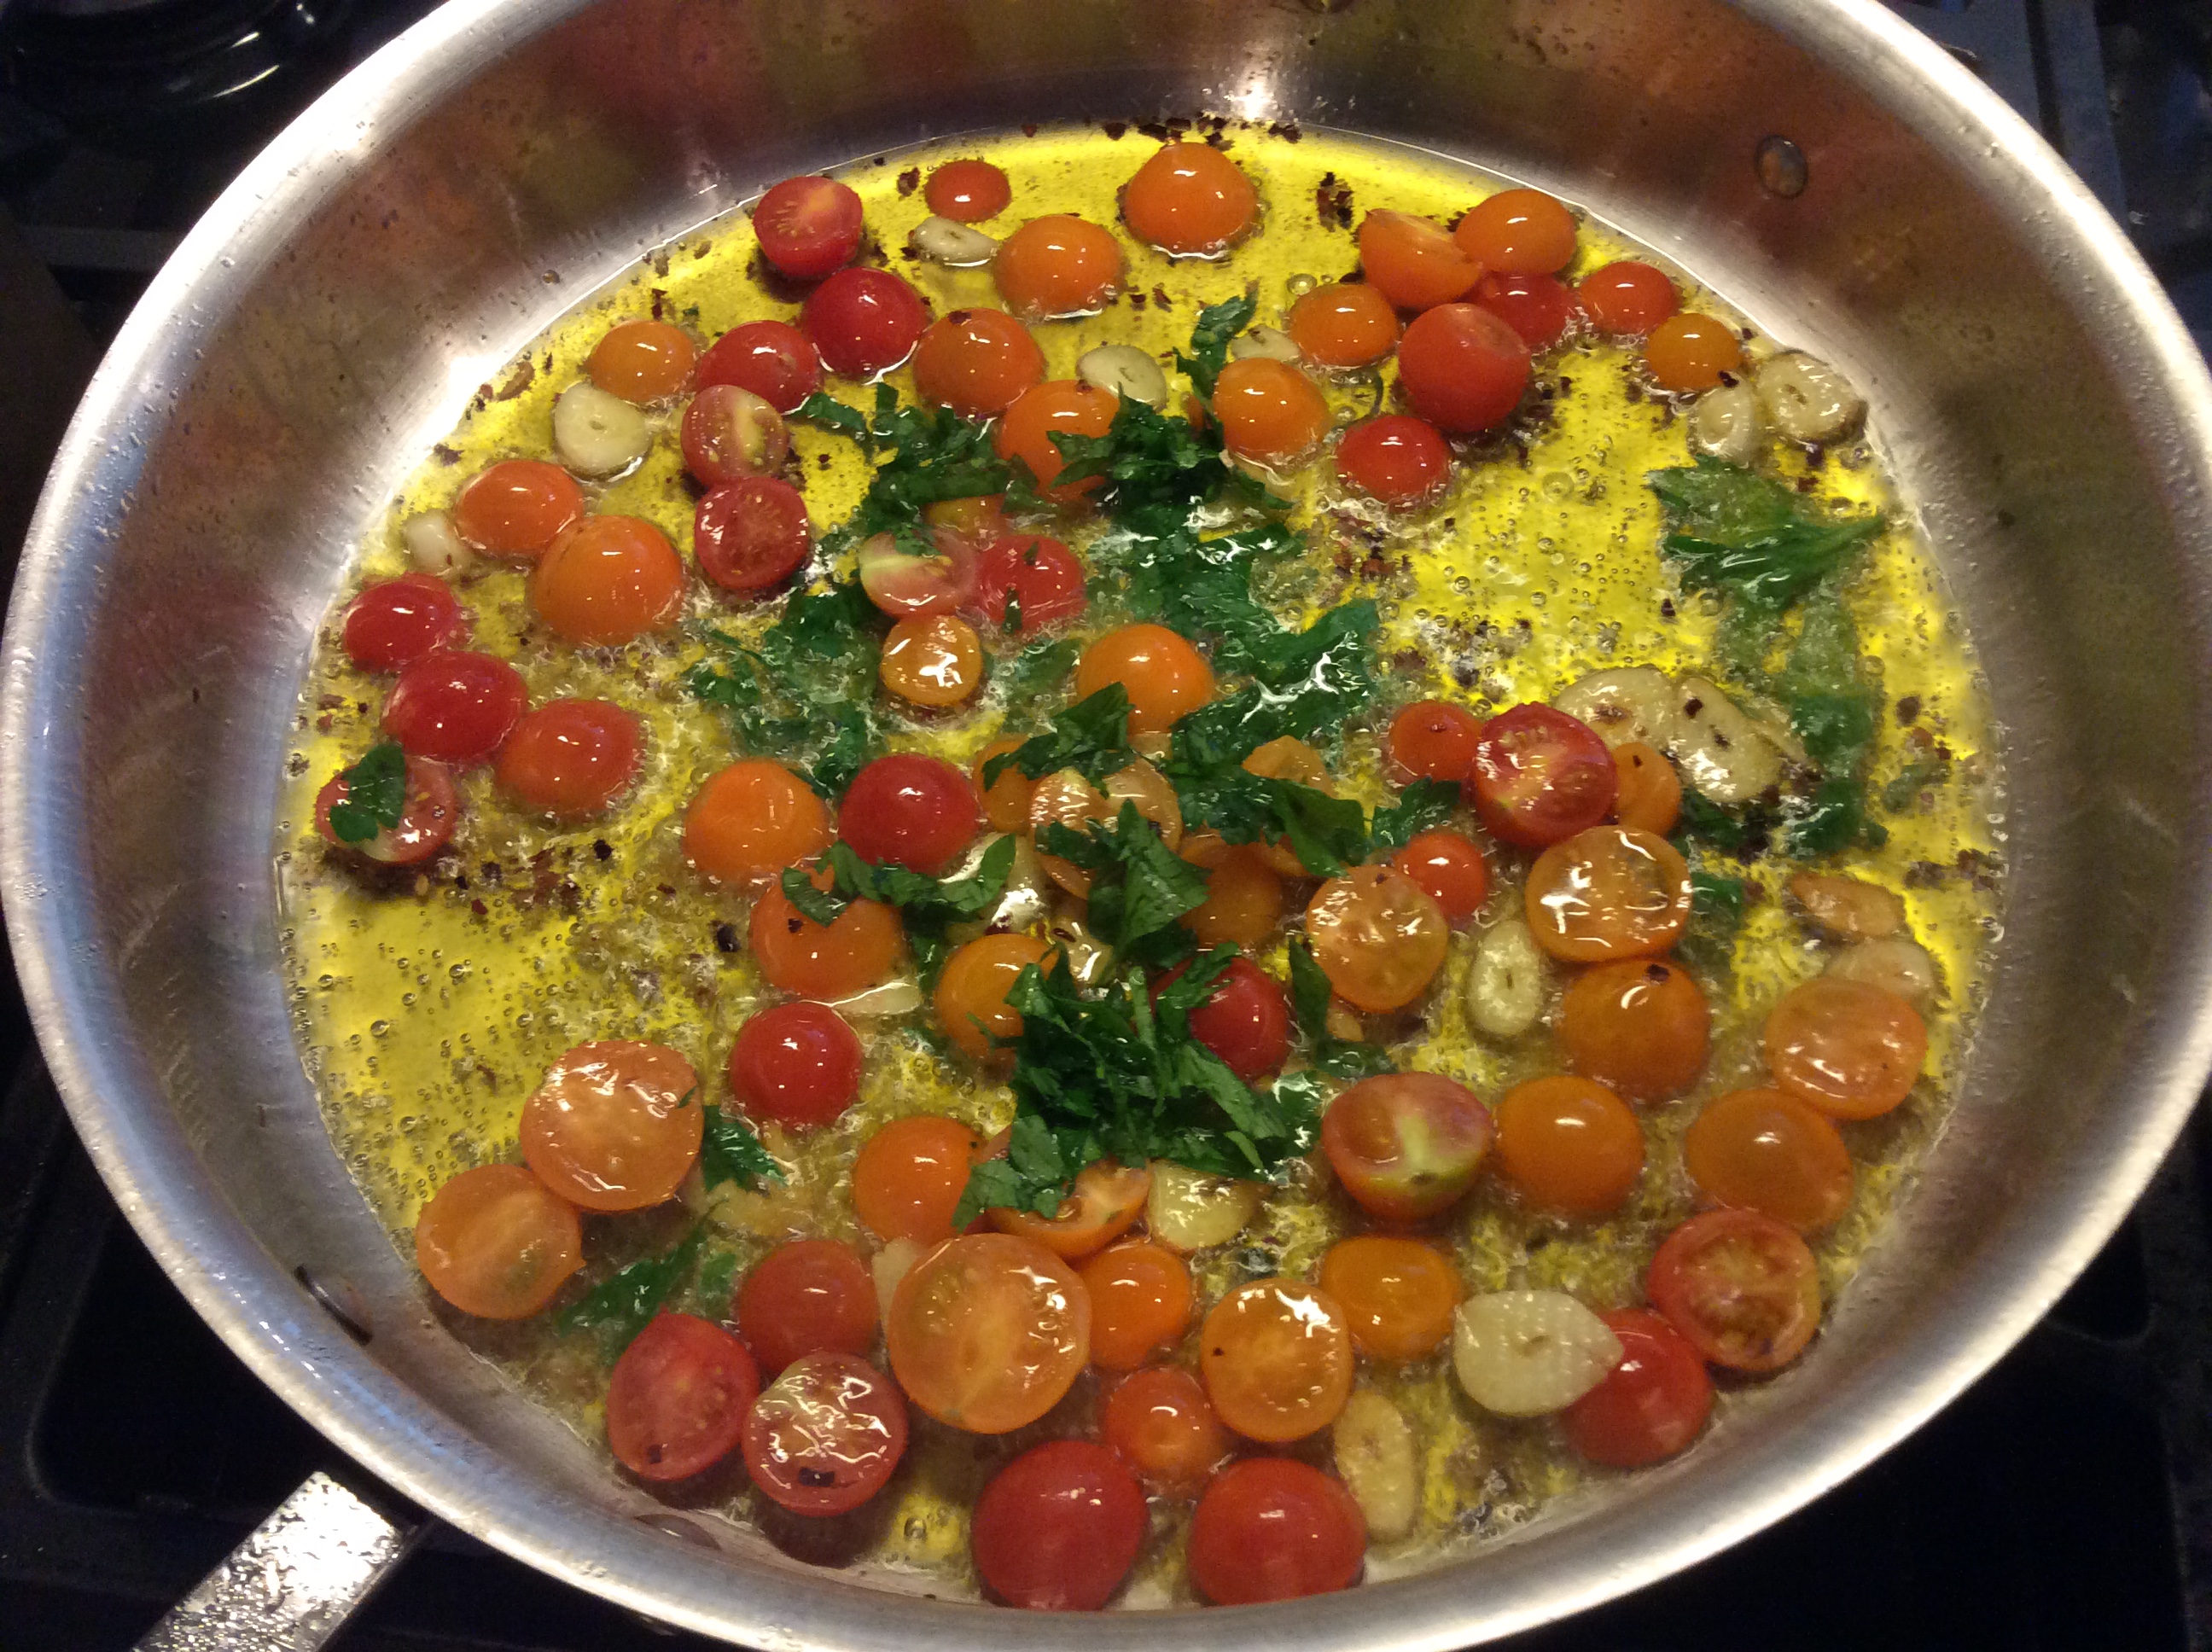
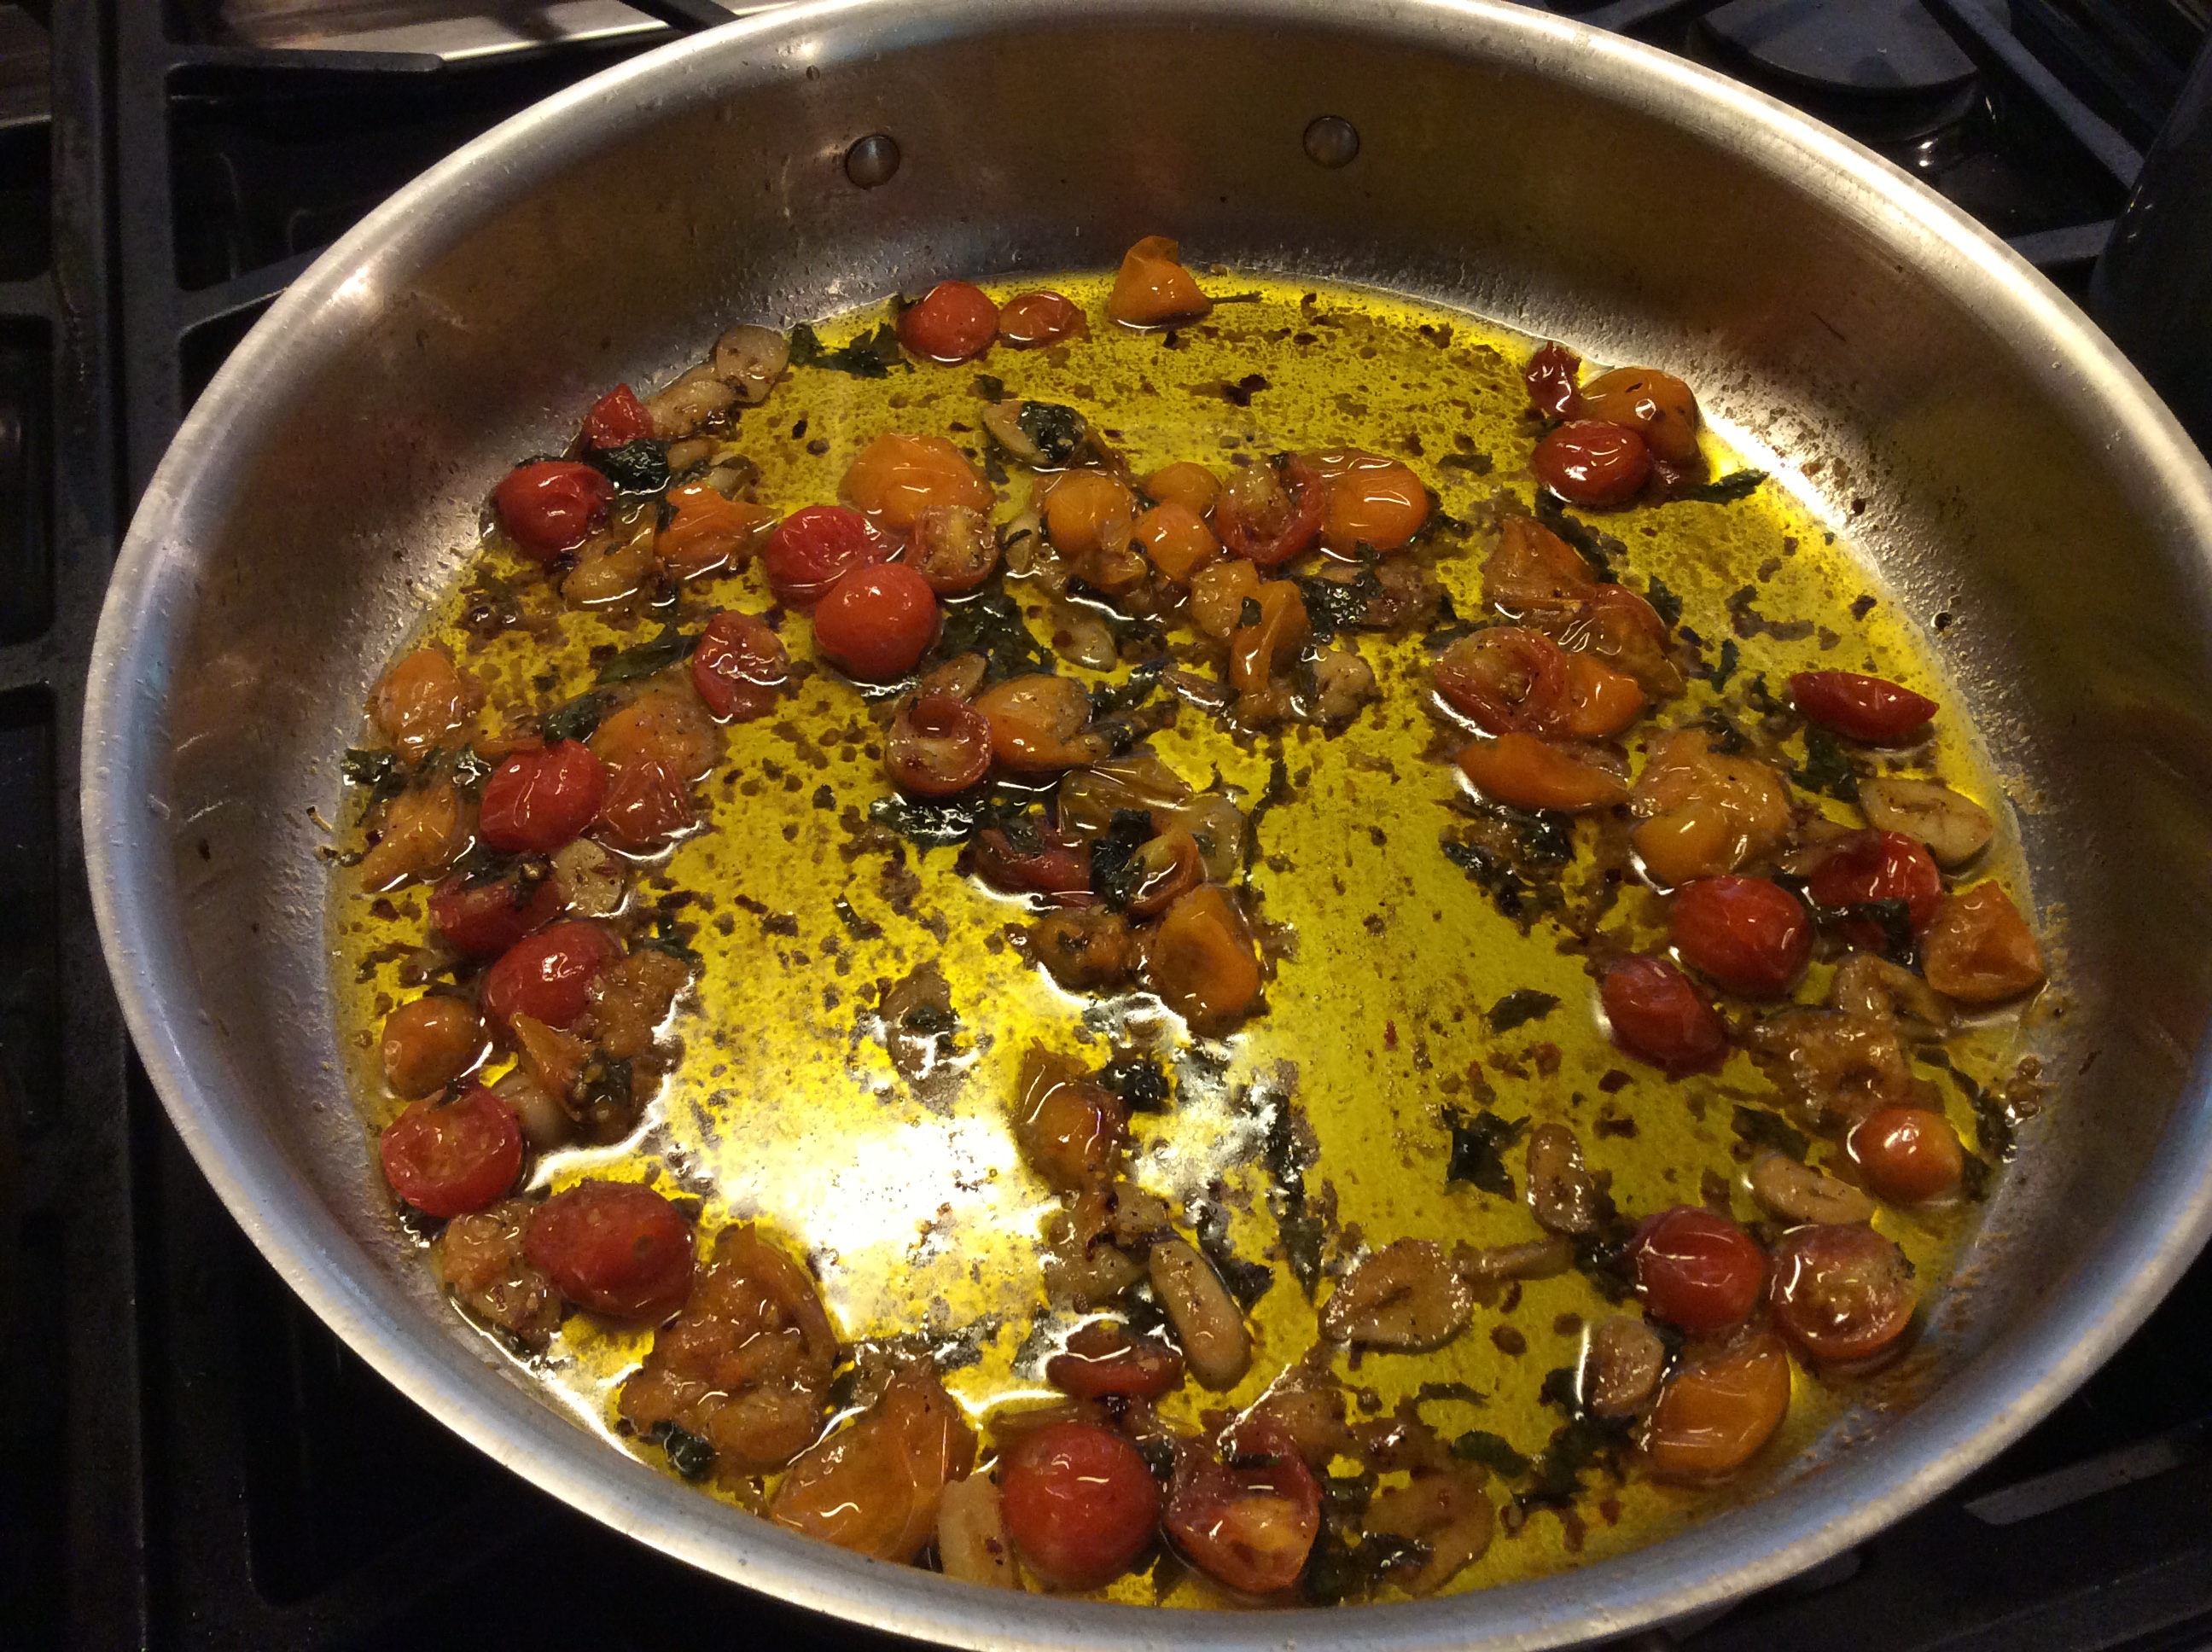
  2. Add the tomatoes and half the parsley.  Cook until fragrant and the tomatoes begin to melt.
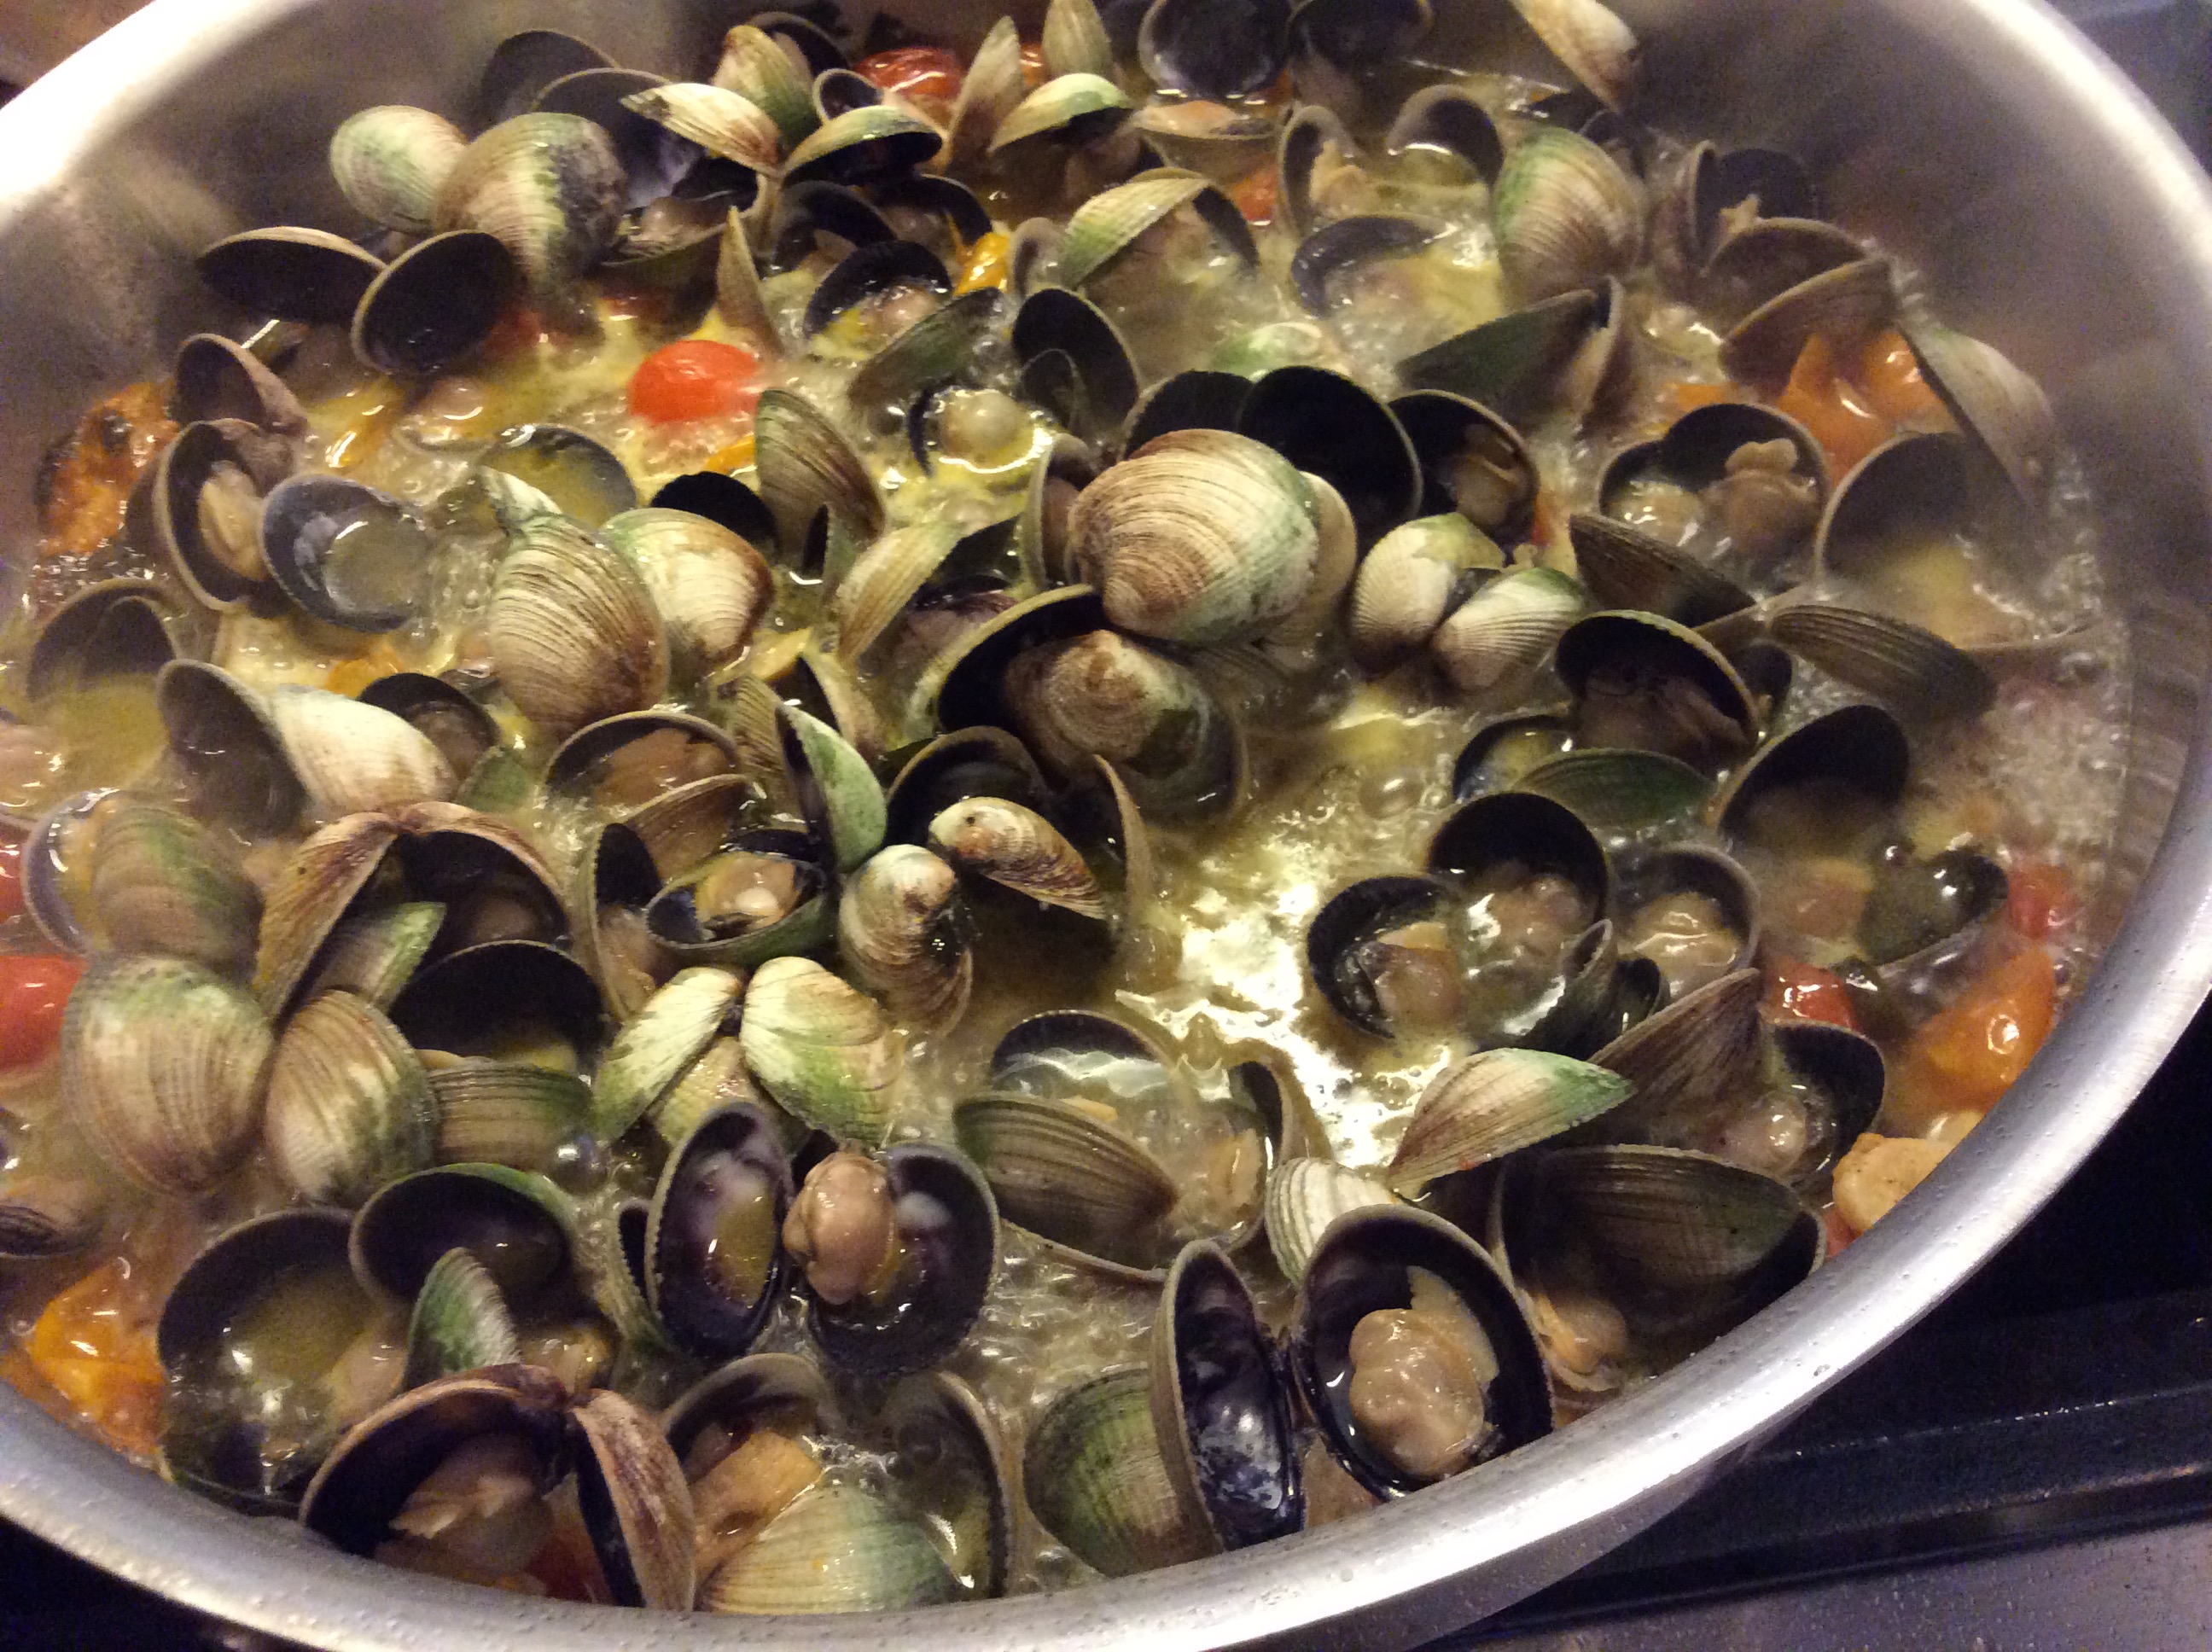
  3. Add the clams to the pan, along with the wine, lemon juice and sea salt to taste.  Bring to a boil.
  4. Cook until the clams open.
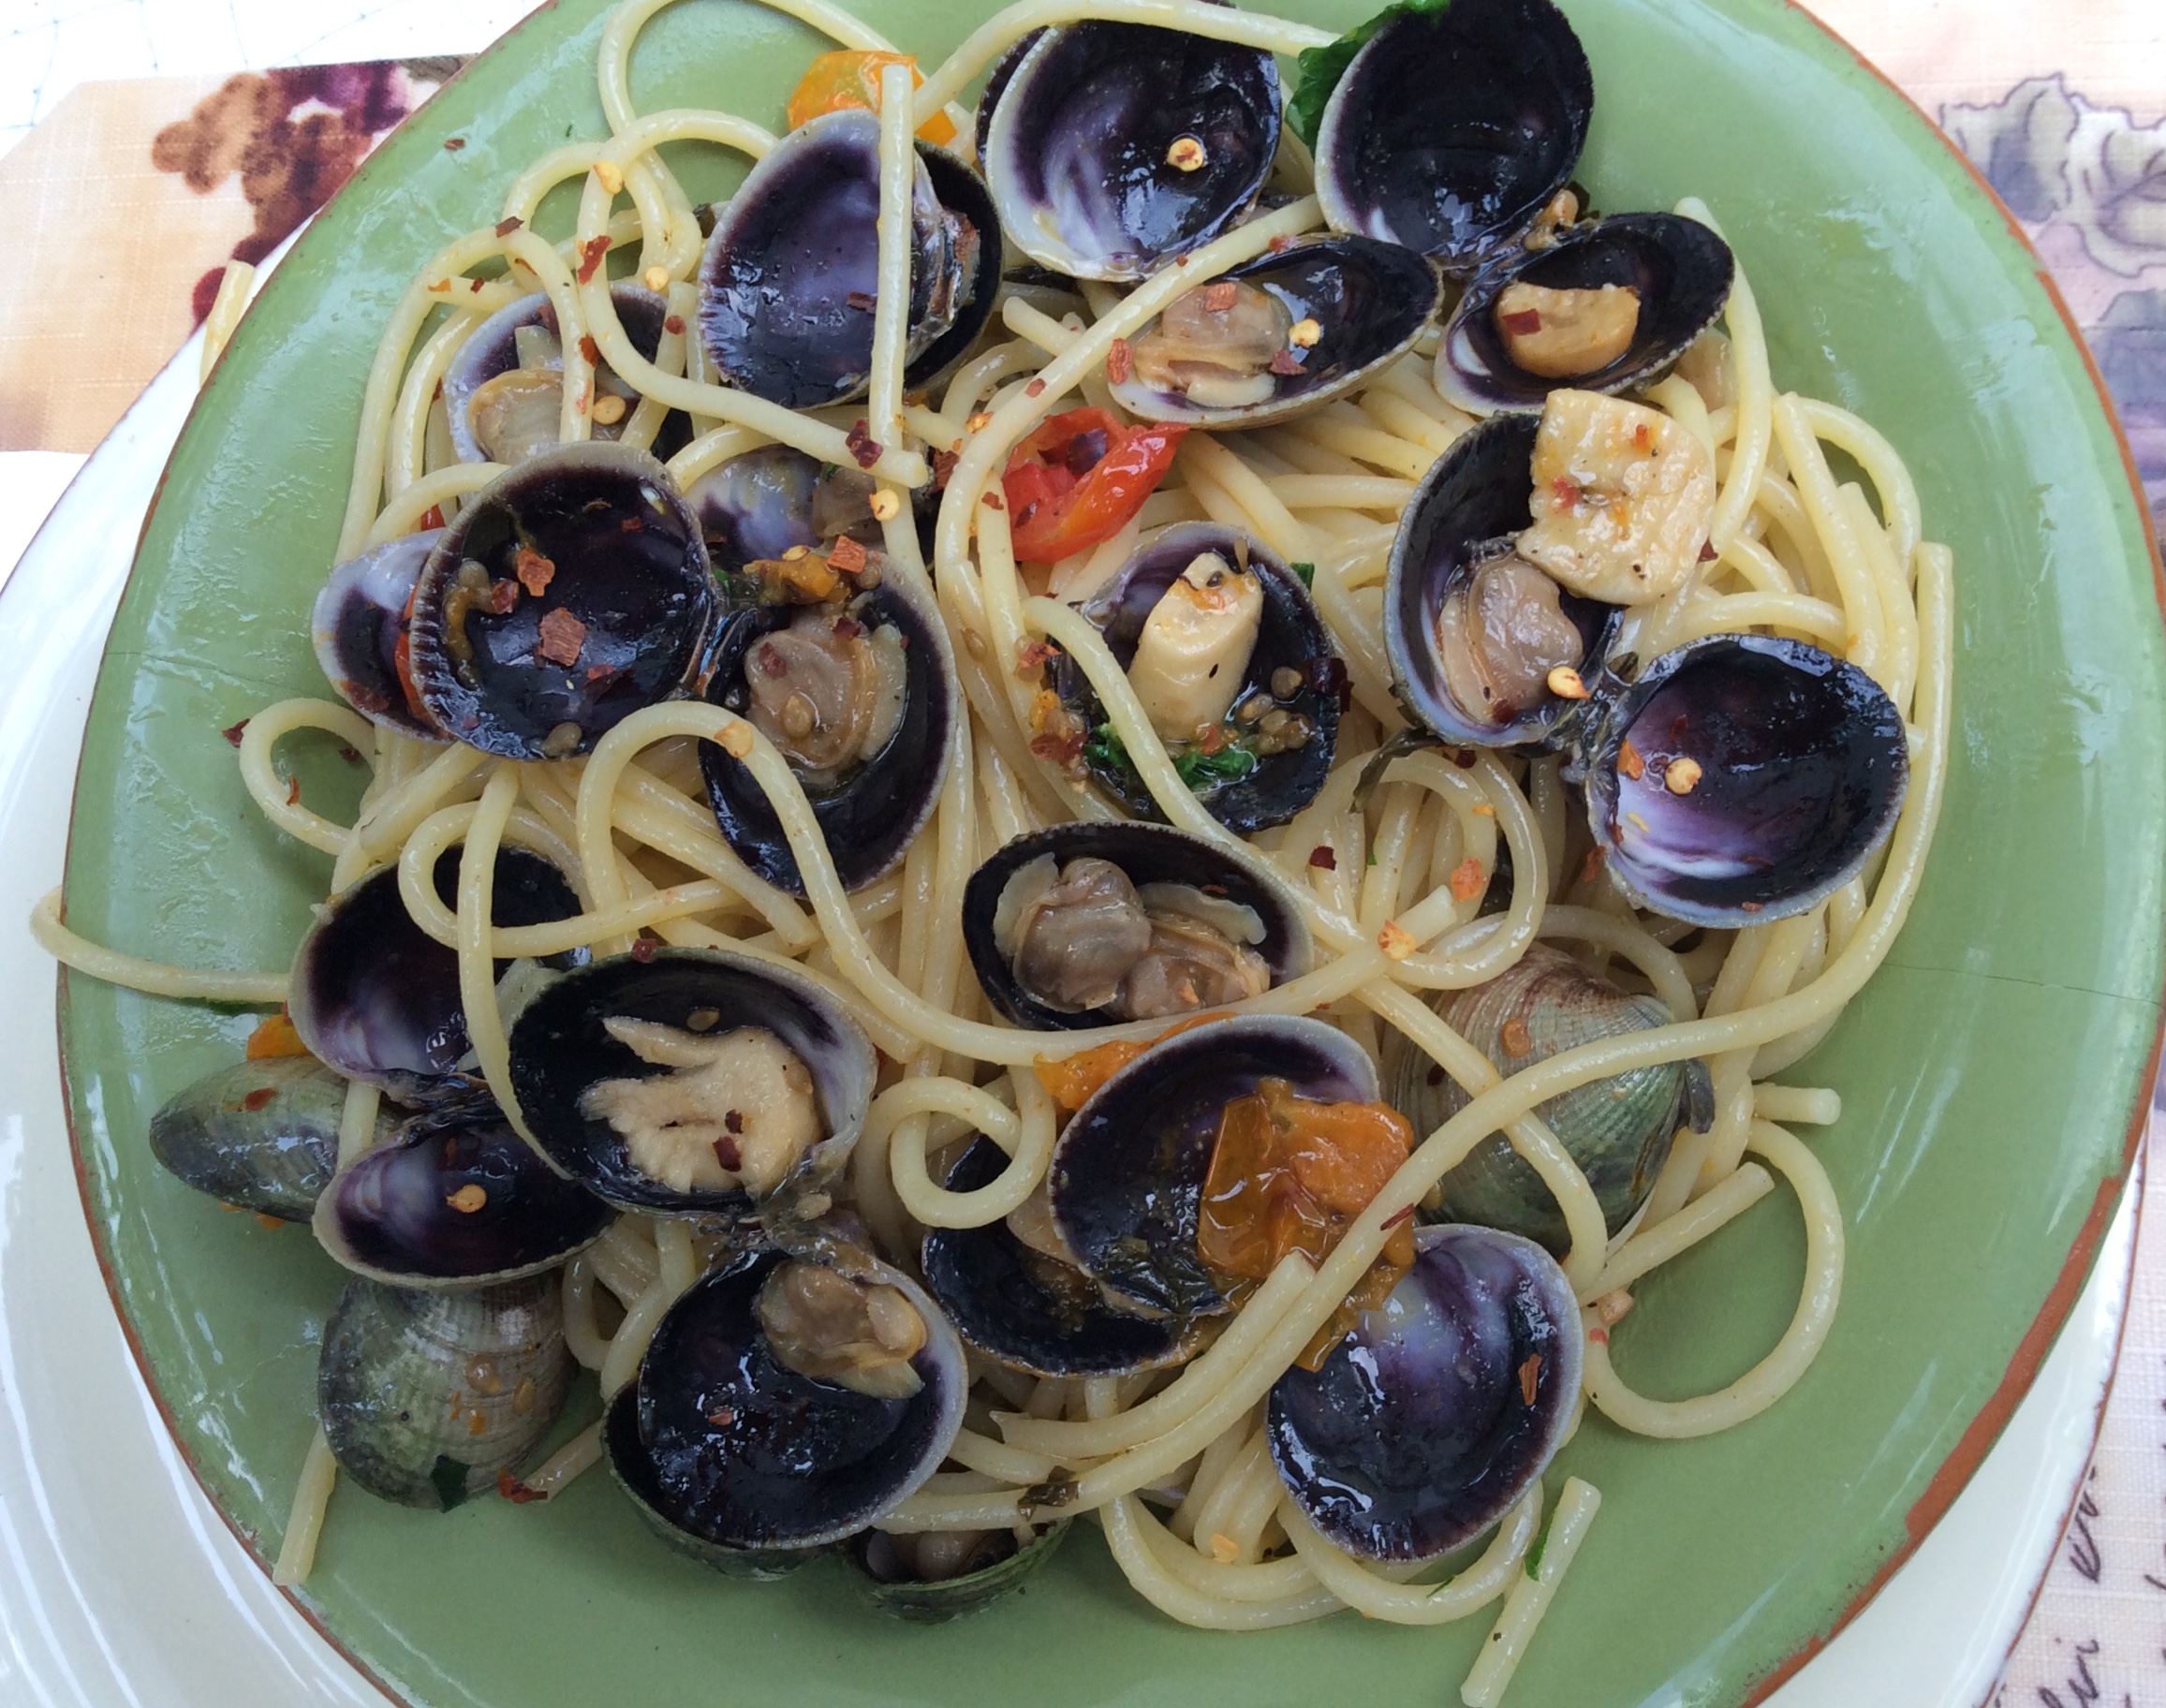
  5. Meanwhile, in a large pot of salted water, cook the spaghetti until al dente. Drain and add to the skillet.
  6. Drizzle with olive oil and add remaining parsley. Mix well and turn out onto a bowl.

IMG_6469-1clam sauce spaghetticlam sauce cocklescllam sauce cockles closeupclam sauce saute 1clam sauce saute 2clam sauce vino and lemonclam sauce cookingclam sauce cooking 2clam sauce dish

Chocolate Chip Cookies ( Gluten Free/Sugar Free/ Dairy Free)

CC cookies plated 1

I’ve been spending some time educating myself on the effects of diet on ADD and ADHD in children, as well as adults. I’ve been attending seminars on “Healthy Treats Alternatives” and “Healthy Stuff Kids Will Eat.” I can’t read enough articles on this subject.  It’s been enlightening to say the least. I do believe that our diet is very important, and have been a long time proponent of the Mediterranean diet, as this is how my grandparents ate and they both lived to be 103 years old. However, our food has changed (been modified, sprayed with pesticides, etc.) since they were alive, and I do feel we are starting to see the effects of this on our digestive systems.

Without getting preachy, who among us would not benefit from less sugar in their diet? It seems that we all know at least one person with Celiacs disease or gluten sensitivity. And many are finding dairy to be a problem with regards to sinuses and phlegm.    Well I have the perfect cookie to address all these needs. This recipe was in a handout at one of these seminars. I have made these cookies several times, and no one is the wiser. I made them for a children’s birthday party, and the kids wanted these cookies over the bakery made birthday cake. I couldn’t believe my eyes when I saw them shoveling these cookies into their mouths, instead of the sugary cake. These are not nut-free, so do be careful of that.

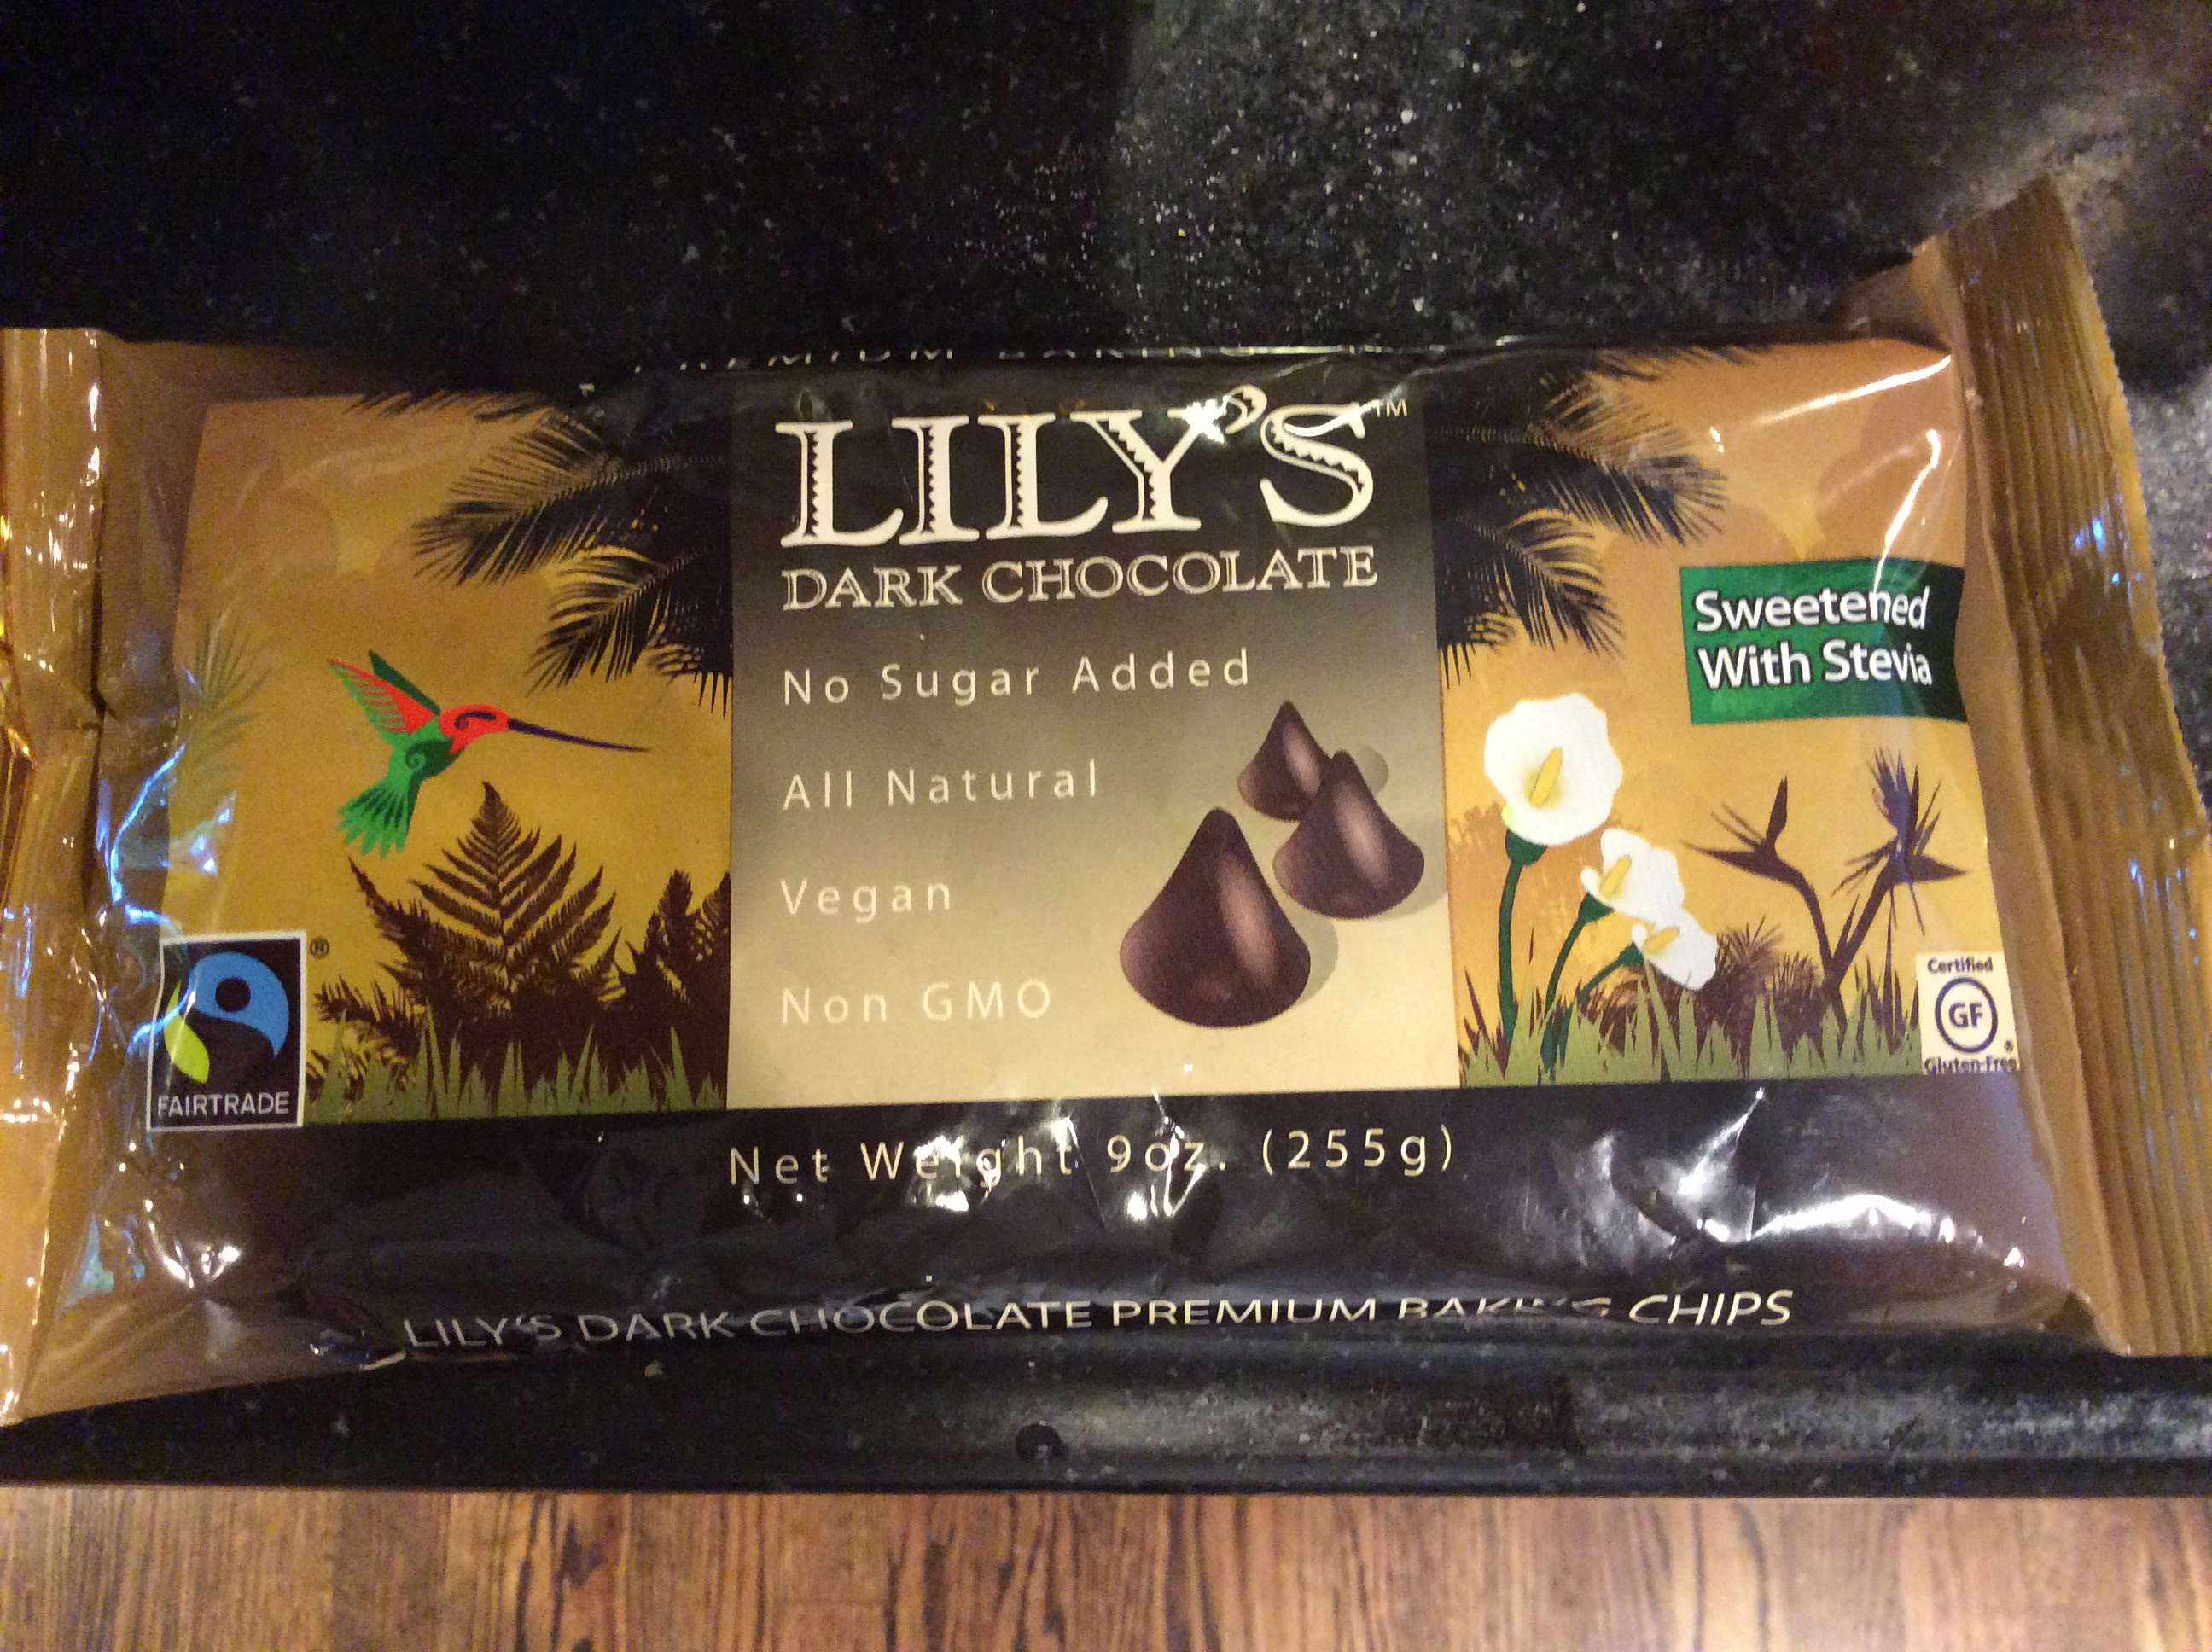
I highly recommend these cookies, even if you just want a healthier version of a chocolate chip cookie for yourself. But you’d better give half of the batch away because you won’t be able to stop eating them.

RECIPE:  2 dozen

2 1/2 cups almond flour

1/2 tsp celtic sea salt

1/2 tsp baking soda

1/2 cup grape seed oil

1 TBSP vanilla extract

1/2 cup coconut nectar

1 cup chocolate chips ( preferred are Lilly’s Dark Chocolate Baking Chips-vegan, non- GMO, stevia sweetened), and I sometimes add some  high-end,  dark chocolate chips as well, but only to total 1 cup.

1.  Combine dry ingredients in a large bowl.

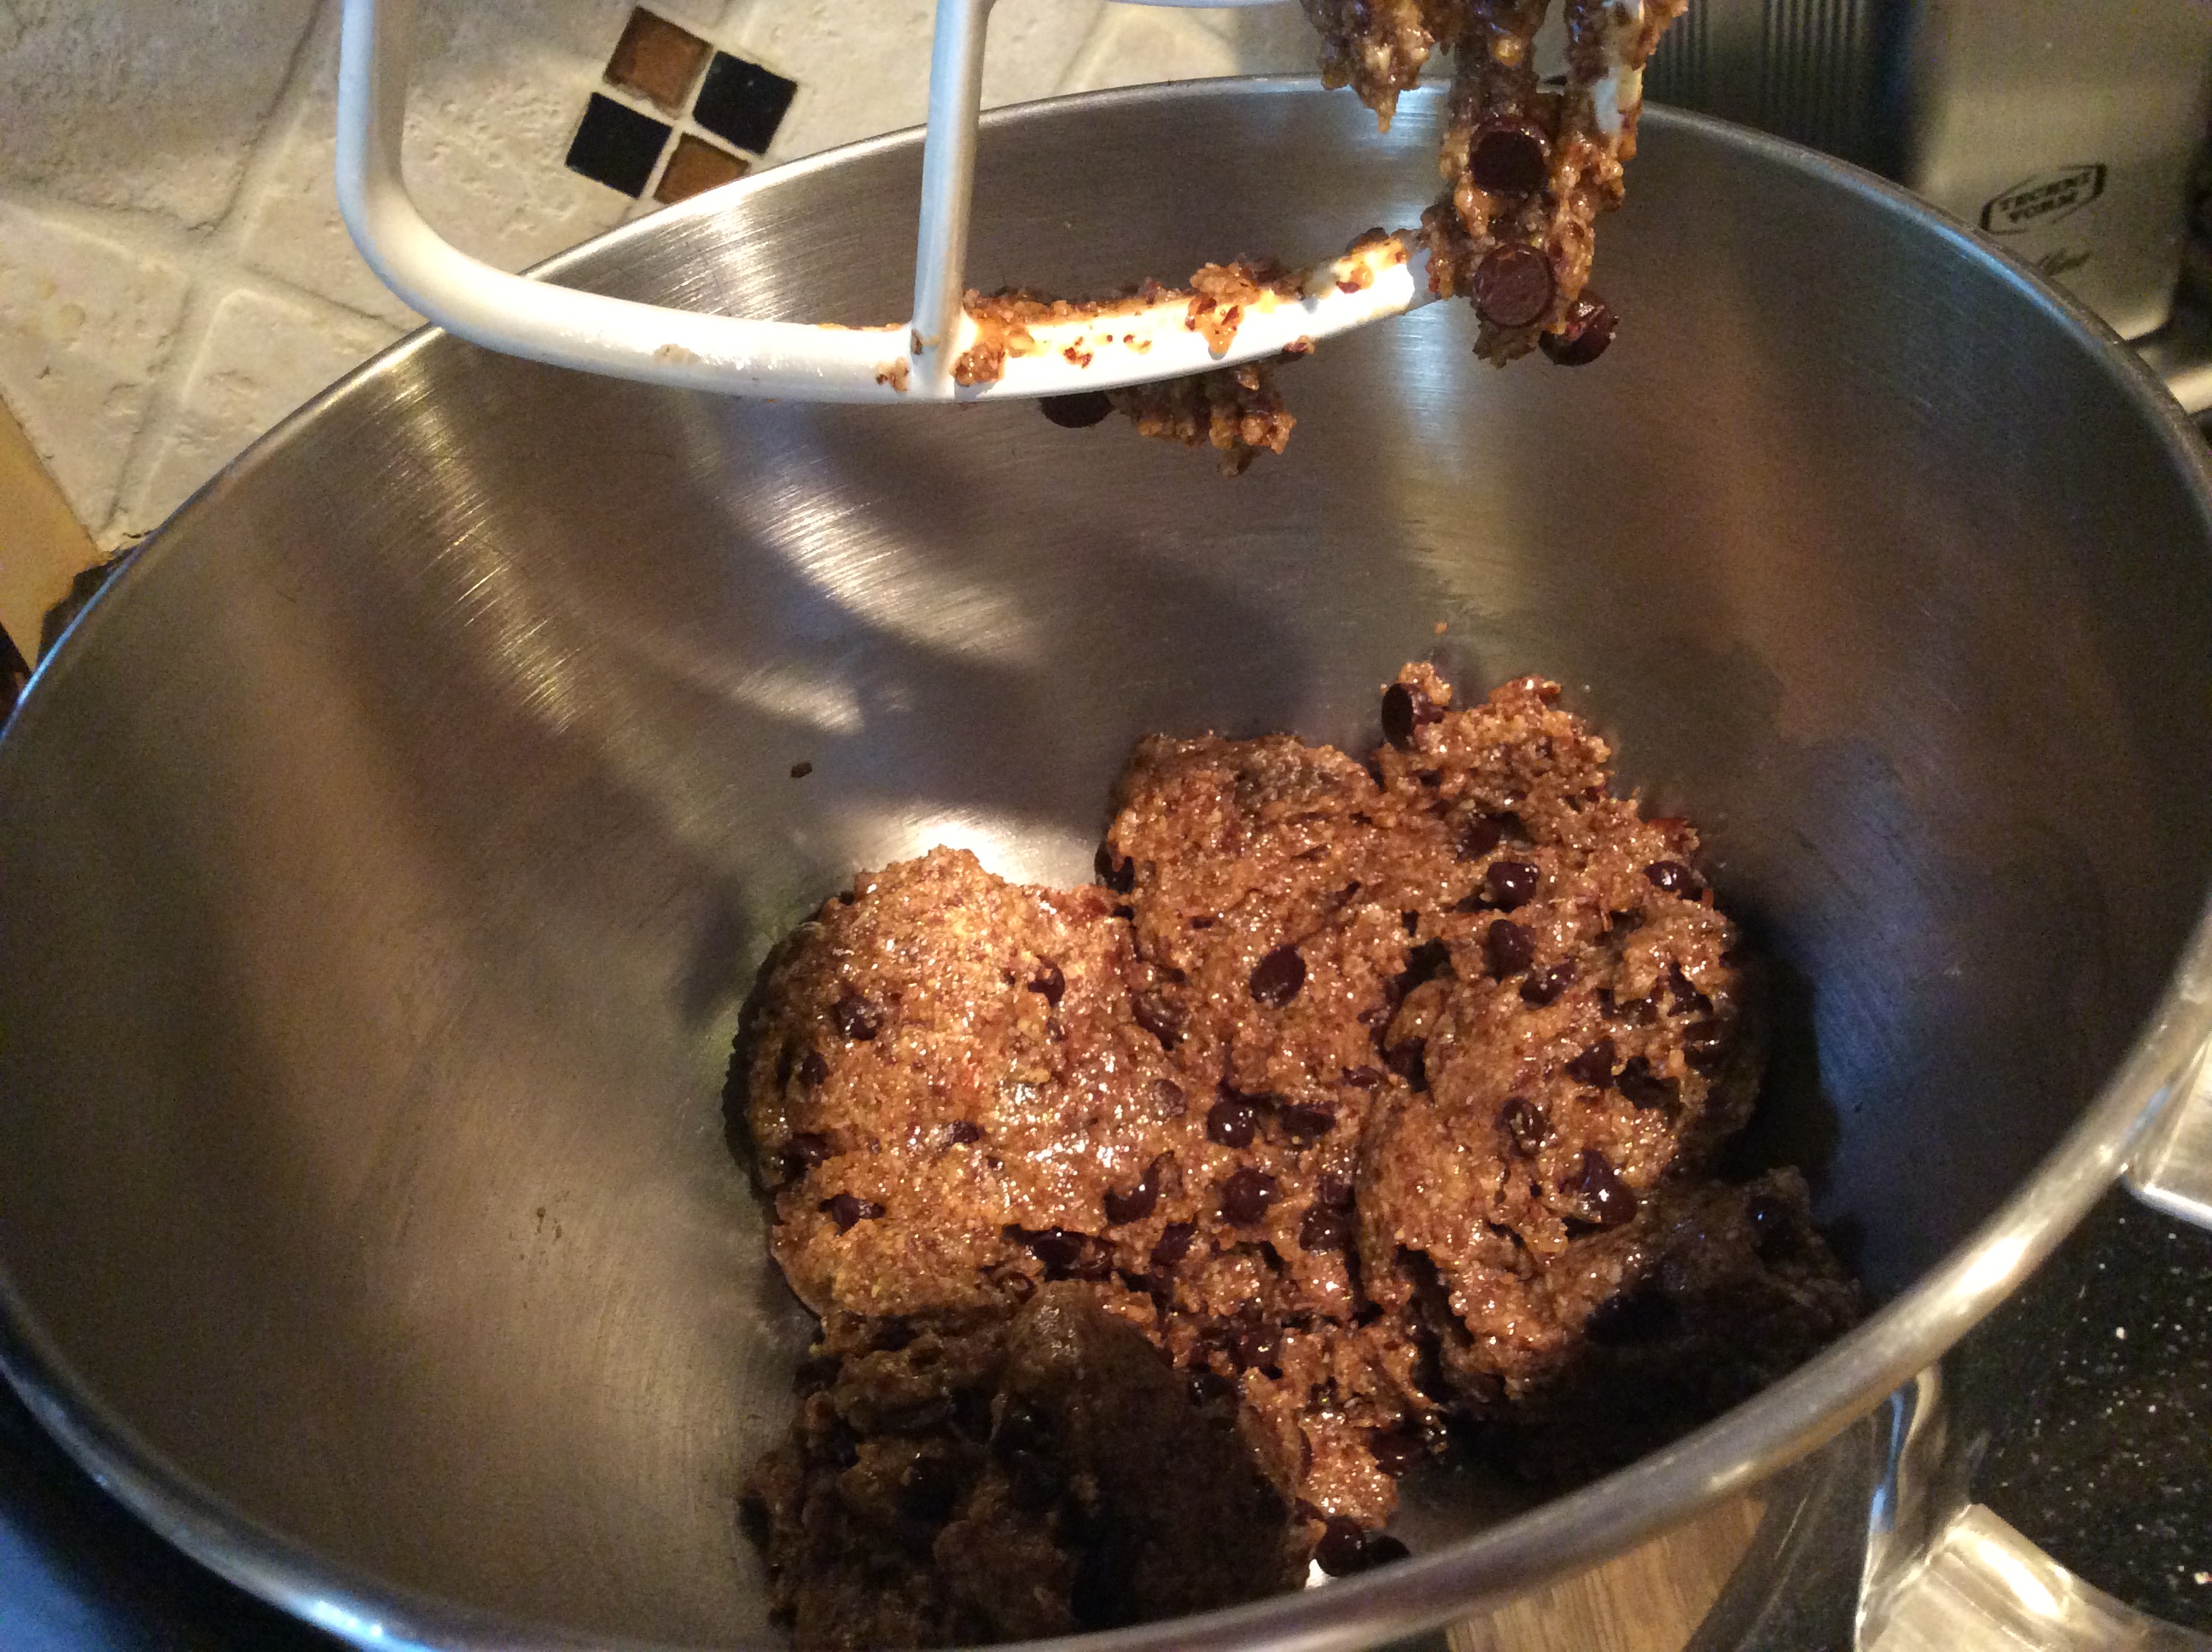
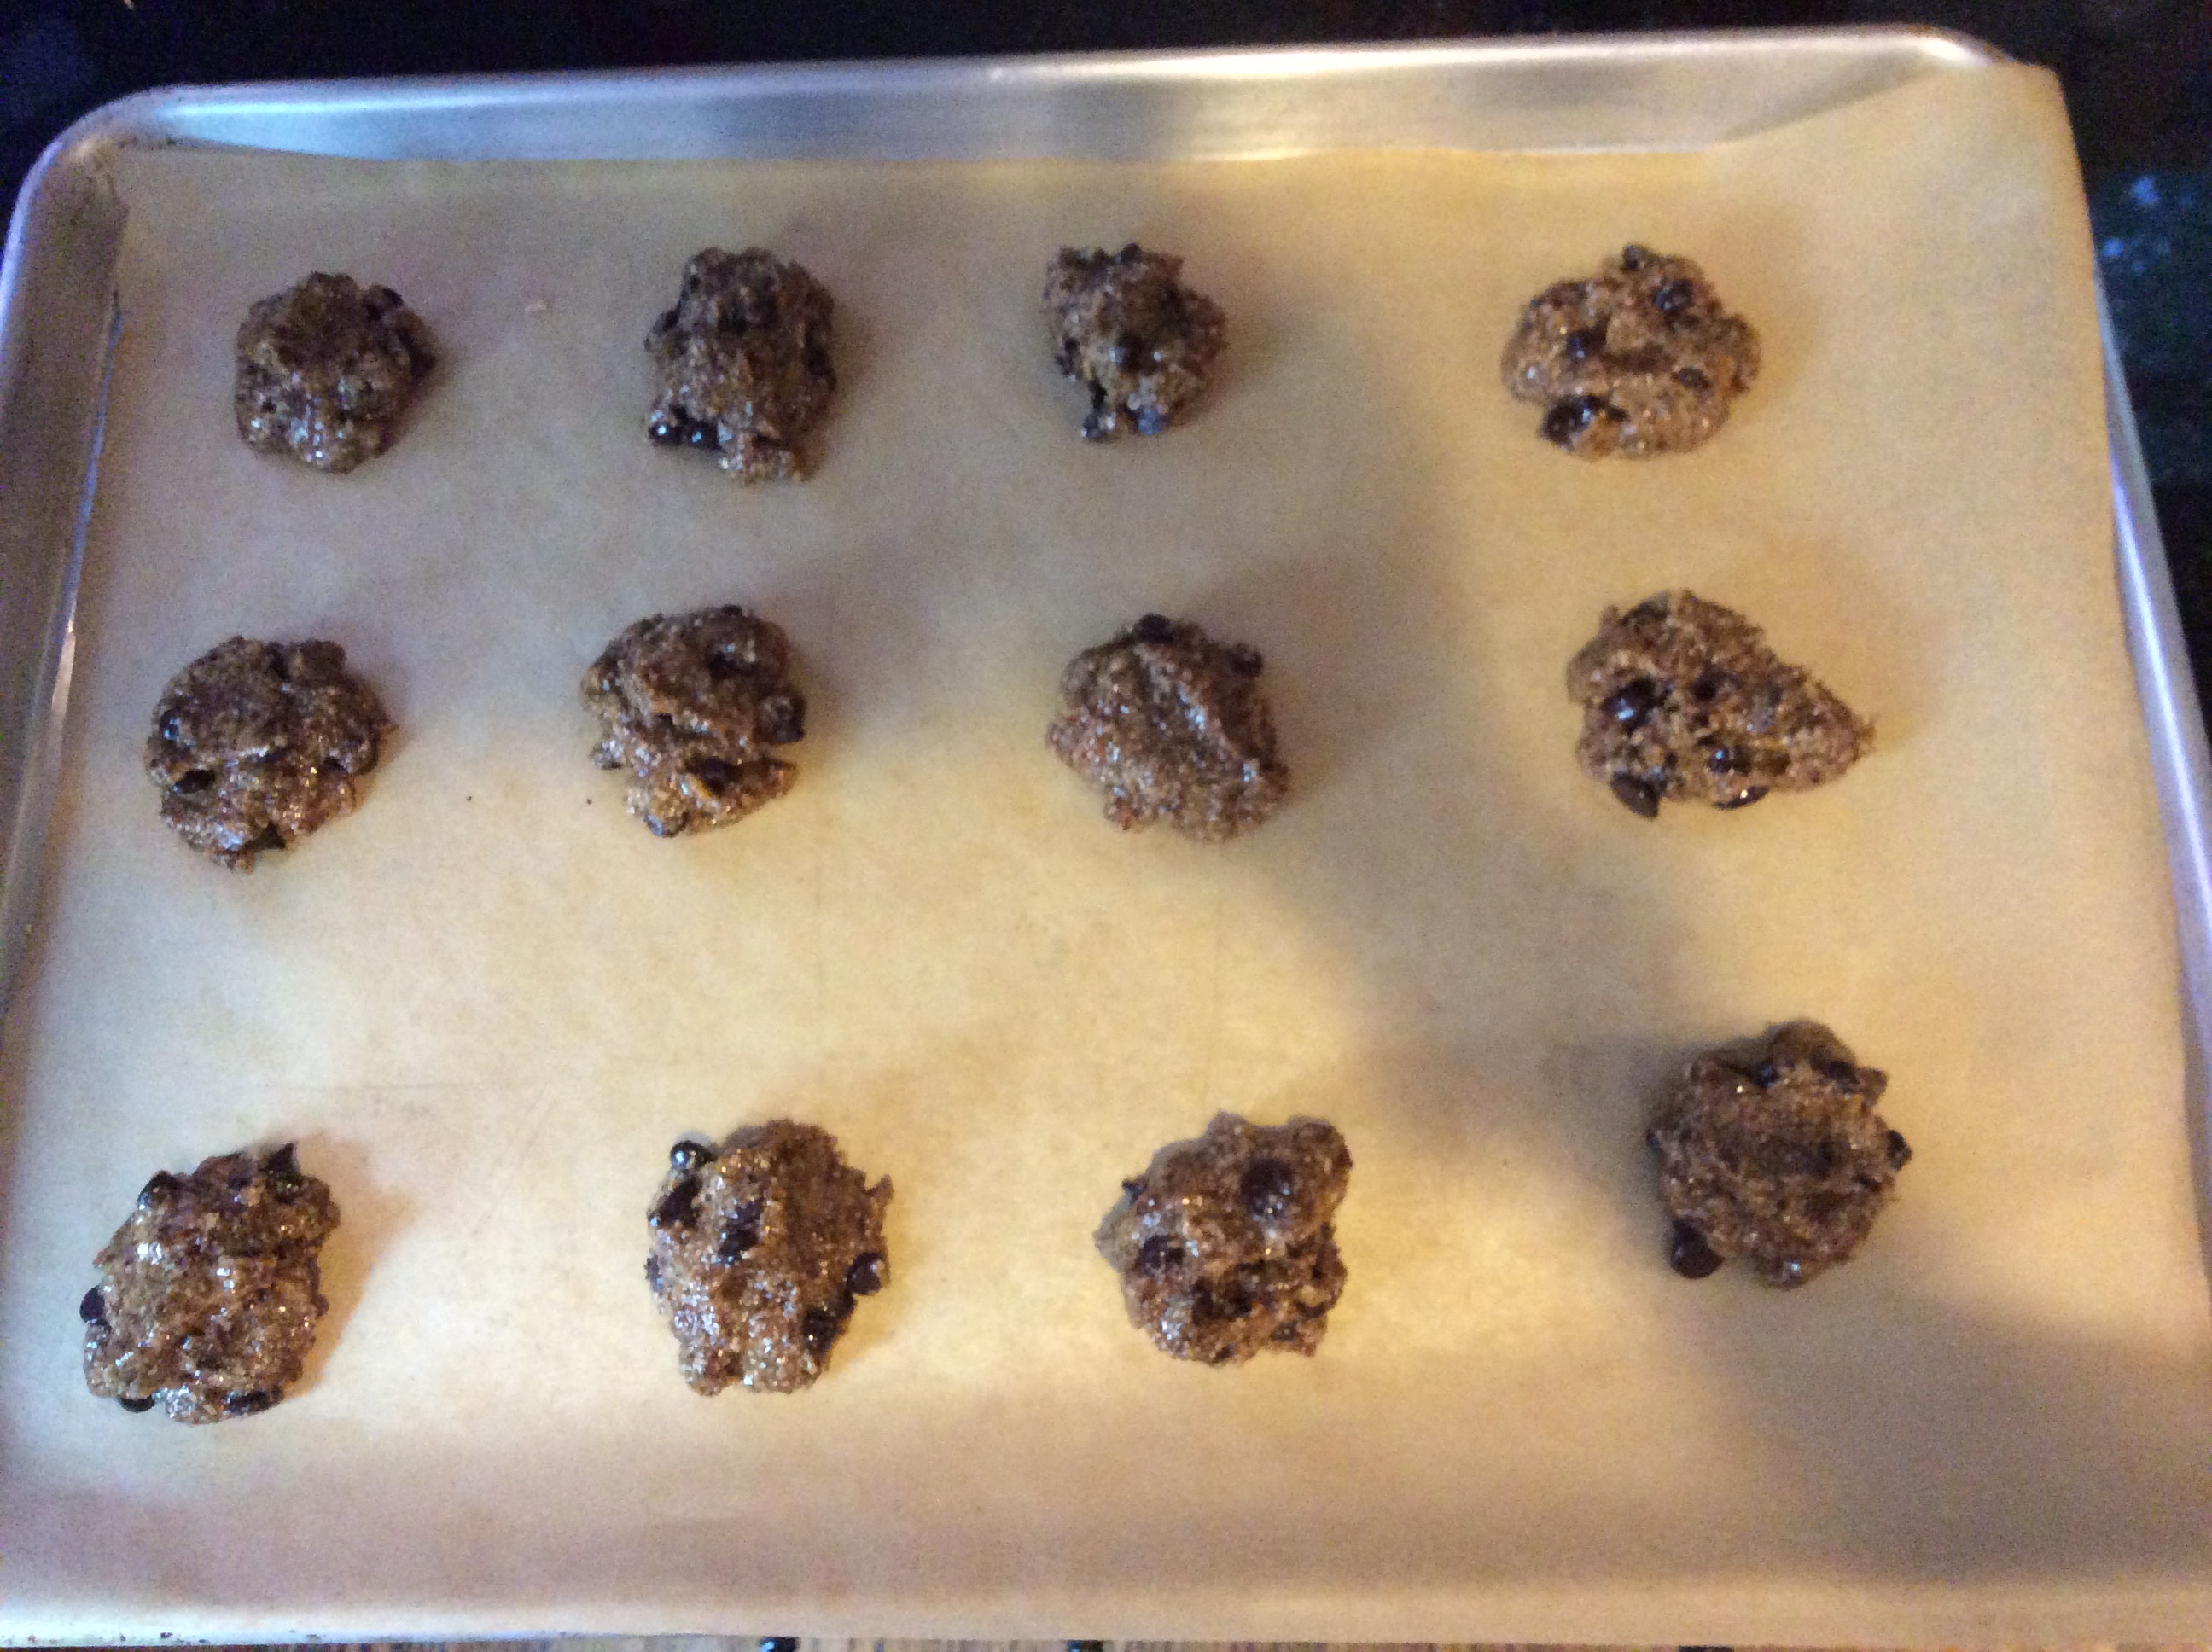
2. Stir together wet ingredients in a smaller bowl.  Mix wet ingredients into dry.  Add chocolate chips.

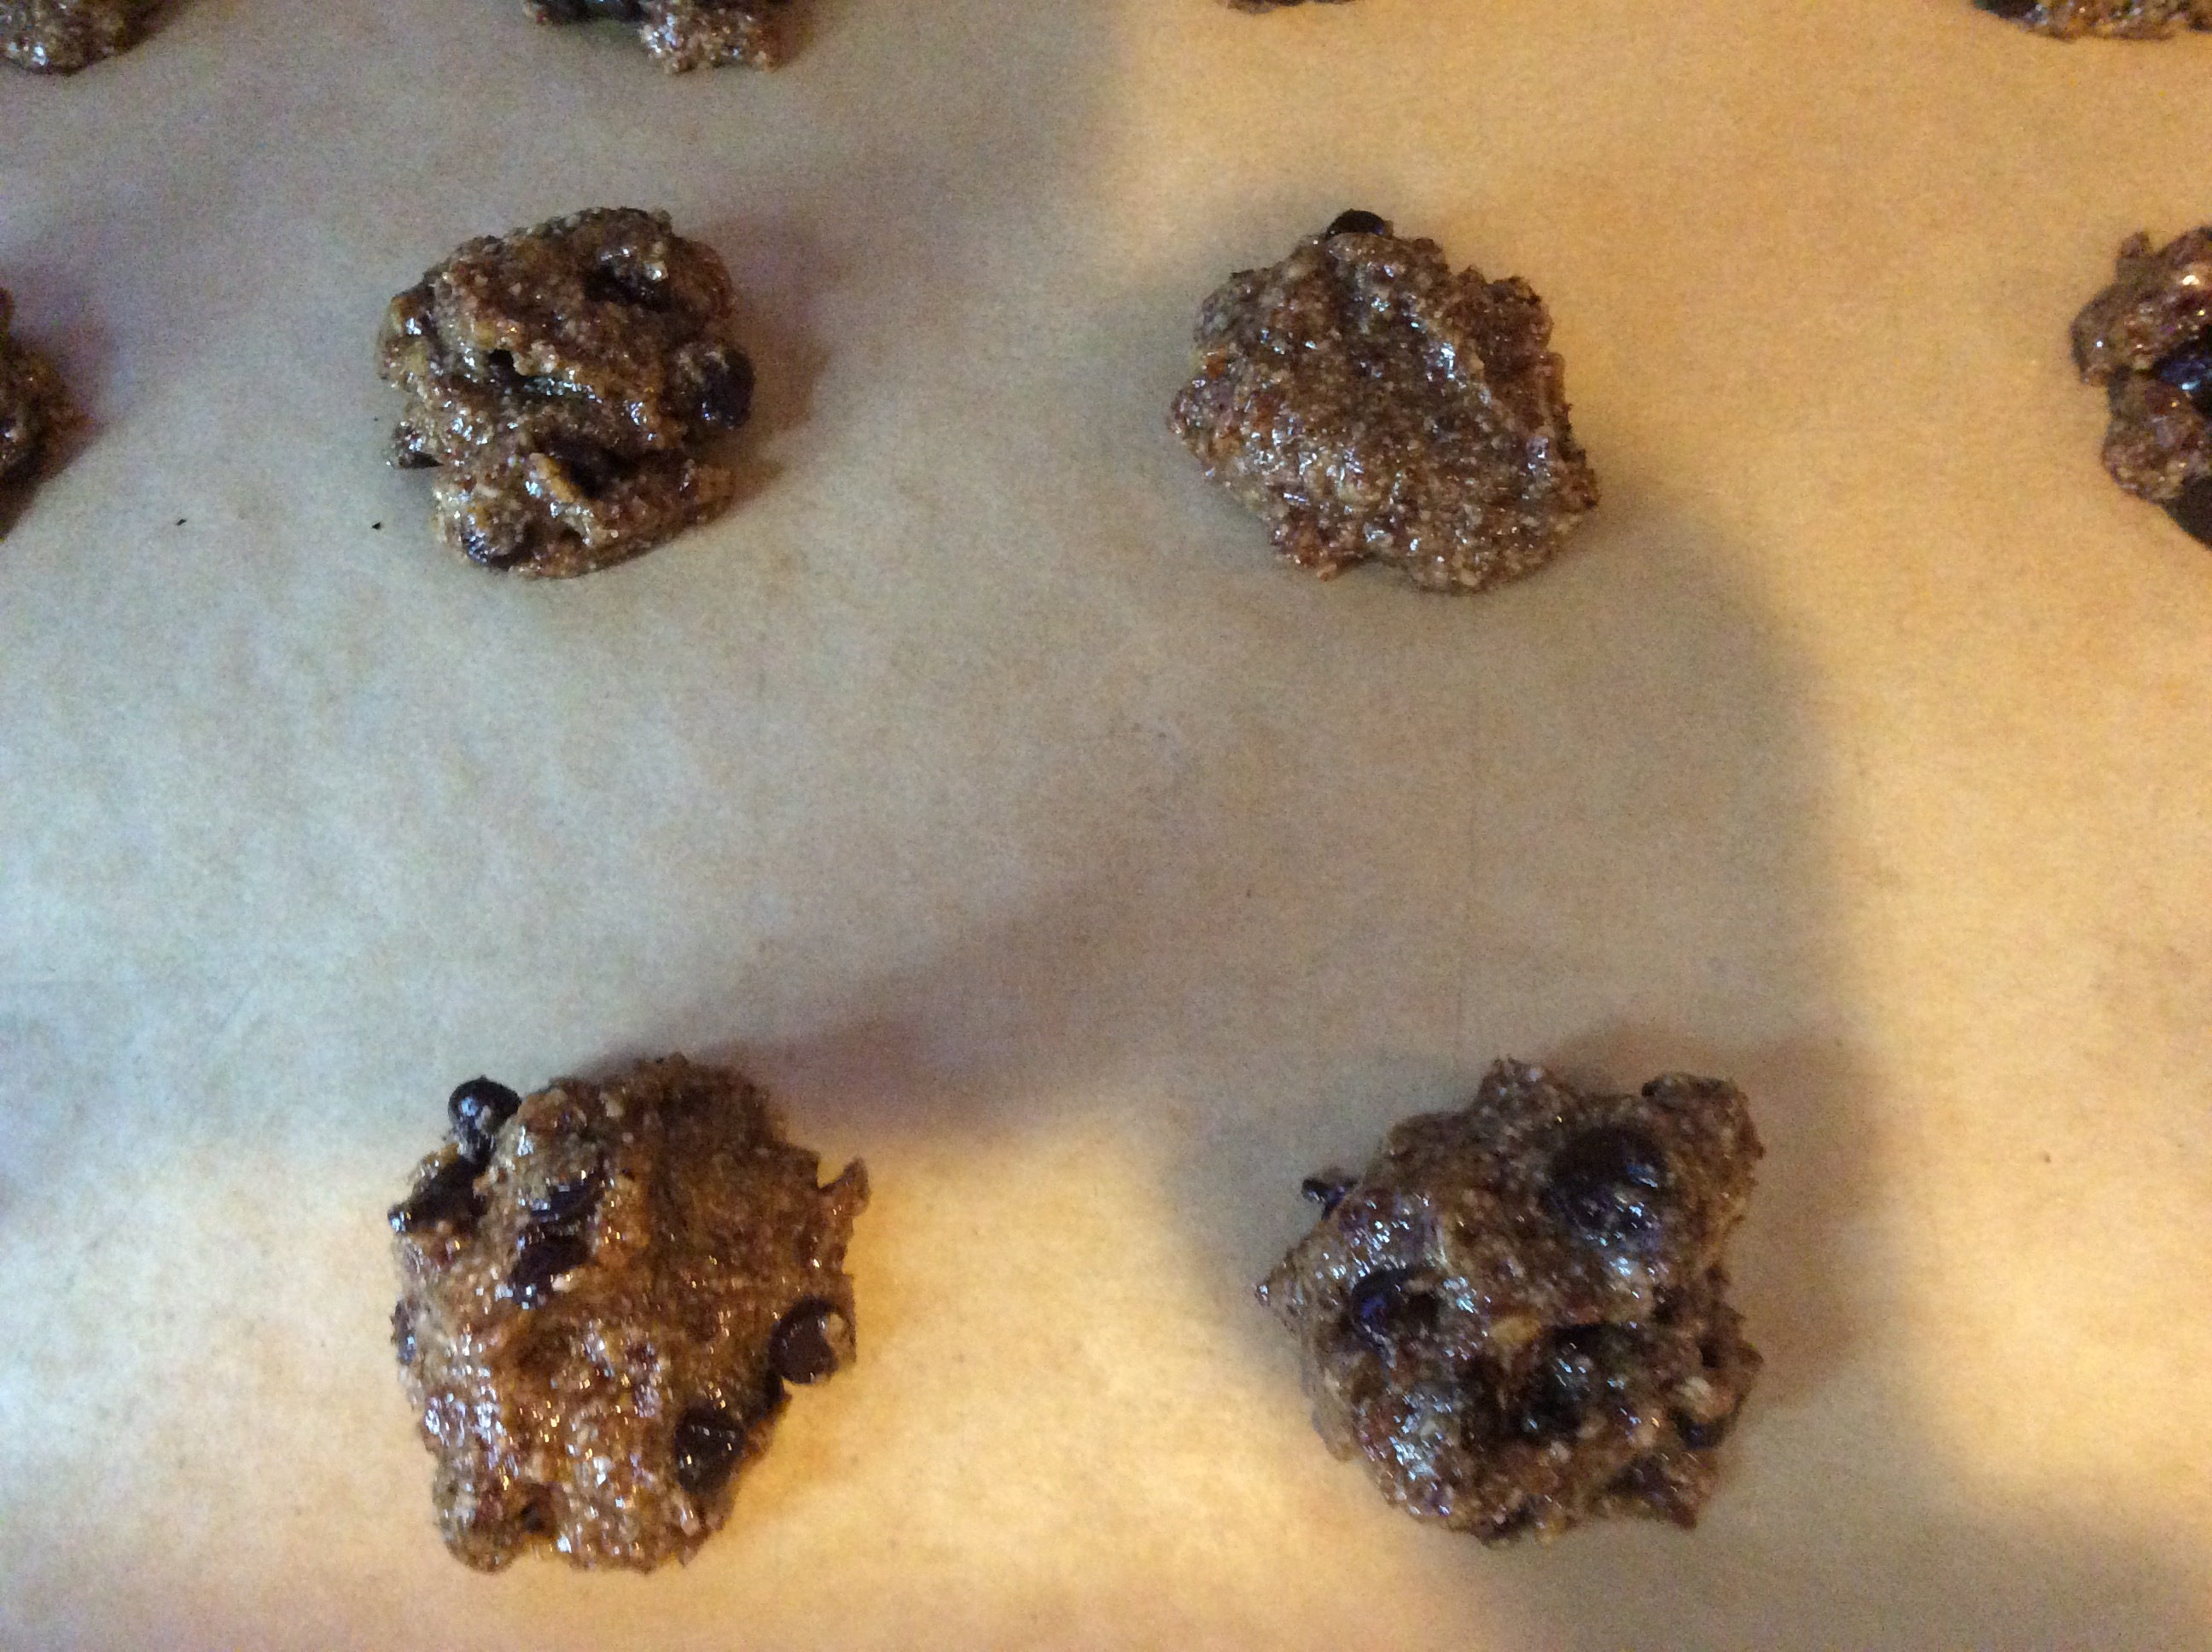
3.  Form 1/2 to 1 inch balls and press  onto a parchment paper lined baking sheet.

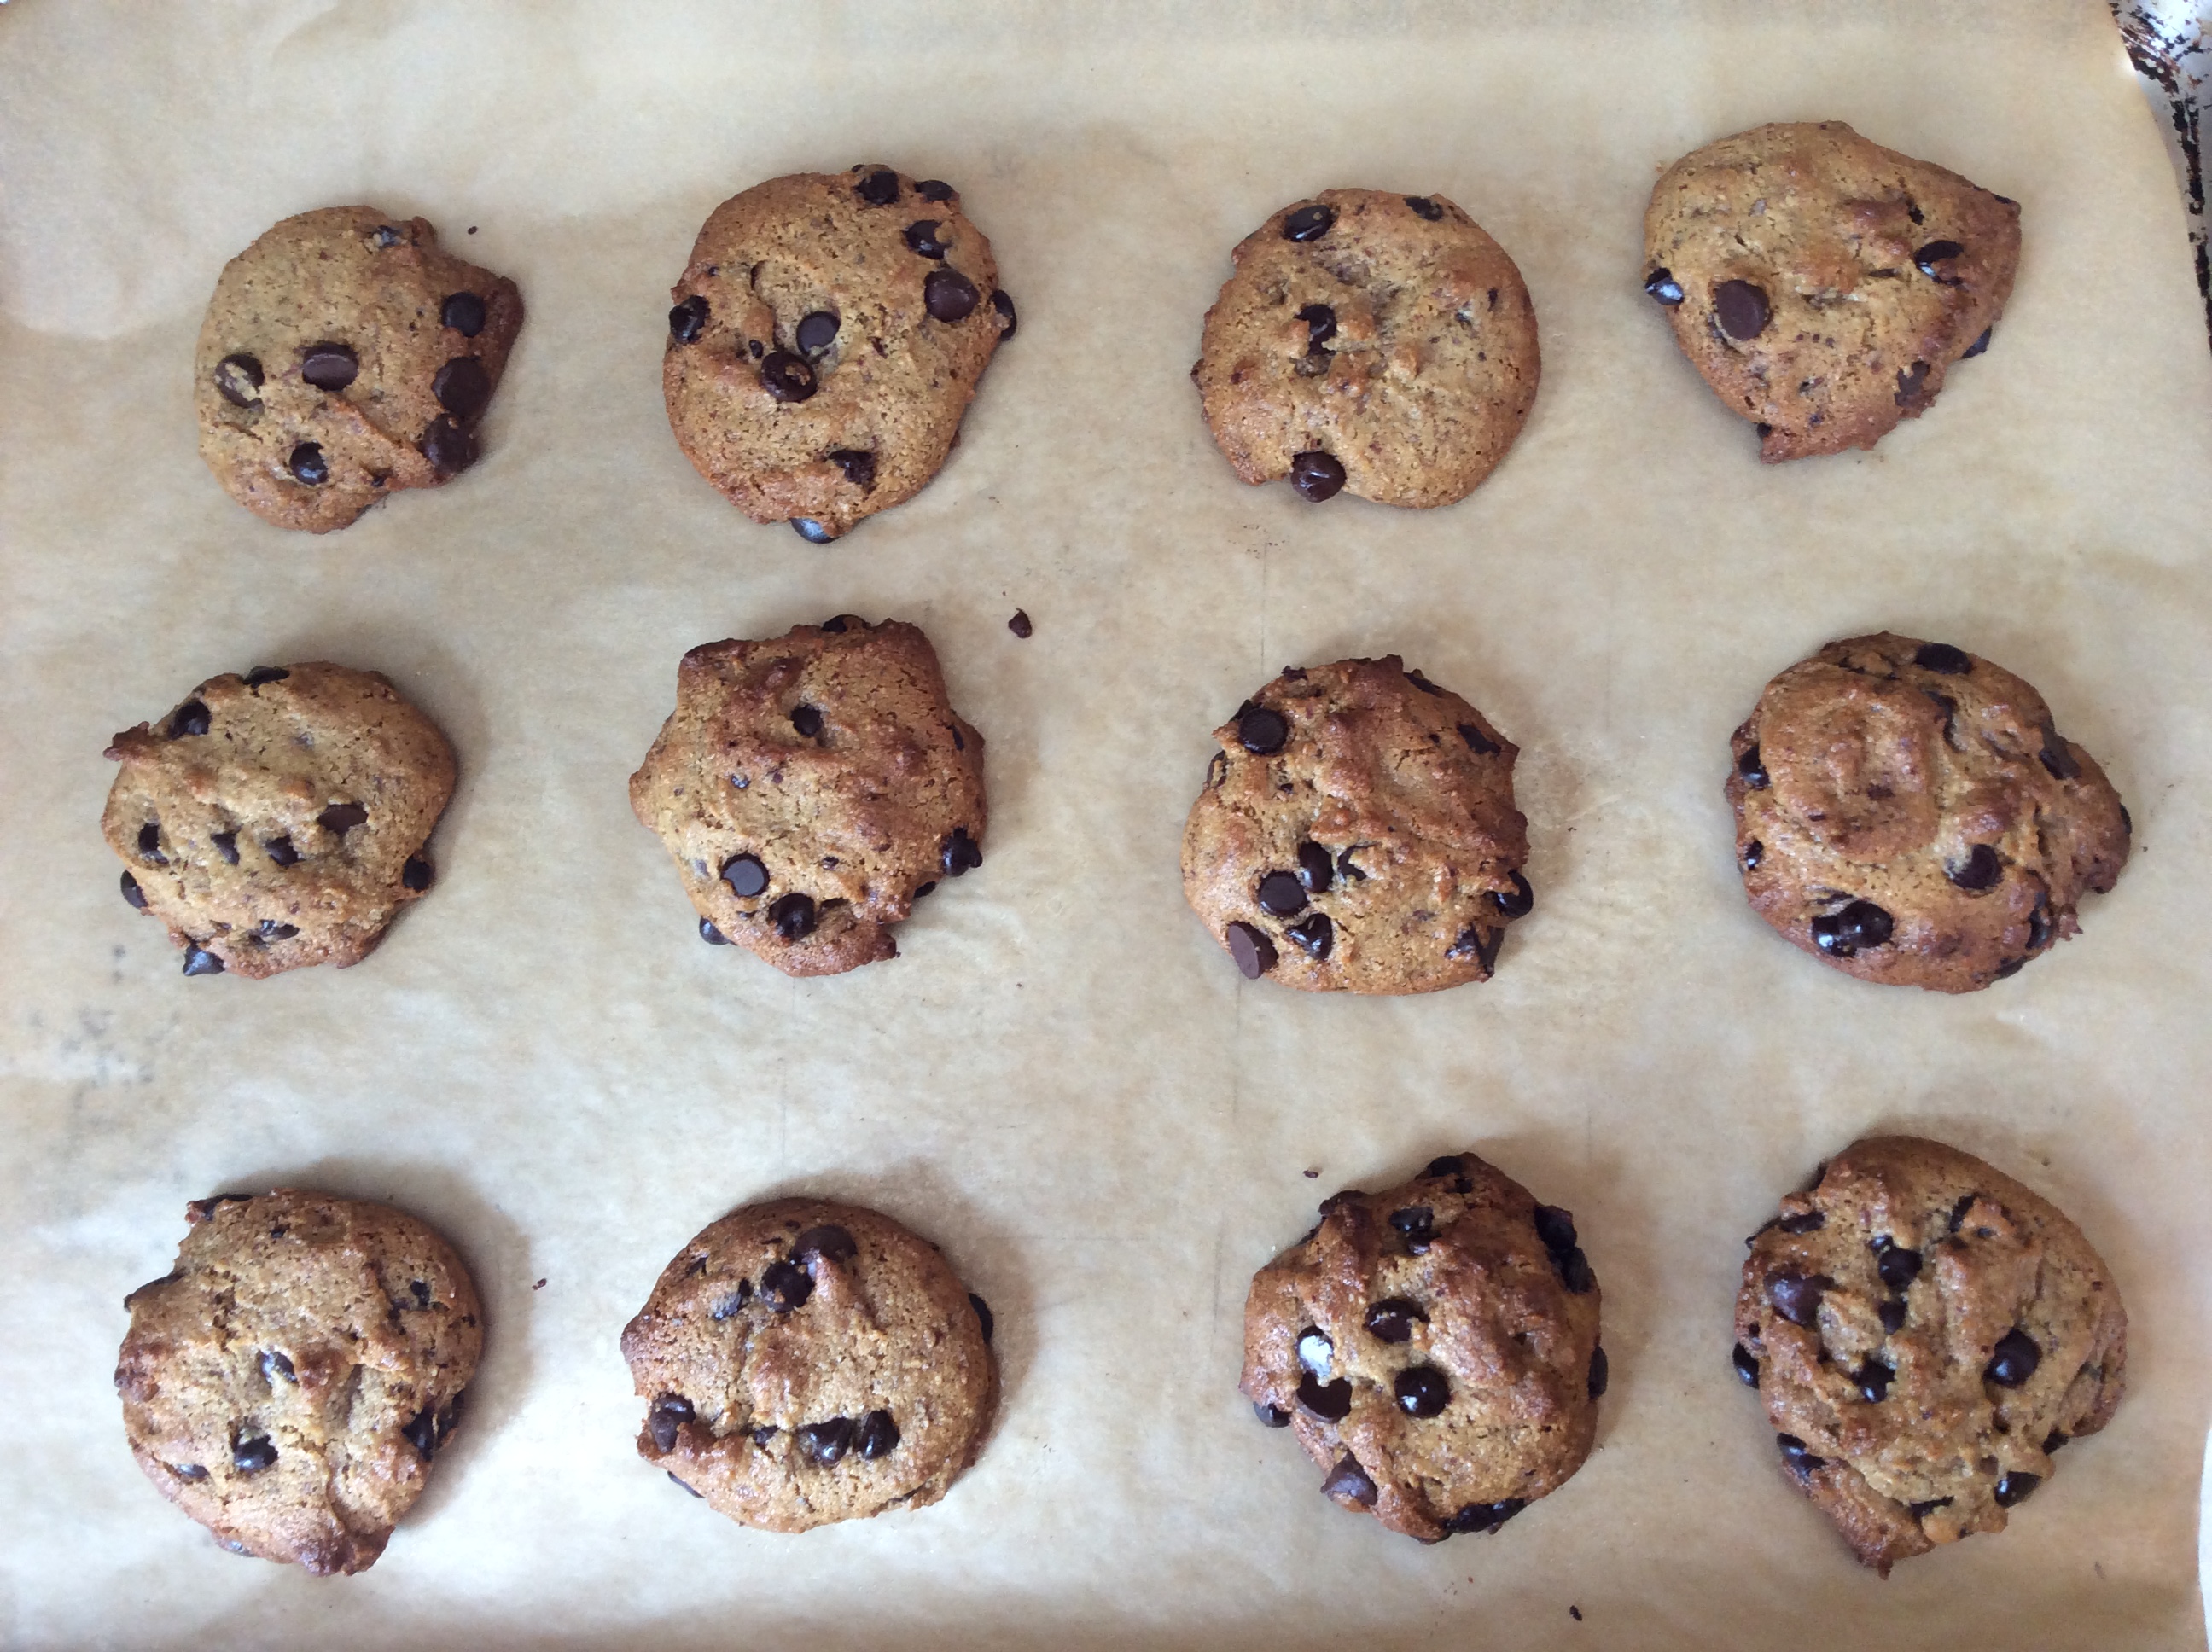
4.  Bake at 350 degrees for 7 to 10 minutes.

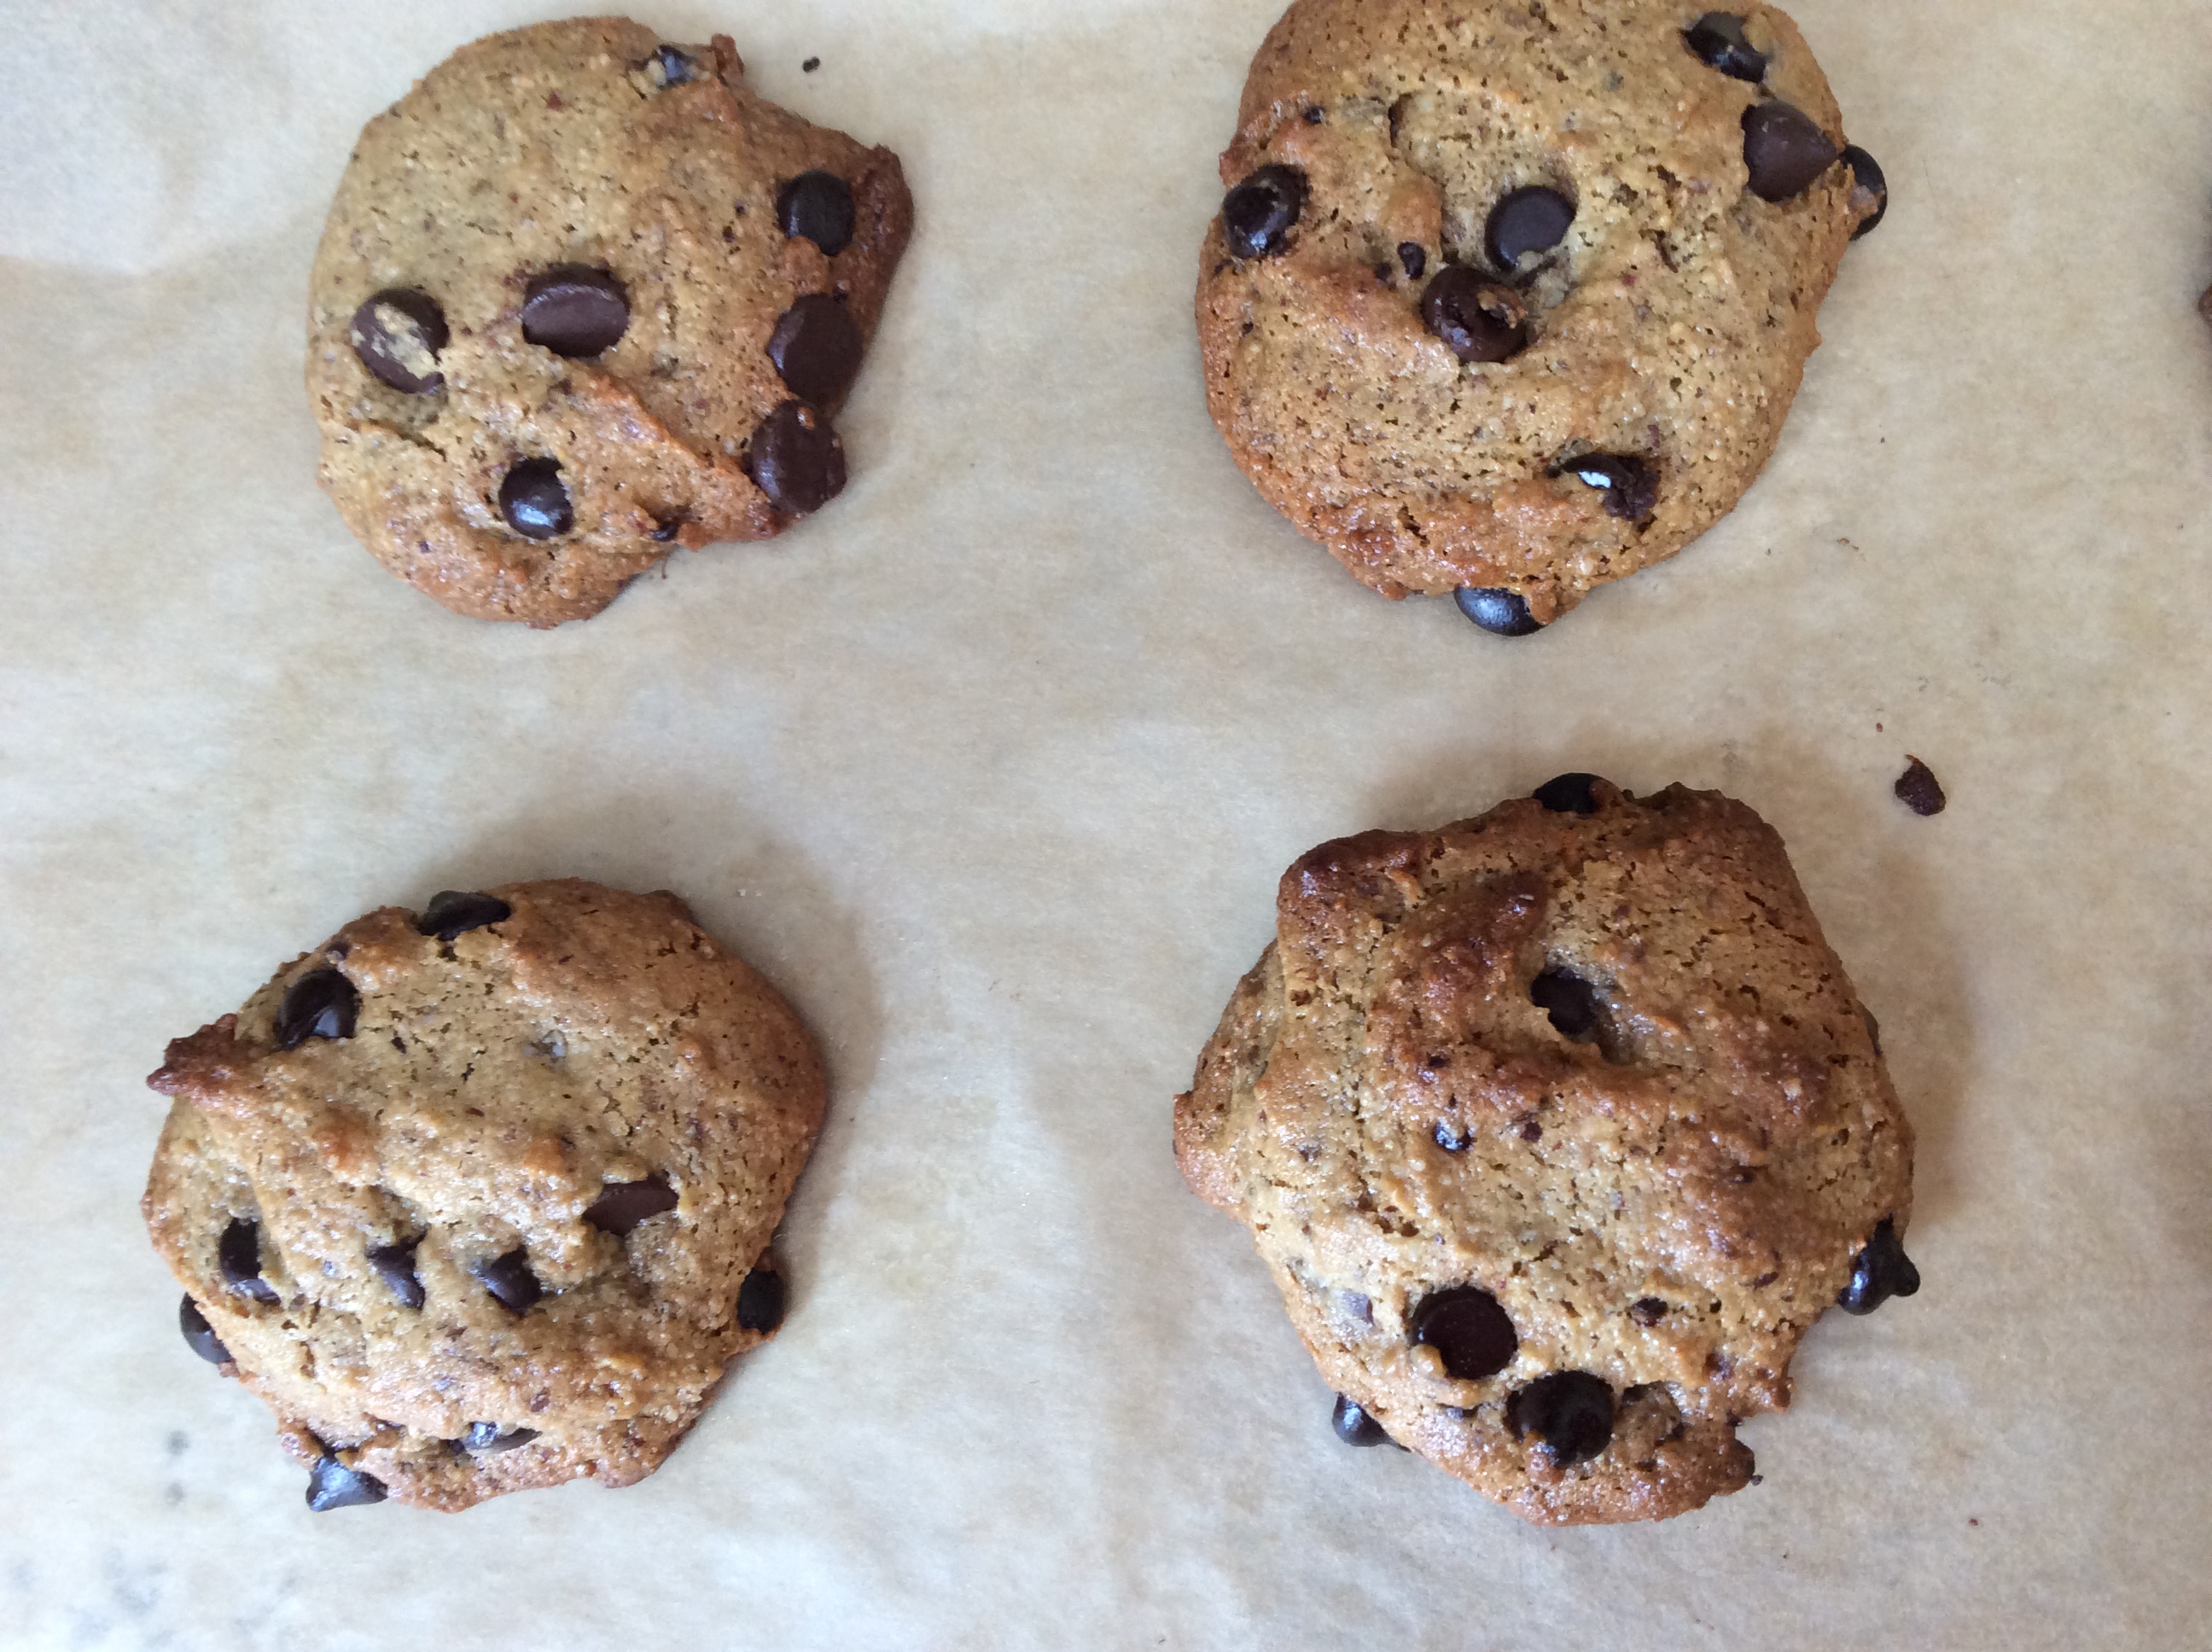
5.  Cool and serve.

CC cookies ingredientsCC cookies chipsCC cookies batterCC cookies pan1CC cookies pan closeupCC cookies baked 1CC cookies baked 2 CC cookies baked closeupCC cookies plated 2*

Penne with Tomatoes and Balsamic Vinegar

rosemary sauce plated *

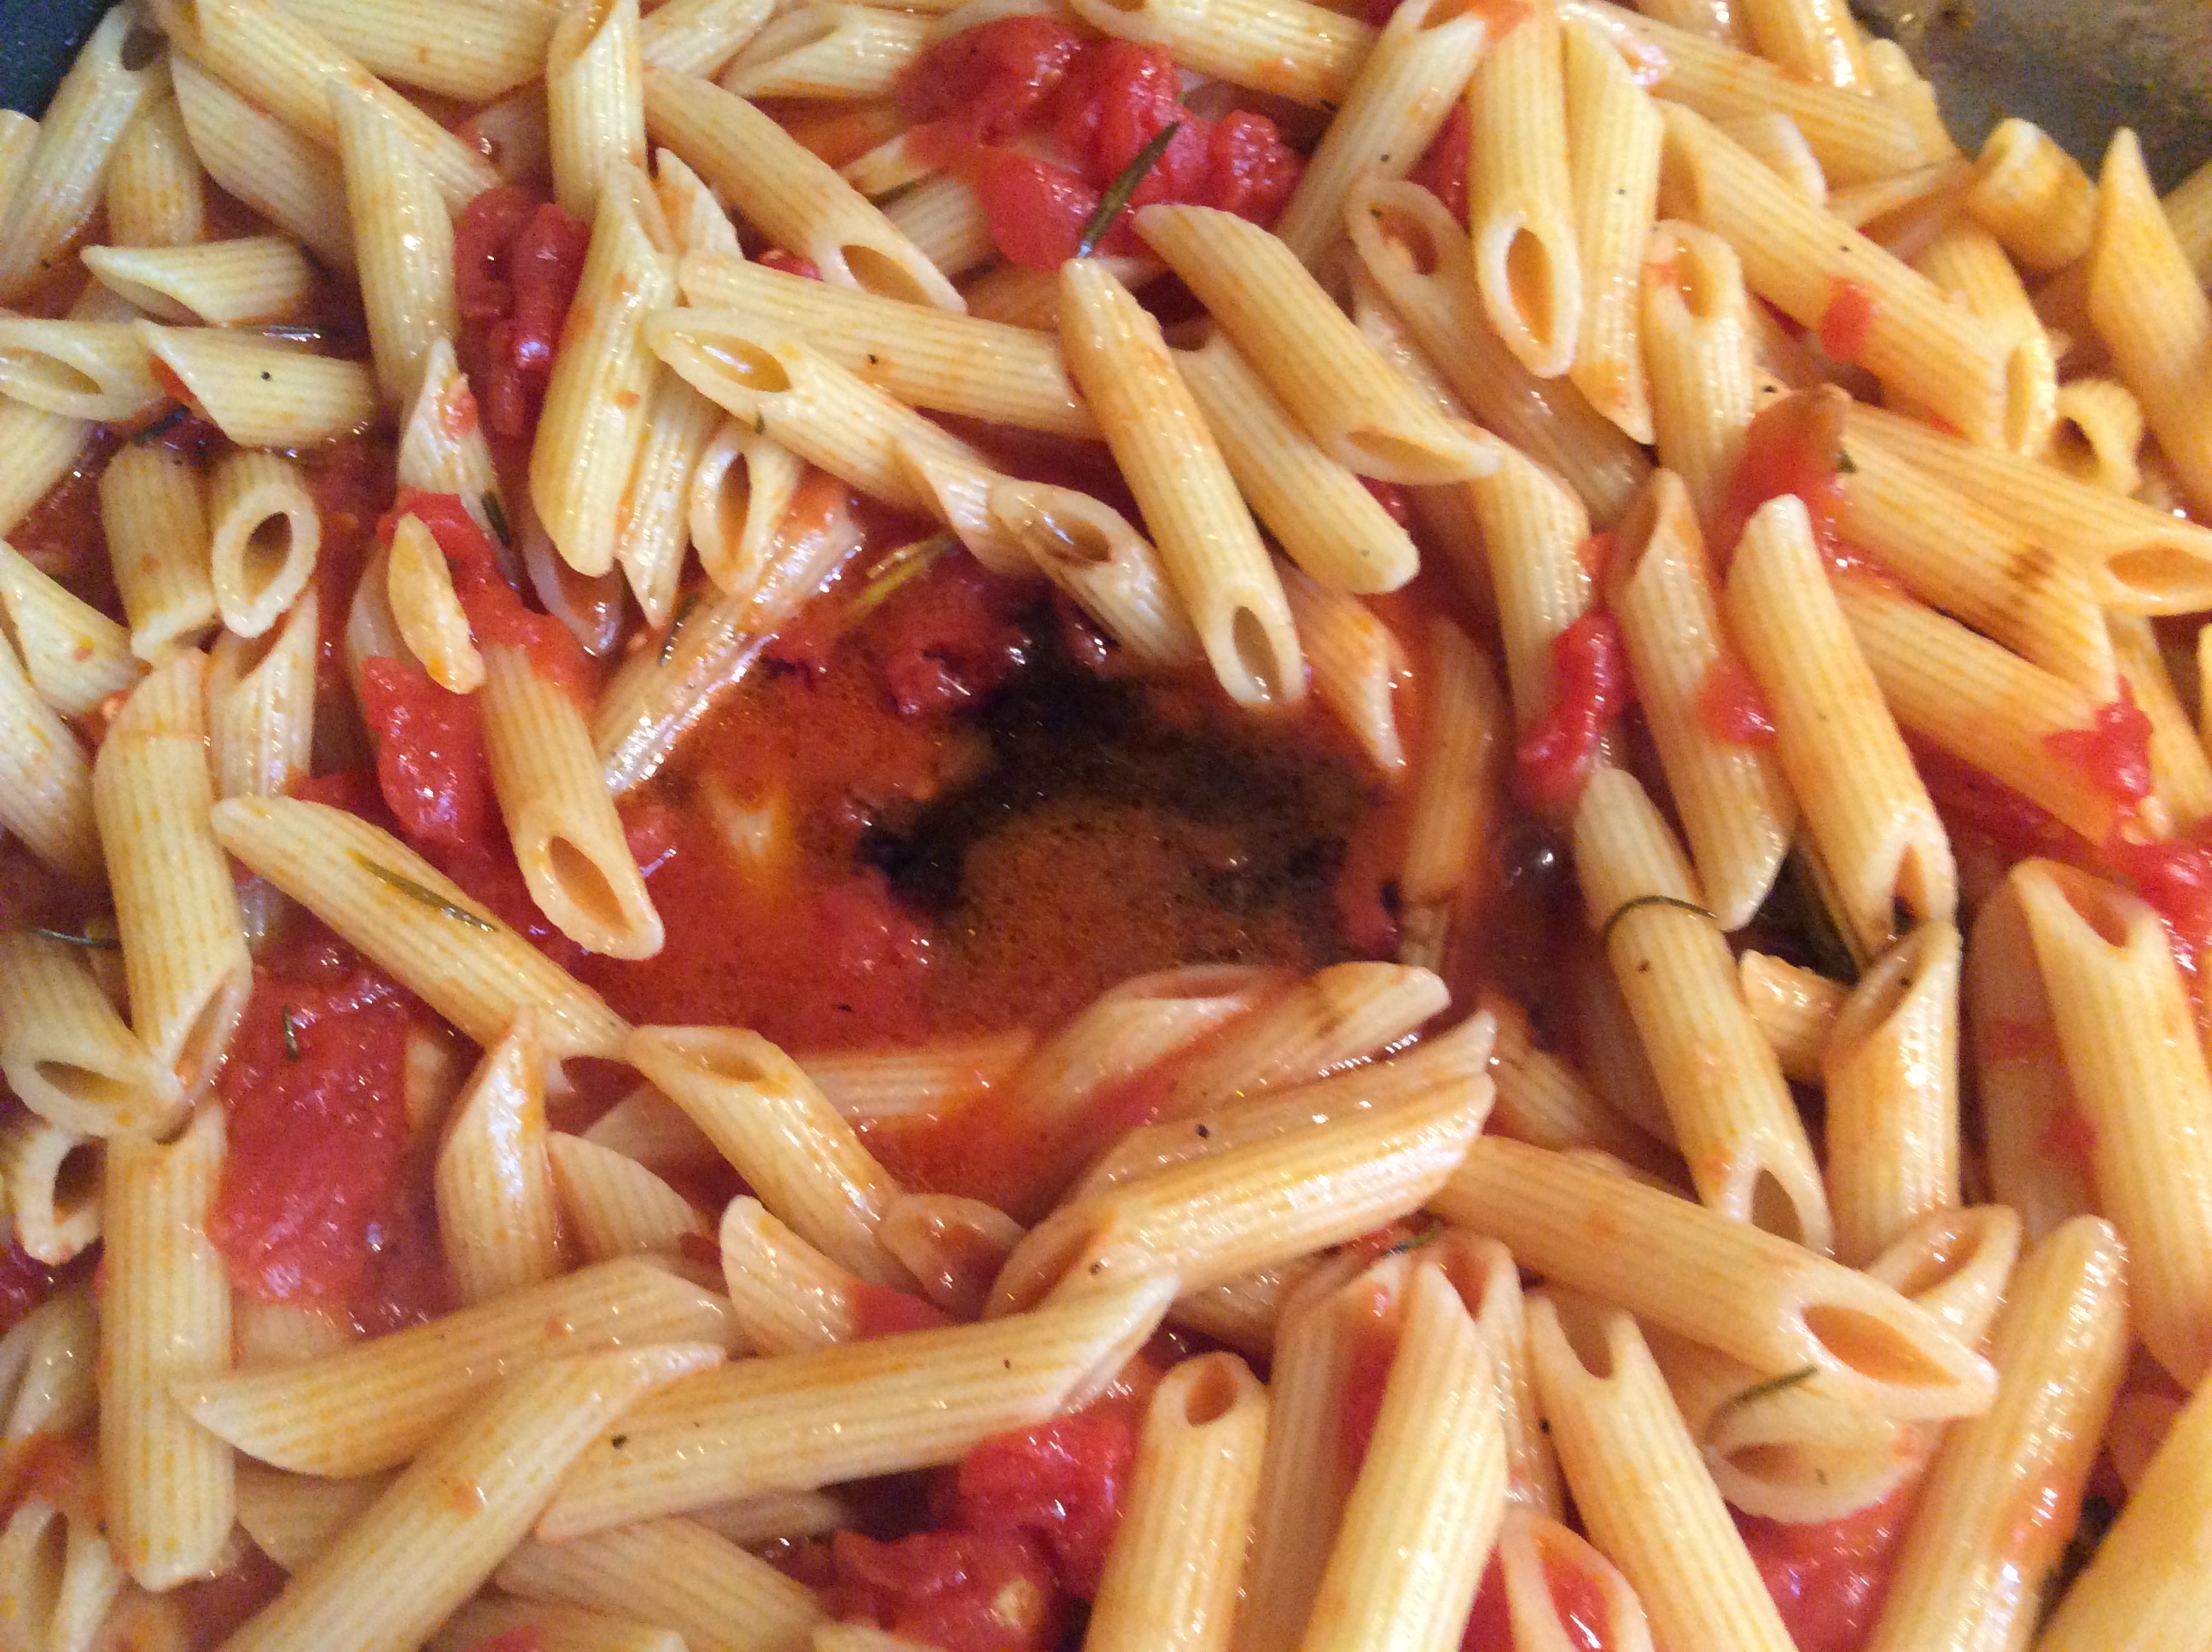
Who would think to combine rosemary and balsamic vinegar, together with tomatoes, garlic and olive oil, to create a lusciously light and simple sauce to put over penne or any other short tubular pasta? Marcella Hazan, the “Mother of Italian Cooking” sure did. I’m so glad she did, as this is one of my favorite quick, summer, sauces. She takes the basic ingredients for tomato sauce, and puts a sweet and fragrant twist on it, that I never would have thought would work, but it certainly does. Her method is also unusual. You add the vinegar after the pasta has been tossed in the pan with the sauce. She has you make a well in the middle of the pasta, and then has you pour the vinegar into the well. I don’t totally understand why, but I would never deviate from this. If Marcella Hazan said this is how it’s to be done, then I will follow her instructions each and every time.

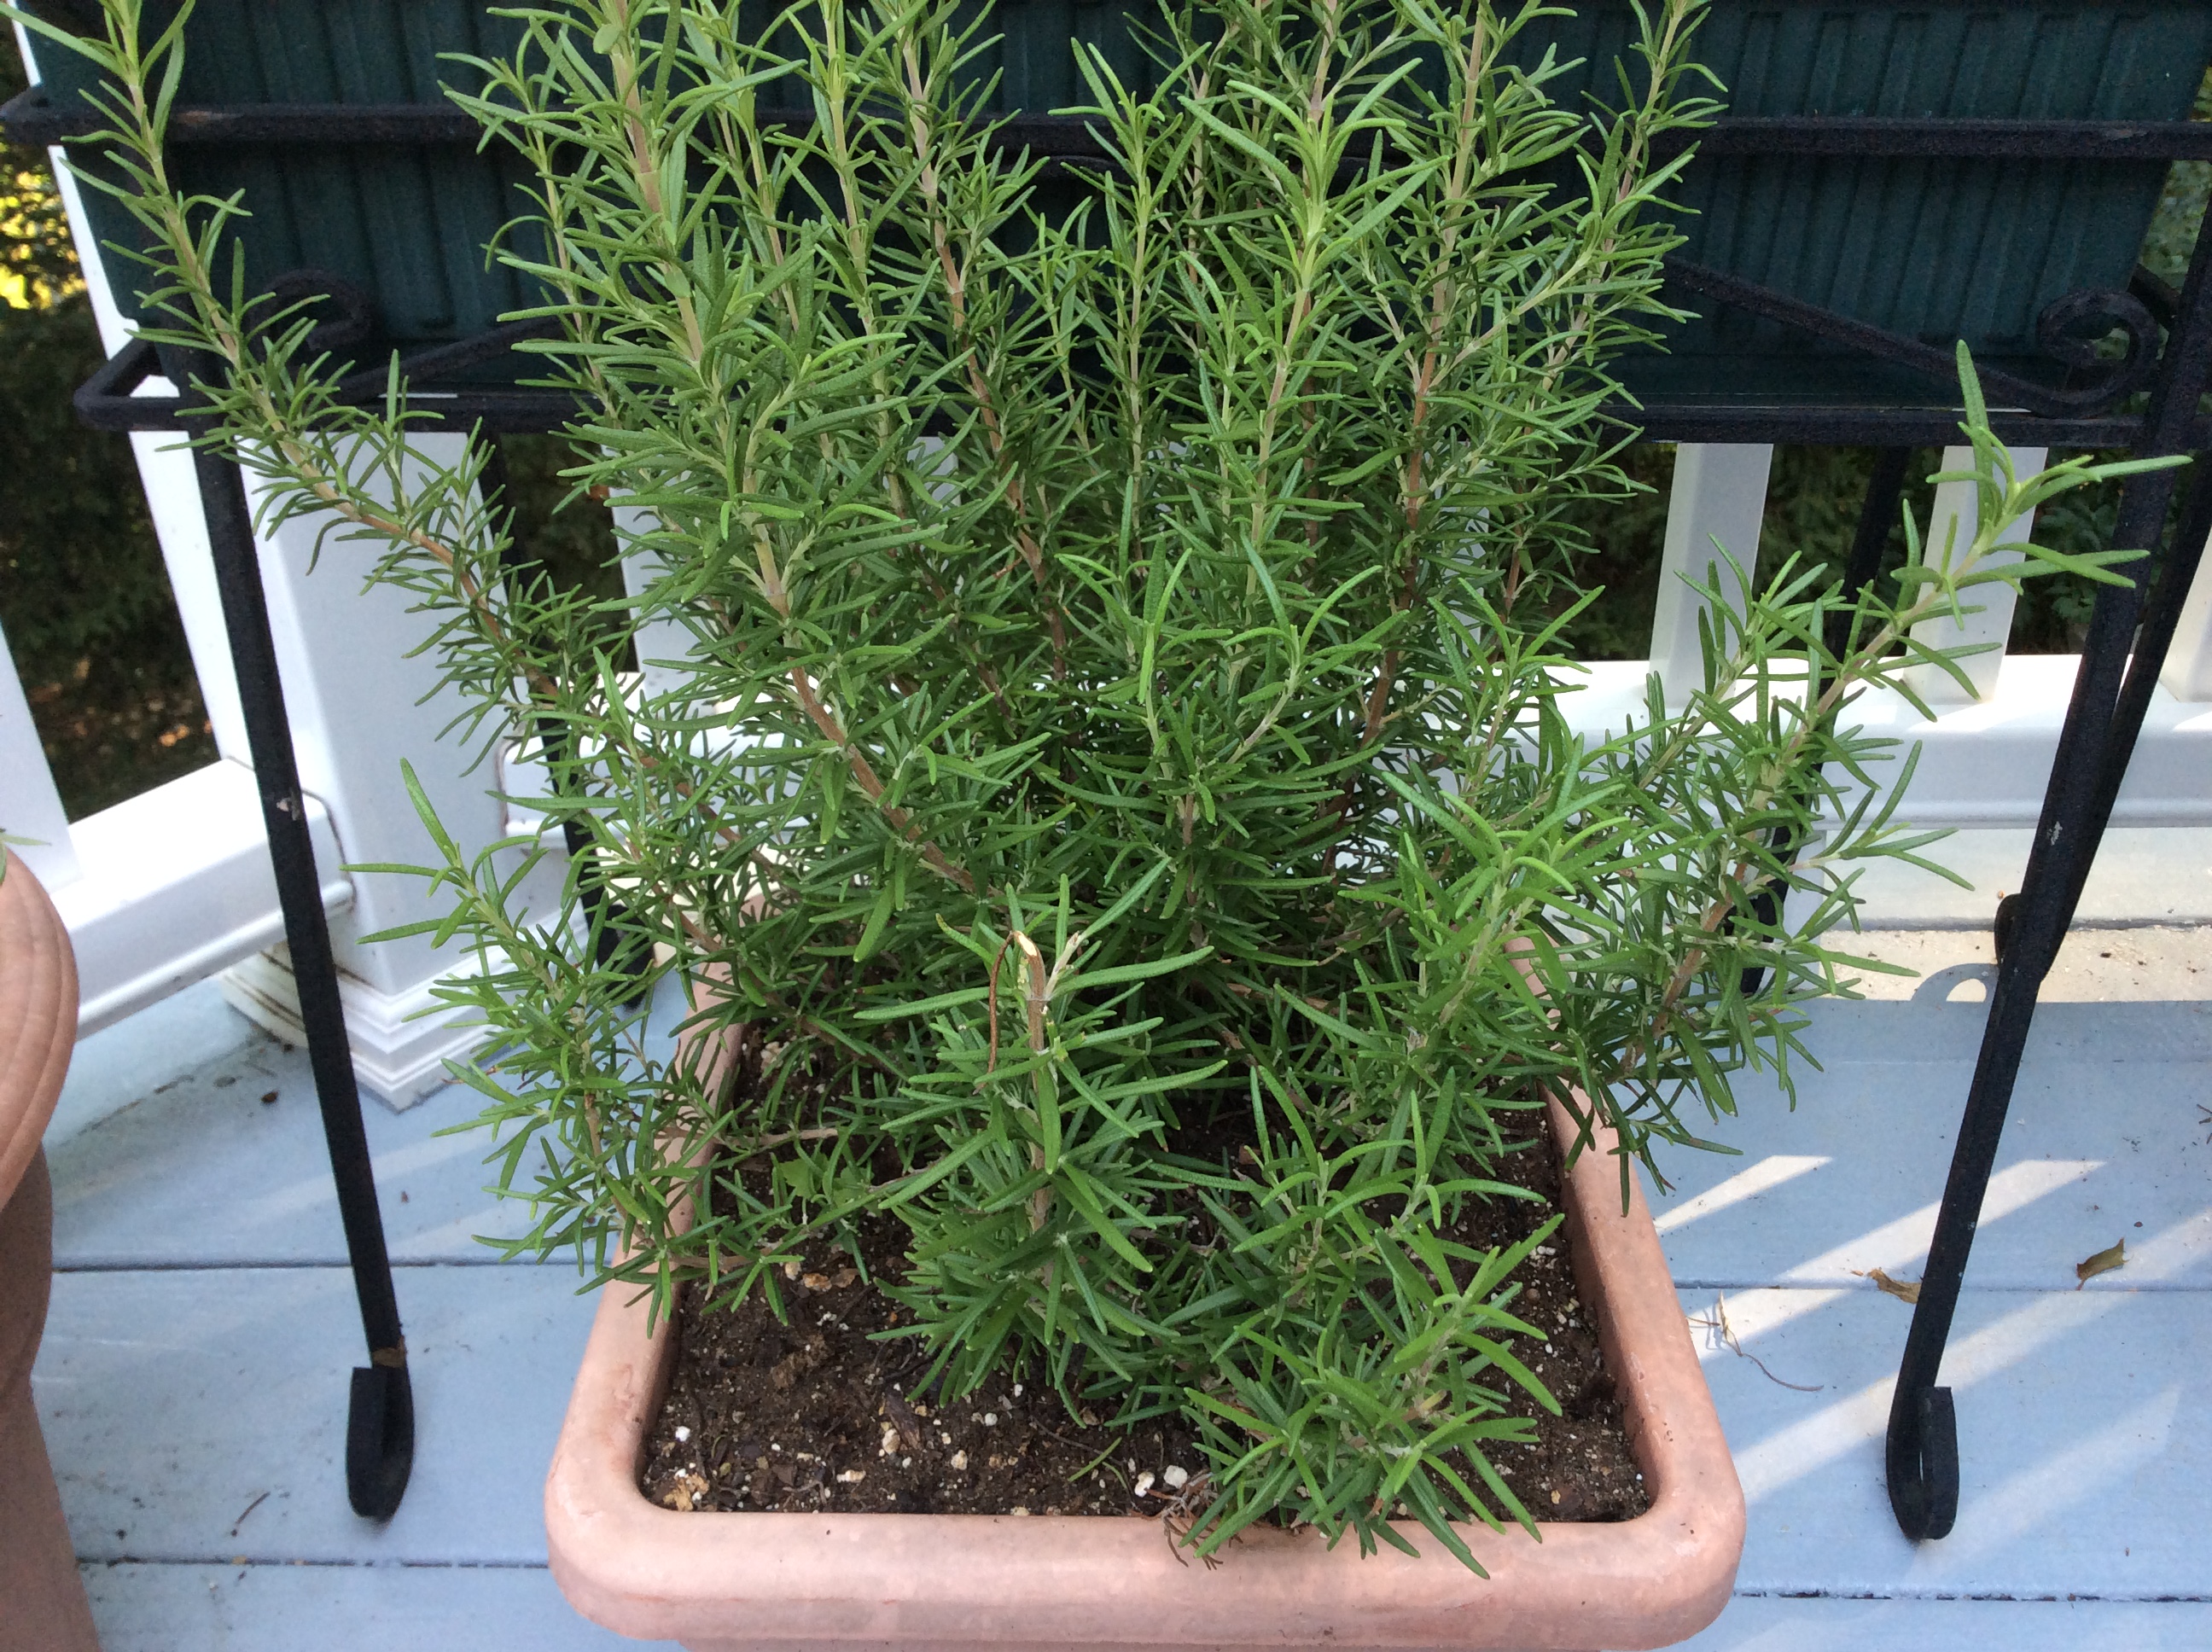
At this time of year, I always have lots of rosemary bushes growing on my deck, so this truly becomes my “go-to sauce” all summer long.  Okay, one of my “go-to sauces.” I do have many, and so do you if you go to my archives.  I often add extra rosemary because I am crazy about the aroma. Off the subject…..if you tie several rosemary sprigs together and hang them from your shower head, your shower will be filled with this wonderful fragrance.

Back to the subject…this sauce is so quick to make. By the time the water boils and the pasta cooks (al dente,please), your sauce will be ready. Honestly, you will be sitting down to enjoy this in under 20 minutes! Buon Apetito!

RECIPE:  serves 4

1/2 cup extra virgin olive oil

3 or 4 garlic cloves, sliced thinly

2 sprigs fresh rosemary, about 4 to 6 inches long ( can use more) or 2 1/2 tsp dried leaves, chopped ( just not the same)

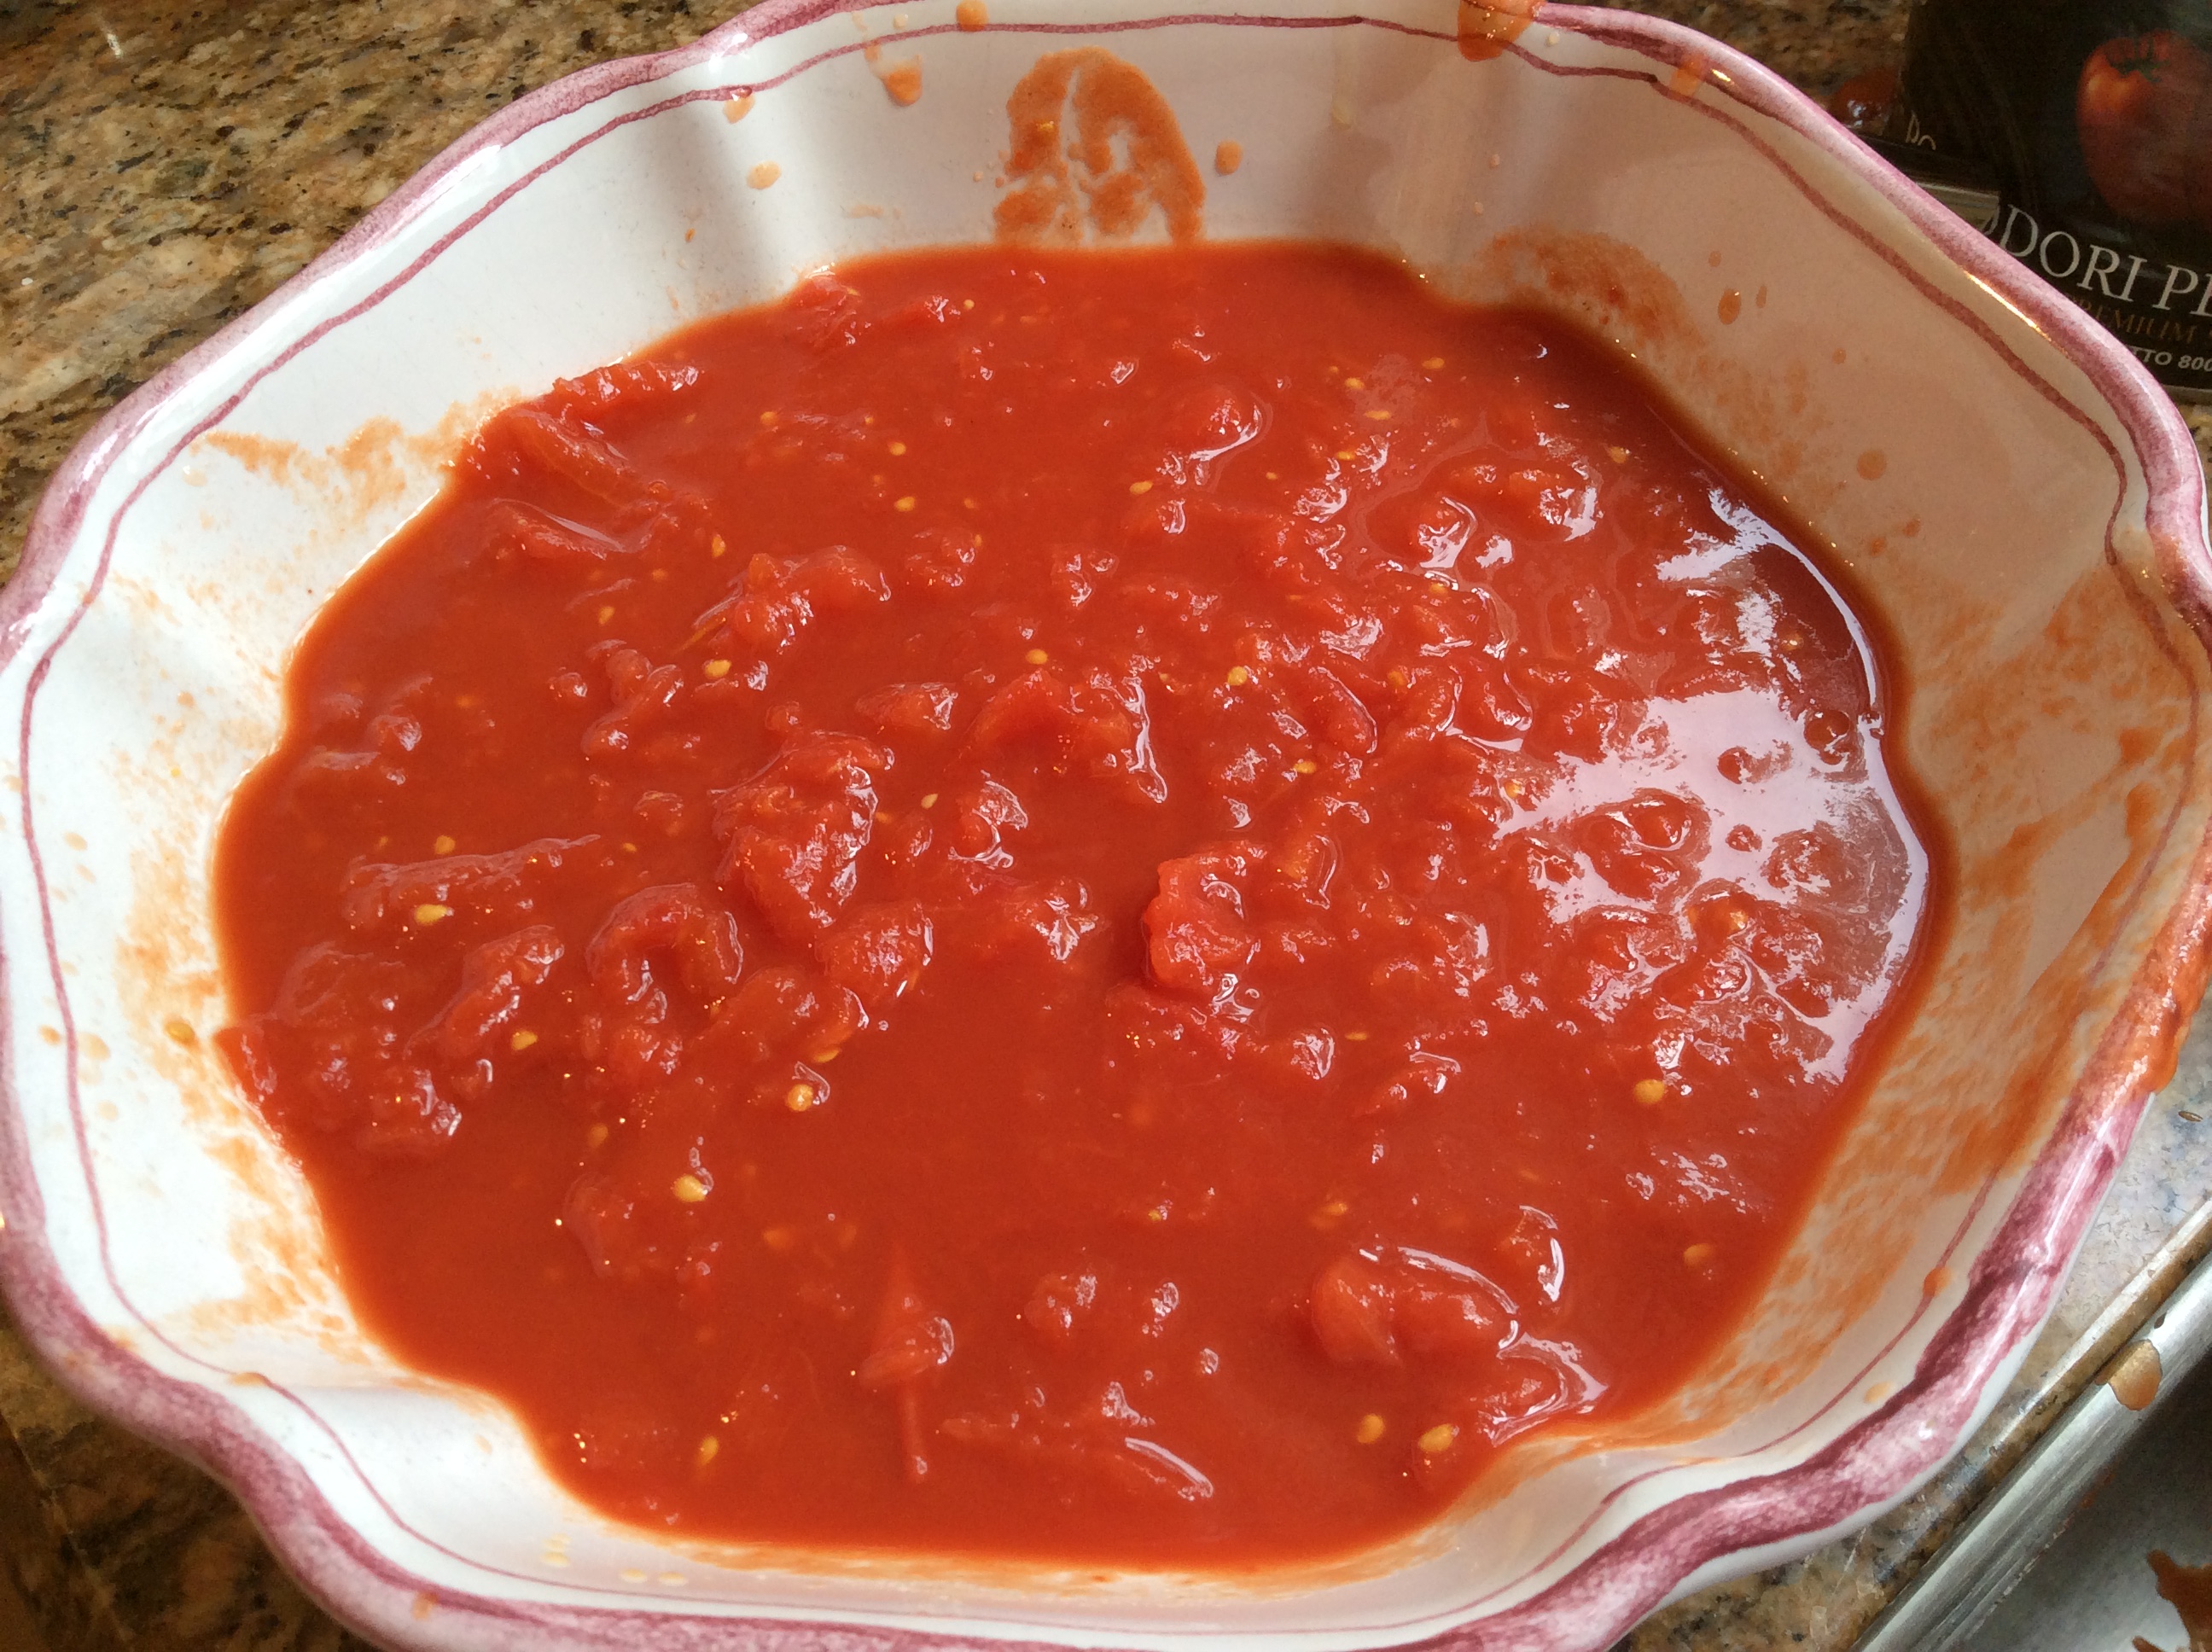
2 cups canned Italian peeled plum tomatoes, drained of their juice. ( I squish them, of course)

salt

ground pepper

1 pound penne or other quill shaped tubular pasta

2 tsp. balsamic vinegar

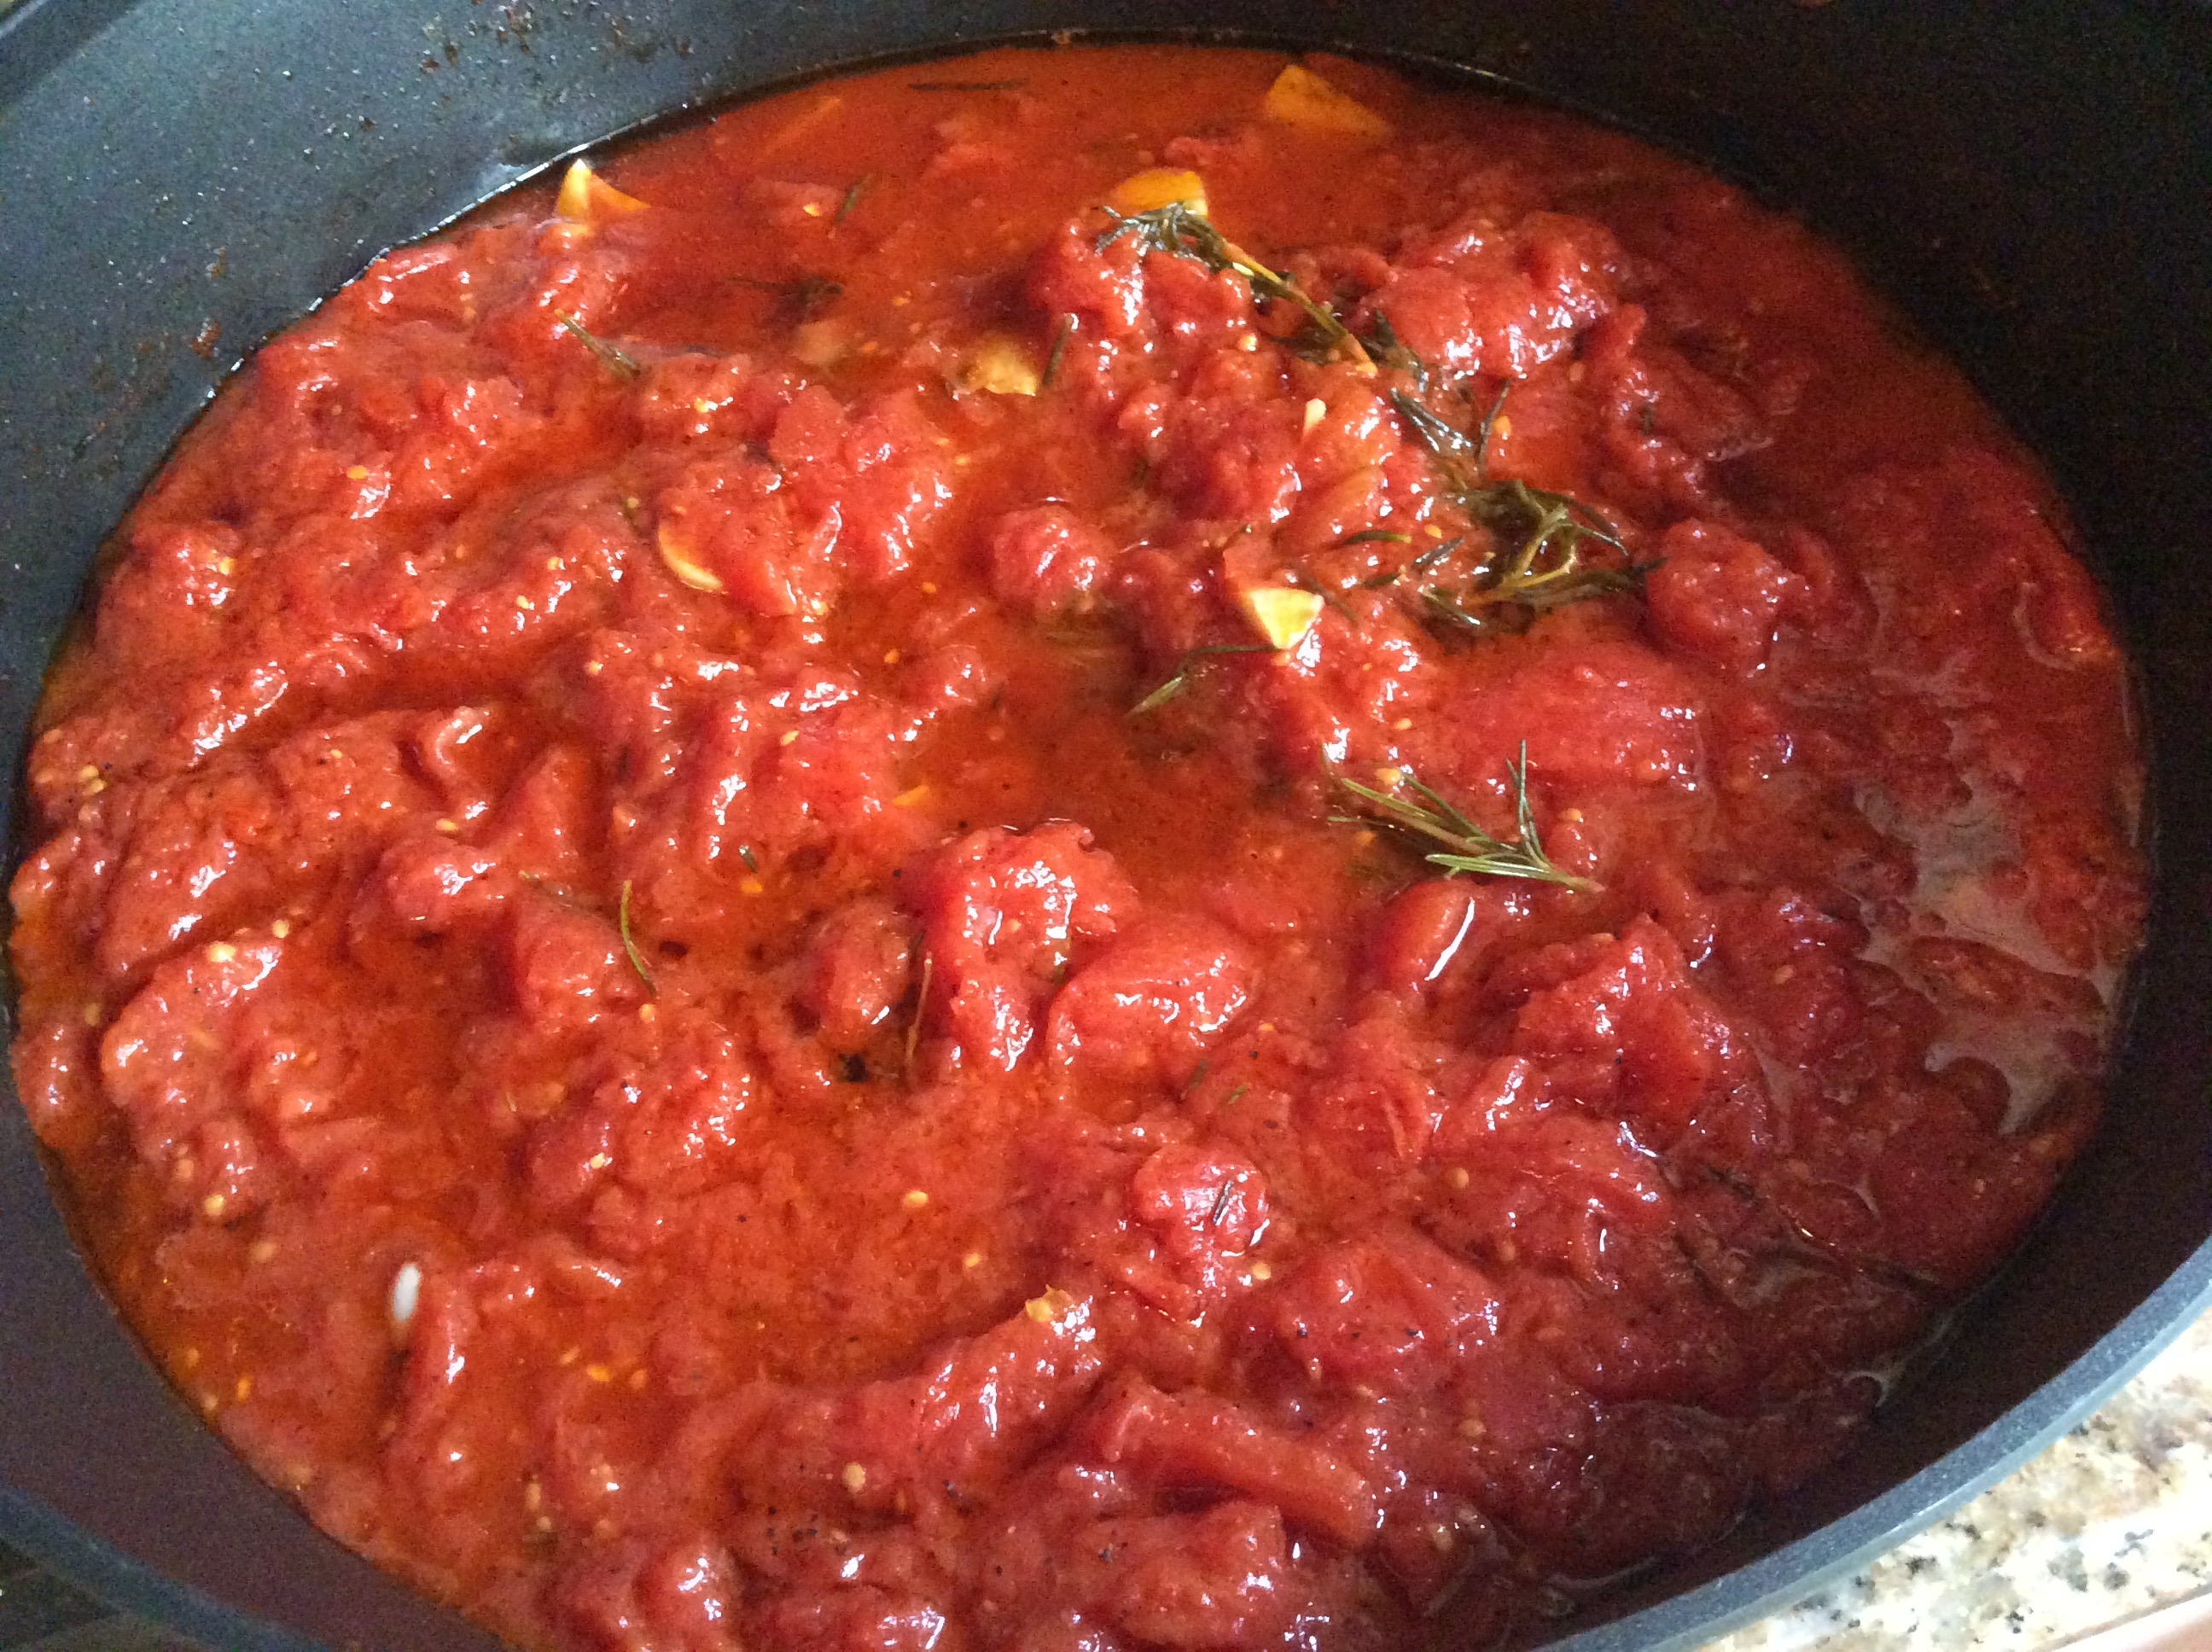
1.  Put the olive oil and garlic into a sauté pan or skillet with, if fresh, the rosemary. ( my fingers are crossed that you are using fresh)

2.  As soon as the garlic comes to a sizzle, add the tomatoes, salt and liberal grindings of pepper.  If using dried rosemary (please tell me your’e not),  add it now.

3.  Cook for about 10 to 12 minutes, then turn off the heat.

4.  Meanwhile cook the pasta in a pot of abundant boiling water.  When it is done , markedly al dente, drain and transfer immediately to the pan containing the sauce.

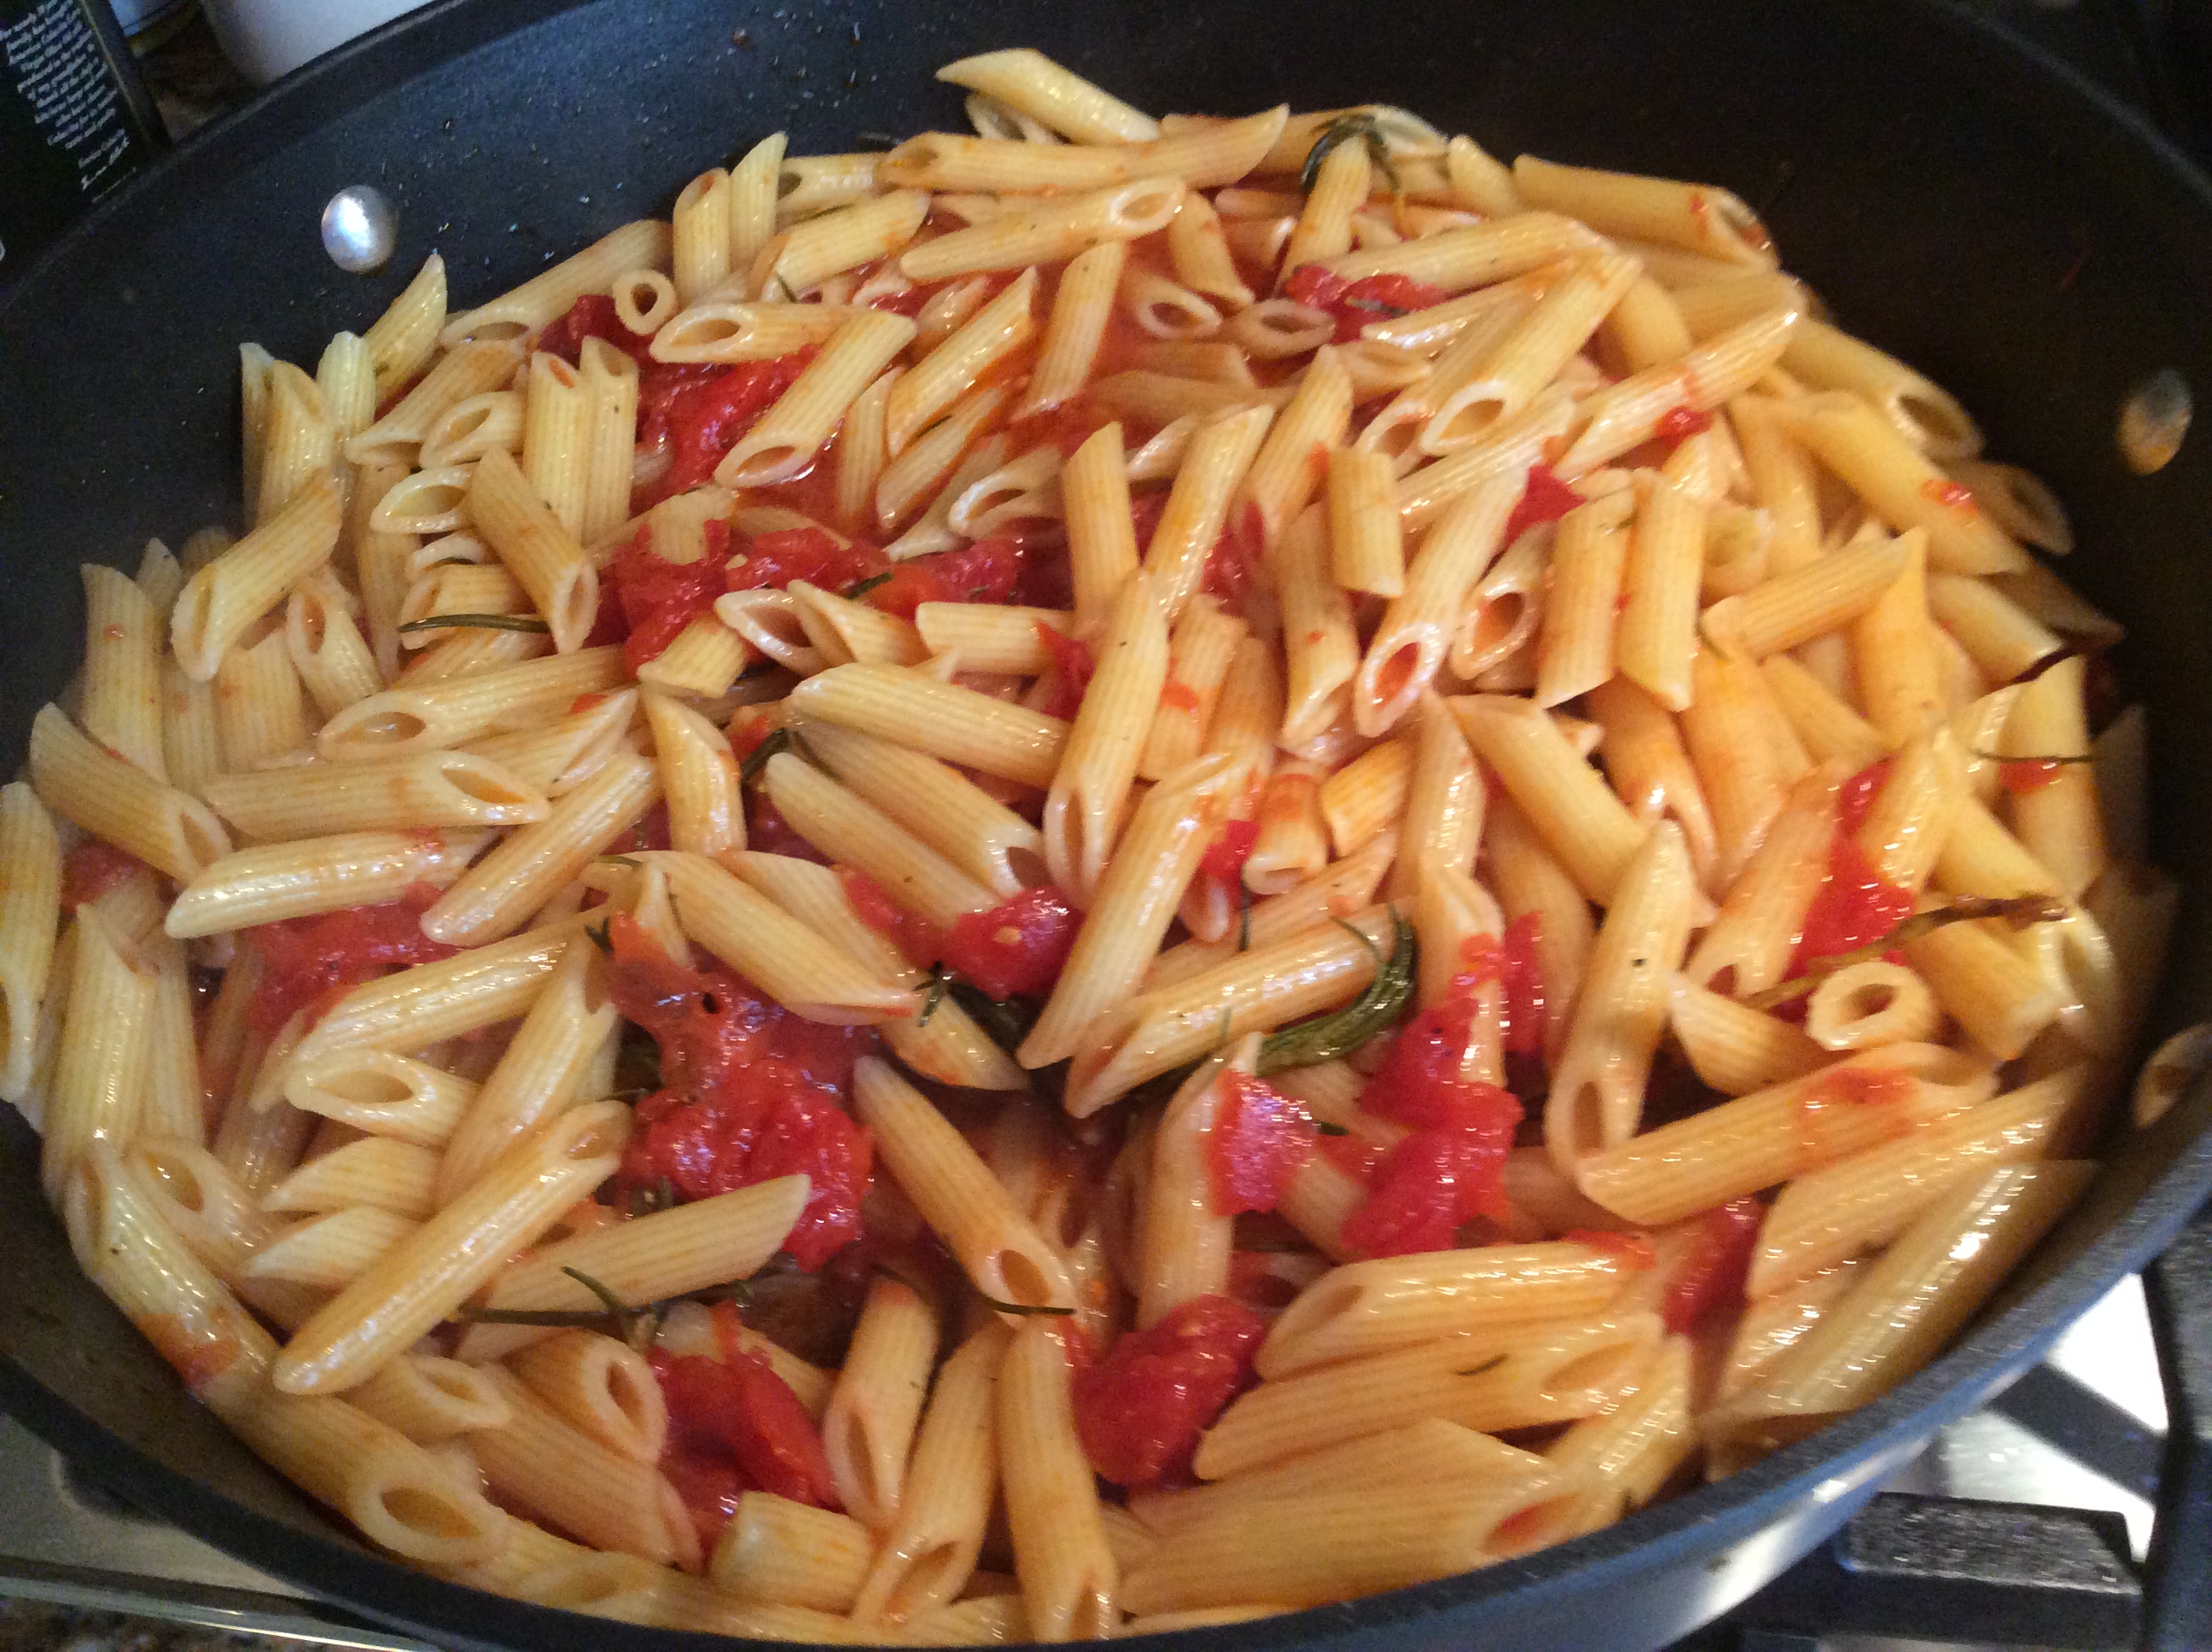
5.  Turn on the heat to very low and toss the pasta with the sauce for about 1 minute.

6.  Turn off the heat and make a well in the middle of the pasta.  Pour the vinegar into the well, and draw the pasta over it, tossing thoroughly for a few seconds.  I garnish with some extra sprigs of rosemary just because I can’t get enough of the fragrance.  Serve at once.

**Note:  Sometimes I add 1 TBSP to help the sauce come together.

rosemary sause rosemaryrosemary sauce ingredientsrosemary sauce pan 1rosemary sauce tomatoes drainrosemary sauce tomatoes squishedrosemary sauce pan 2 rosemary sauce cooked 2rosemary sauce pasta pan 2rosemary sauce pan wellrosemary sauce plated 1rosemary sauce cookbookrosemary sauce recipe

Golfer’s Oven Roasted Asparagus

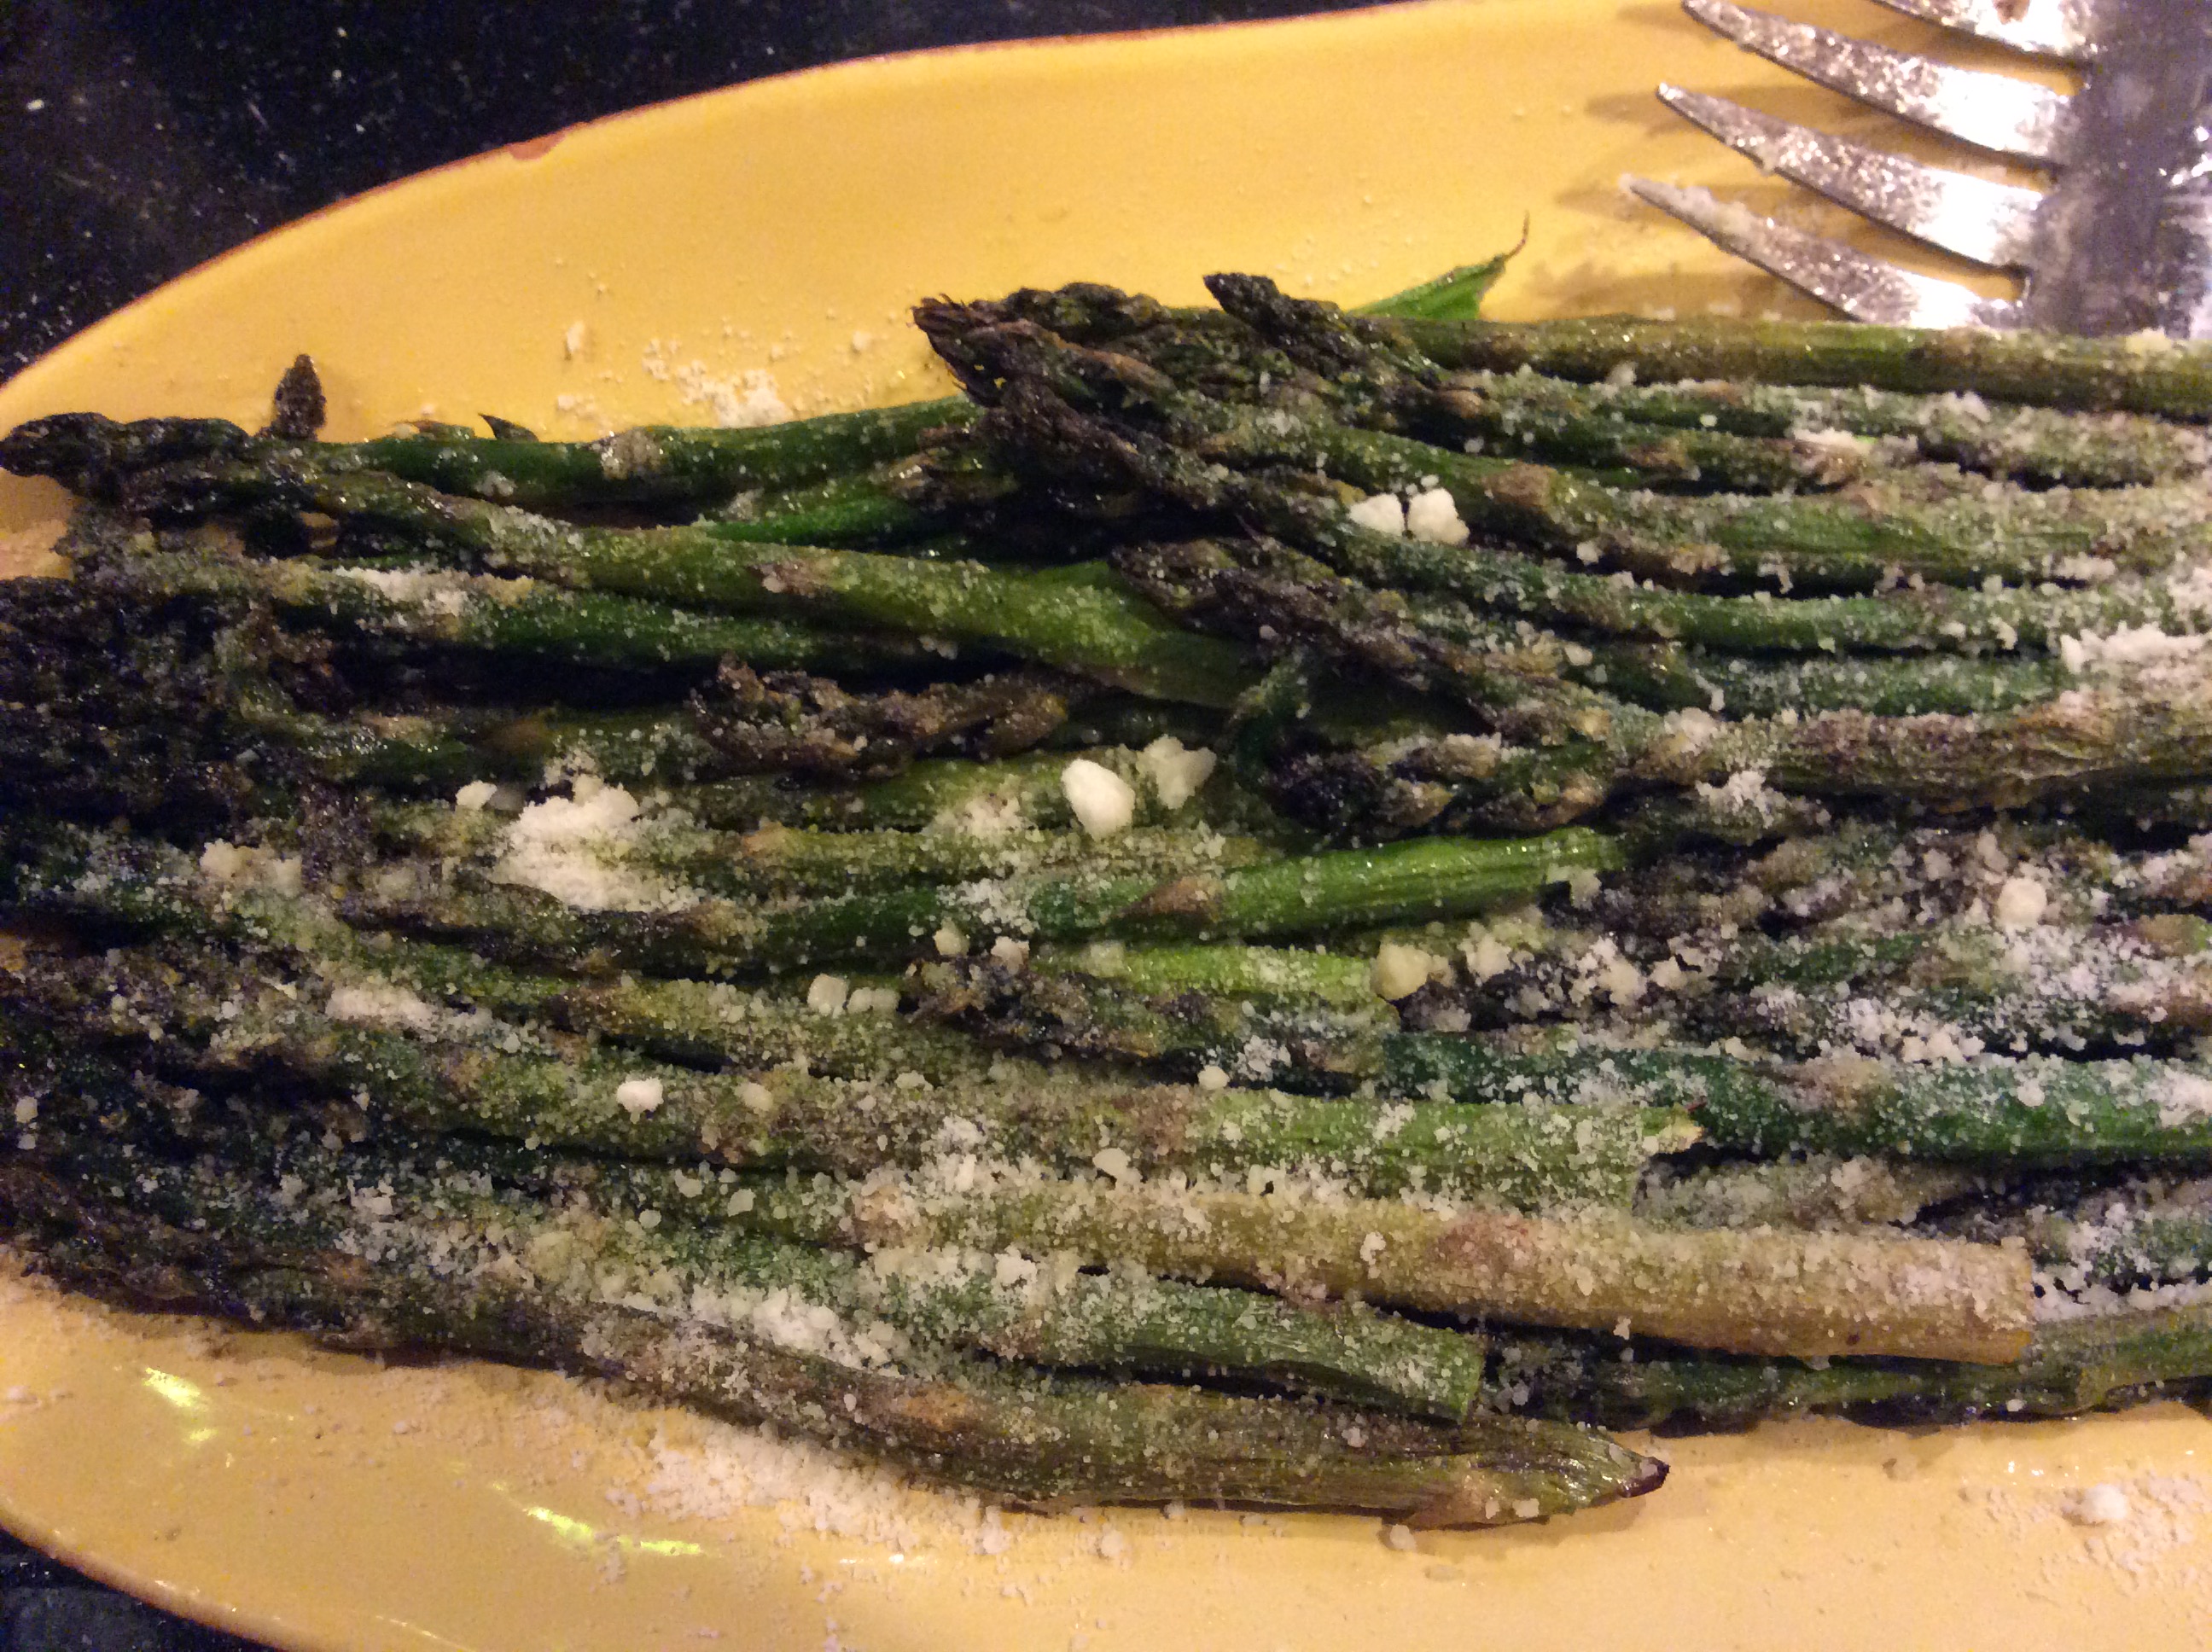
In honor of my dear friend, Angela……asparagus plated *

Happy Fourth of July! I feel like I should be posting a meaty, grill-type recipe on this day that is famous for barbecues and hamburgers, etc. Instead, I’m going to give you a recipe for asparagus. Not very Fourth of July. I apologize. It almost seems sacrilegious, but you’ll thank me for this simple, tasty way to prepare this seasonal and local vegetable.

This recipe was given to me on the golf course by a dear friend. Even on the golf course, I just can’t stop myself from thinking about different ways to prepare food. I know I should be concentrating on my game ( and believe me, I really should be concentrating) , but I always end up talking about food in some way or another every time I’m on the course, especially with this aforementioned dear friend.   We talk about restaurants, dinner parties, our mother’s recipes, anything at all related to food. One day, between the 9th and 10th hole, she told me this fabulous way to make asparagus. I wrote it on the back of a scorecard, and this is the only way I make asparagus now. It doesn’t get any easier or tastier.

This will make a very nice side dish to anything you might be grilling this summer, especially if you’re just coming off the golf course and want to serve something tasty and quick with a nice presentation.  Fore!

RECIPE:

2 bunches of asparagus

5 TBSP of olive oil

2 tsp sea salt ( or any really, good salt)  I’m loving Celtic Sea Salt.  It really adds to the flavor.

freshly ground pepper to taste.  I use about a teaspoon.

1/4 cup of freshly grated parmigiano reggiano cheese

1.  Preheat oven to 400 degrees

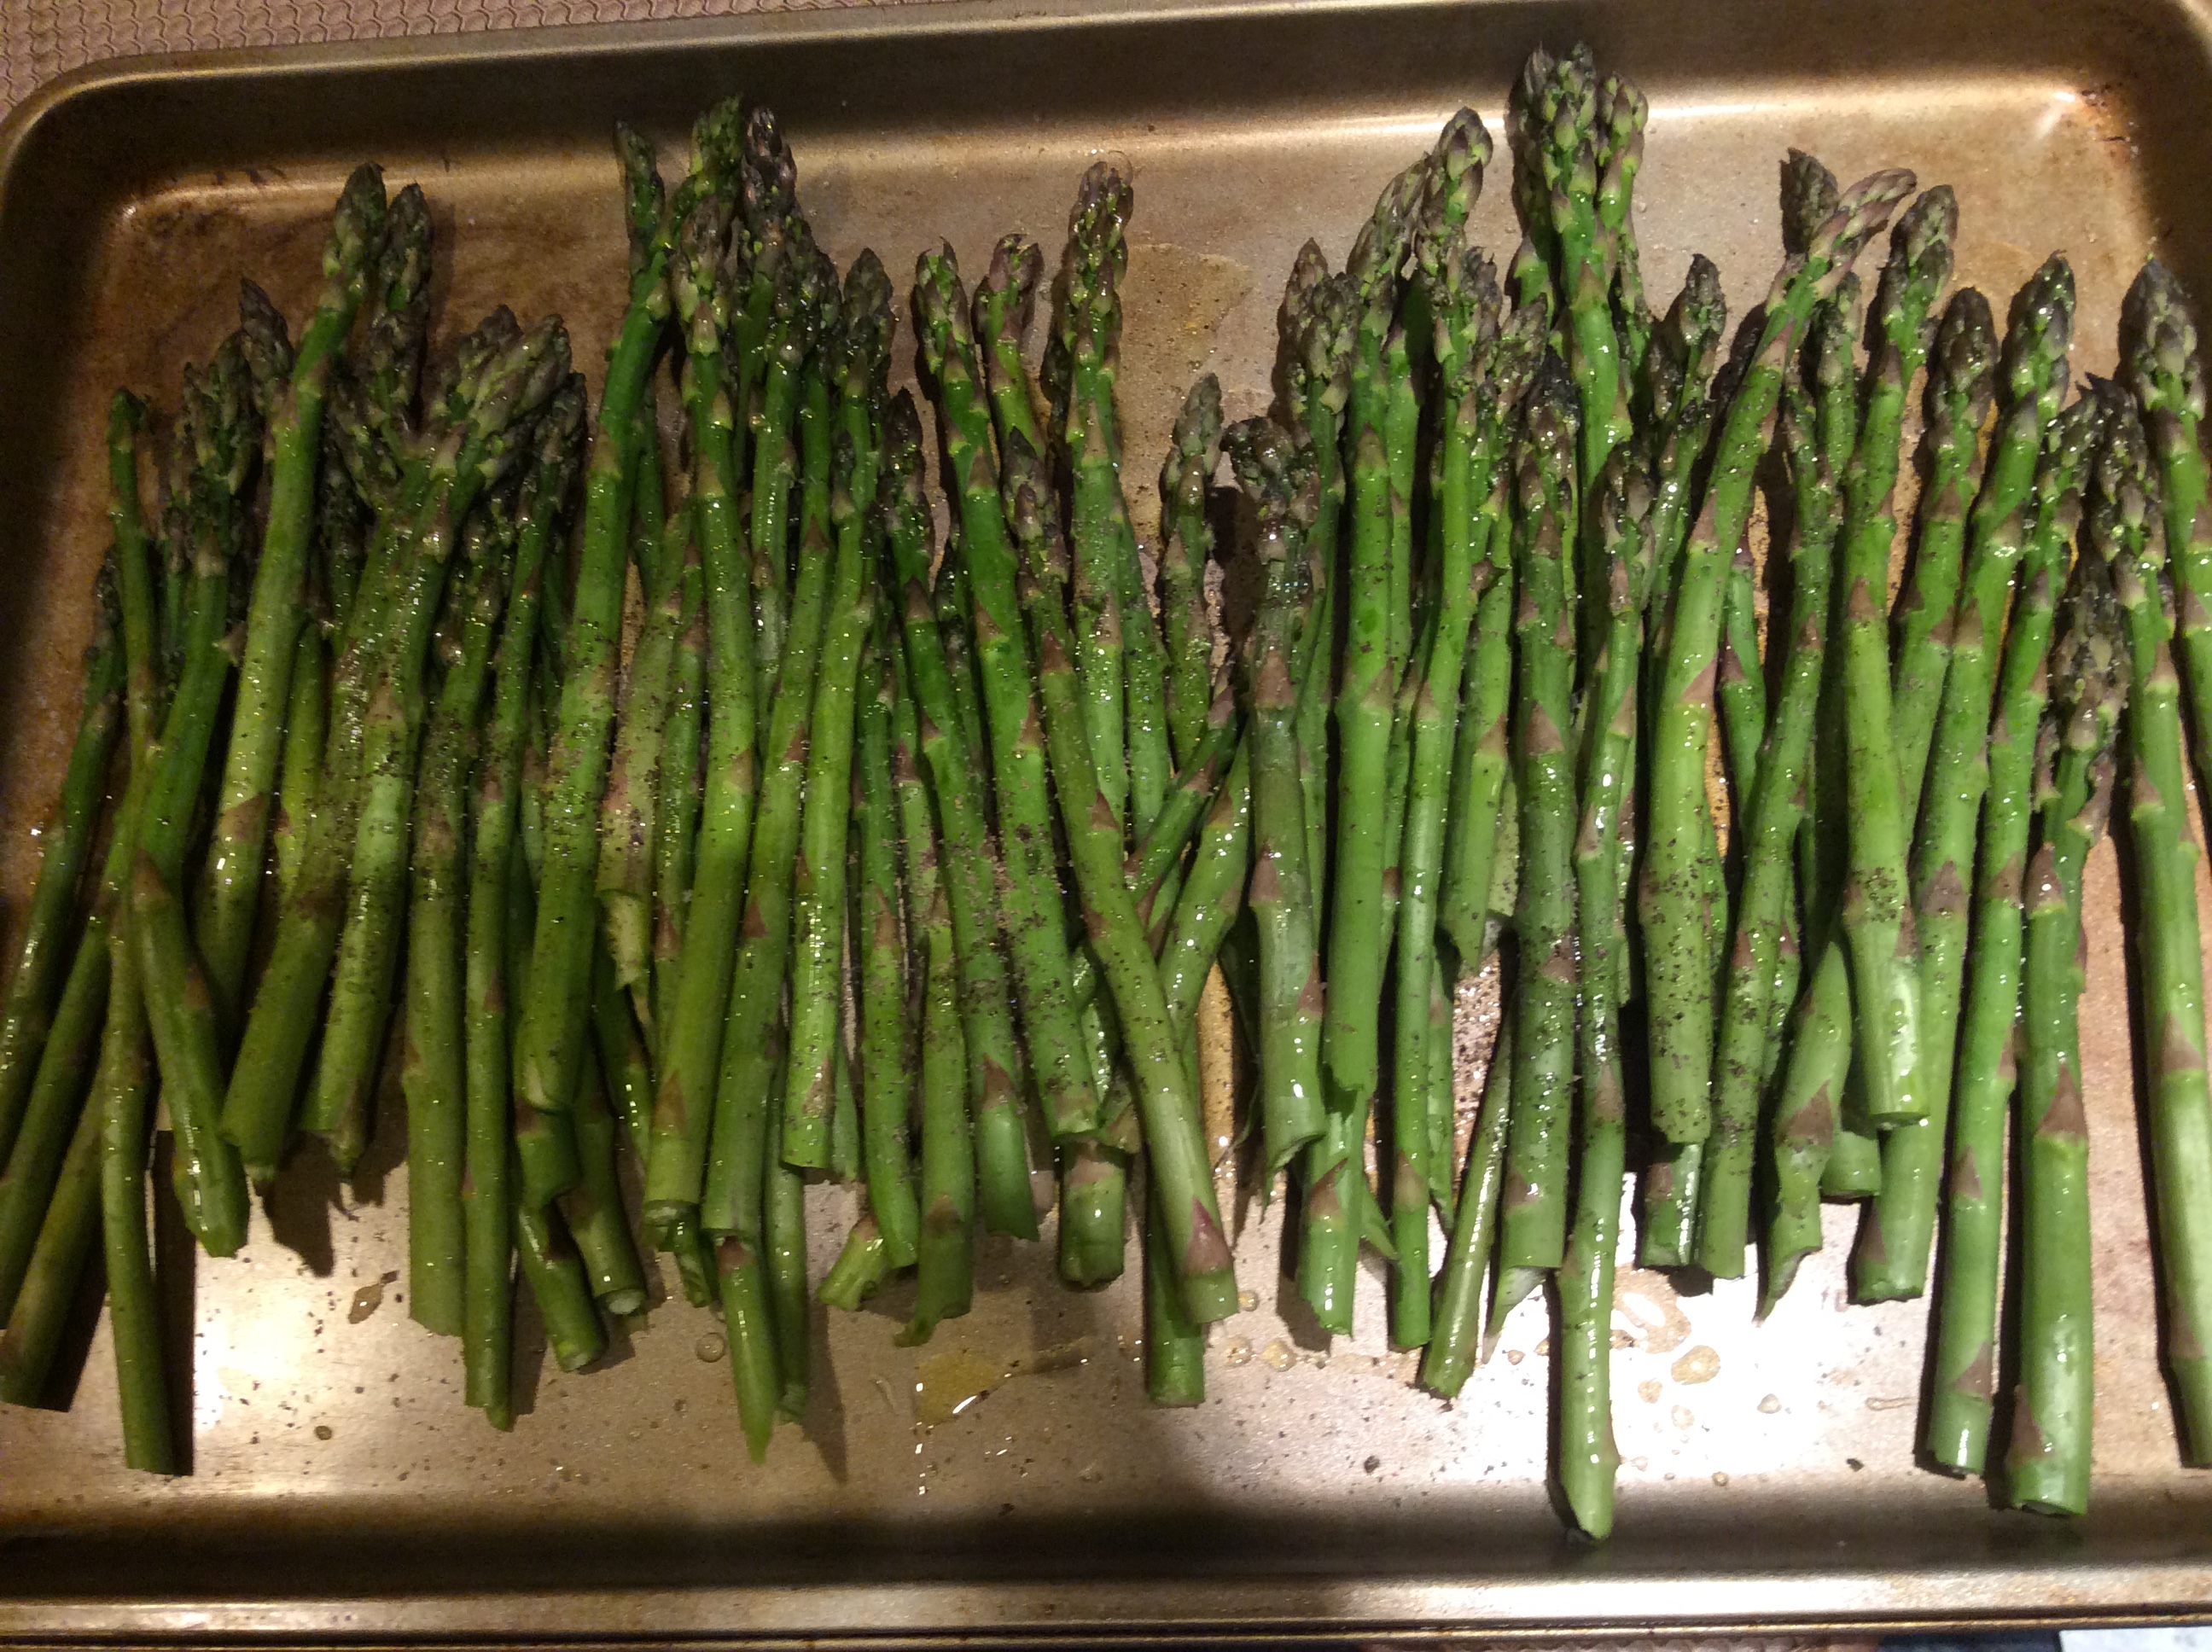
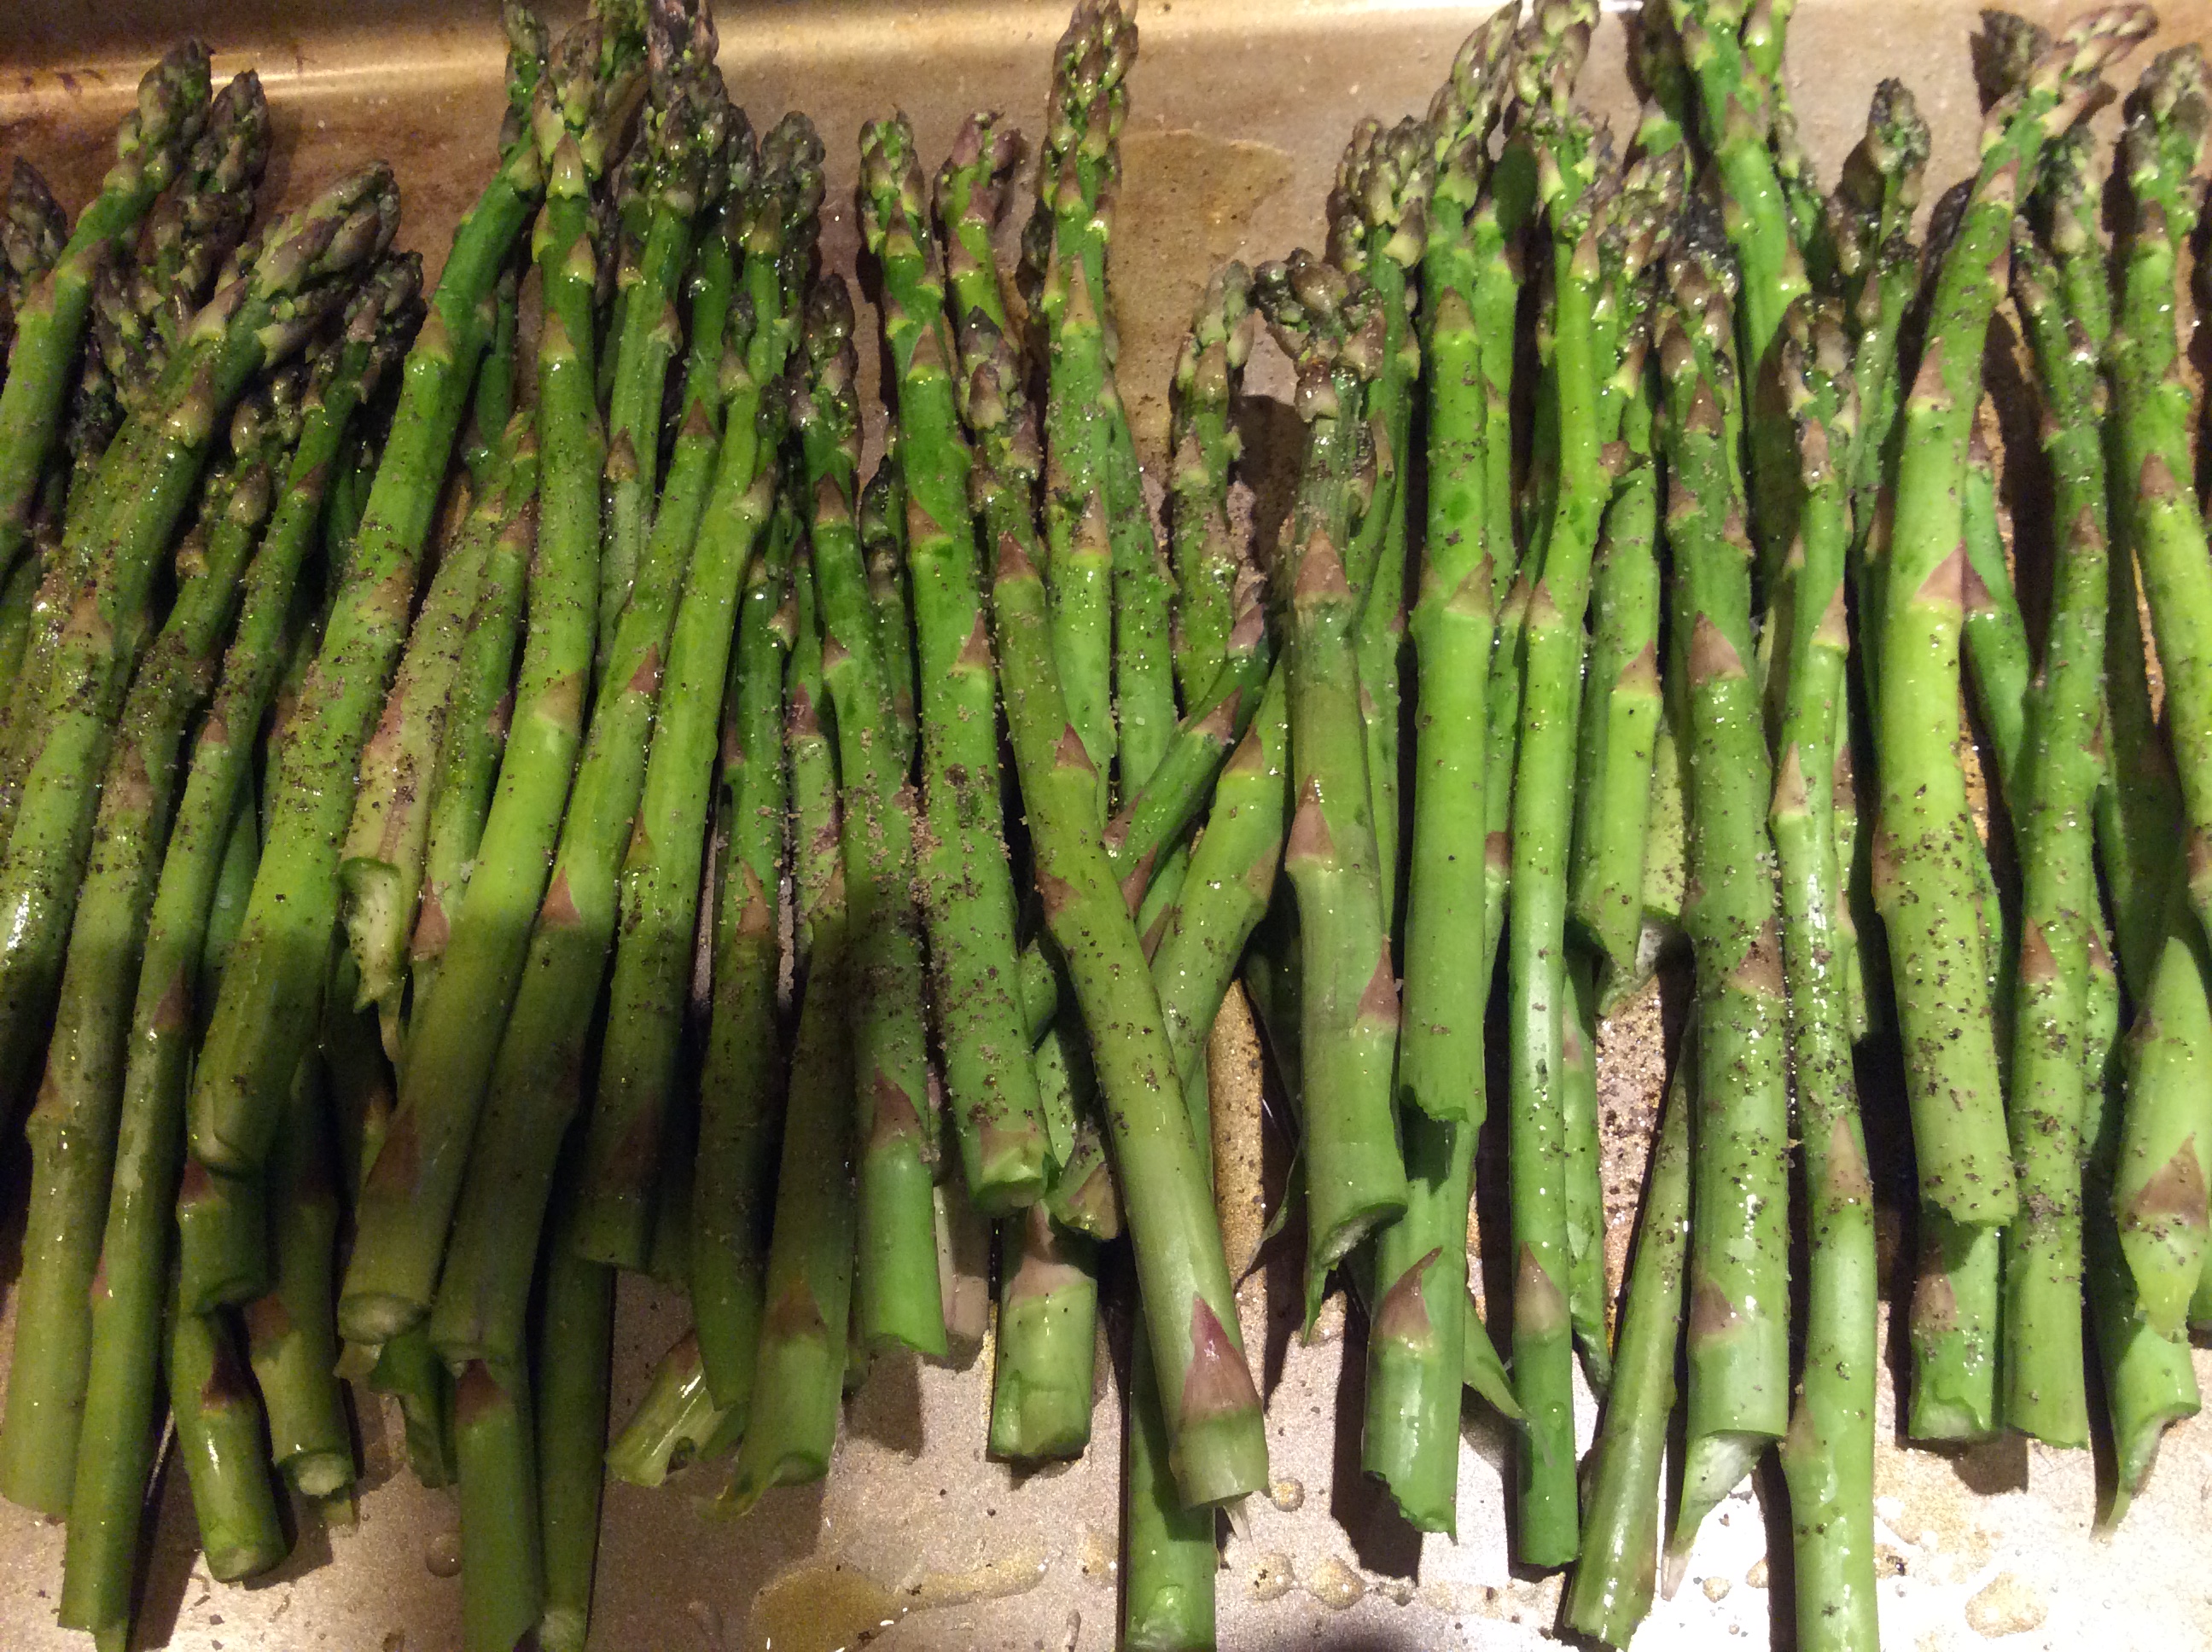
2.  After preparing the asparagus by washing and cutting off the tough ends, dry well and spread out on a baking sheet.

3.  First sprinkle the salt and pepper over the asparagus.  Then drizzle the oil.

4.  Toss well to coat with the oil and salt and pepper.  I use my hands to do this.

4.  Put in oven for about 7 or 8 minutes.  Then shake the pan to slightly turn the asparagus.  Cook another 10 minutes or so, checking every so often (maybe give another shake) for desired doneness.  This timing will definitely depend on the size of your asparagus spears.  The very thin ones will take less time, and the thick ones will need more time.  Also, I like crunch in my asparagus.  You might like them more well done.

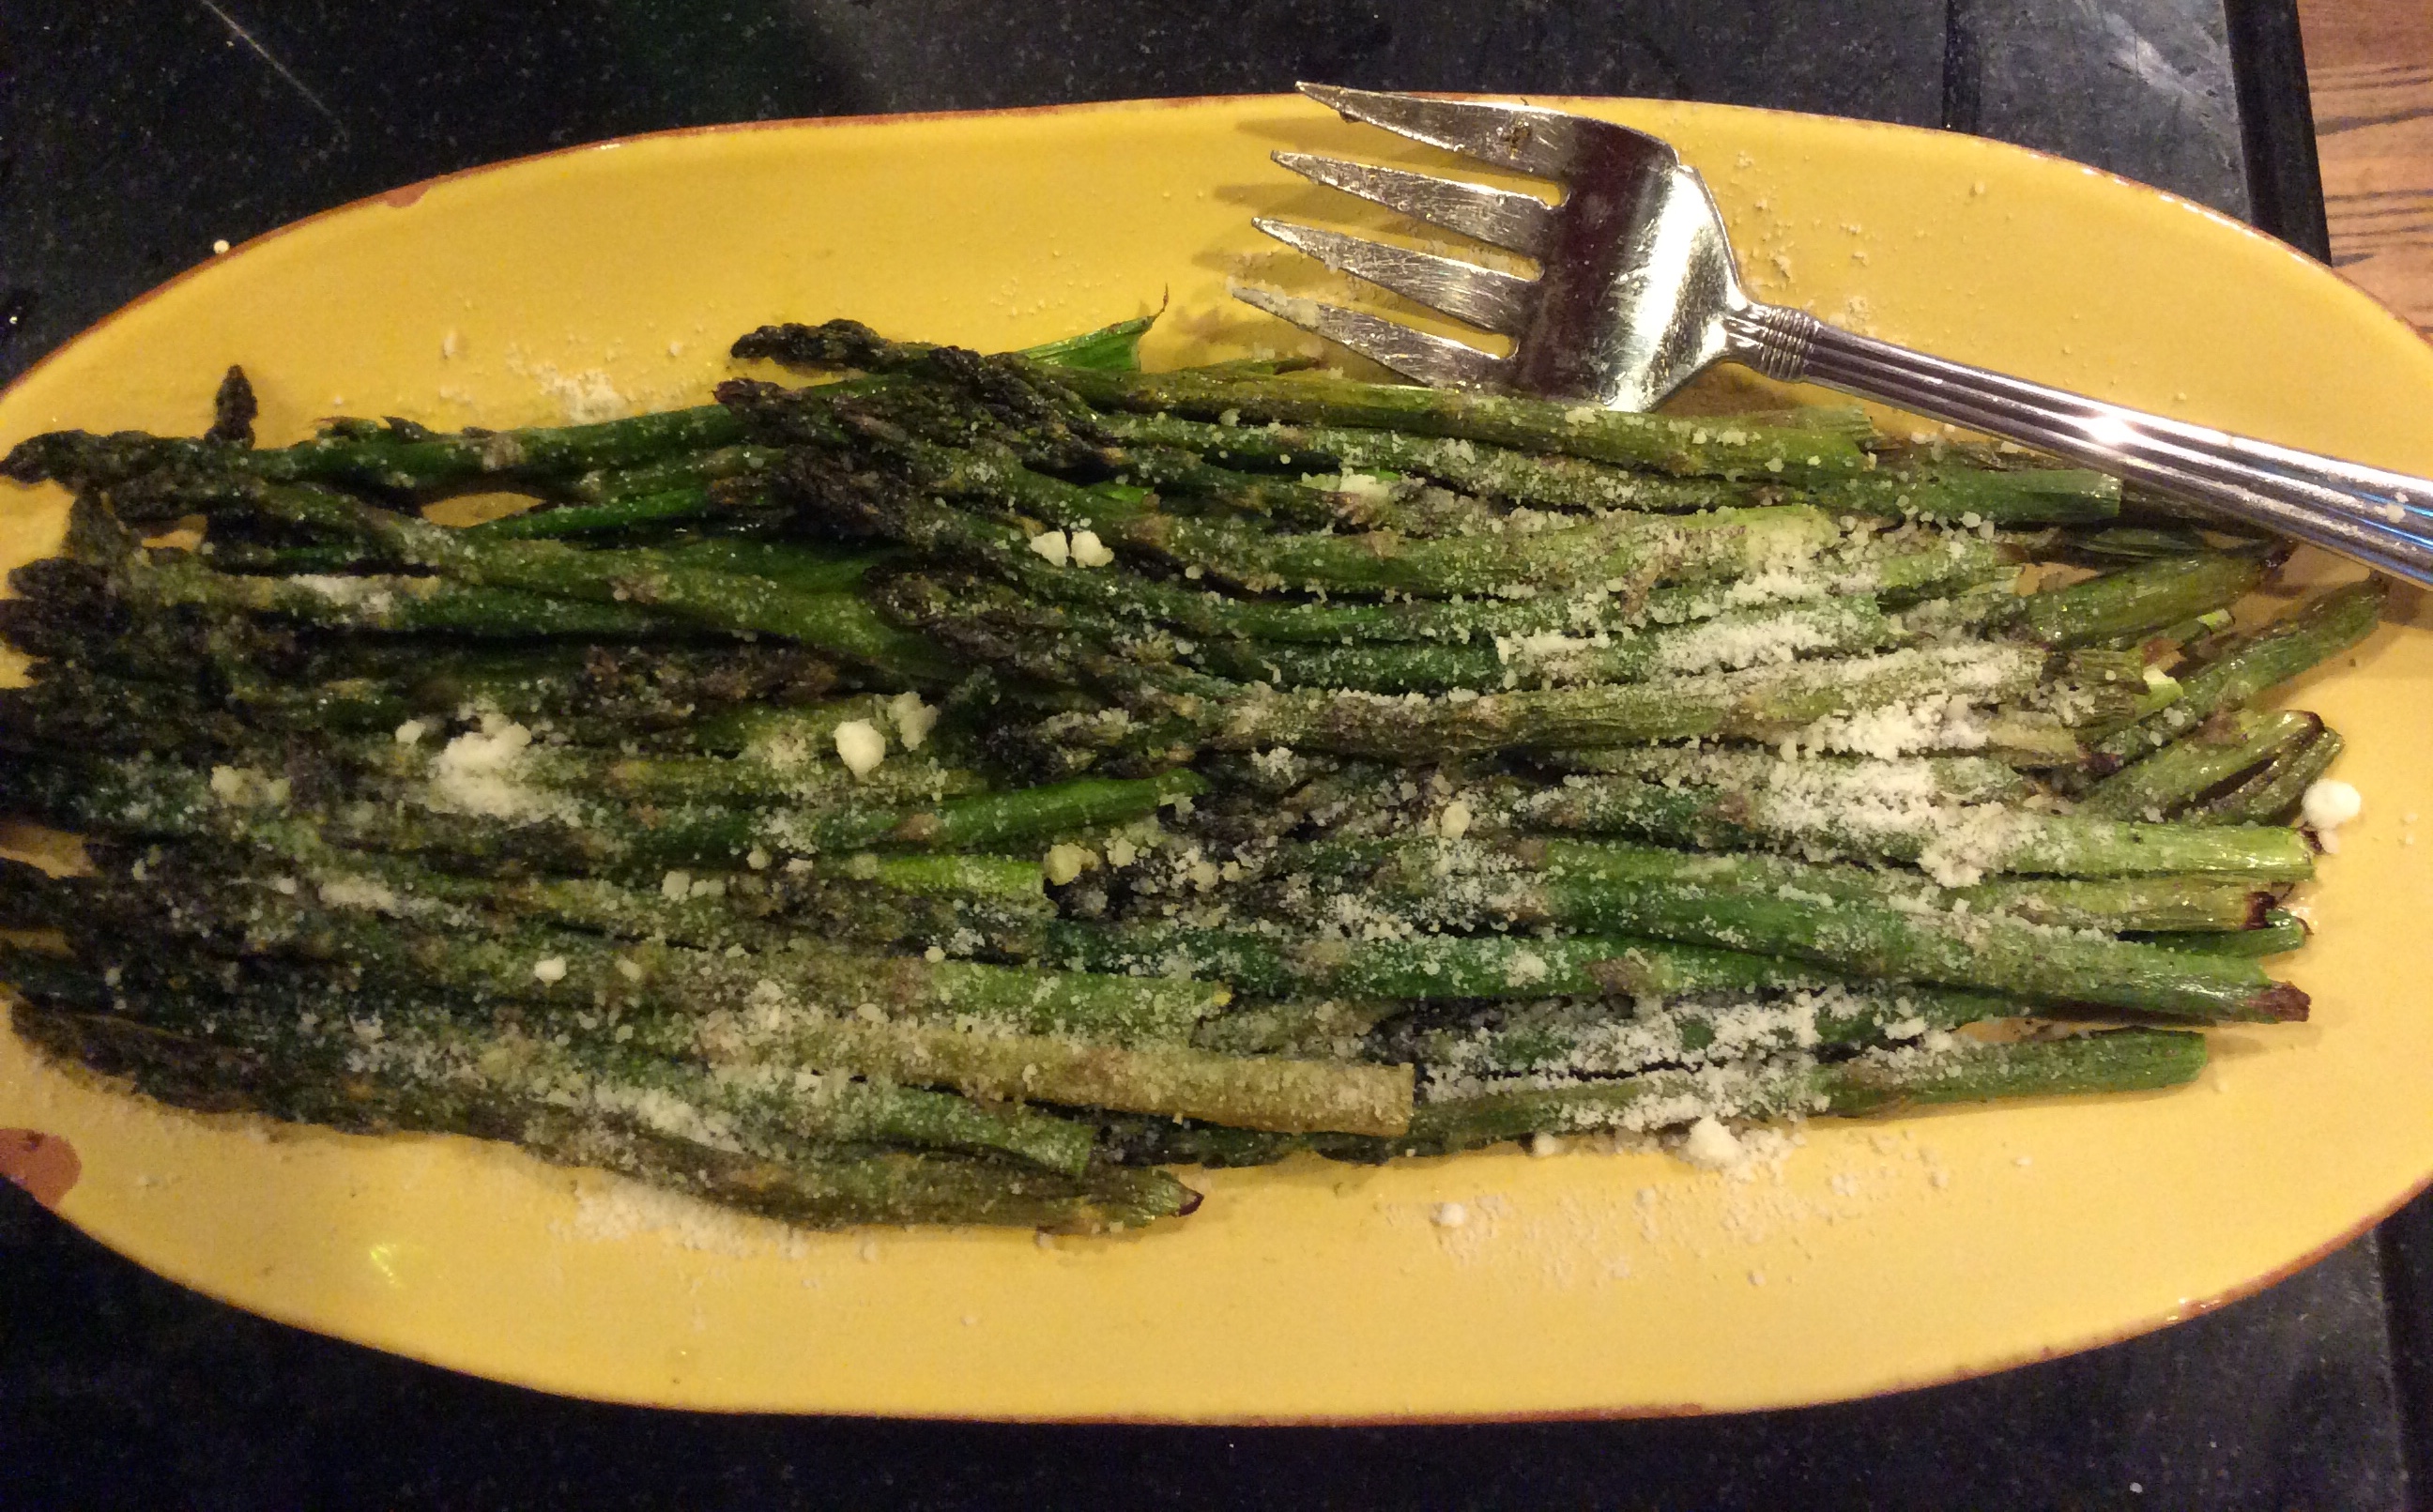
5.  Arrange on plate while still hot.  Sprinkle with the grated cheese, using more or less according to your preference.

asparagus saltasparagus panasparagus pan closeupasparagus grilledasparagus platedasparagus plated closeup*

Ann & Bev’s (Noodle) Pastiera

pastiera plated ***

If you were to look up “pastiera” in any Italian cookbook, the recipe would most likely be translated as “ricotta and grain pie.” But if there is one thing I’ve learned about Italian cooking, it’s that these names vary from family to family.   In my long- time, dear friend’s family, “pastiera” meant something completely different.   Yes, there is ricotta and eggs and sugar in the recipe, but the similarity stops there. There is no crust; there is no grain. There are noodles, of all things. Also there are eggs, ricotta, sugar, butter, vanilla and grated Parmigiano Reggiano cheese. It sounds like such a strange combination, doesn’t it? But I can tell you that heaven awaits you.

I hadn’t had this dish since I was a young girl in the 1950s and 60s. My friend’s mom, Ann (you’ve met her in several other recipe posts), would make this quite often, as she was quite the baker, and she would give it to us as an after school snack. Or if you were lucky enough to be sick, Ann would probably bring this to your home to heal you, as it was  considered to be very nourishing. I actually had forgotten about this pastiera until about 5 years ago, when my friend made it for me when I broke my knee. One bite, and the memories flooded back to me. It is amazing how a certain taste can bring you back in time.

I’m just not sure exactly when you should serve this dish. Is it dessert? It’s rather heavy for after a meal.  It does make for a delicious brunch, or even lunch. Actually, Ann was right….it is a perfect after school snack.  That’s what I tell myself in the afternoon, when I sit down to a delicious, nostalgic piece!

RECIPE:

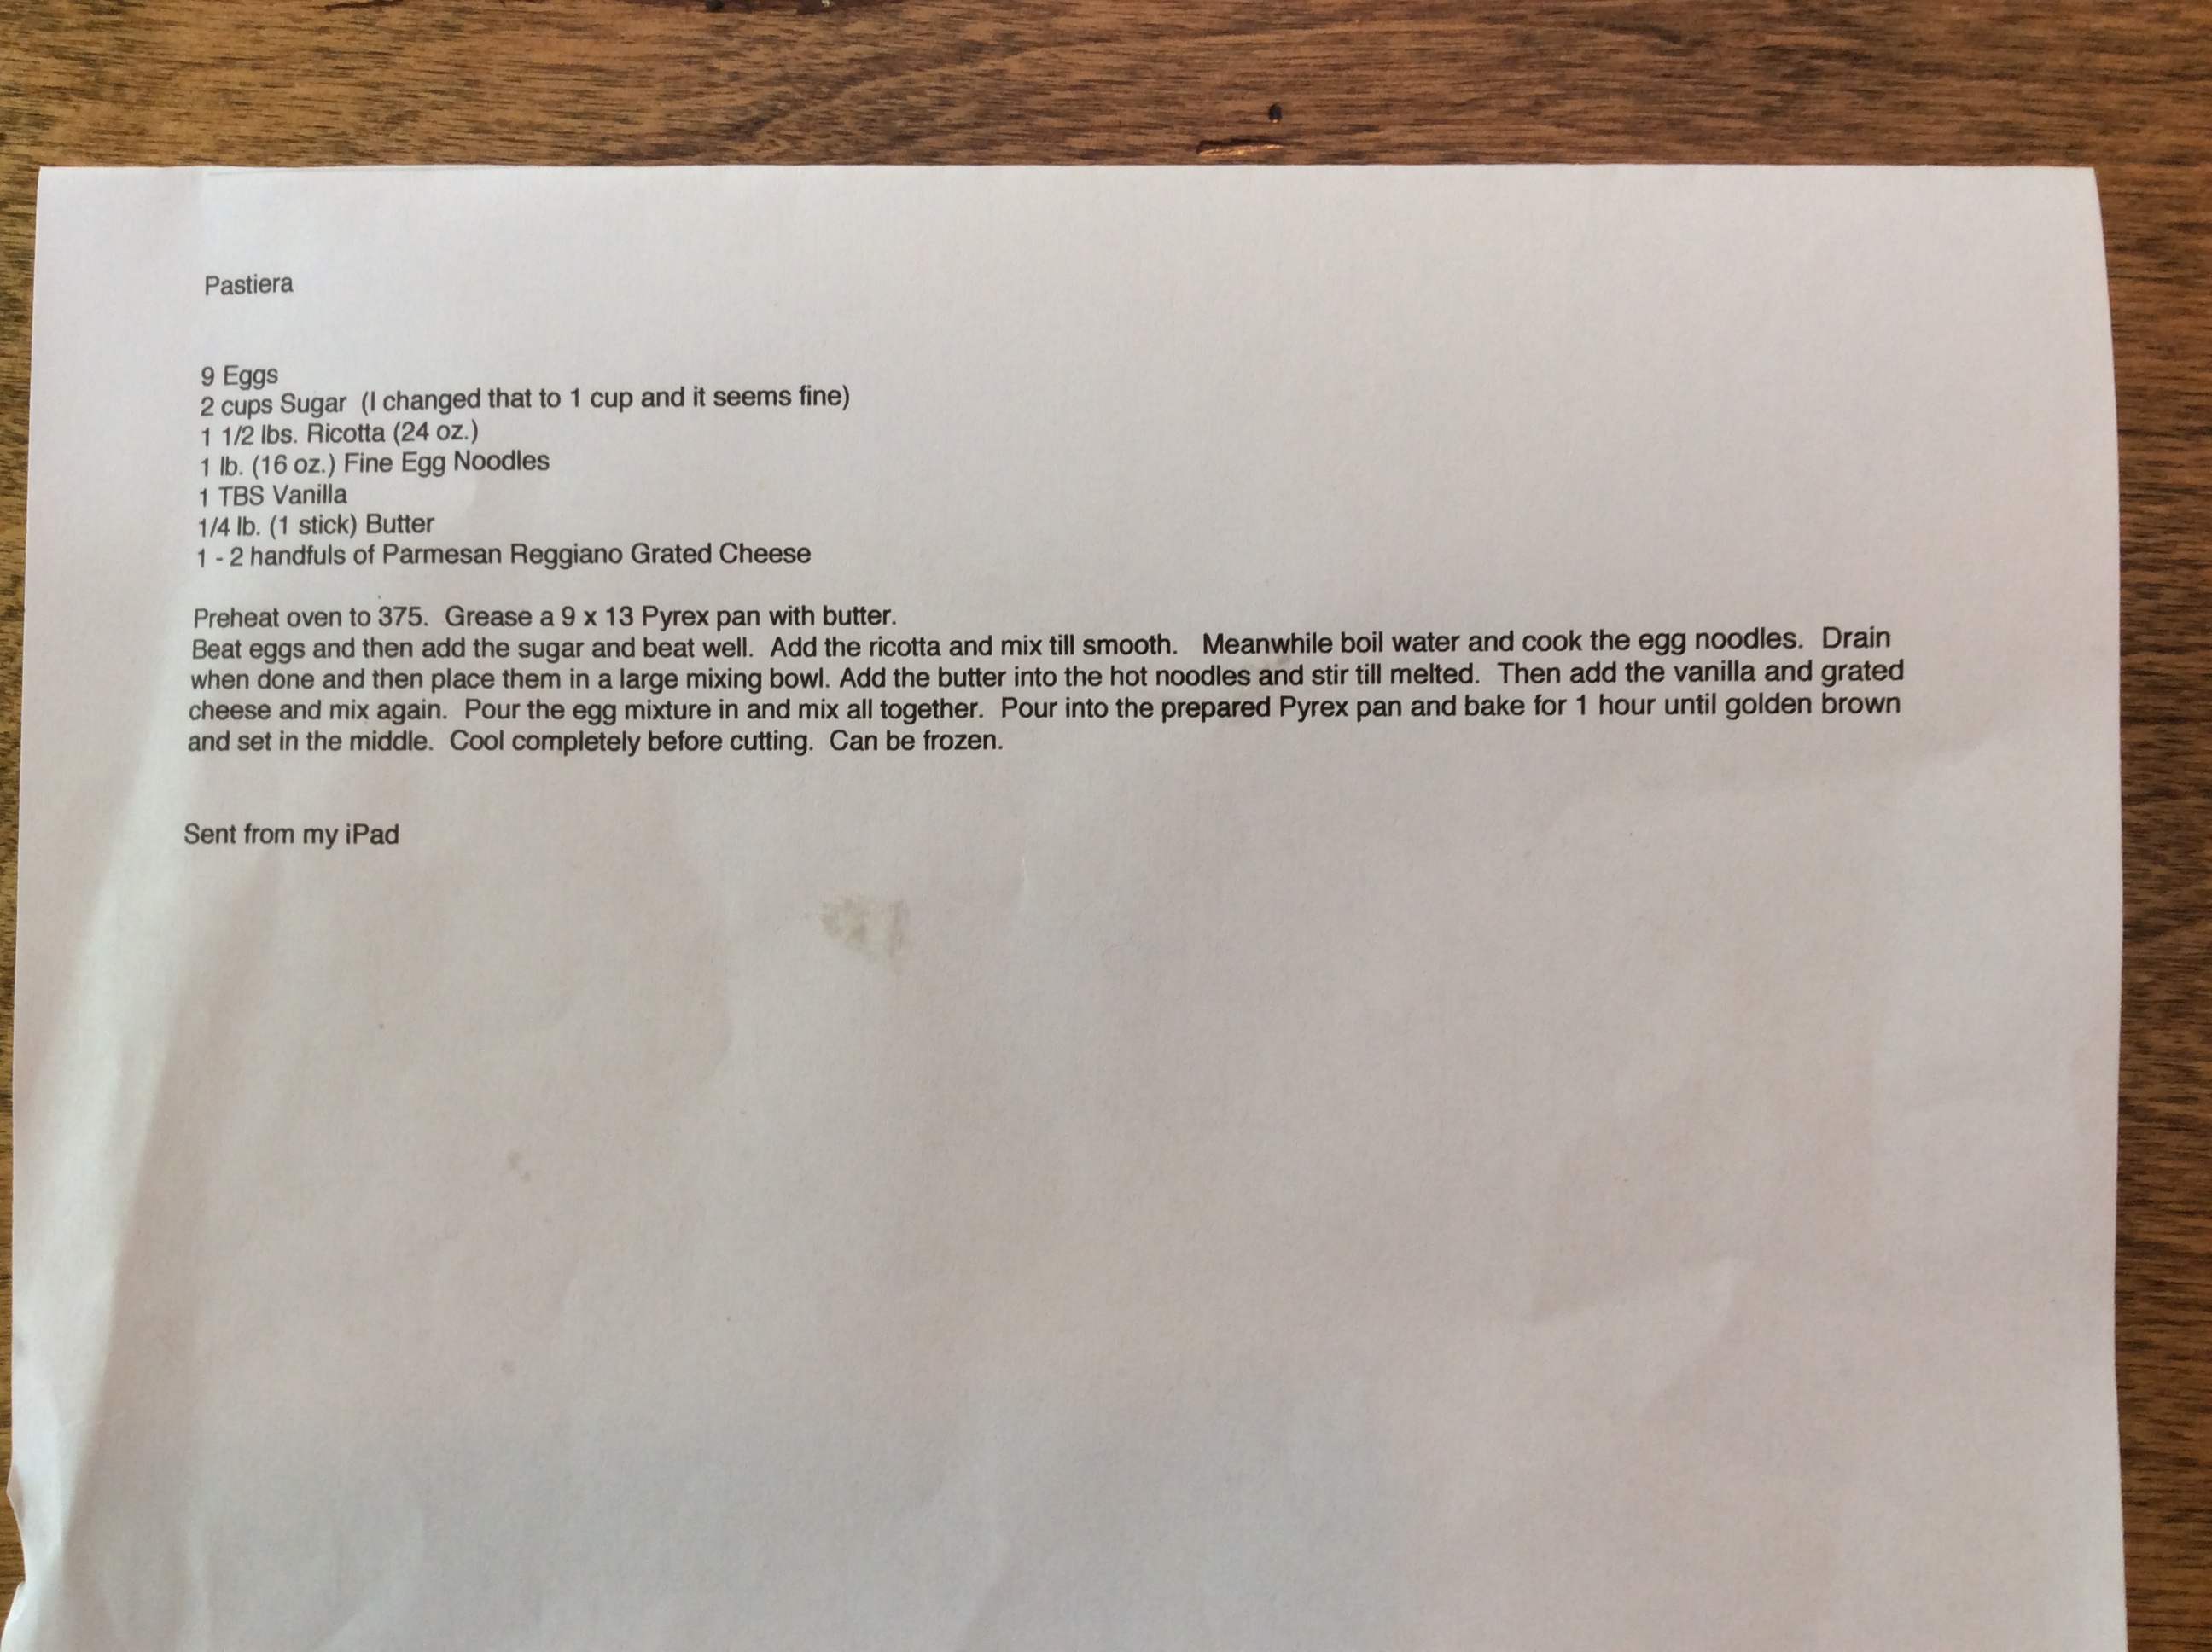
1 pound fine egg noodles

9 eggs

1 1/2 pounds of ricotta

1 stick (1/4 pound) butter

2 cups sugar ( you can use a little less if desired)

1 TBSP vanilla

1 or 2 handfuls of grated Parmigiano Reggiano cheese

1. Preheat oven to 375 degrees.

2.  Grease a 9 x 13 Pyrex pan.

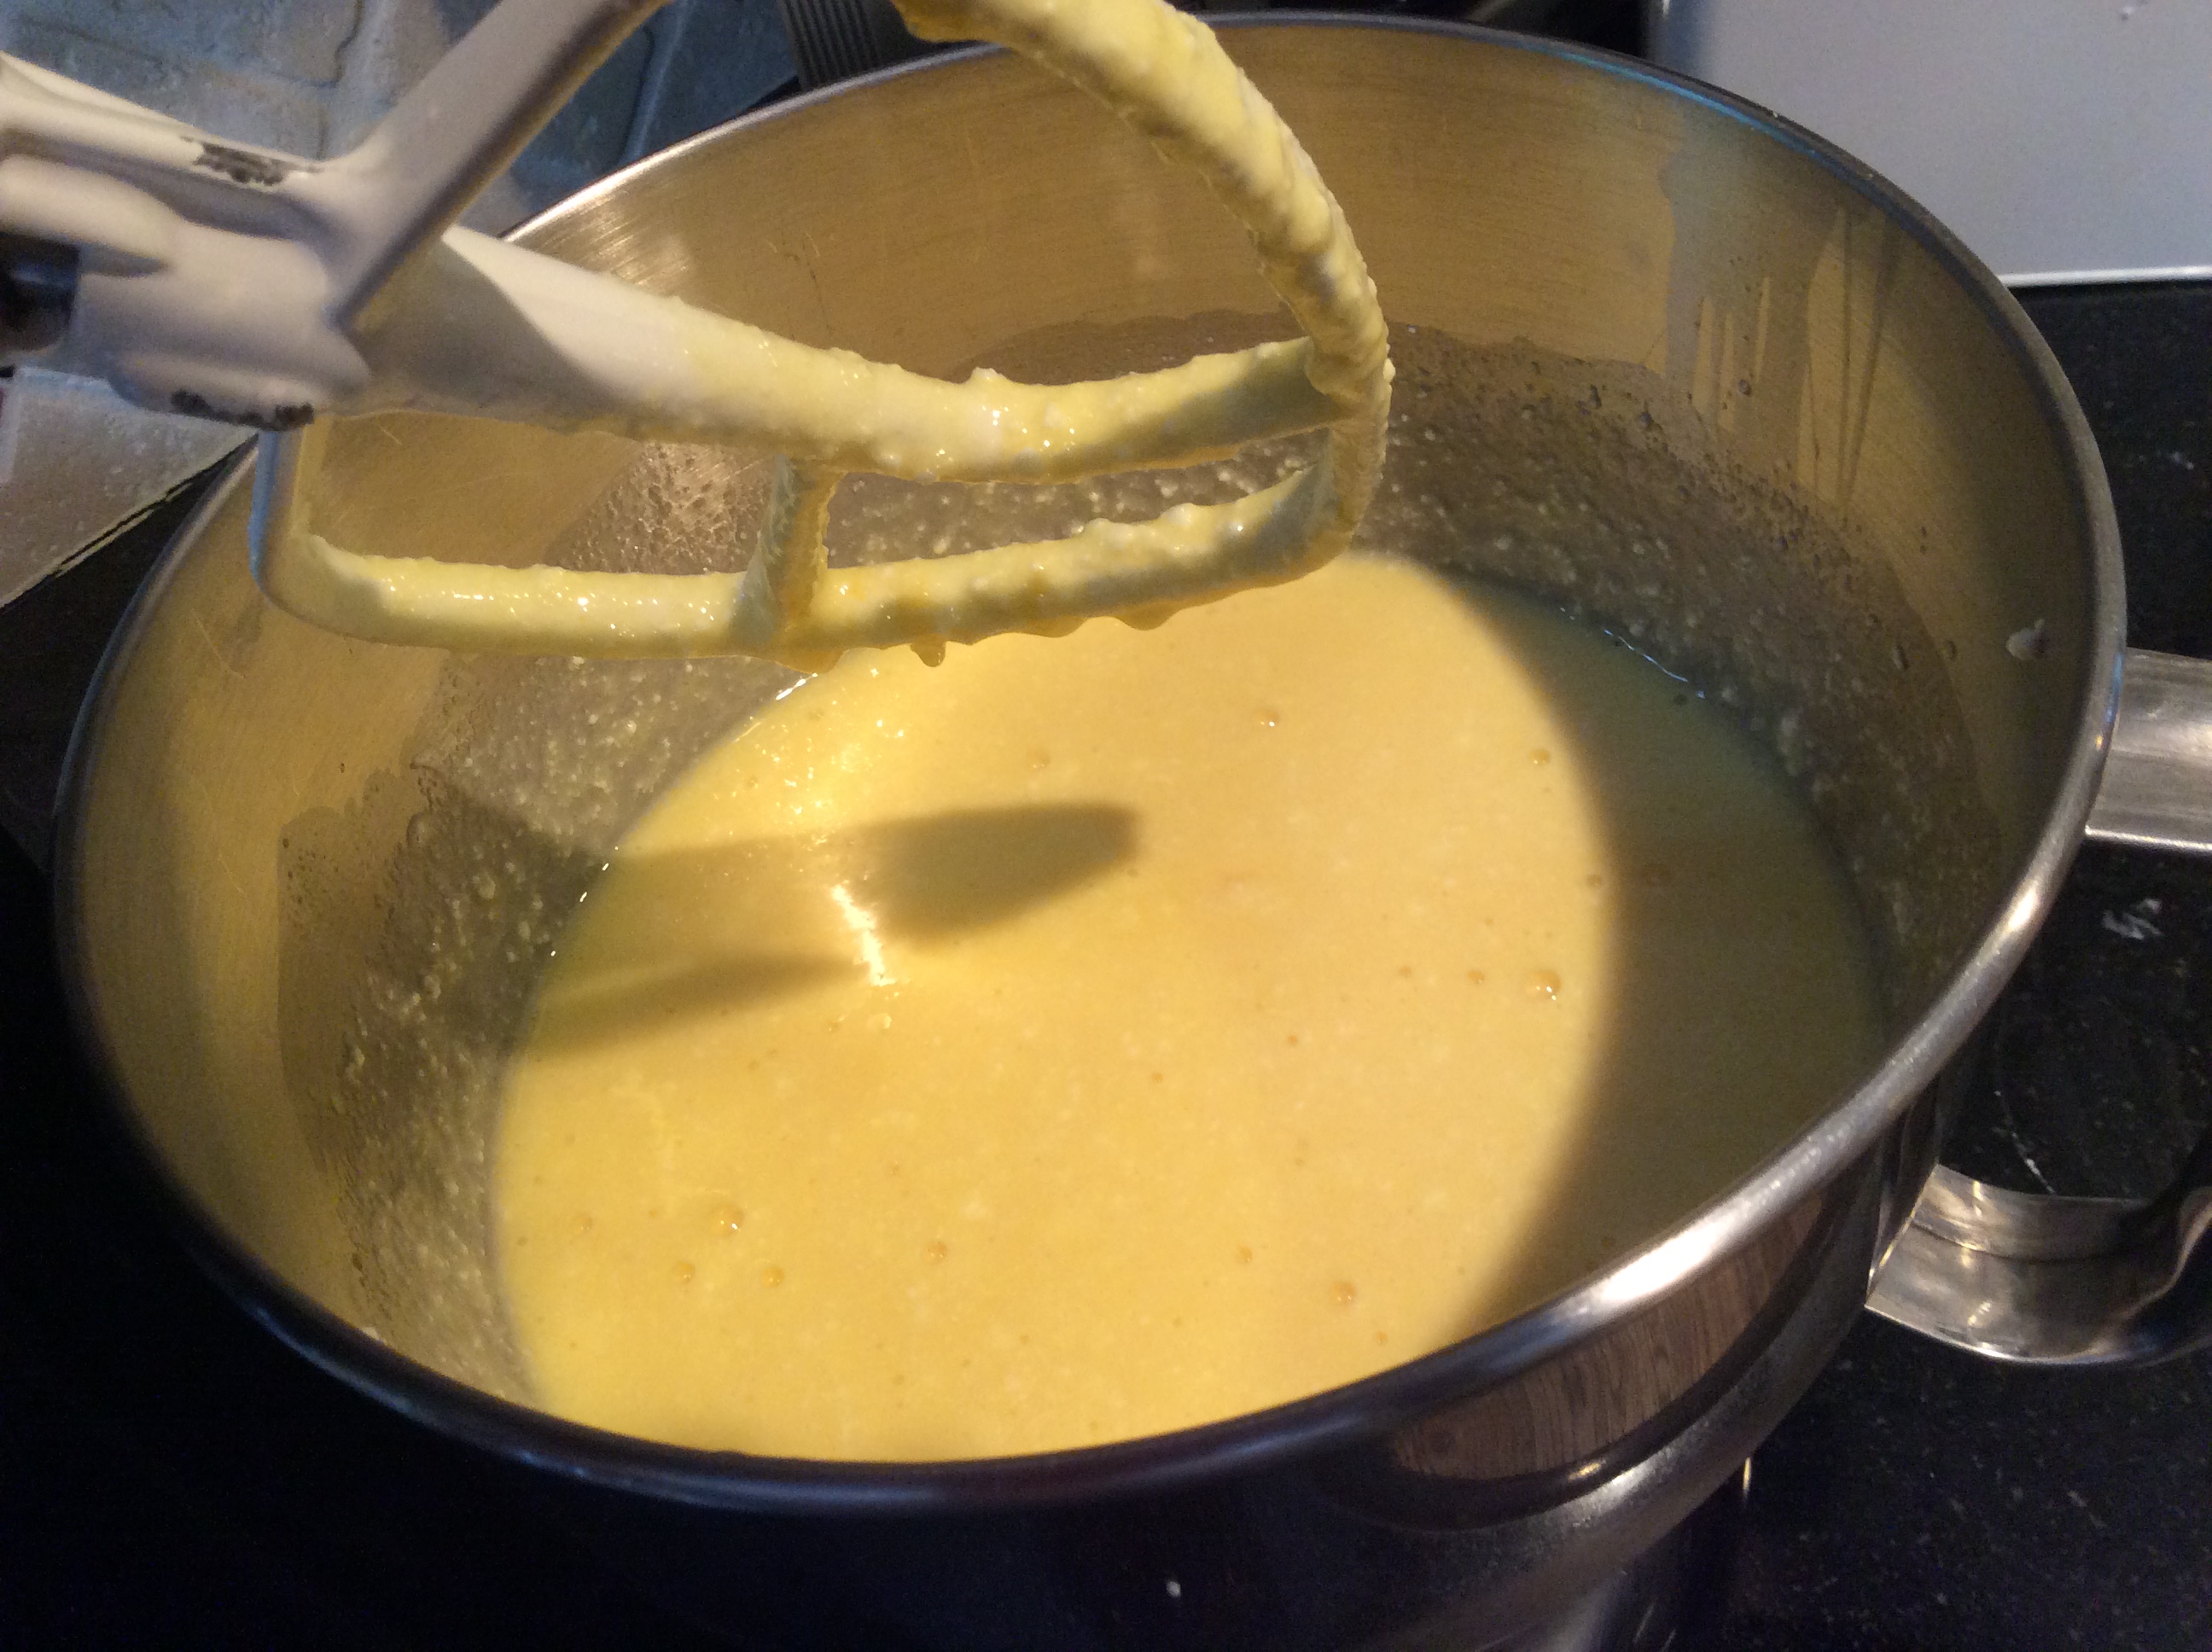
3.  Beat eggs, then add sugar.  Beat well.

4.  Add ricotta and mix until smooth.

5.  Meanwhile boil noodles.  Drain and put in a large bowl.

6.  Add the butter to the hot noodles and mix until melted.

7.  Add the vanilla and grated cheese. Mix again.

8.  Add the ricotta mixture and mix until well blended.

9.  Pour into the prepared pan.  Bake in the oven for one hour or until the top is golden brown and set in the middle.

10. Cool before serving.  I like it slightly warm.  It can be frozen, but I doubt you’ll have any left.

pastiera ingredients

pastiera ricottapastiera eggs:ricottapastiera batterpastiera noodles:butterpastiera needles mix 1pastiera noodles mix 2pastiera noodles mix 3pastiera noodles mix 4 pastiera pan 1pastiera pan cookedpastiera plated 2pastiera plated closeuppastiera recipe

Spaghetti Squash Pomodoro

spaghetti squash tomato:basil bowl

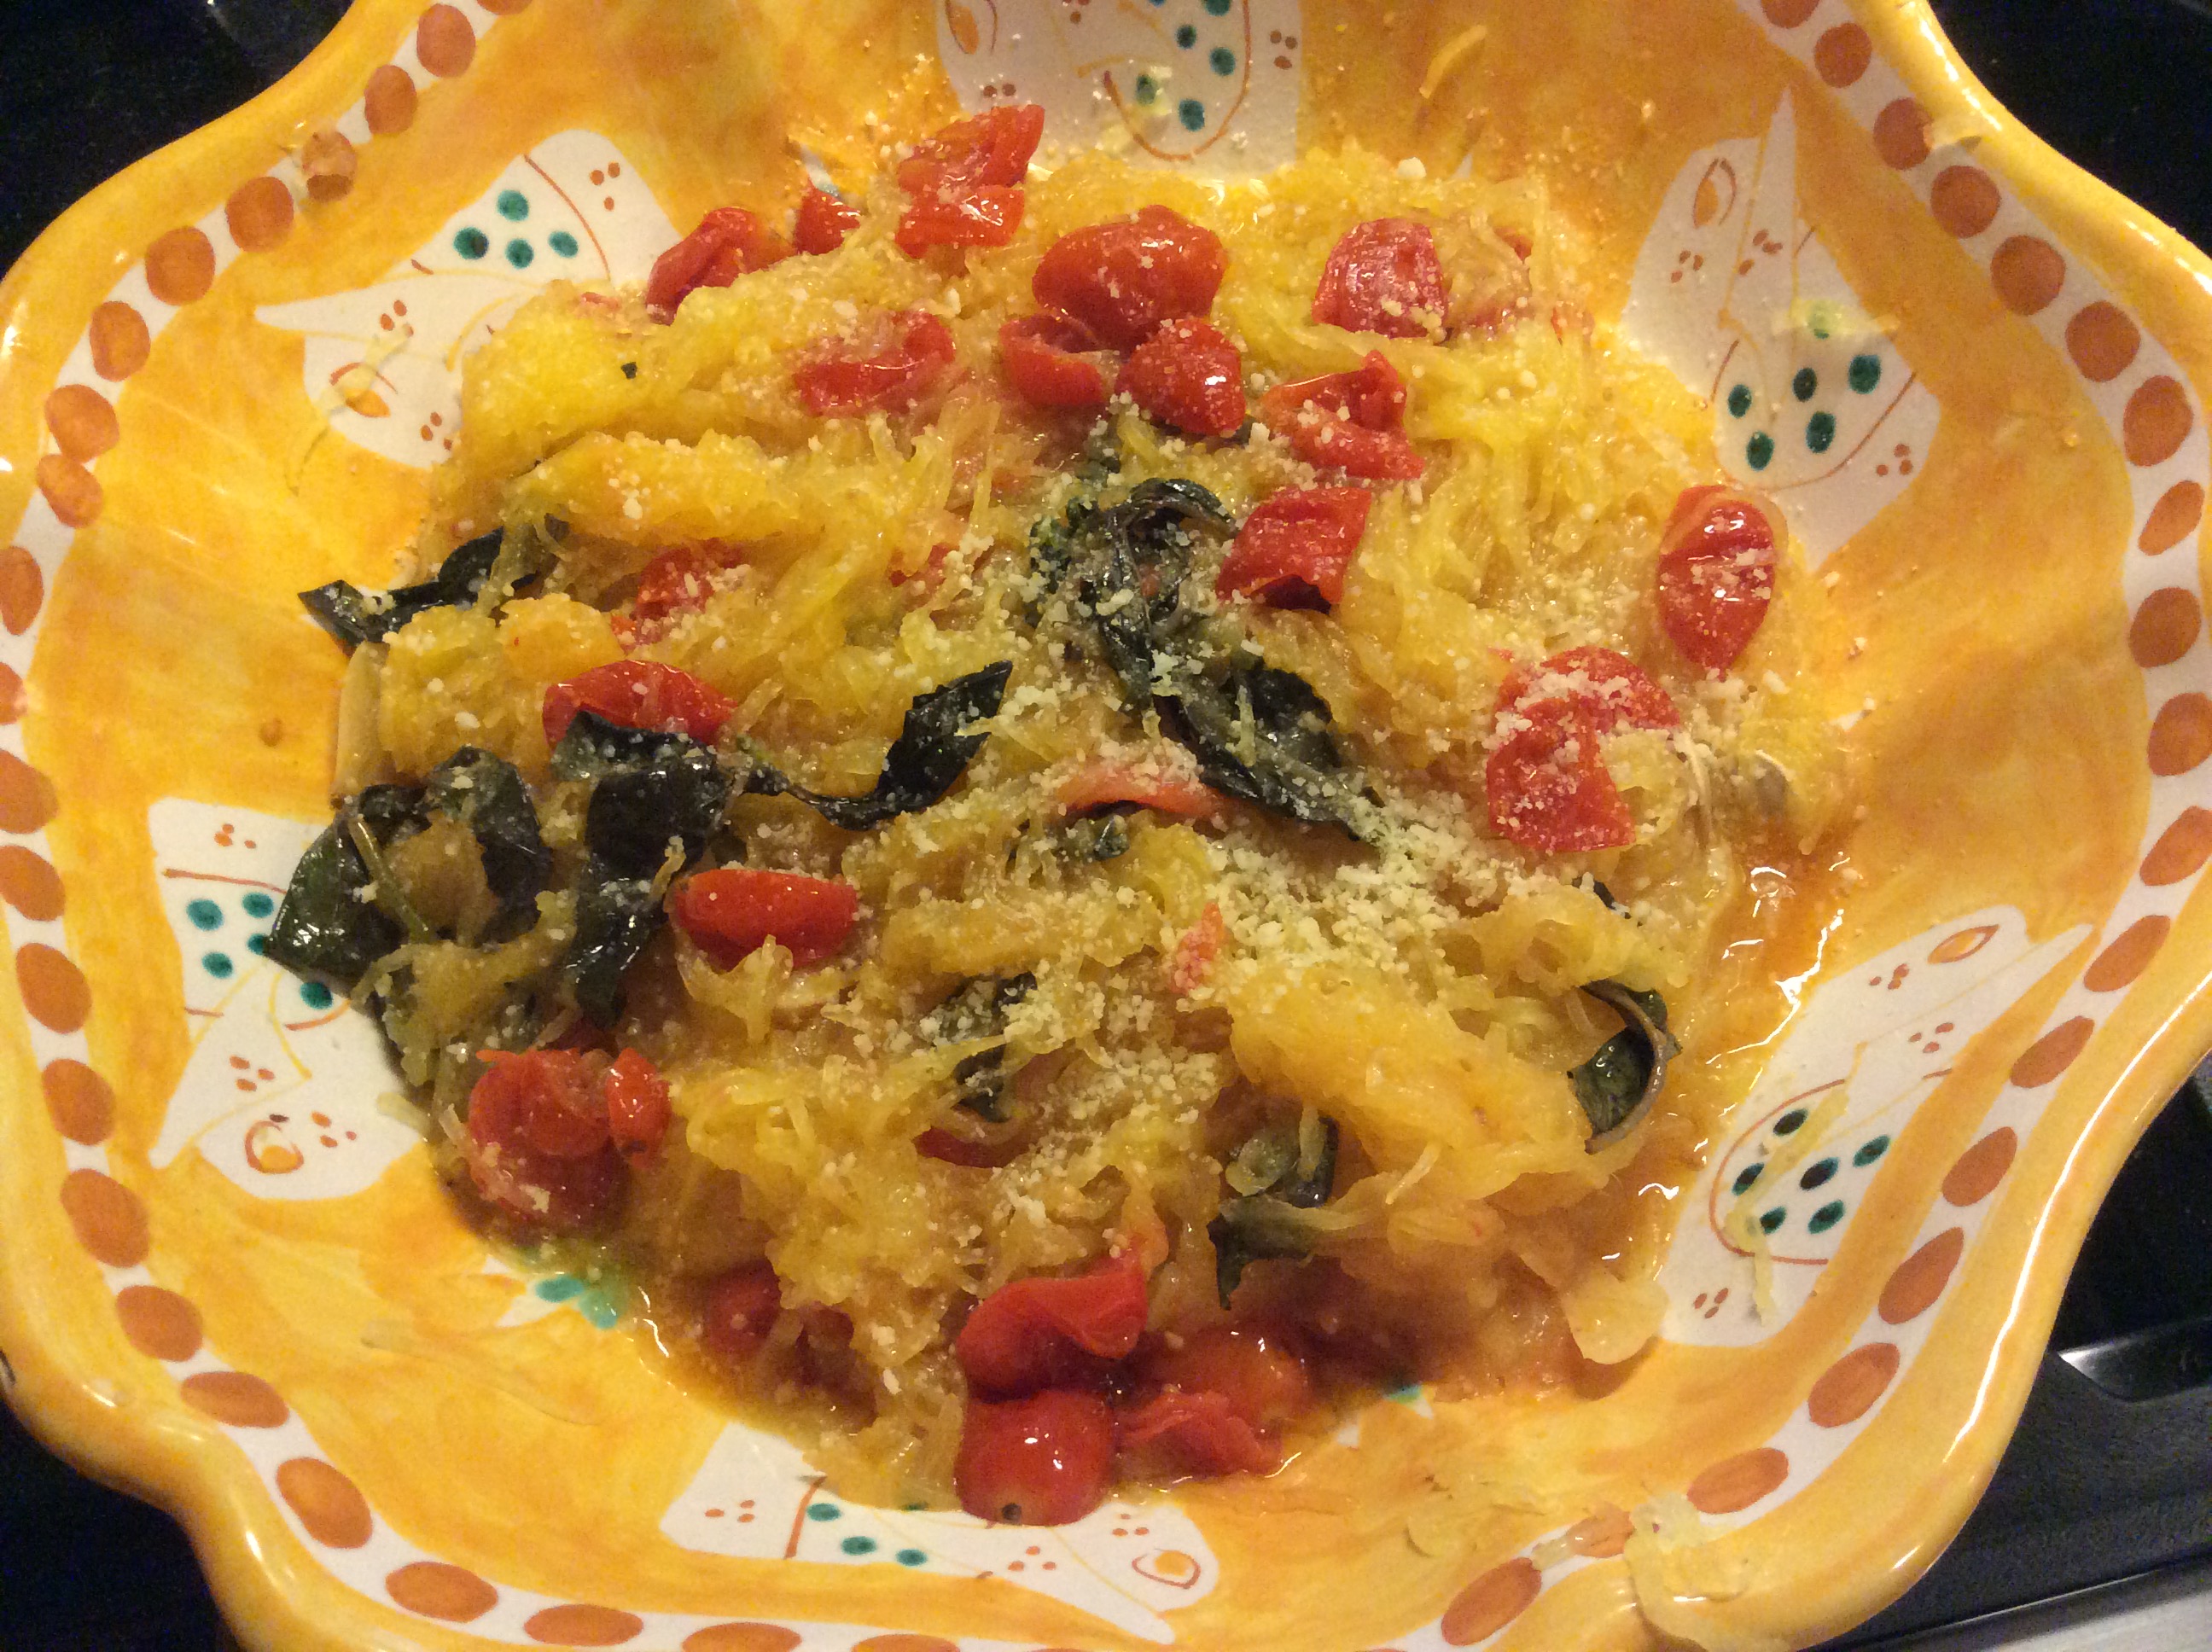
I wish I could say to you that this recipe for spaghetti squash with tomatoes will taste just as delicious as a dish of regular spaghetti, but I can’t.   It’s just not so. I do have to laugh whenever I hear people say that you won’t miss pasta once you’ve tried this low carb alternative. While this is absolutely delicious ( what wouldn’t be with a delicious sauce of fresh tomatoes and basil ), it is not ever going to replace real 100% semolina pasta as far as I’m concerned. However, it does make an absolutely delicious side dish that I think you will truly enjoy. I am always looking for some lower carb side dishes just like everyone else. I’ll save my carb calories for a large dish of real pasta, thank you very much

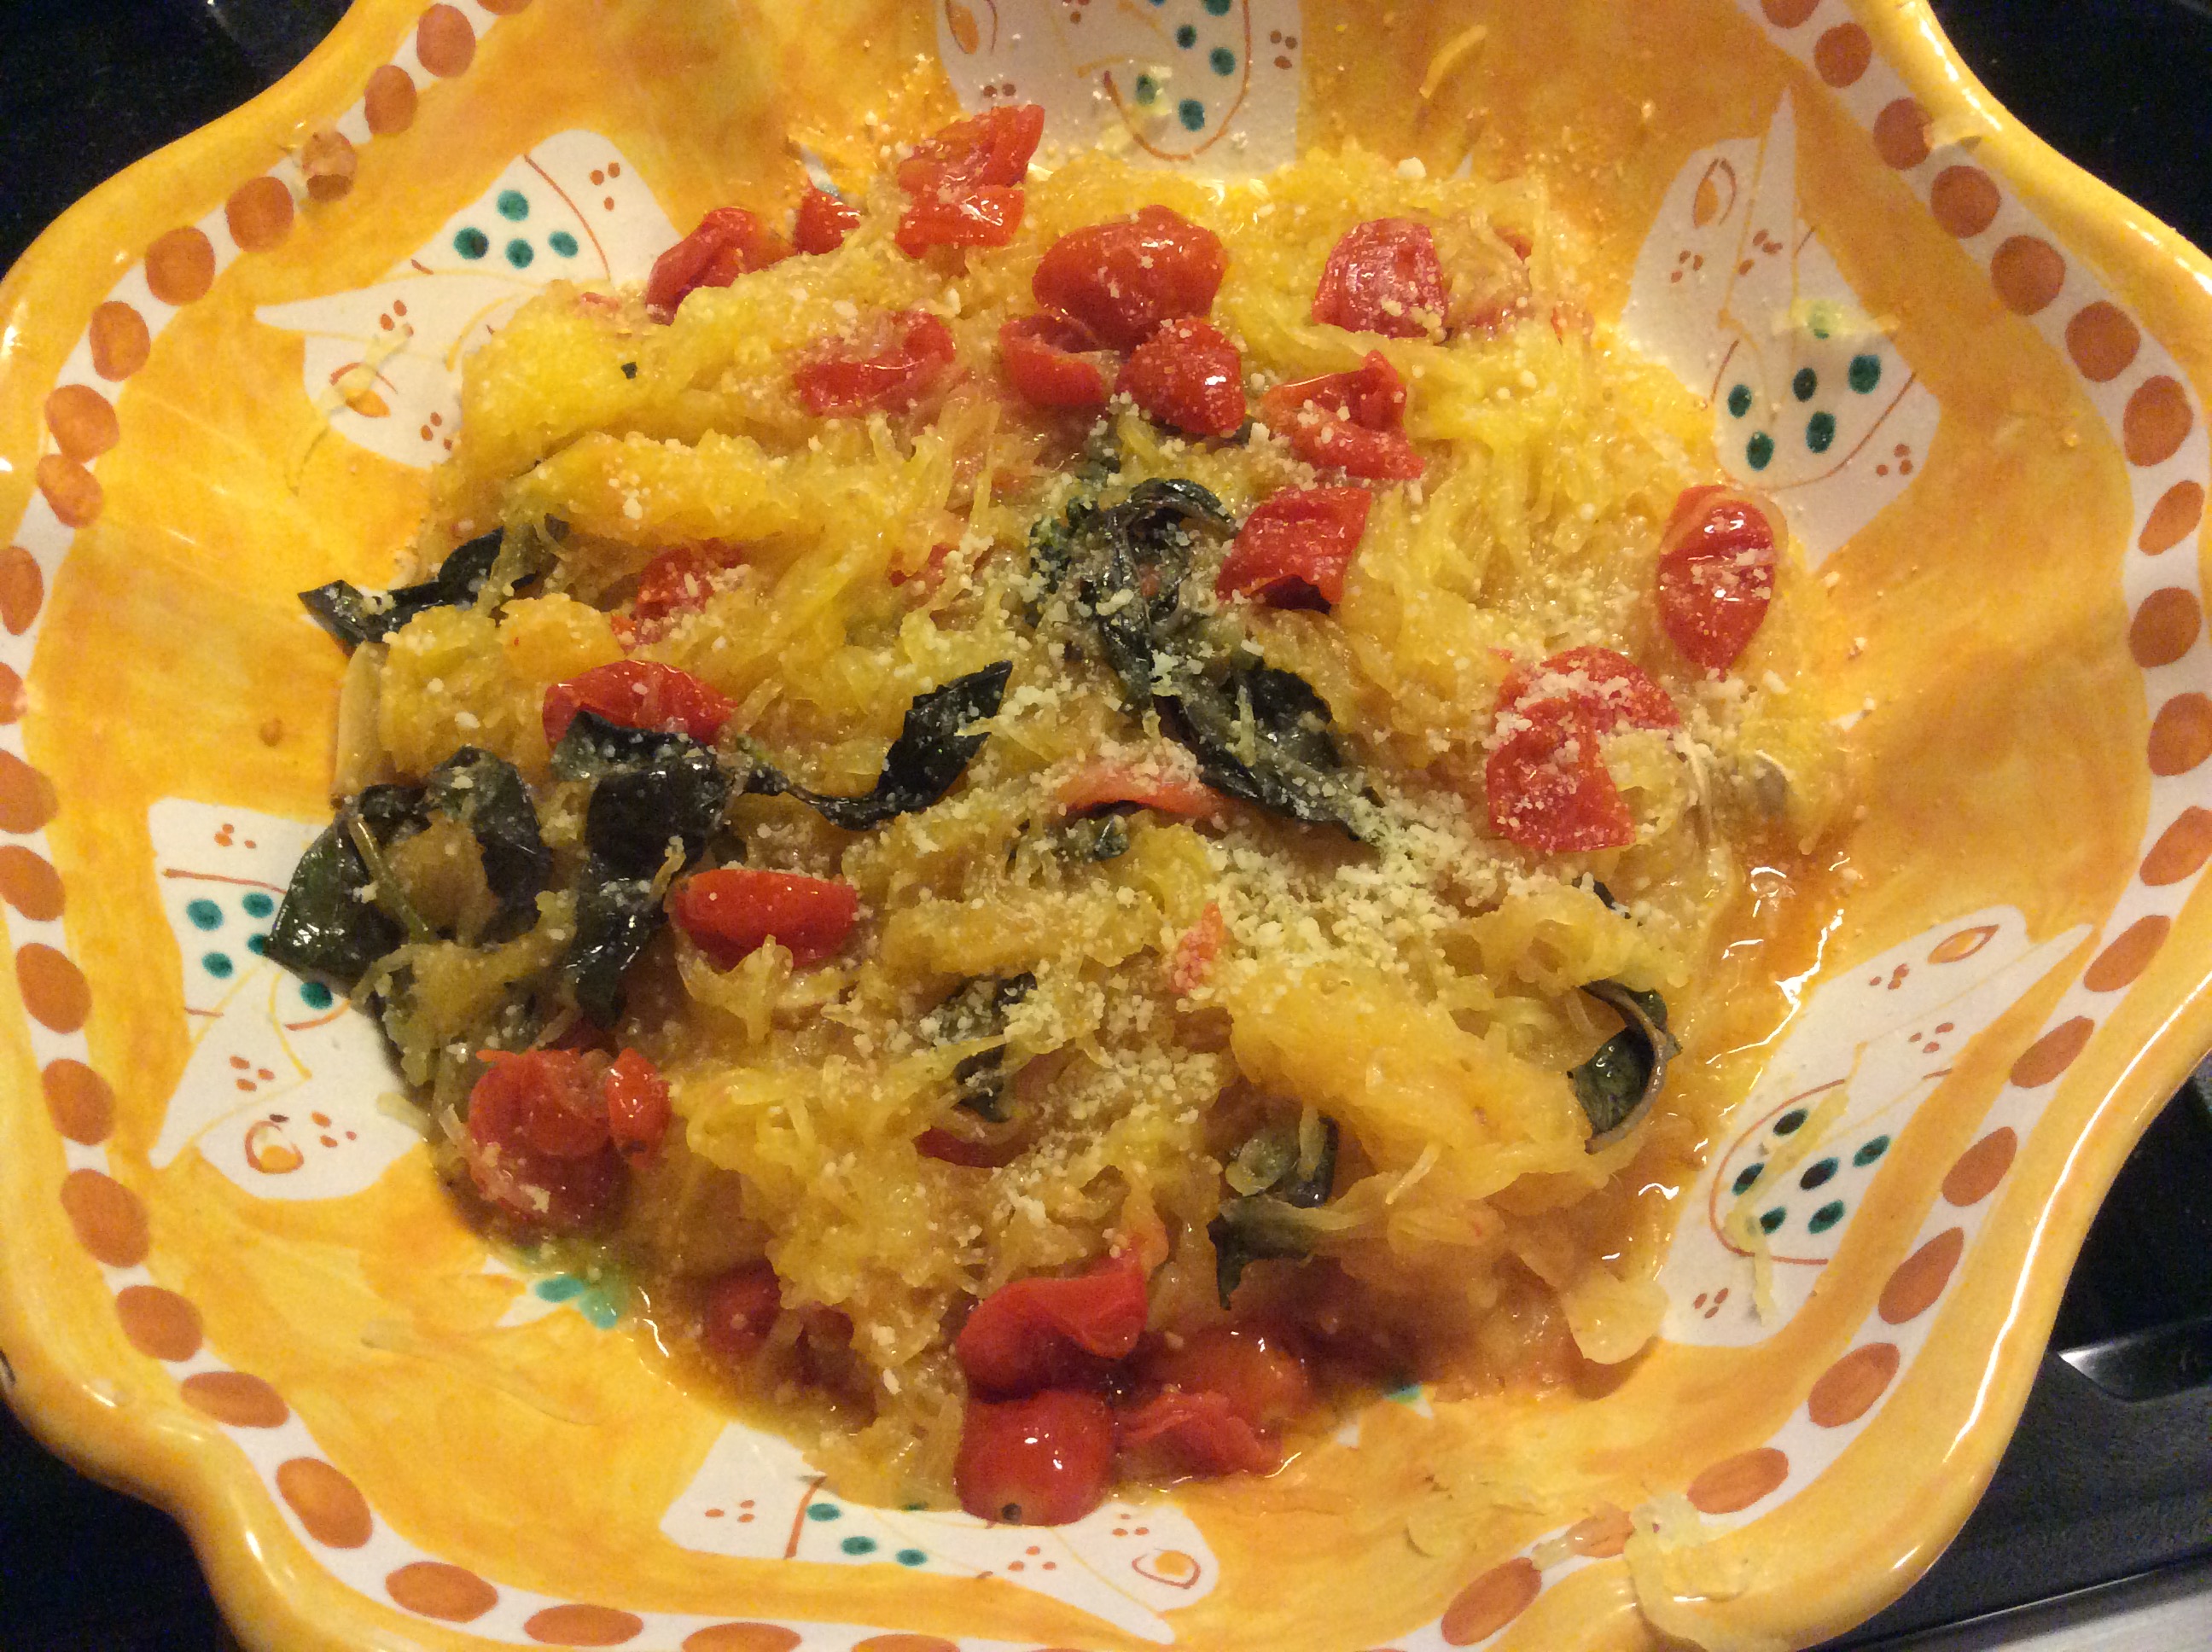
I’ve had a lot of fun with this vegetable, trying to come up with the sauce that I think is most compatible with this light tasting, spaghetti shaped vegetable. Do let your imagination run wild a bit. I would say that almost any sauce that you enjoy on pasta, would taste delicious on this squash. You just want to be careful not to over- sauce it, as the strands of the squash are delicate. I’ve chosen my cherry tomato and basil sauce (which you can also find in the archives ) because I feel it is a light sauce with an aroma that blends well with the spaghetti squash. On another occasion, I added a bit of sliced zucchini to the skillet of tomatoes, and that also worked marvelously. I love that sauce with this as well.  I’ve included both recipes.

I’ll also explain two ways to cook the squash. One way is in the oven, and the other is in the microwave. I was afraid to use the microwave at first , as I had read that it might explode…and what a mess that would be. But if you pierce the skin, I think the chances of that are quite small. I’ve used the microwave at least 6 times now, and nothing has gone wrong. I hope that’s not a jinx!!

RECIPE:

1 spaghetti squash, about 2 lbs

1 pint of cherry tomatoes, halved

1 large zucchini, sliced thin (if using)

2 cloves of garlic, sliced thin

4 TBSP olive oil

1 cup of loosely packed basil leaves

sea salt (I’m into Celtic sea salt right now…another story) and pepper to taste

Freshly grated parmigiano cheese

1.  To microwave the squash, I carefully put 1 inch gashes all around the squash…maybe 10 slits in all, and microwave it on high for about 12 minutes.  Cool for at least 10 minutes before cutting it open.

2.  To cook the squash in the oven, preheat to 450 degrees.  Cut the squash in half and place, cut side down in a glass baking dish with 1/2 in water.  Bake for 50 to 60 minutes.  Let cool.

3.  While the squash is cooking, using whichever method you prefer, start the sauce.

4.  Put the oil, garlic, tomatoes and sea salt  (and zucchini if using) in a large skillet that will hold the squash as well.  Cover and cook on low heat for 15 minutes, stirring occasionally.  The tomatoes ( and zucchini) should be soft.  Add the basil at the end.

5.  When the squash is cool enough to handle, clean out any seeds.  Then using a fork, gently scrape the squash to remove the flesh in long, spaghetti like strands.

6. Place the strands of squash into the skillet with the tomatoes, and gently stir to combine over a low flame.  I like to use tongs with this since it is so delicate.  Place in a serving bowl and add grated parmigiano cheese.

spaghetti squash ovenpoolside pasta tomatoesspaghetti squash tomato:zuchini1spaghetti squash tomato:zucchini2soaghetti squash tomato:basil panspaghetti squash tomato:basil bowlspaghetti squash closeup

Alberto’s Barbecued Chicken (Italian Style)

Italian chicken dish 1

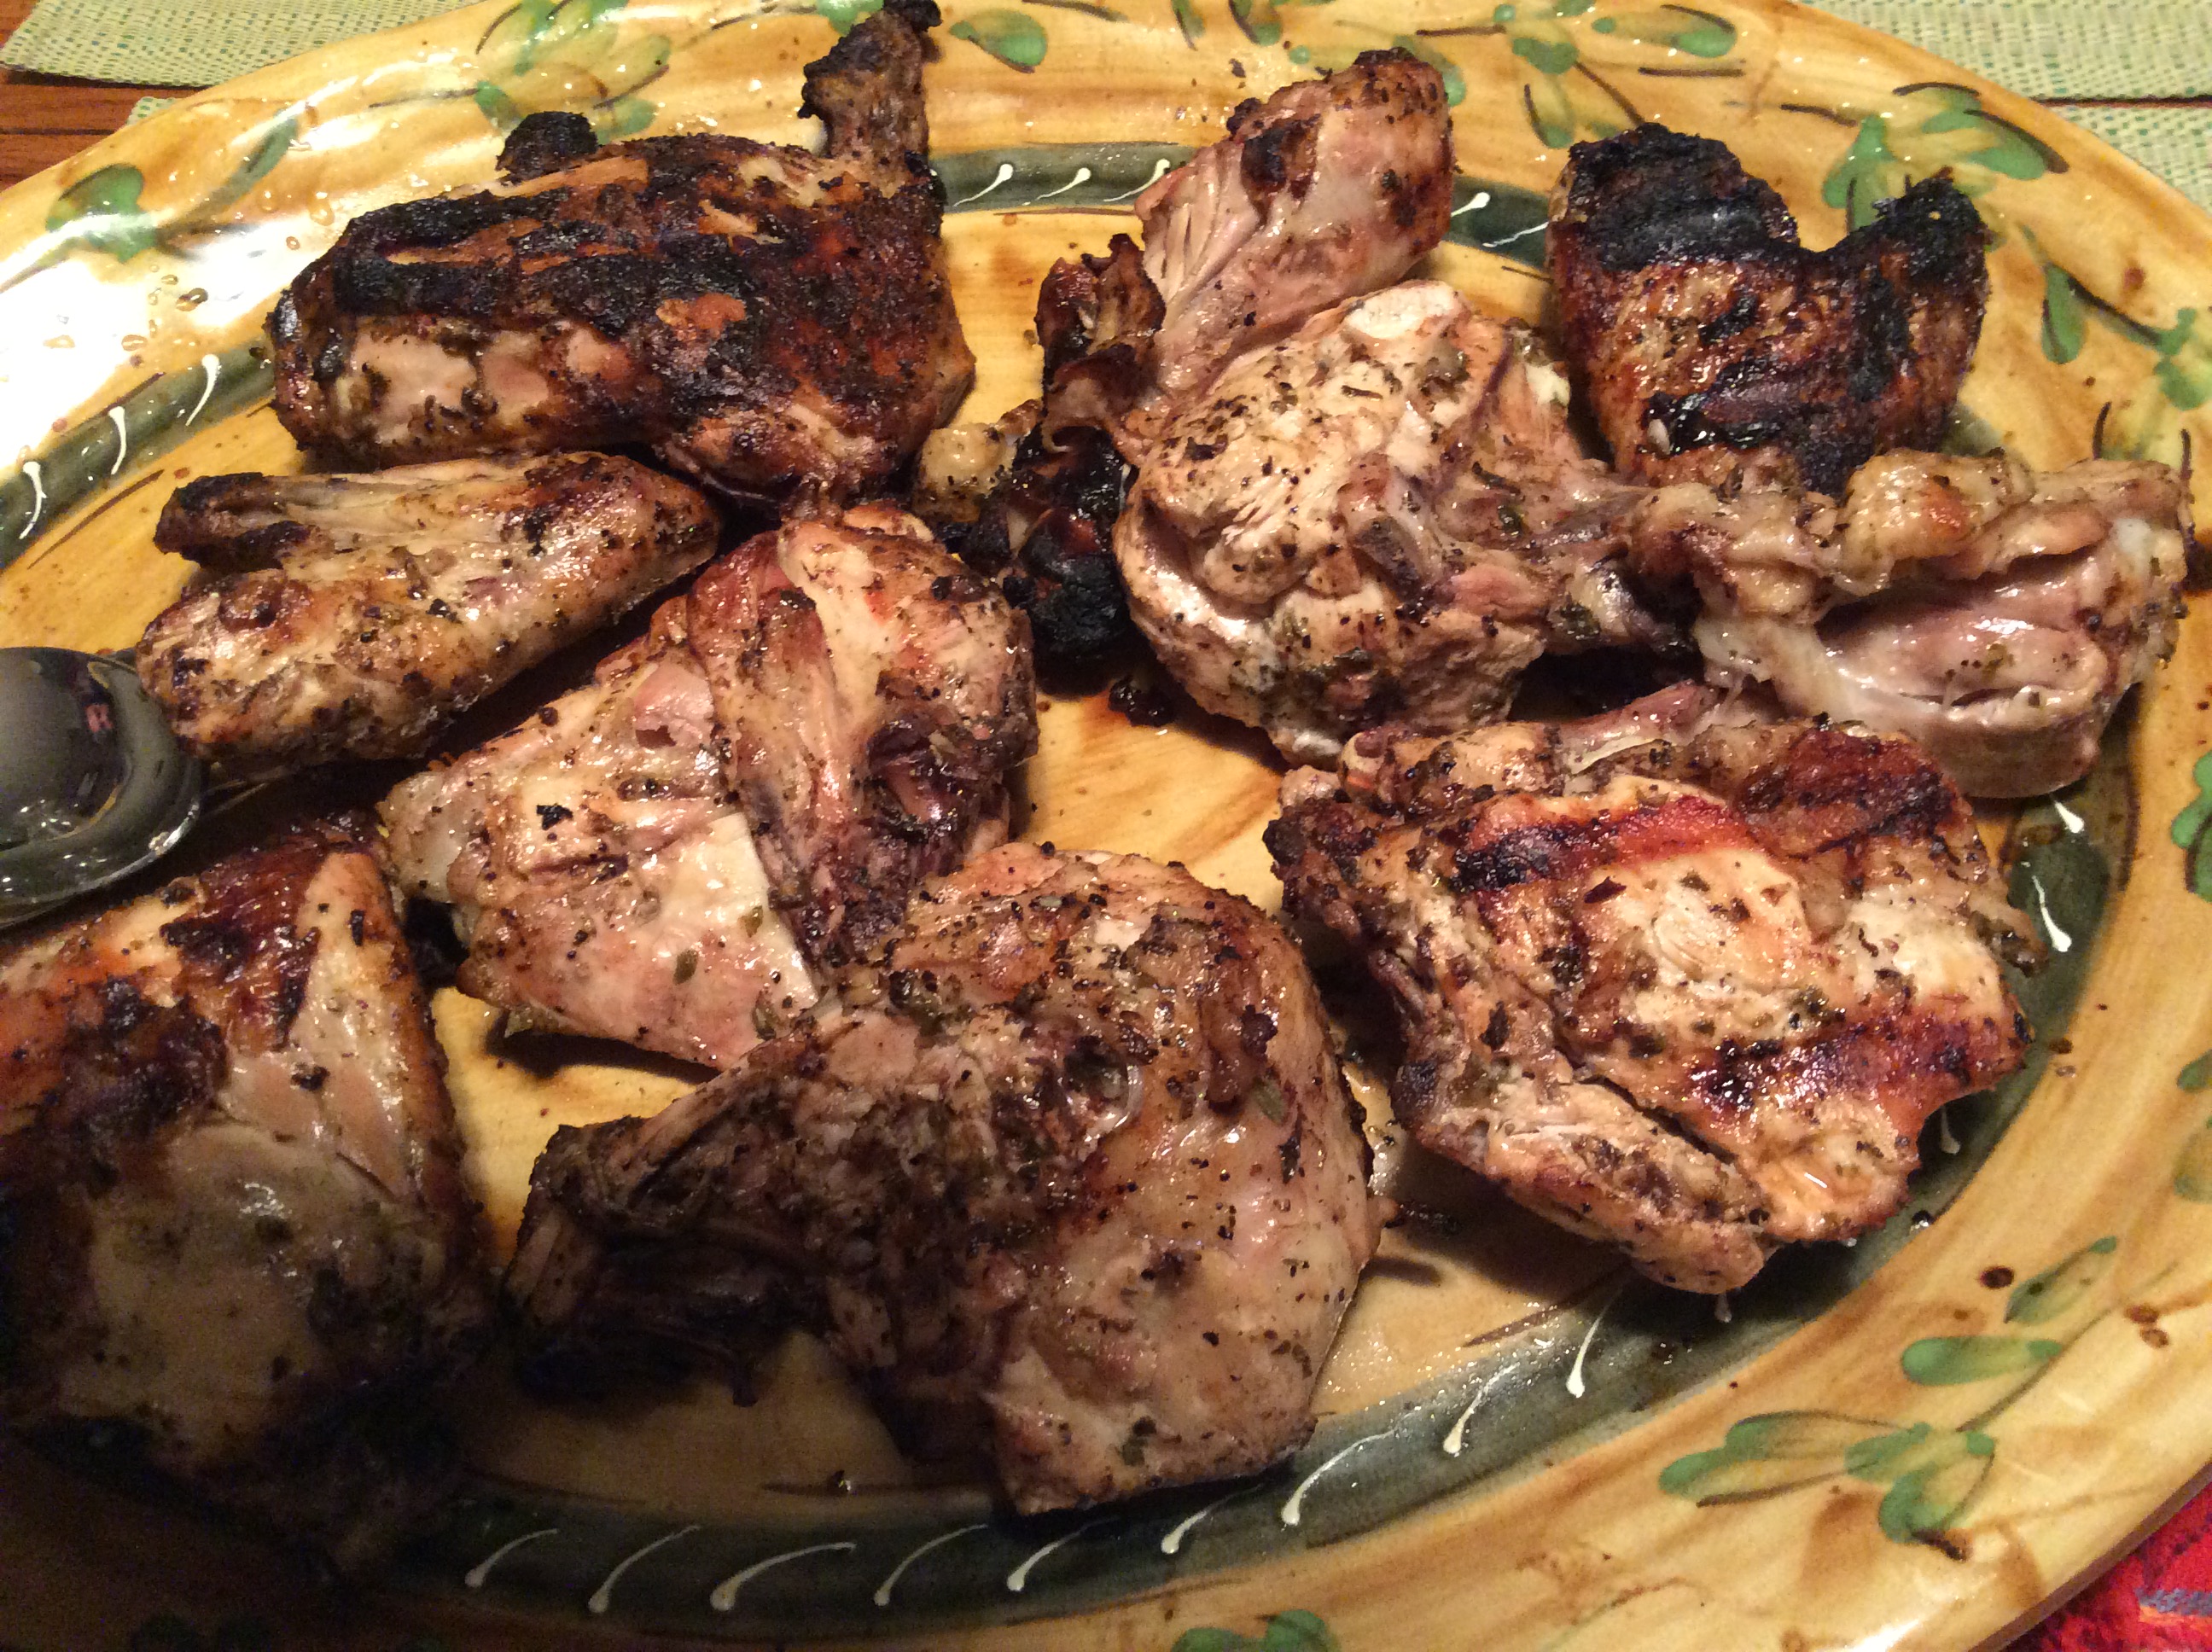
A few weeks ago I shared Sandy’s Barbecue Sauce with you, and I hope you’ve tried it by now. I would be remiss if I didn’t give equal time to my husband’s barbecued chicken. Of course, it’s Italian style. Why would it not be? He just has to turn everything, even something as American as barbecued chicken, into something Italian. I will agree that all over Italy (especially the countryside) you will see open fire pits for cooking outdoors. This is indeed very popular in Italy.   His remembrance of this recipe is from his childhood, helping his mother kill a chicken in the backyard, and then marinating it to the get the gamey taste out before cooking it over the outdoor fire (or indoor fireplace, for that matter).   They lived in the countryside, raising animals for food so this of course did not seem grotesque at all for a child.  This was a way of life.

So now, we are after that same fresh, farm raised (no antibiotics, etc.) flavor when we go to the supermarket to purchase chicken for our families.  Local, farm to table certainly is popular now, and with good reason. We want our food as fresh as possible, and we want as pure as possible. We want our chicken to taste like chicken, as we do all our meats and produce. I could go on a real rant right about here, but I’ll refrain. Let me just share with you a wonderful marinade that will make your chicken taste simply delightful and wish you a “buon appetito.”

I have to let you in on his secret, which I just found out the other night. Before putting the chicken on the grill, he bakes it in a 350 degree oven for about 20 minutes.   When I caught him in the act, he denied it at first, but I do believe this might be the key to this moist, succulent chicken. Hmm, I wonder if he learned this is Italy. Doubtful!

RECIPE:   serves 4

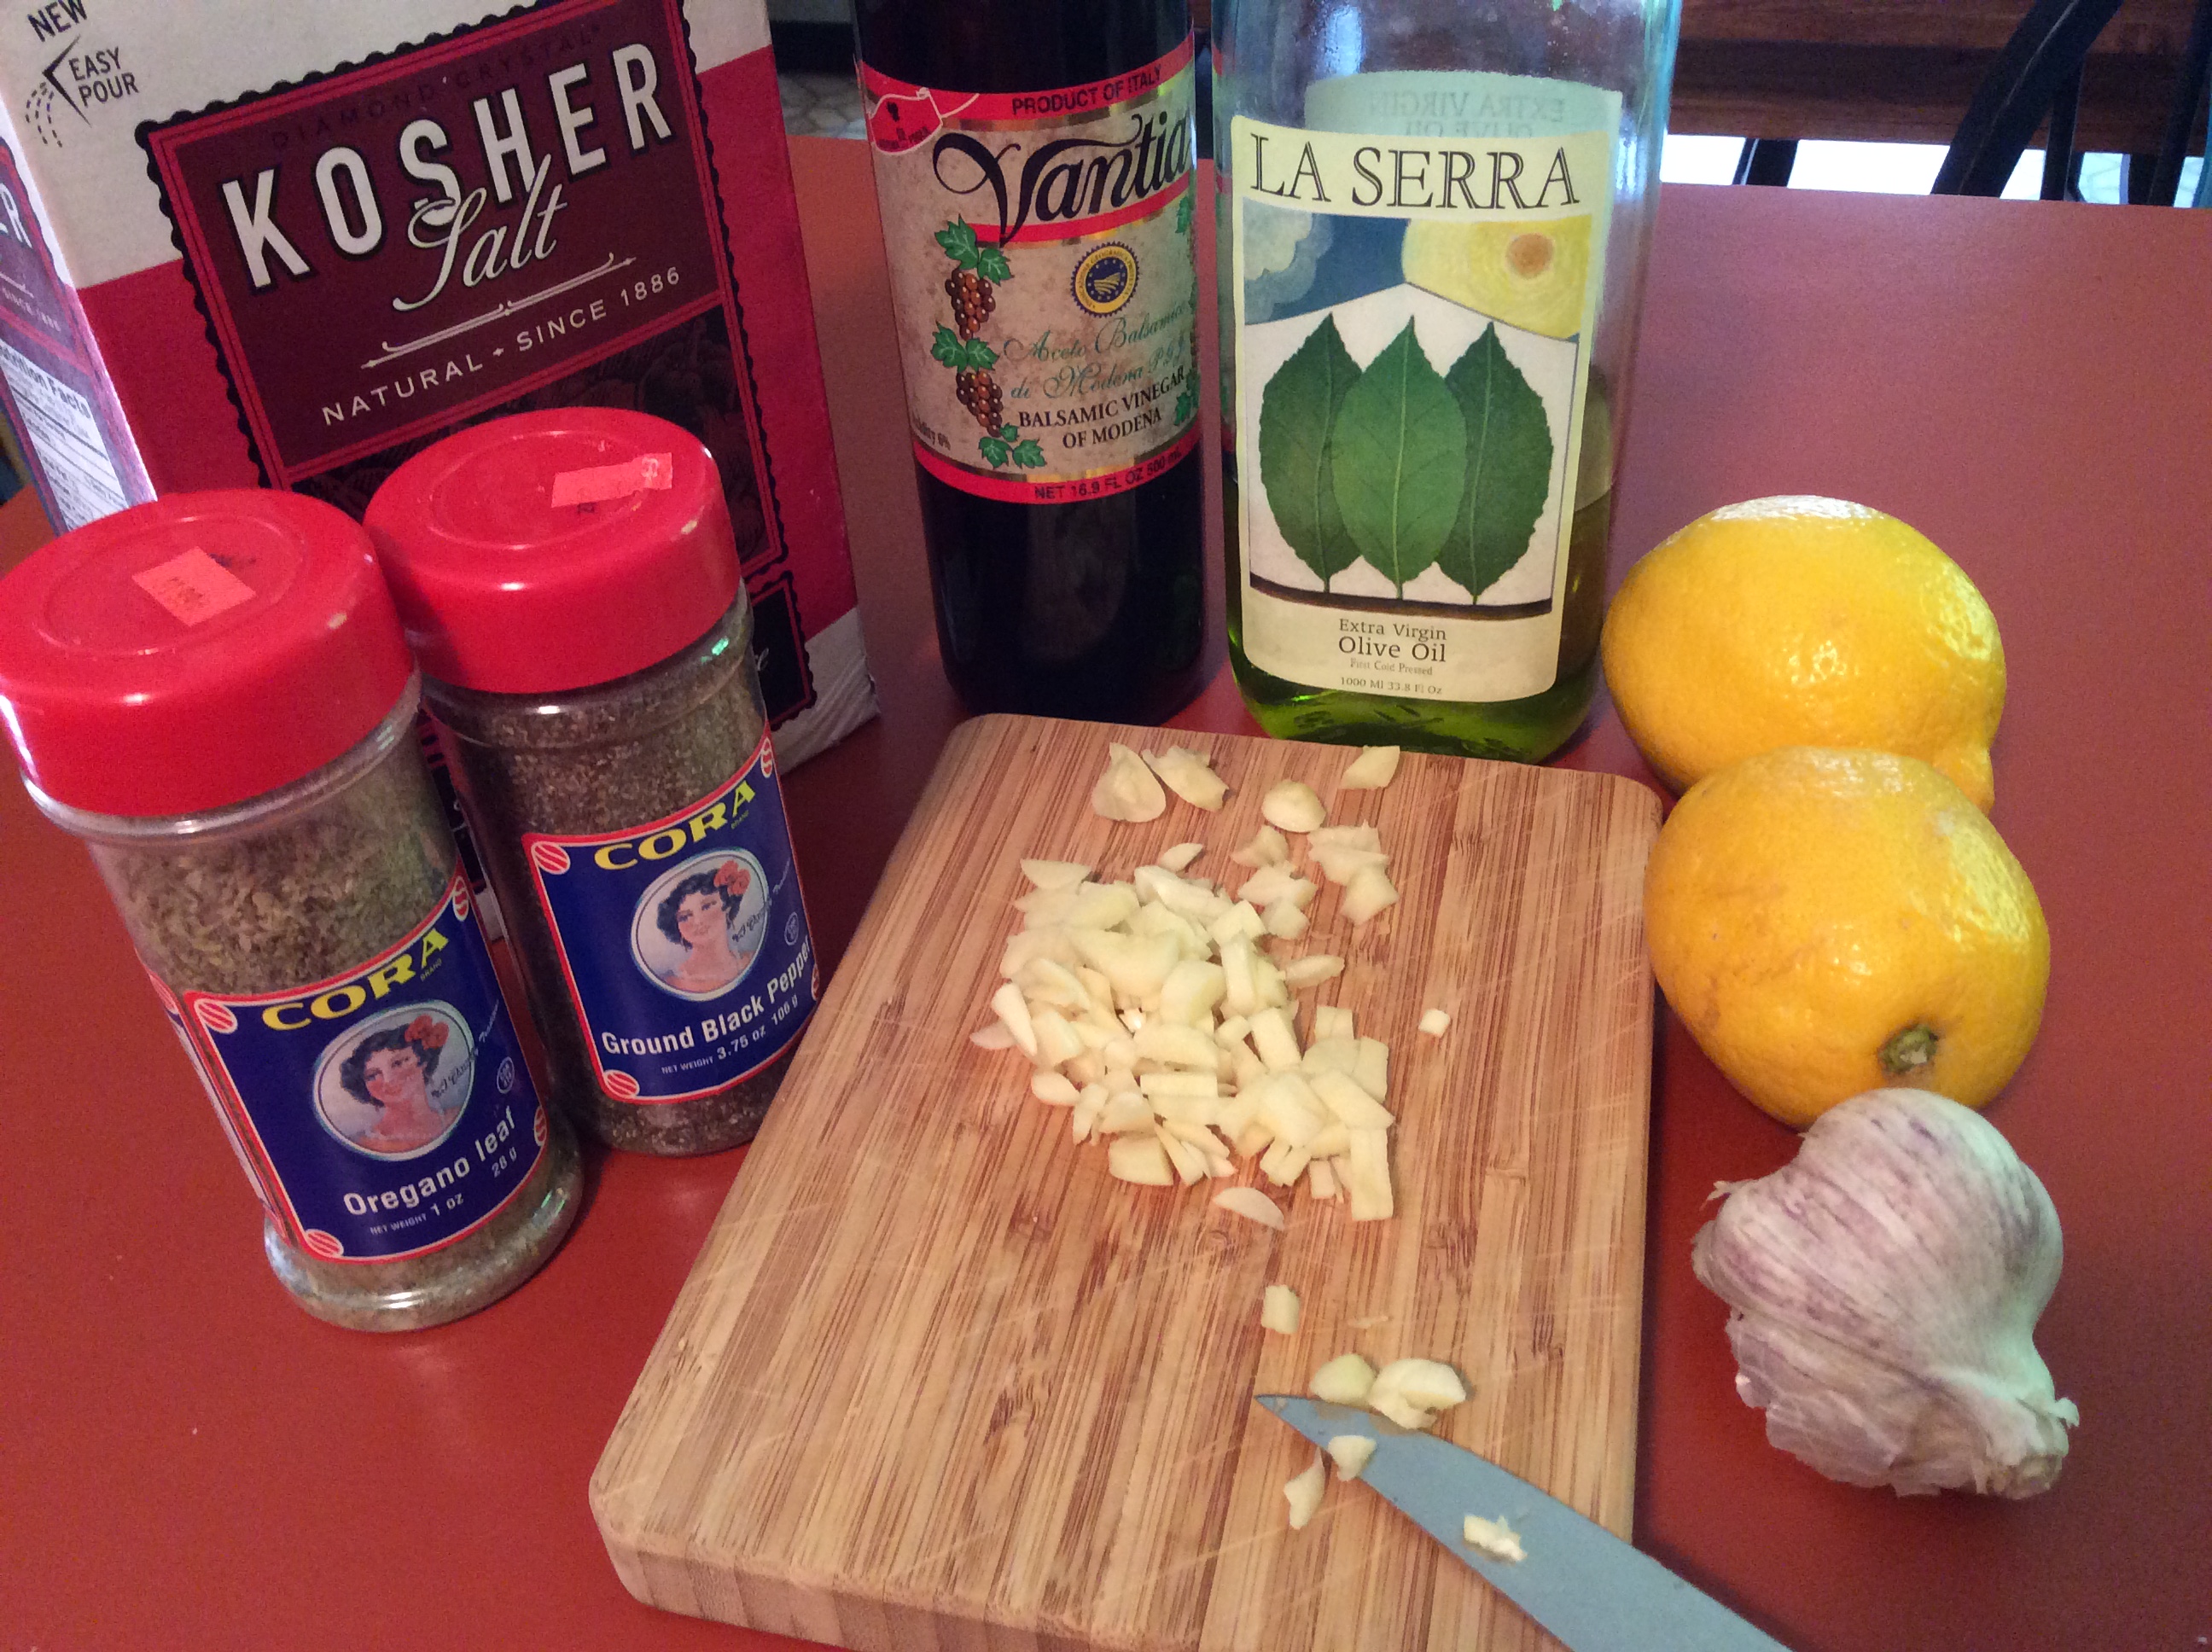
4 LBS of chicken, either a whole chicken cut in pieces, or pieces of your choice

1 cup olive oil

1/3 cup balsamic vinegar

juice of two lemons and another lemon or two.

3-4 garlic cloves, roughly chopped

3 TBSP oregano

2 TBSP  Kosher salt

2 tsp. black pepper

1.  Put chicken in large pan.  Spread the salt, pepper and oregano all over it.  Pour the lemon juice all over it.

2.  Wait a few minutes to let all these ingredients take hold. Then add  the olive oil, vinegar and garlic,  and turn to coat on all sides.  You can add a little more salt and oregano if desired.

3.  Let the chicken marinate, covered in the refrigerator for at least 3 hours, and of course, the longer the better.

4.  Meanwhile preheat the oven to 350 degrees.  Bake in the oven for 20 minutes.

5.  Now you’re ready to put the chicken on the grill.  Turn often and remember, you don’t have to cook it quite so long since it’s already partially cooked.  When the chicken is done, squeeze more lemon all over and serve.  It’s great right off the grill, but also wonderful at room temperature. Italian chicken ingredientsItalian chiken marinatingItalian chicken dish 1Italian chicken dish 2