
It’s summertime, and the season for fresh fruit pies! I buy seasonal blueberries, peaches and cherries by the bushels, and love to dream up recipes, but I especially love to whip up a pie using this fresh bounty of the season. I didn’t always feel this way about pie-making. Making the crust scared me. As a relatively new baker, I would toil for hours over the measuring and mixing of the ingredients to make the perfect crust, and very often had to start over and over again in frustration, until that fateful day, when a friend shared a secret that has changed my “pie-making life” forever.
It was the summer of 1988. I was struggling (or should I say fighting) with what claimed to be a “no fault pie crust,” when my friend came to pay a visit. She was entertained watching me and all my frustration. I gave up in disgust, and decided to turn this into blueberry cobbler. I could handle that. Later on that afternoon, as we sat and enjoyed the cobbler, my friend let me in on her secret for perfect pie crust every time. I was sworn to secrecy, and I have kept that secret for over 25 years…….until now. So for all you people, who have enjoyed my pies, and thought my crust was to die for, I now confess to using “Pillsbury Ready Made Pie Crusts.” Yes, I’ve accepted compliments on my pie crusts and always took full credit, but I had to be true to my friend’s promise. I will never divulge her name (what are friends for, after all), but my guilt has gotten the better of me. More importantly, I want you all to realize that this is a great tip that allows you to make a fresh baked pie in no time, and with very little hassle.
Now this is not 100% full proof. You have to follow the instructions on the box to a tee, and handle with care. Sometimes I’m impatient, or let the dough sit out too long at room temperature, which can present a bit of a problem. If the box says, let the dough come to room temperature for 20 minutes, then 20 minutes it is, or it will not unfold nicely. Being the impatient baker that I am, this has happened to me countless times. However, I’ve been able to fix the situation with very little effort. I just clump it all into a ball of dough, roll it out myself, and carry on, usually cutting the dough into strips to form a lovely lattice effect. My pies are not often pretty (as you’ll see from the pictures), but the taste is always superb. And that is the point exactly. With a crust this delicious, beauty is not necessary. Between the aroma and taste of a freshly baked pie, no one really cares if it can’t go on the cover of a food magazine. Don’t get me wrong, if you follow the instructions, your pies will be beautiful and tasty, and no one will ever know that you didn’t make the crust from scratch.
As far as the filling goes, very little needs to be added to the sweet, seasonal fruit, but a little sugar, lemon juice, and cornstarch for binding it all together. What could be easier?
I also suggest buying, if you don’t already have, a pie crust shield. This really saves the crust from burning or getting too dark, while the fruit bakes until soft, yet firm. I like the fruit (especially berries) to remain whole, not like some pie filling that comes out of a can. You can always shape aluminum foil into the shape of the shield. It works well.
So please give this a try. Fresh fruit pies will no longer be only for company. And please remember….it’s a secret!!!
RECIPE:
1 package Pillsbury Pie Crusts
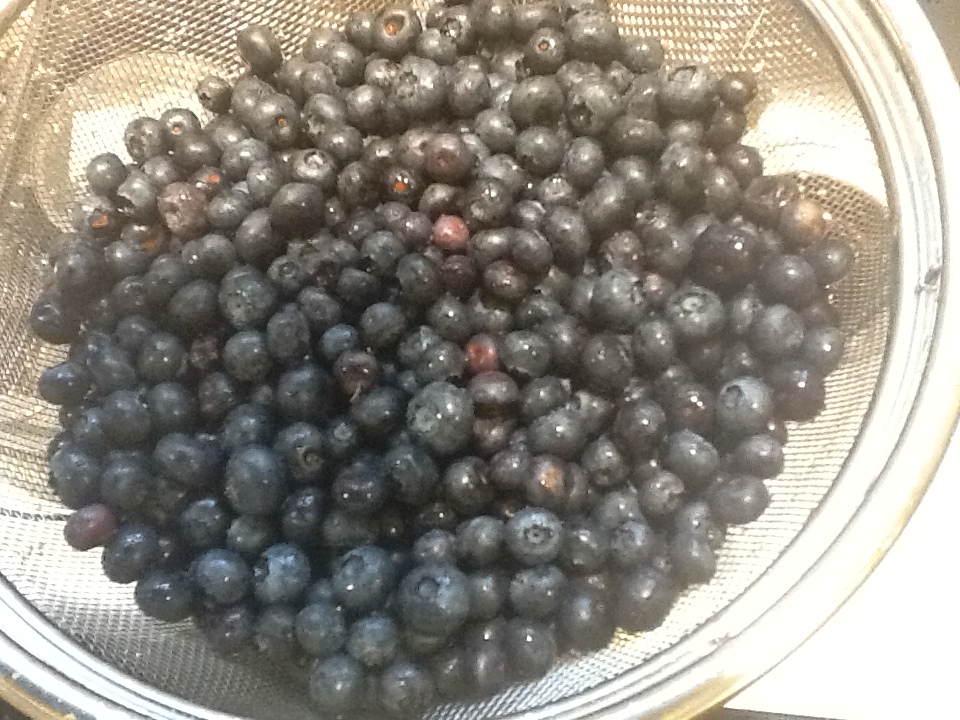
4 pints of blueberries
1/2 cup sugar
1/4 cup cornstarch
1 TBSP freshly squeezed lemon juice
2 TBSP butter, cut into small pieces
1 egg yoke,beaten, for brushing the crust
1. Follow ( and I do mean follow) the instructions on the box for the pie crusts.
2. While crusts are coming to room temperature, wash the blueberries and pick through for stems. Drain well.
3. Add sugar, cornstarch and lemon juice. Stir to combine.
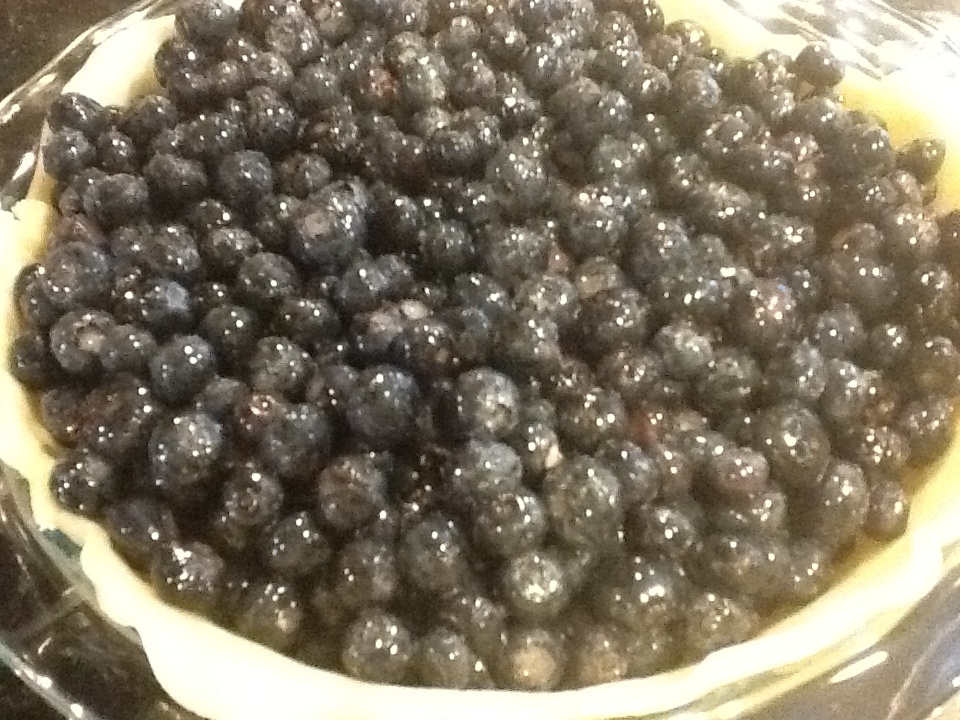
4. Place the first crust on the bottom of the pie pan, pressing the dough up the sides of the pan.
5. Spoon mixture into pie shell. Dot with the butter.
6. Place the second piece of dough over the berries and seal it all the way around. You can use your fingers or a fork to crimp as desired. Using a pairing knife, cut several vents in the top dough to allow steam to escape. Or you can cut the dough into strips and make a lattice top, which also needs to be sealed and crimped.
7. Brush surface with the egg yolk.
8. Place in a preheated 400 degree oven for 10 minutes, and then lower the oven to 350 degrees. Total cooking time should be 45 to 60 minutes, until crust is nicely browned.
9. Serve slightly warm. Its wonderful with vanilla ice cream.
10. Keep the secret!!!


Thanks for the secret…Finally I can make a pie without guilt and looks like I’ll be making your blueberry pie this weekend since it’s blueberry picking time at the Donaldson’s Farm in Hackettstown and Allstede Farm in Long Valley.
LikeLike
Nothing like natures fresh fruit in summer. Looks yummy!
LikeLike
It is yummy, but also so simple…..when you know “the secret.”
LikeLike